Step-by-step tutorial
Step 1
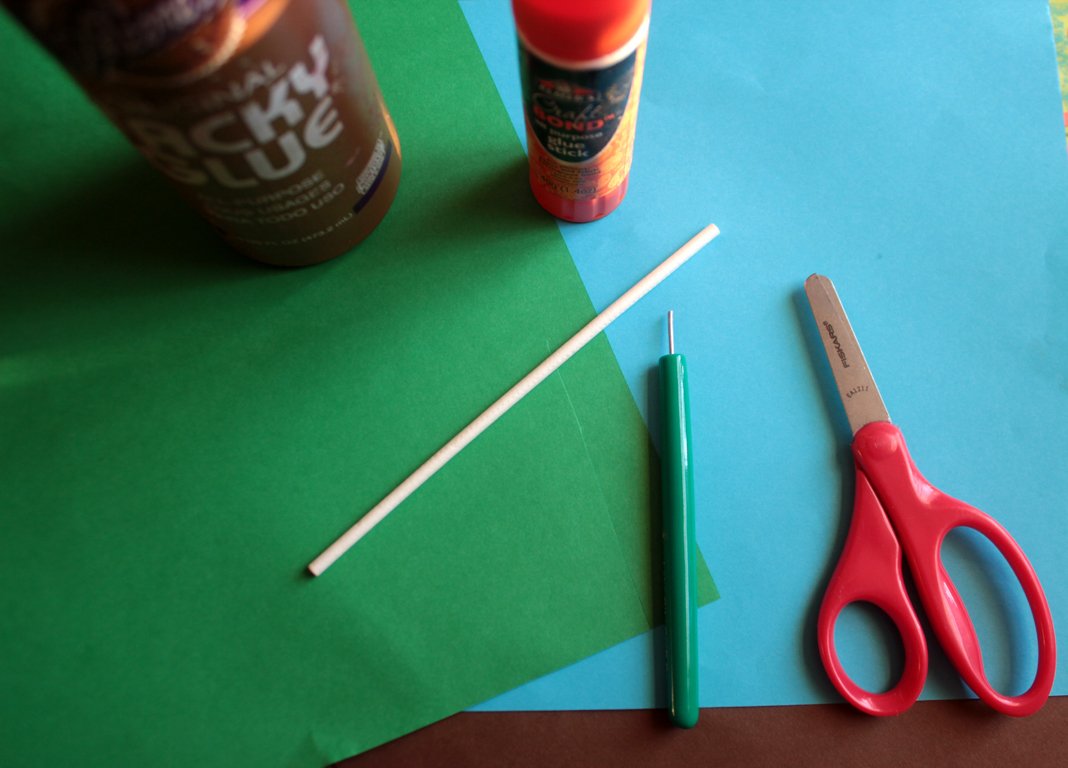
We needed green paper for the grass and leaves, brown for the tree, and blue for the background. We also had our quilling tool out, but you can use a very thin stick, toothpick, or paintbrush end for rolling the coils.

Step 2
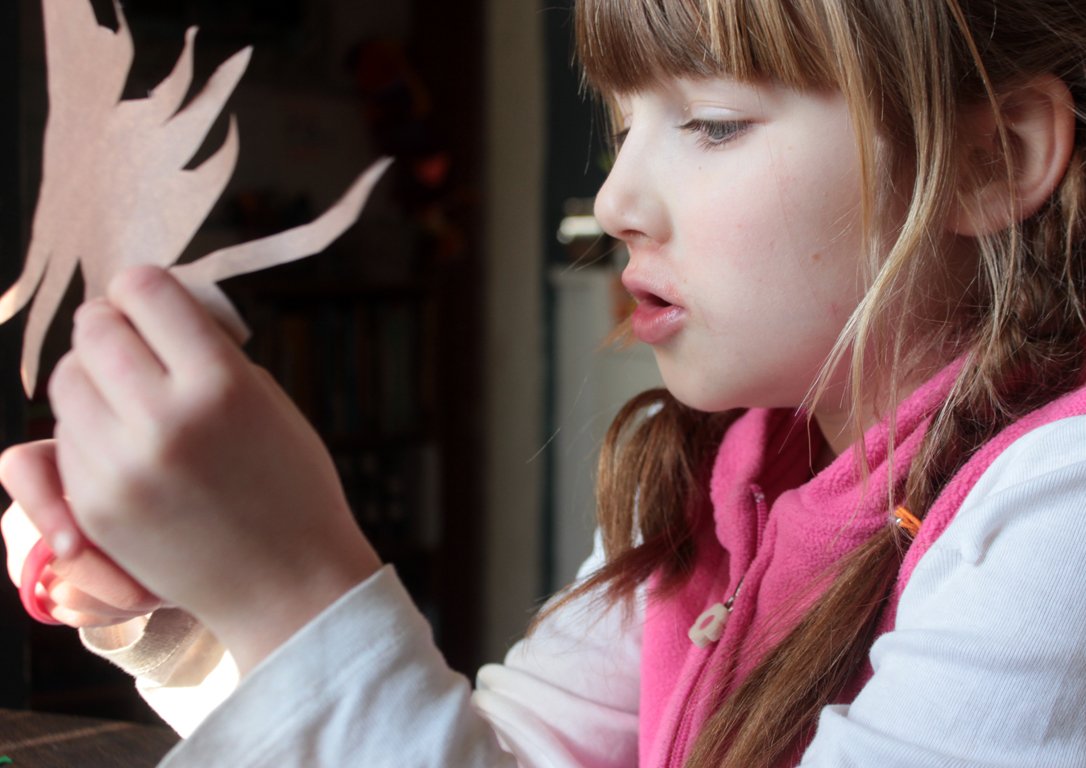
Maddie made the ground--two hills--and then drew and cut out a tree.
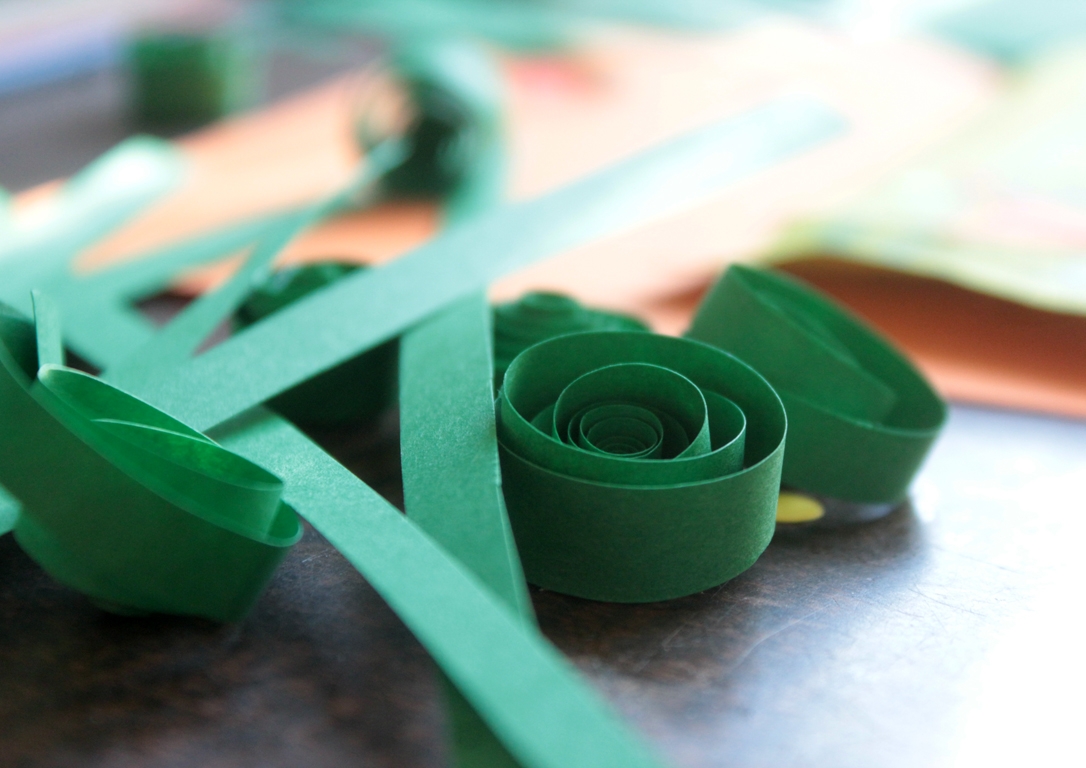
Step 3
Time to make the coils! They can be torn and wide (for younger children), or cut neatly into tiny, narrow strips. We cut small, narrow strips this time. She rolled 'em up...
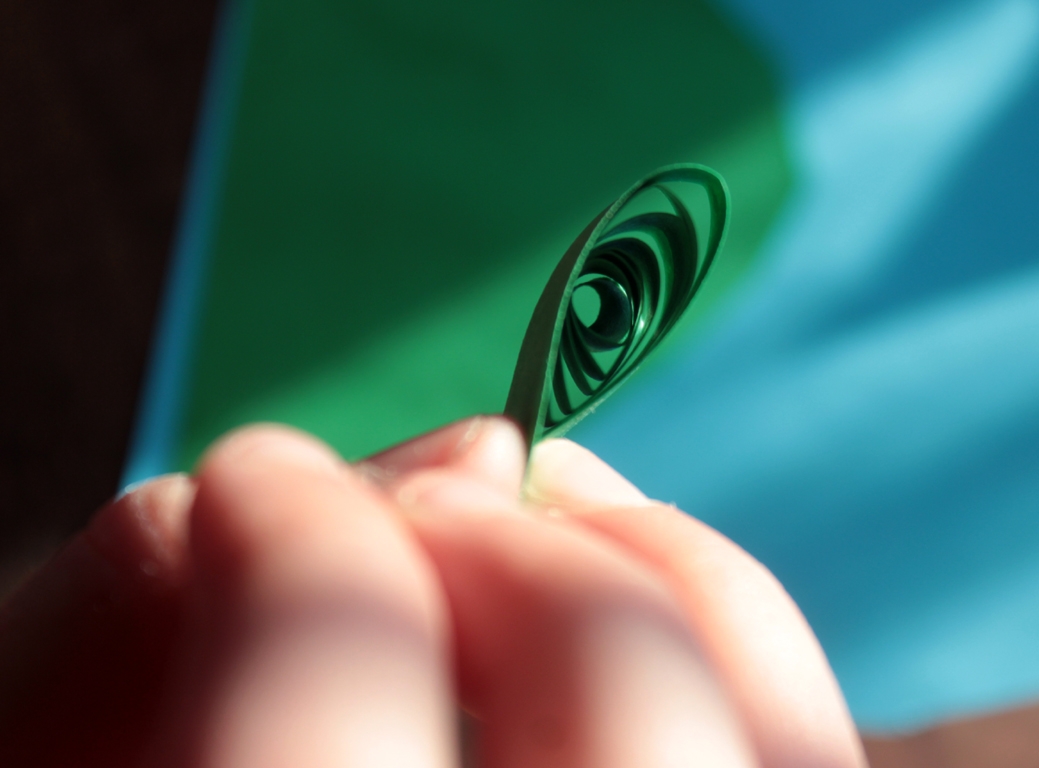
Step 4
...and used a glue stick to paste and hold the end in place against the rolled paper. Then she shaped the paper rolls by pinching one end to make the leaf.
Step 5
Madeleine made small puddles of craft glue,
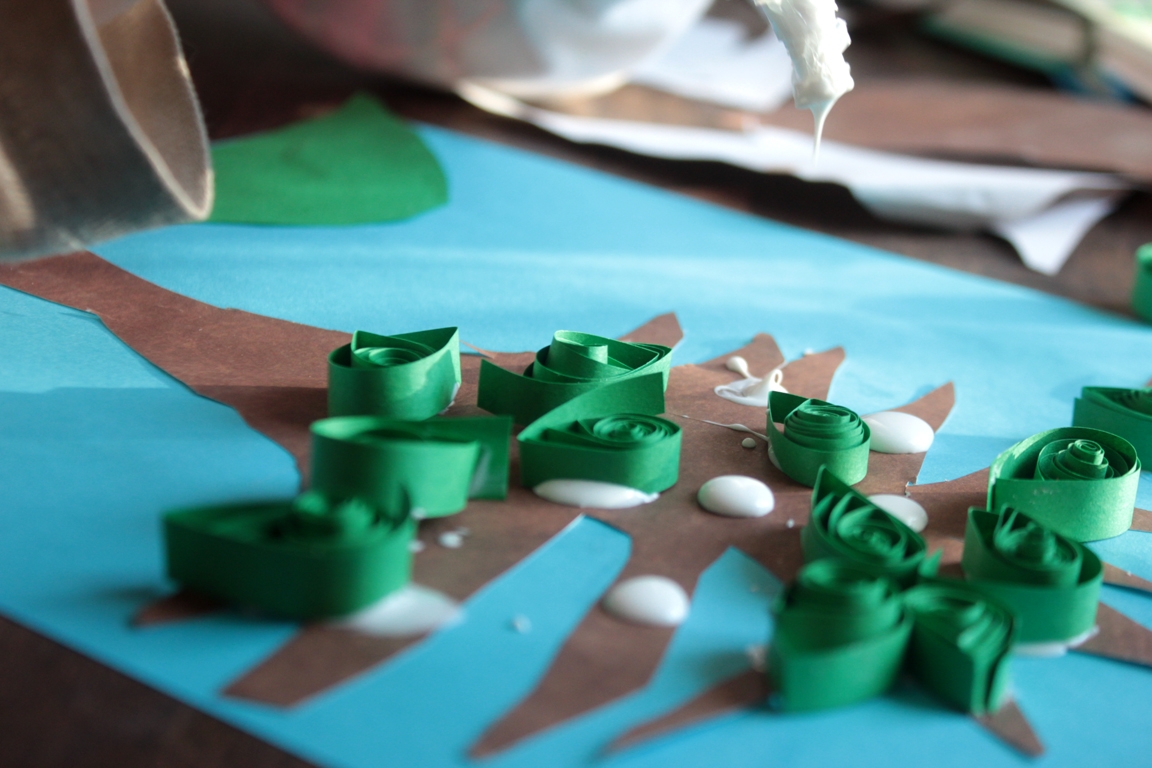
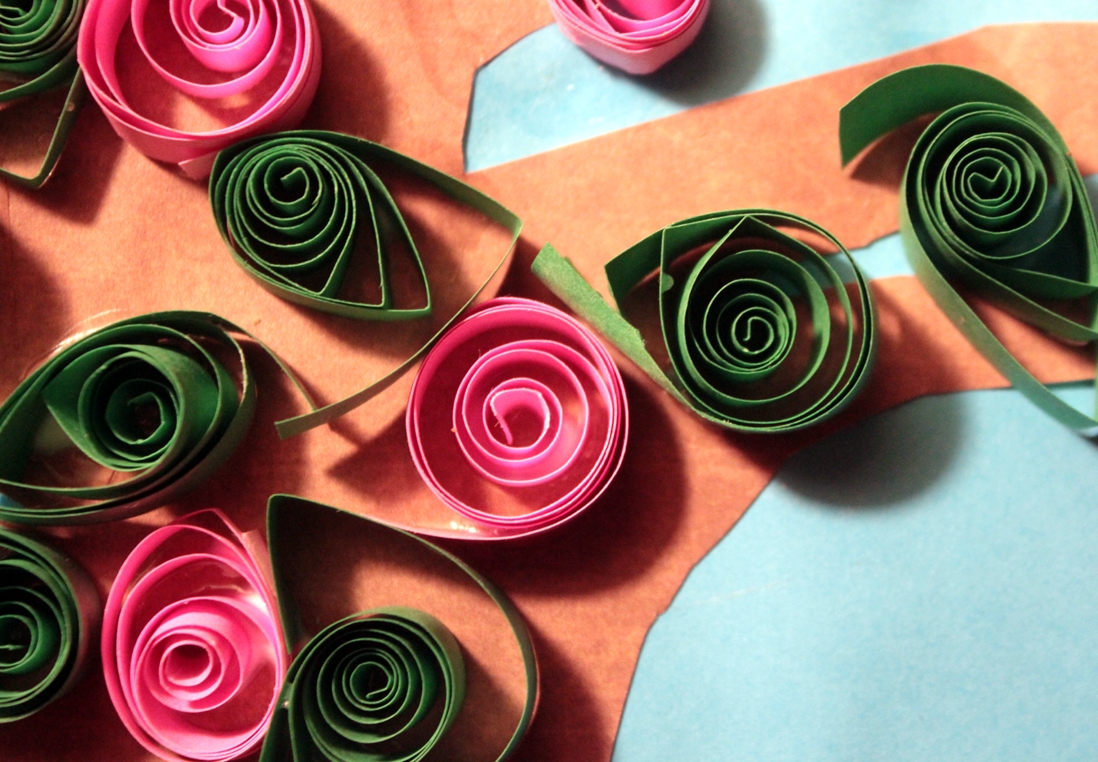
Step 6
for holding her leaves and bright pink blossoms. (She was so excited about the blossoms!)
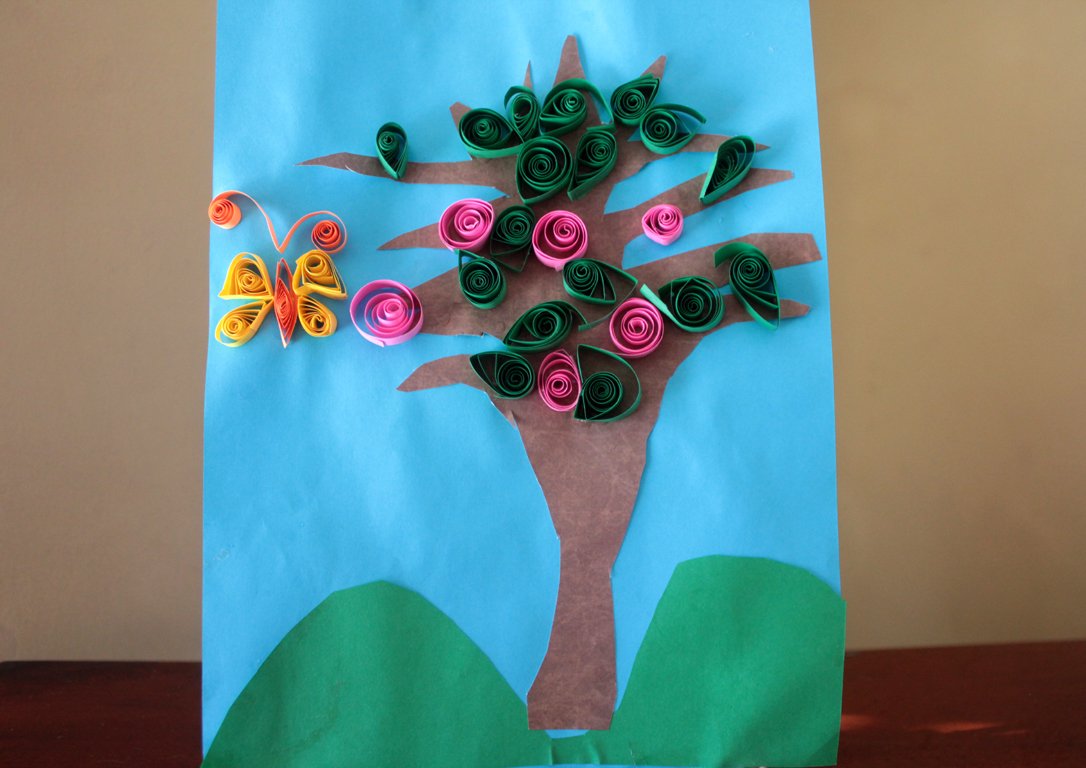
Final result!
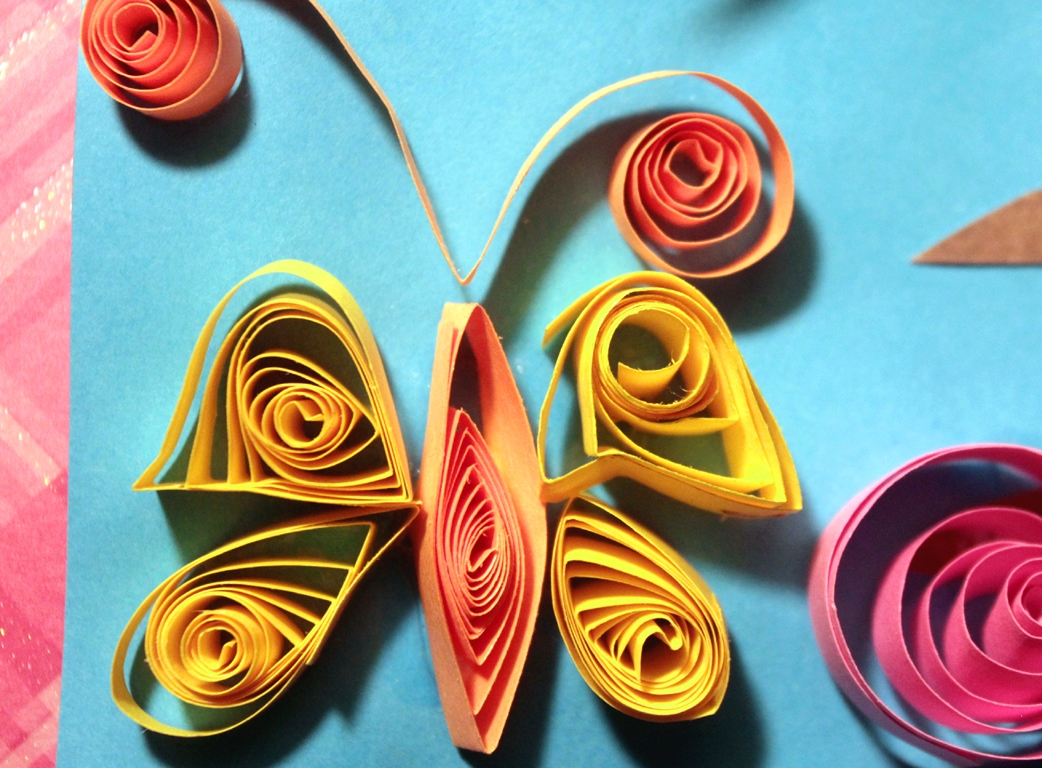
The last step was to add a sweet little butterfly. Hooray for spring!