Step-by-step tutorial
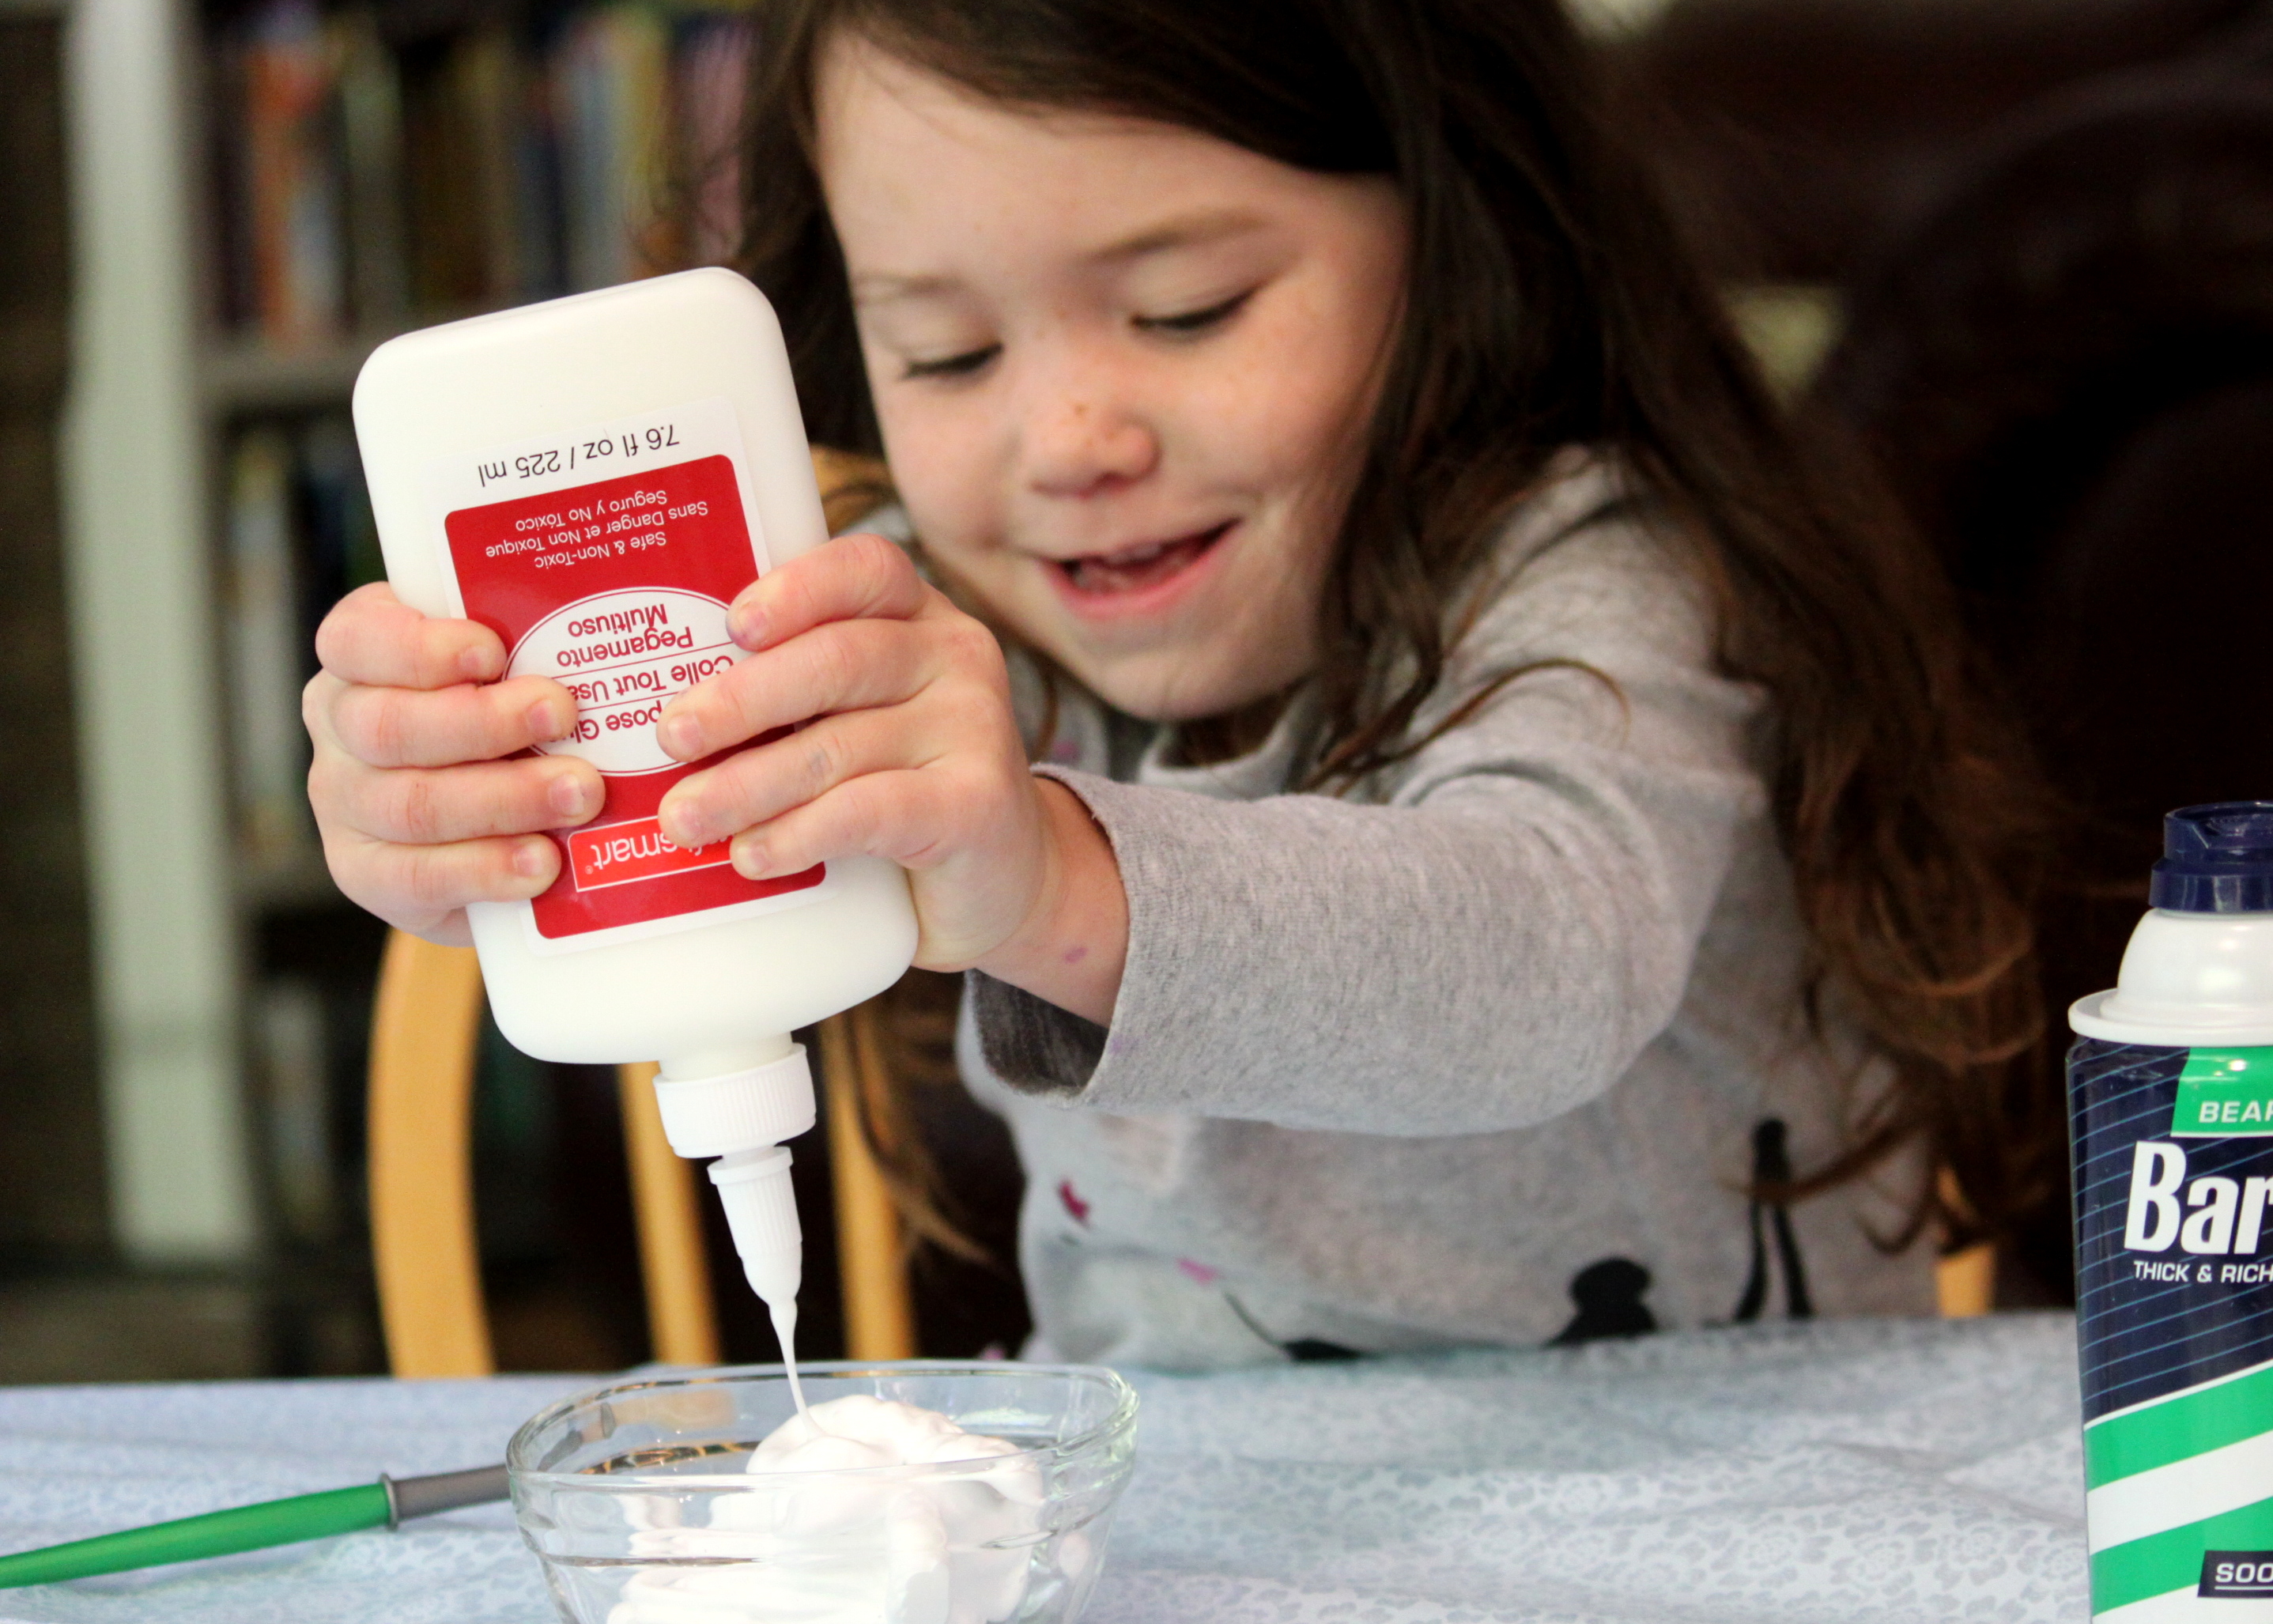
Step 1
First my daughter poured equal parts of shaving cream...


Step 2
...and white glue into a bowl.
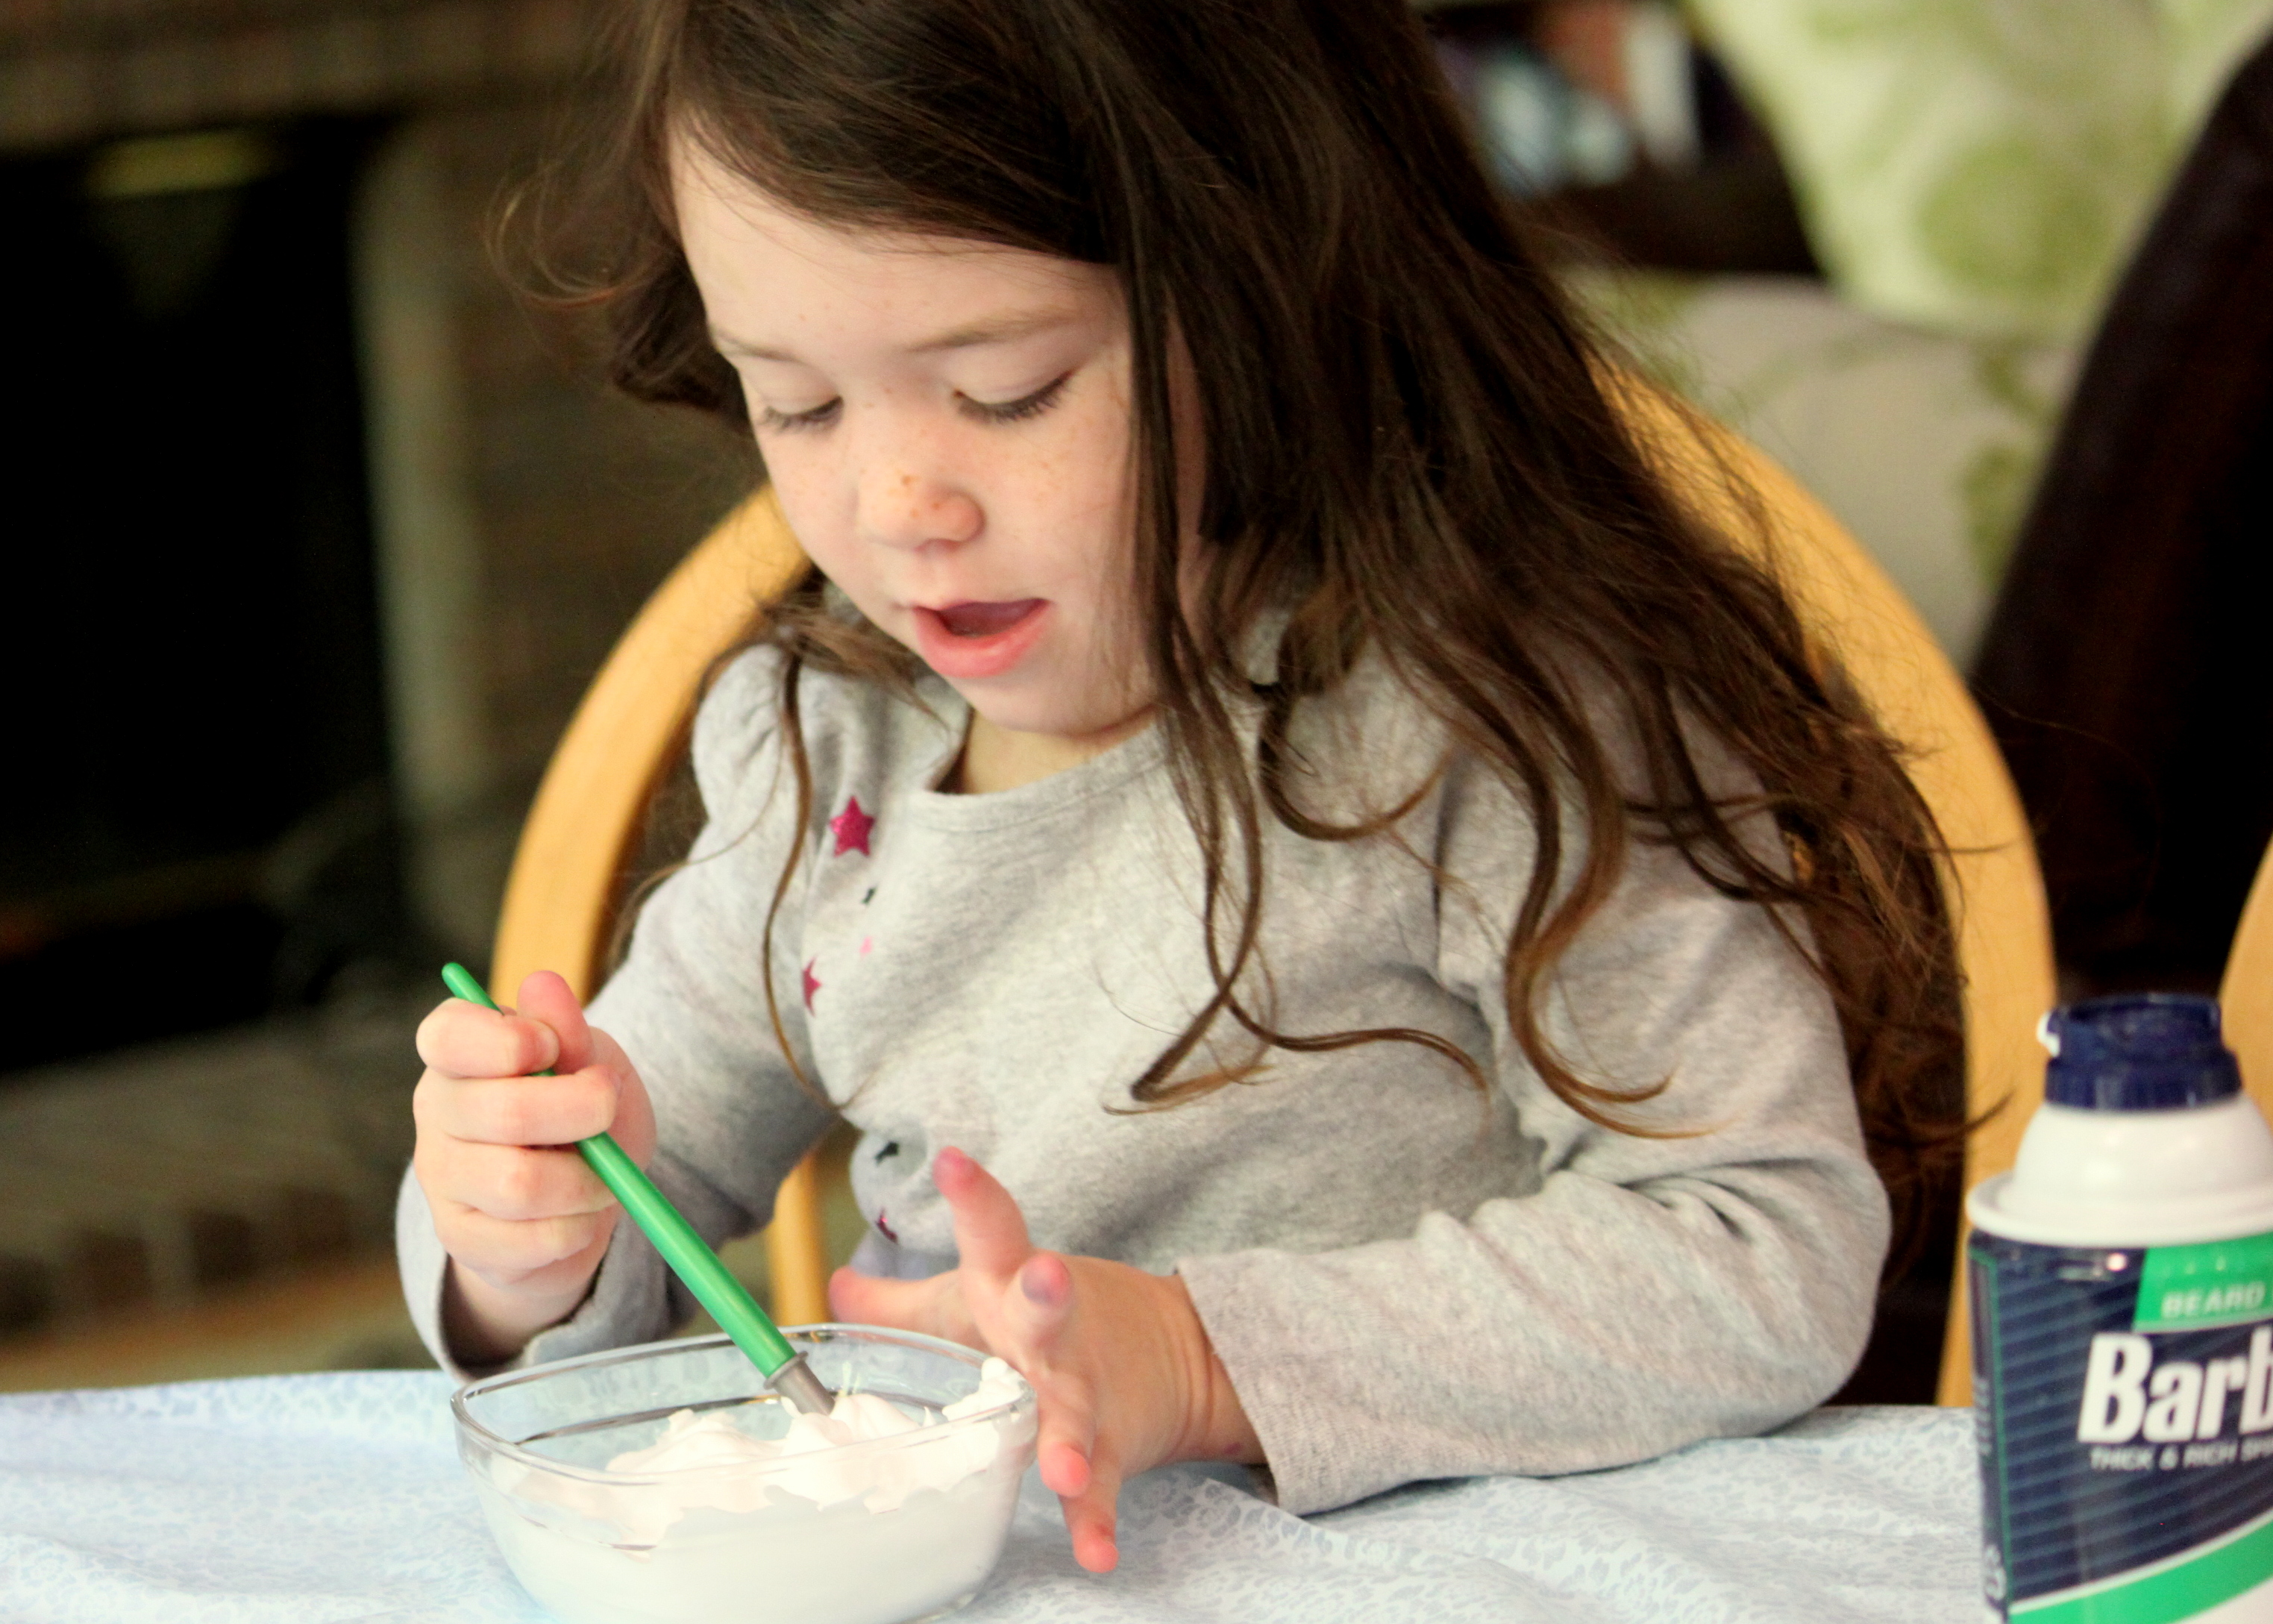
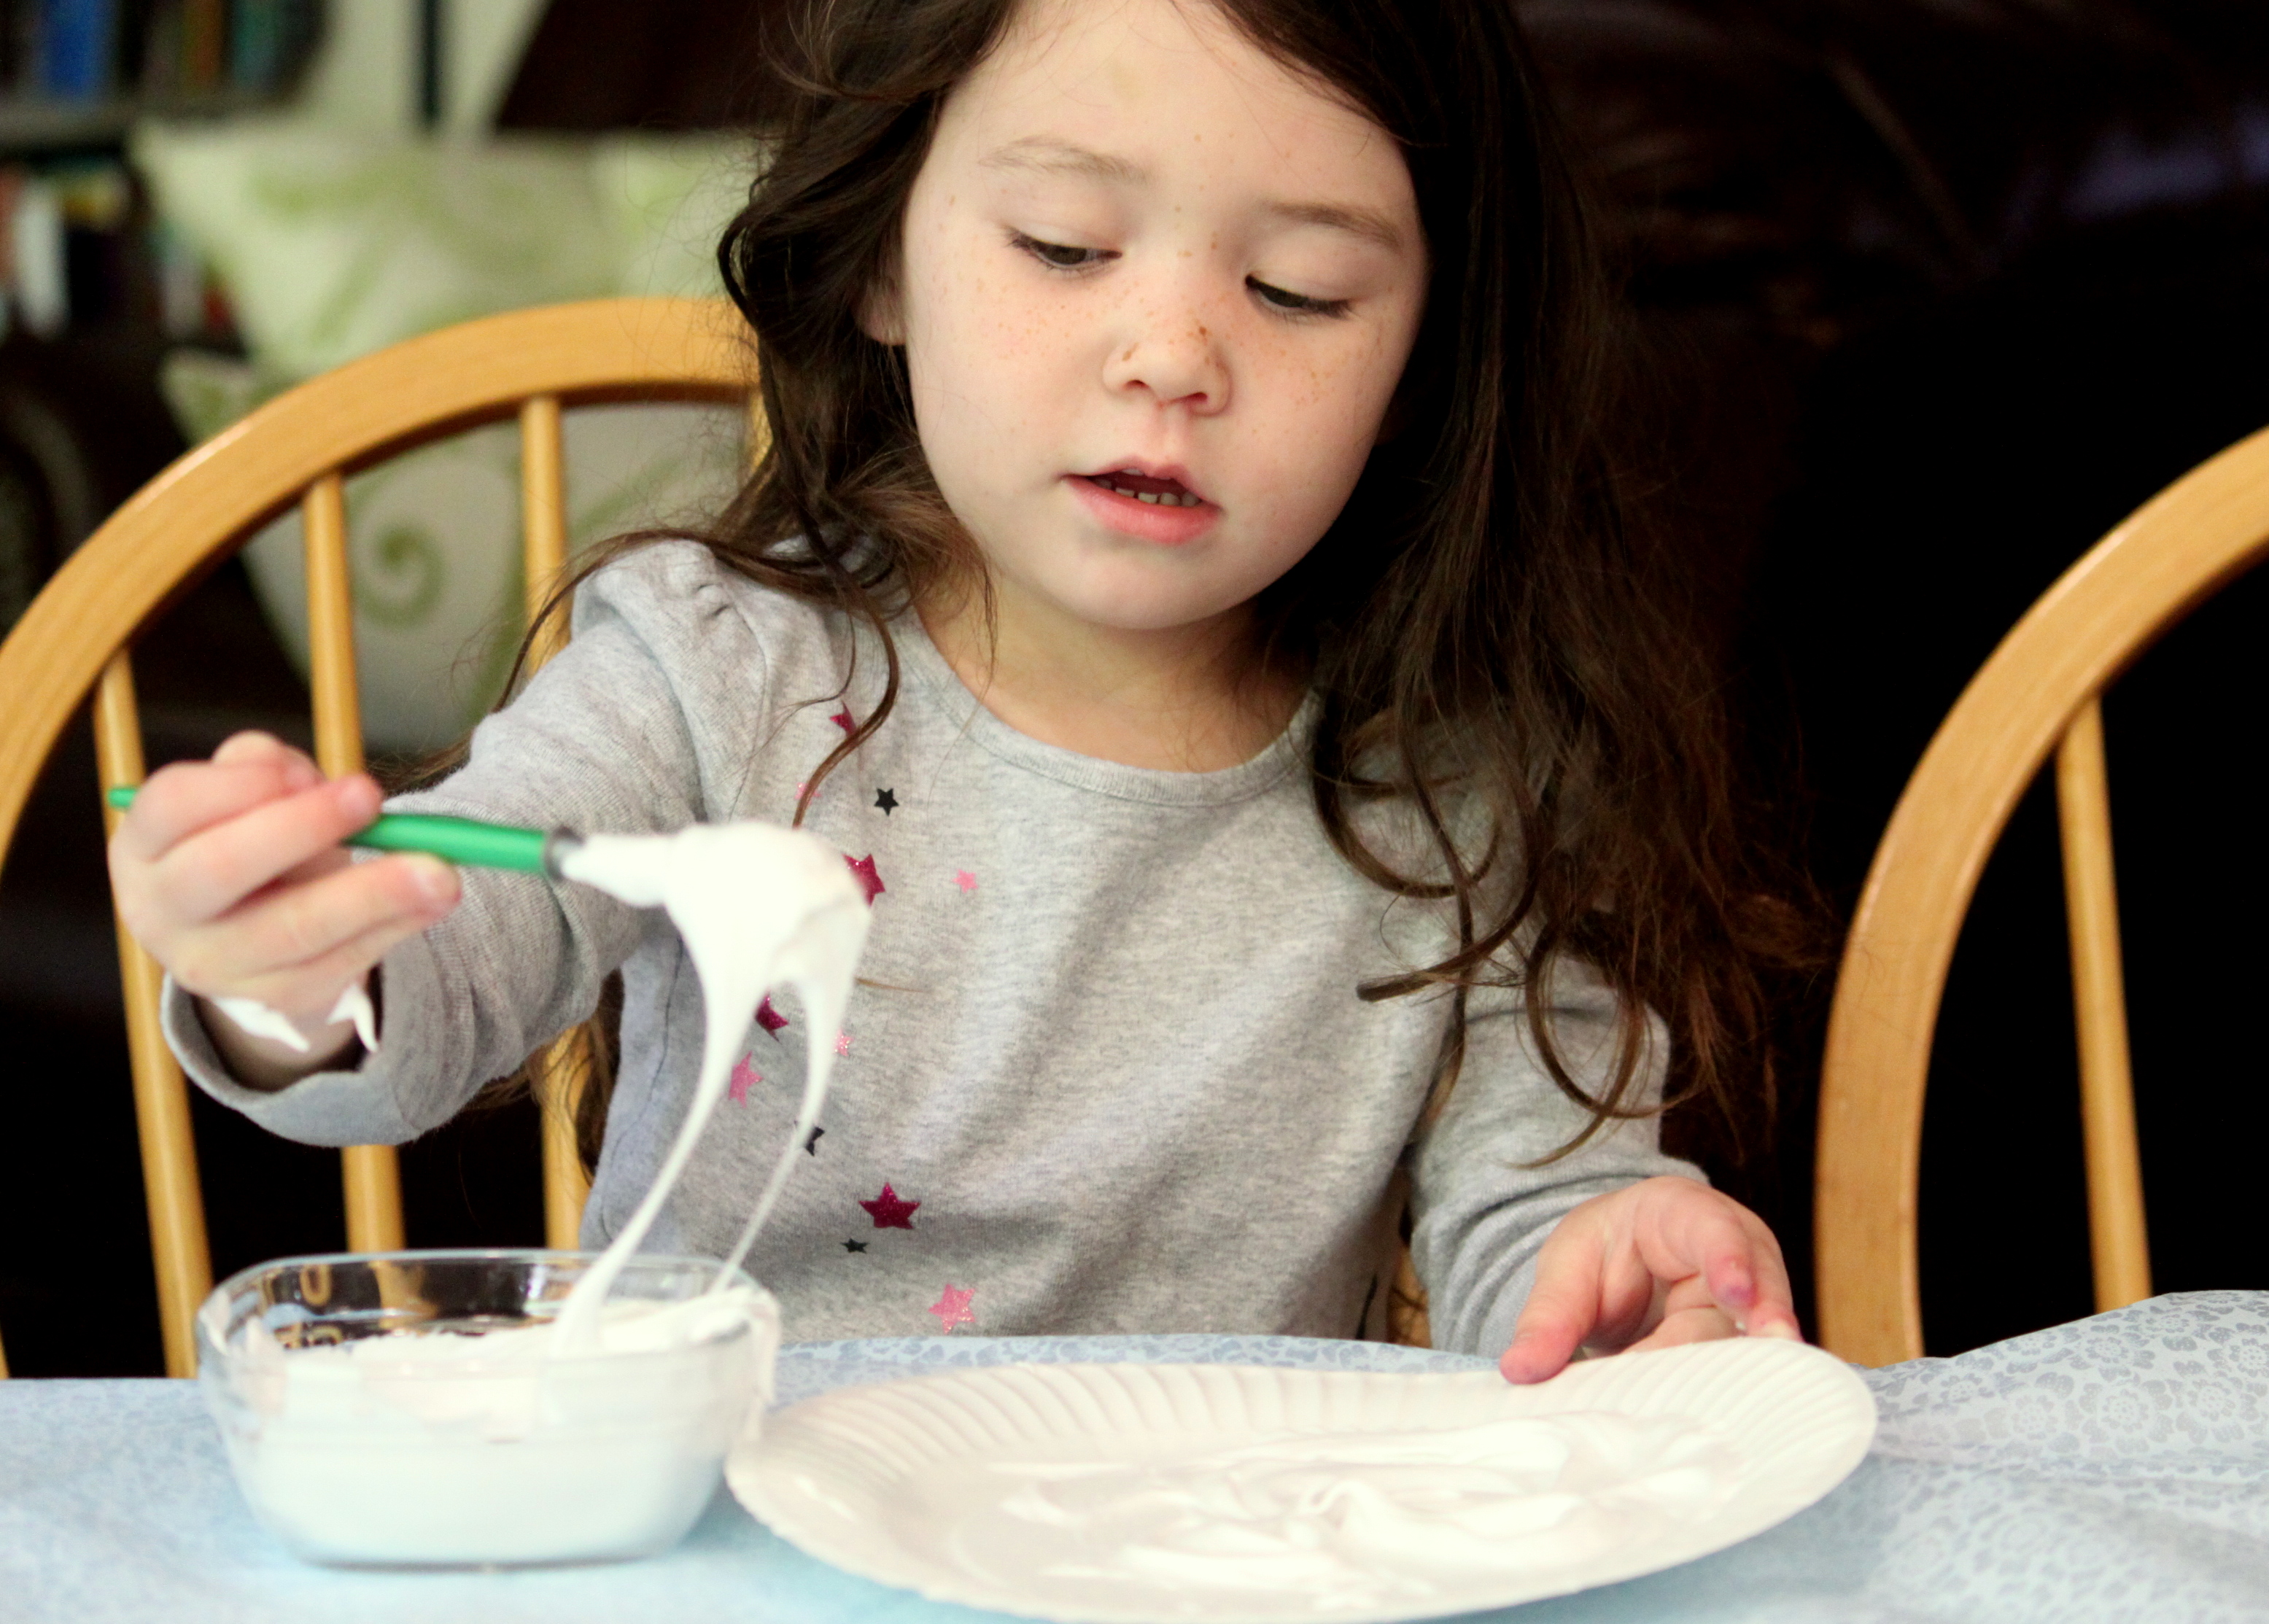
Step 3
My daughter then used her paintbrush to stir the shaving cream and glue together.
Step 4
Next, she used her paintbrush to paint the bottom side of her paper plate. This is a lot of fun for a child who loves sensory activities.
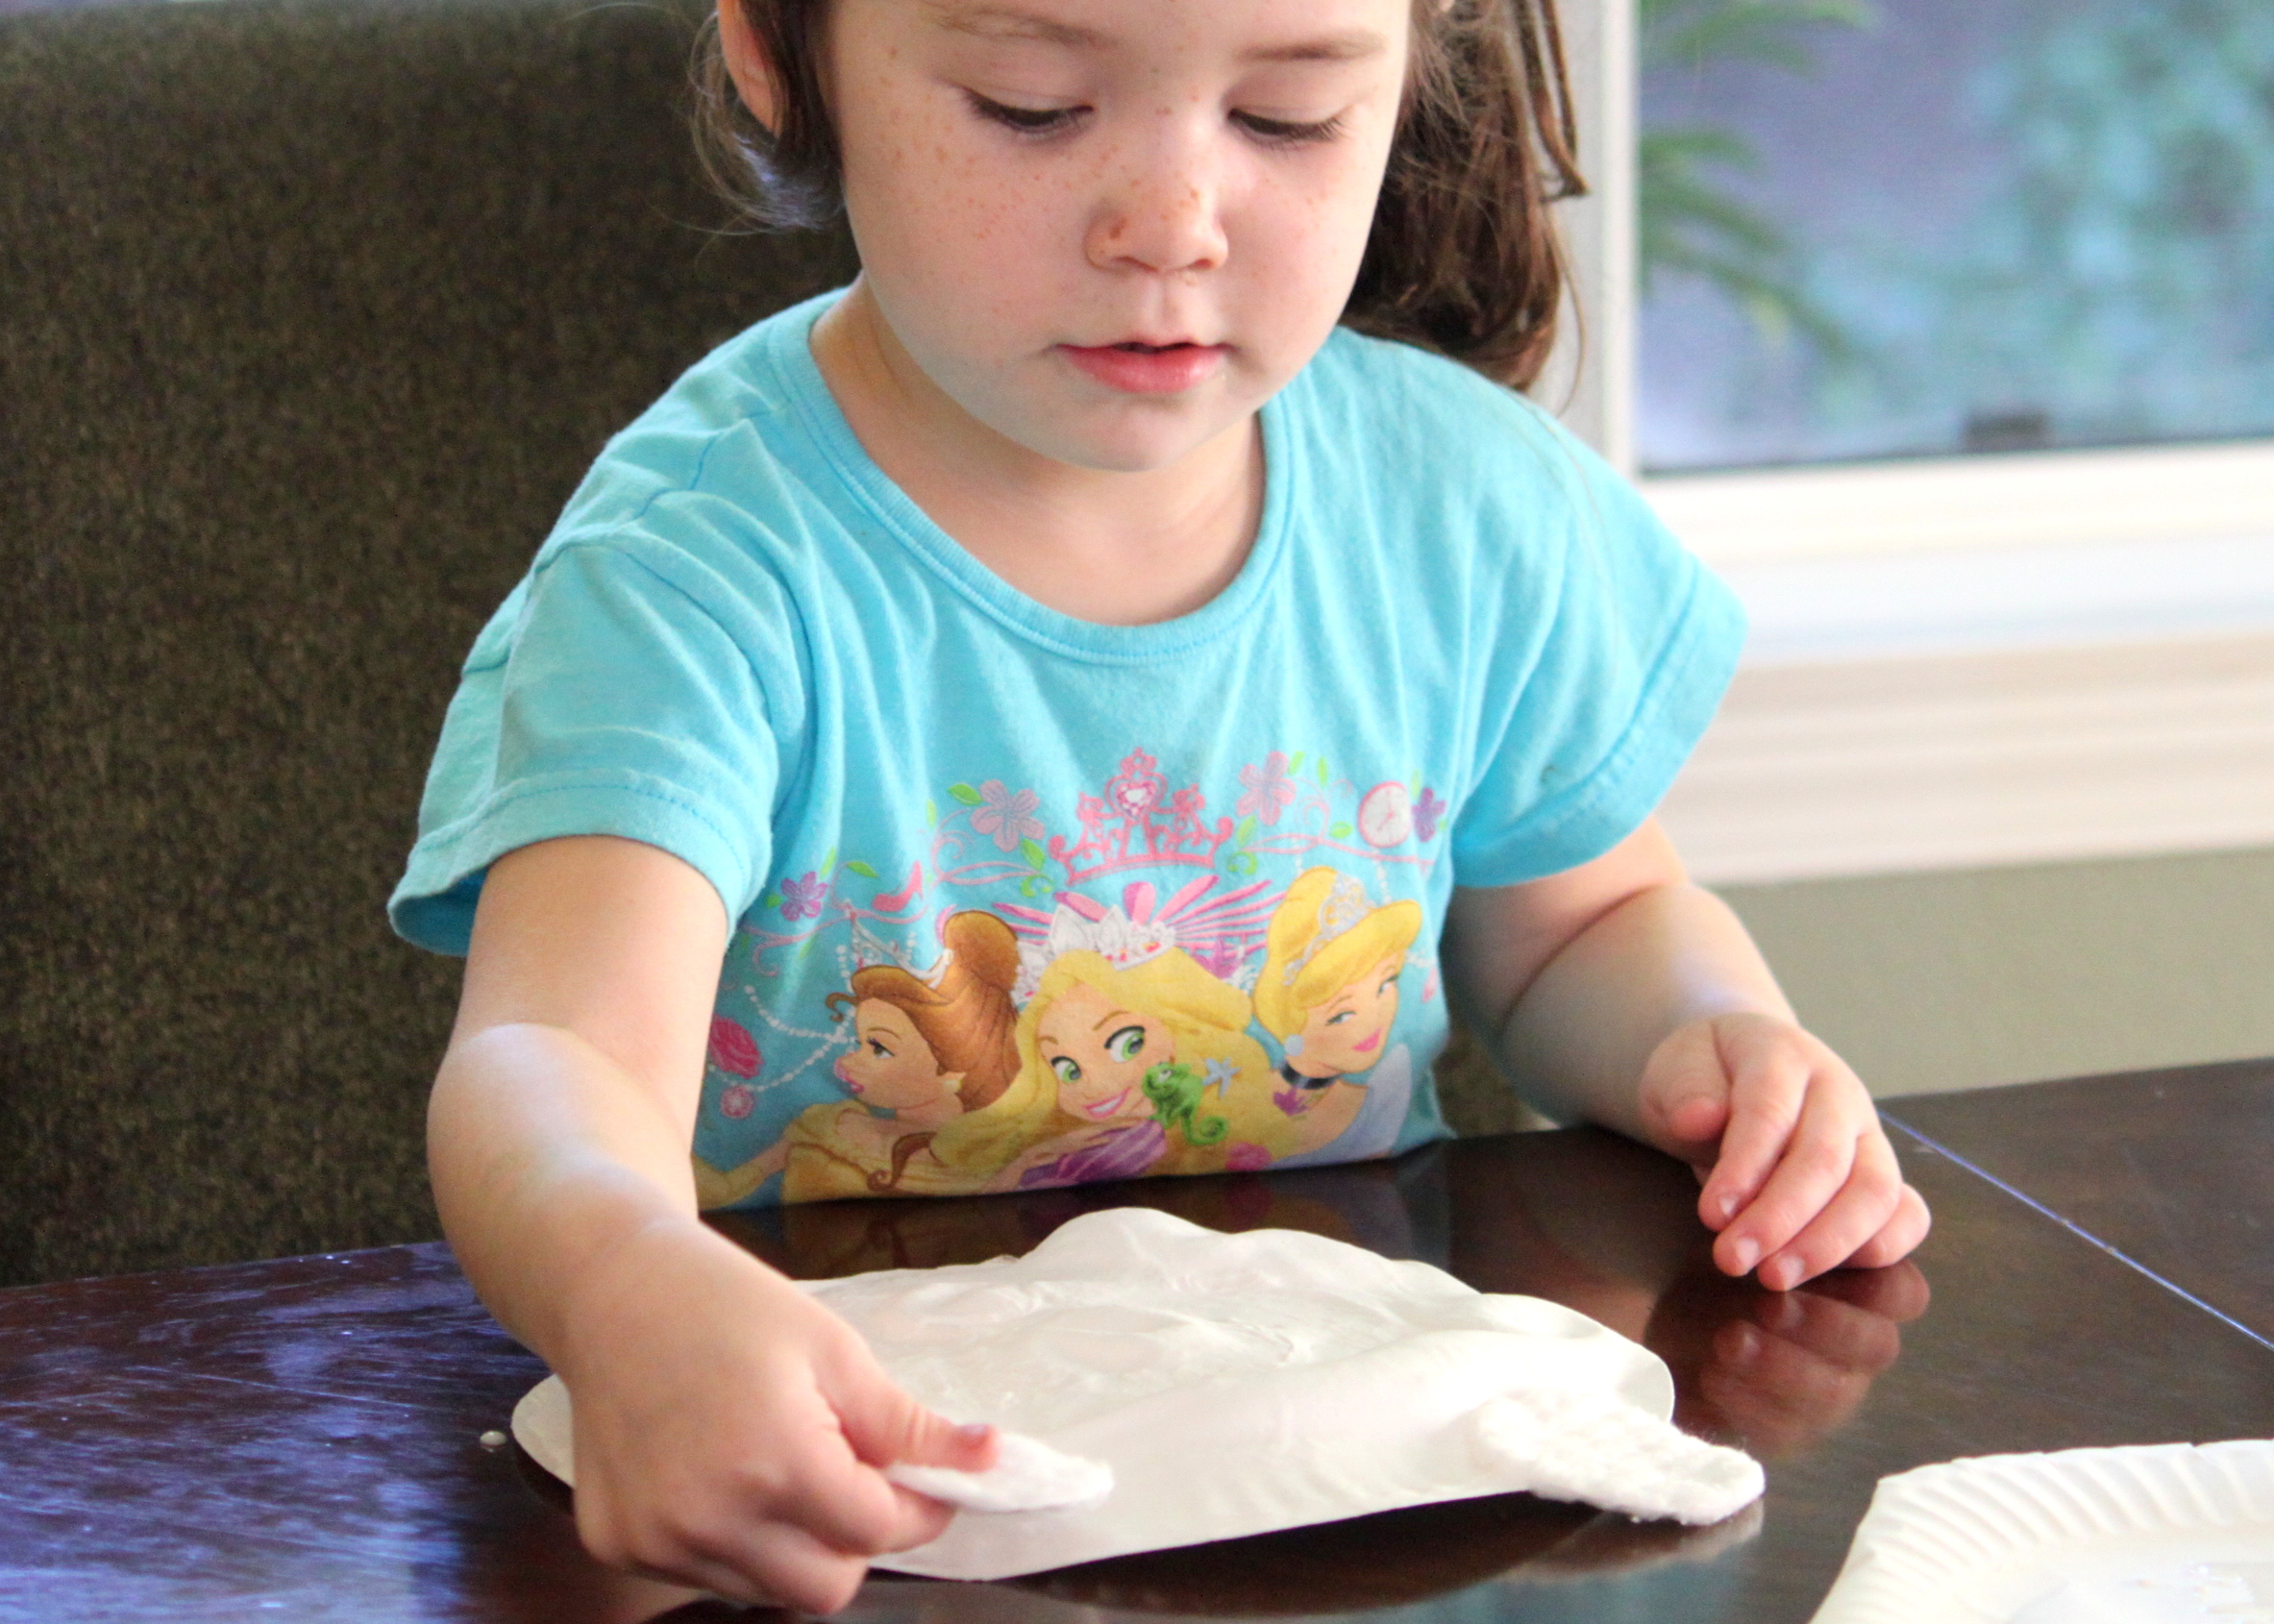
Step 5
My daughter always tends to use the paintbrush at first, but after a while she just can't resist and starts using both her hands. Even though it doesn't take long to paint a paper plate, I let her go at her own pace and have fun playing with the fluffy paint.

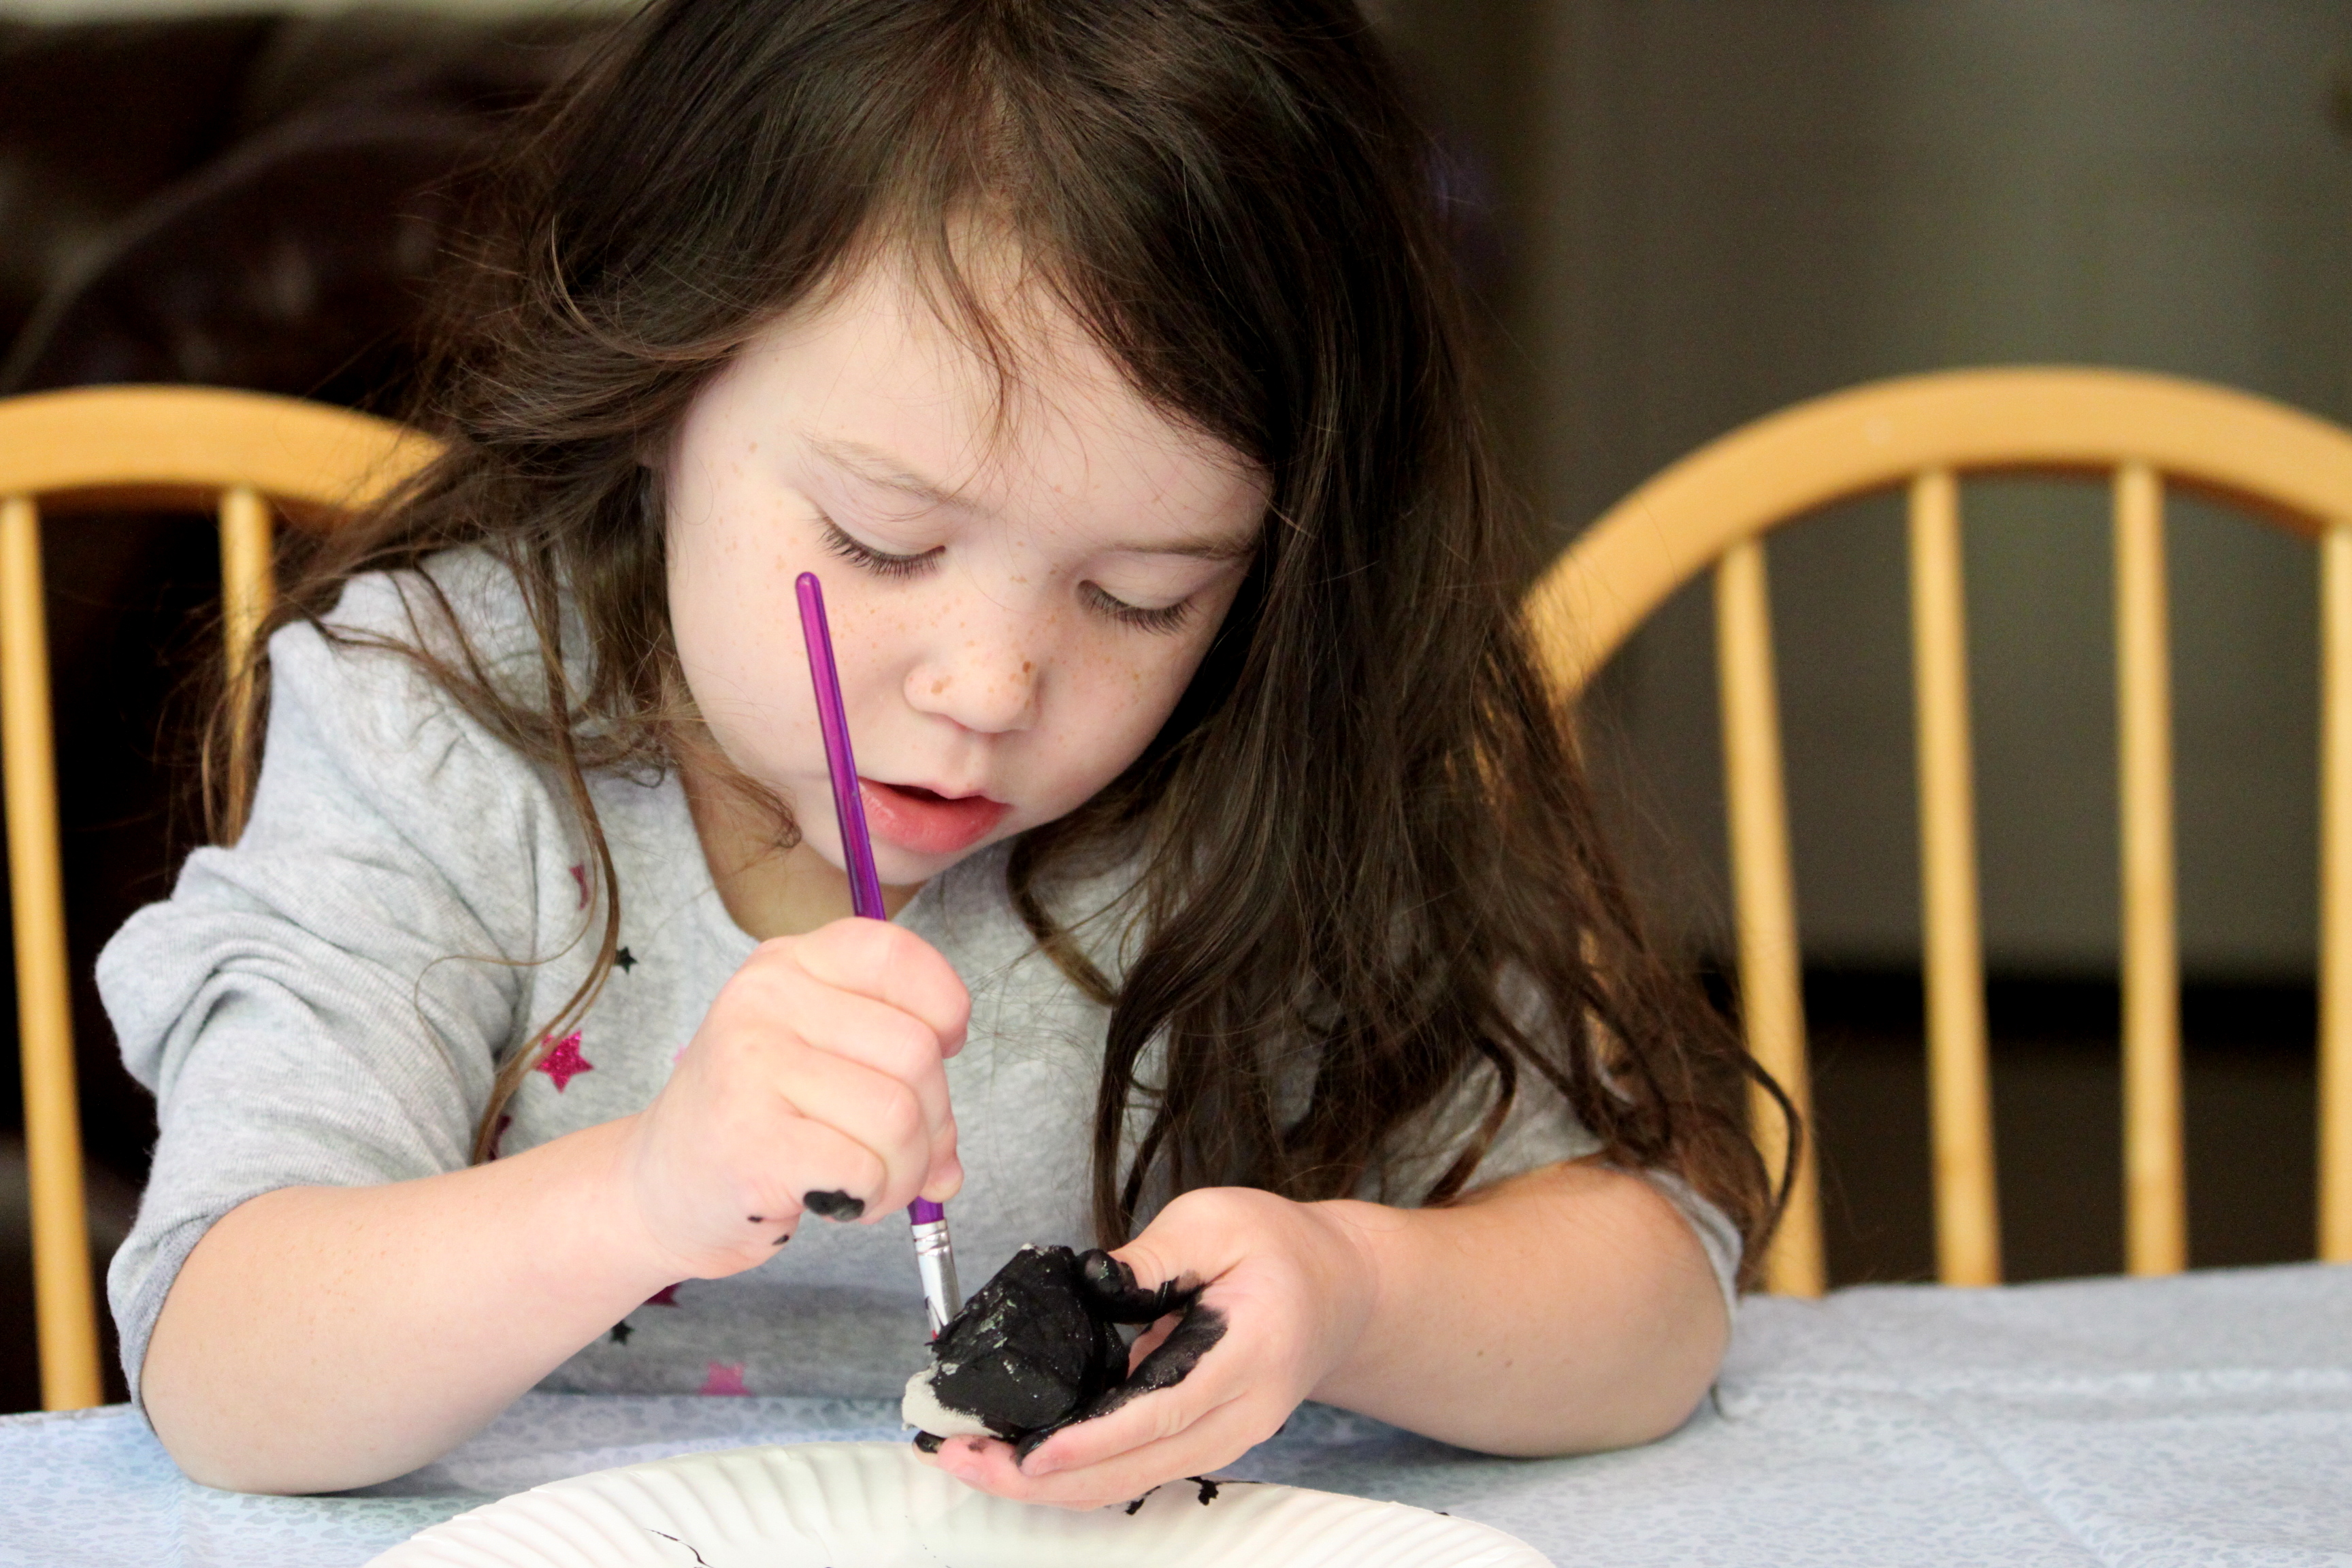
Step 6
Once my daughter was done, we set the plate aside to dry for 24 hours. You could probably wait less time, but we were working on some other projects, so we just decided to let it dry completely. Meanwhile I cut out a egg cup from an egg carton and my daughter painted it black for the polar bear's nose. We set this aside to dry also.
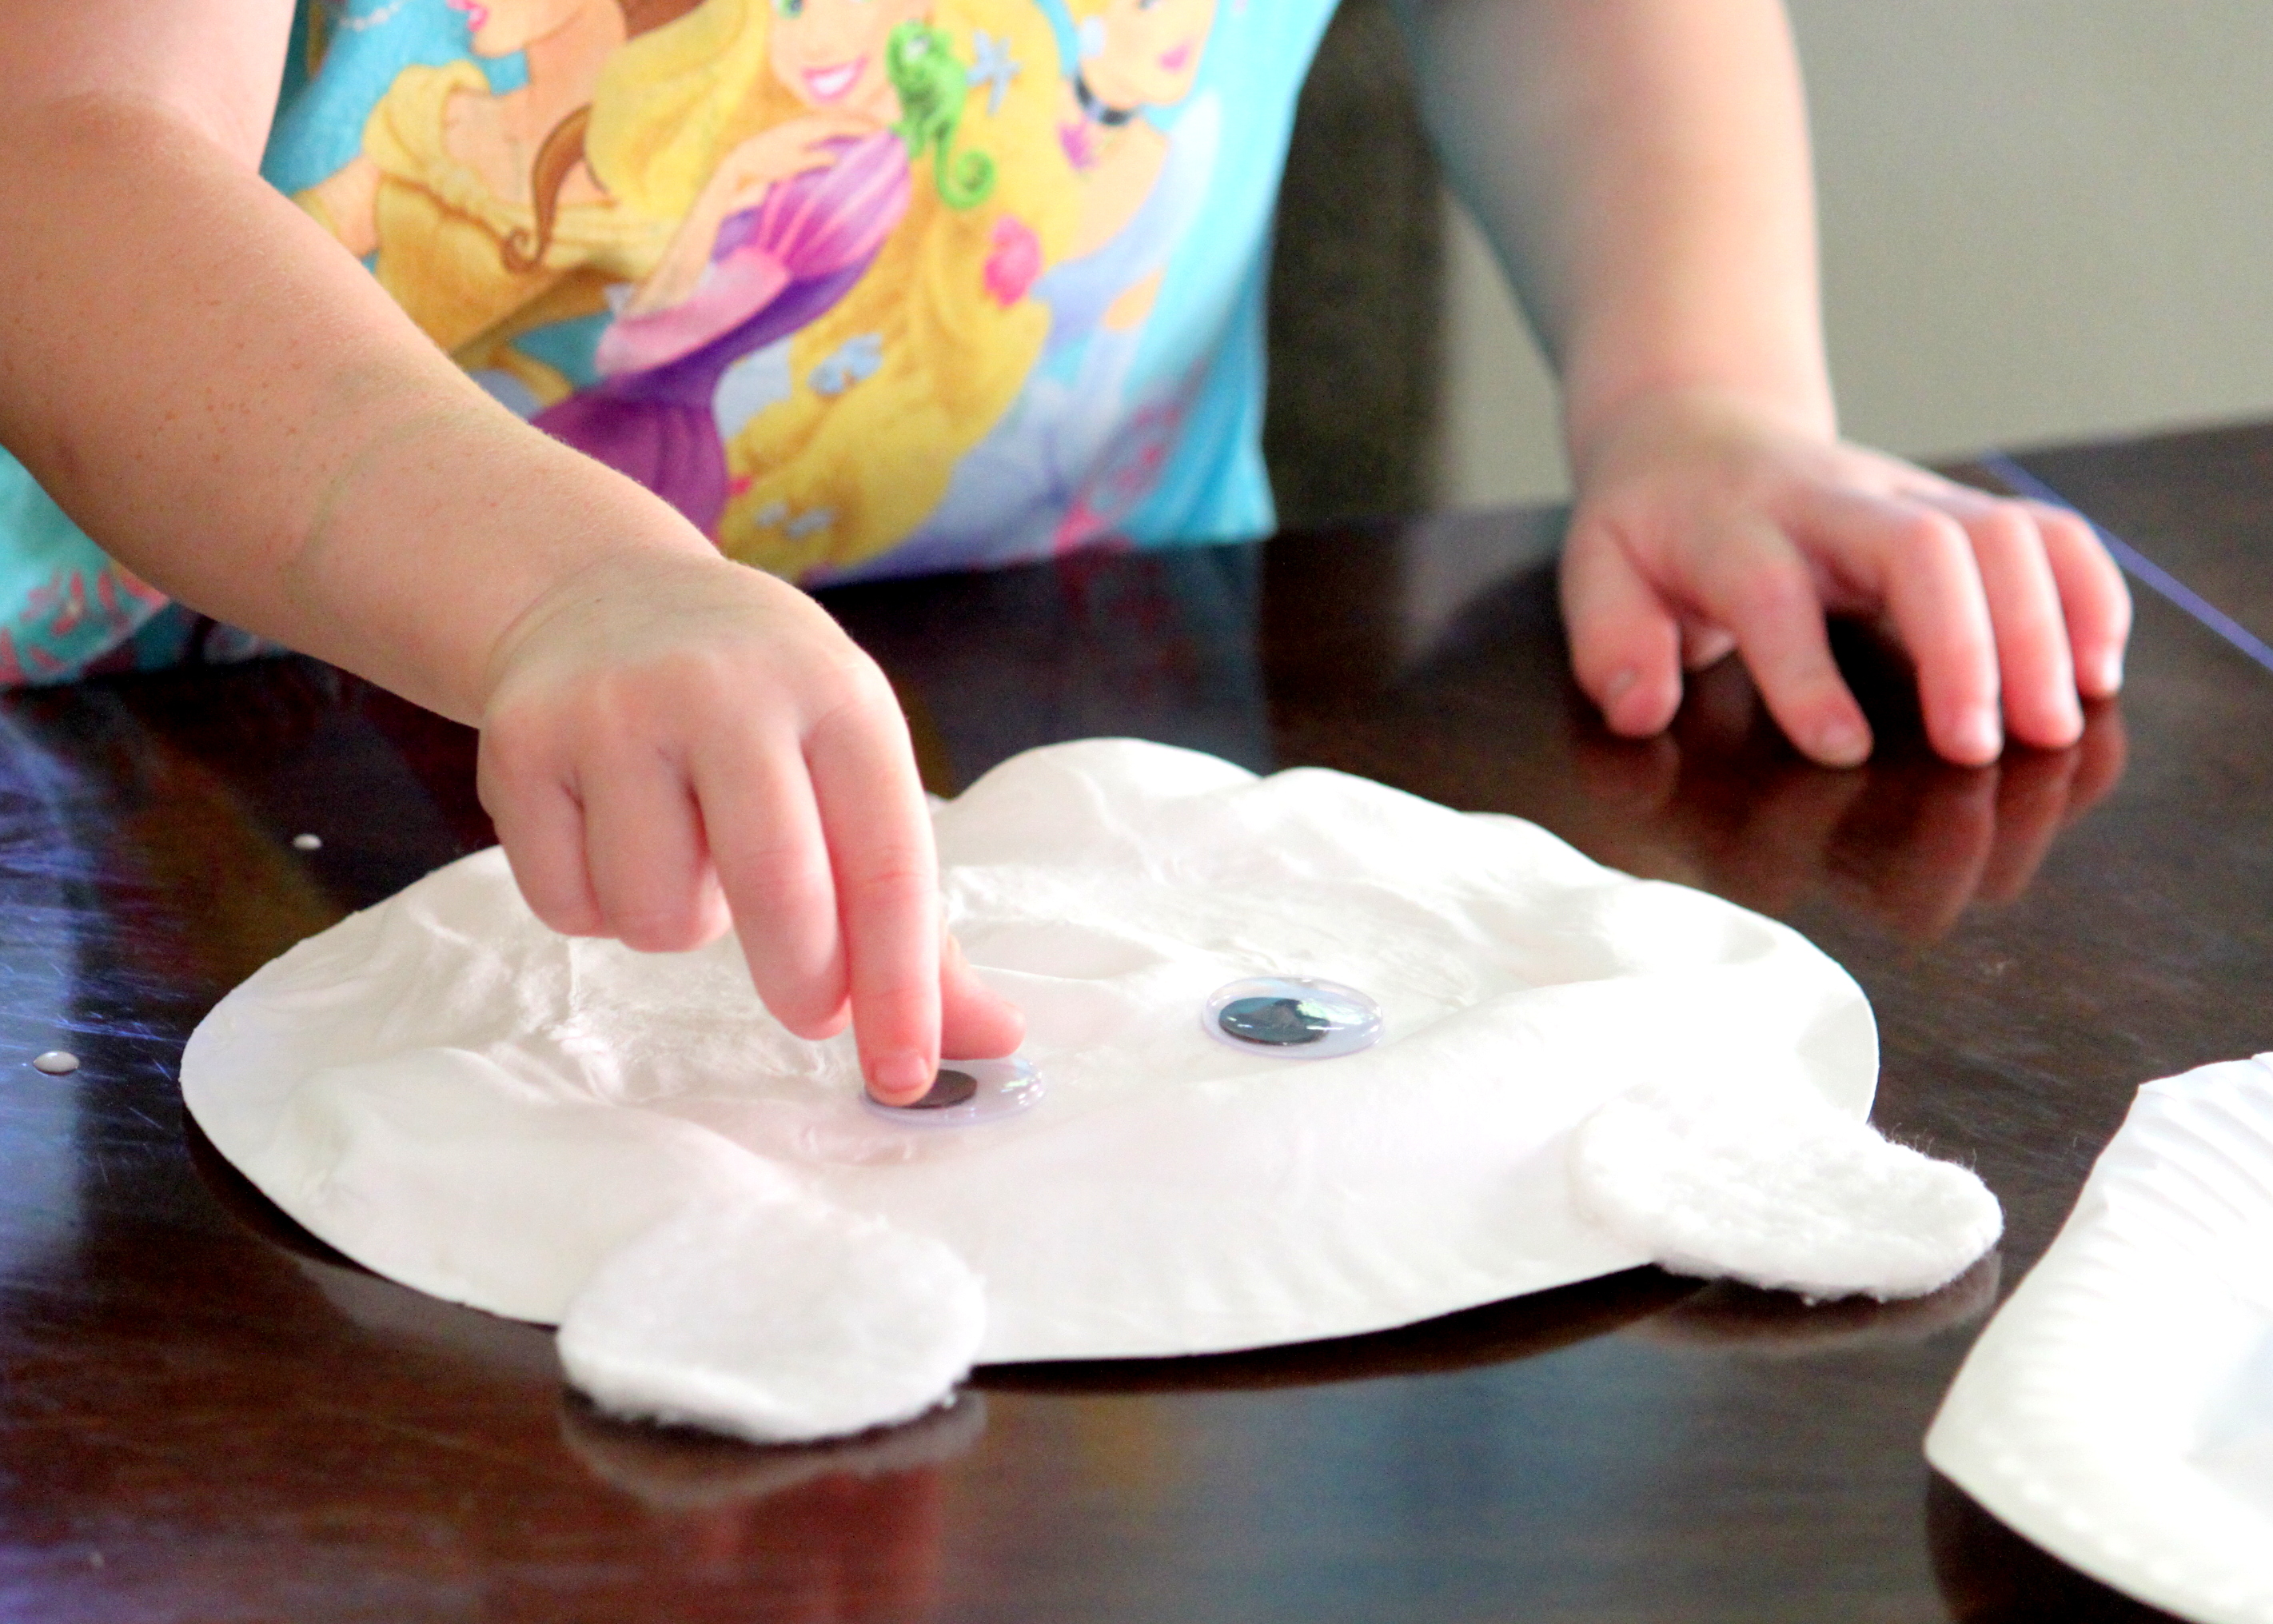
Step 7
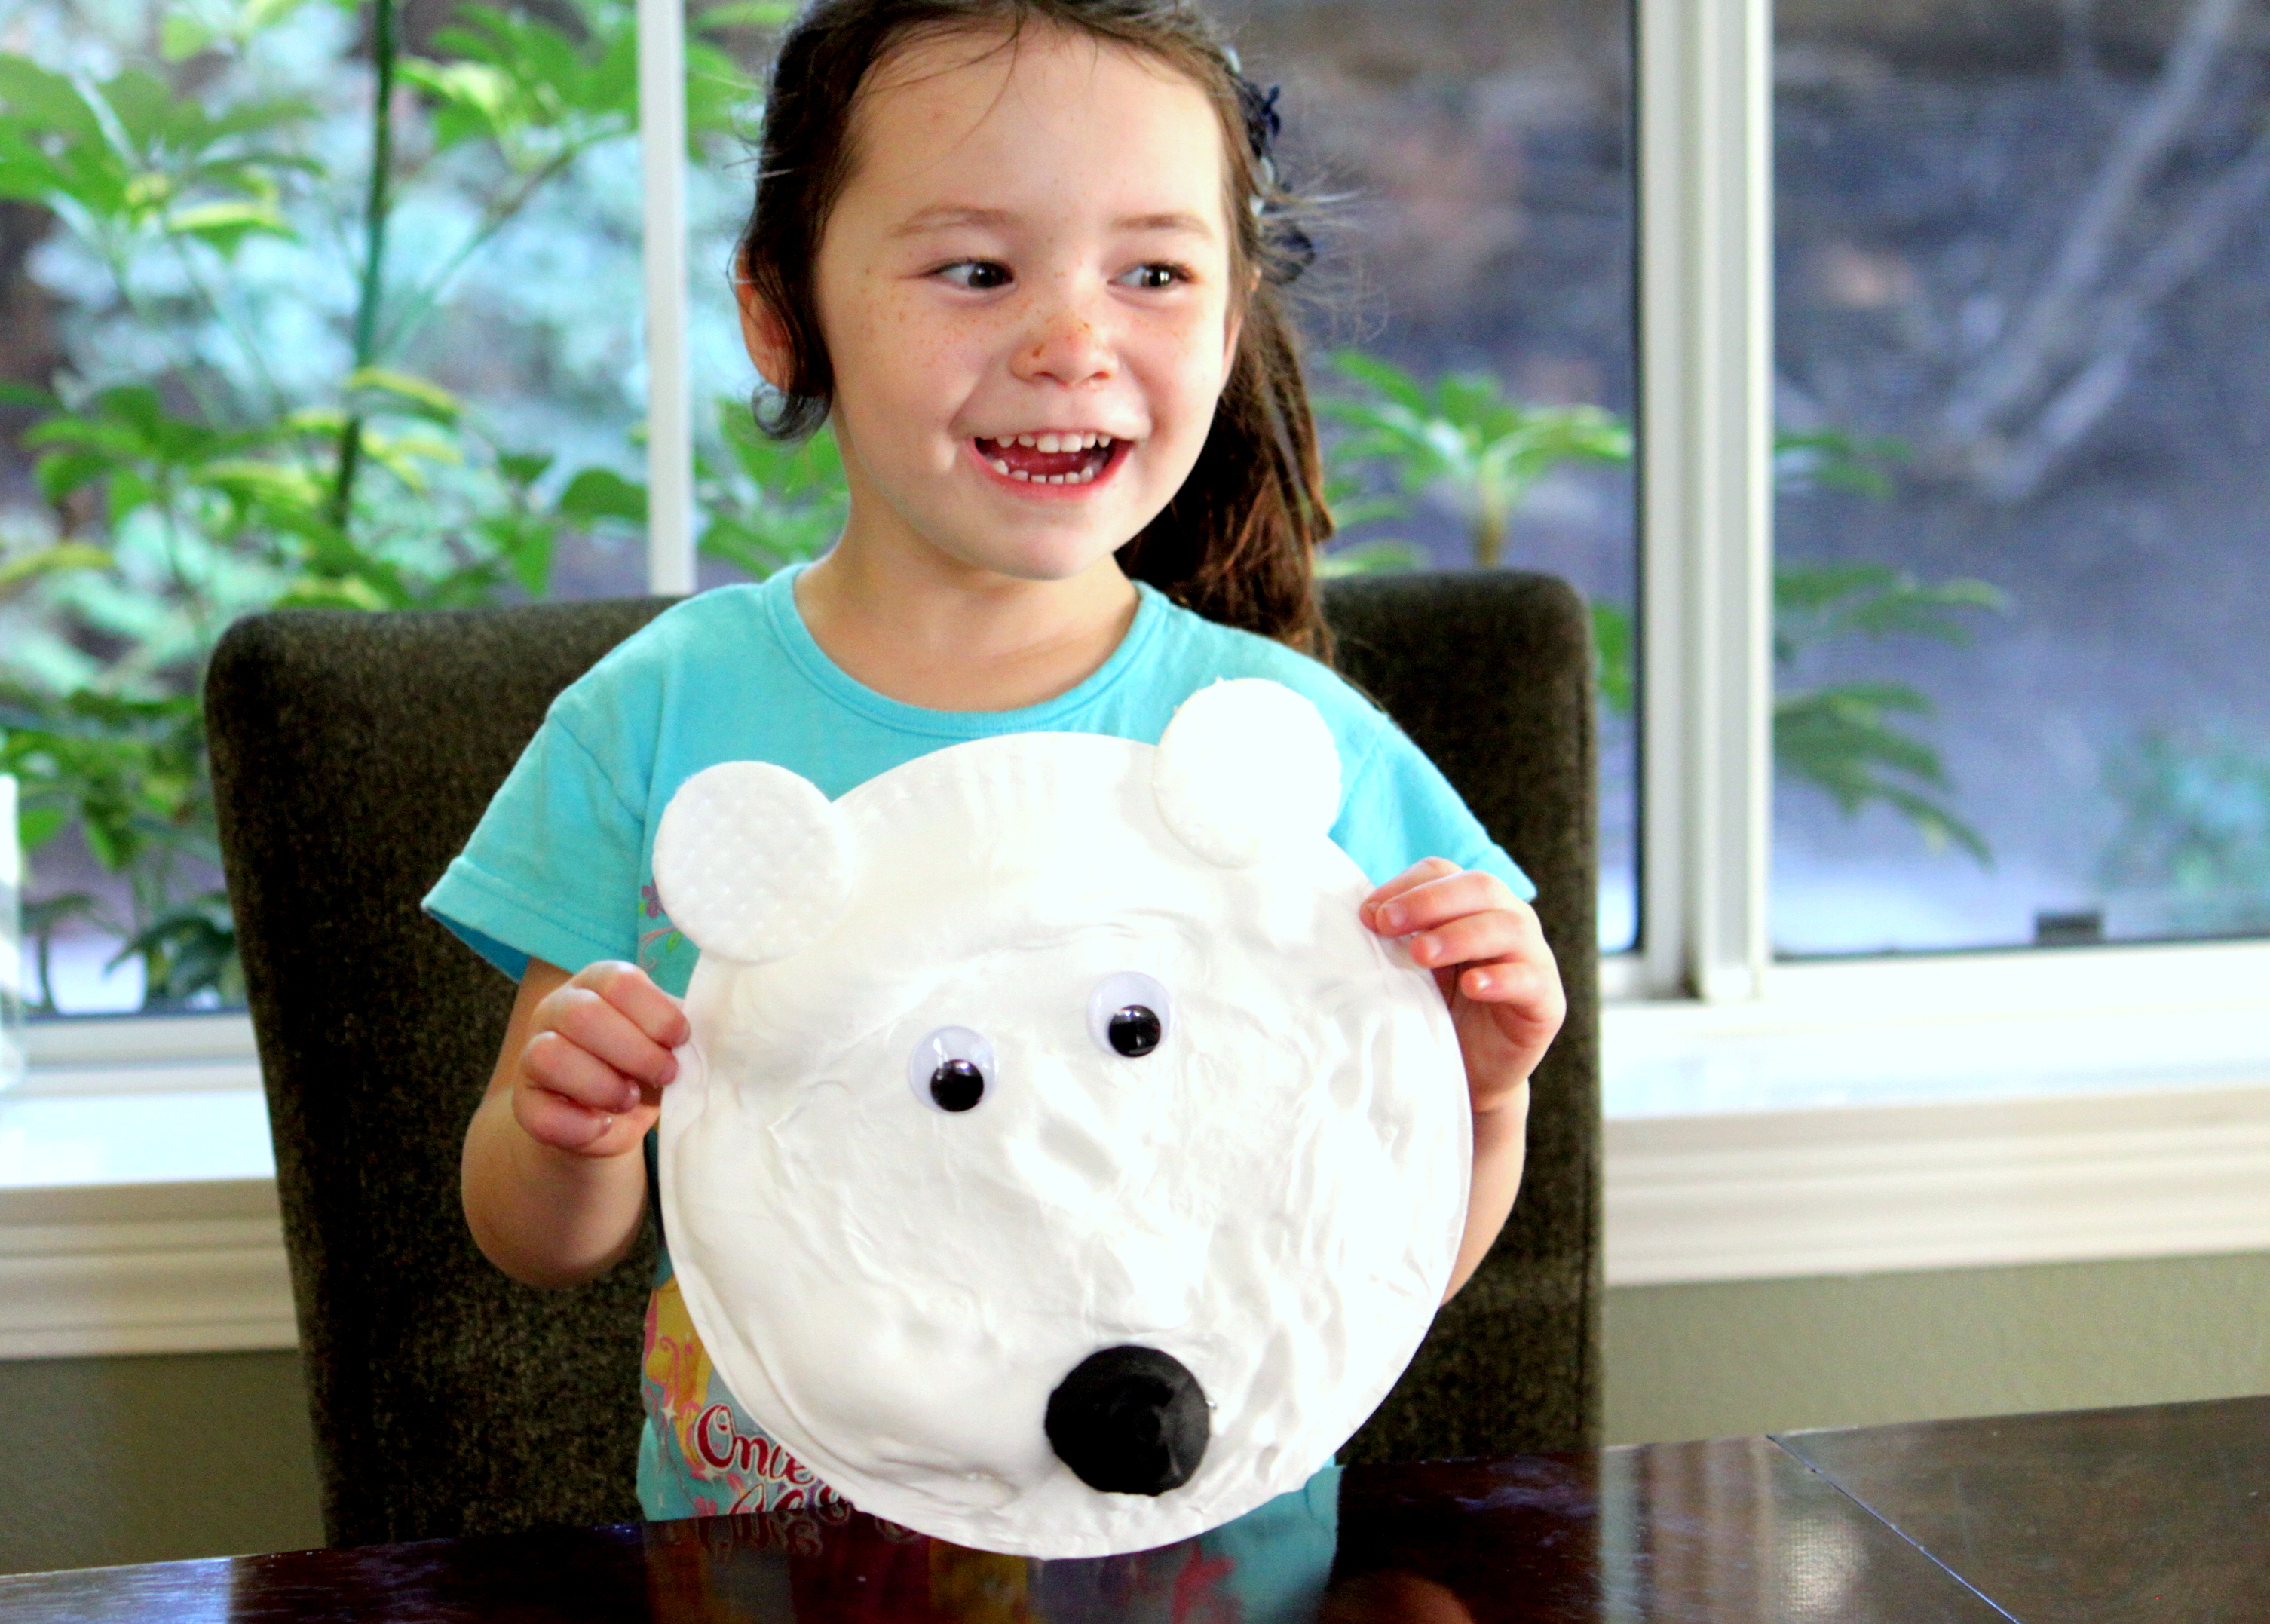
The next day, we got out some glue and my daughter first glued two round cosmetic cotton pads for the polar bear's ears.
Step 8
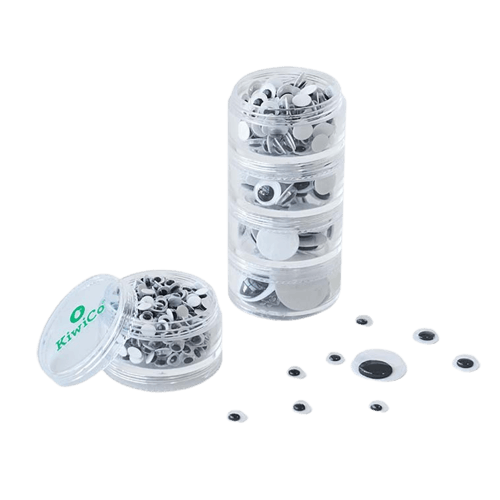
She then glued on two googly eyes and the black egg cup for the nose.
Done!
My daughter was so happy and proud of her cute winter polar bear. Aren't they adorable?!