Step-by-step tutorial
Step 1
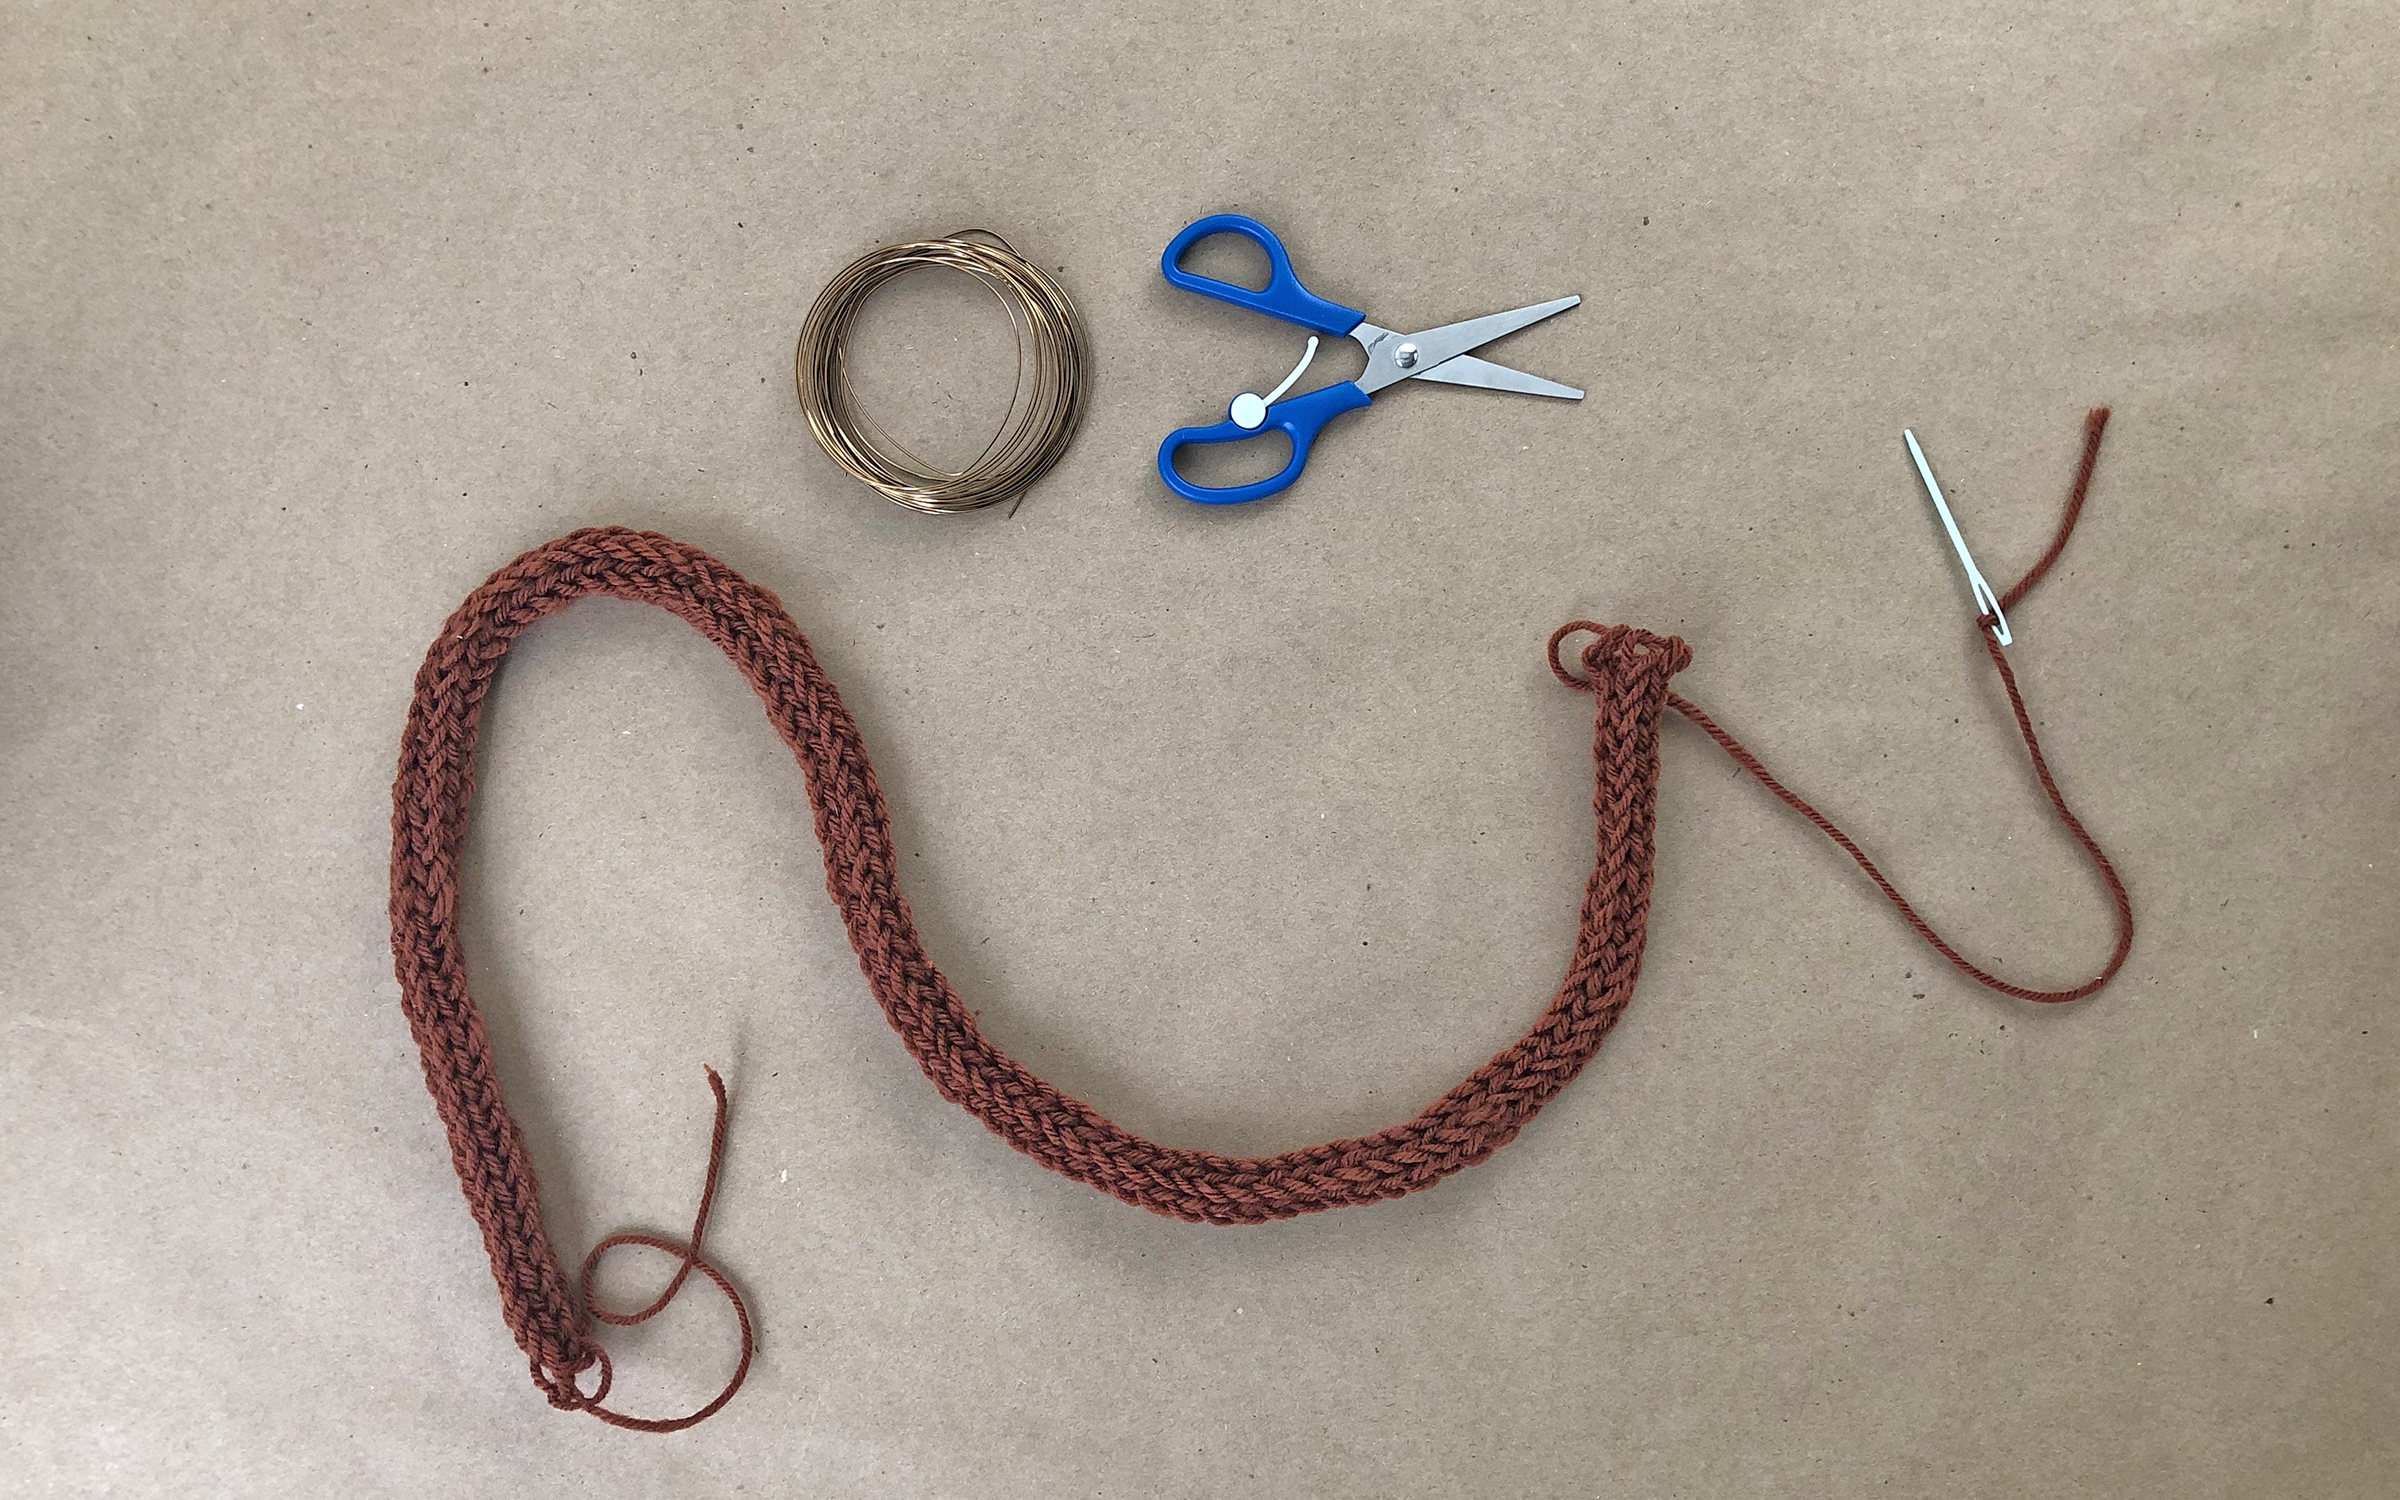
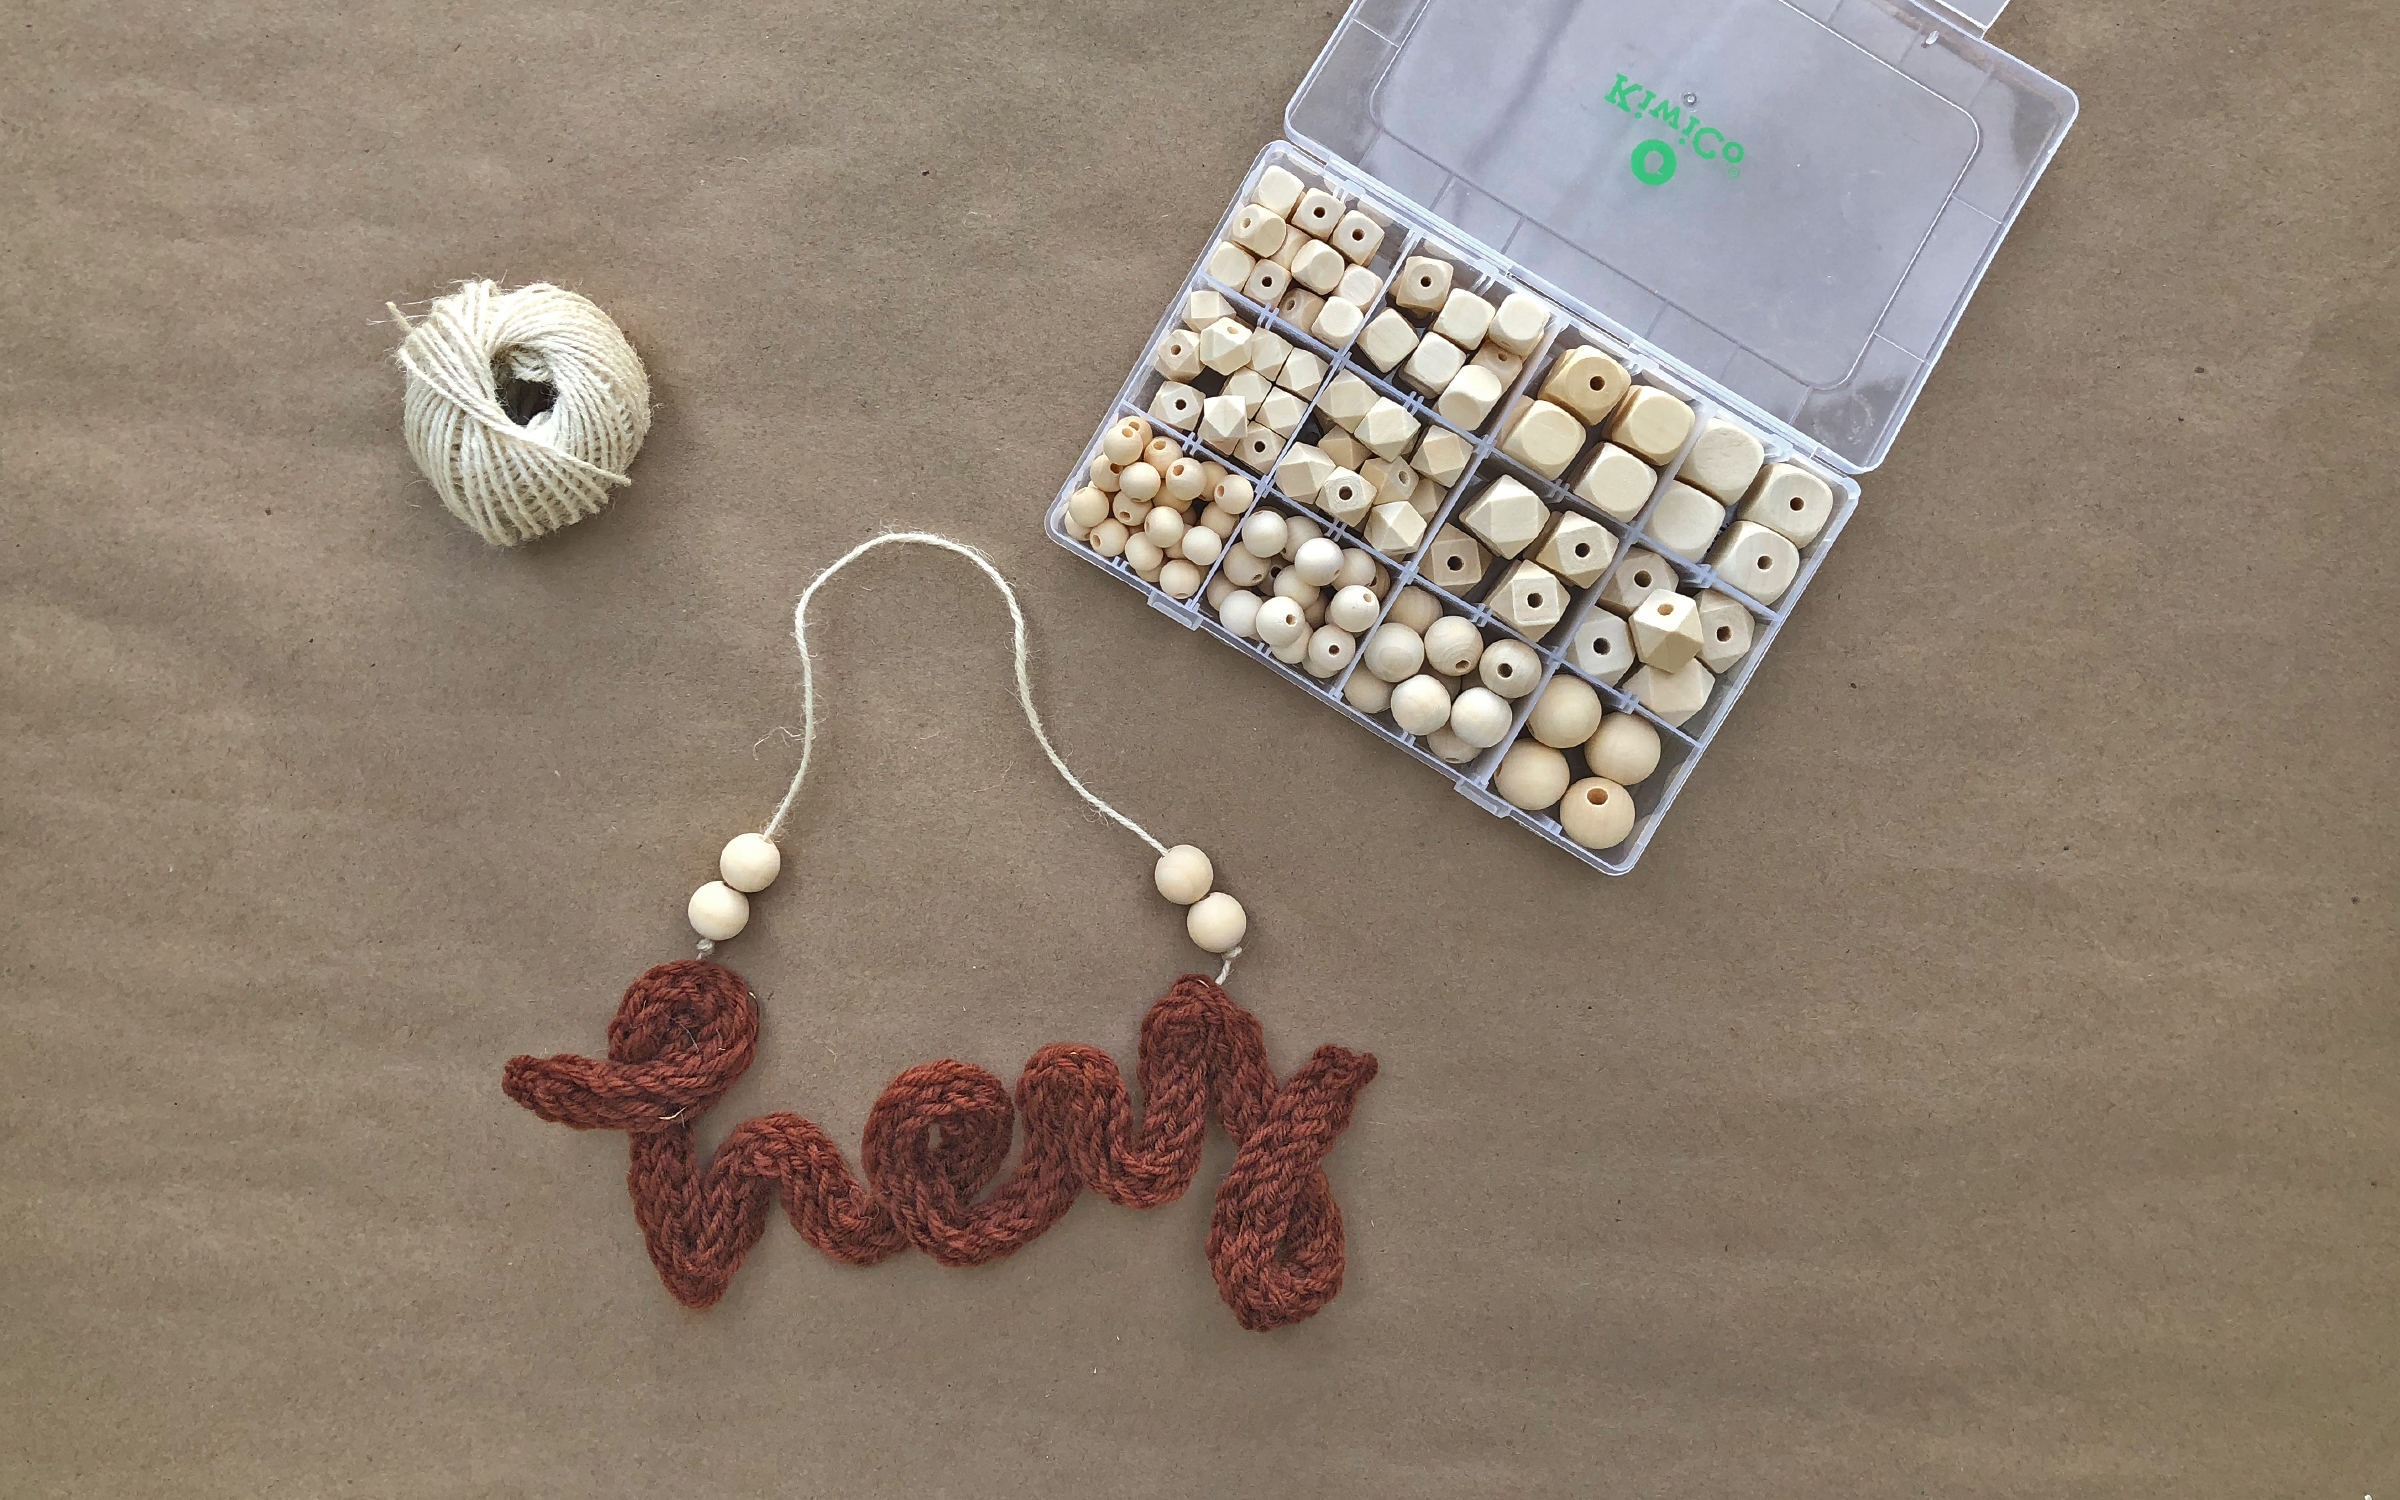
Gather your materials.


Step 2
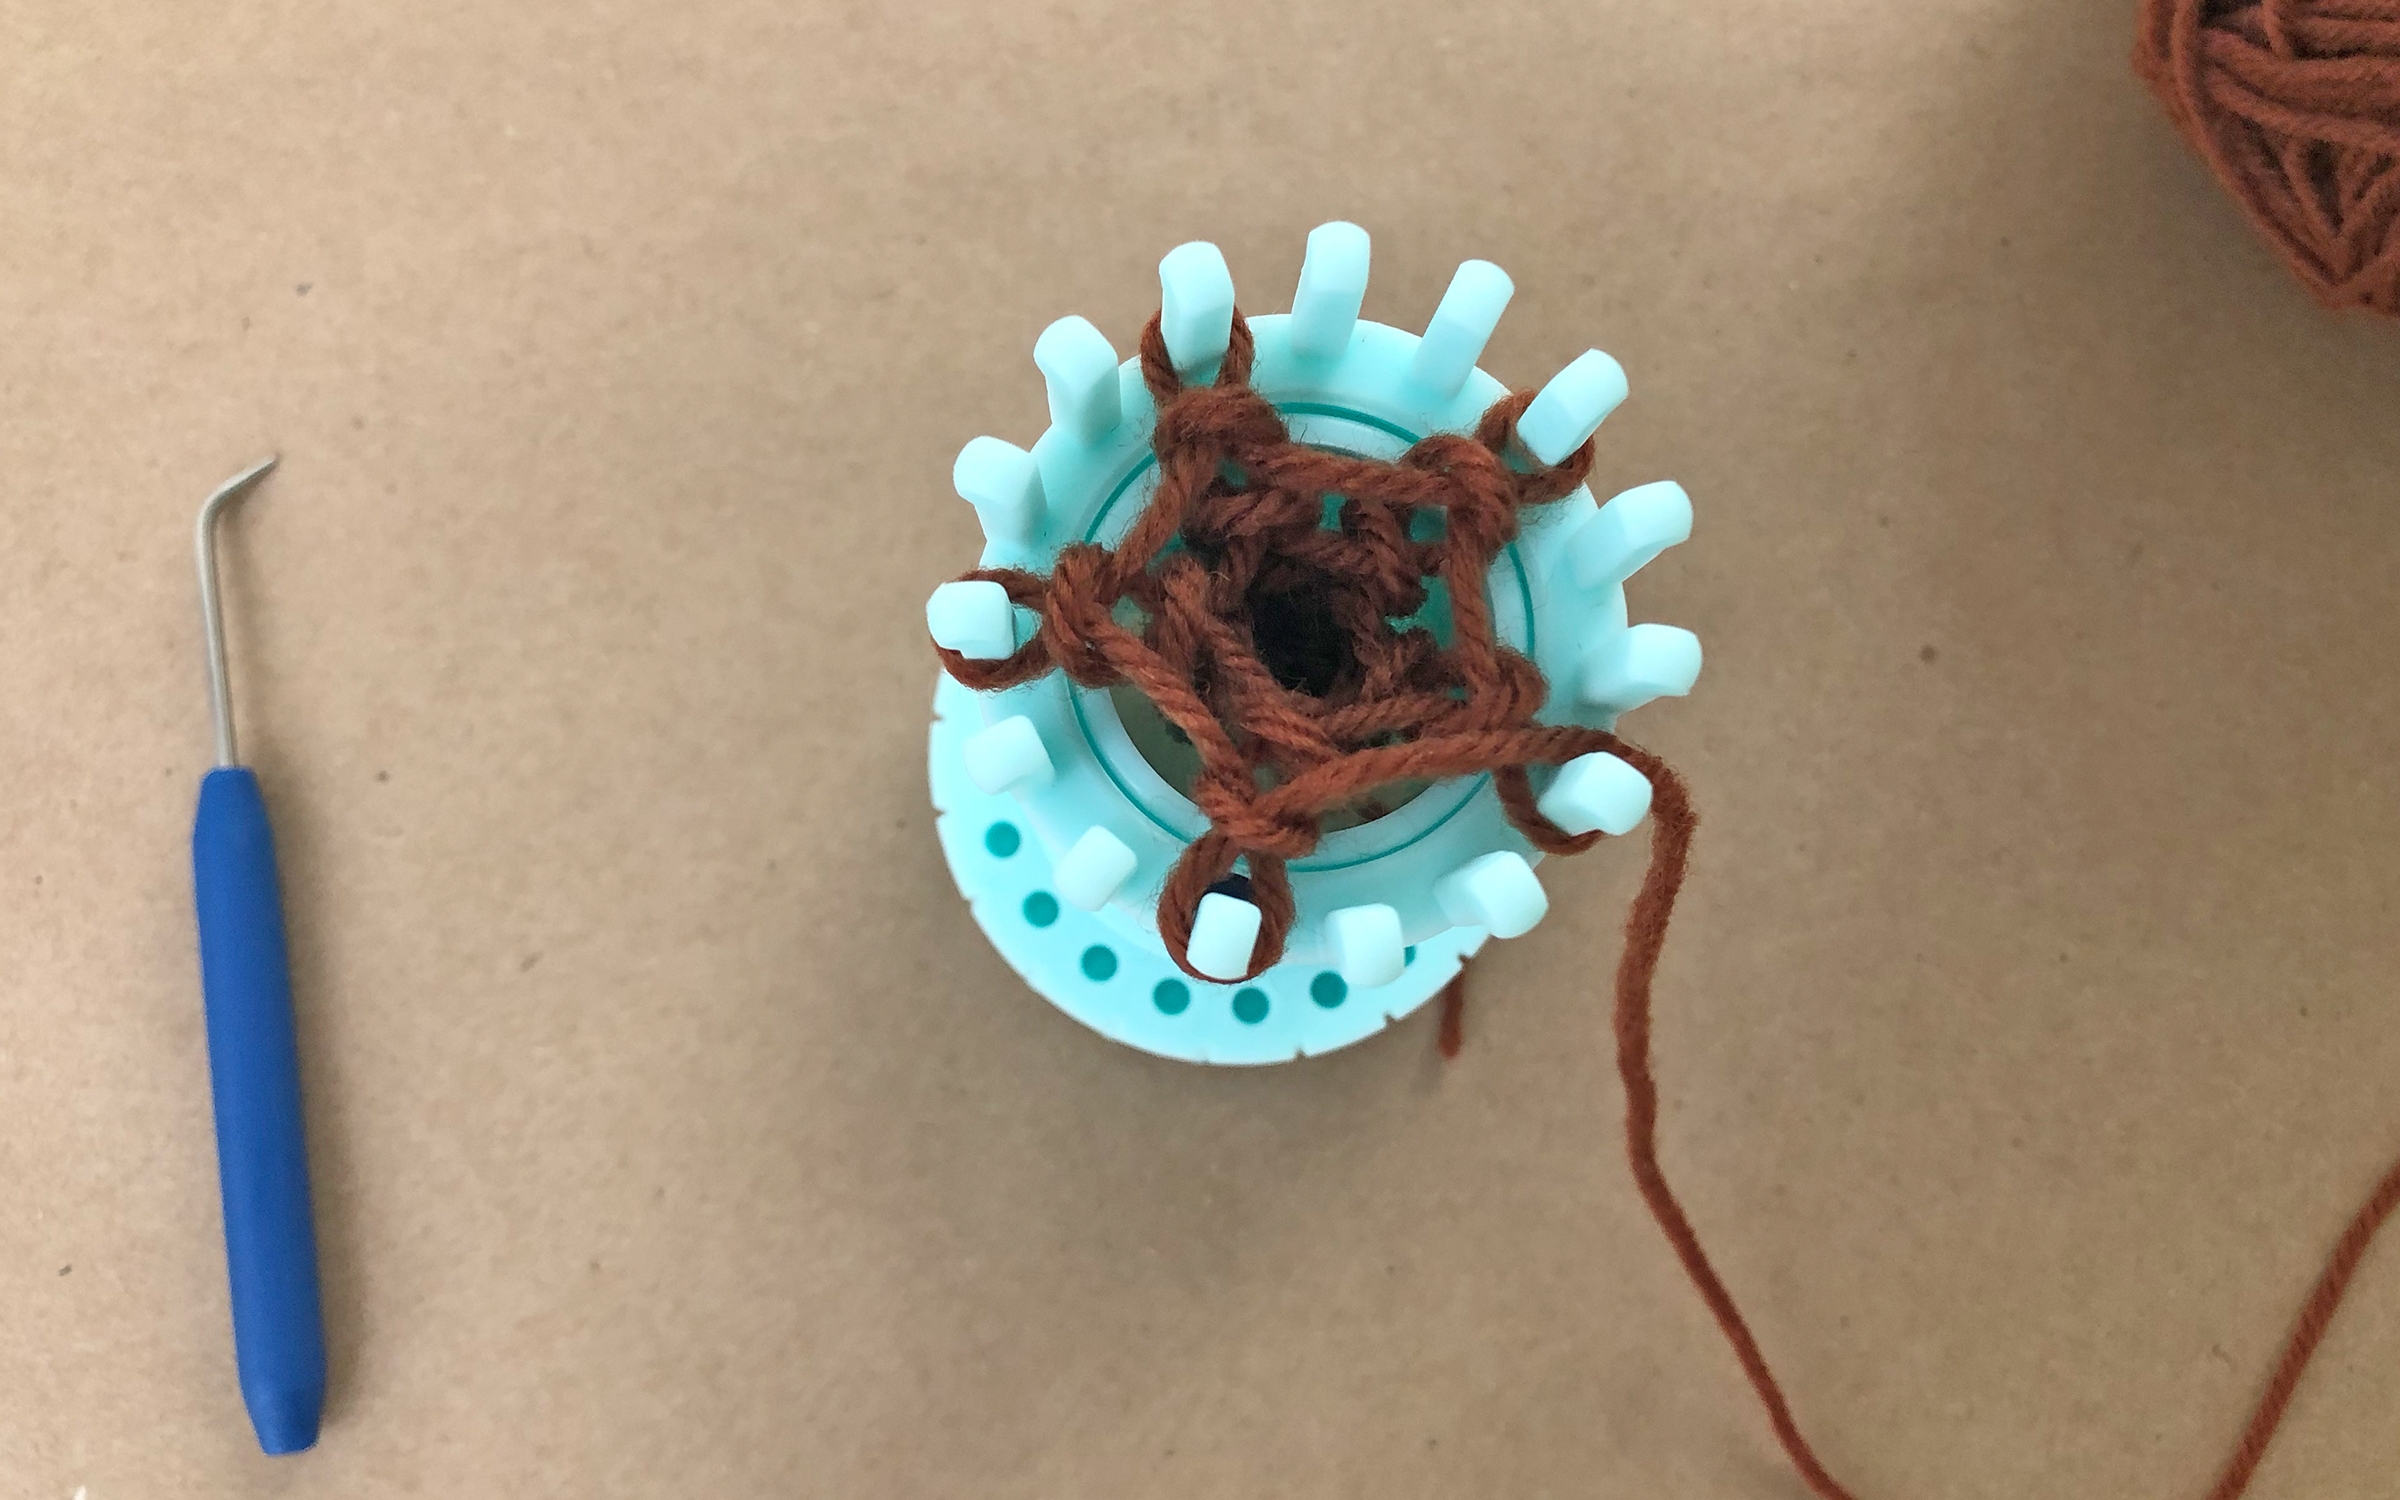
Reference your Spool Knitting Set Quick Start Guide to learn how to cast on! For this project, instead of casting on every peg, you’ll cast on every third peg.
Step 3
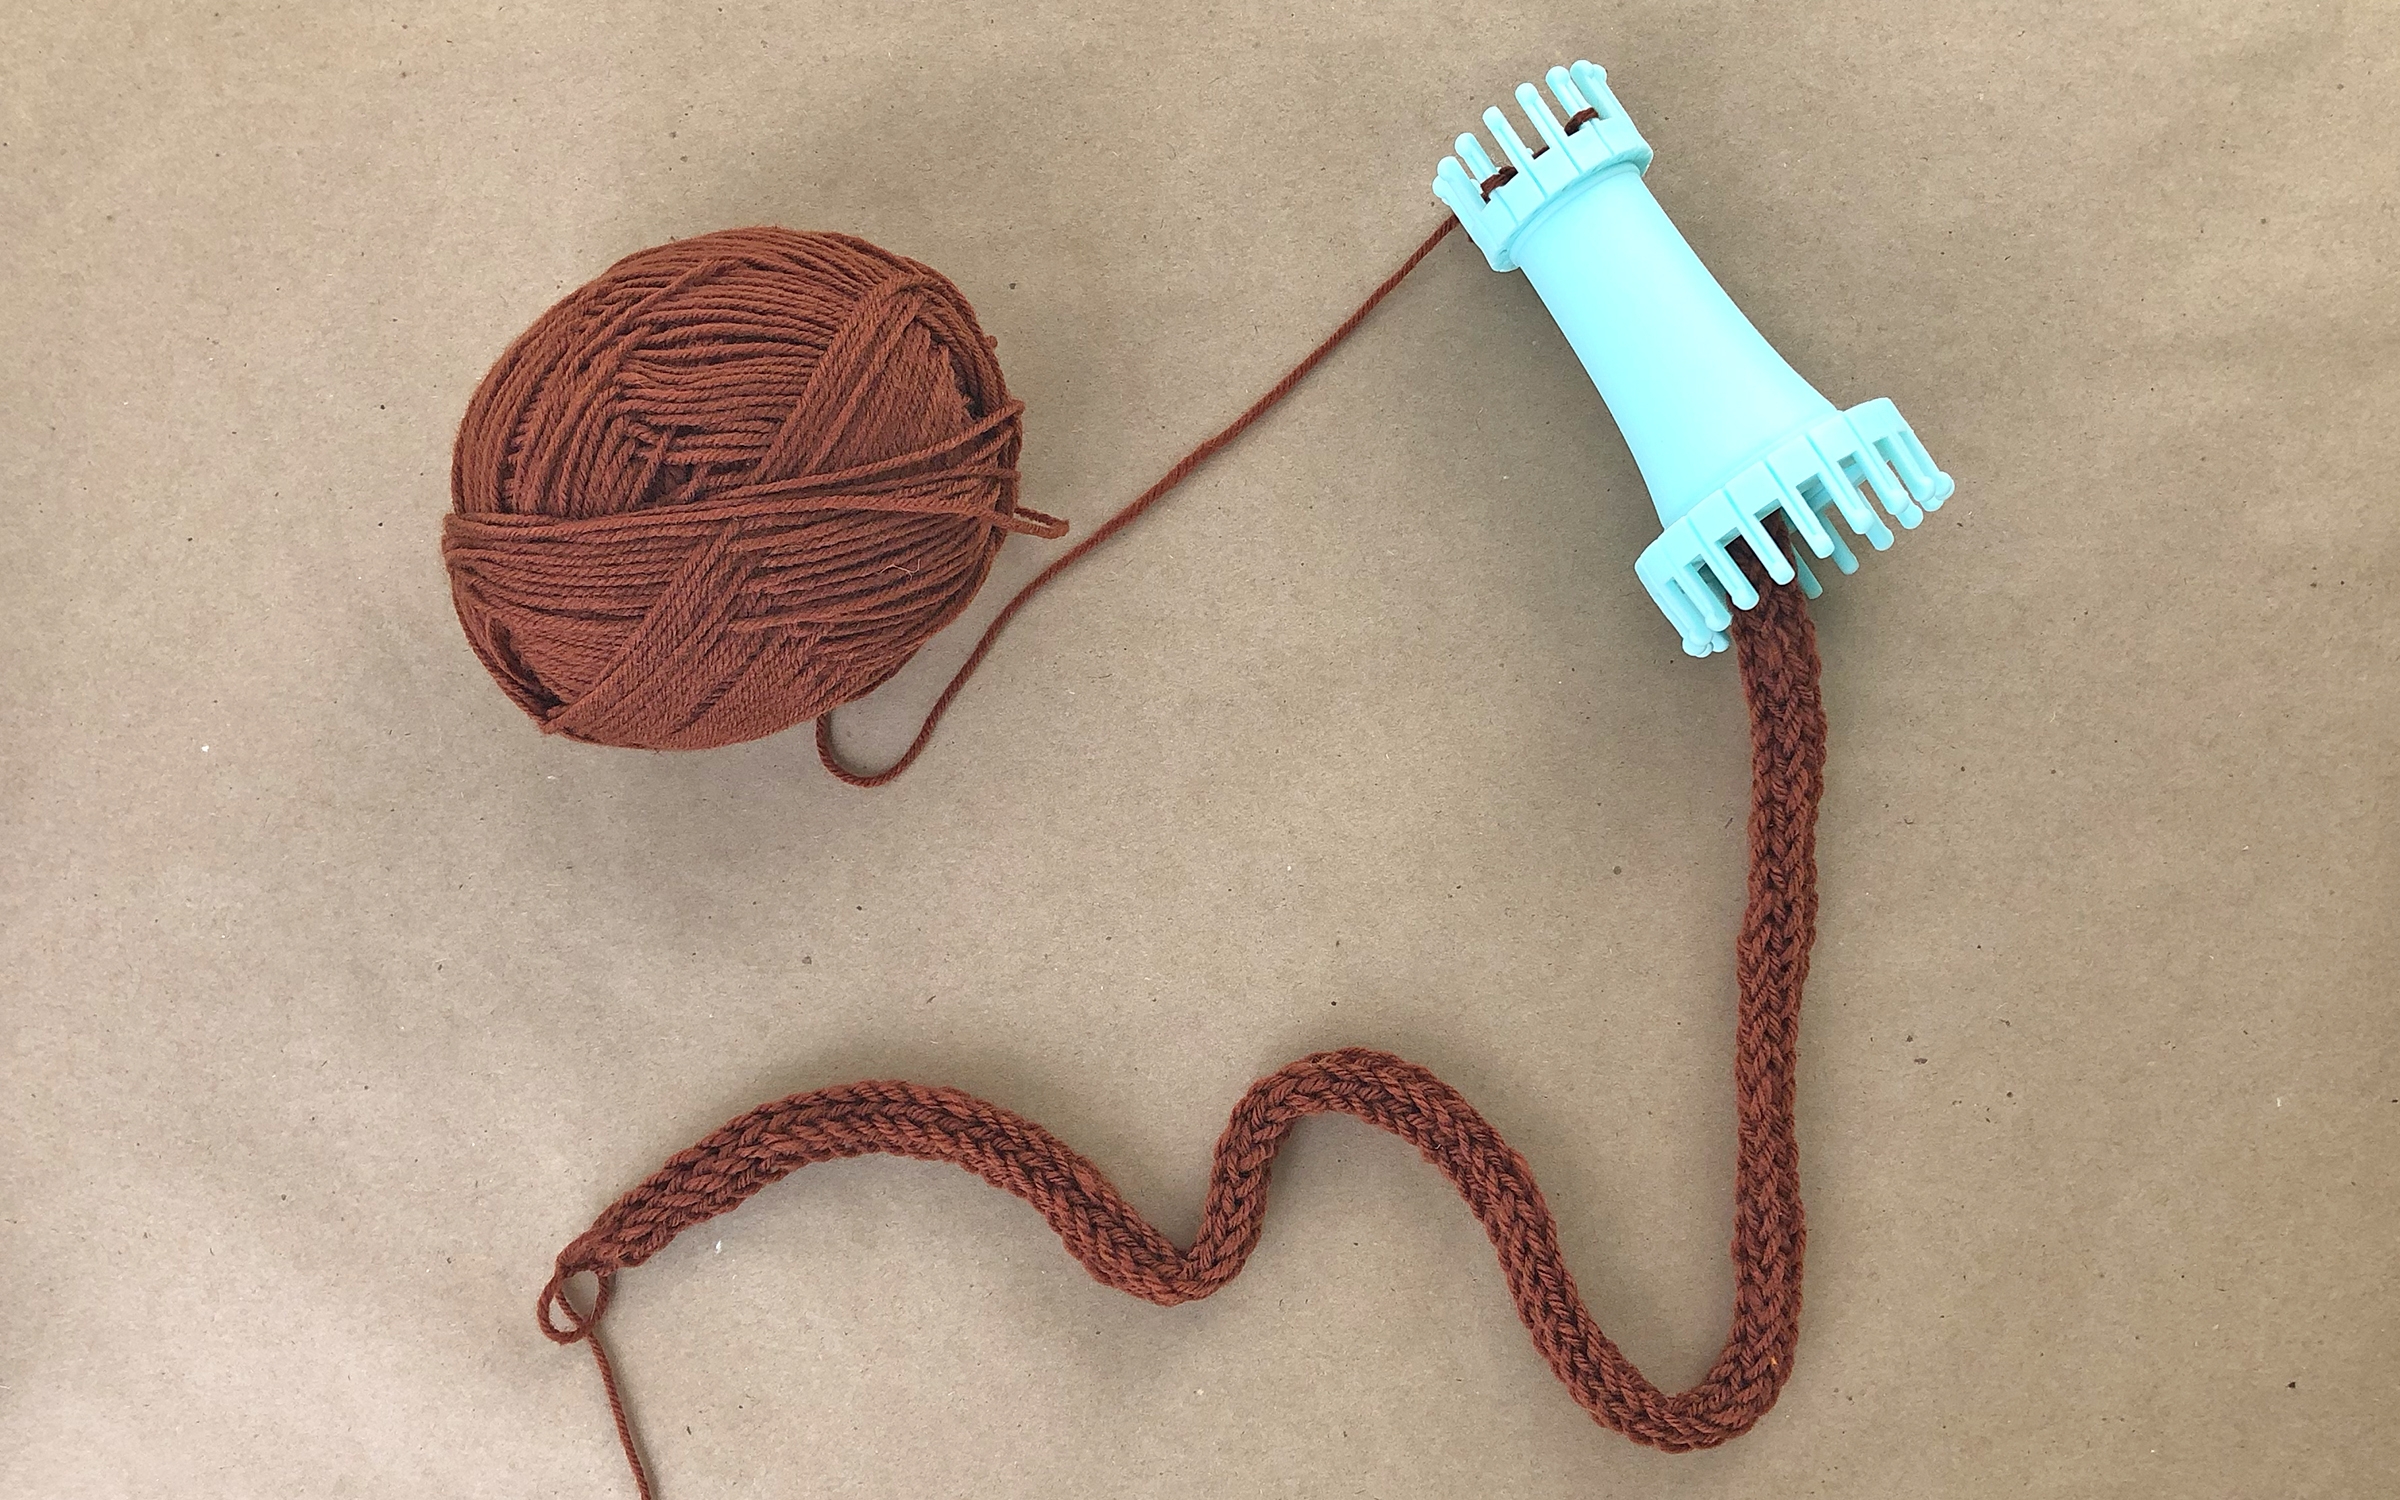
Continue knitting using the five pegs you casted onto. Stop when your spool knitted i-cord is the desired length for the word or letter you’re making.
Tip
Before you cast off, draw out your design to the scale you want it, and lay your i-cord on top to check for length.
Step 4
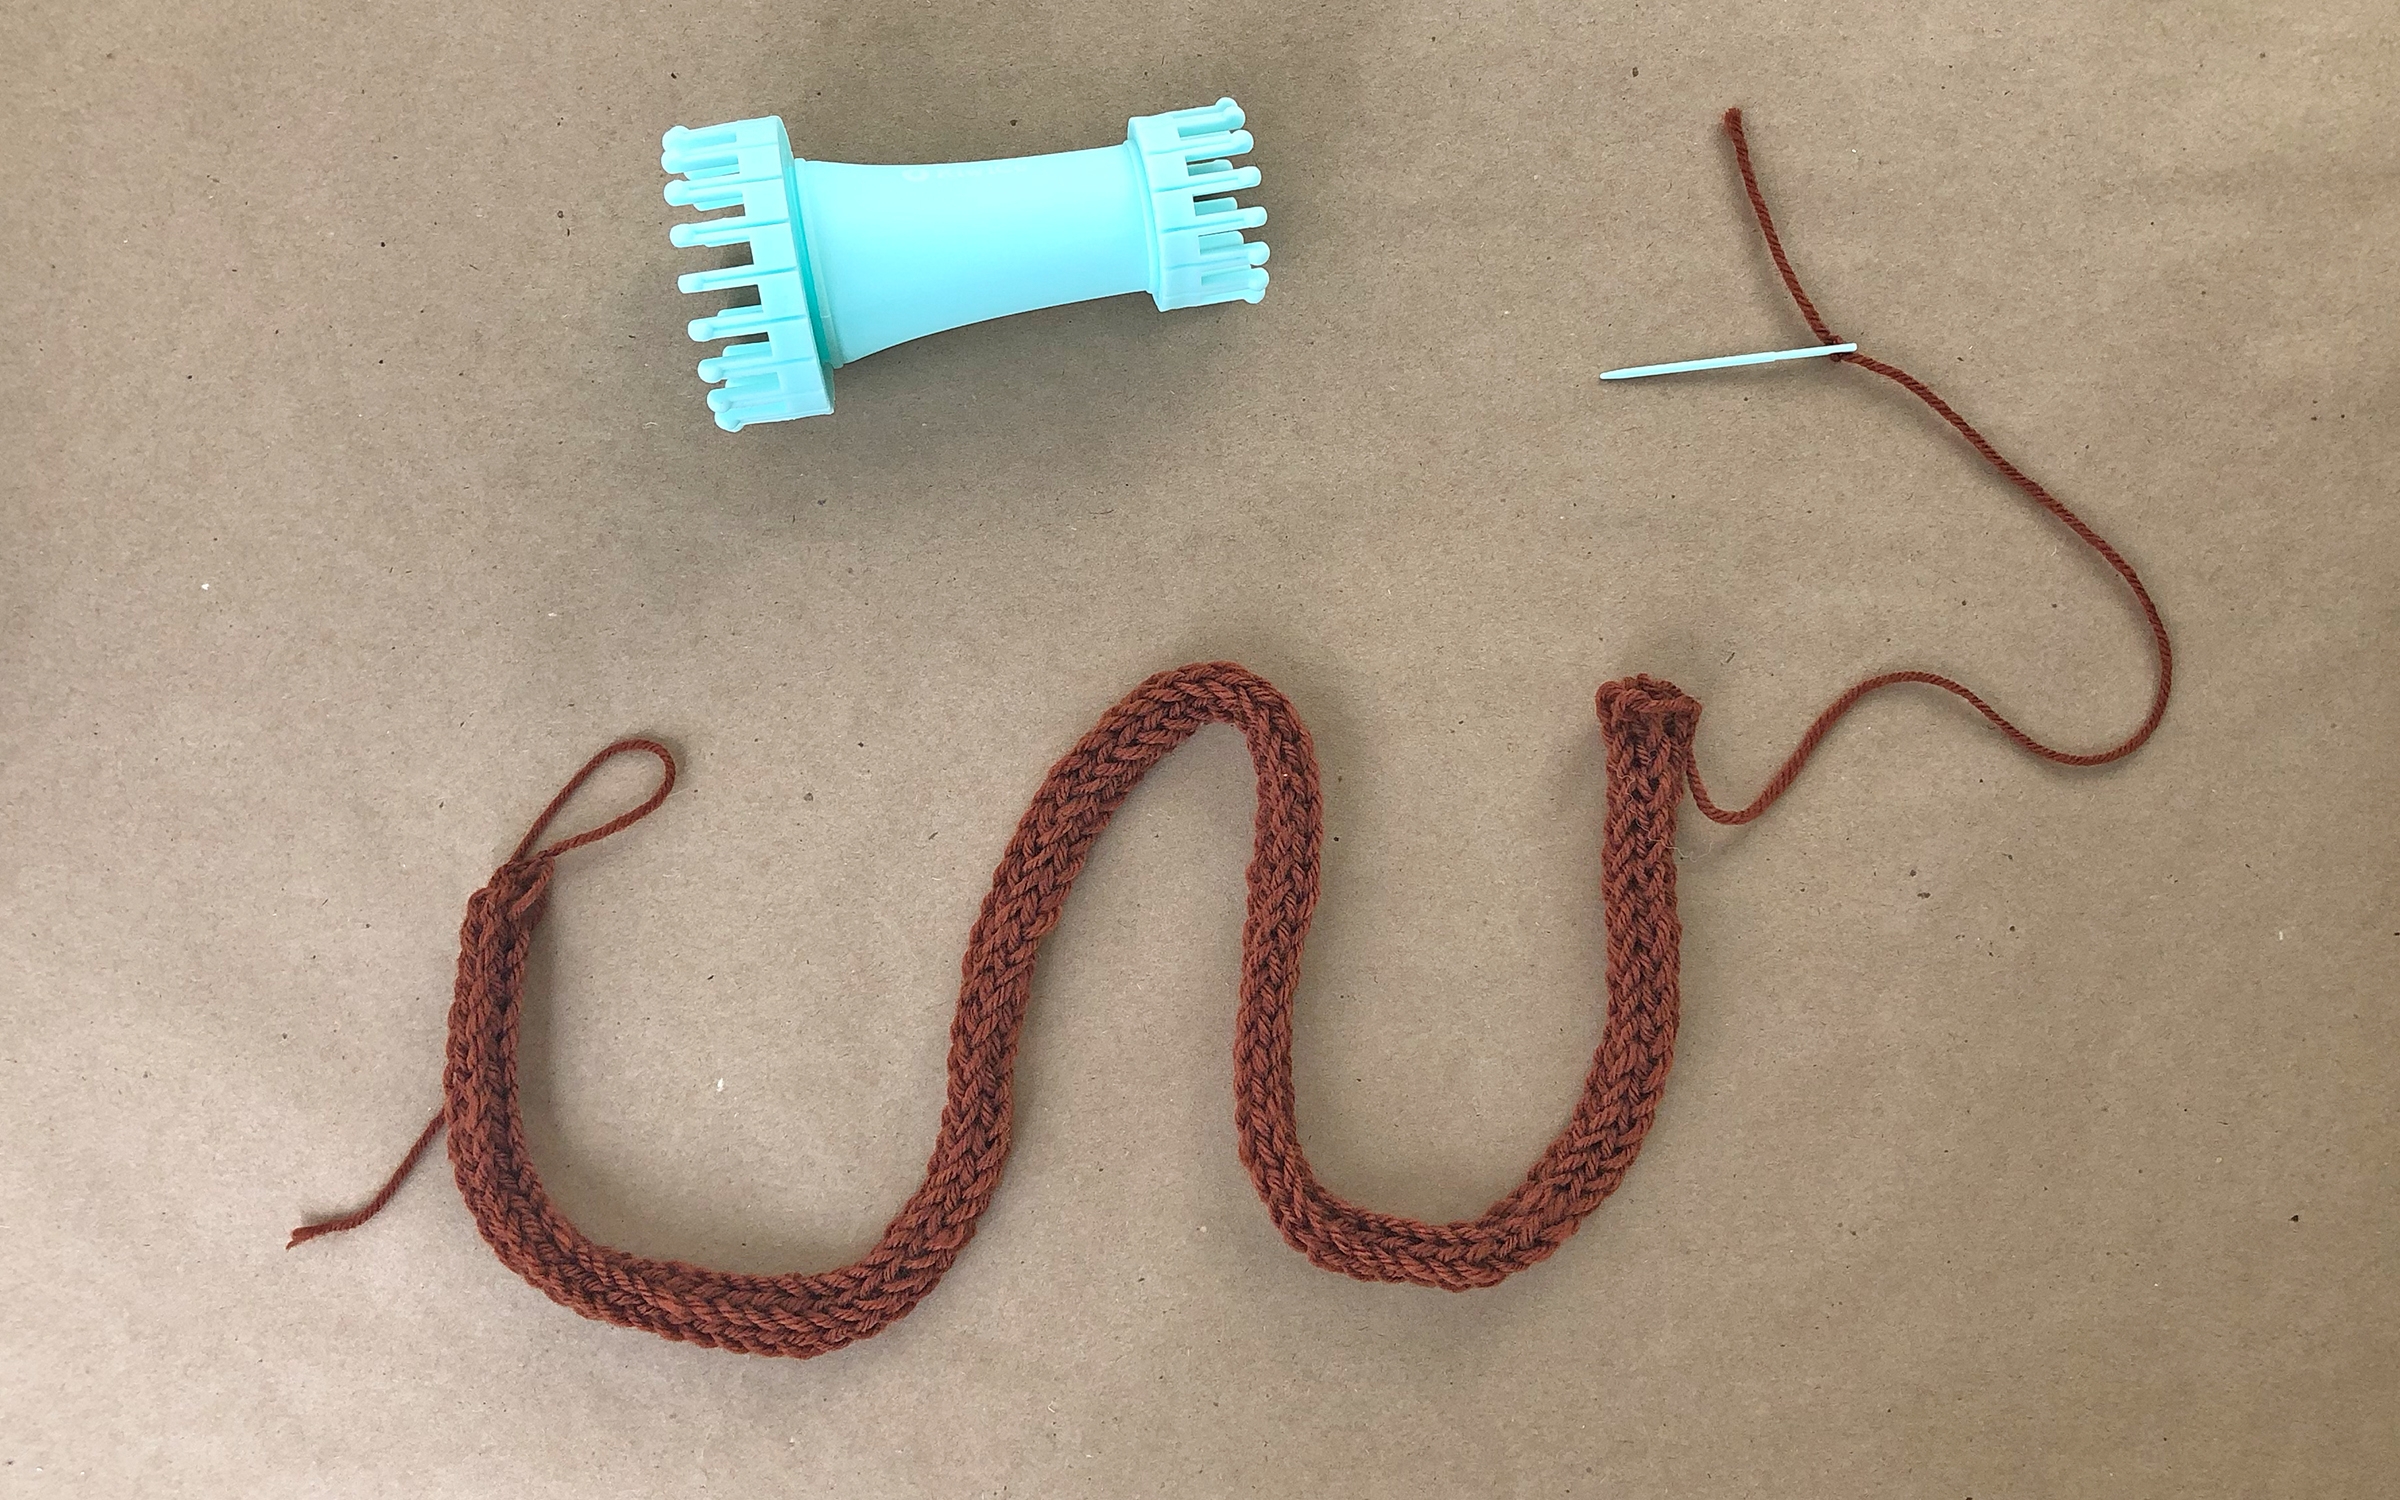
Reference your Spool Knitting Set Quick Start Guide to learn how to bind off. Don’t pull the end of your i-cord closed yet!
Step 5
Stretch the i-cord out and place it on a flat surface. Cut a piece of wire that’s 1 inch (or 3 cm) longer than the i-cord and cut.
Step 6
Using your hand or pliers, bend the end of the wire into a small loop. This will make it easier to thread the wire through the interior of the i-cord.
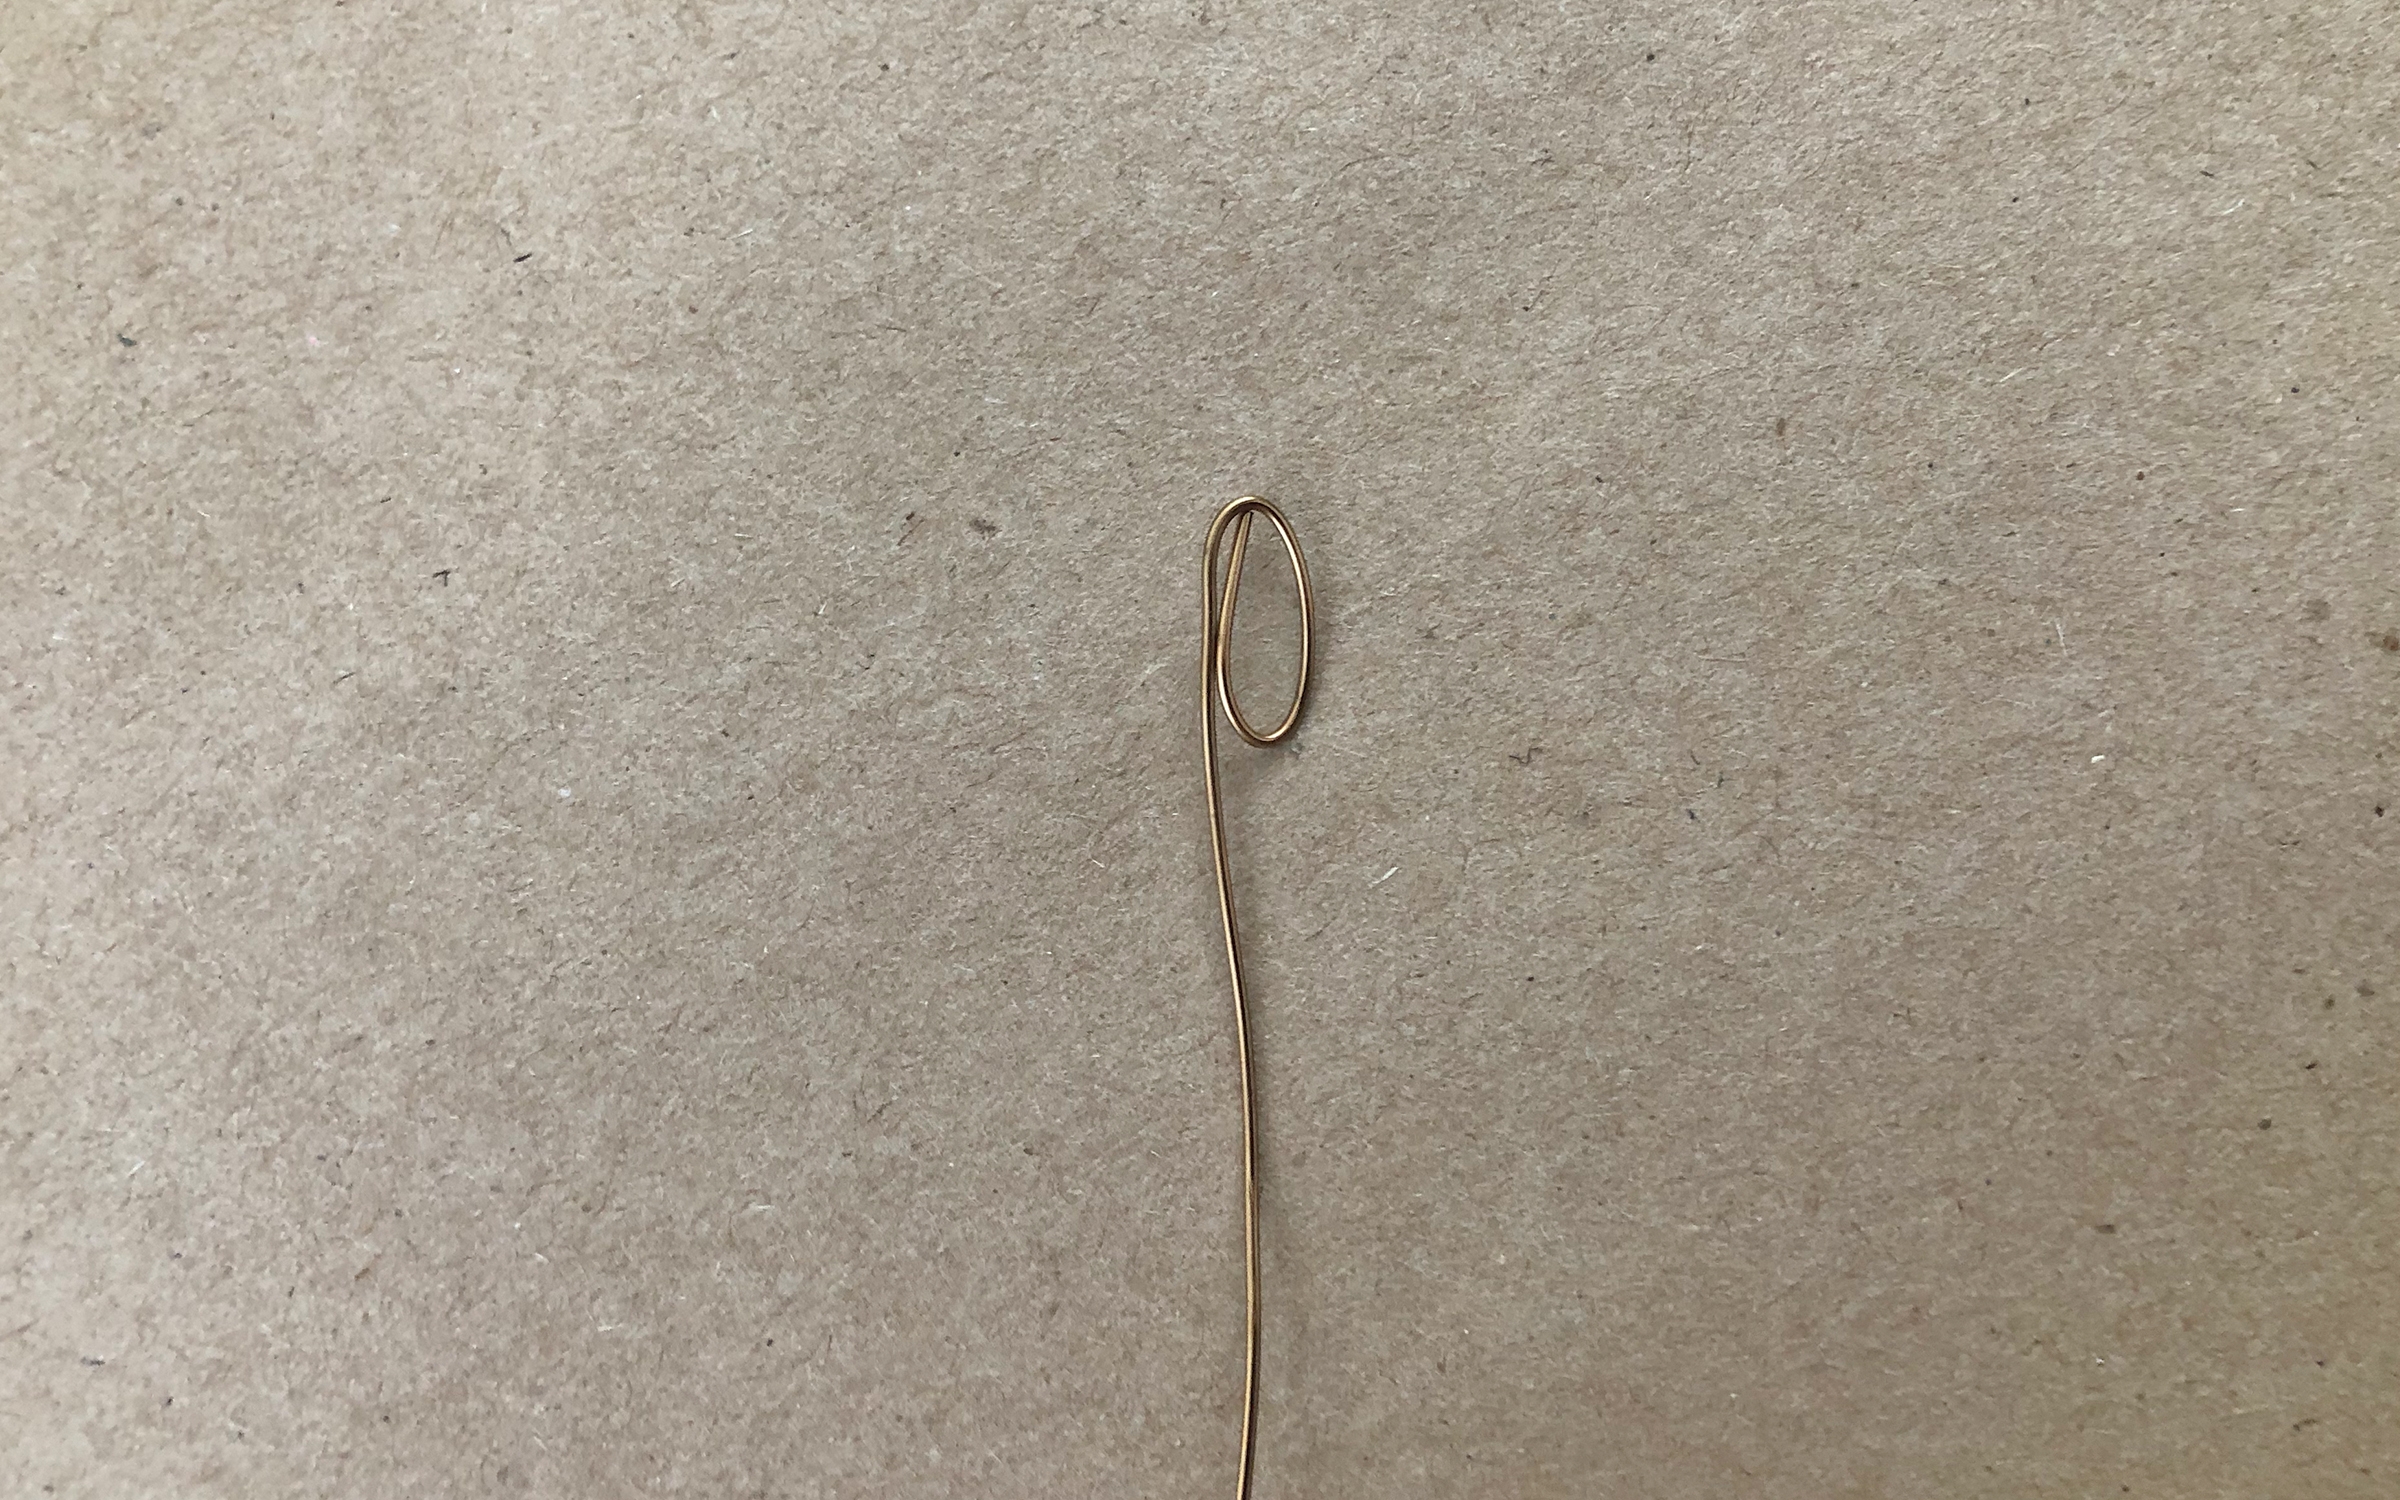
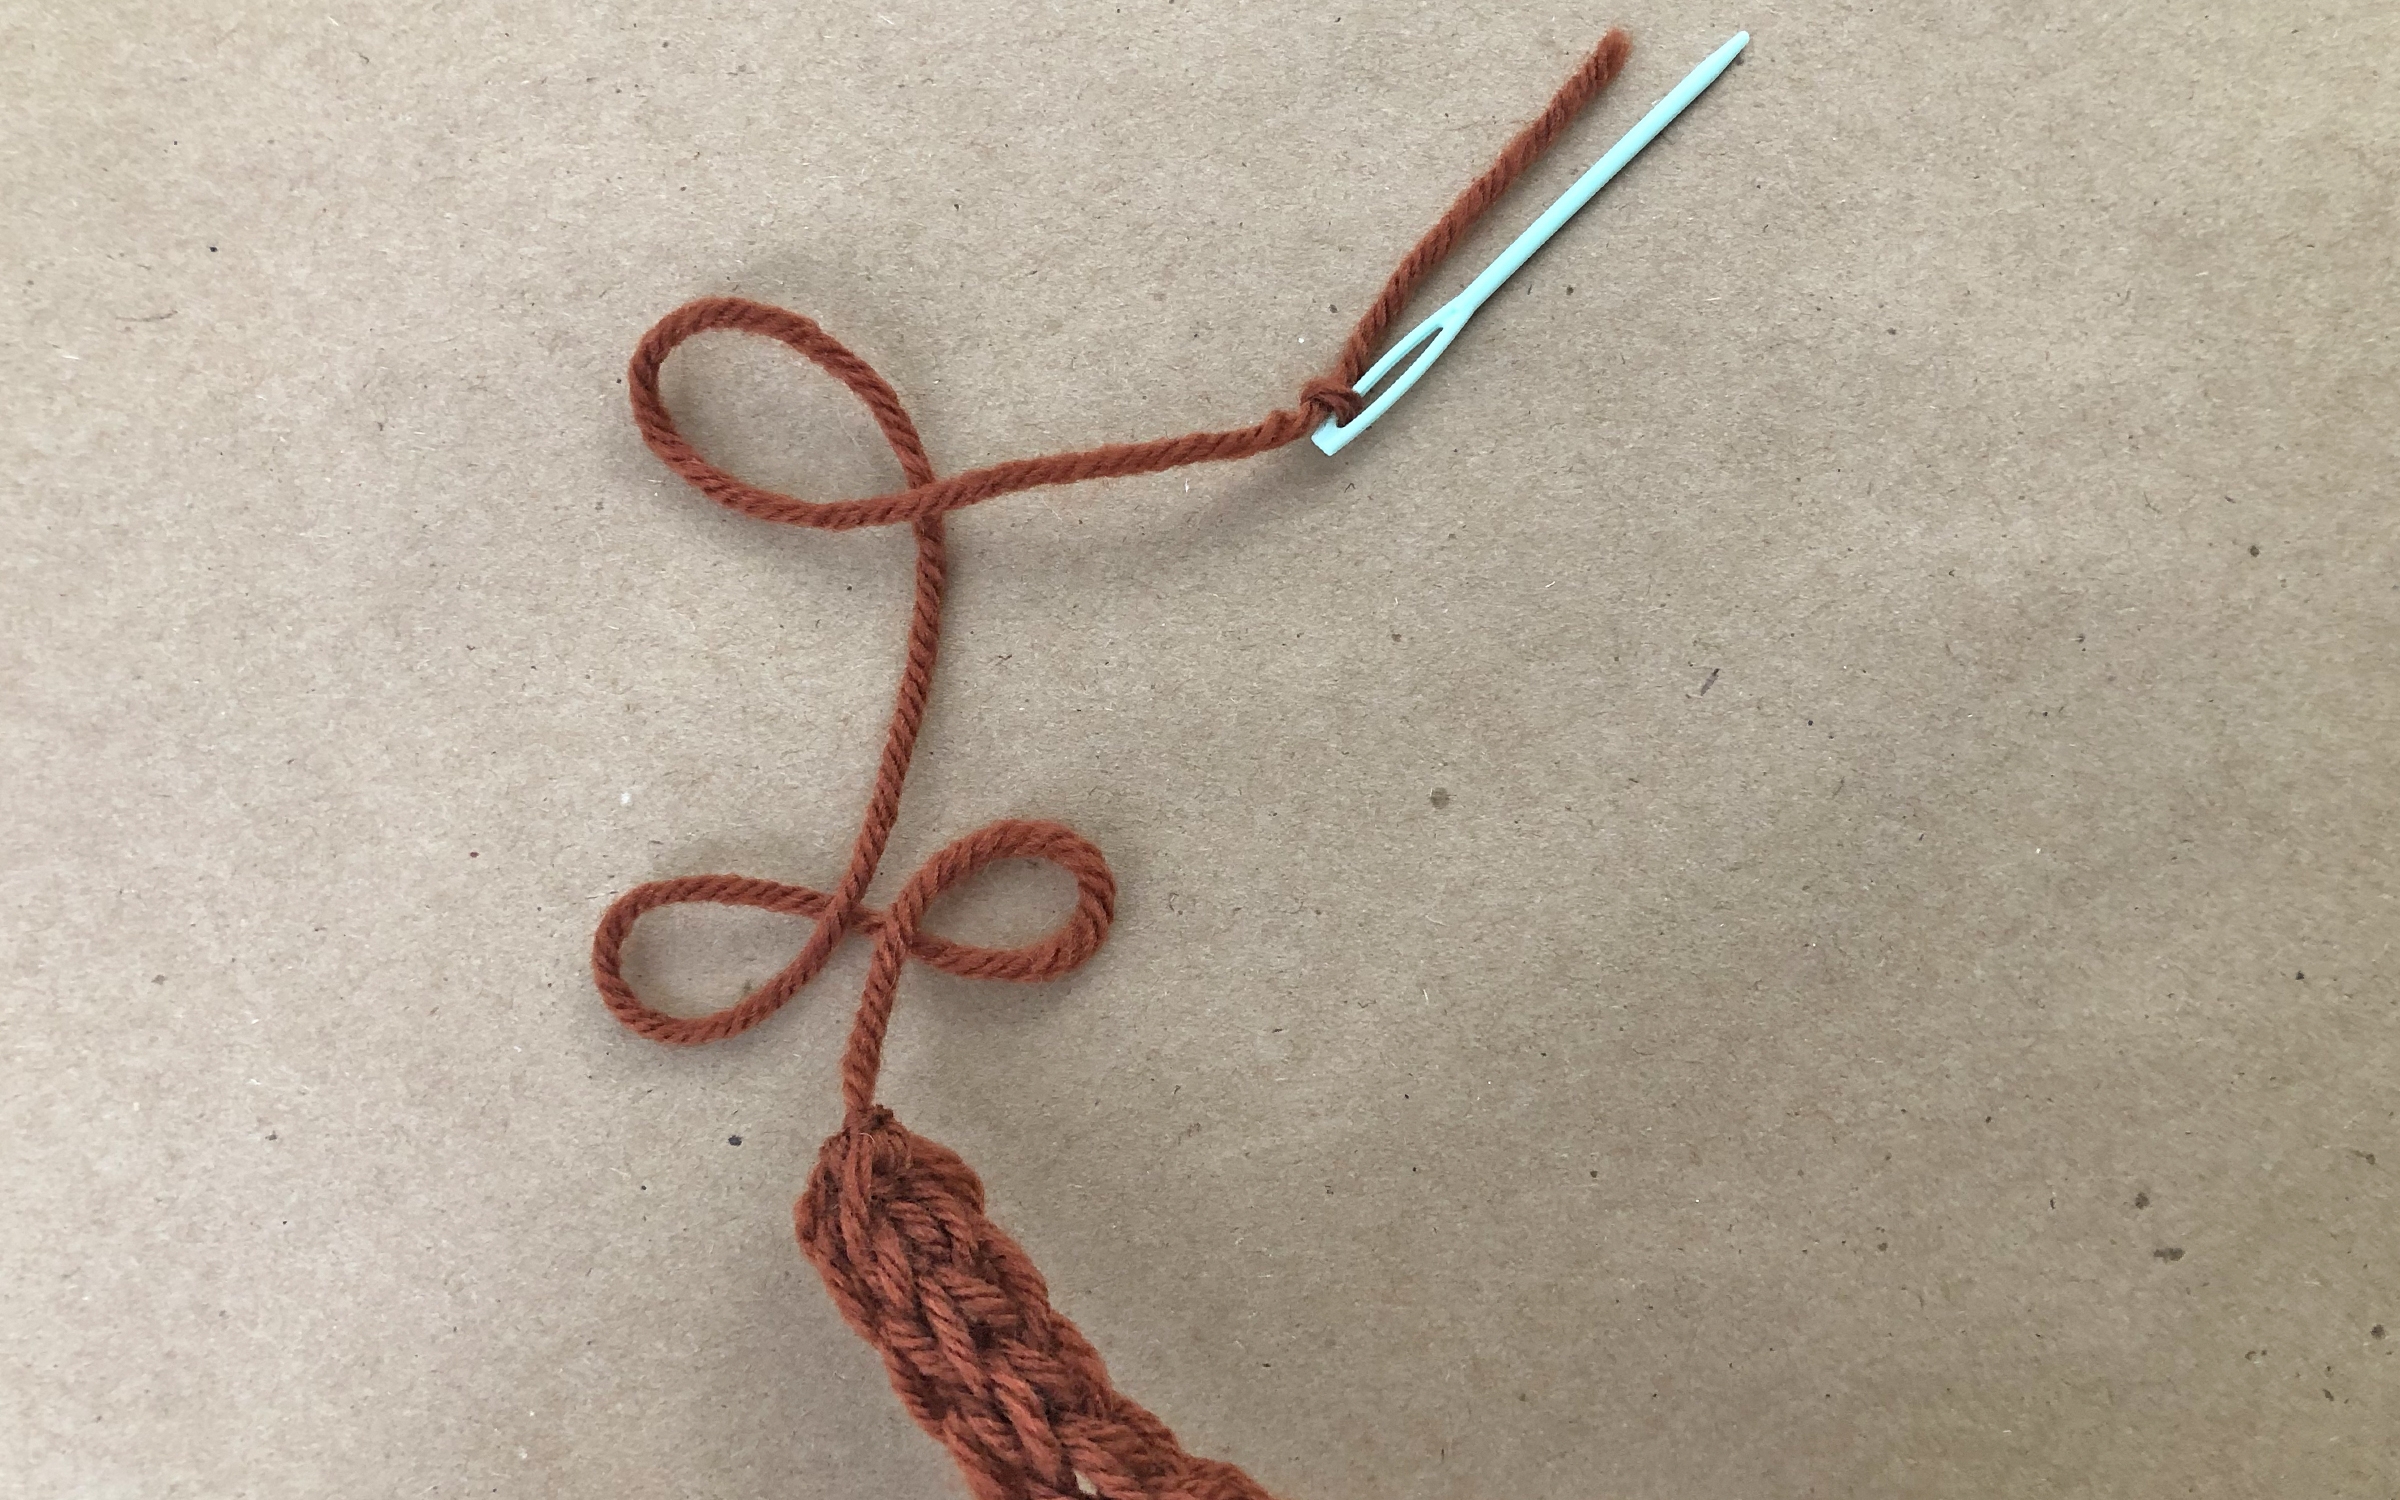
Step 7
Thread the wire into the center of the i-cord and pull it all the way through. Close off your i-cord by pulling the yarn tail on the open side and knotting the end. Weave in the tail.
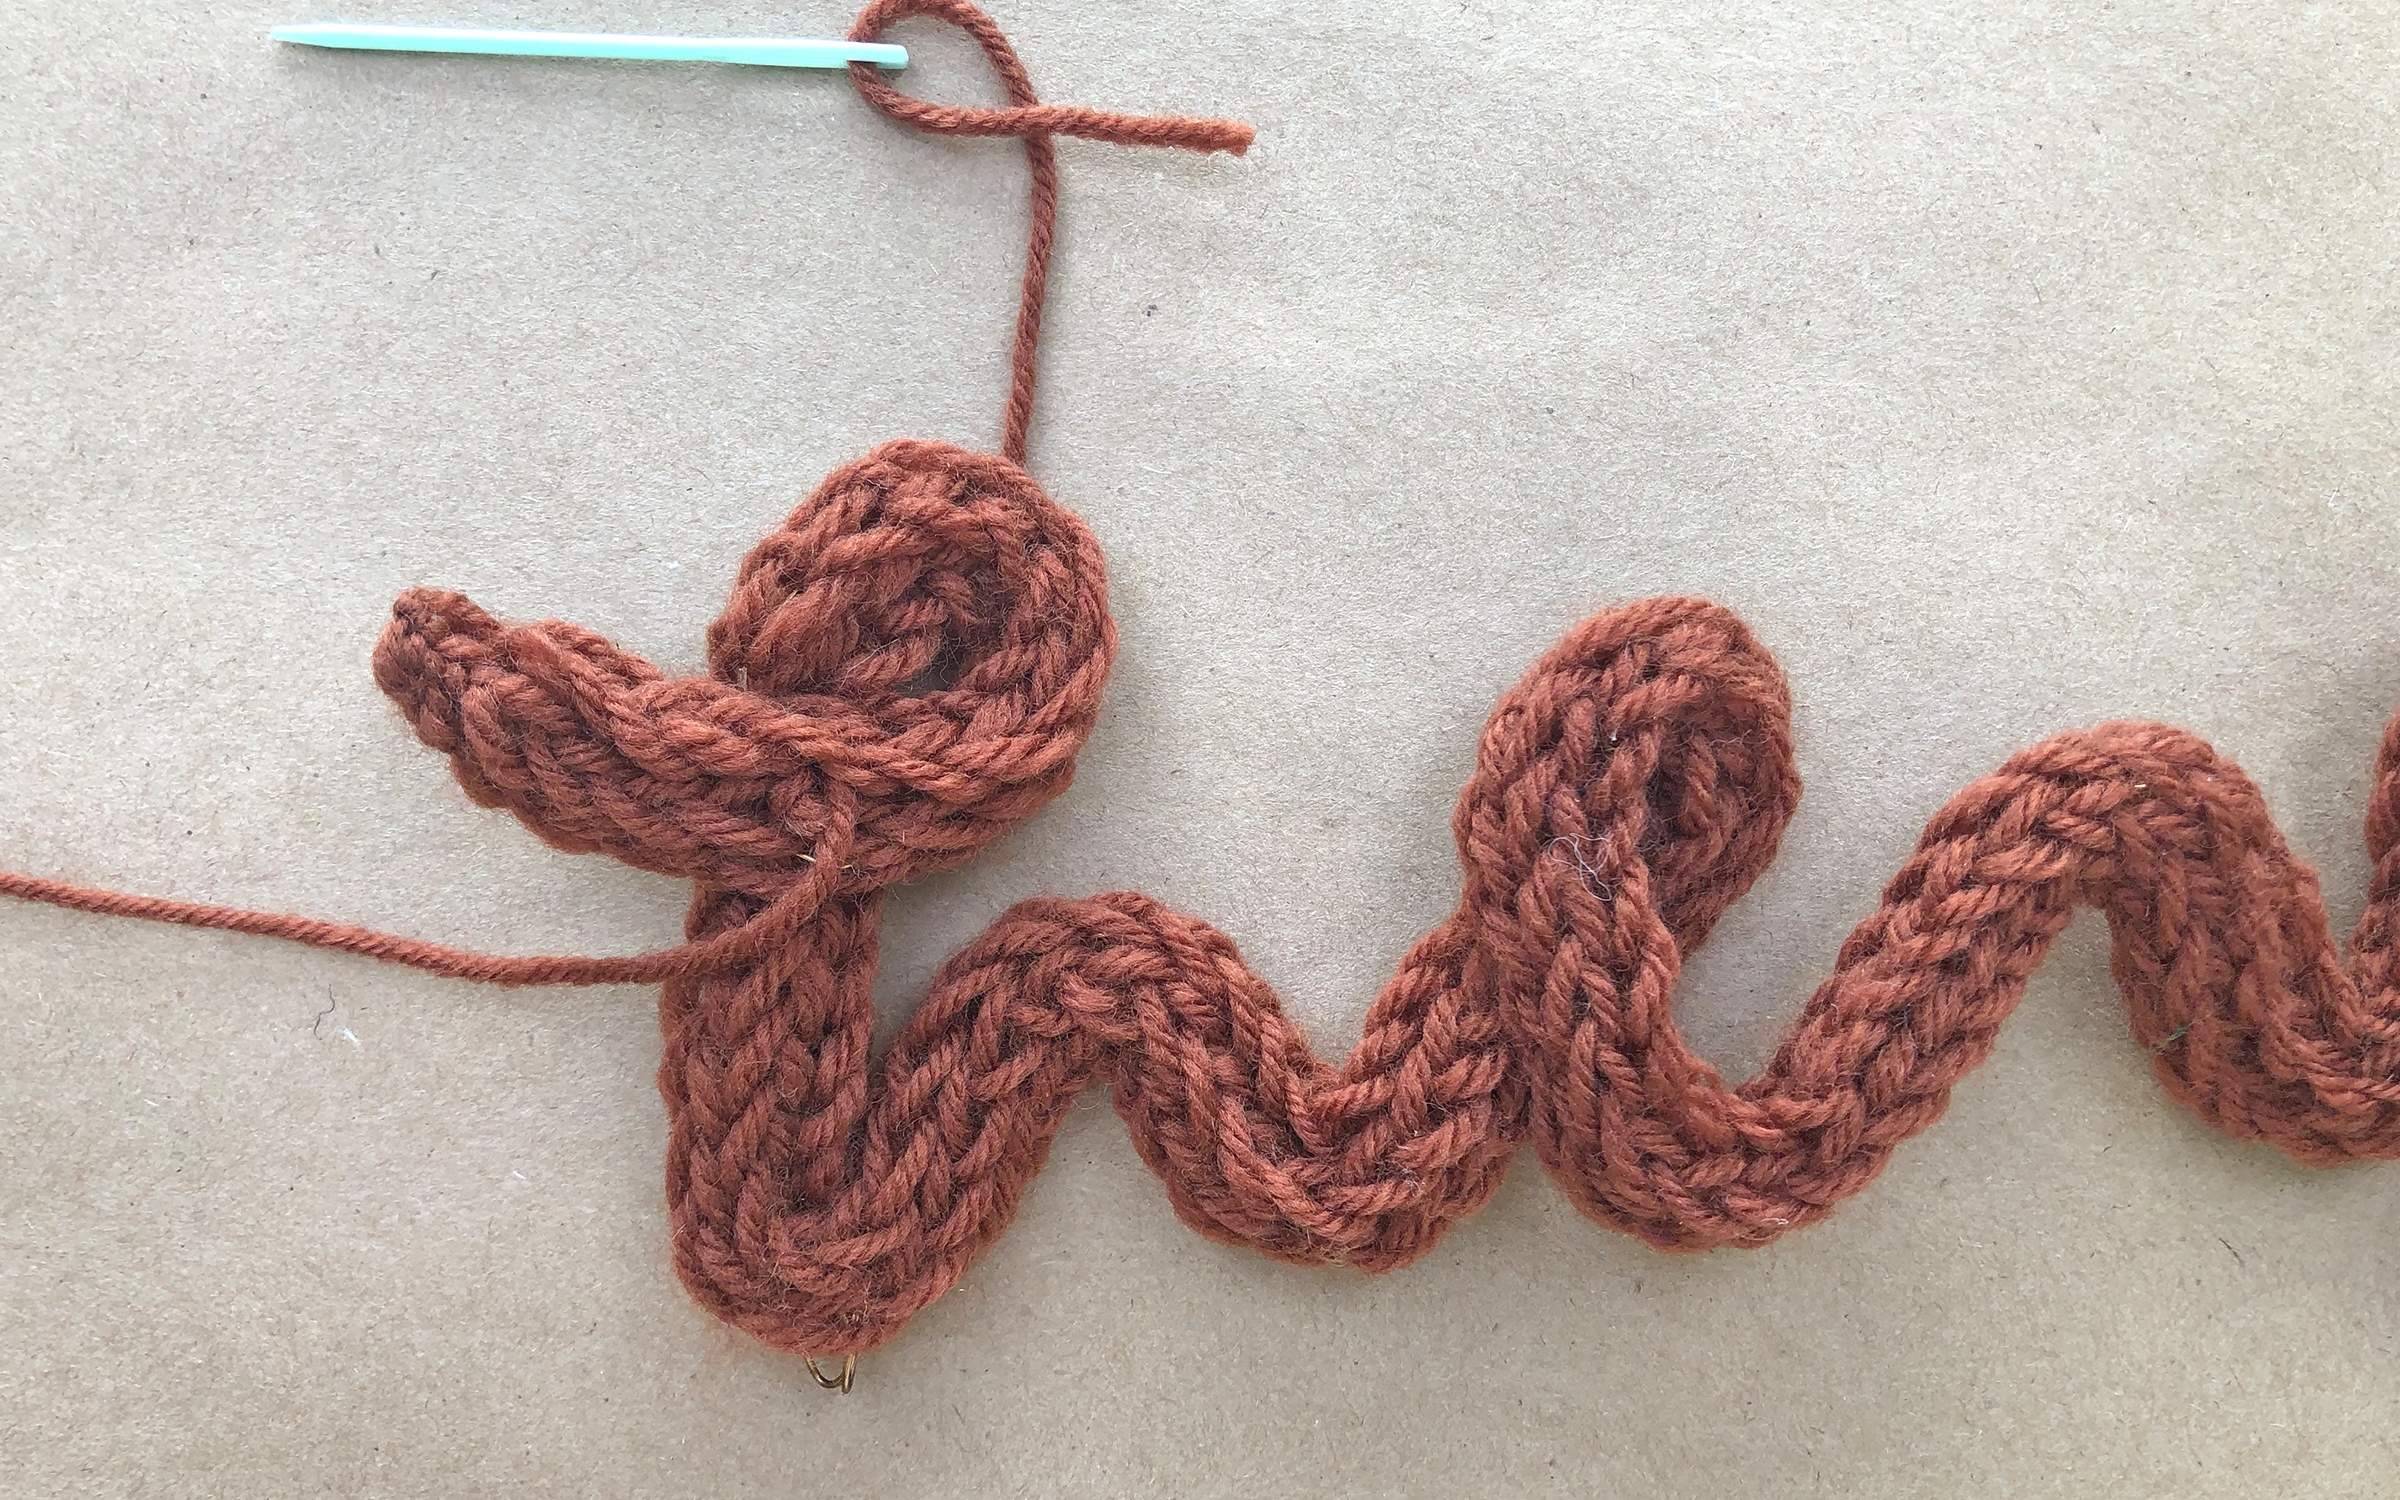
Step 8
Mold your letter into its desired shape.

Step 9
Using a yarn needle and some extra yarn, add stitches where the i-cord overlaps to secure your shape.
Step 10
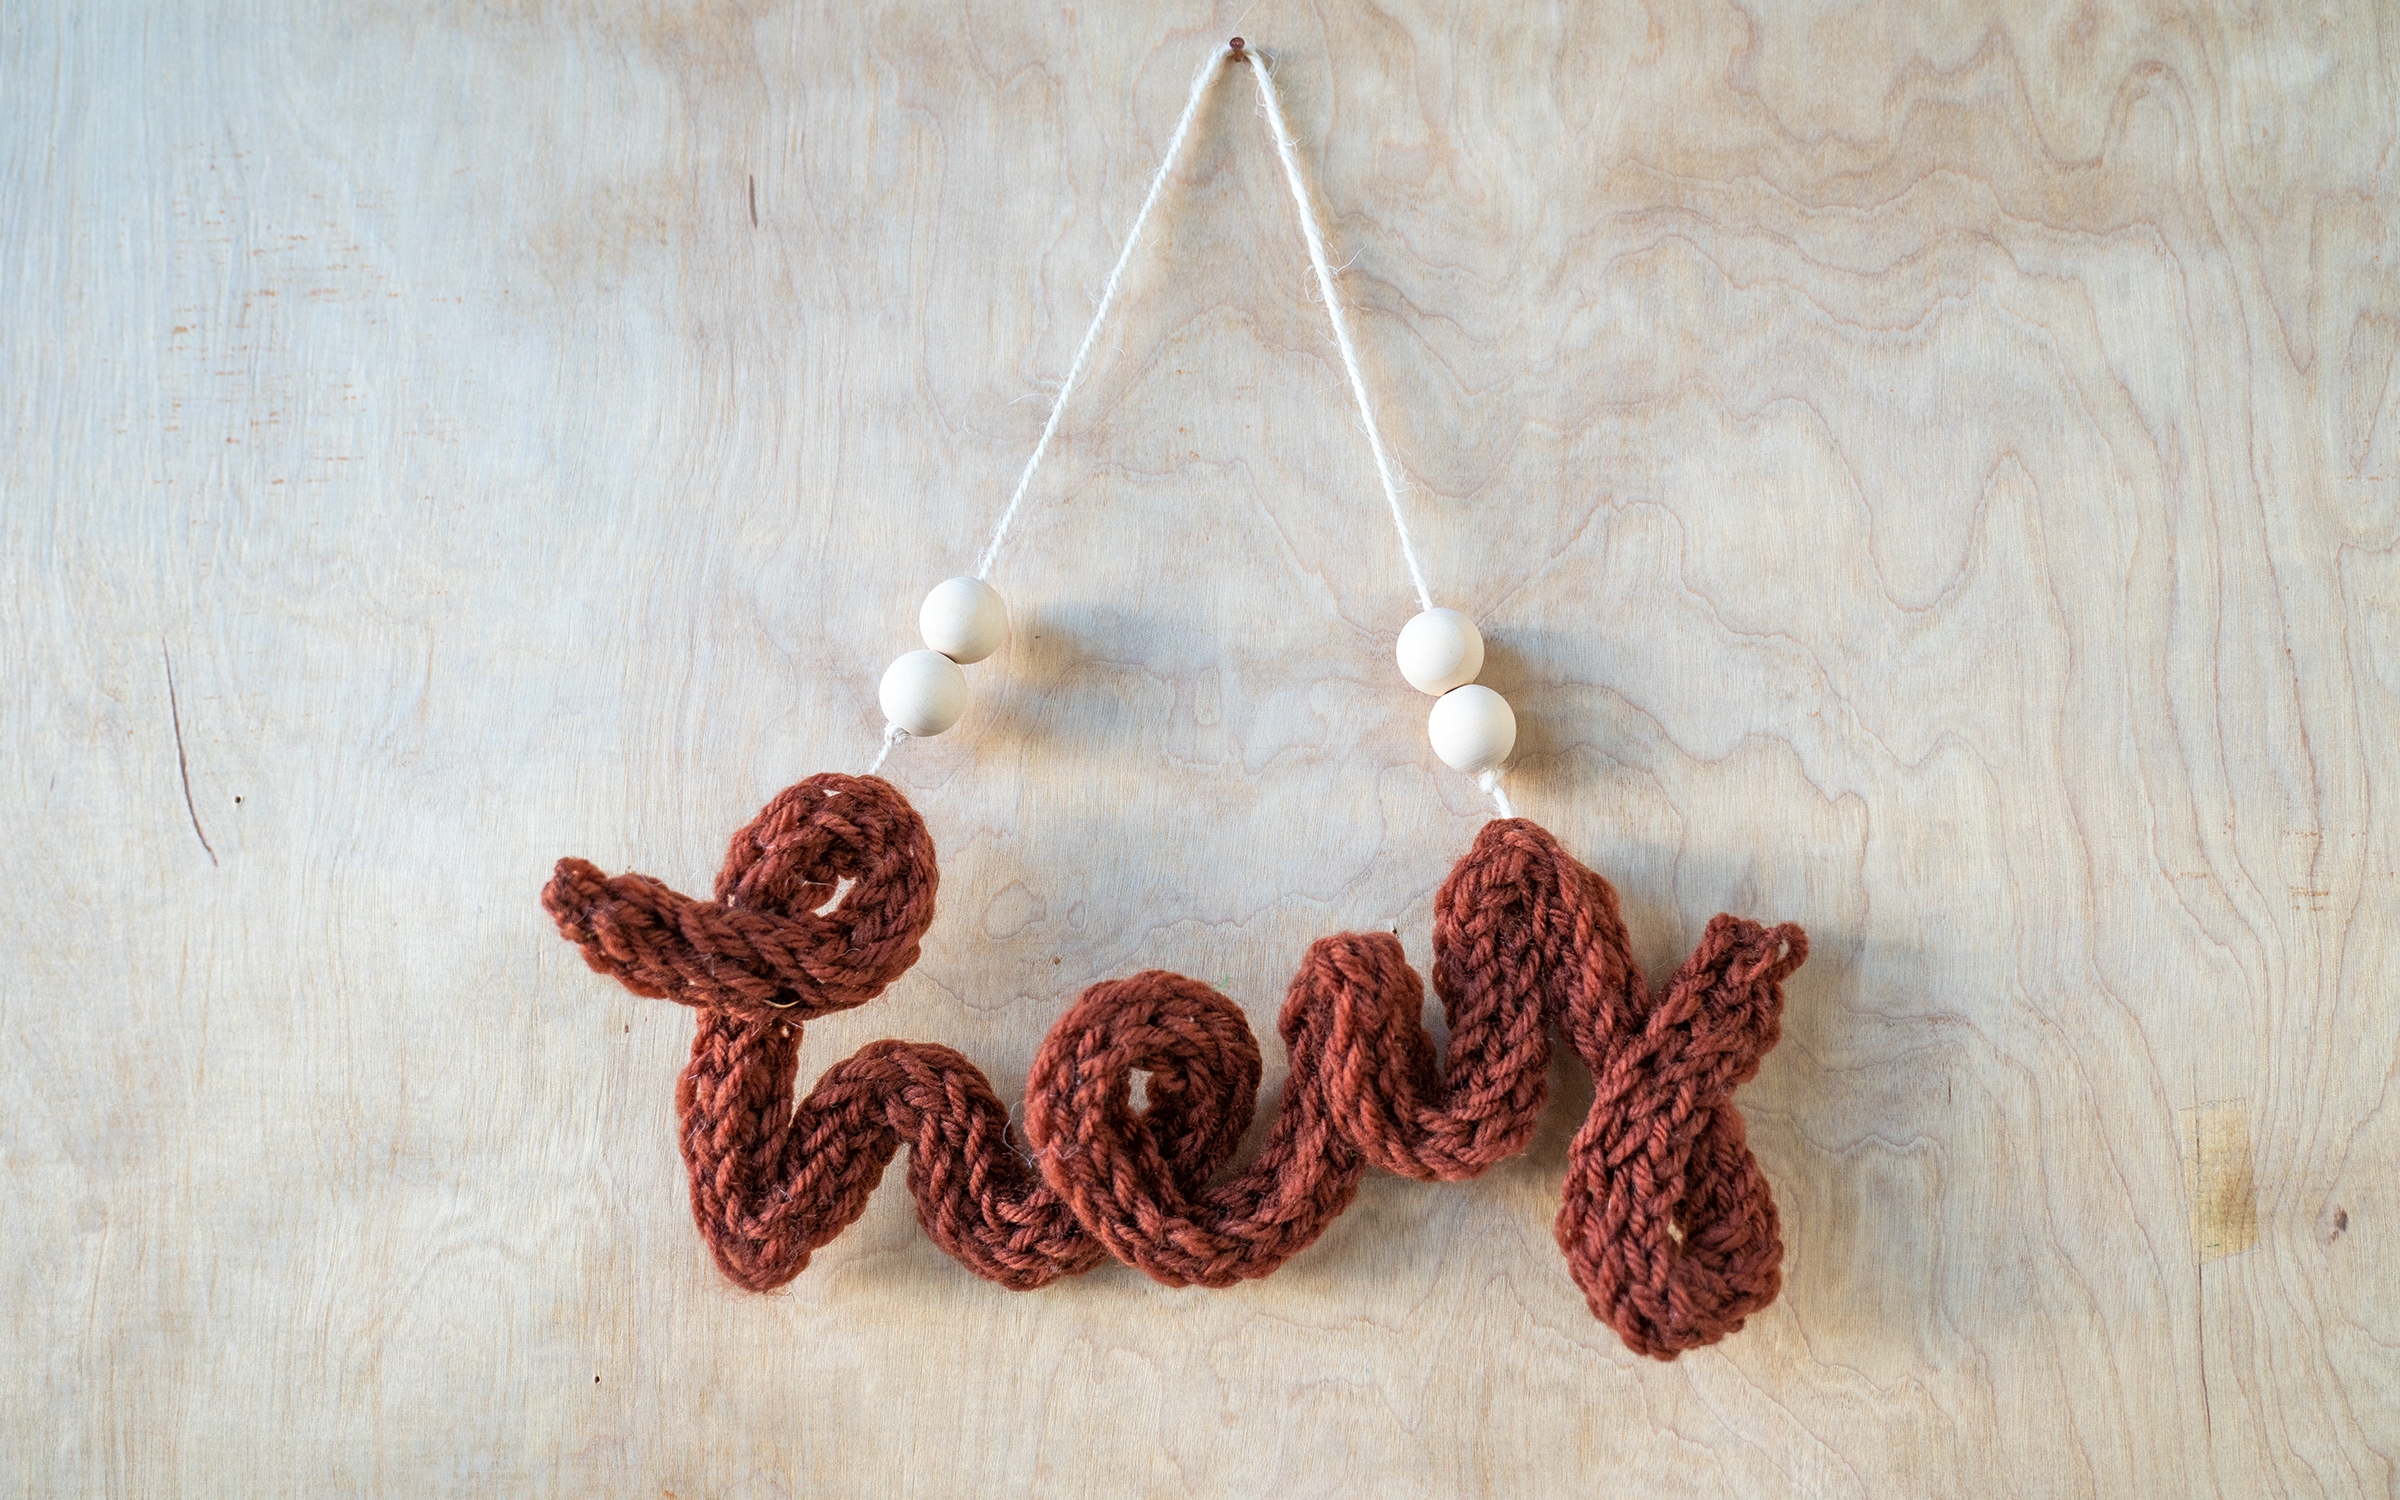
Decorate! We used twine and wood beads to create a hanger for our sign.
Done!