Step-by-step tutorial
Step 1
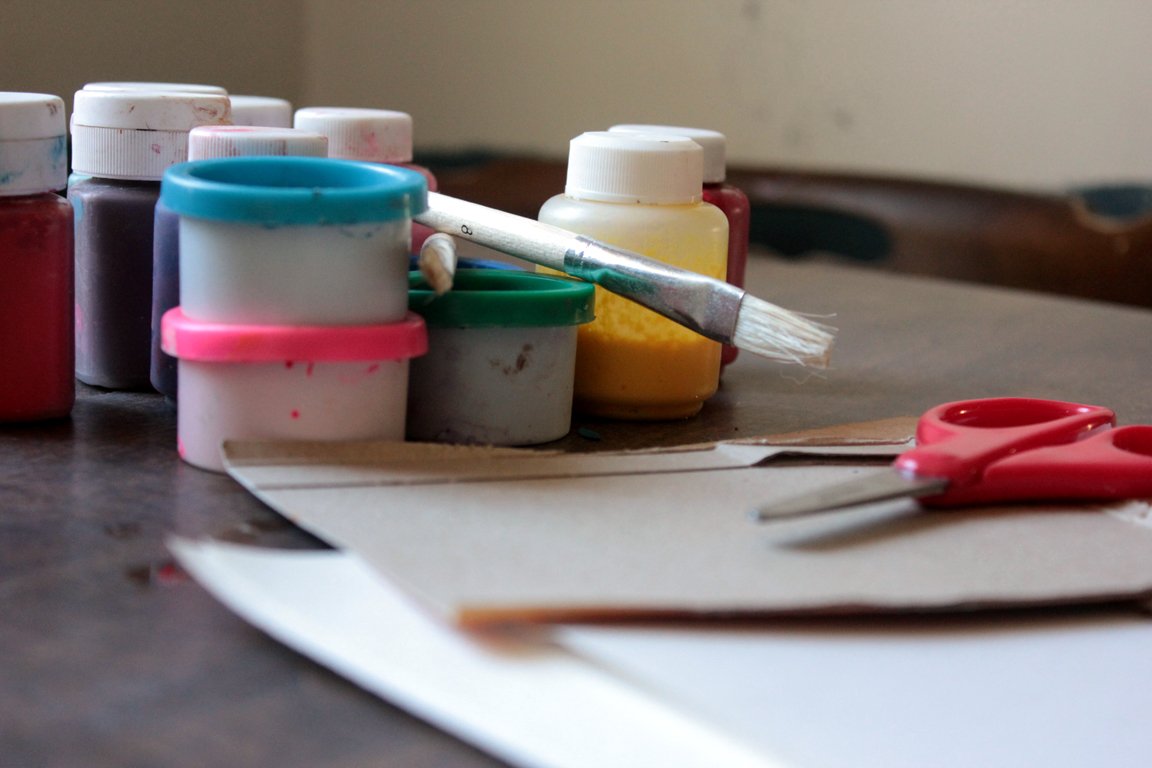
We love to paint in our house, and this time we were using our imaginations and paints to create texture!

Step 2
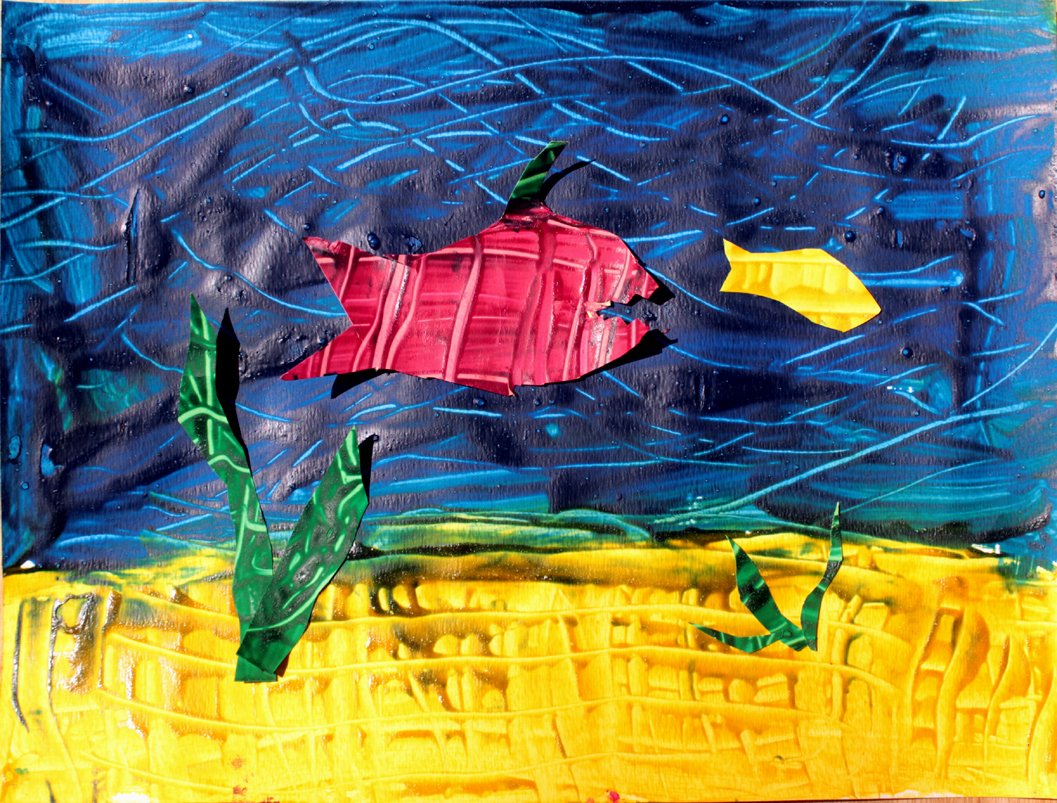
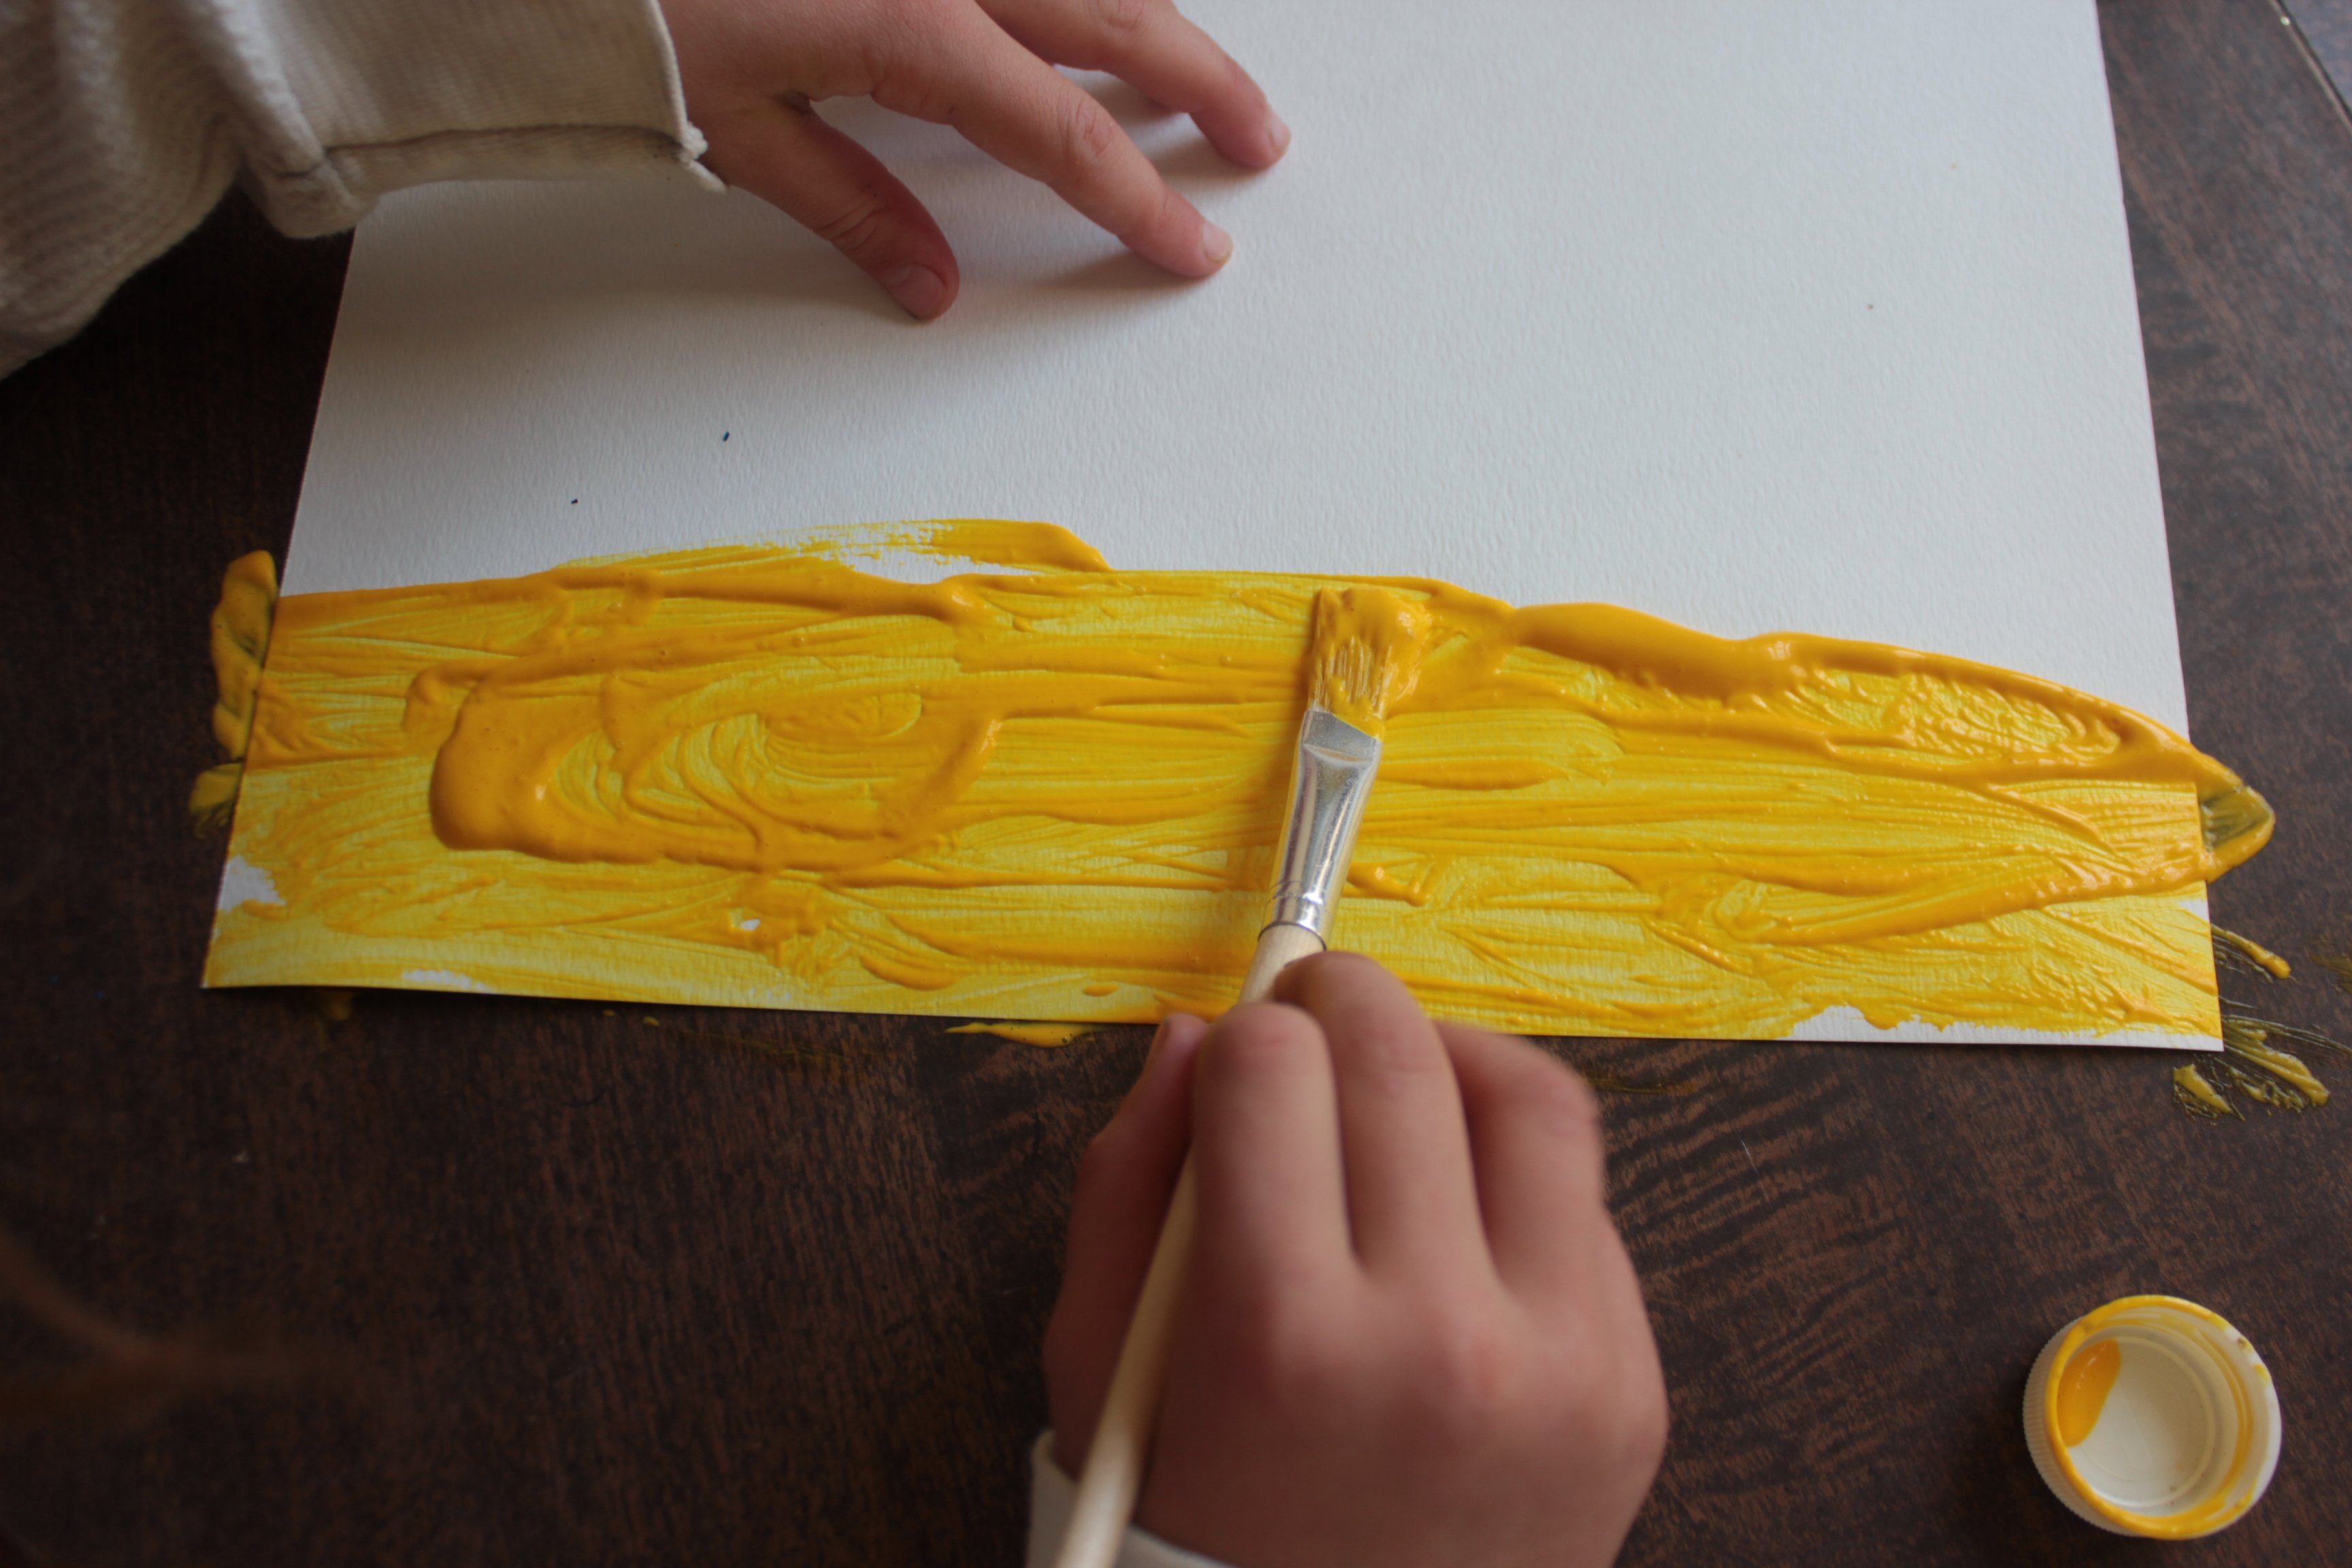
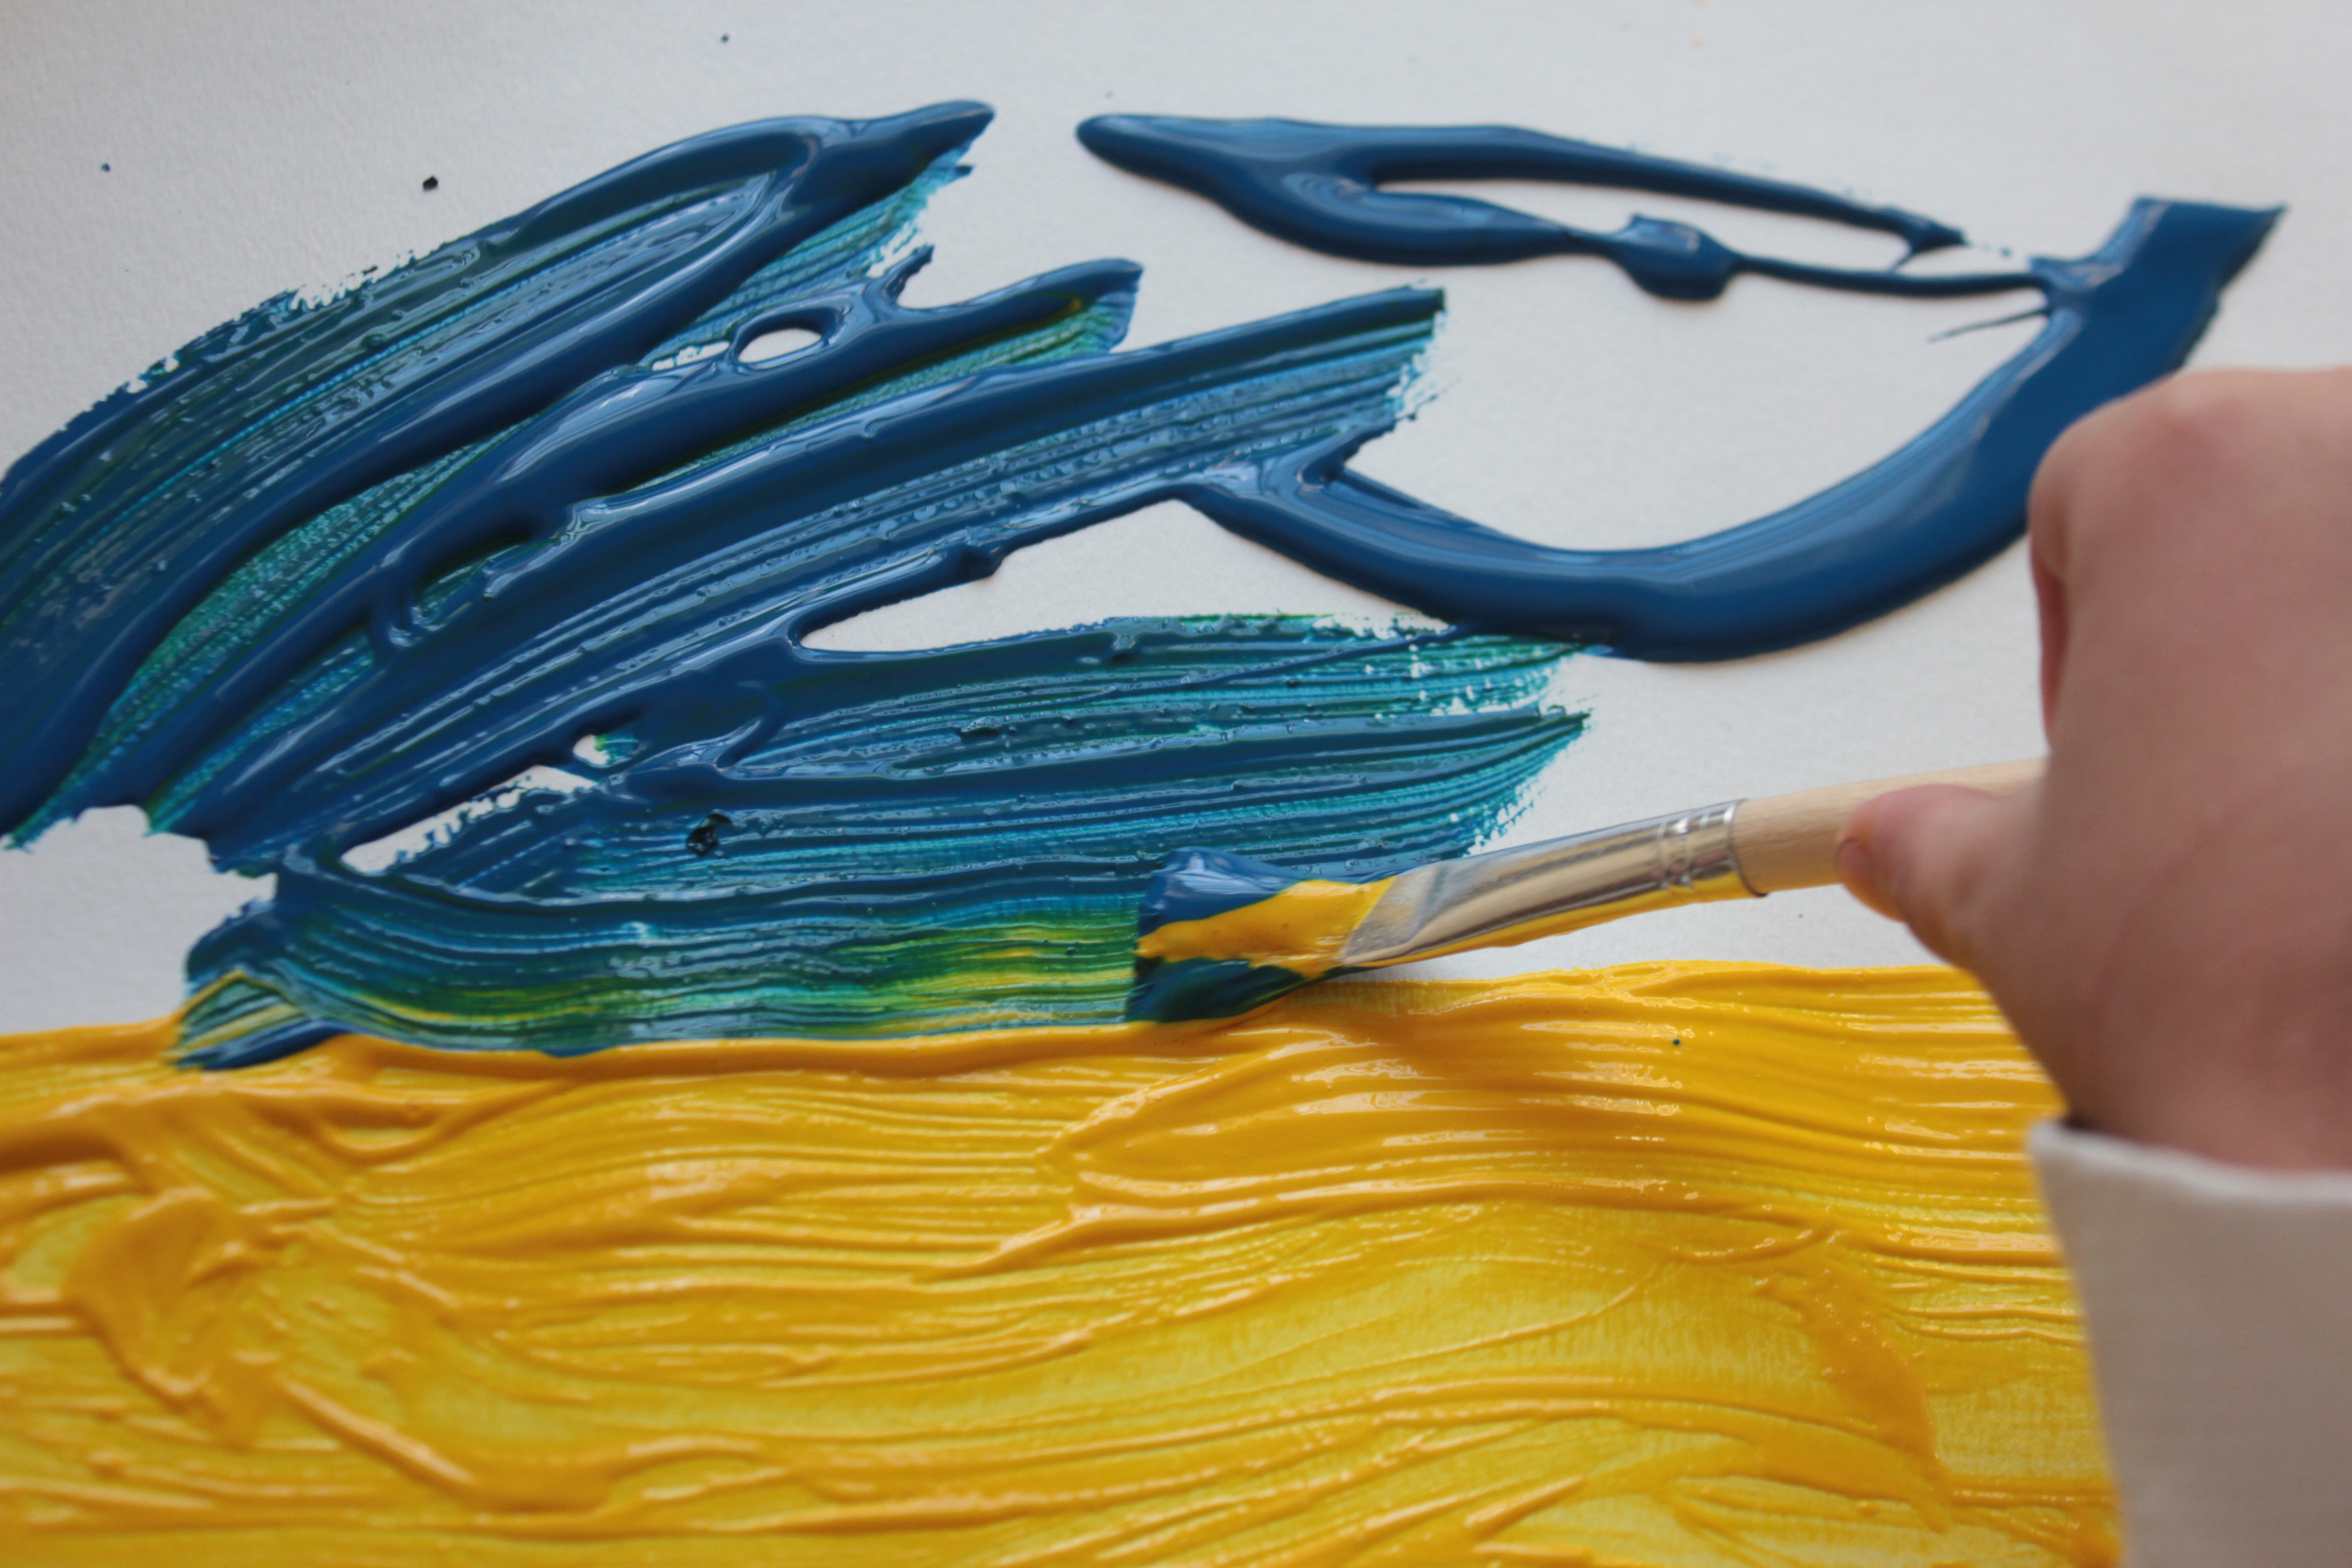
Madeleine had a vision for an under-the-sea picture, so she got right on it. First the bottom of the sea, for the background. She painted it nice and thick.
Step 3
Next came the water! I showed her how to use the paintbrush lightly, so the paint could be spread thickly on the paper.
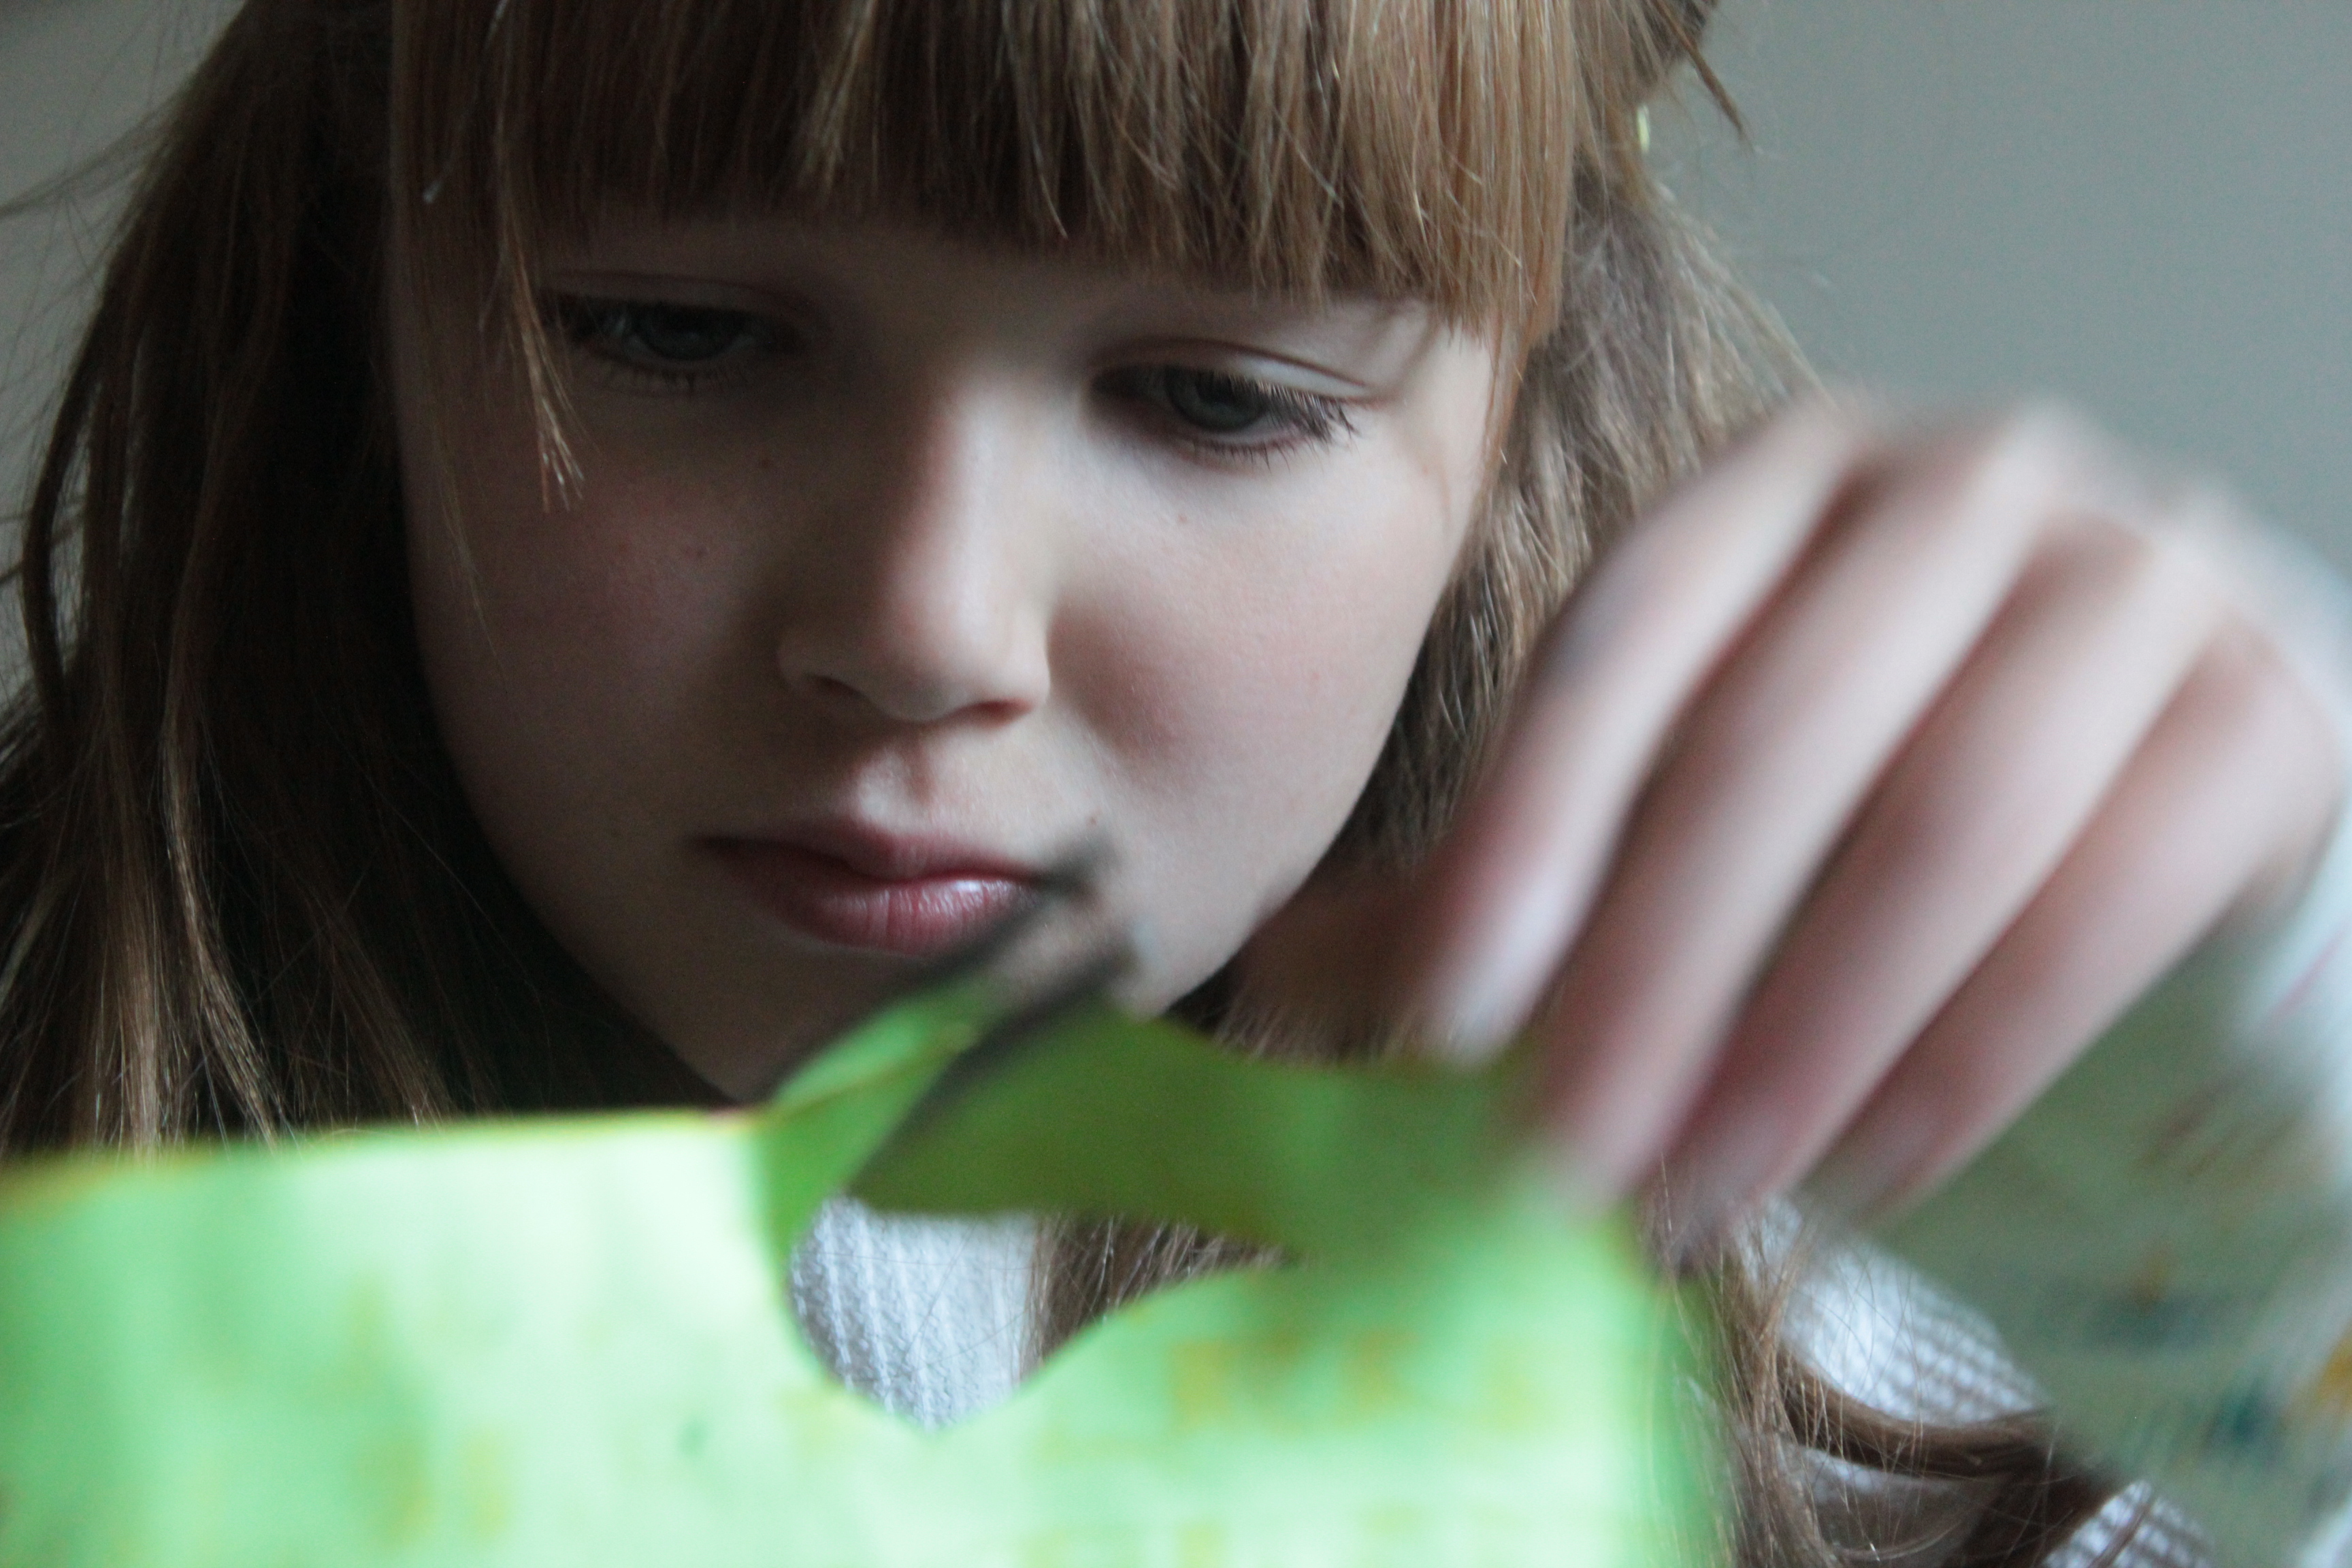
Step 4
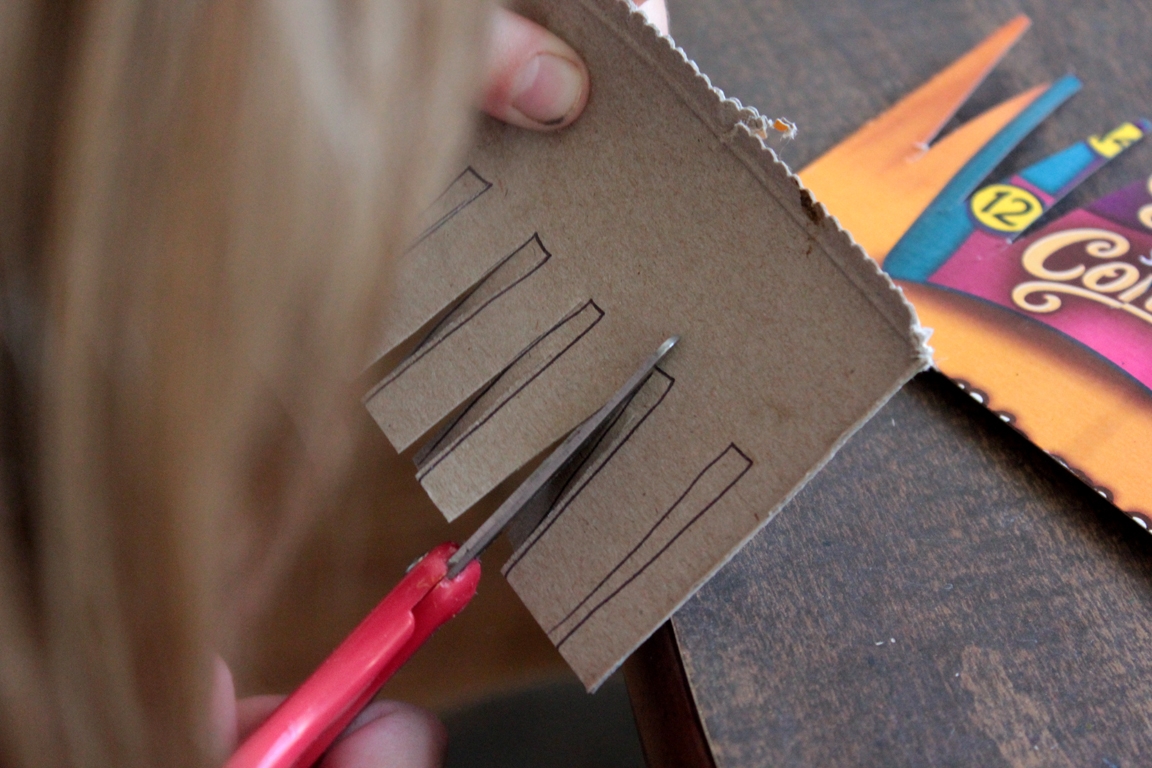
When that was done, we set the painting aside to dry. Now for the combs! Since this was Maddie's first time doing this, to help her to understand the concept, I drew lines on the cardboard for her to cut out "teeth" for the combs. Some were wide teeth, some were small and pointy.
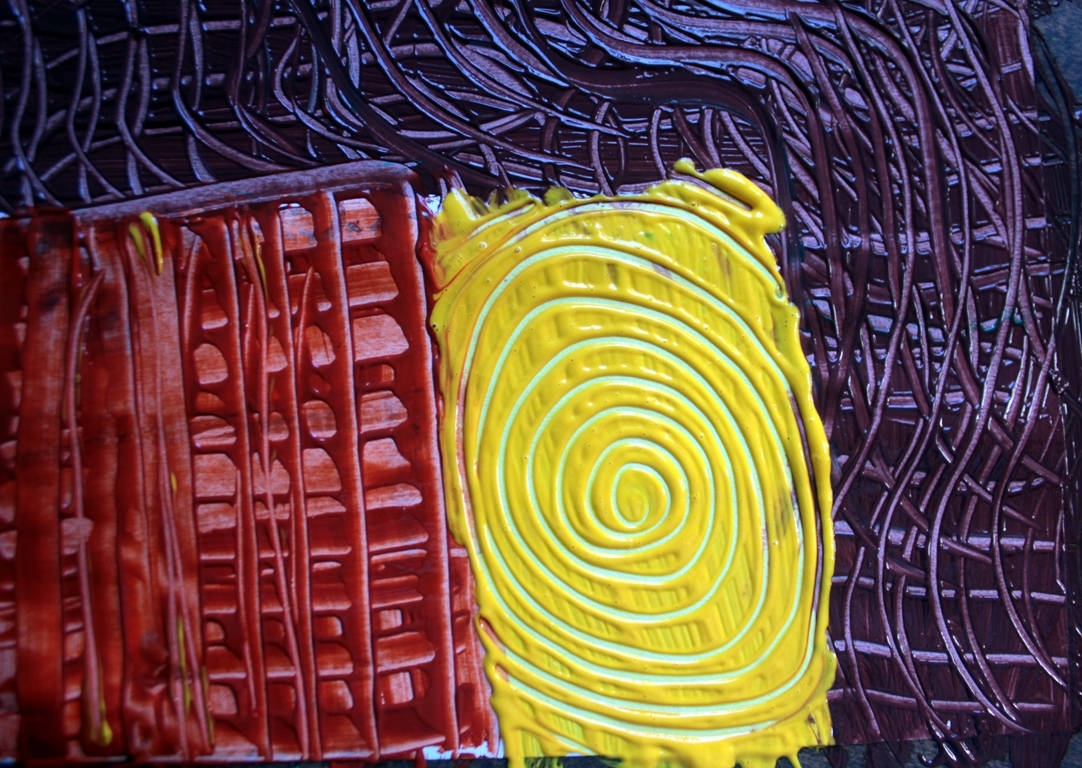
Step 5
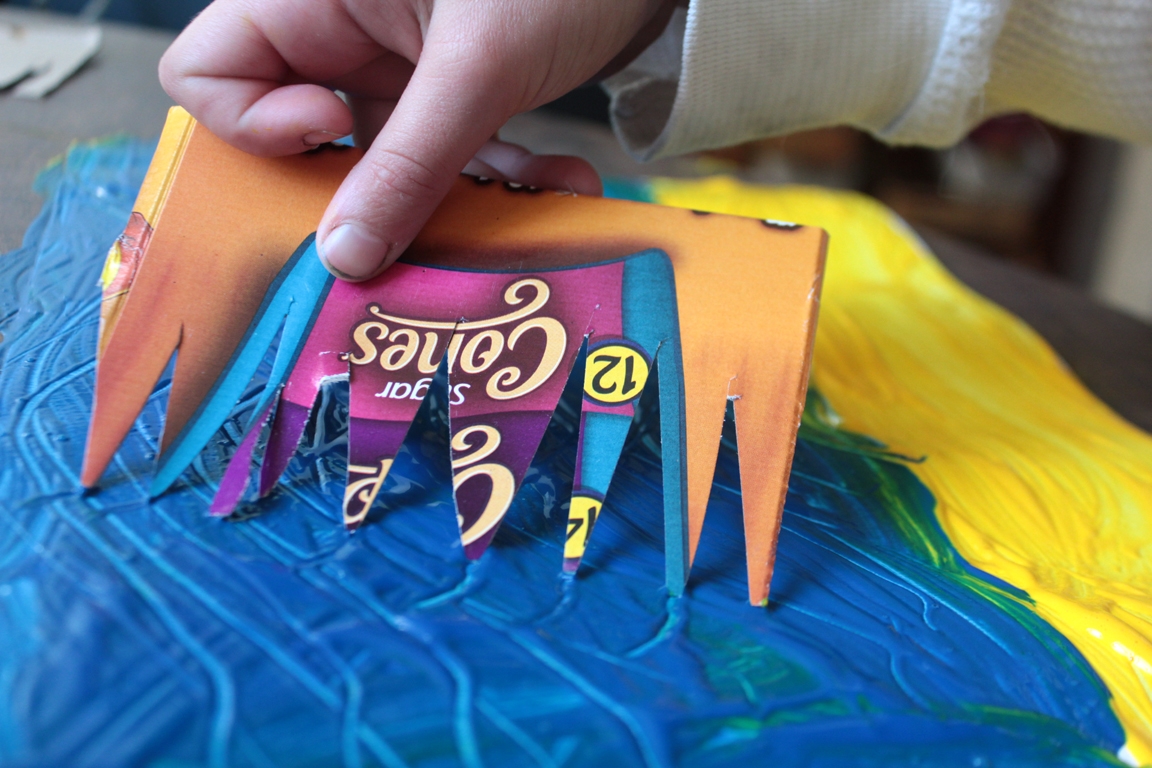
Next came making the textures! Maddie just dragged the comb through the sea, and then the sand. Crossing lines (horizontal and vertical) makes interesting patterns, too!
Step 6
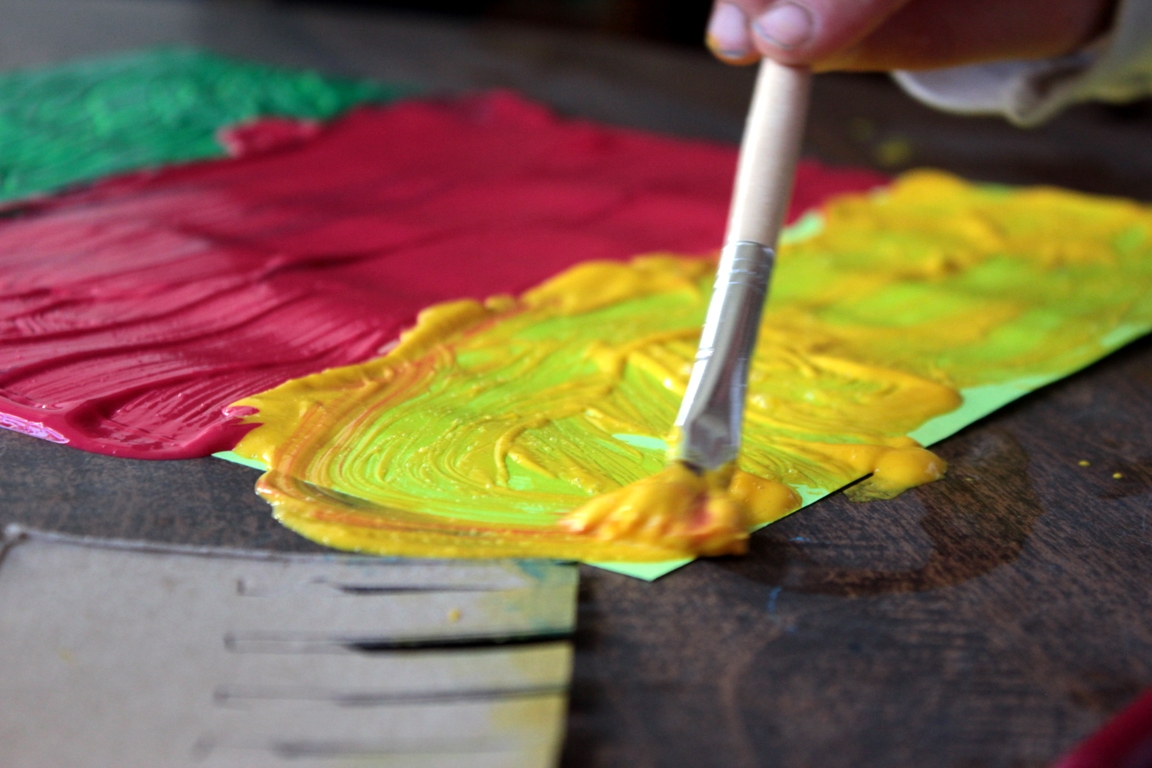
When her background was finished, she painted another piece of paper--this time on a piece of construction paper. This would be used for the collage cutouts.
Step 7
She created more textures (the spiral pattern was made with the end of the paintbrush).... and then left the painting to dry.
Step 8
When the paintings were dry, she cut out collage shapes.
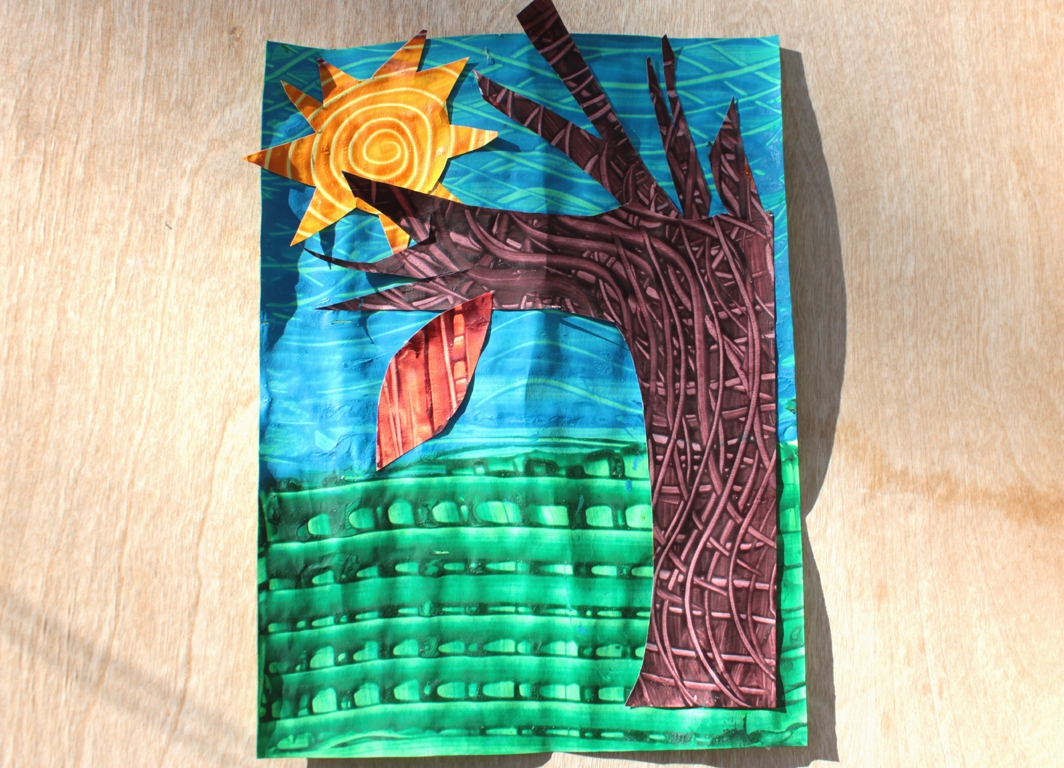
Final result!
We glued on our shapes, and the paintings were done! If they've curled some, just weigh them down with books or something after they've dried. So bright and beautiful!