Step-by-step tutorial
Step 1
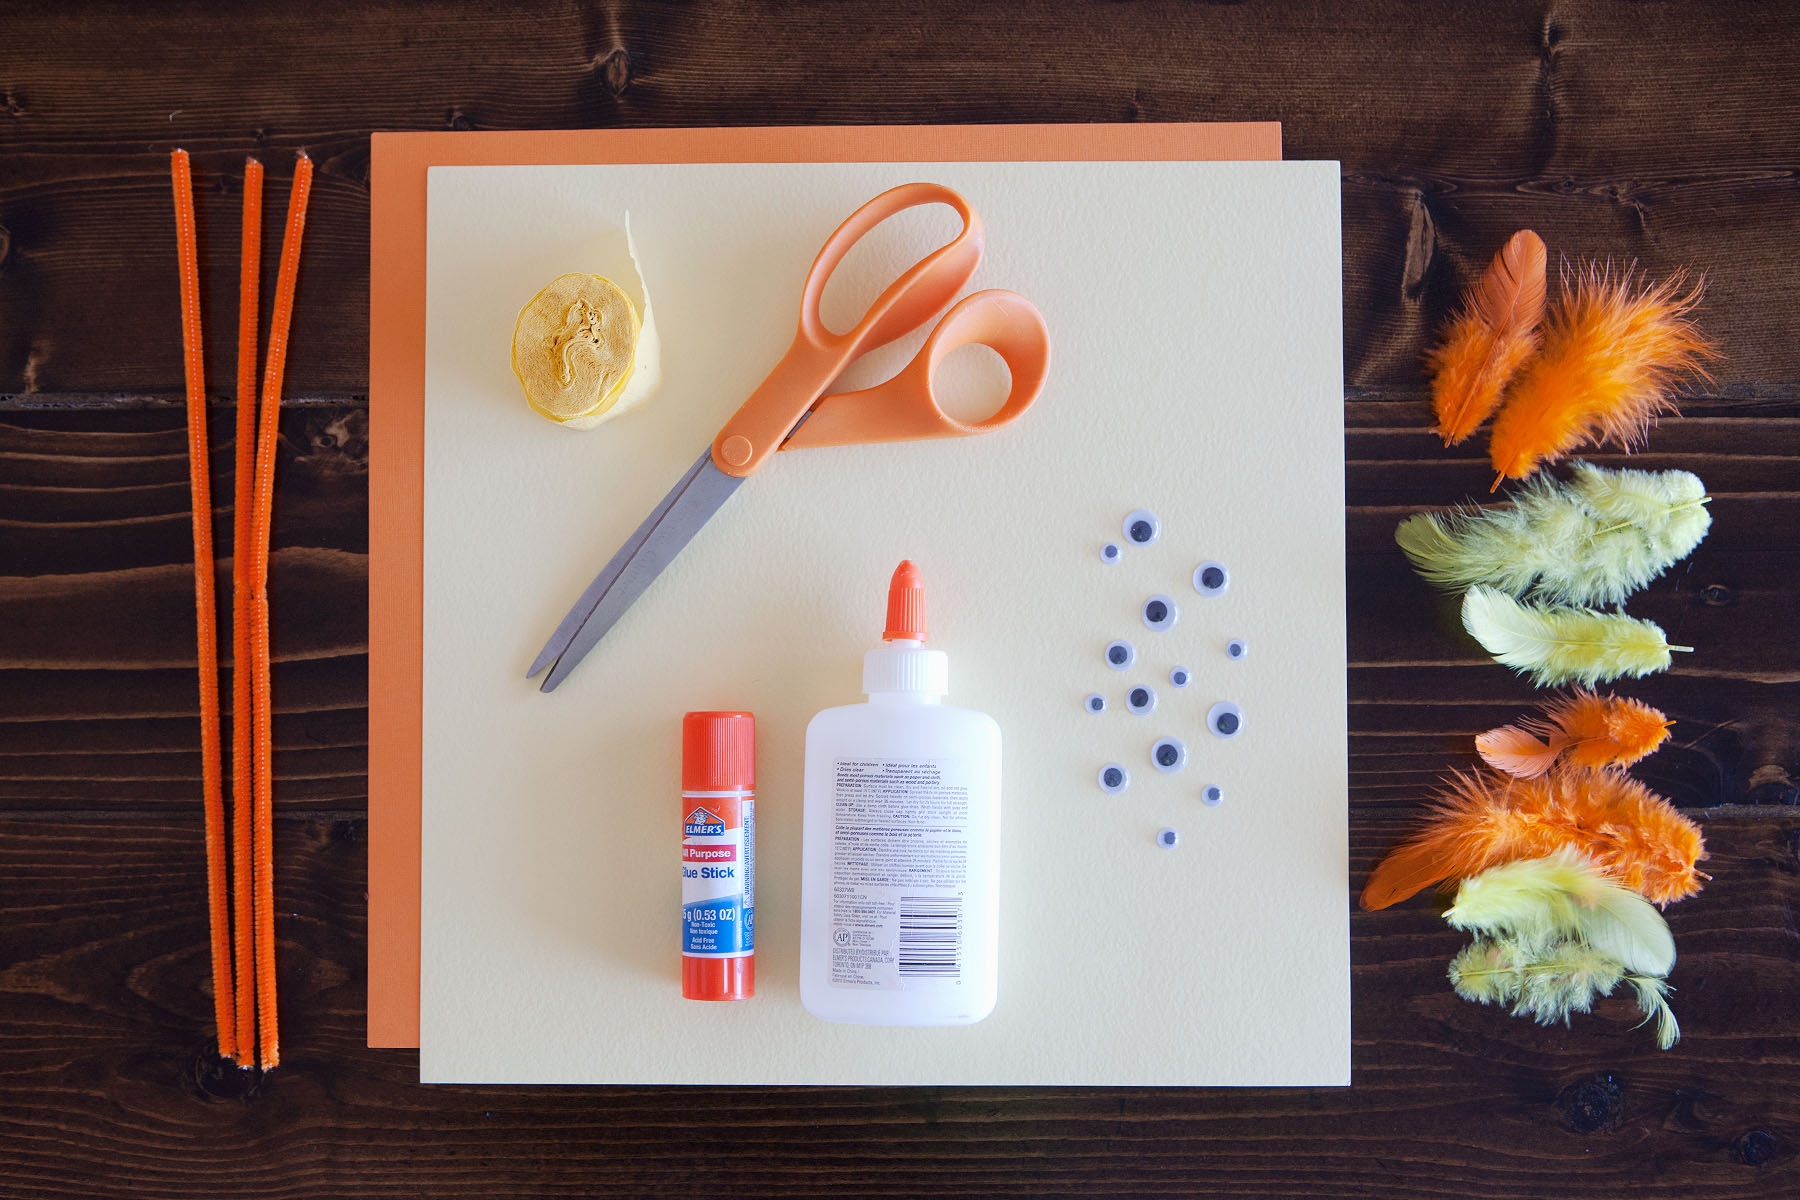
First we gathered the materials for our project. The next thing we did was to cut a medium-sized circle out of the yellow cardstock for the chick's body.

Step 2
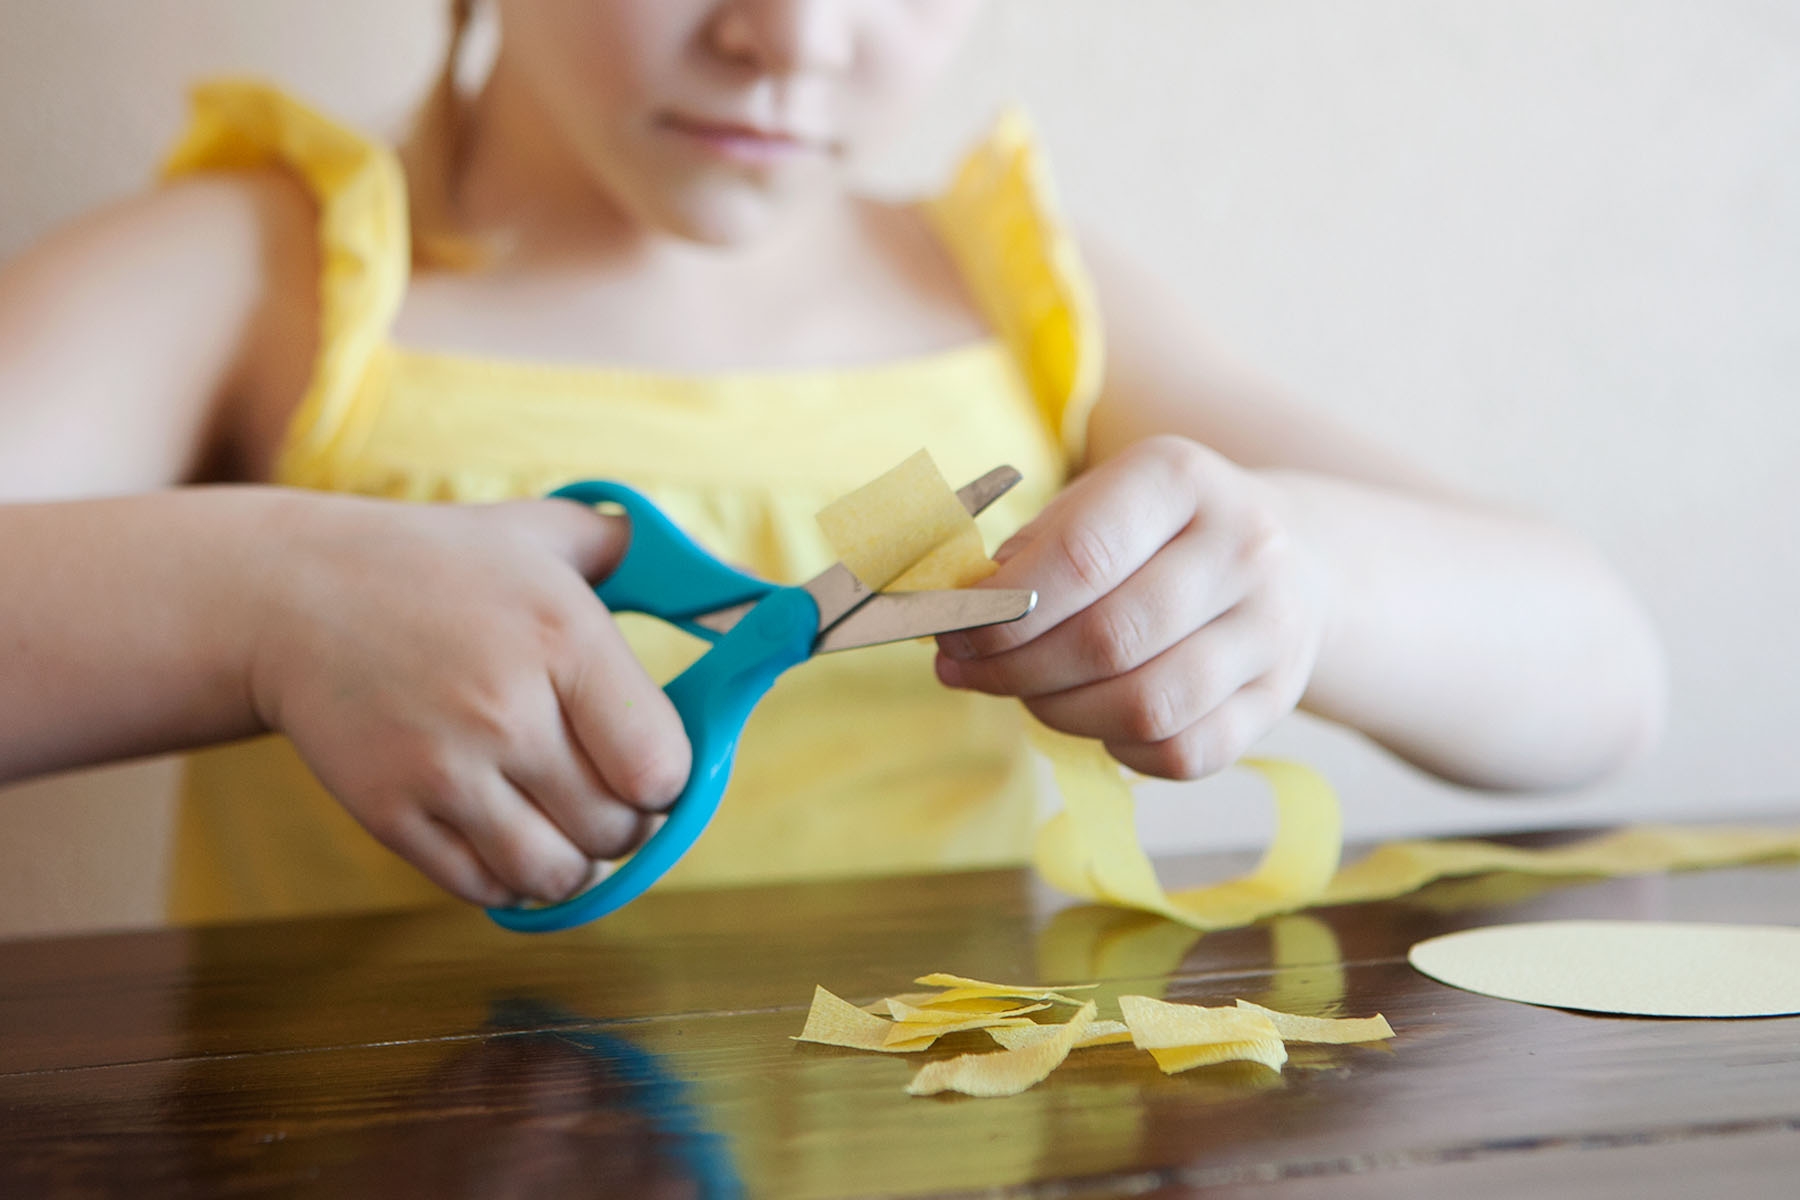
Next we began cutting our tissue paper (or crepe paper) into small square pieces.
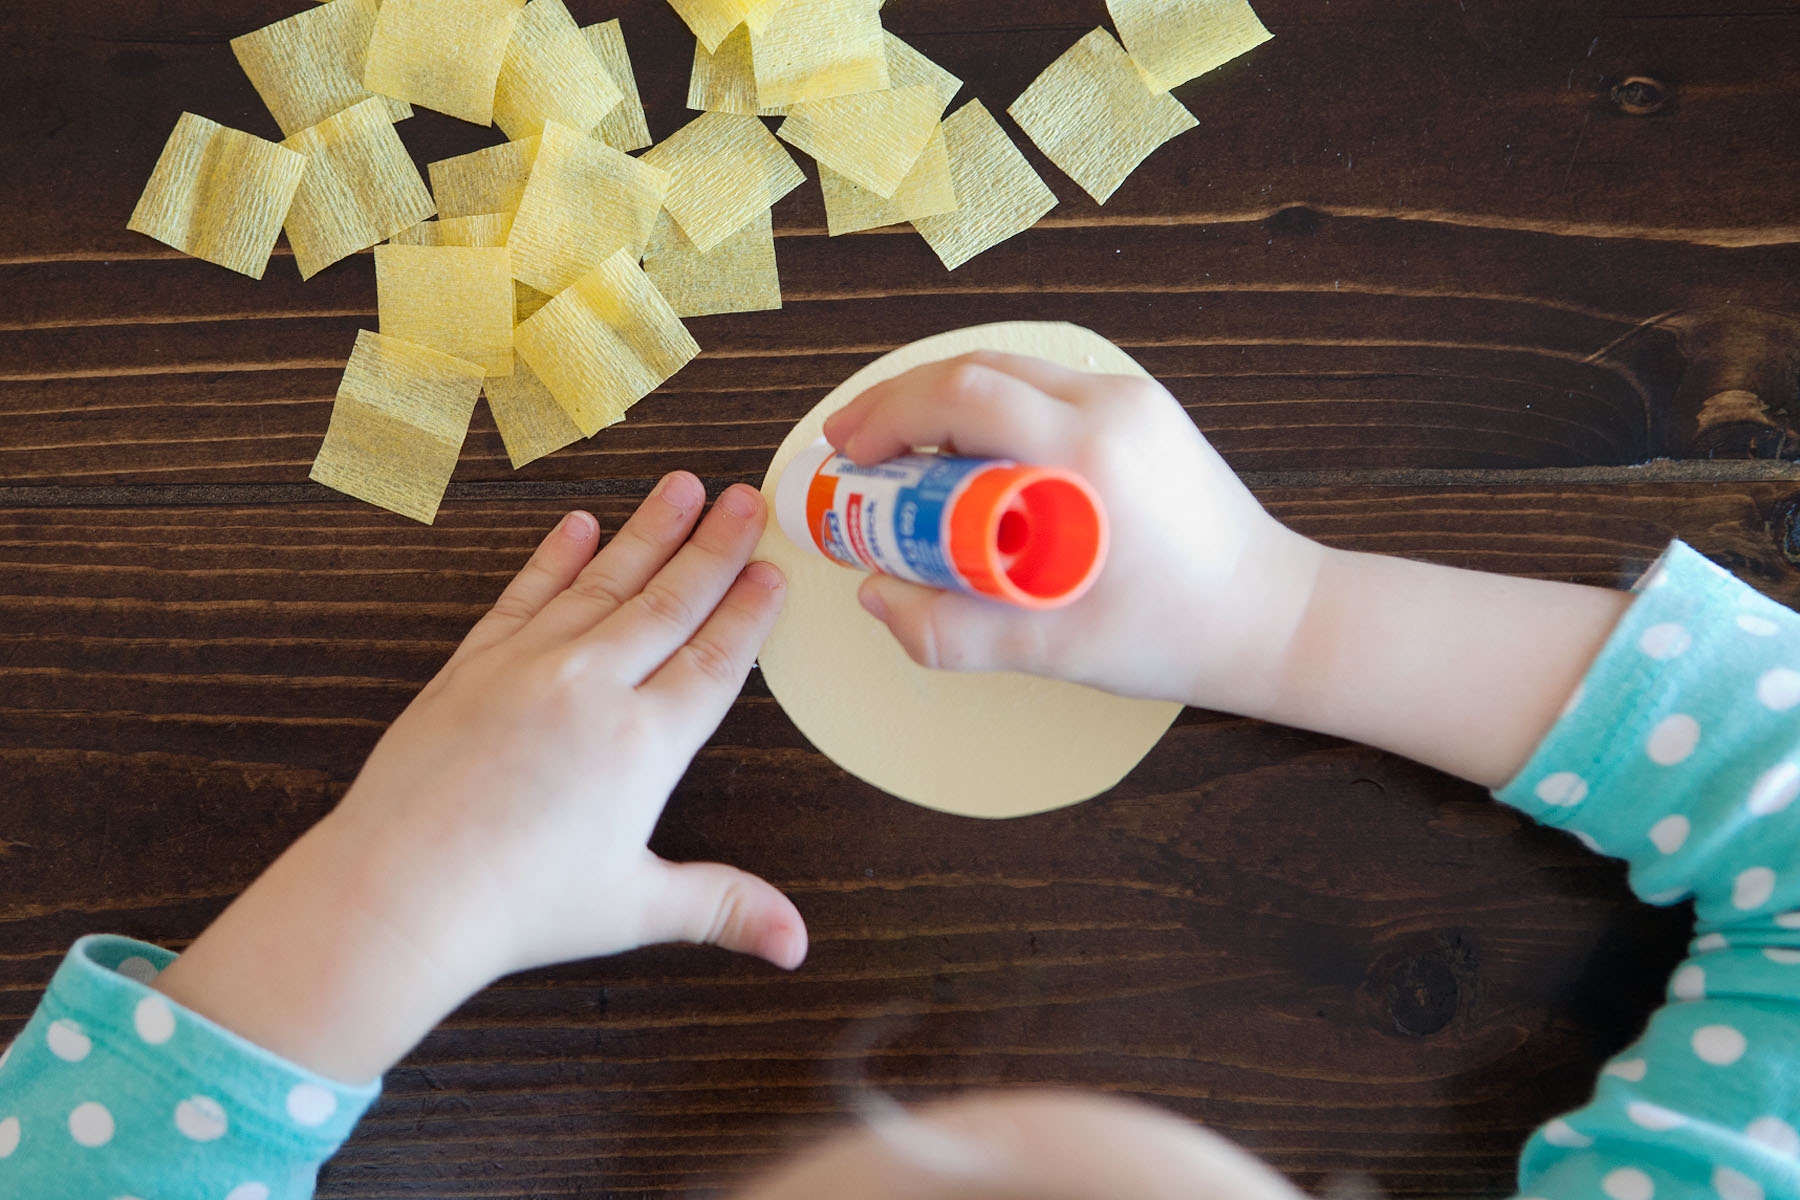
Step 3
Now we covered the yellow paper circle with glue.
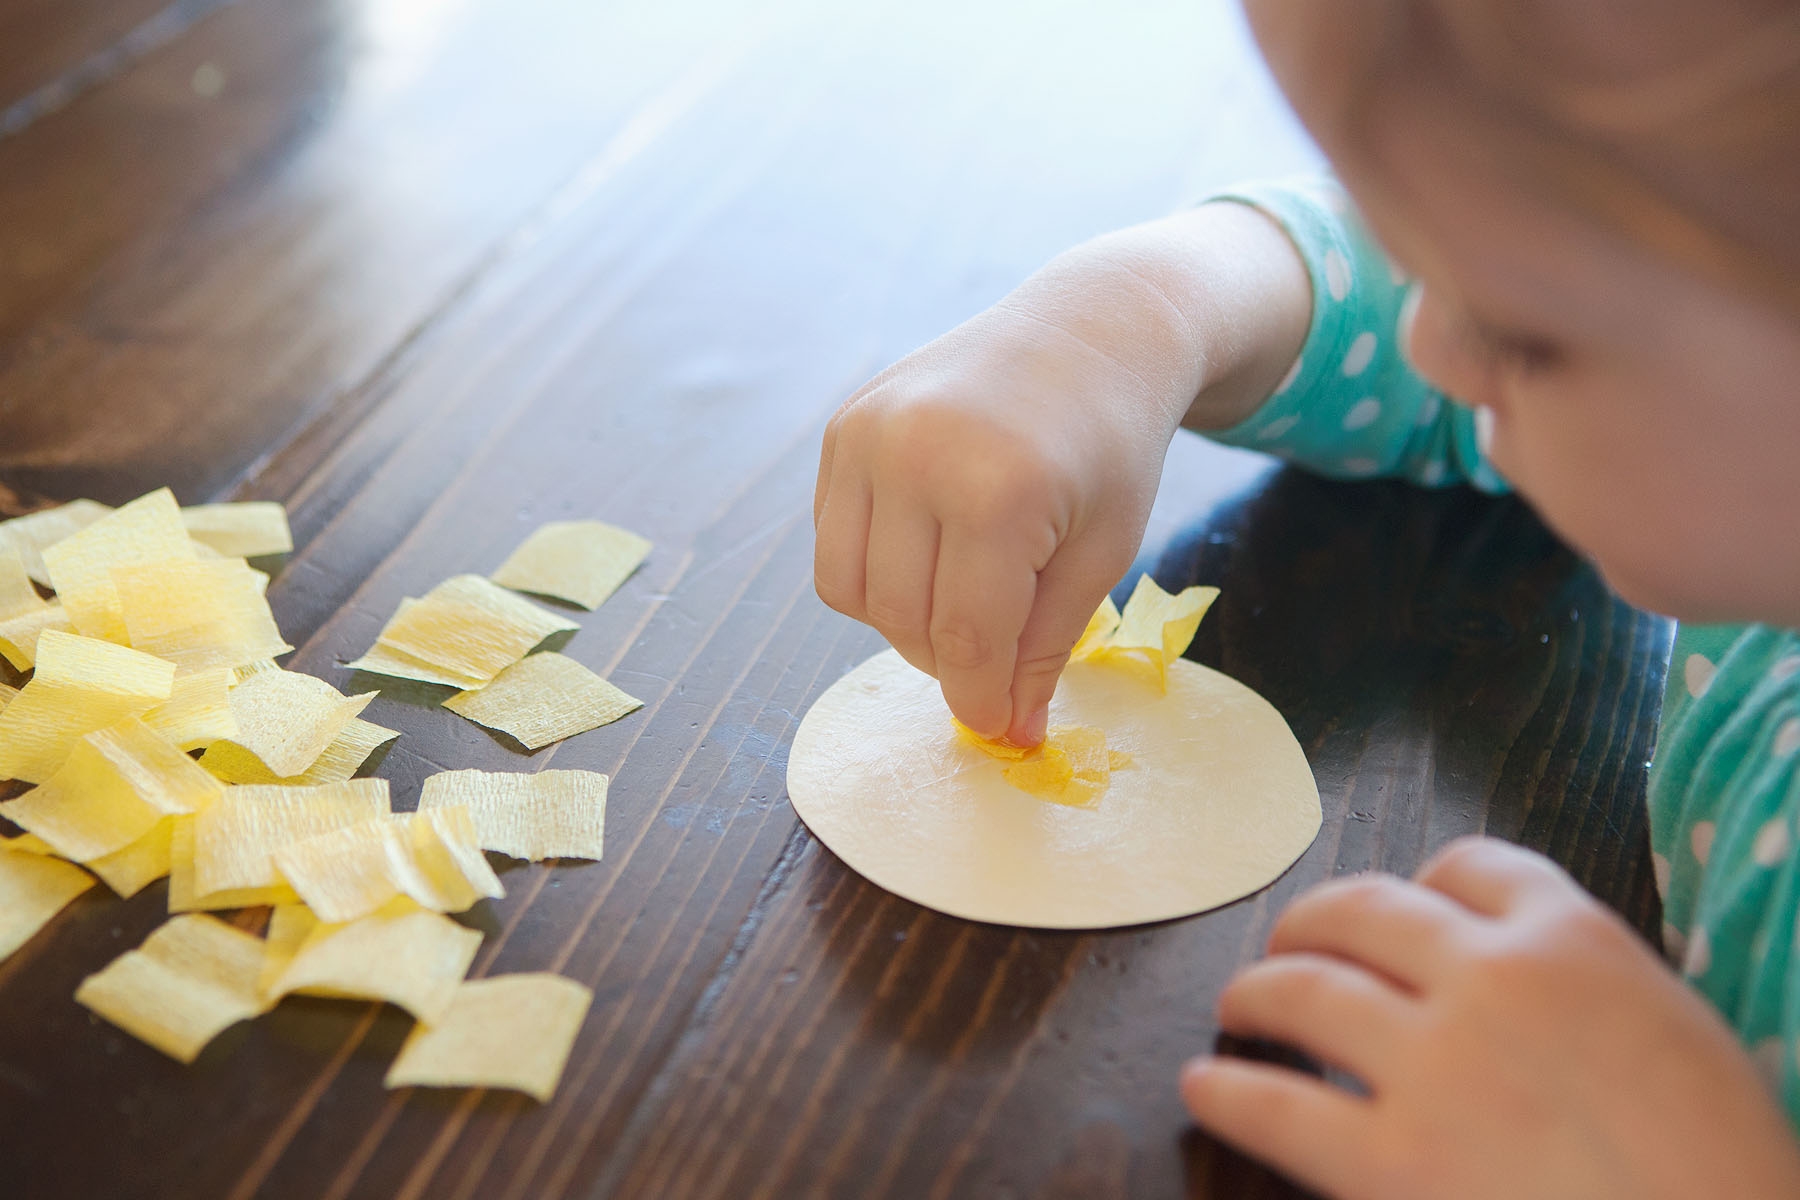
Step 4
Taking our little yellow squares of tissue paper, we scrunched them up and stuck them on the yellow paper circle. We kept doing this until the whole circle was full of fluffy pieces of tissue paper.
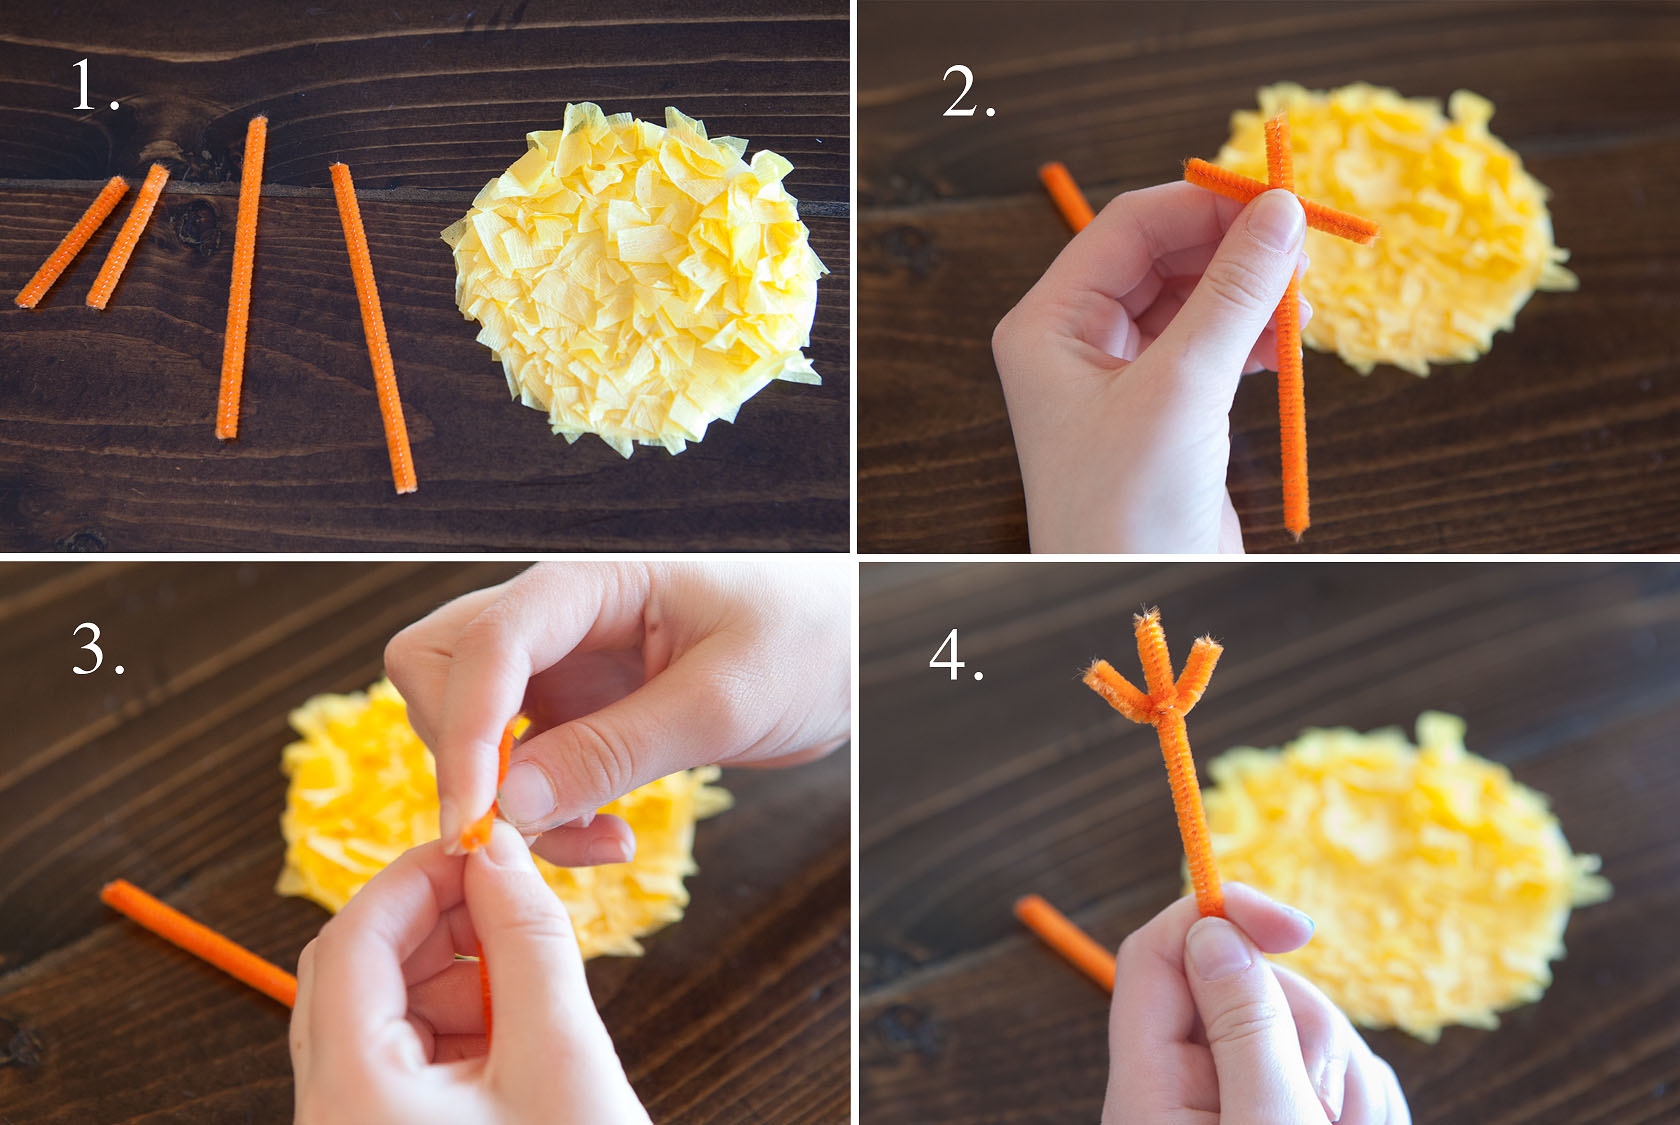
Step 5
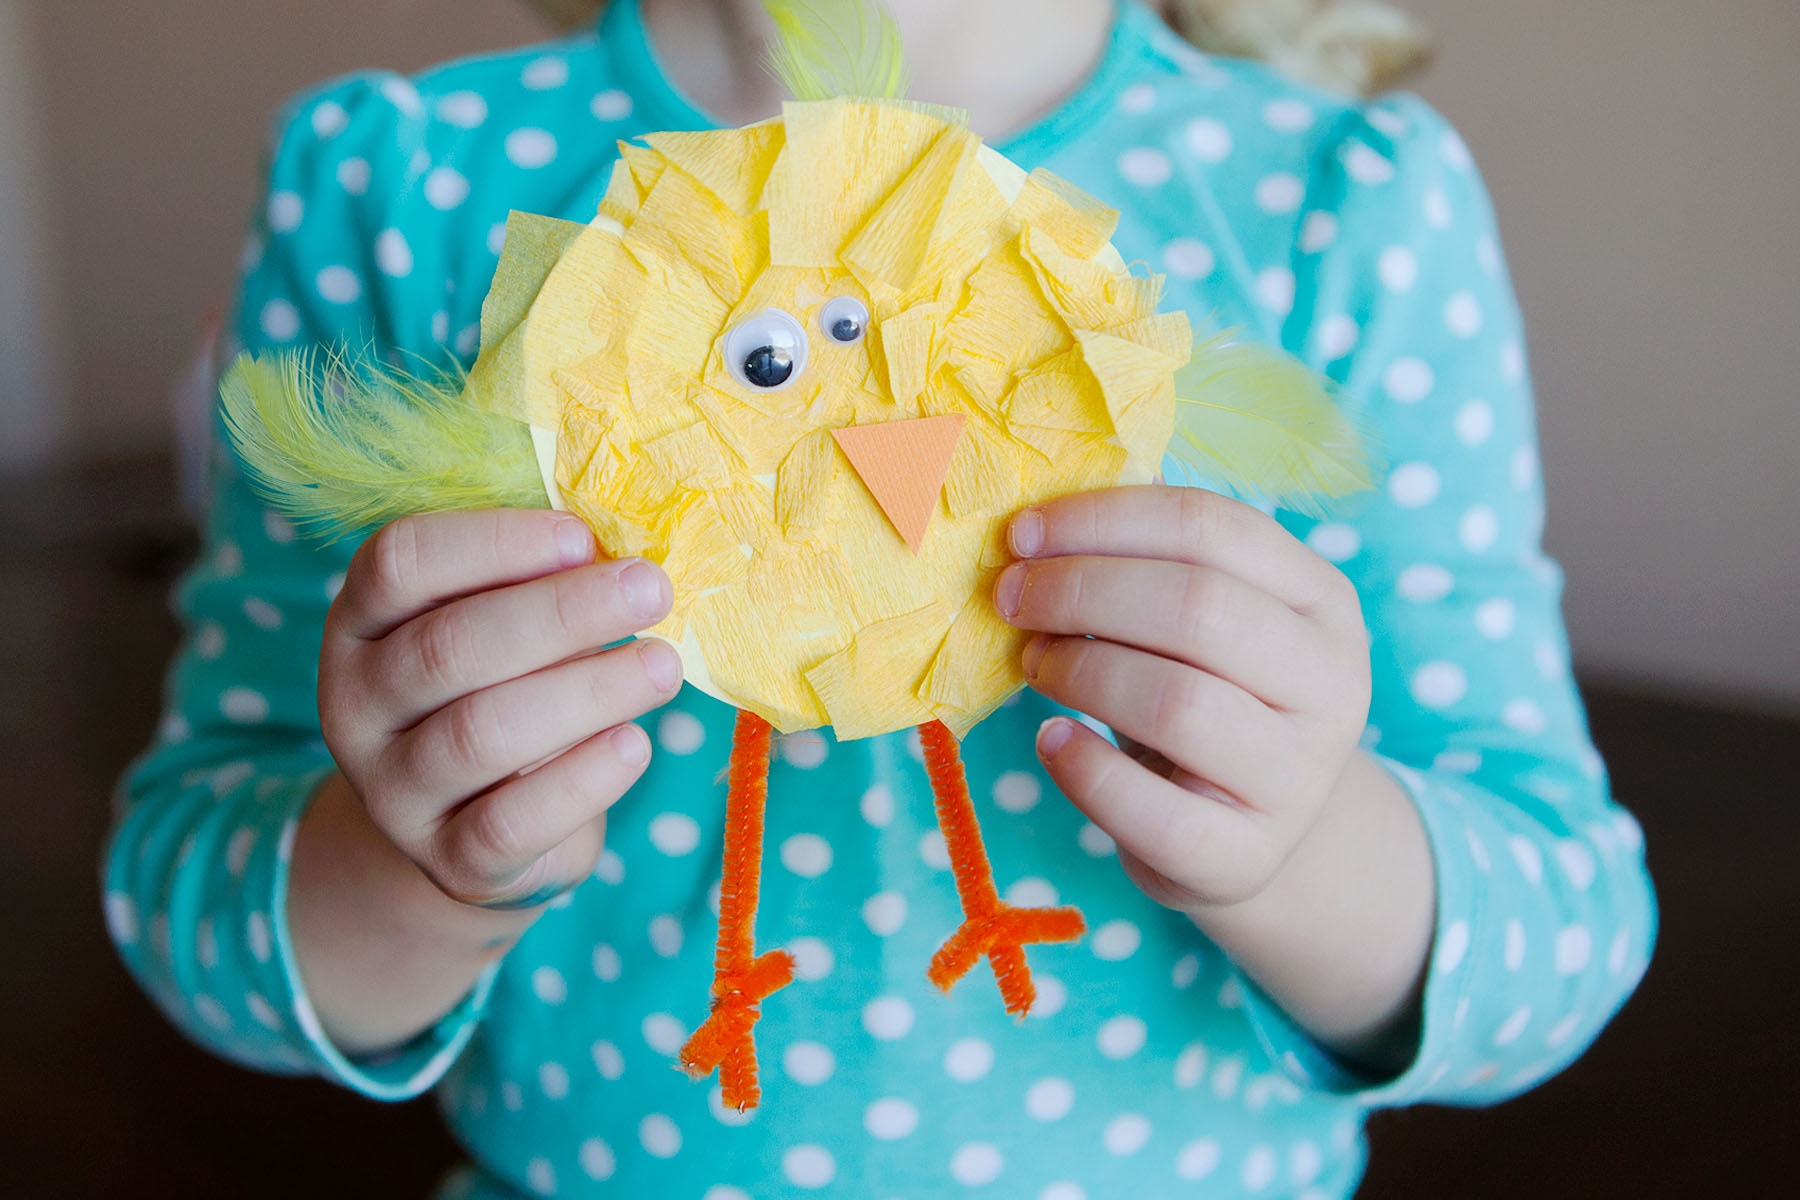
Next we made some legs for our baby chick out of pipe cleaners. We cut two pieces of pipe cleaner for each leg, one longer one and one little short one. Taking the two pieces we twisted the small one around the longer on near the end to make the chicks feet. We attached the legs to the back of the chick using glue or tape.
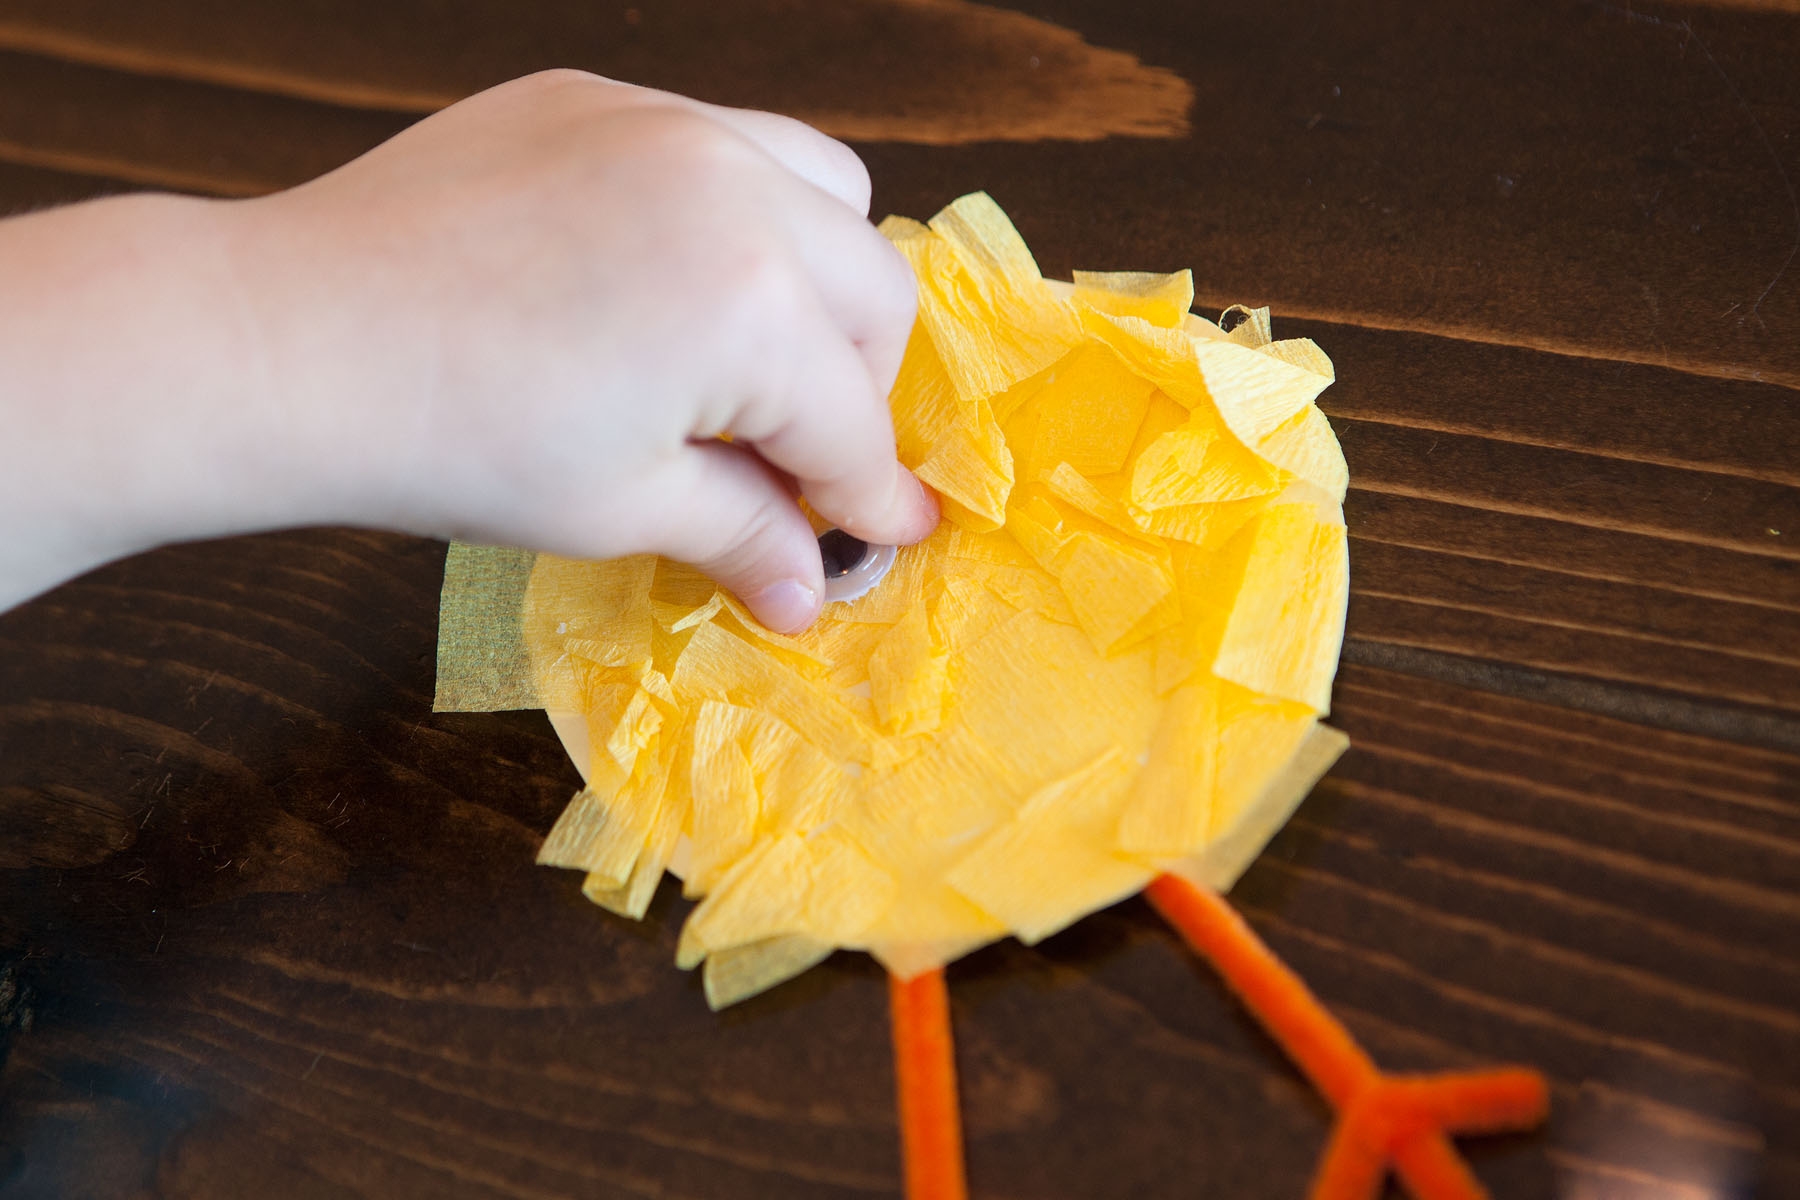
Step 6
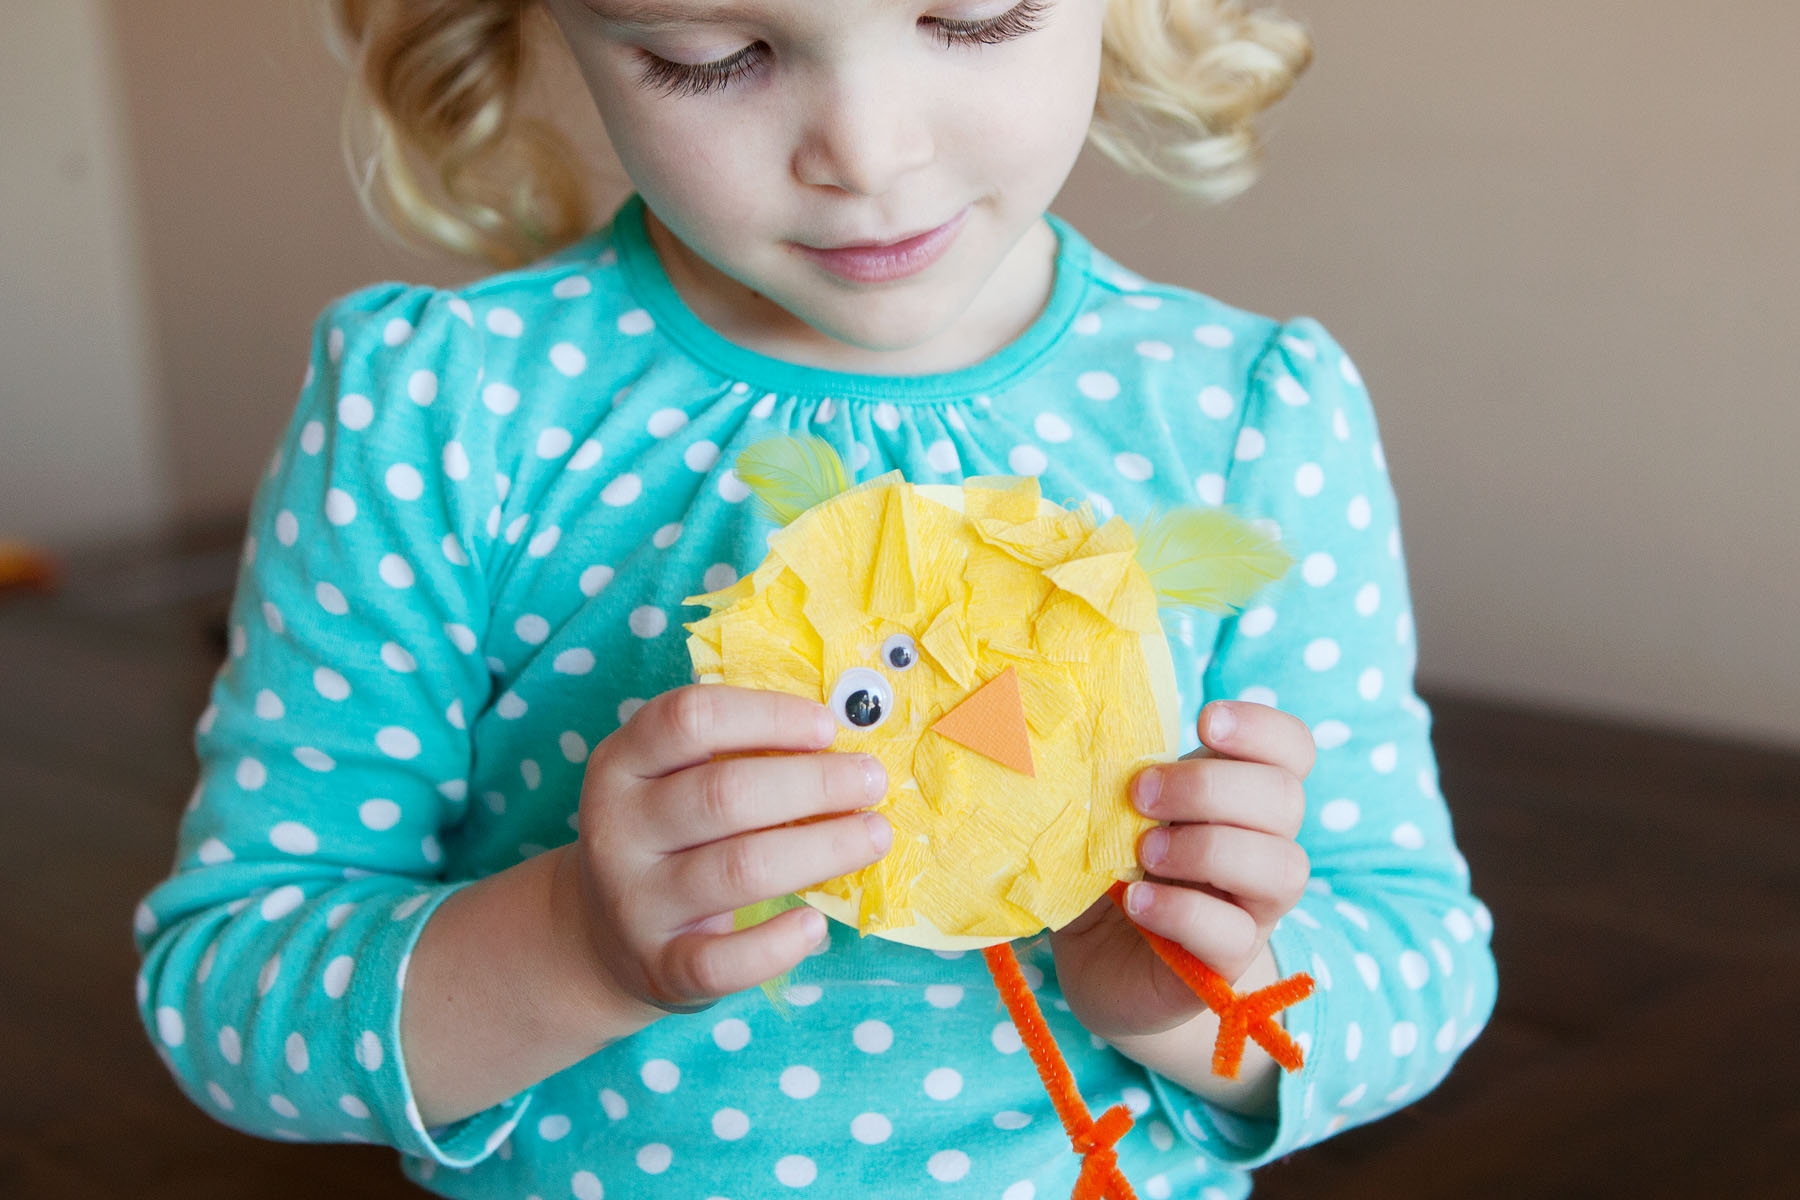
For the finishing touches we added googly eyes, a small triangle cut out of orange paper for the beak and feathers for the wings.
Final result!
After our chicks were all done we talked about their fluffy feathers, their smooth beaks and their soft pipe cleaner legs. The kids enjoyed this little activity and especially enjoyed playing with their chicks afterwards.