Step-by-step tutorial
Step 1
If you want to decorate, but don't have sequins, use a hole punch to make some pretty, light dots for your butterflies!

Step 2
We folded a piece of paper in half, to make a template. Maddie drew on a large, half butterfly shape...
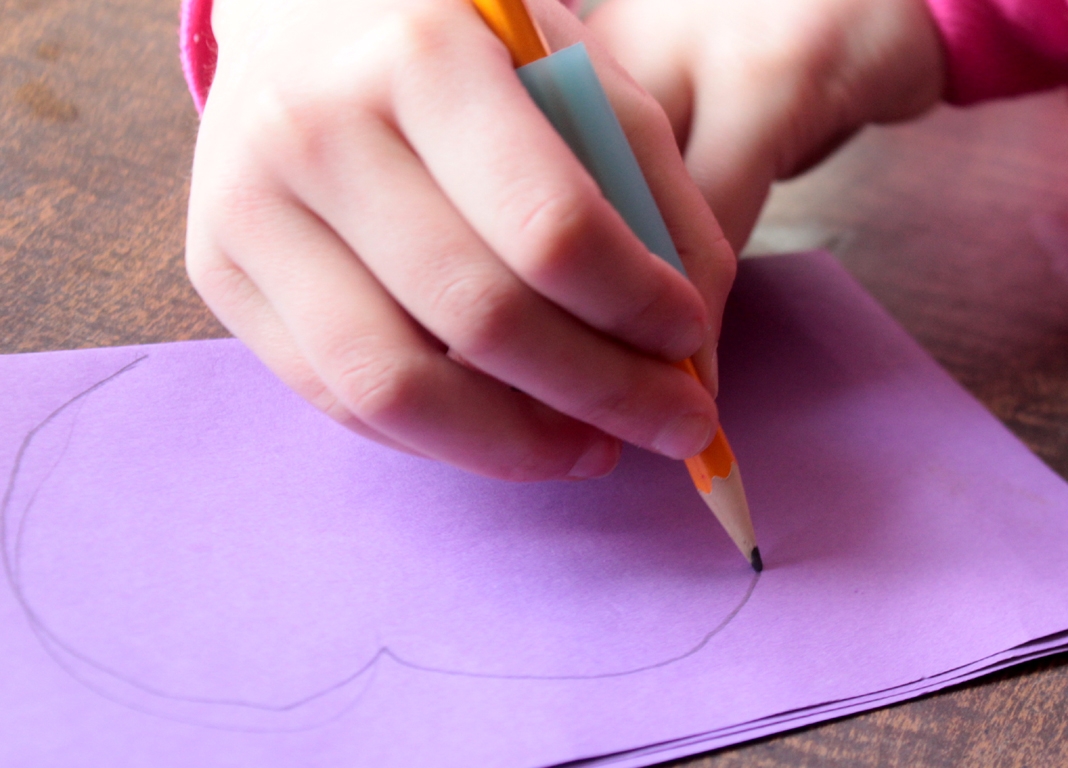
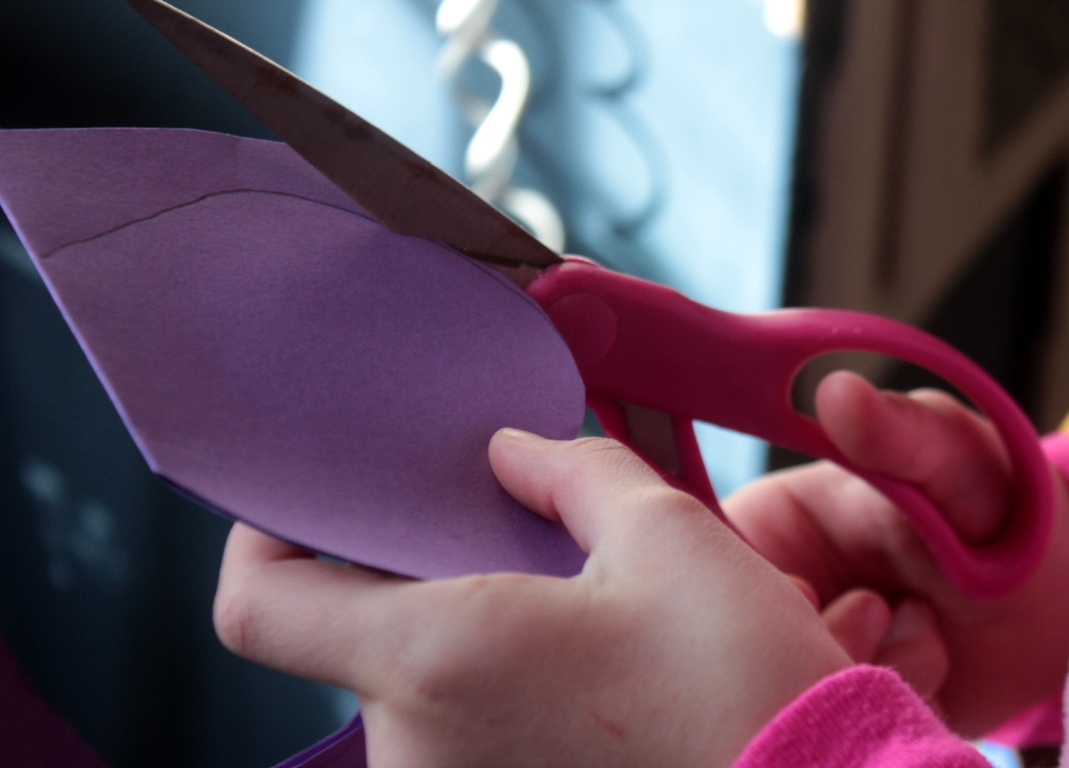
Step 3
...then cut it out.
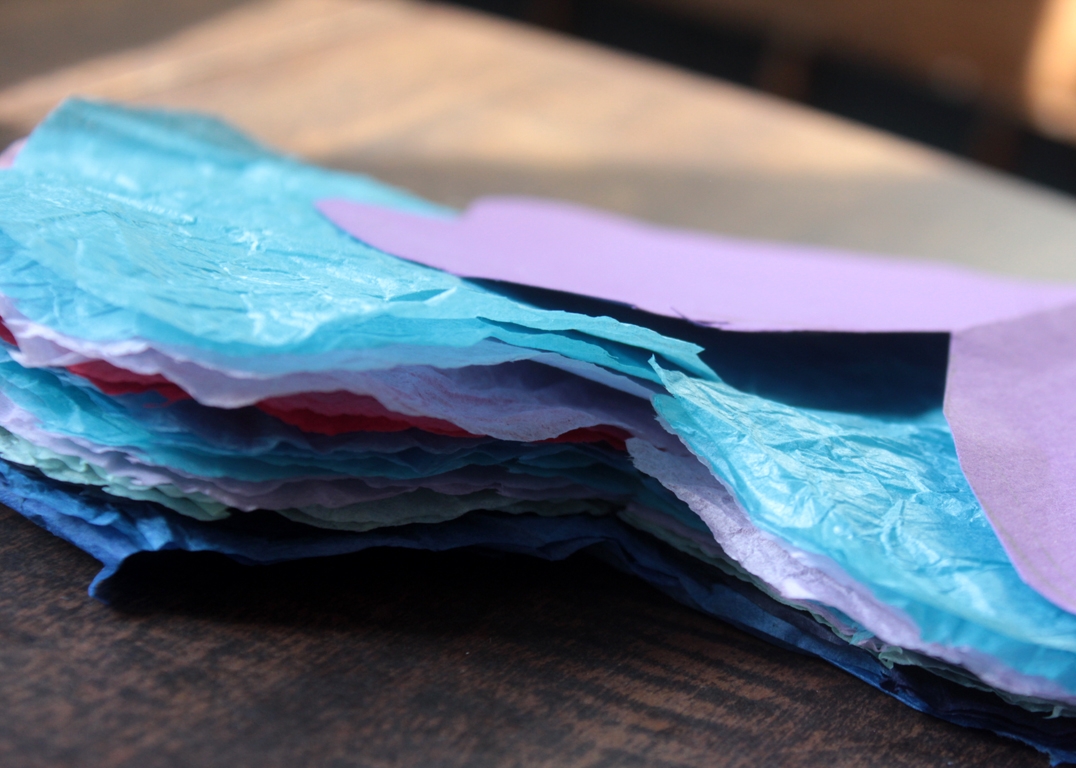
Step 4
I stacked a bunch of tissue paper, and cut the whole stack together. This step isn't mandatory--you needn't even cut them into shapes if you don't want to! You could just tear them to the size you want.
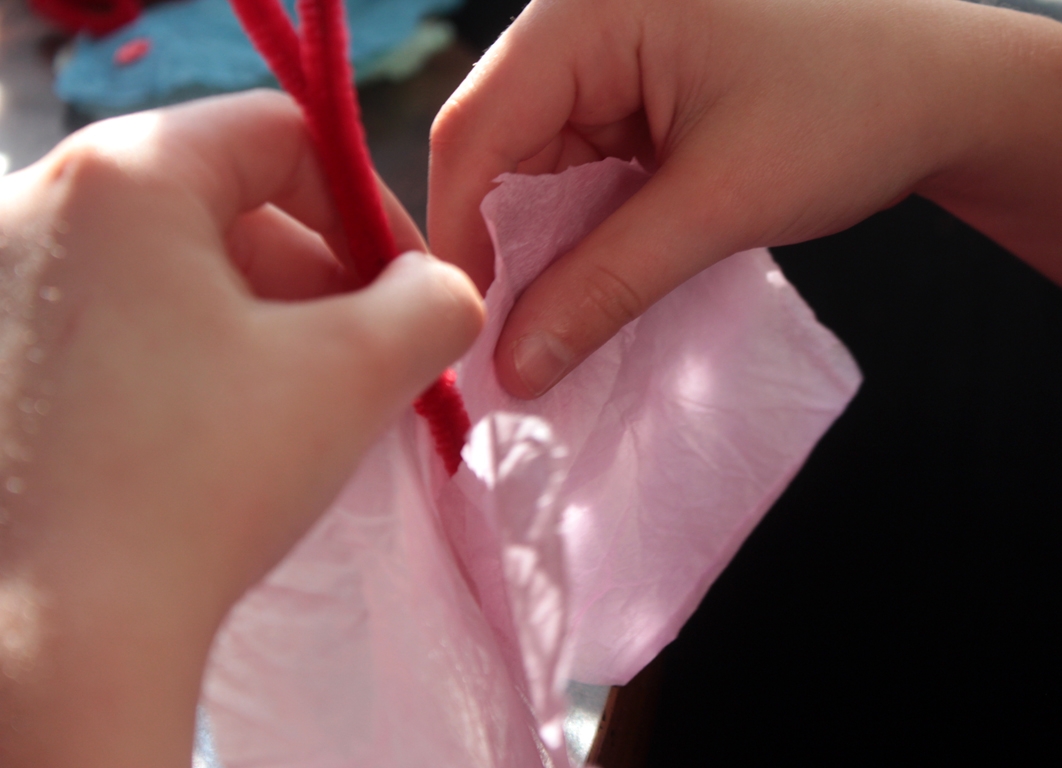
Step 5
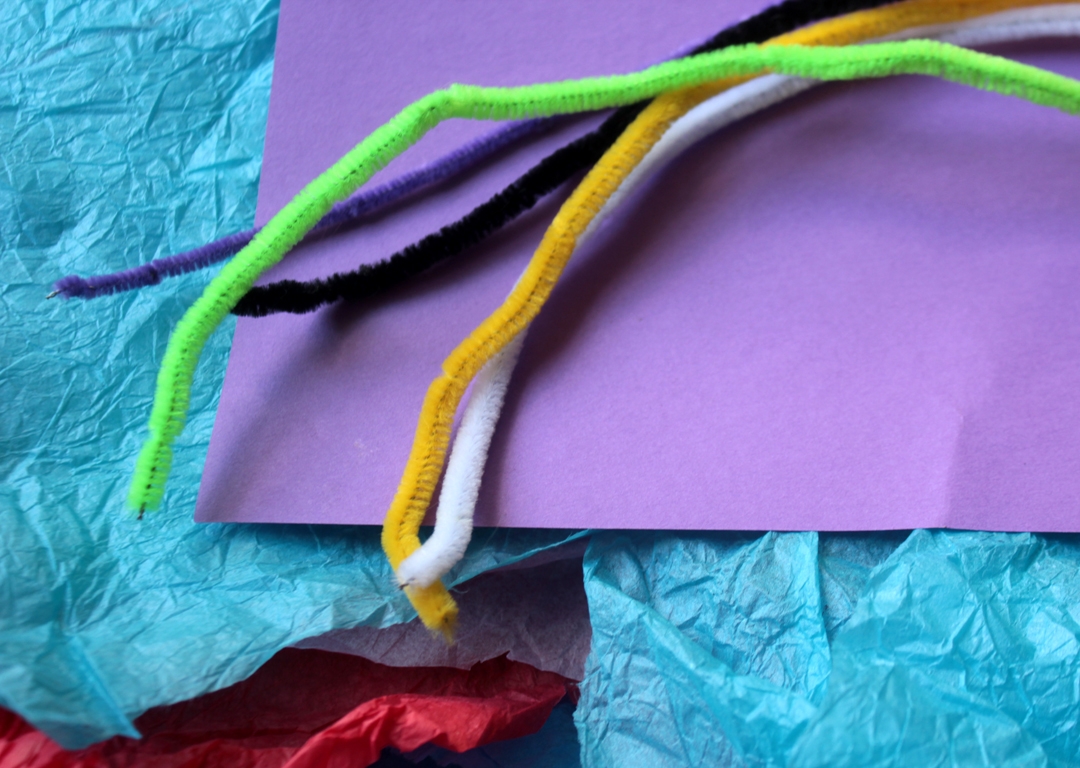
Maddie took pipe cleaners, folded them in half, and tucked two sheets of tissue into the fold. She gathered them until they were the size she liked, then twisted the pipe cleaners, and wound them to make antenna. We also made one or two with a piece of paper between the tissue! (We just folded it back forth, fan style, at the middle of the butterfly shape.) We had glue dots, so Madeleine used those to paste on sequins.....
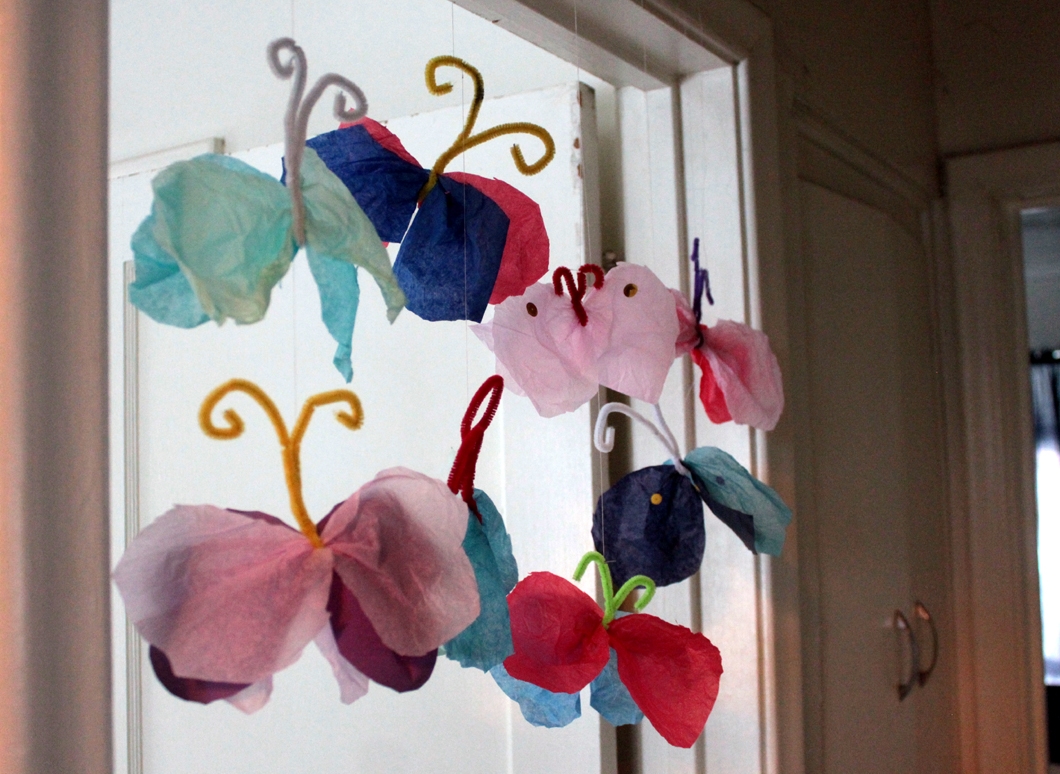
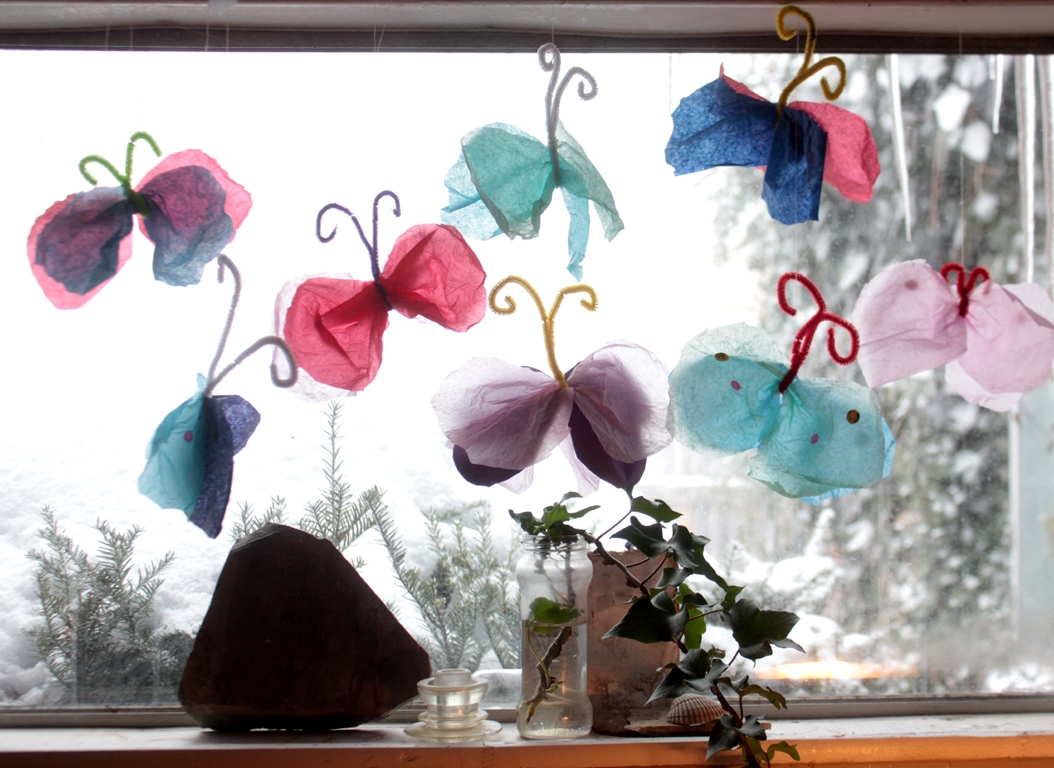
Final result!
...and up they went! They are so pretty hanging in her doorway, and it's so fun to see them all aflutter!