Step-by-step tutorial
Step 1
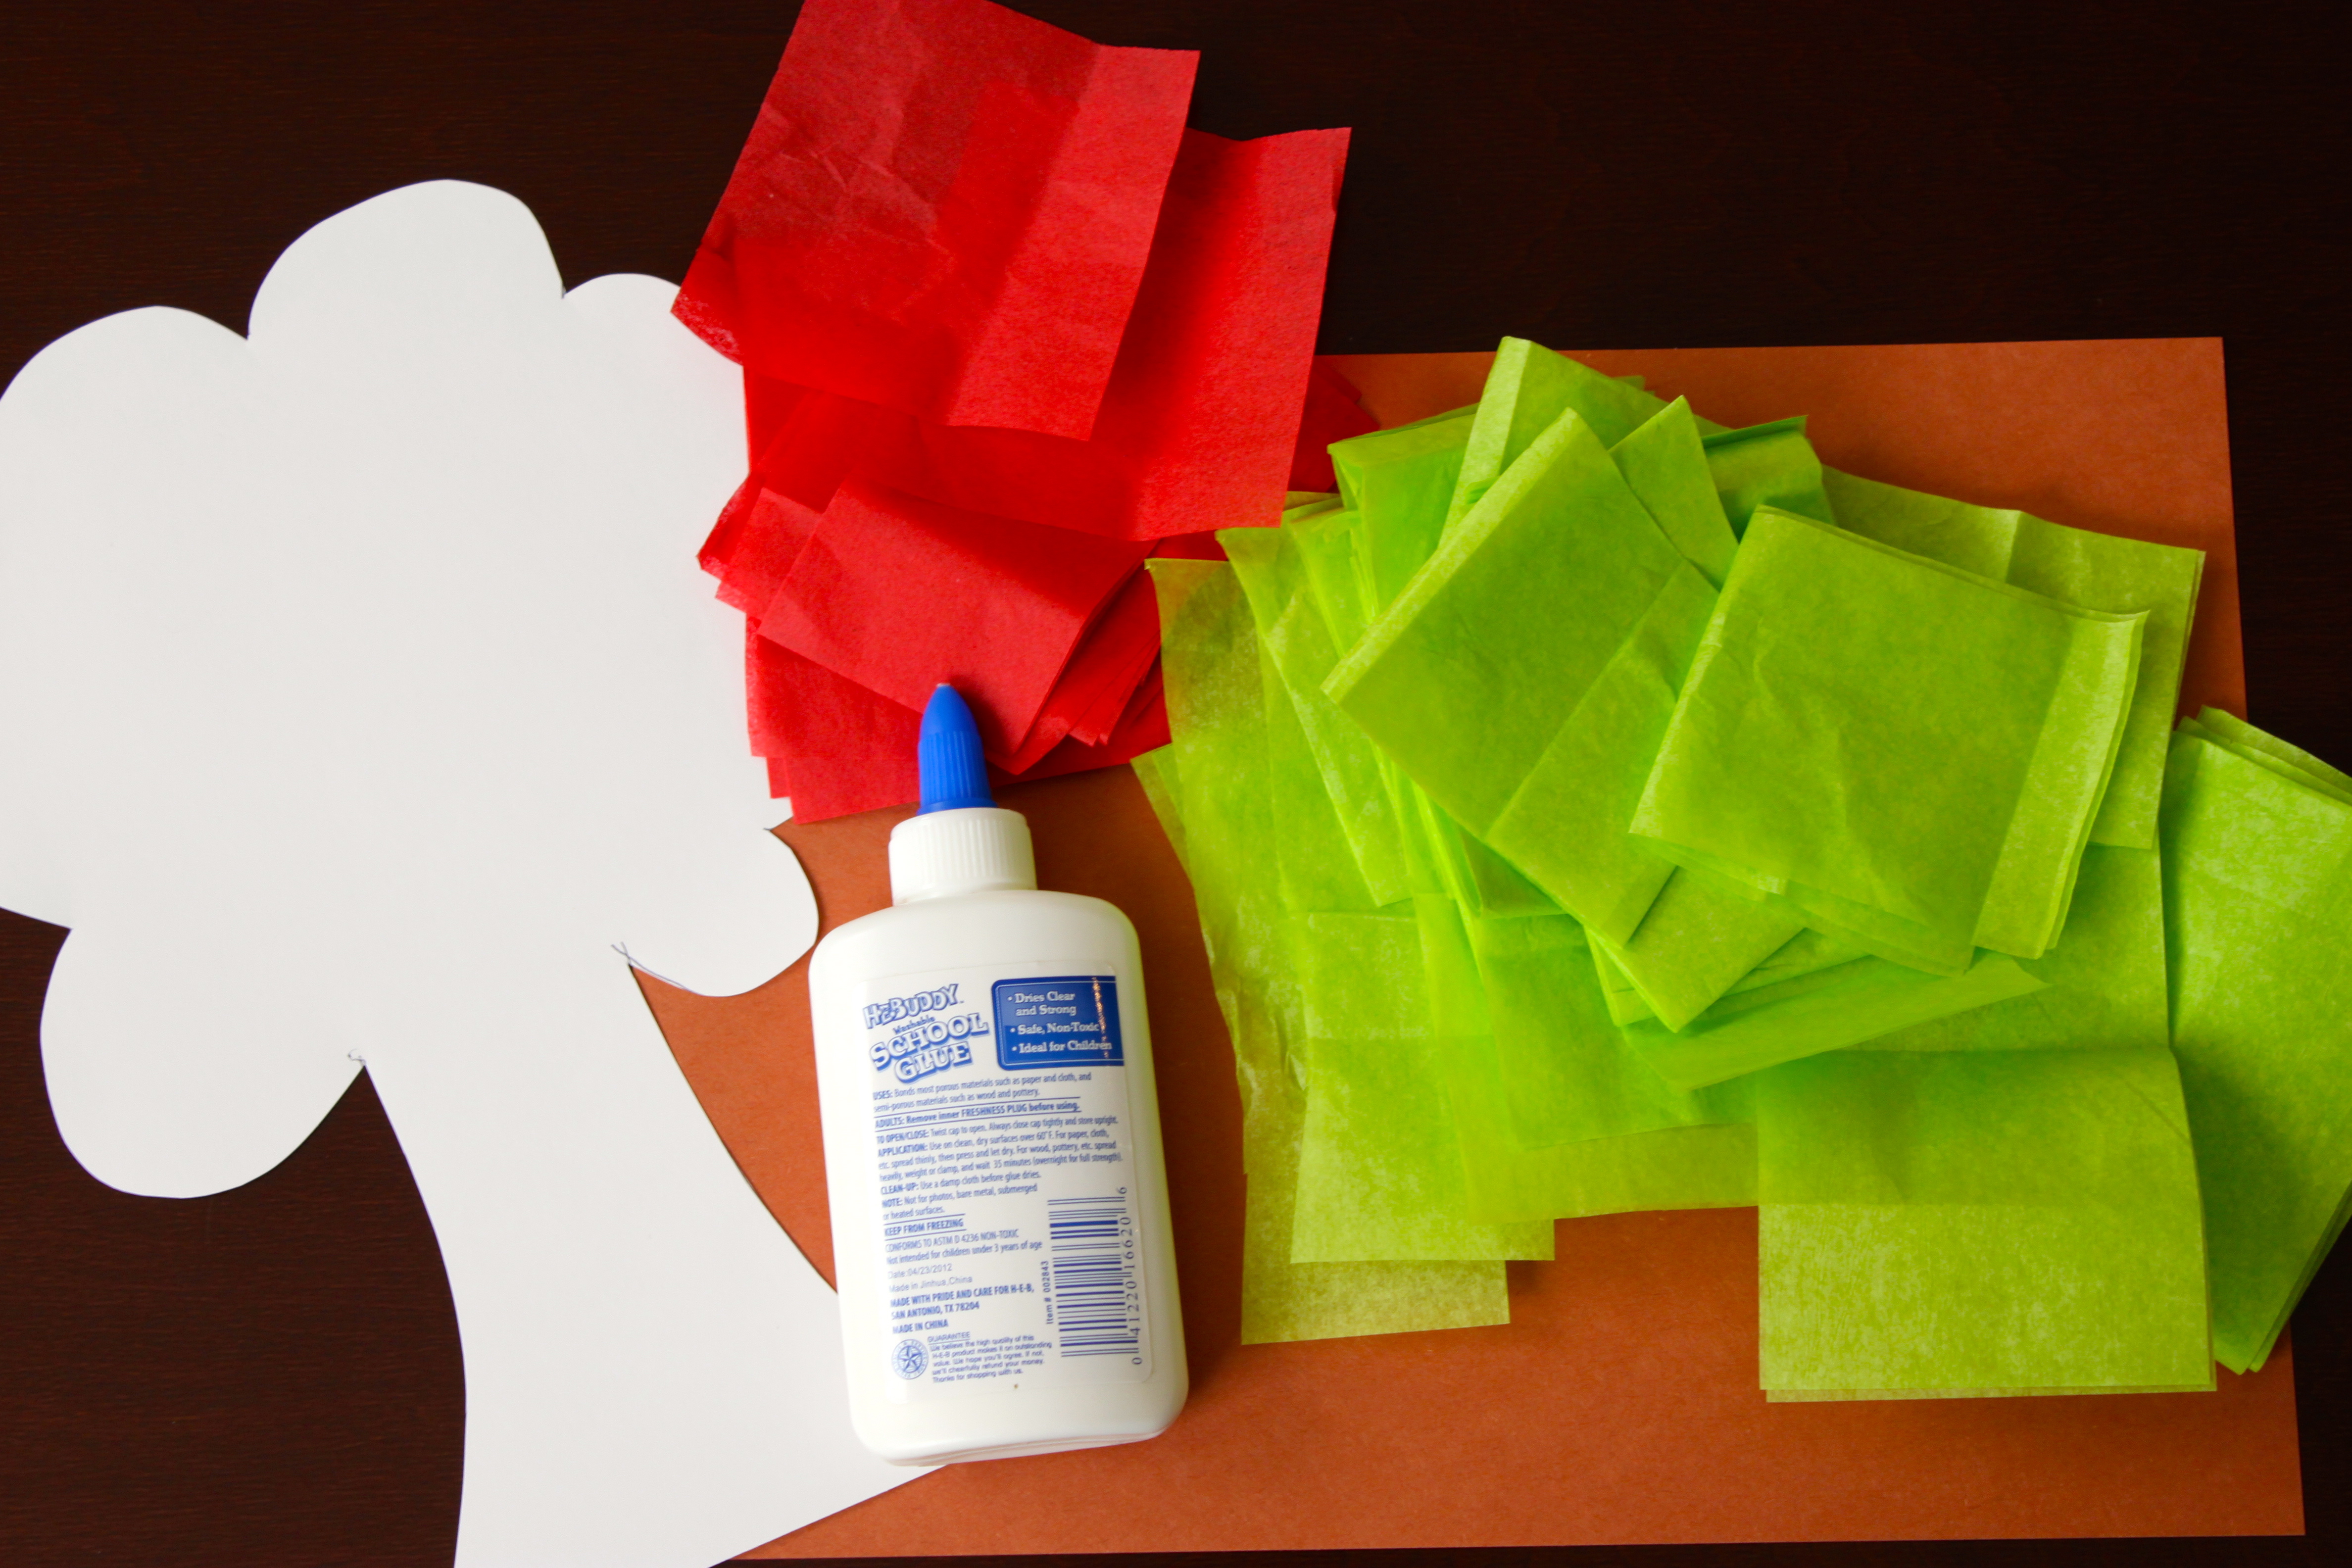
Cut a simple tree shape out of cardstock or cardboard. The thicker, the better. Cut the tissue paper into squares.

Step 2
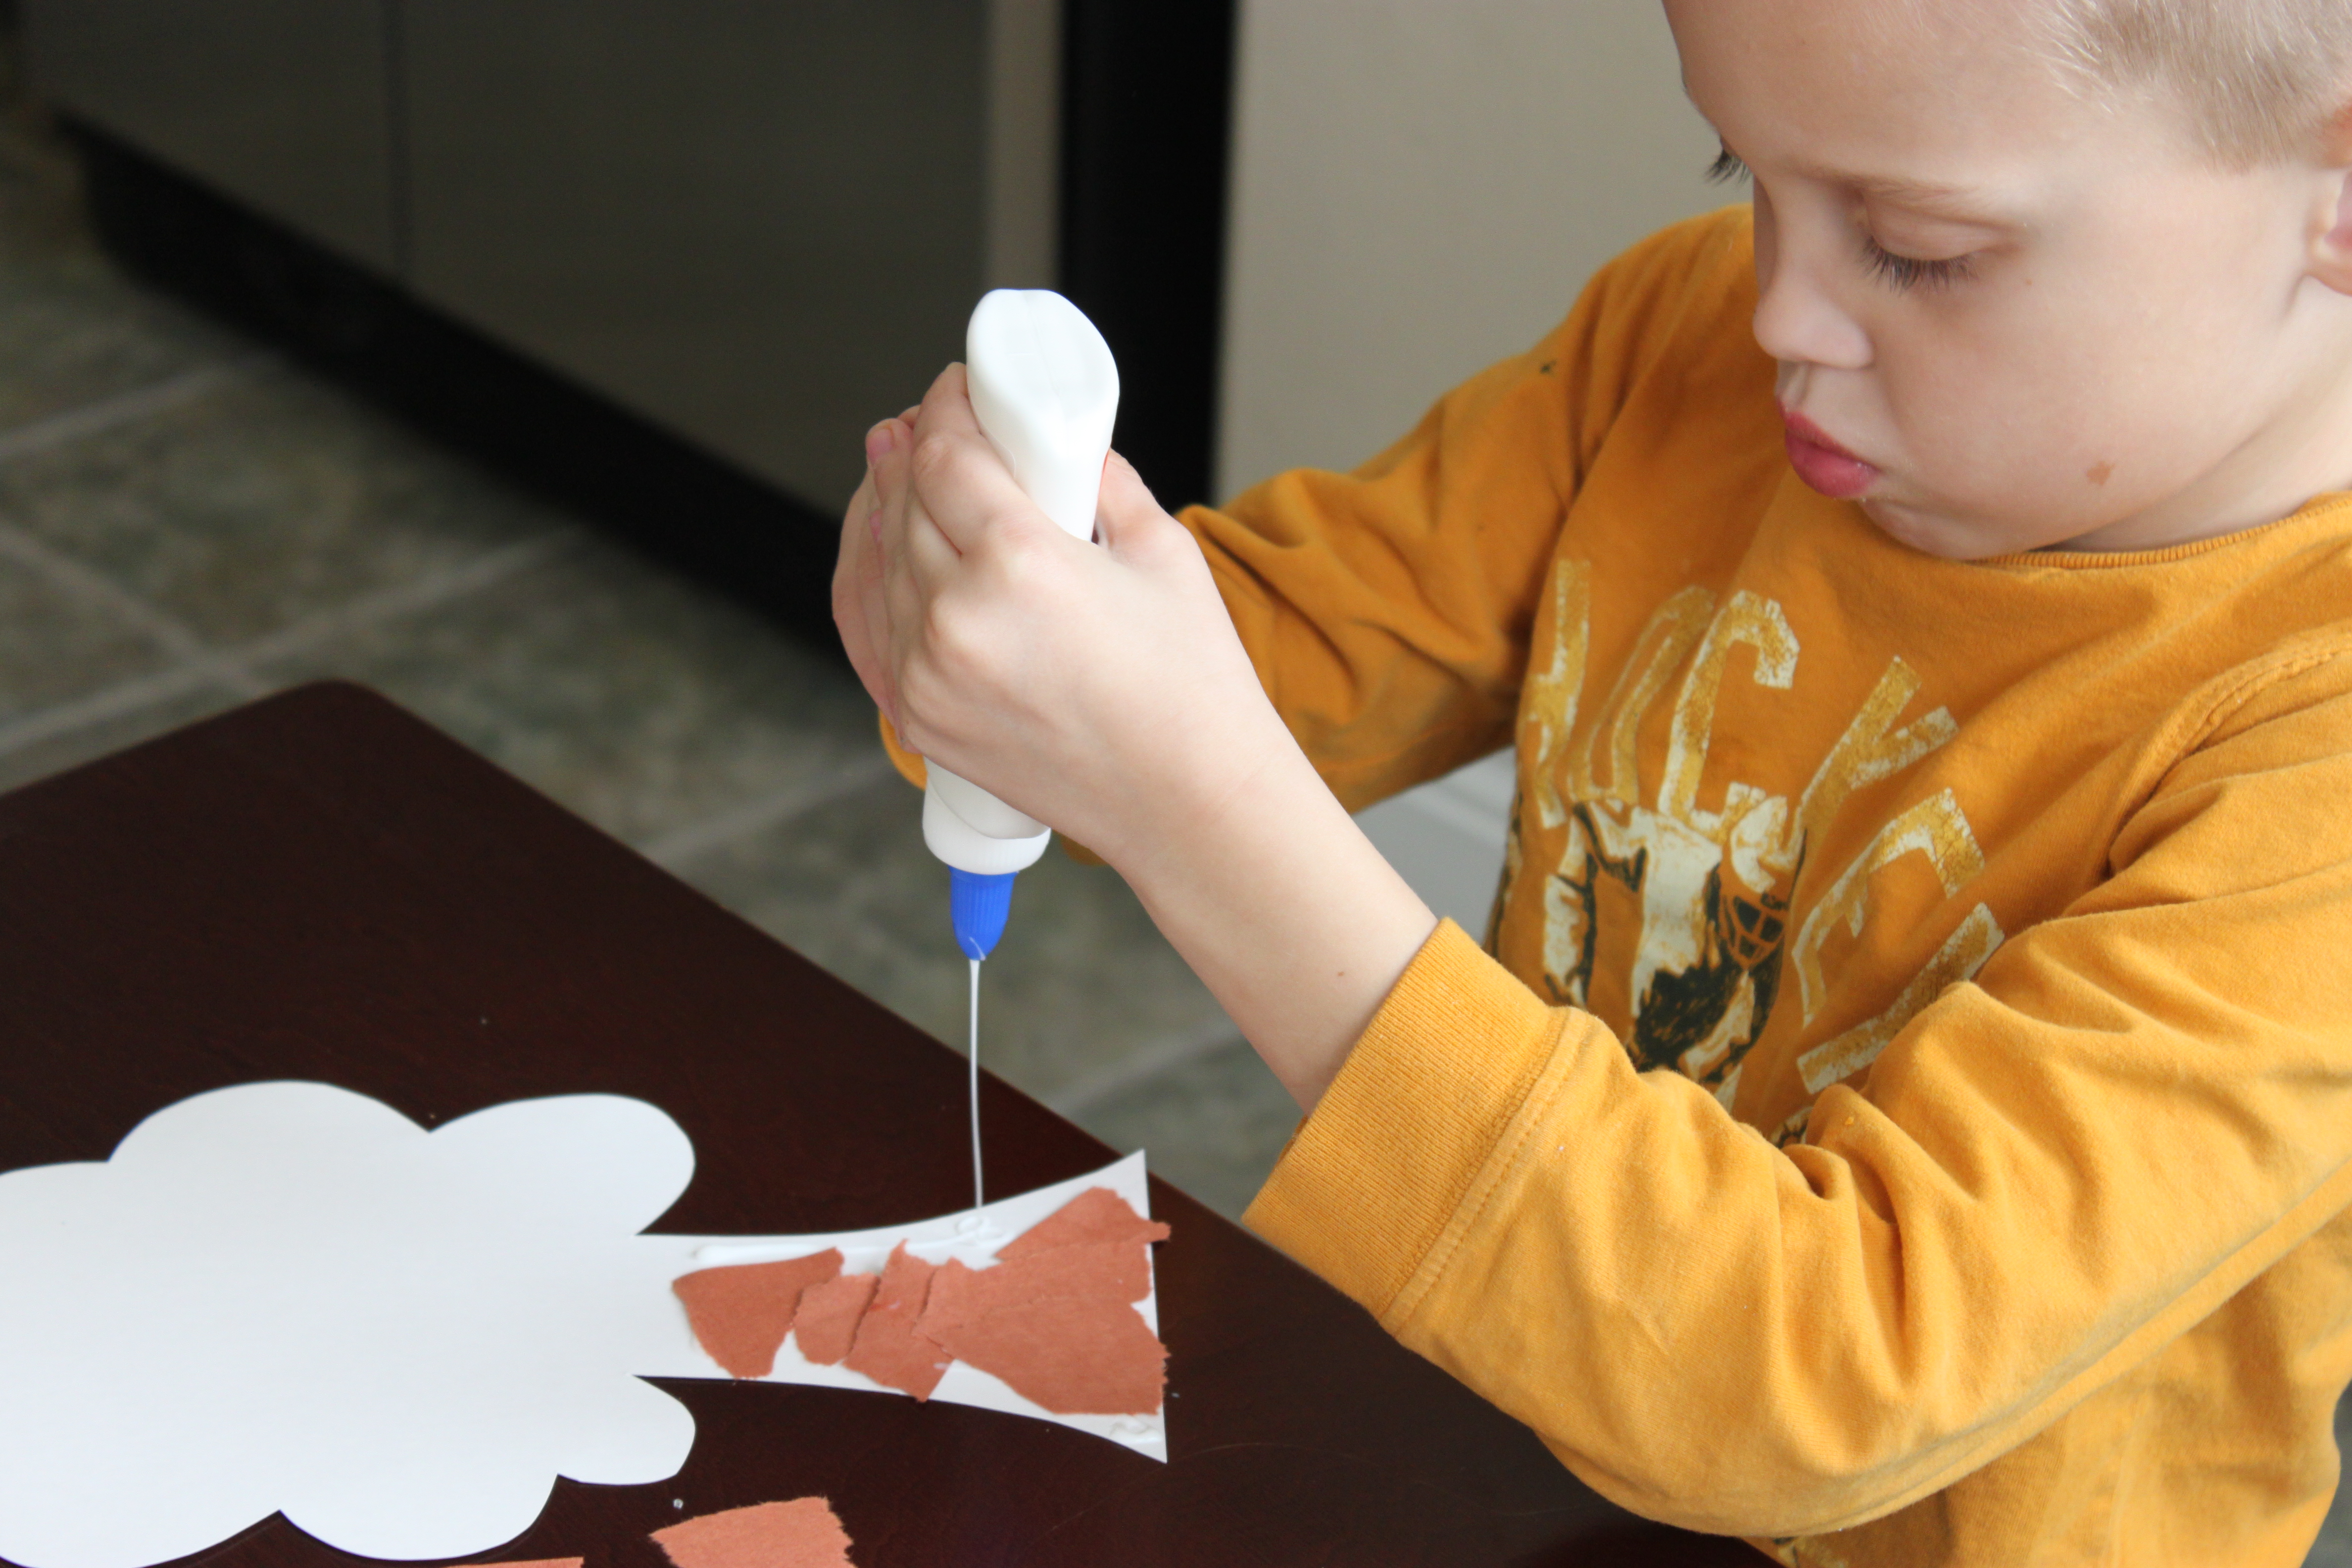
Rip the brown construction paper into small pieces. Glue the pieces onto the trunk of the tree.
Step 3
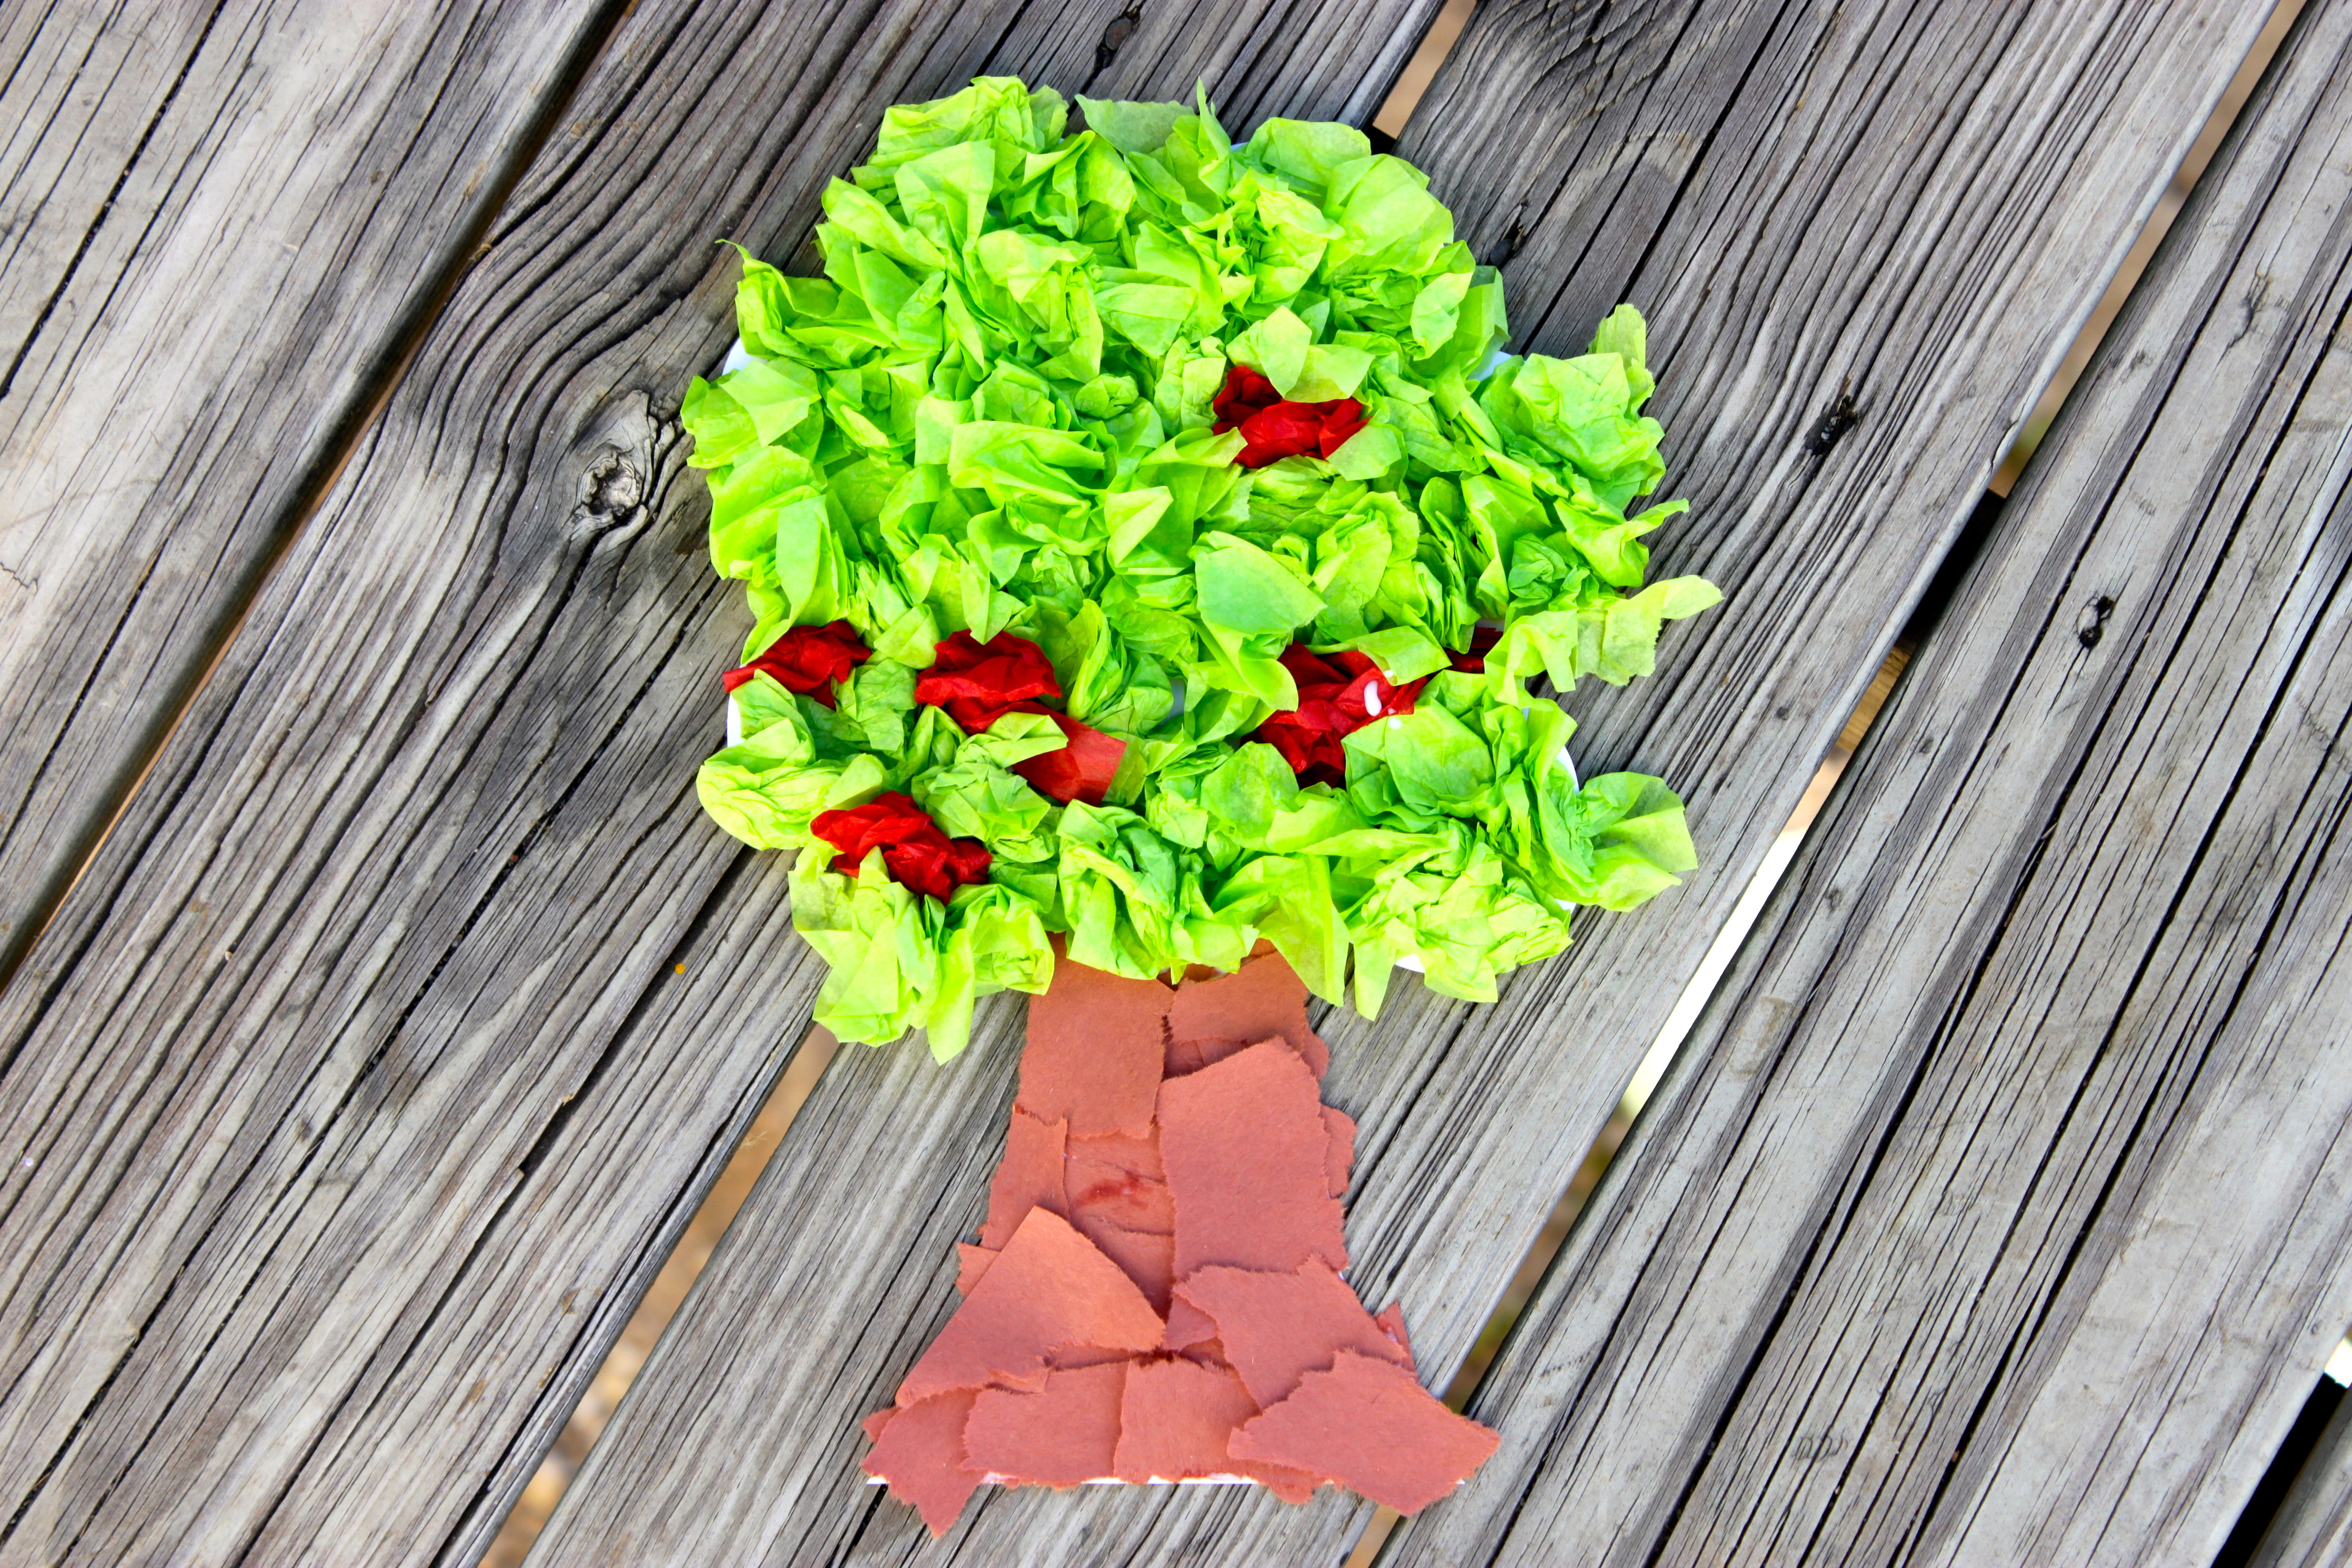
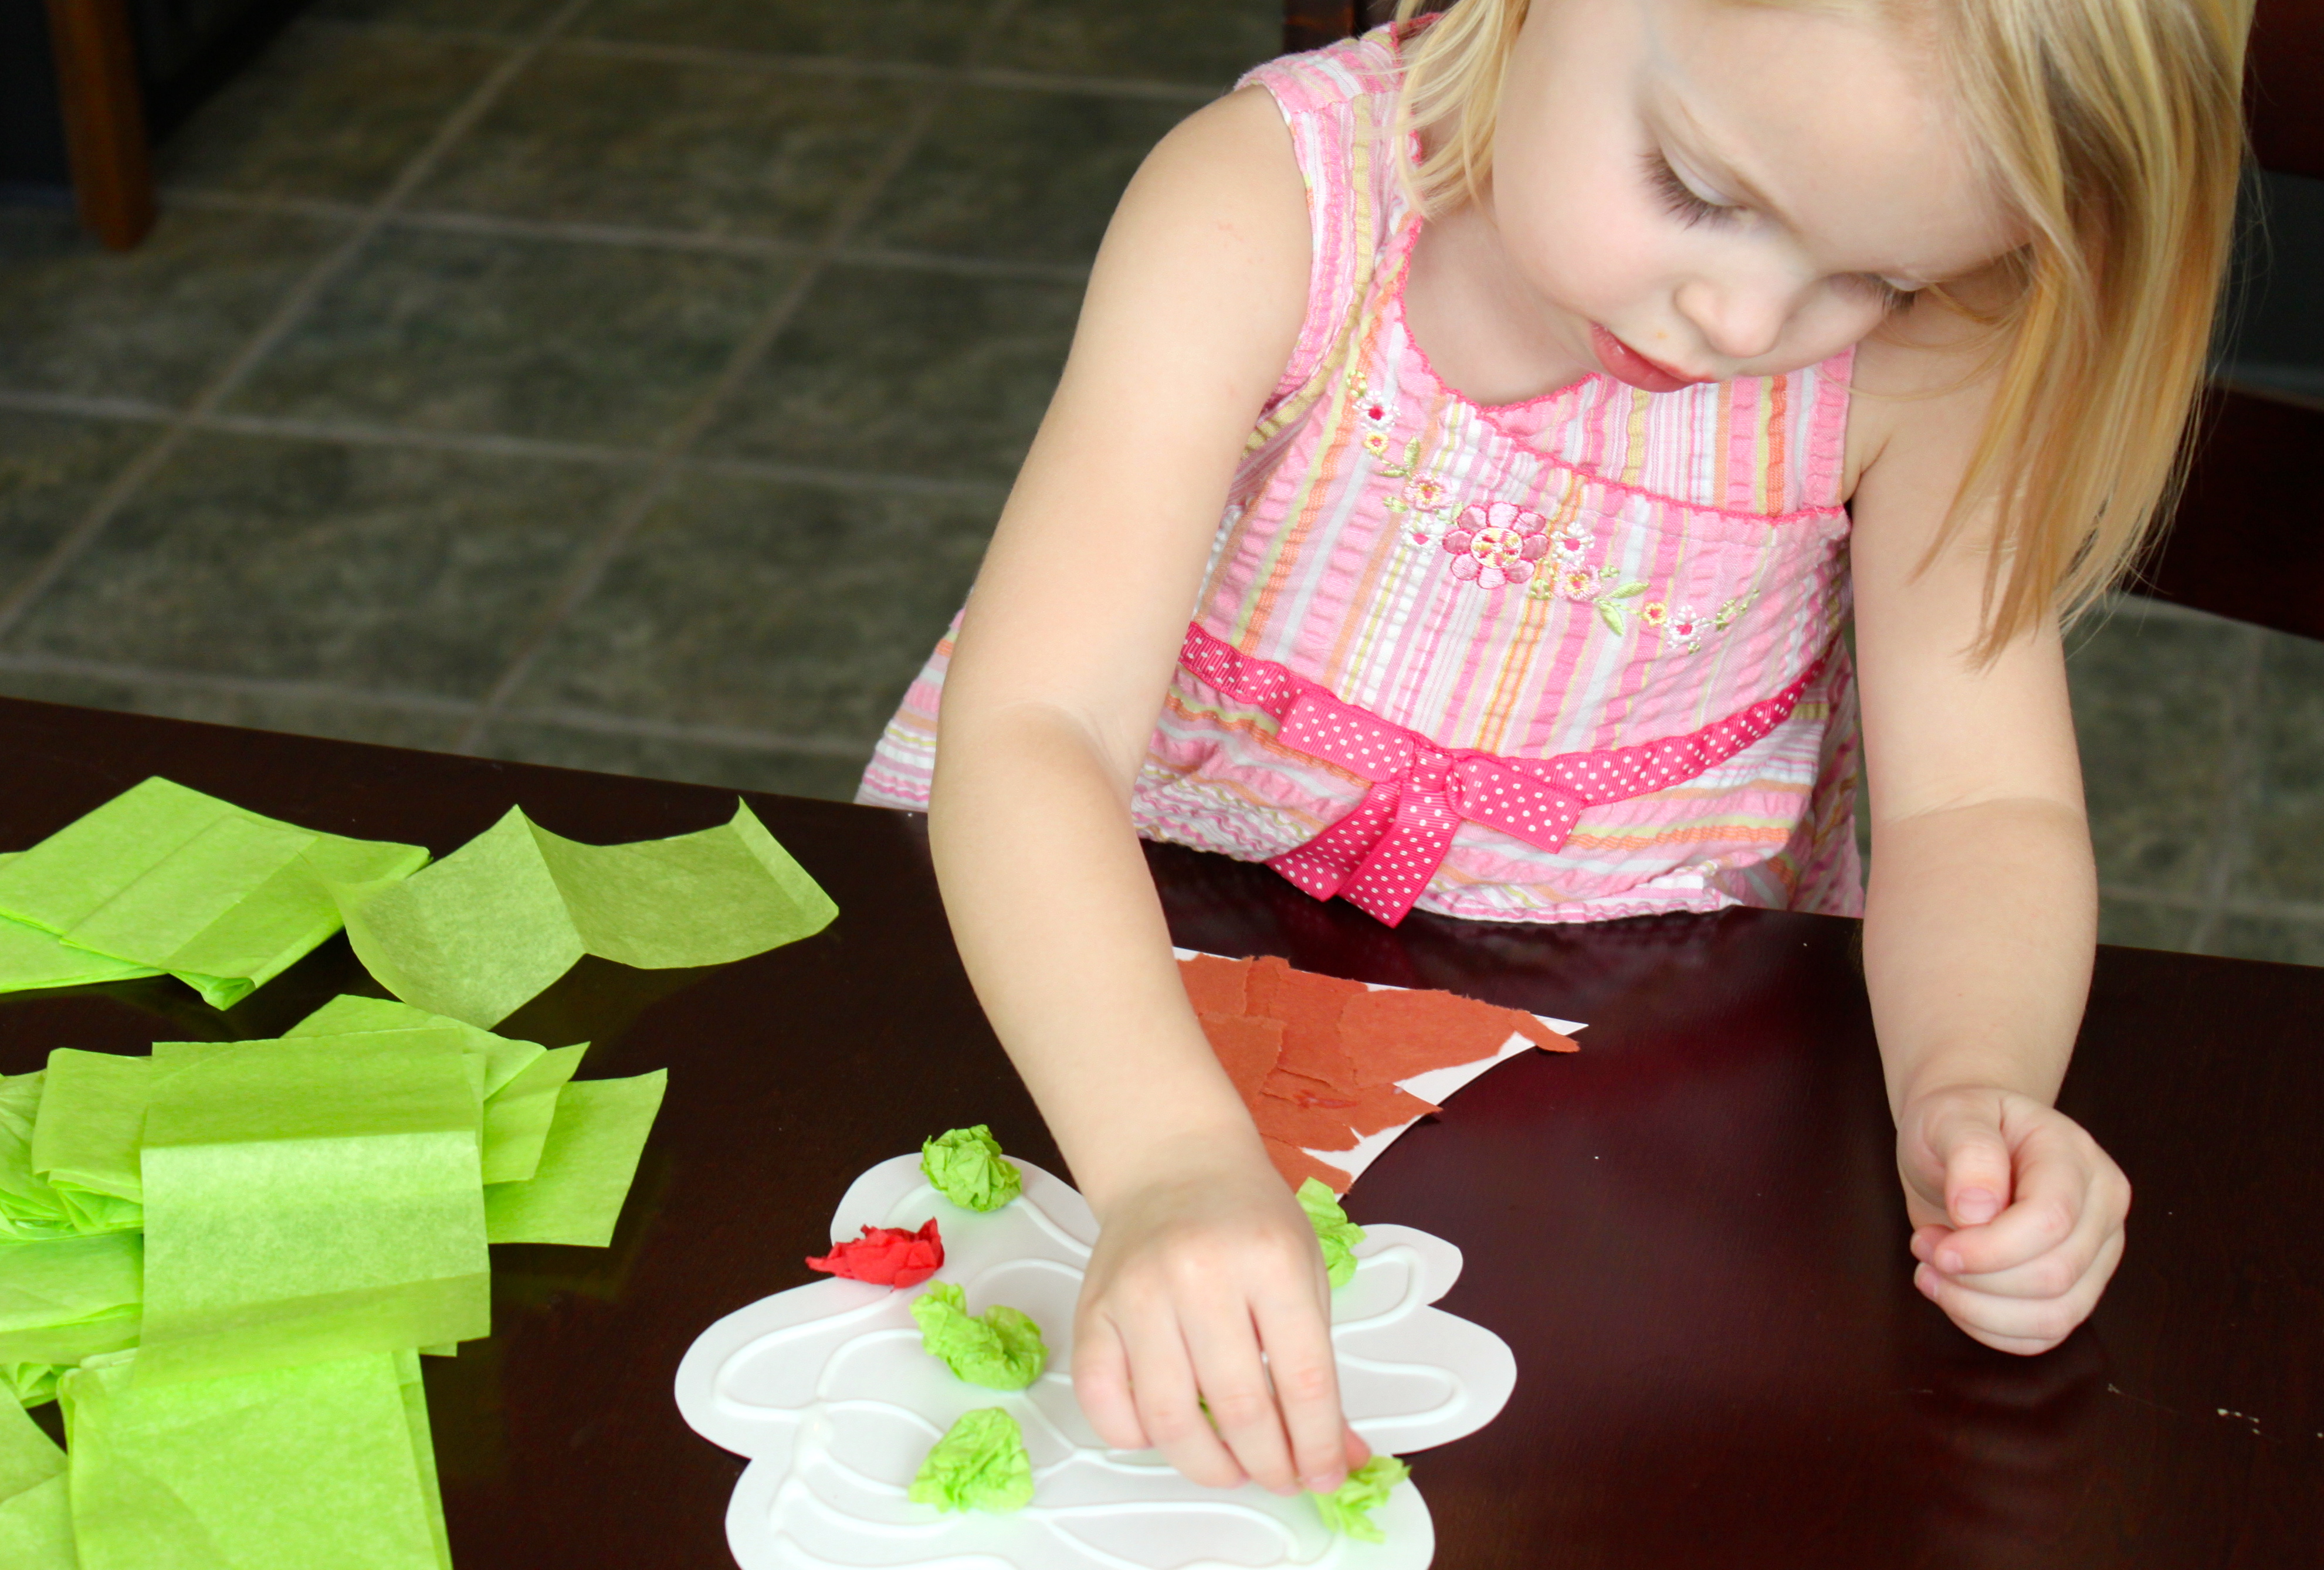
Crumple the tissue paper squares into balls and glue them onto your tree. The green tissue paper represents leaves and the red tissue paper represents apples.
Done!
Try to fill all of the white space and let the glue dry. You could also change the color of the tissue paper to make a beautiful Fall tree with orange, red, brown, and green. My kids love working with the tissue paper and glue!