Step-by-step tutorial
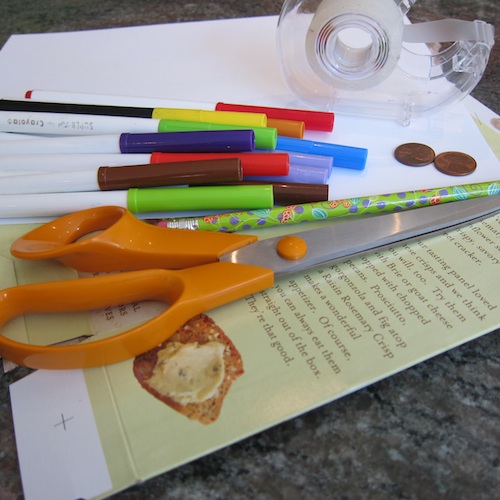
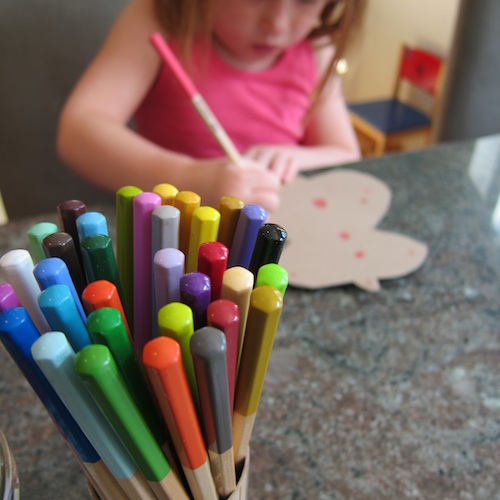
Step 1
Here's what we used to create our butterfly.

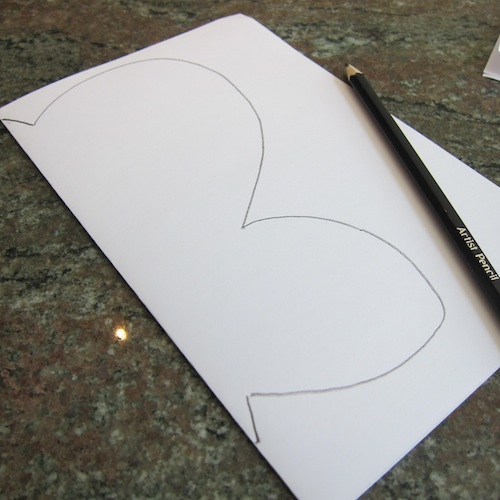
Step 2
First, fold the white paper in half and trace the body of half a butterfly (with the fold of the paper marking the middle of the body.) Note: This white paper isn't your final butterfly; you just use it to get a perfectly symmetrical butterfly (using the folding technique), which you'll then trace in the next step on the paperboard.
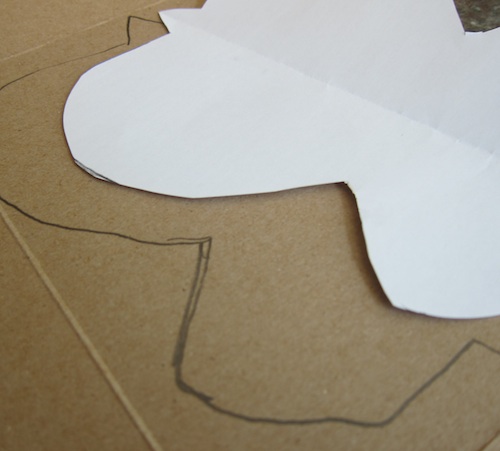
Step 3
Get your kid-helper to cut out the butterfly, then trace the butterfly onto the paperboard and cut it out.
Step 4
Decorate your butterfly with whatever materials you'd like! You can talk about how in nature, a butterfly's wing patterns match--but that it's not necessary for this project.
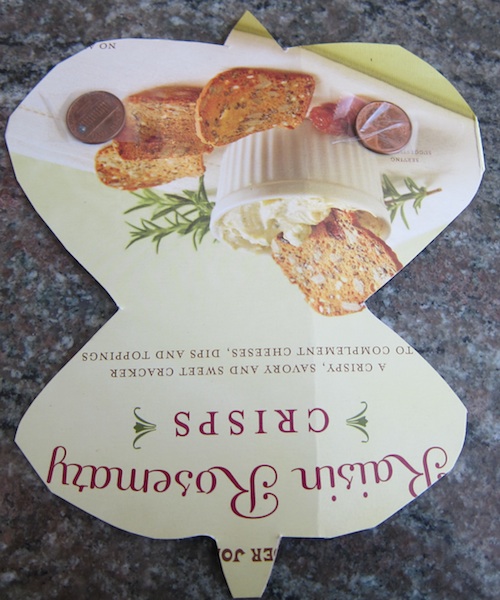
Step 5
Tape your pennies onto each corner of the wings. You may need to adjust the placement a bit to get the balance correct.
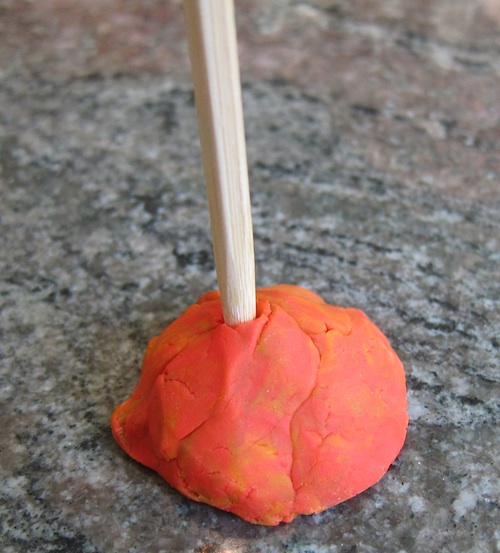
Step 6
Place your chopstick (or whatever you're using) into a piece of playdough or modeling clay (to hold it up).
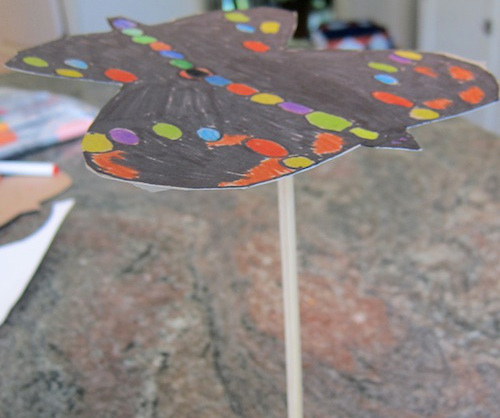
Final result!
And then carefully place the butterfly onto the stick. You'll need to move the butterfly around a bit to find the balance point. I know it will seem impossible, and then--voila--it will start balancing! Now you've pulled off the perfect butterfly balancing act!