Step-by-step tutorial
Step 1
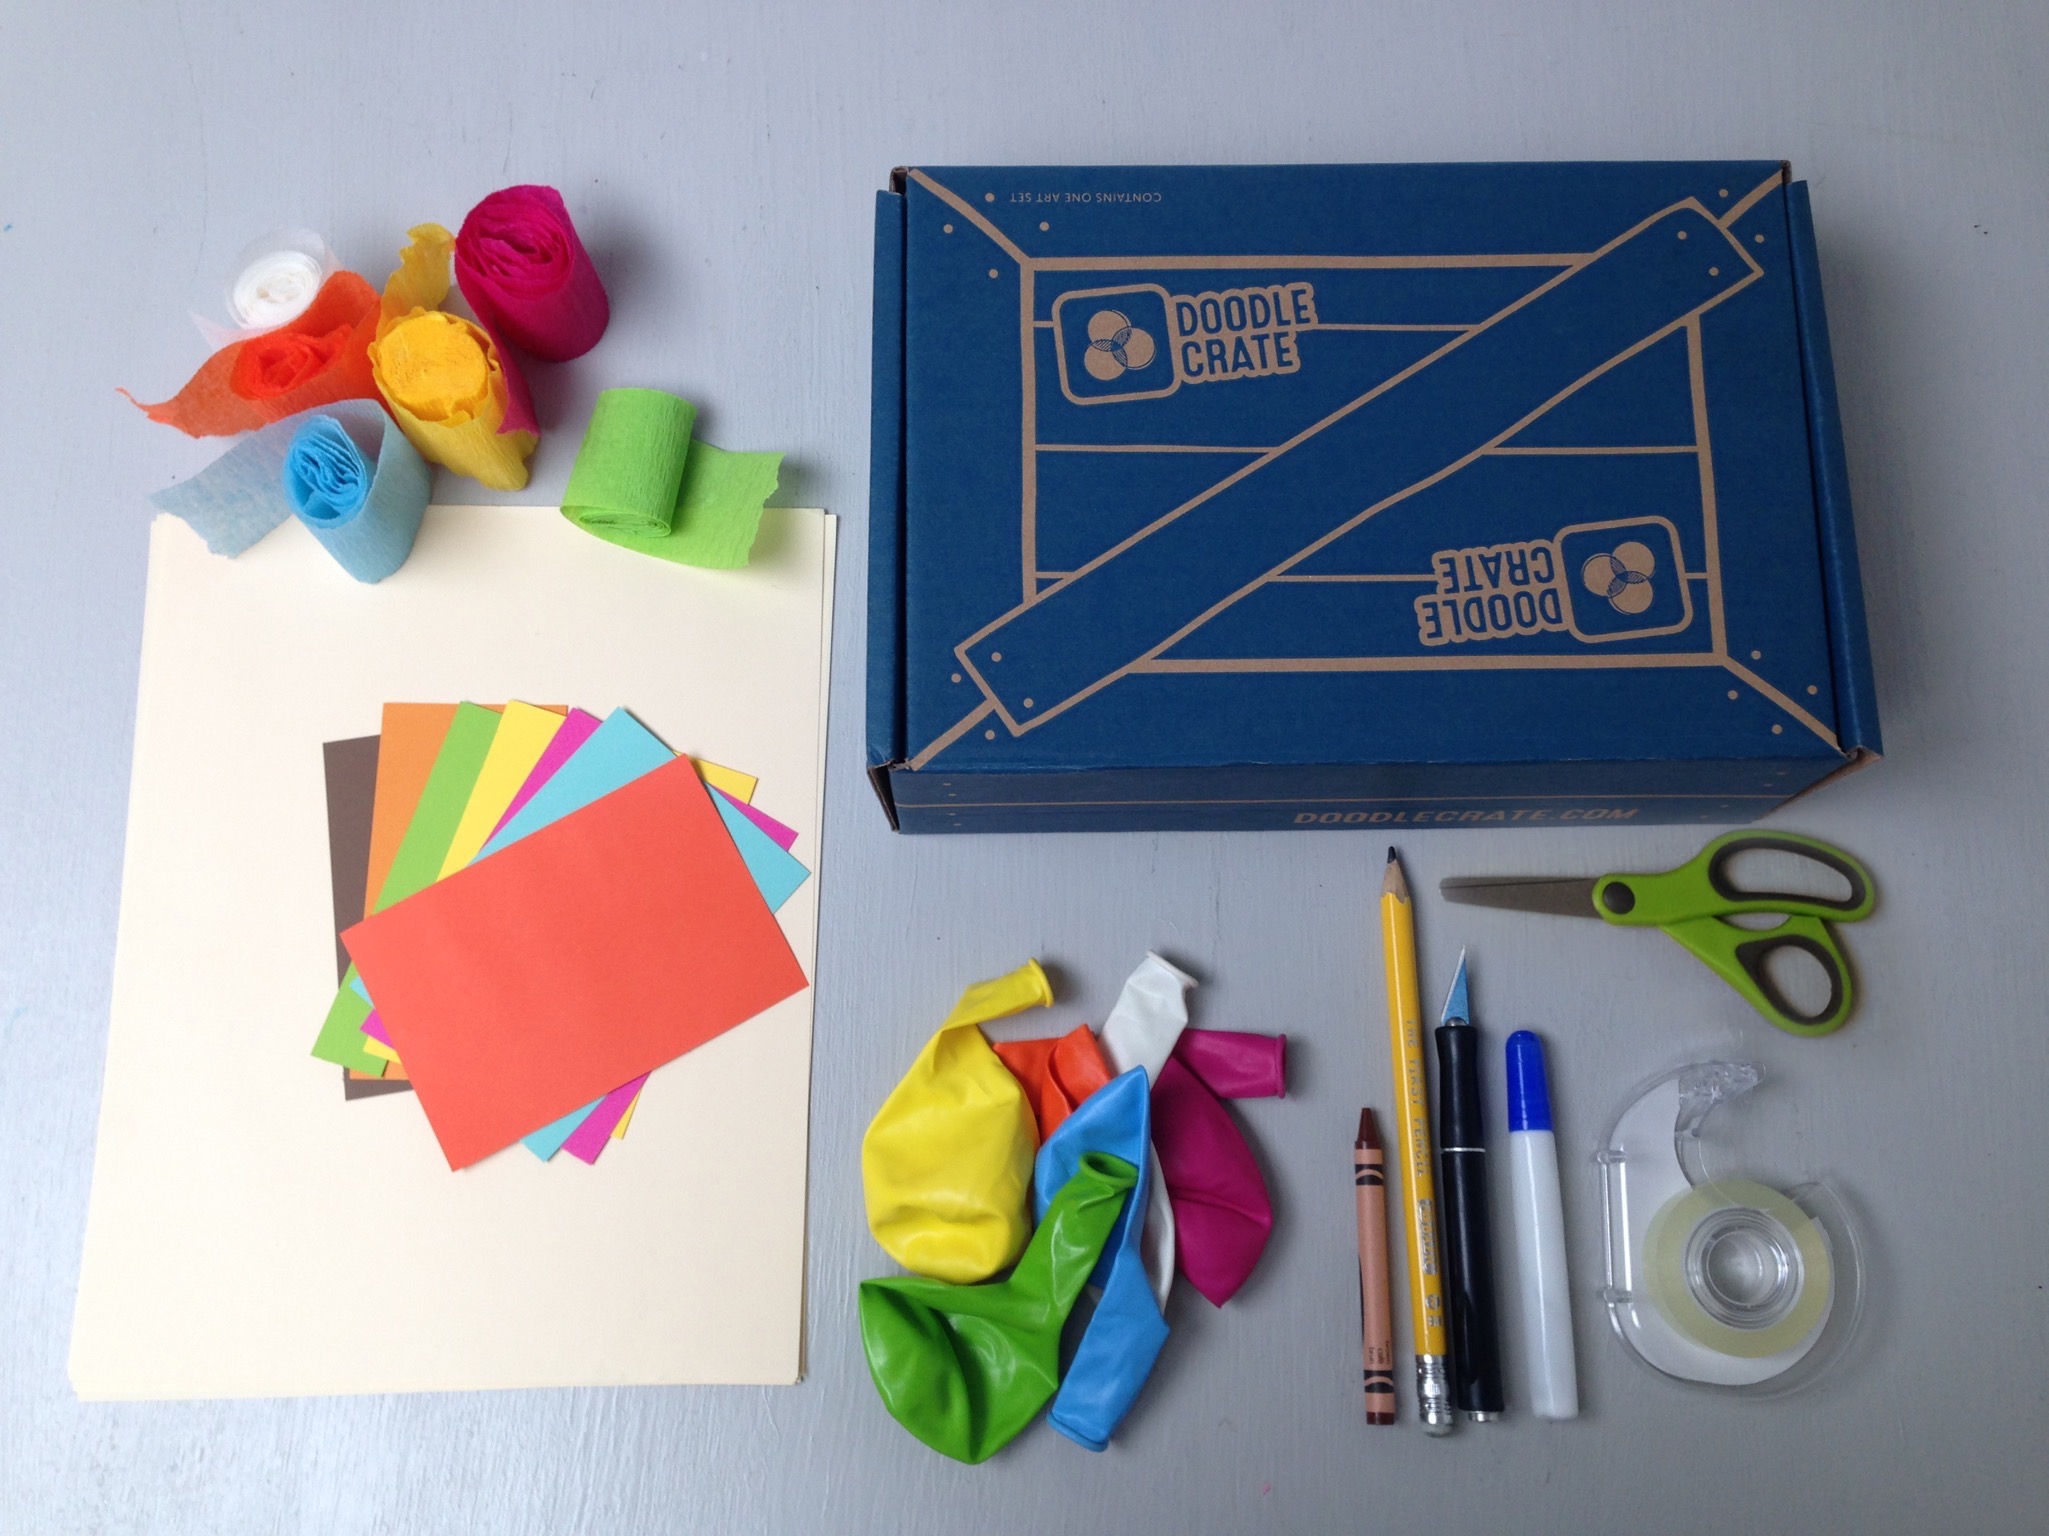
Gather your materials!

Step 2
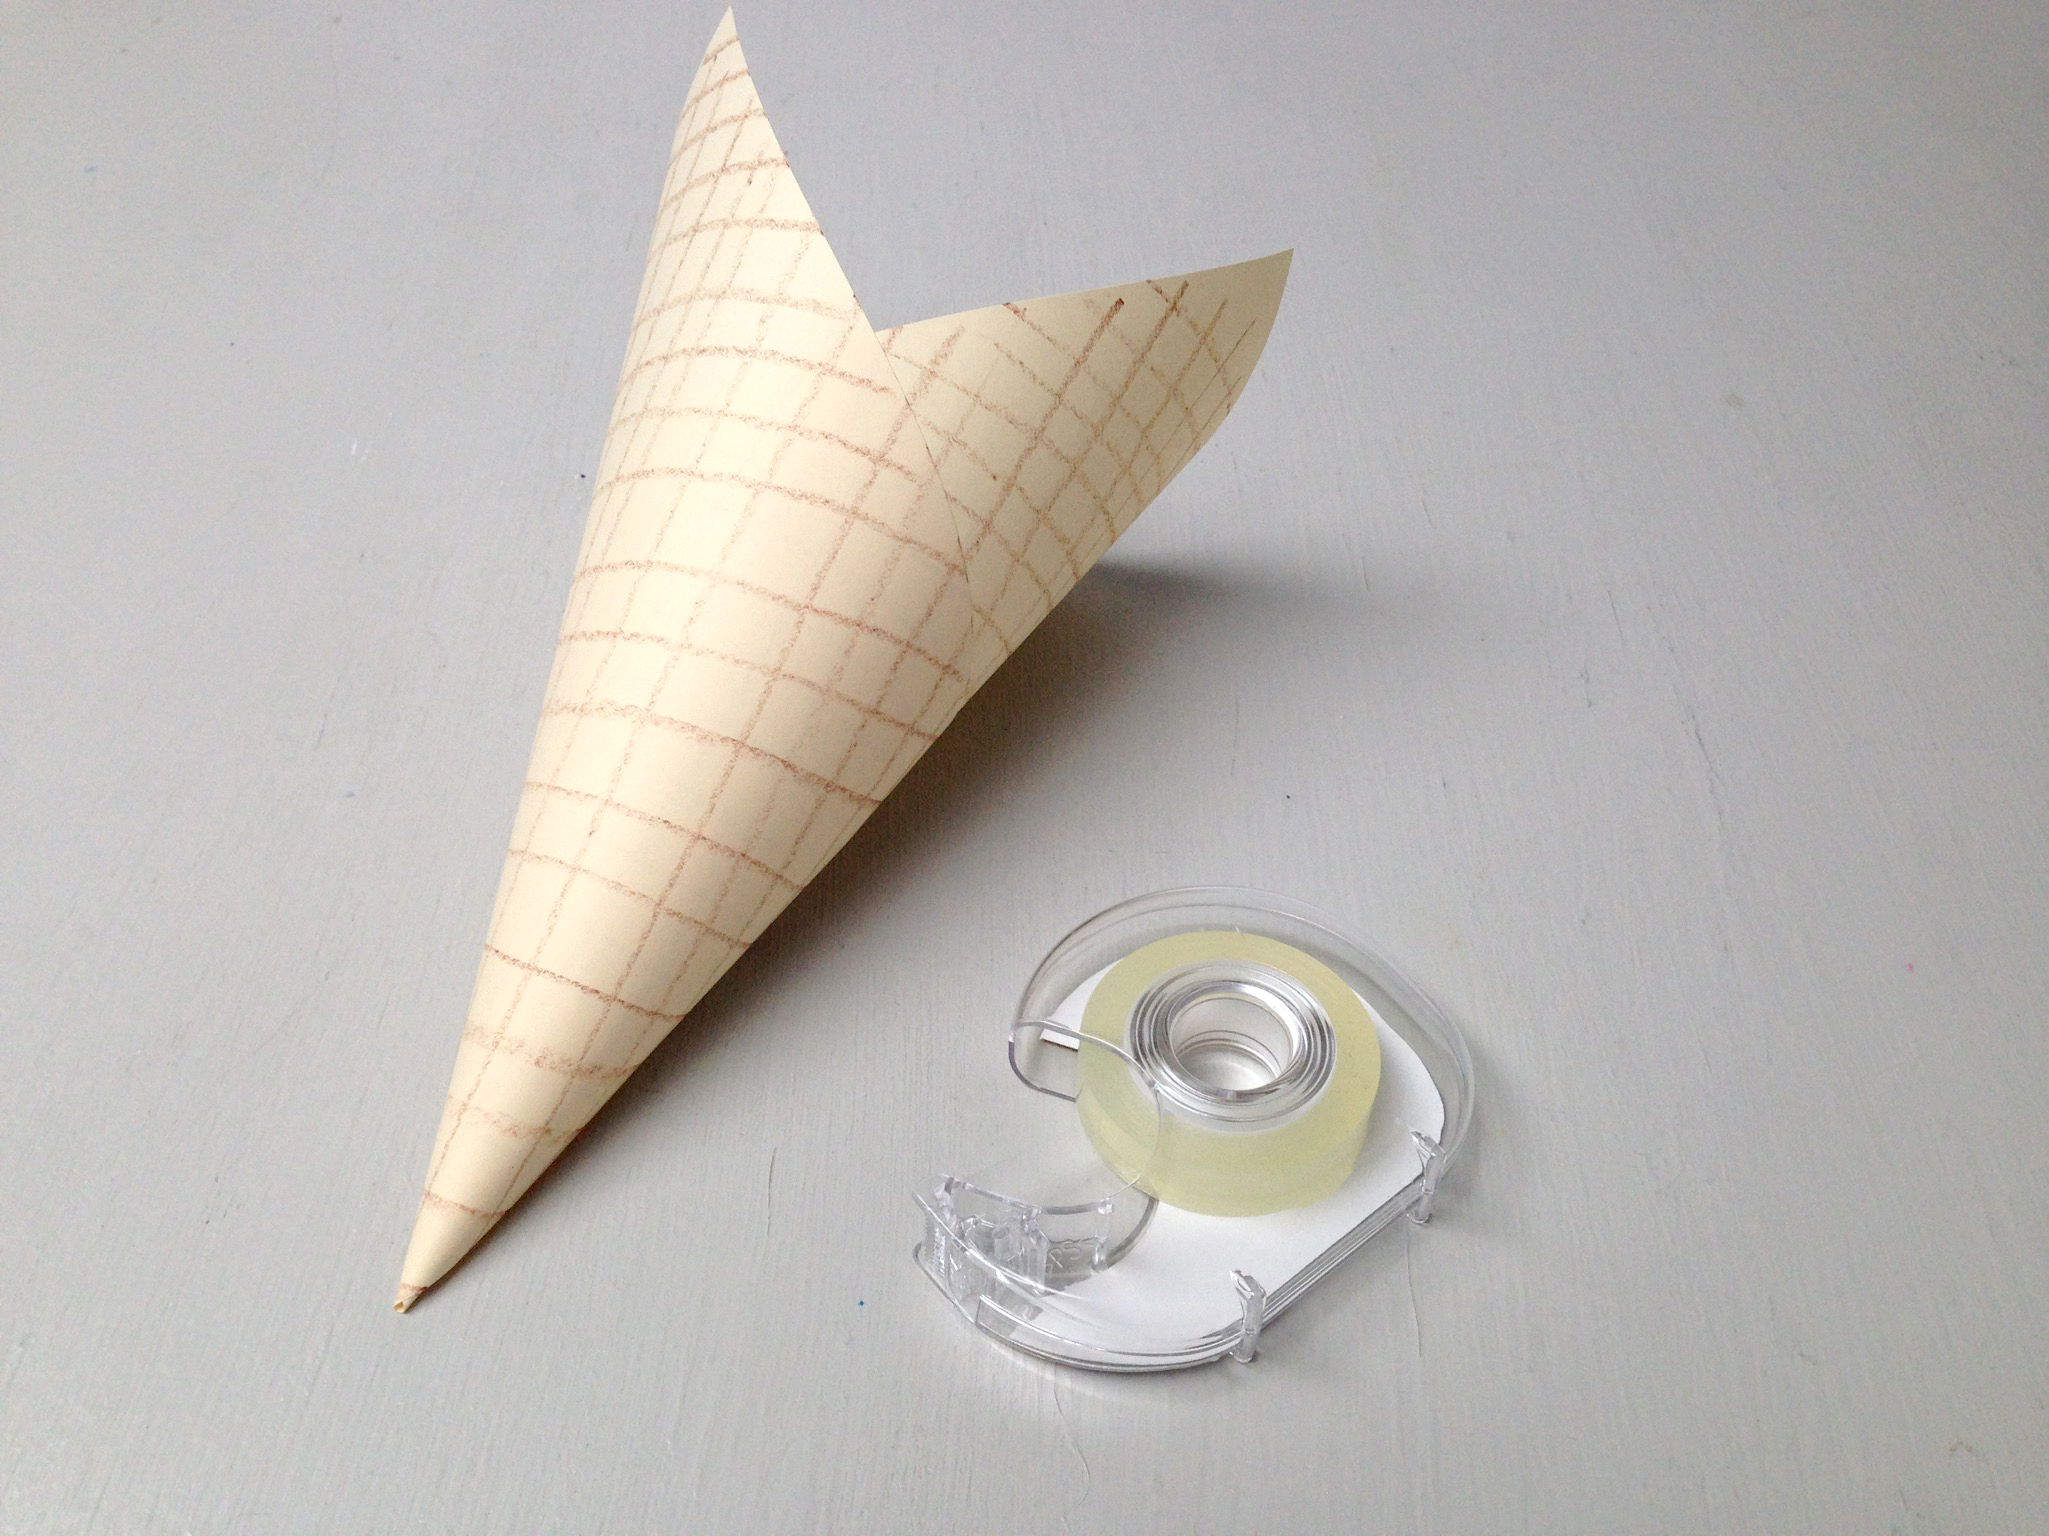
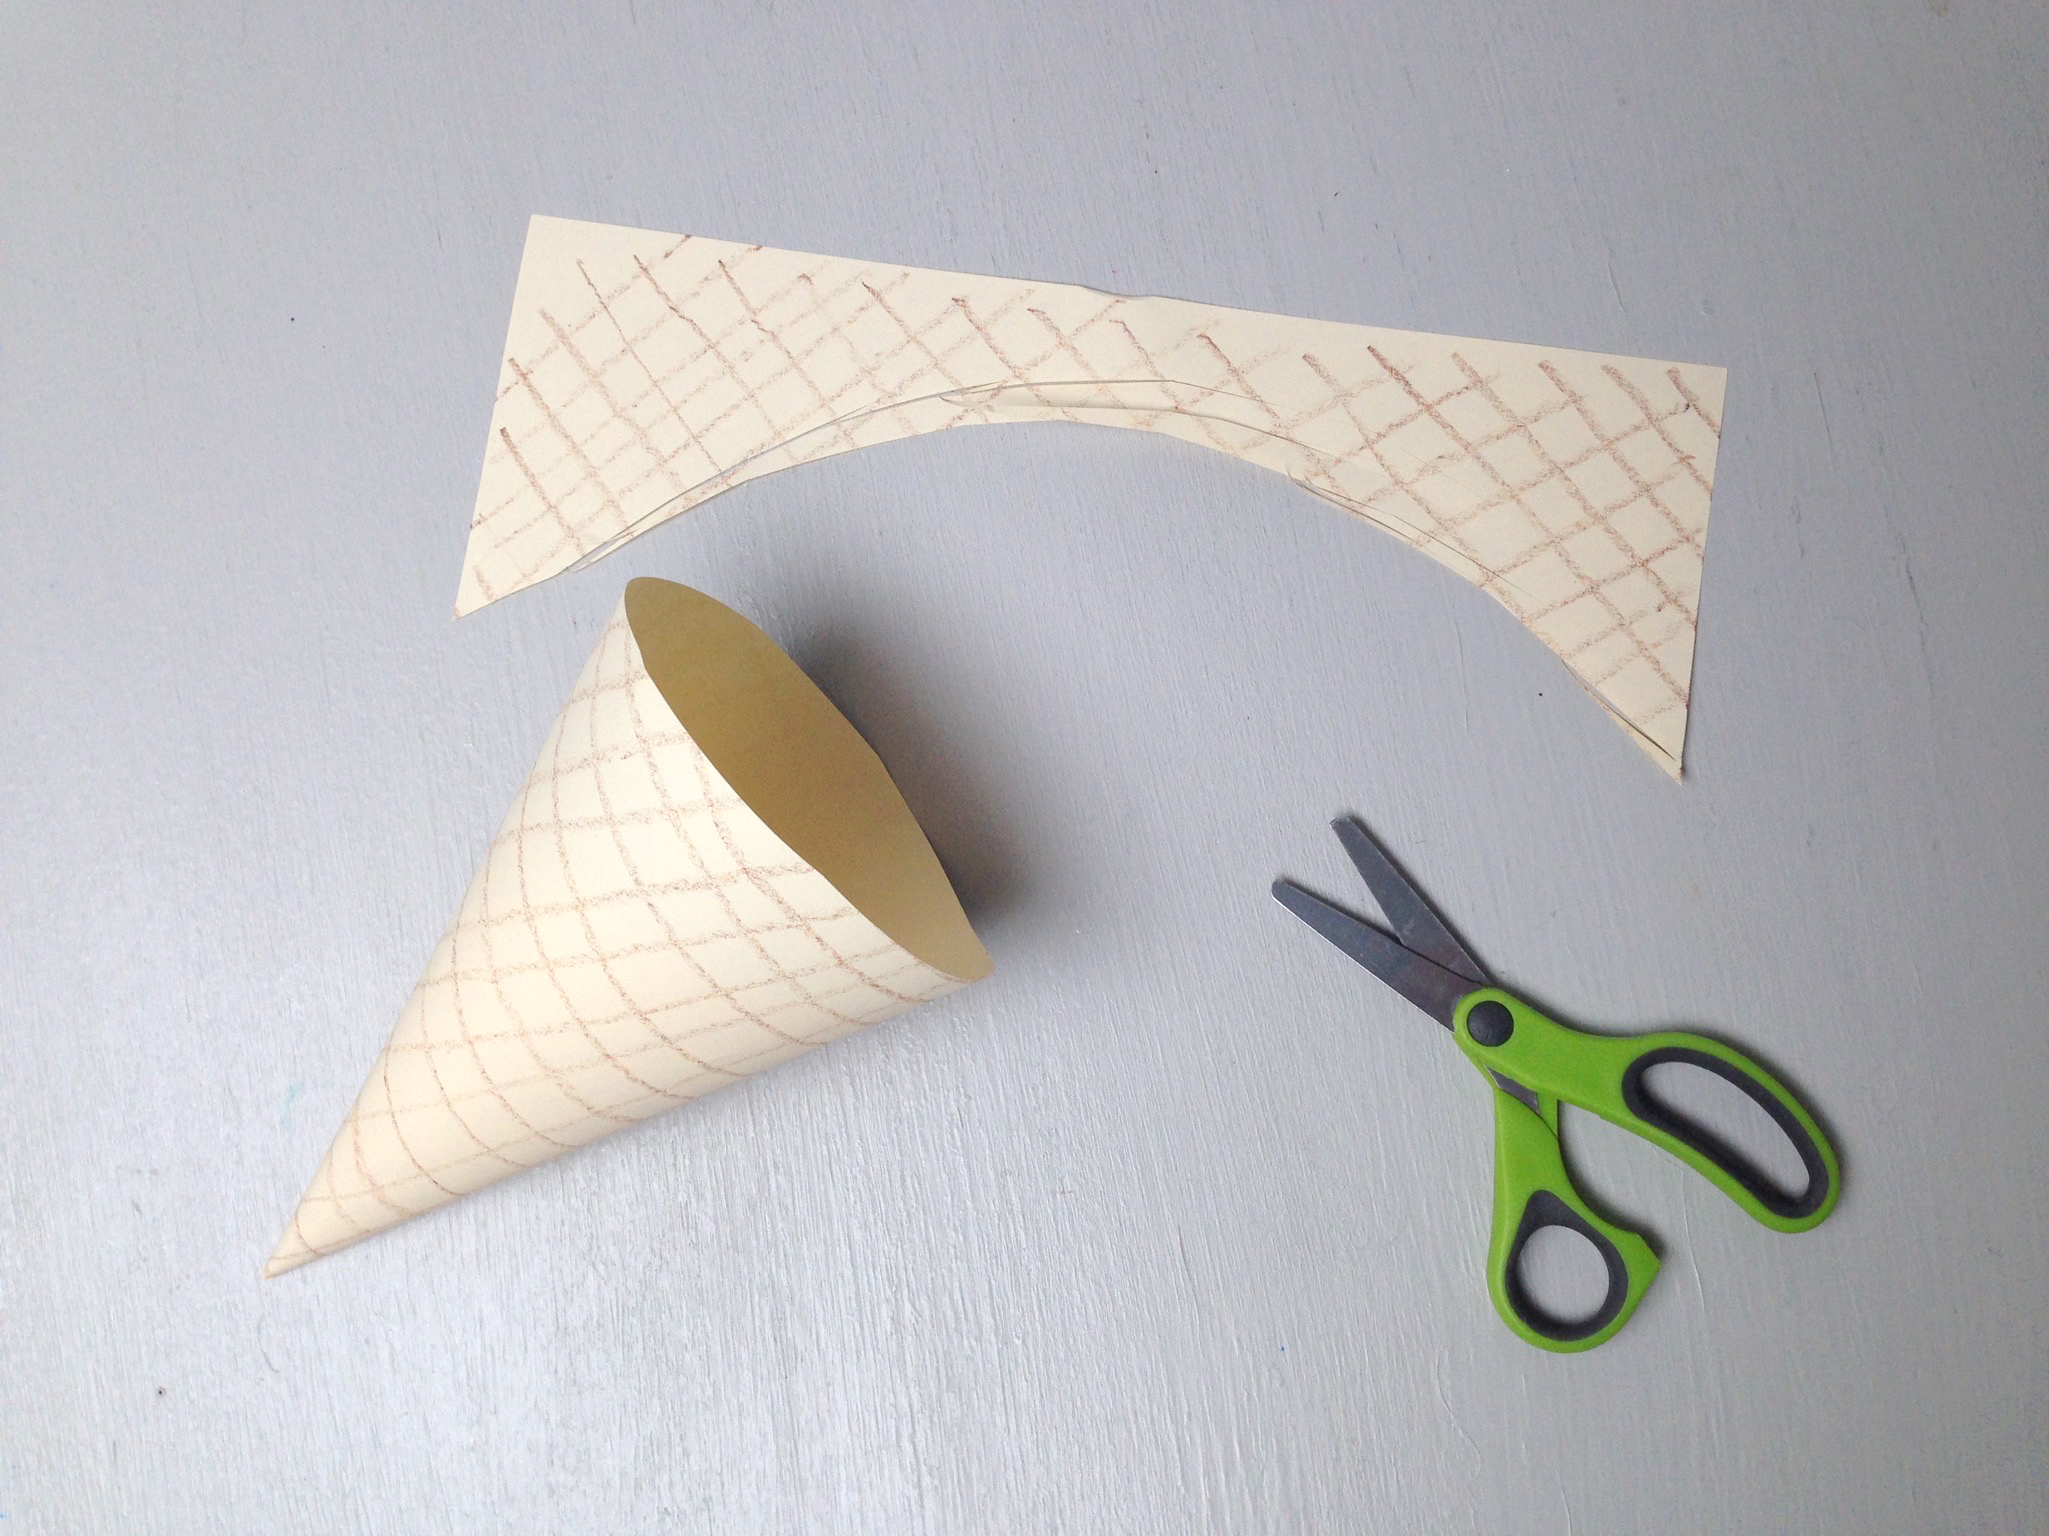
Start by making a waffle cone! Draw a grid pattern on the construction paper to give it that waffle-cone look.

Step 3
Roll the piece of paper up and add a piece of tape to create the cone.
Step 4
Use scissors to trim around the top of the cone to create a flat edge.
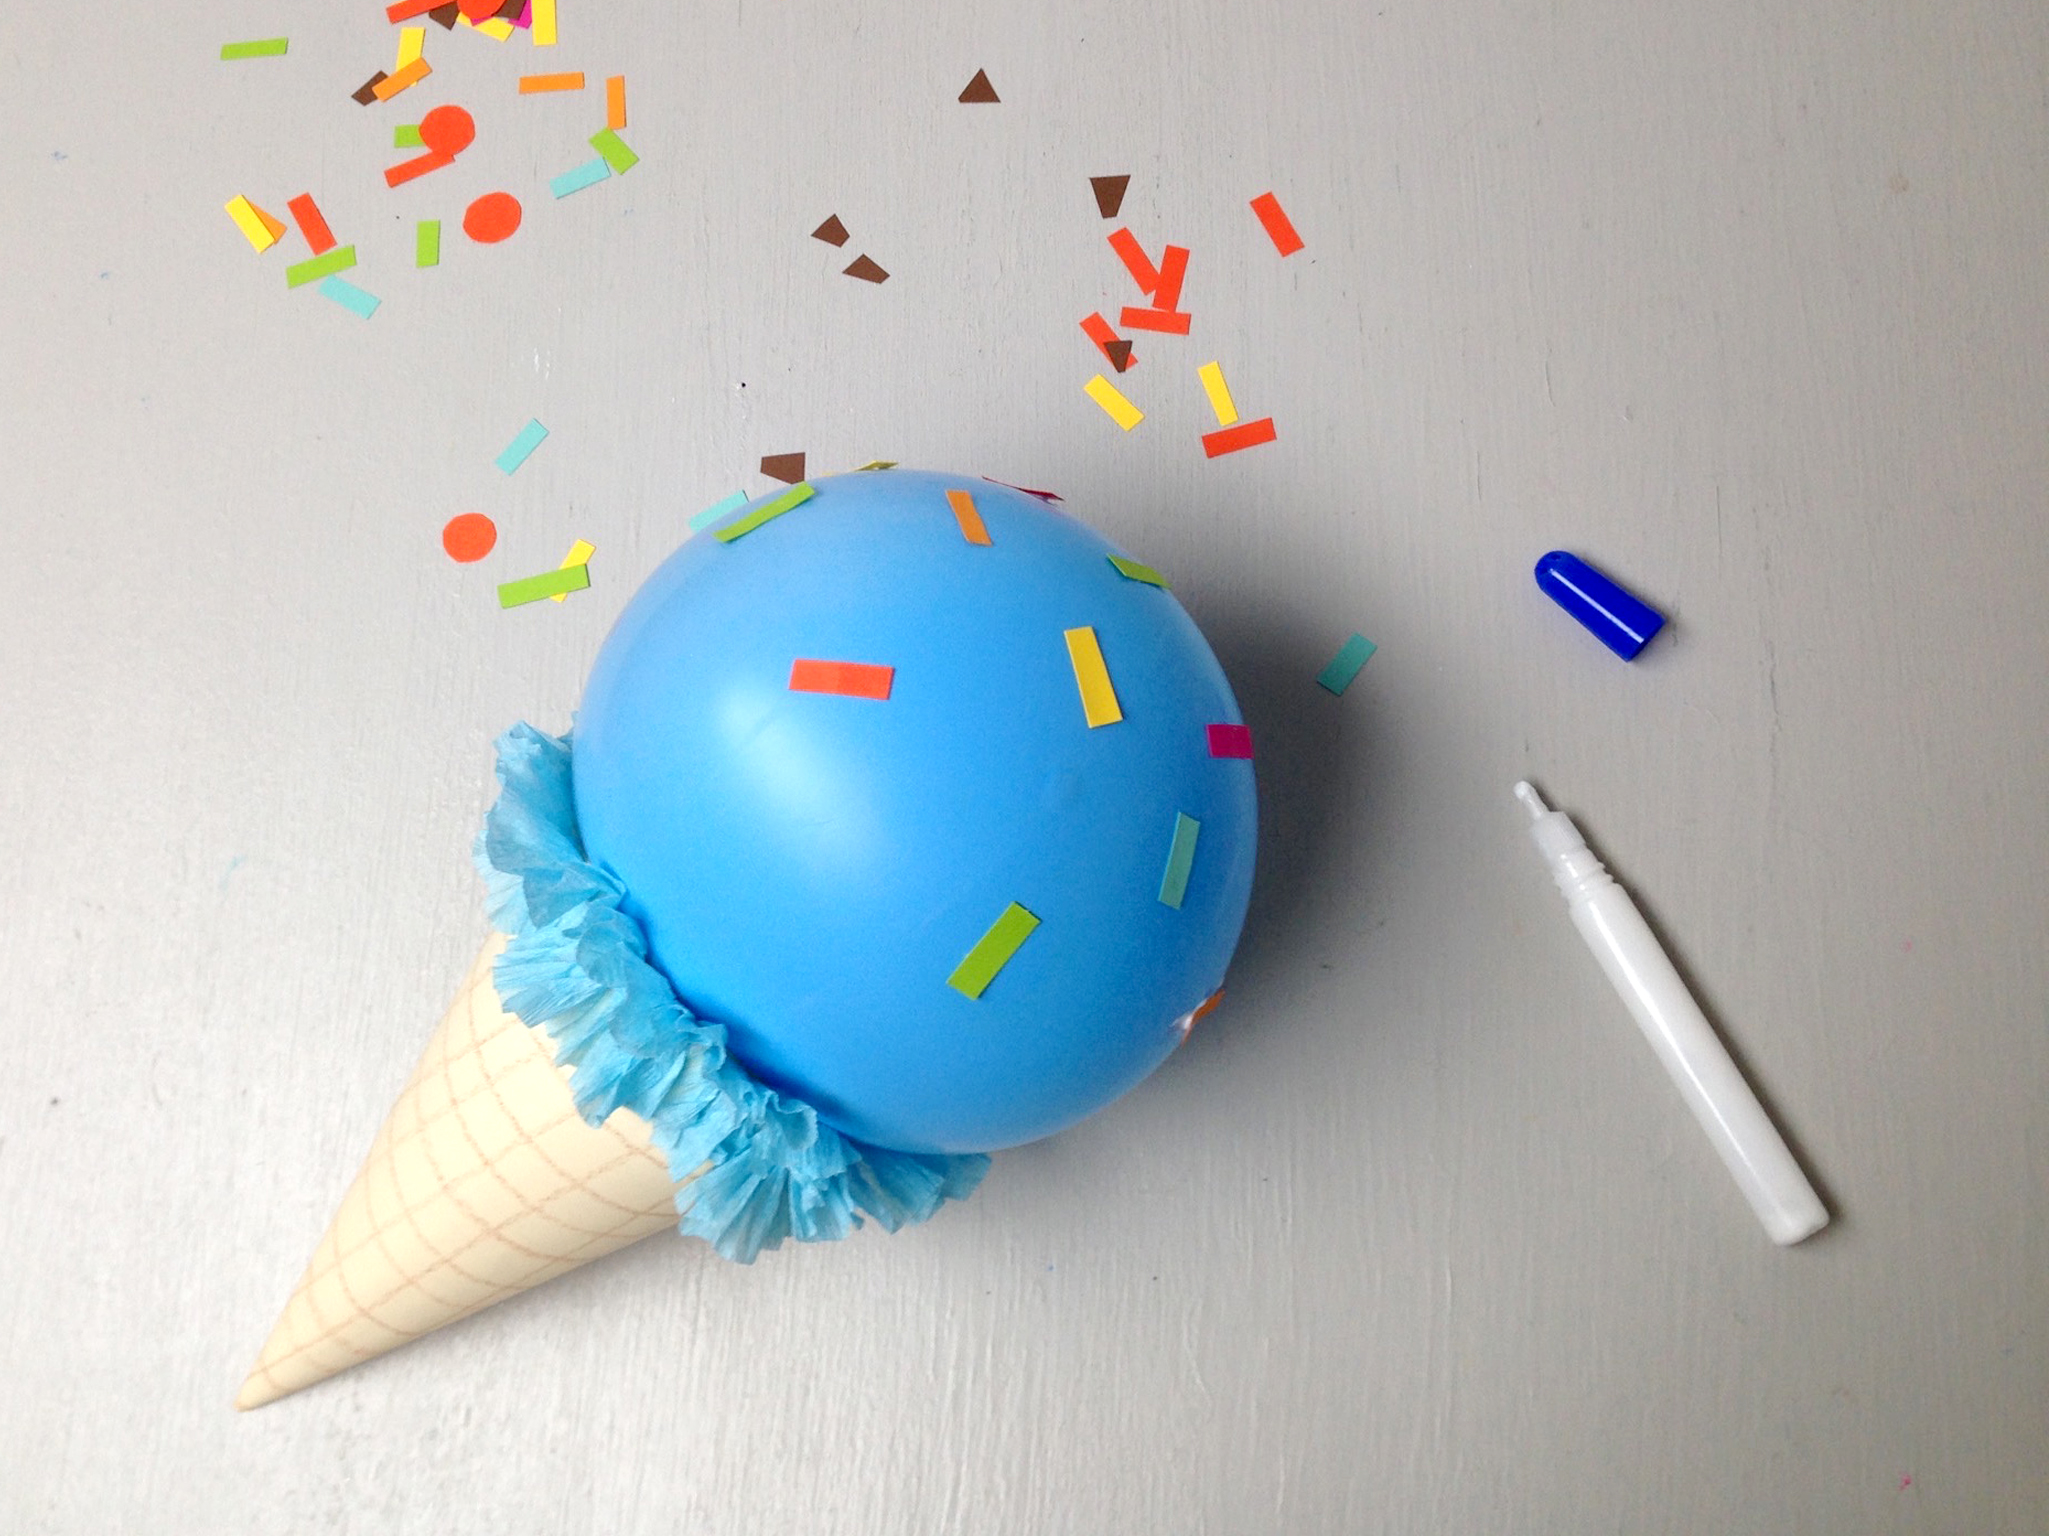
Step 5
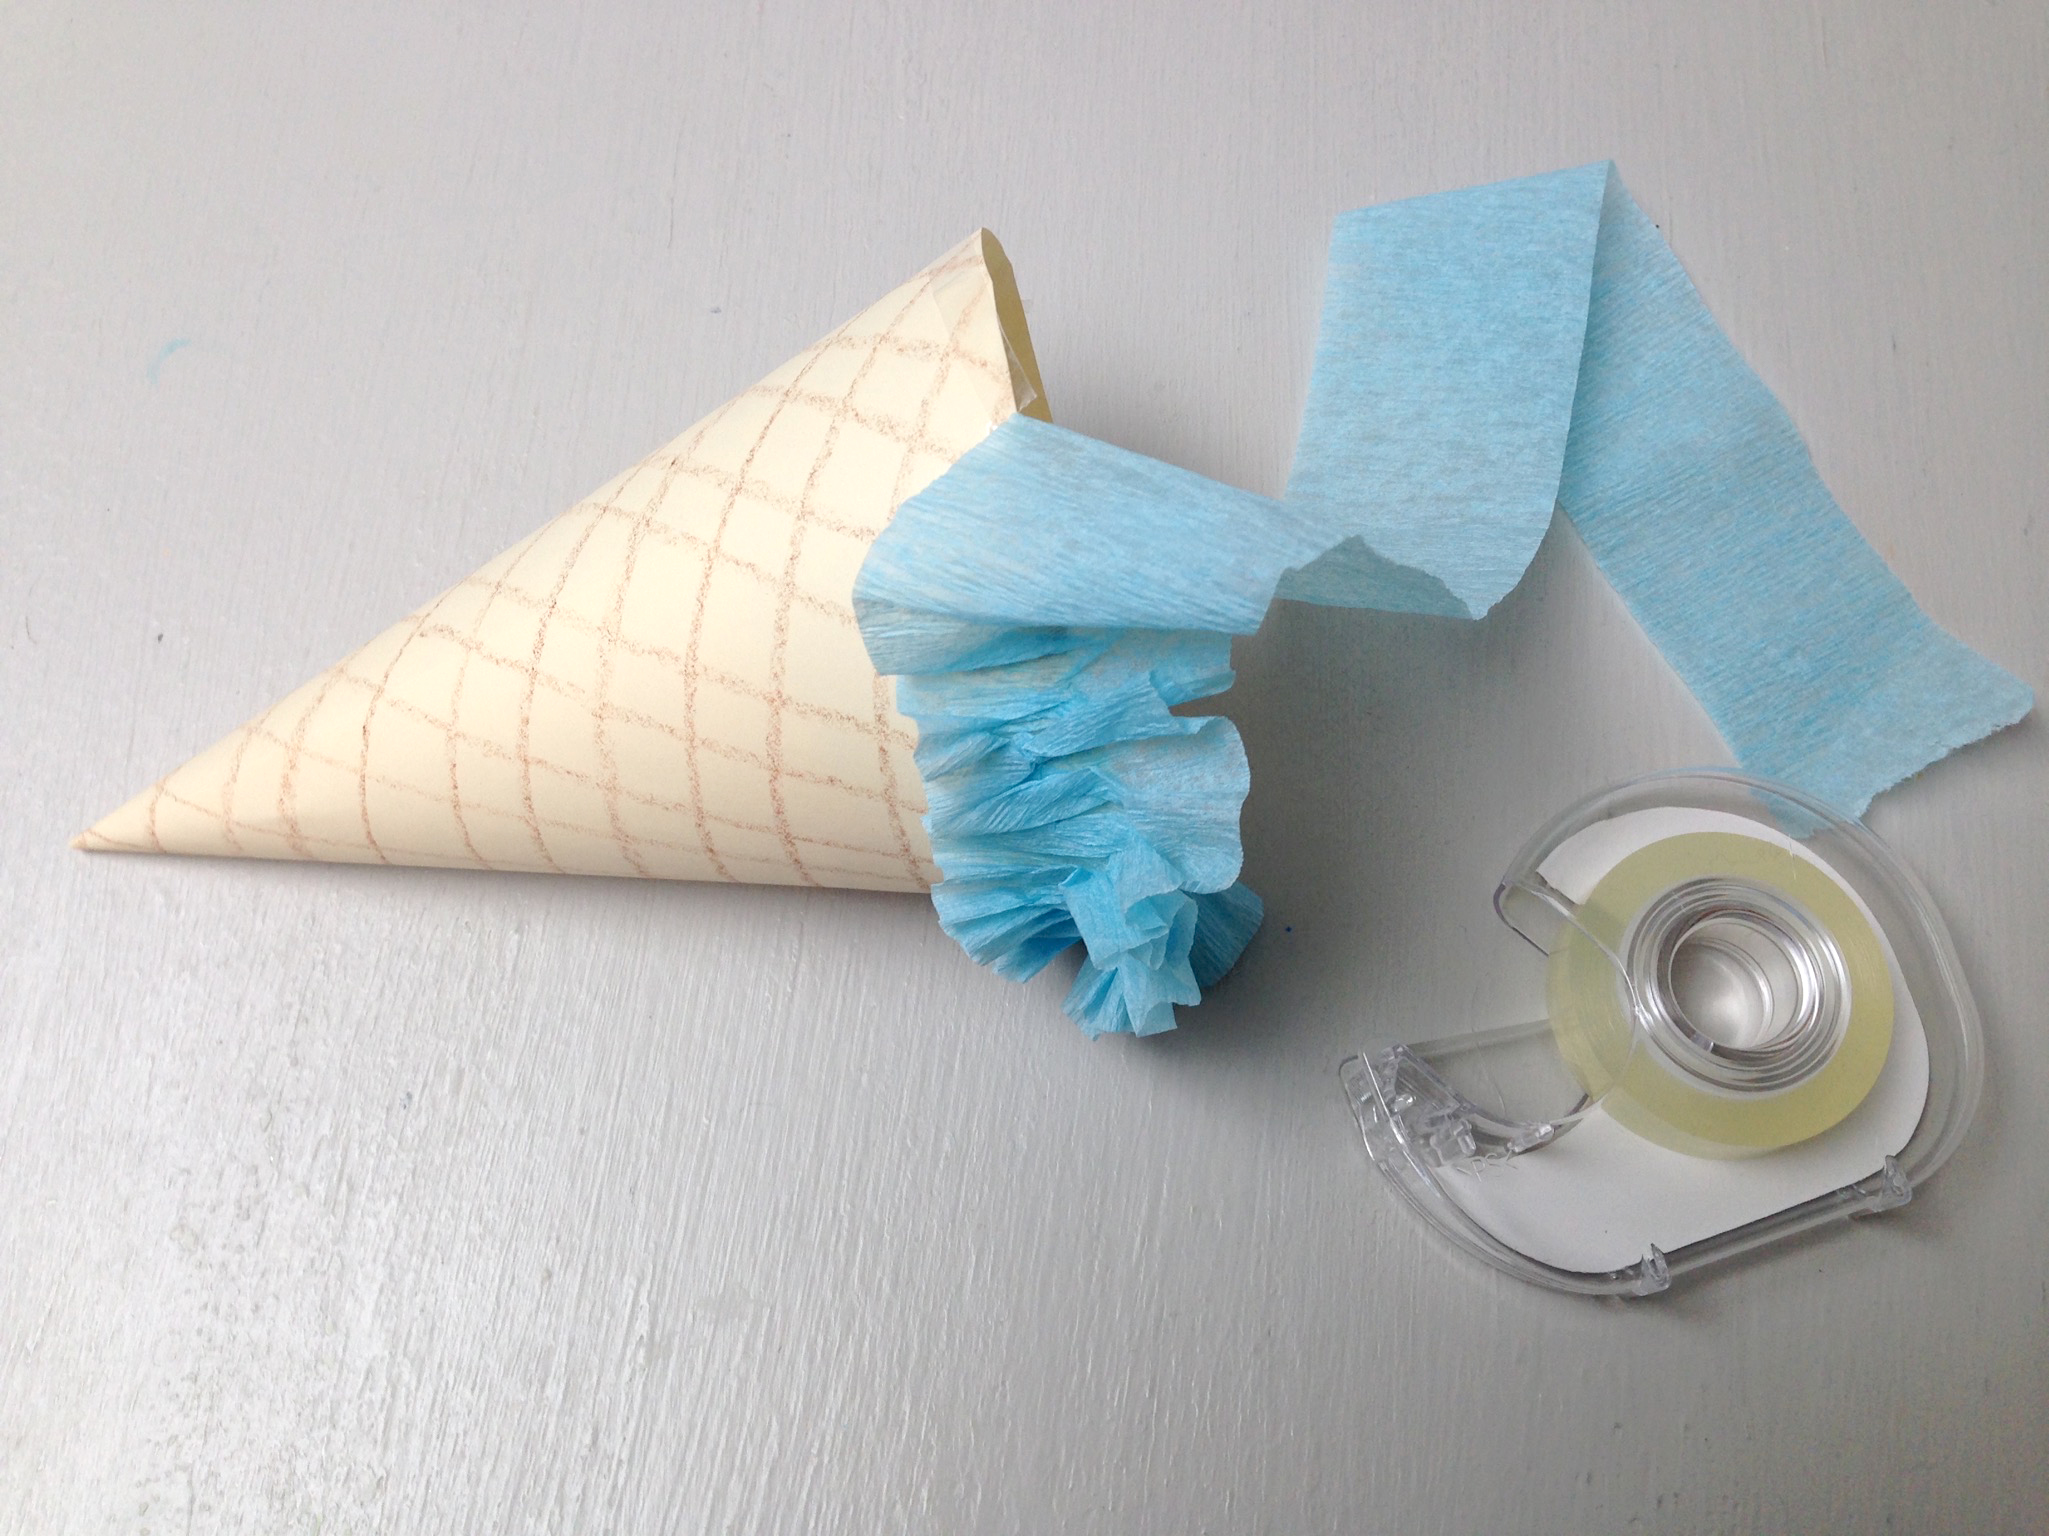
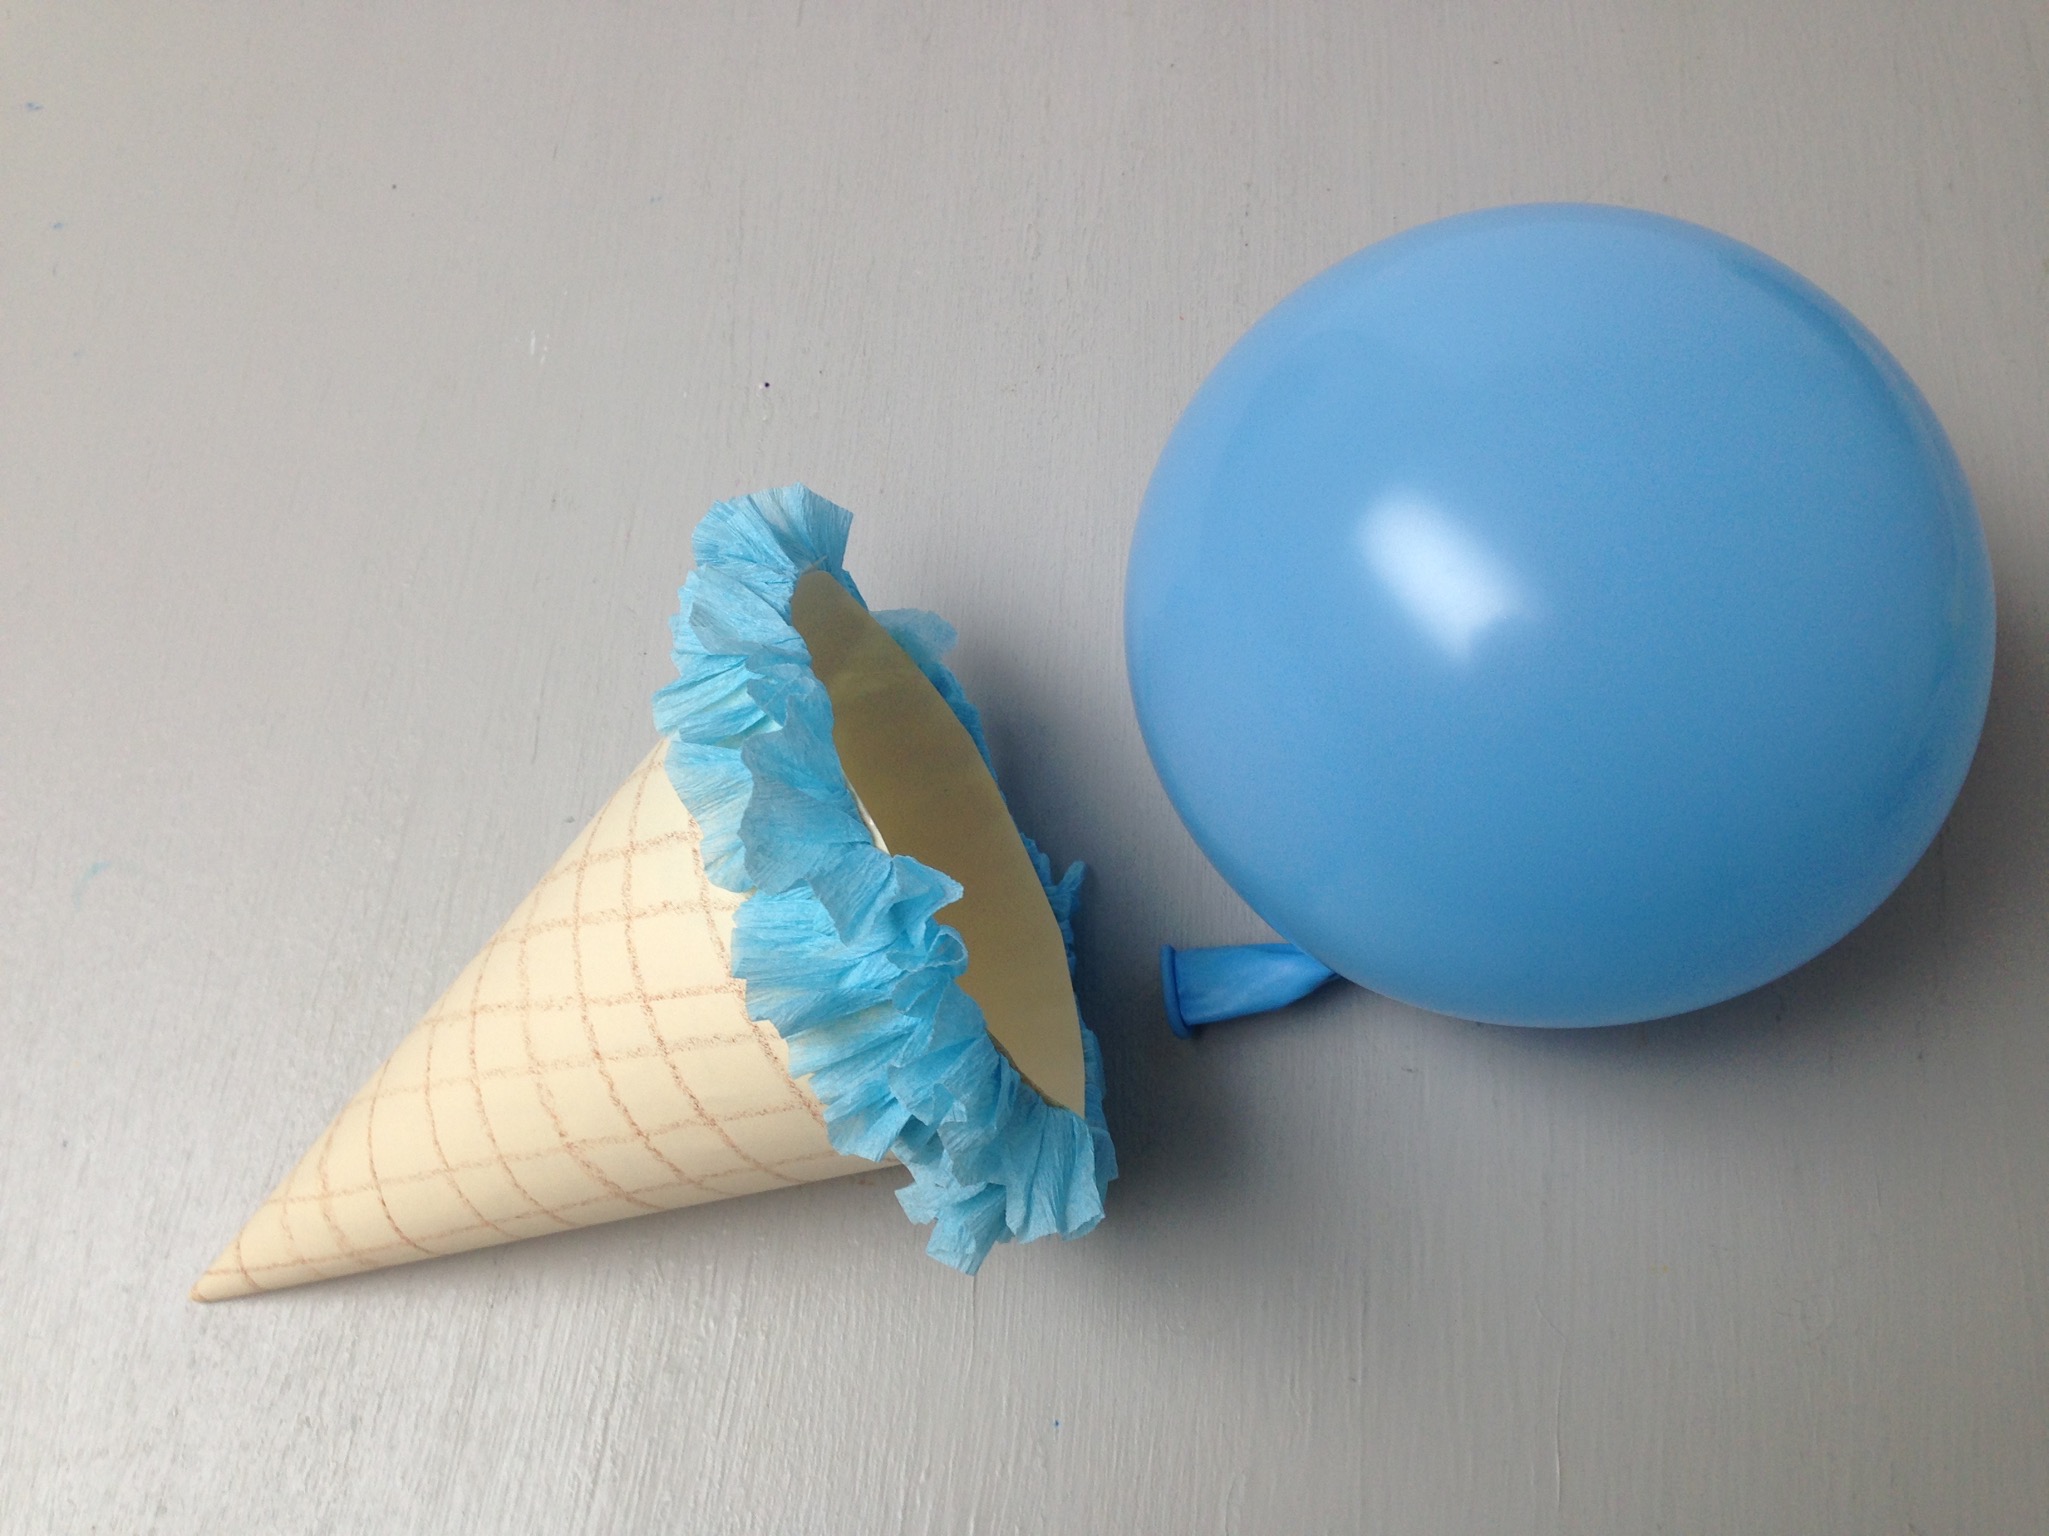
Crumple up some crepe paper. Then, glue or tape it along the edges of the paper cone to create the frilled edge of your ice cream. To make the ice cream in our cone all the same flavor, we used crepe paper that was the same color as our balloon.
Step 6
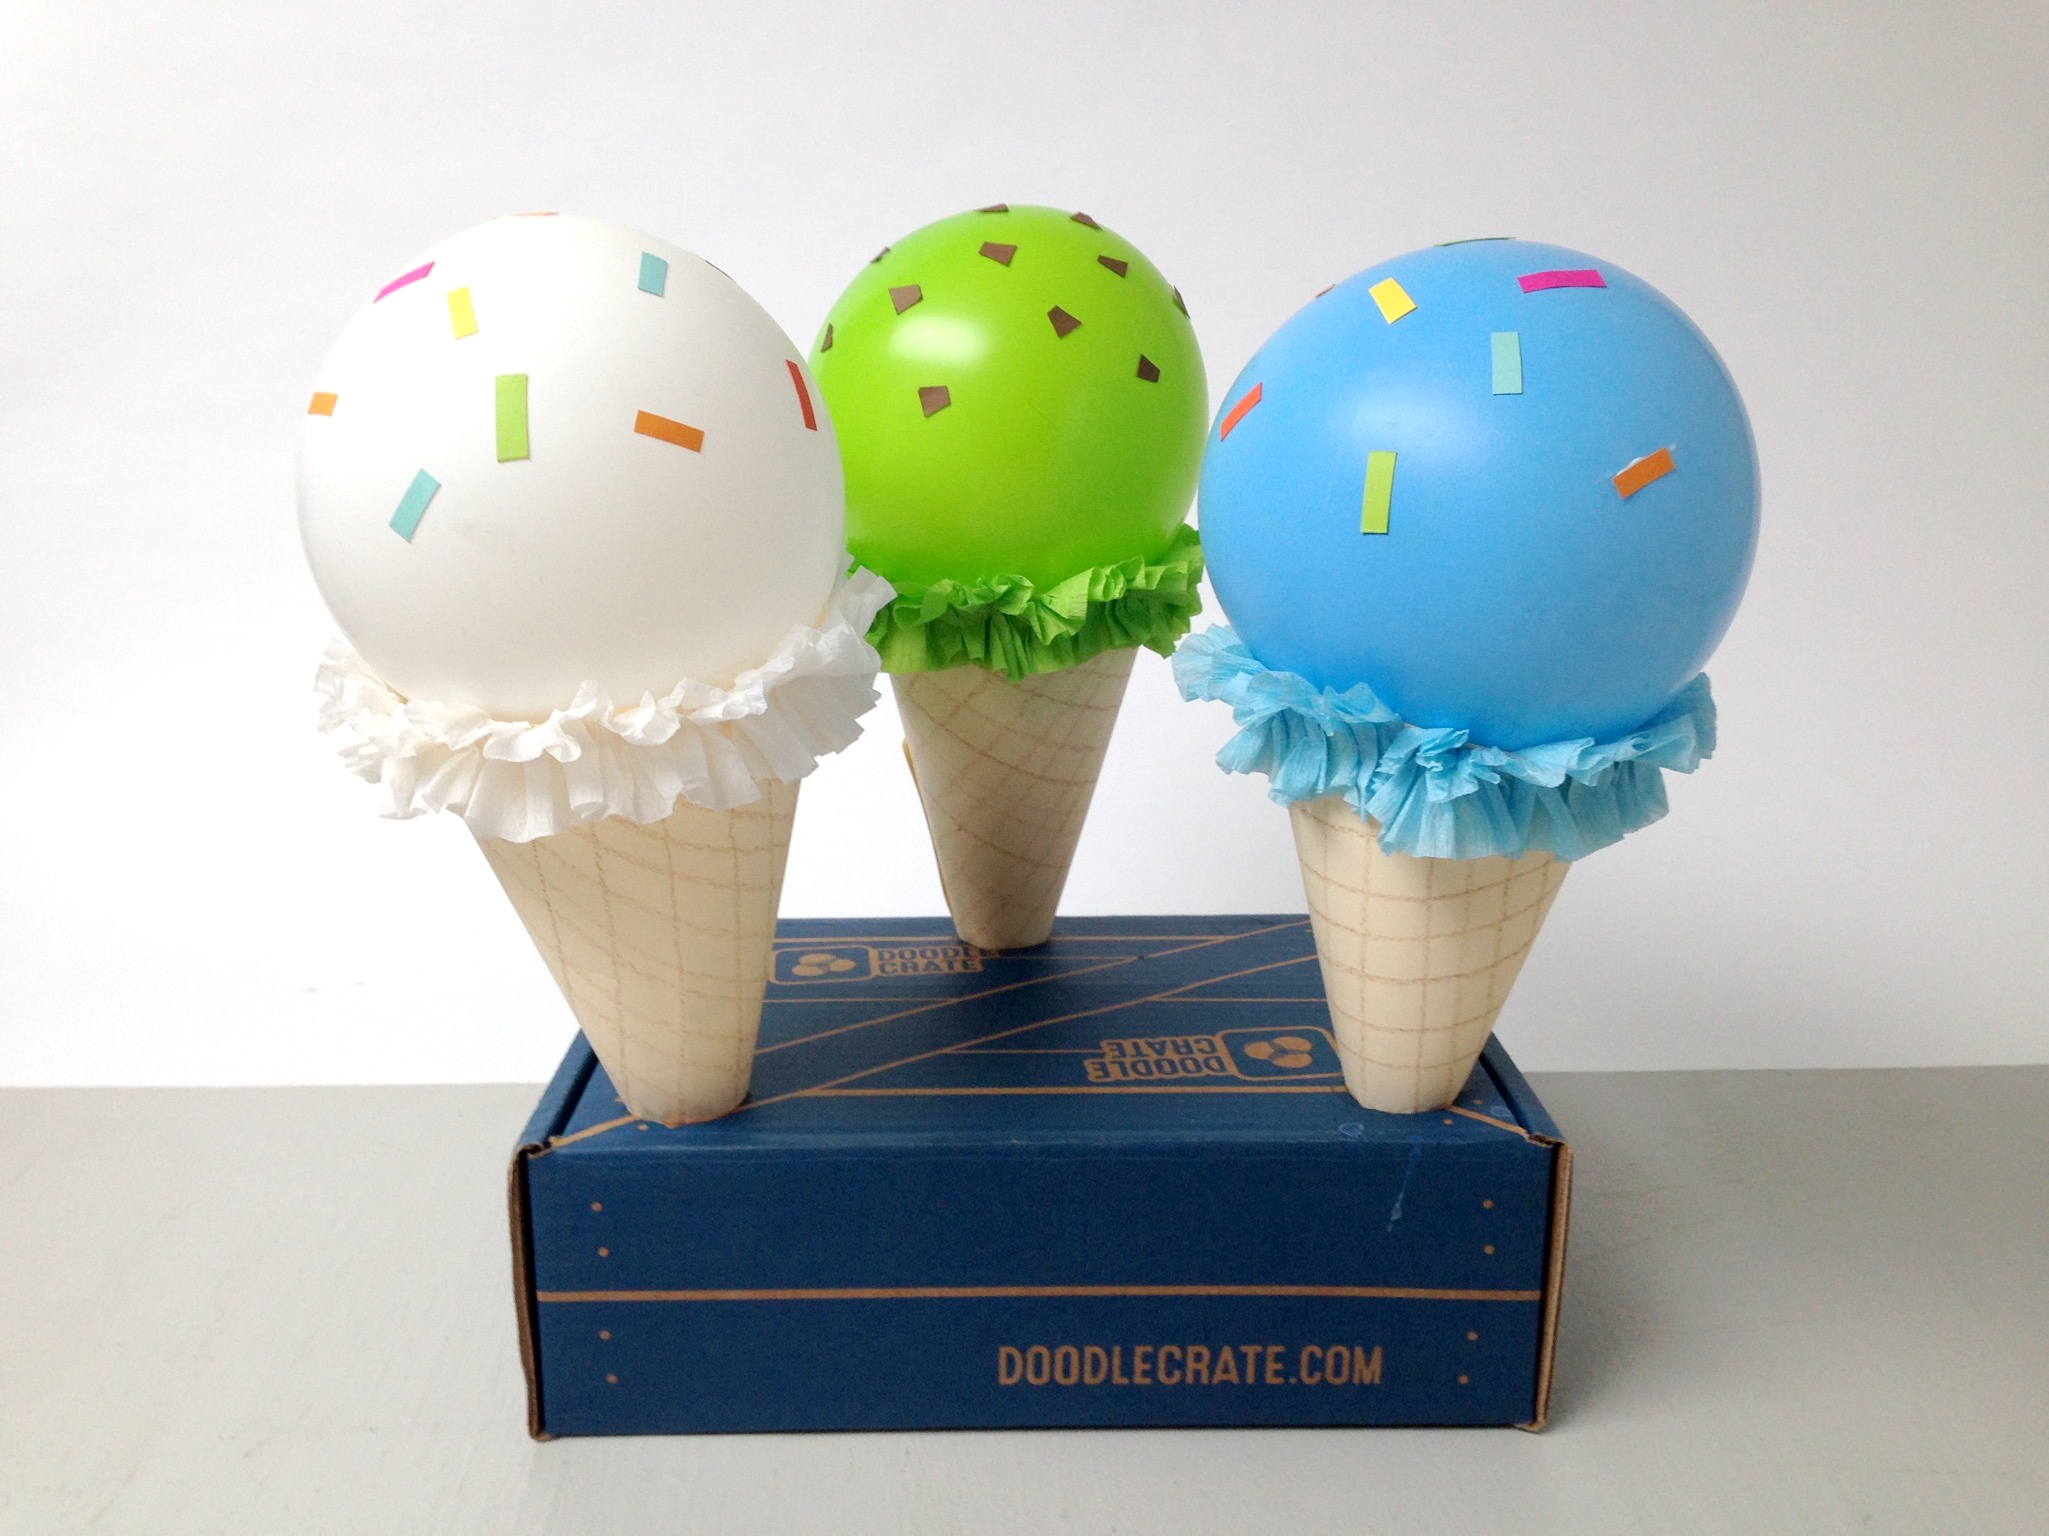
It's time to add the ice cream scoop! Blow up a balloon to the size you want your ice cream scoop to be and tie the end.
Step 7
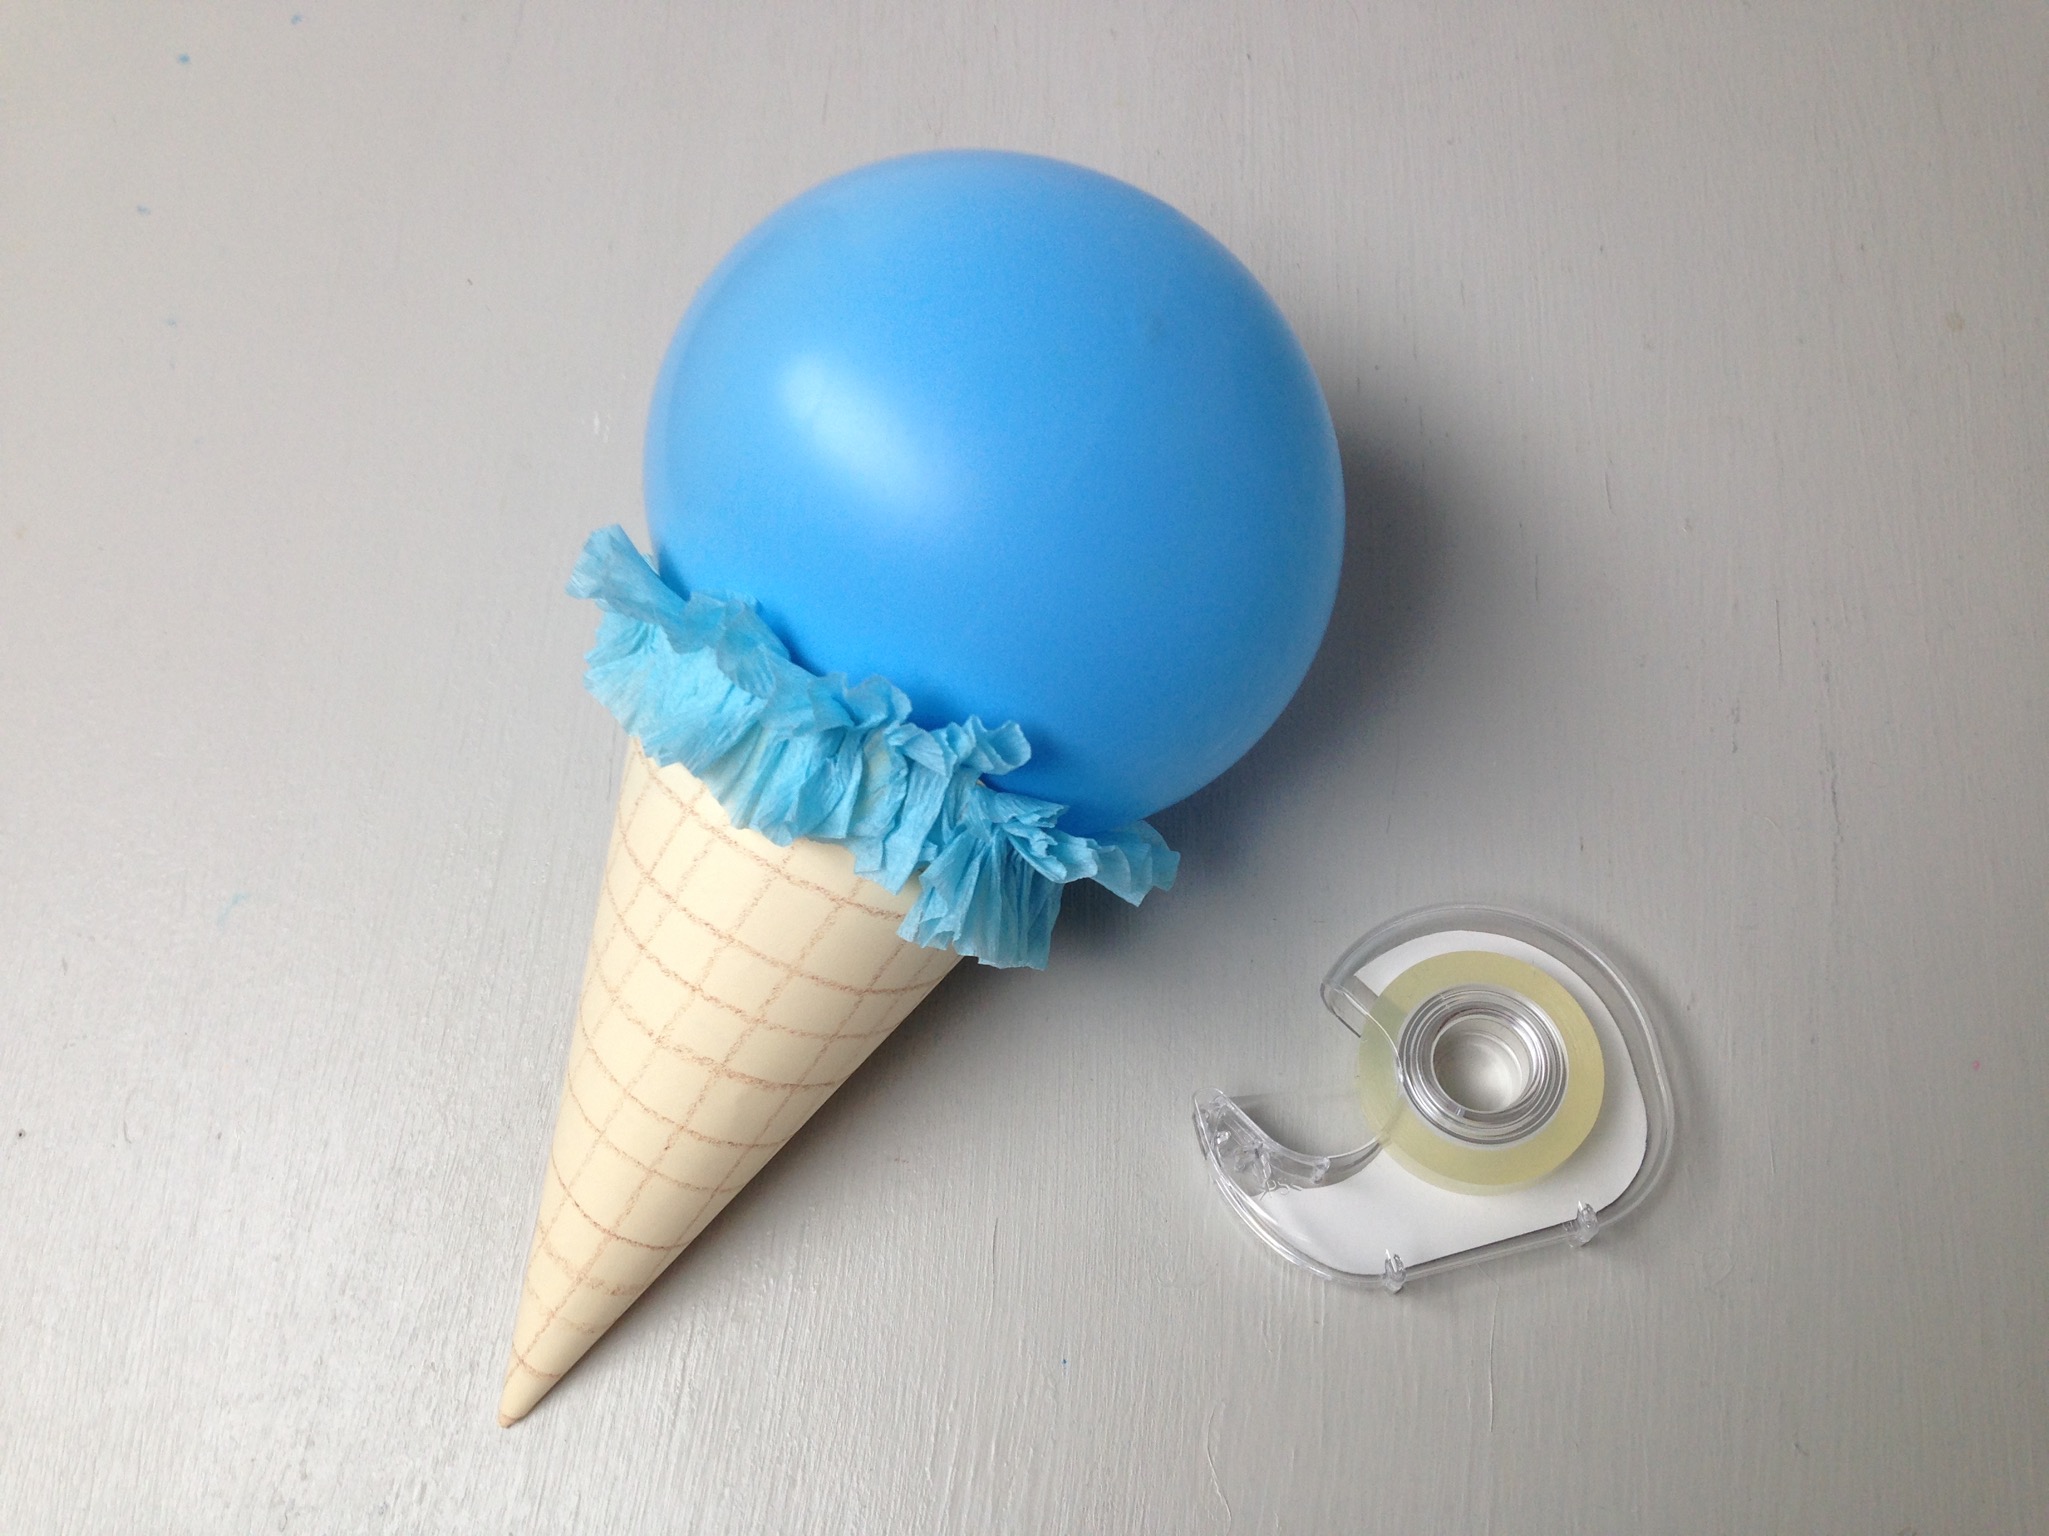
Secure the balloon to the cone with glue or tape. Place the tied tip of the balloon into the cone so it would not show on the final DIY ice cream cone.
Step 8
Using colorful construction paper, cut out some ice cream toppings, such as sprinkles or fruit.
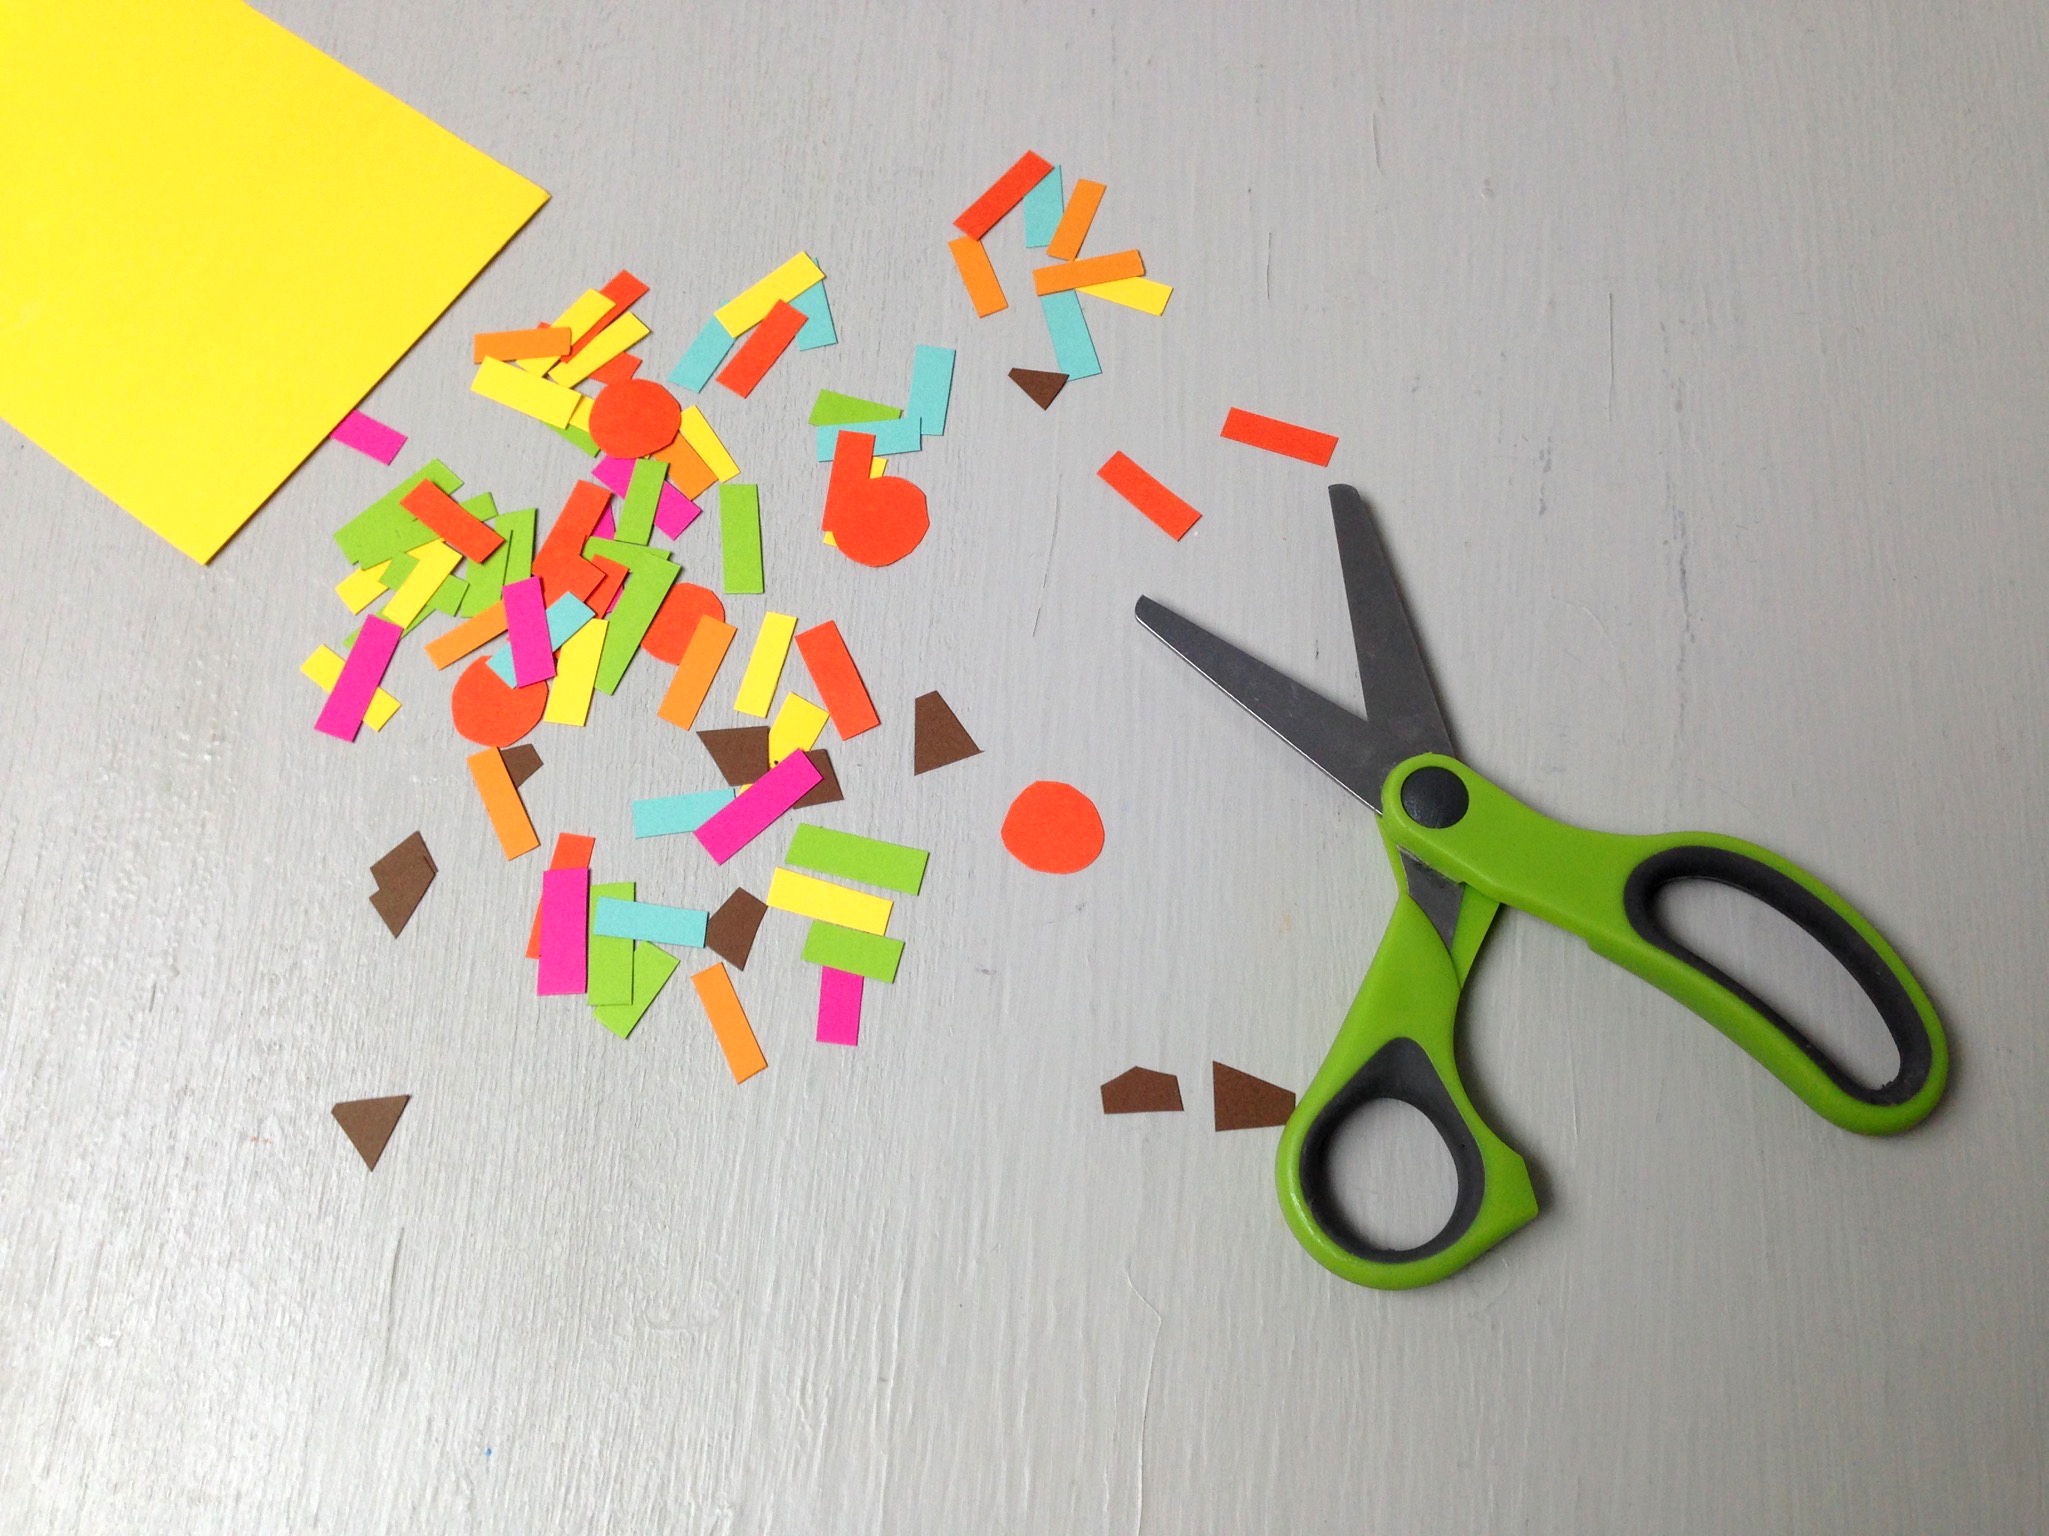
Step 9
Glue or tape your favorite toppings to the top of your ice cream. Get creative and see what ice cream flavors you can make with just balloons and paper!
Step 10
Make a stand for your ice-cream cones.
Take a box and draw out some 1 1/4 inch (3.2 cm) diameter circles. Depending on the size of your ice cream cones, you may need to adjust the size and spacing of your holes.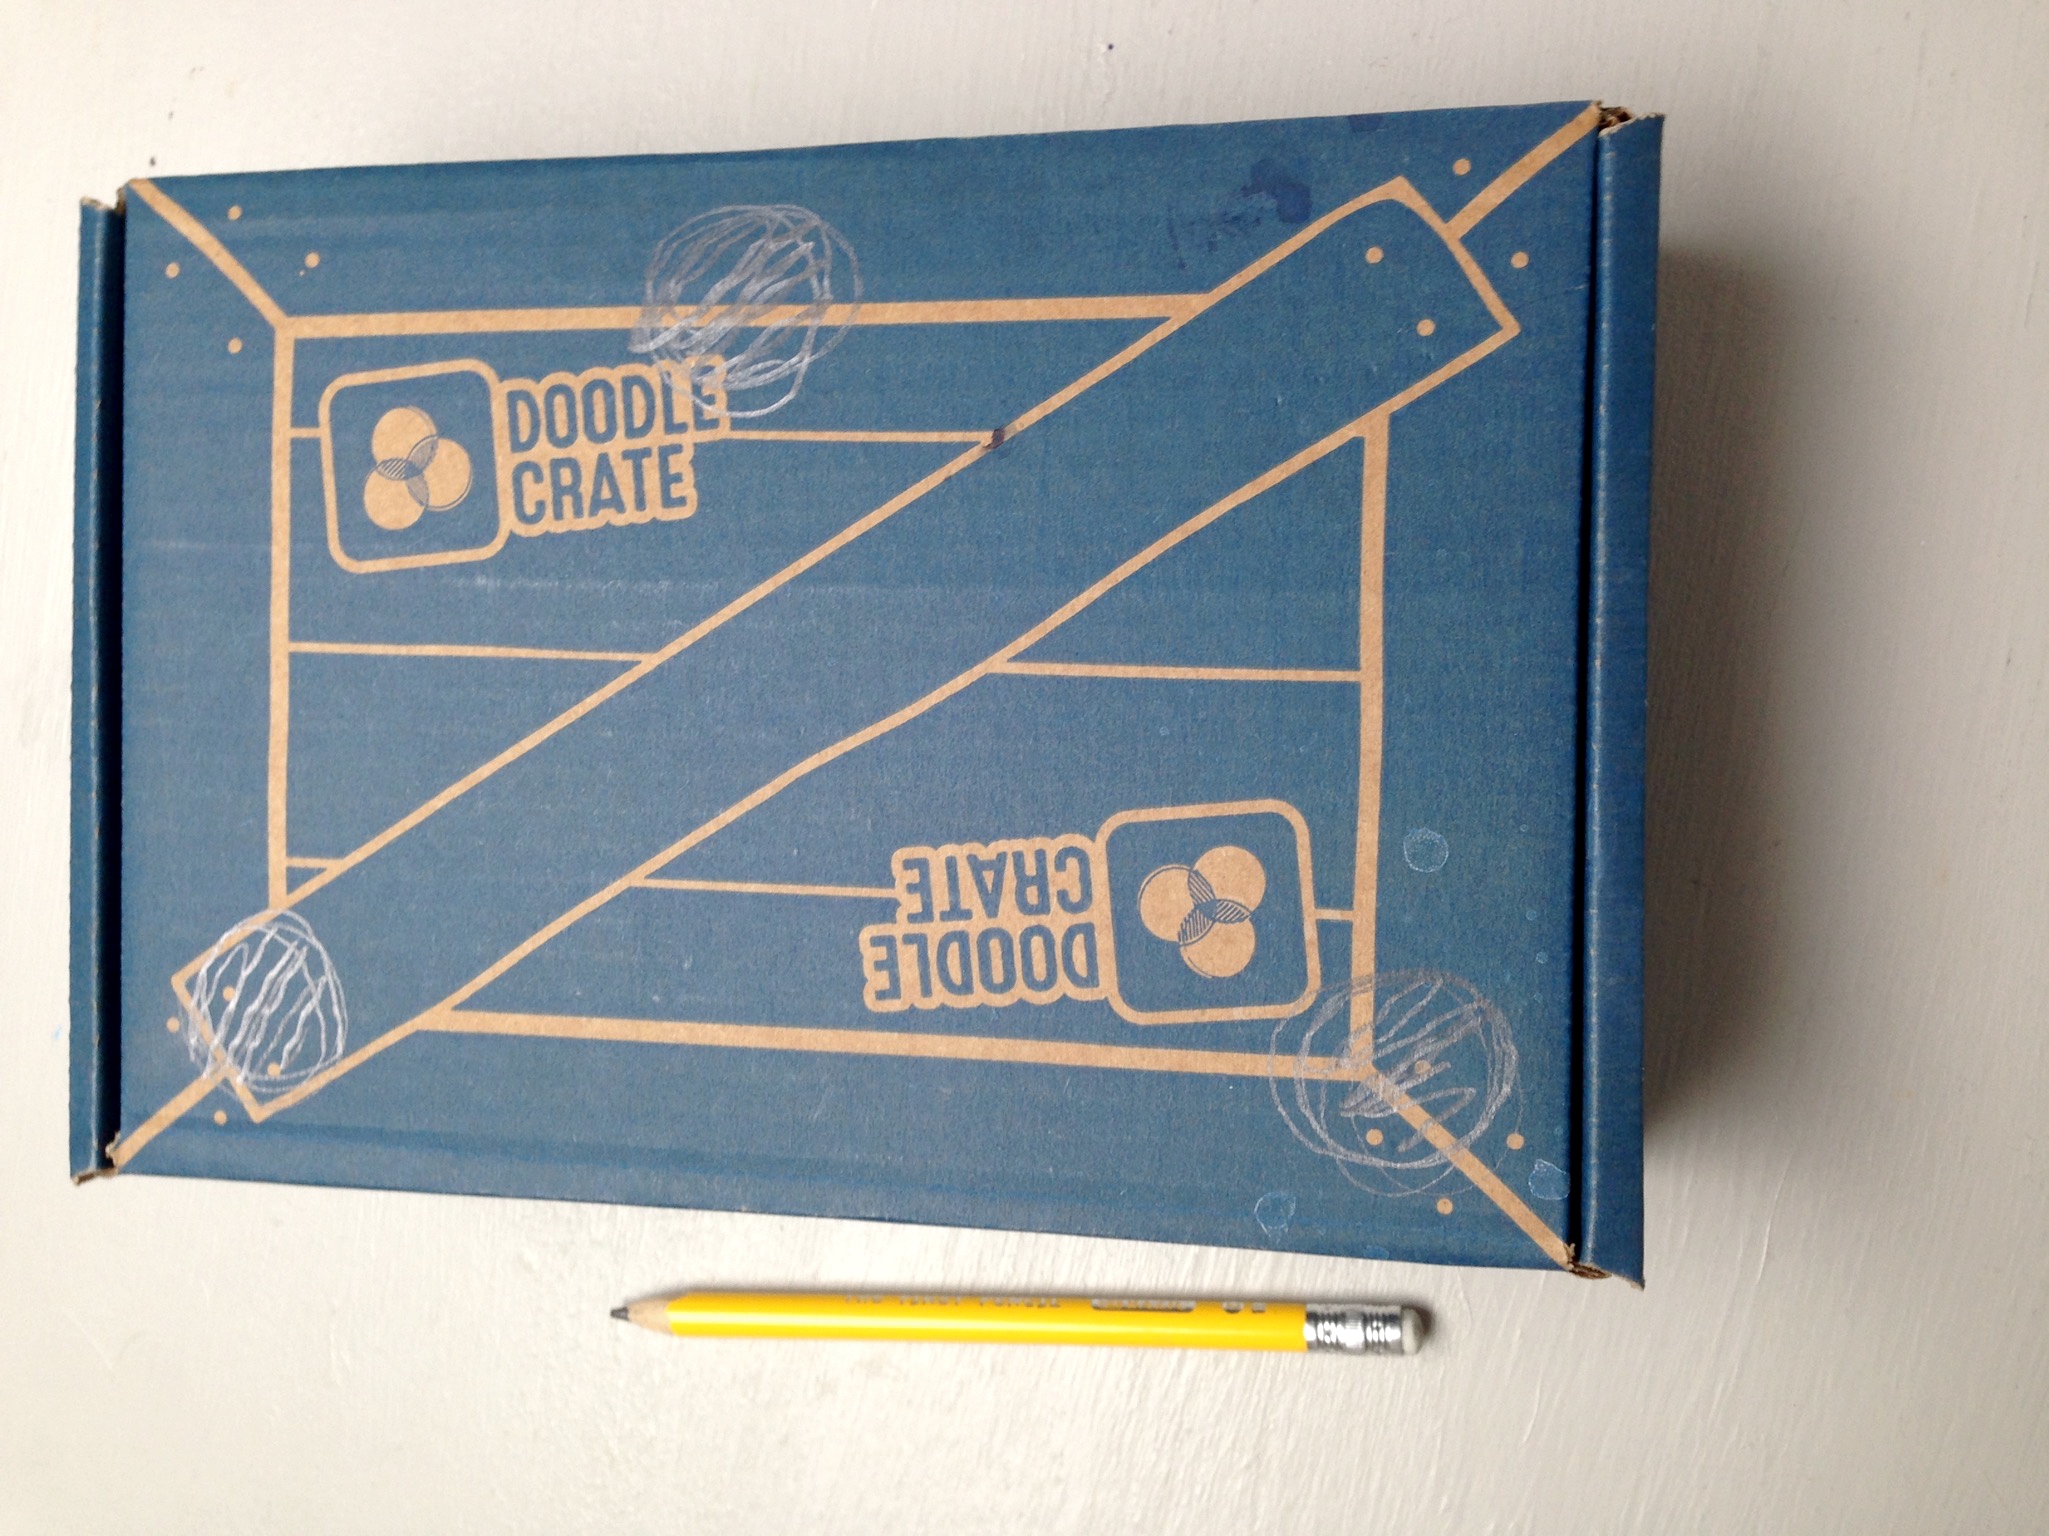
Step 11
Cut out the holes and stick the tip of your ice-cream cone into the hole.
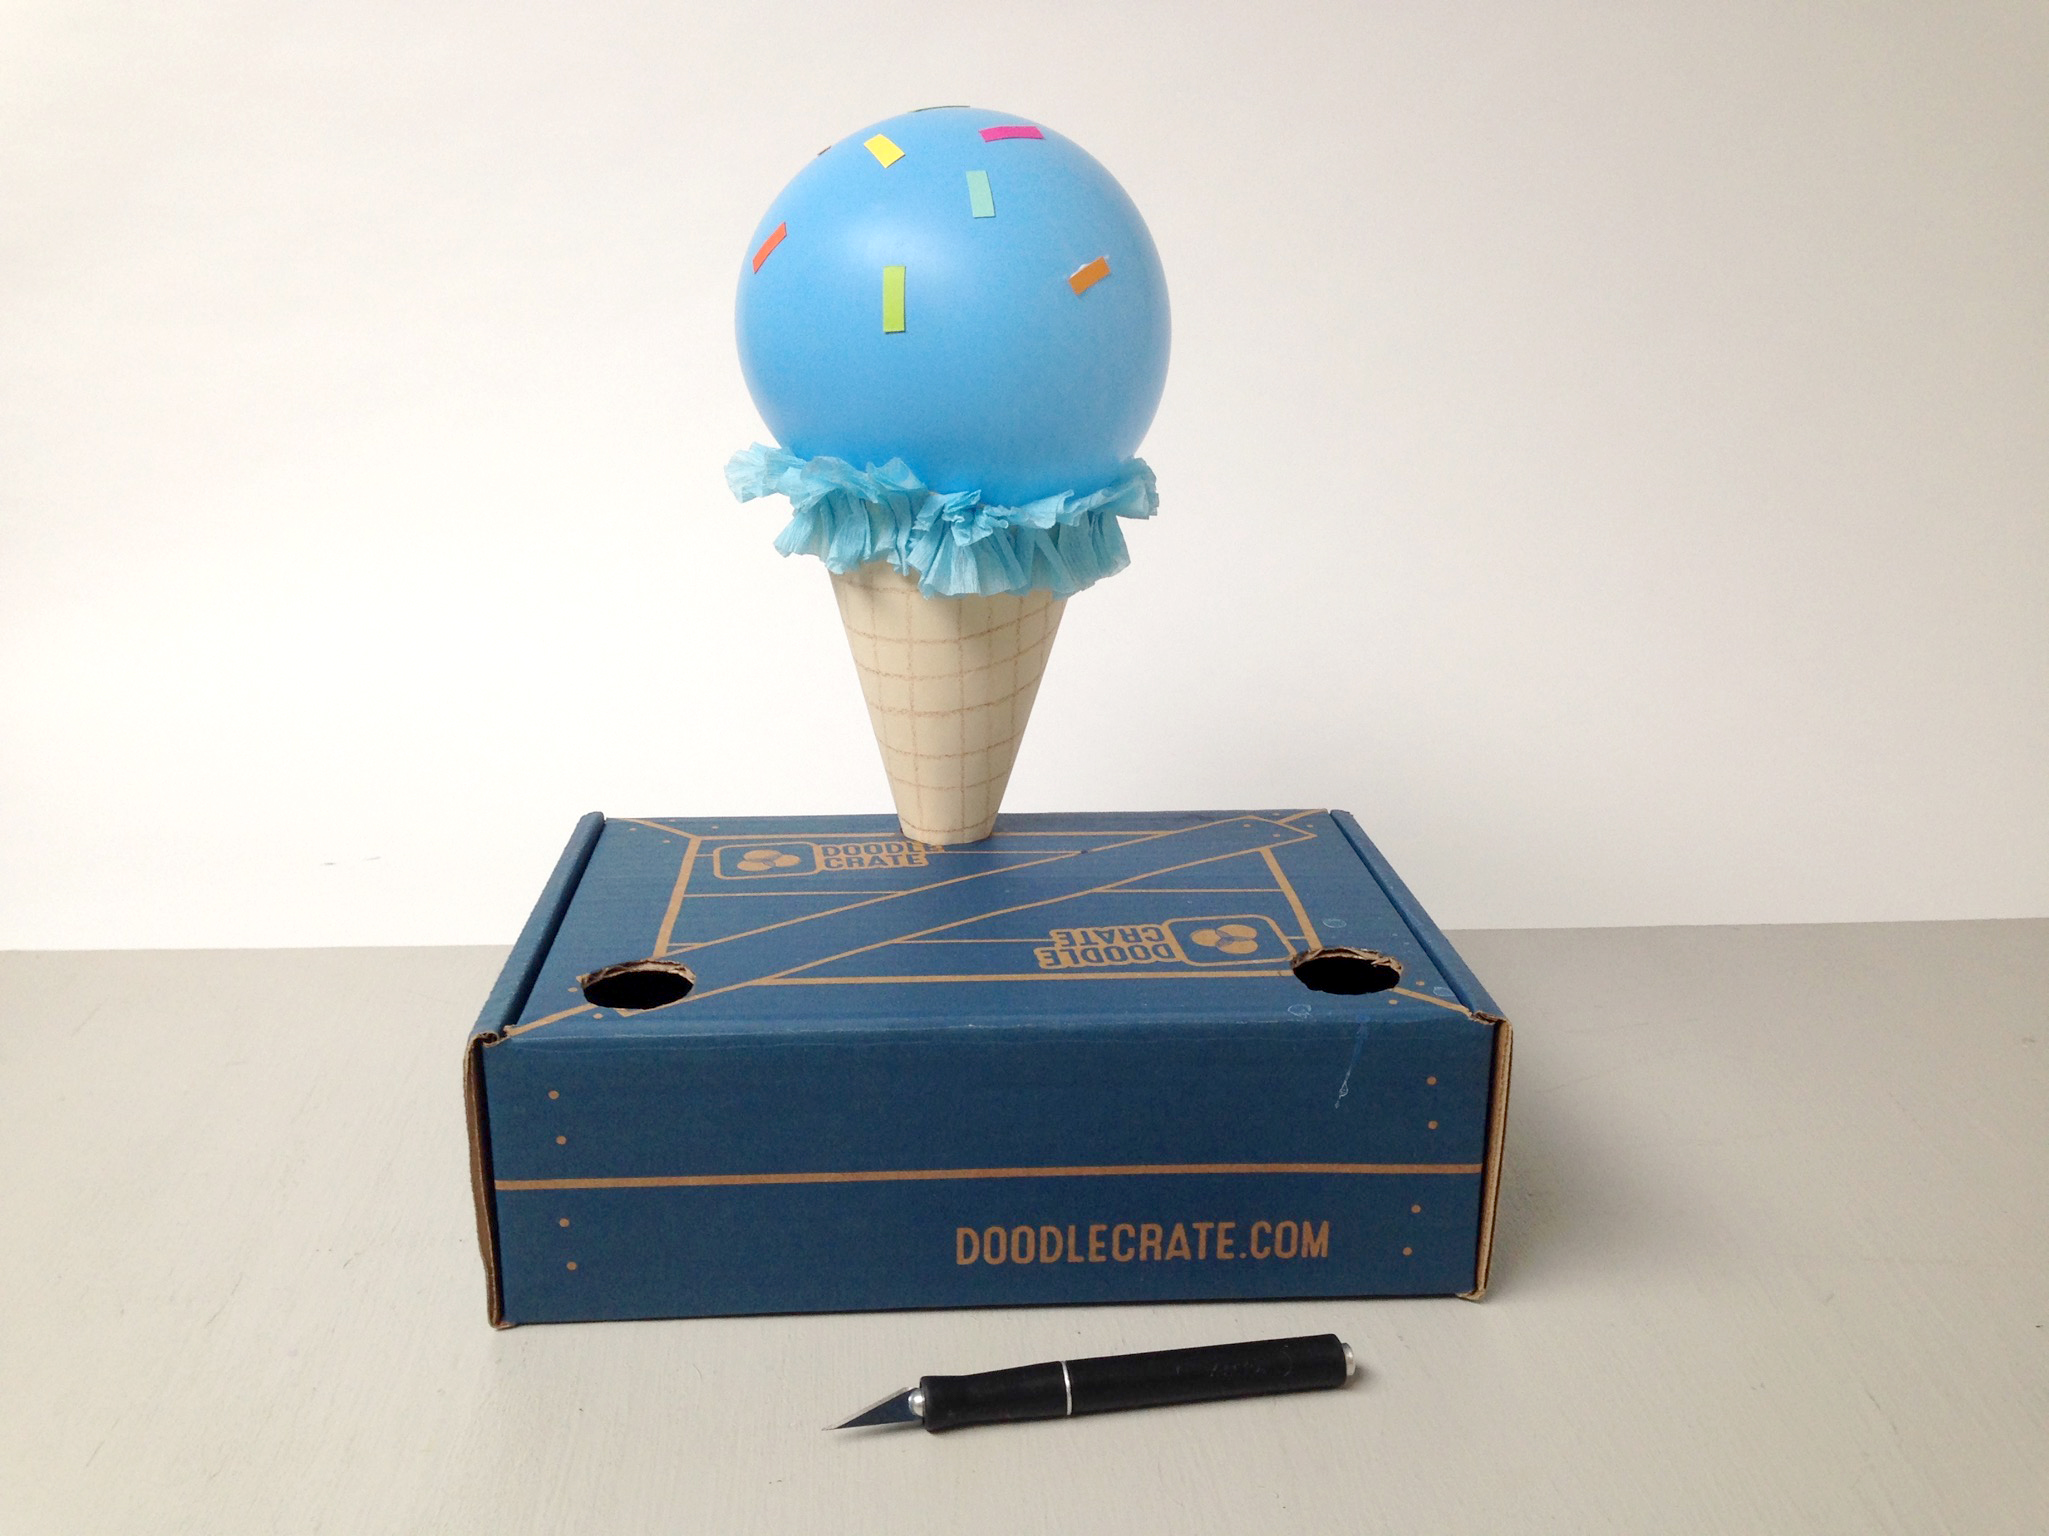
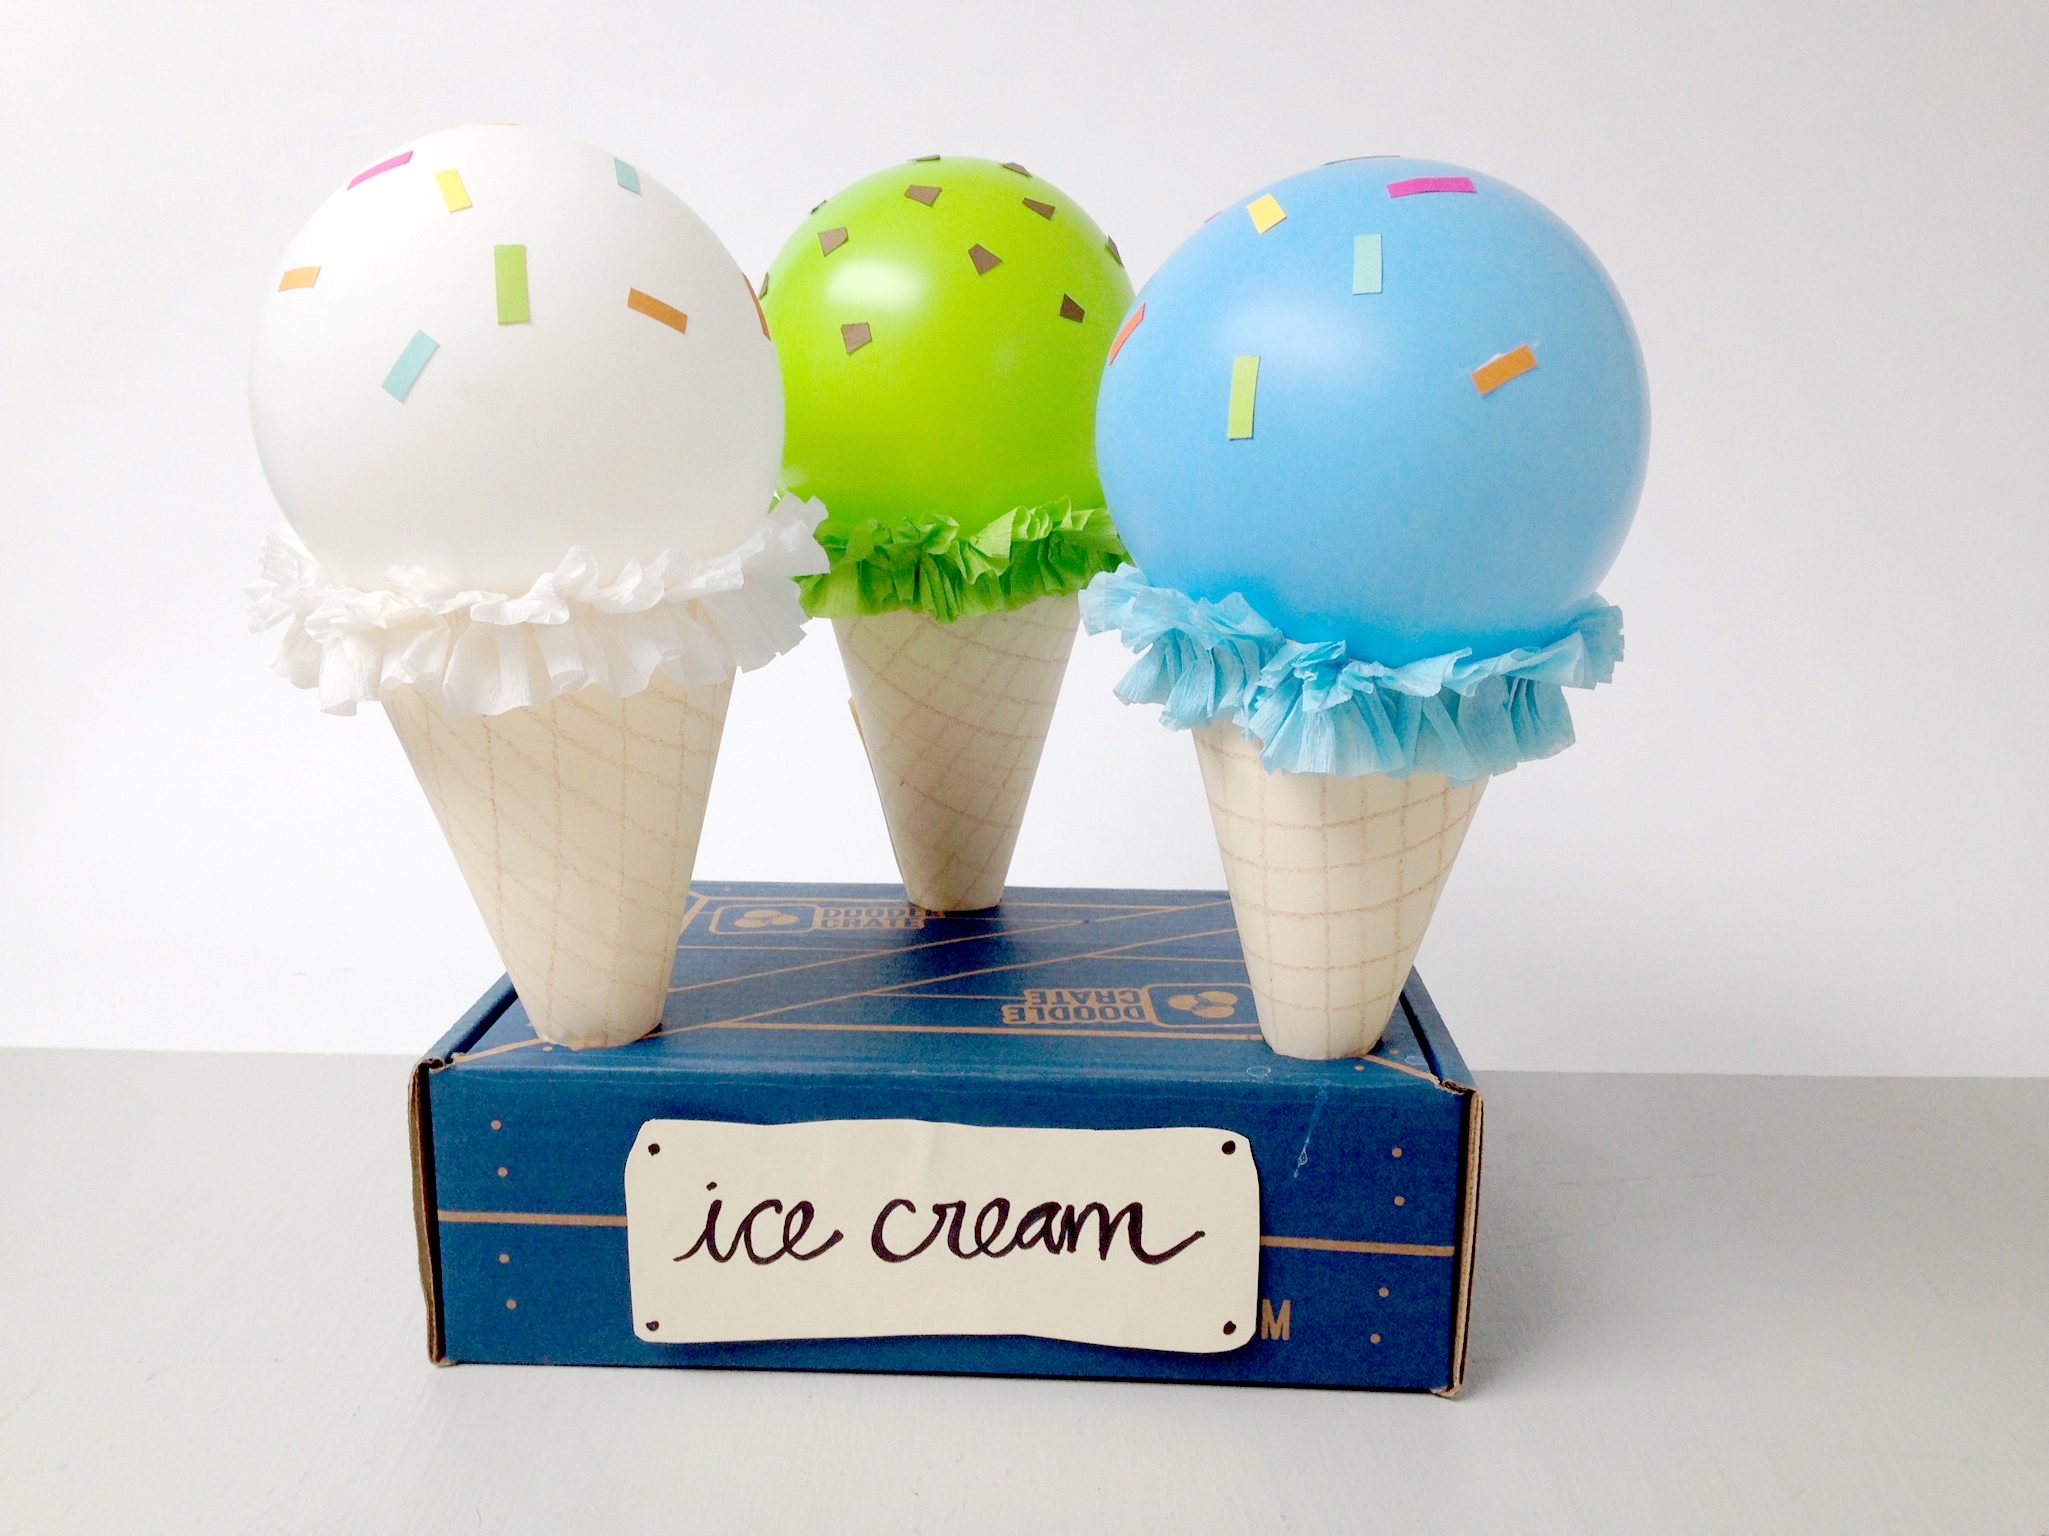
Done!
If you'd like, add a sign for your ice cream stand and you're ready to go!