Step-by-step tutorial
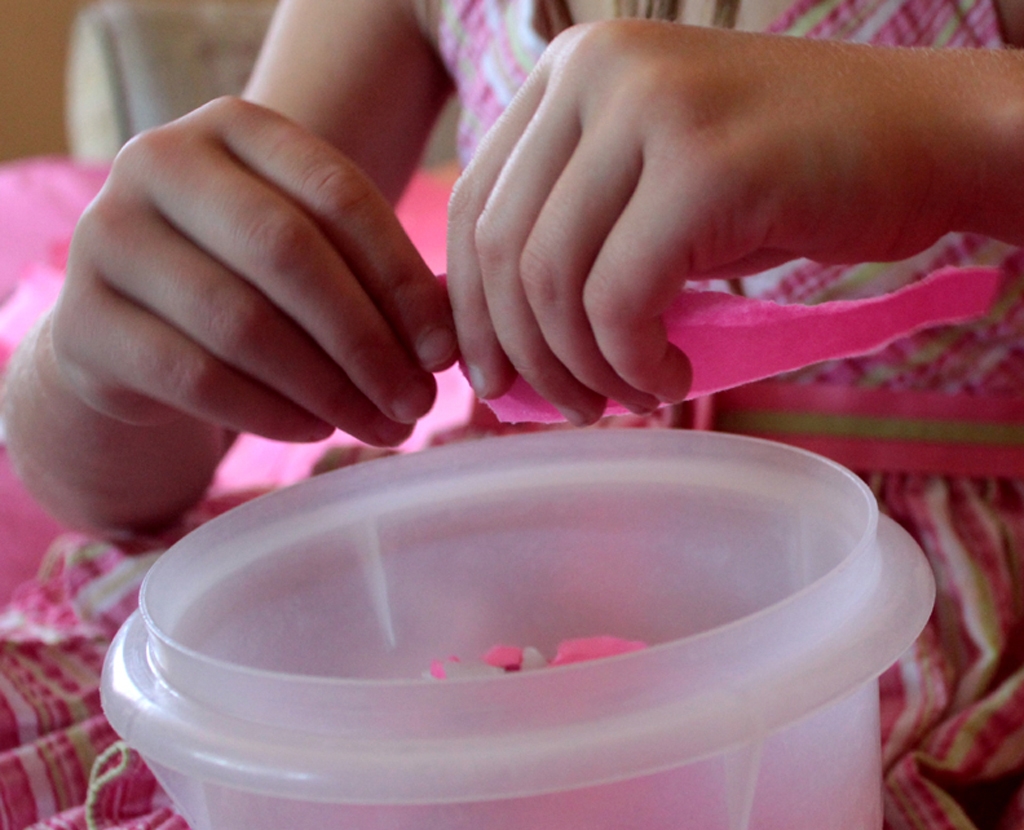
Step 1
This project takes a bit of waiting time... the whole thing can be finished around a little over 24 hours. The first thing to do is to tear and cut up scrap paper into little bits.

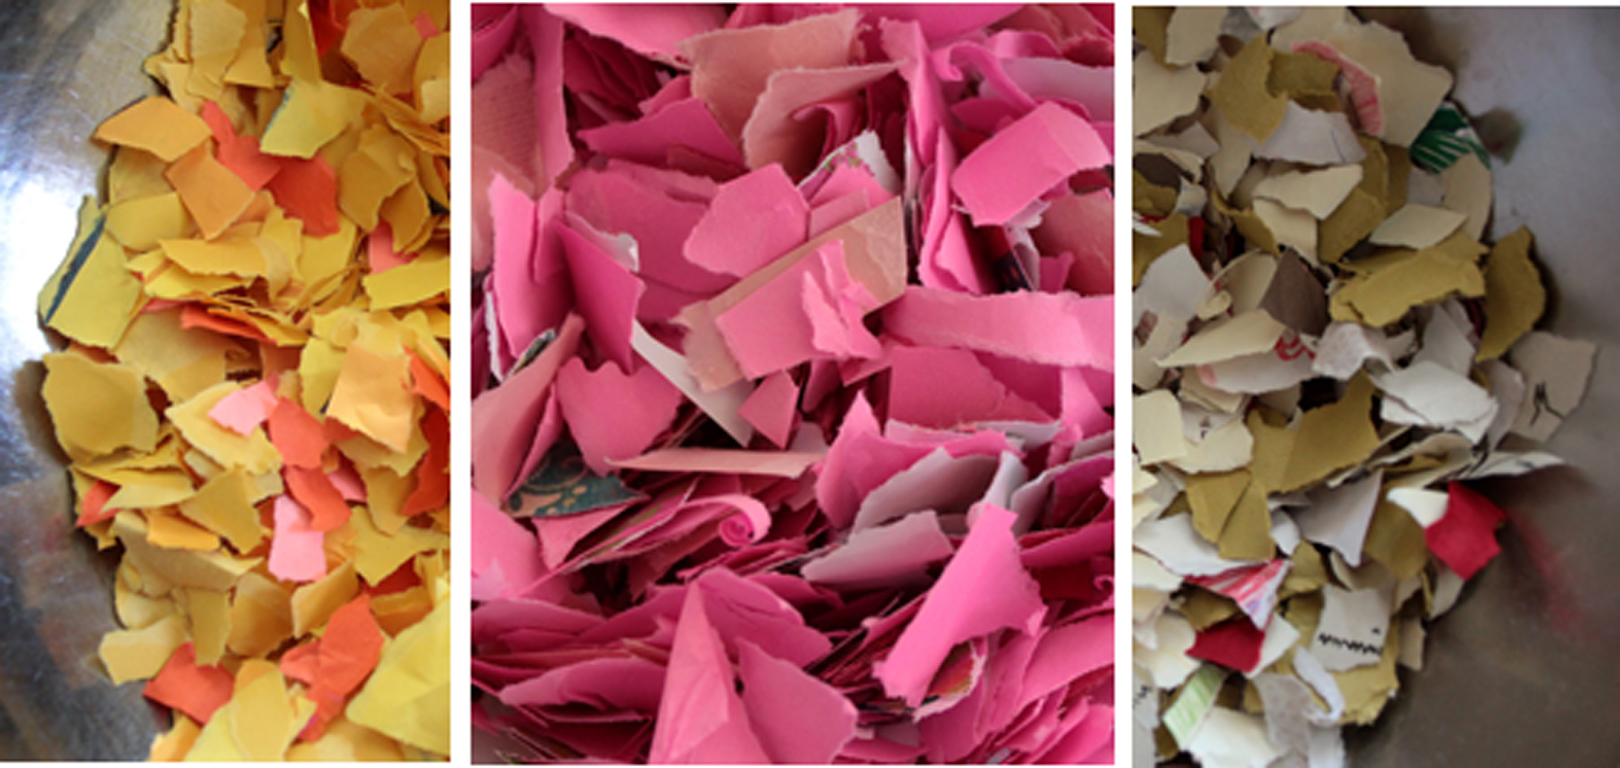
Step 2
You don't want the paper to be tiny: a half to three-quarters of an inch pieces are a good size. When your paper is cut and torn into pieces, pour a few cups of water in your bowl, and soak them for at least three hours. (You can leave it overnight, if you need to.)
Step 3
After the paper has soaked, strain your paper, then squeeze out the excess water.
Now, this next step is for grownups only: Make the paste by mixing one cup flour and one cup water in a pan on medium-high heat, and add two more cups of water. Stir and cook until it boils. Let the mixture cool.
Step 4
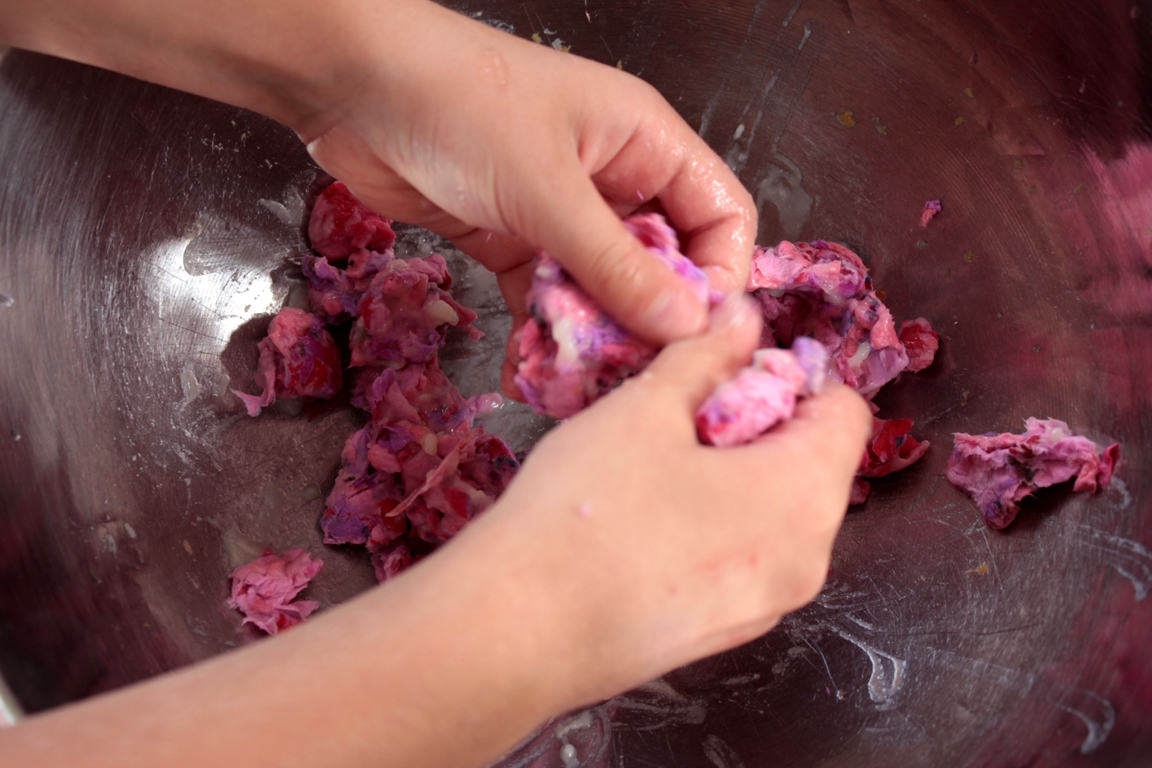
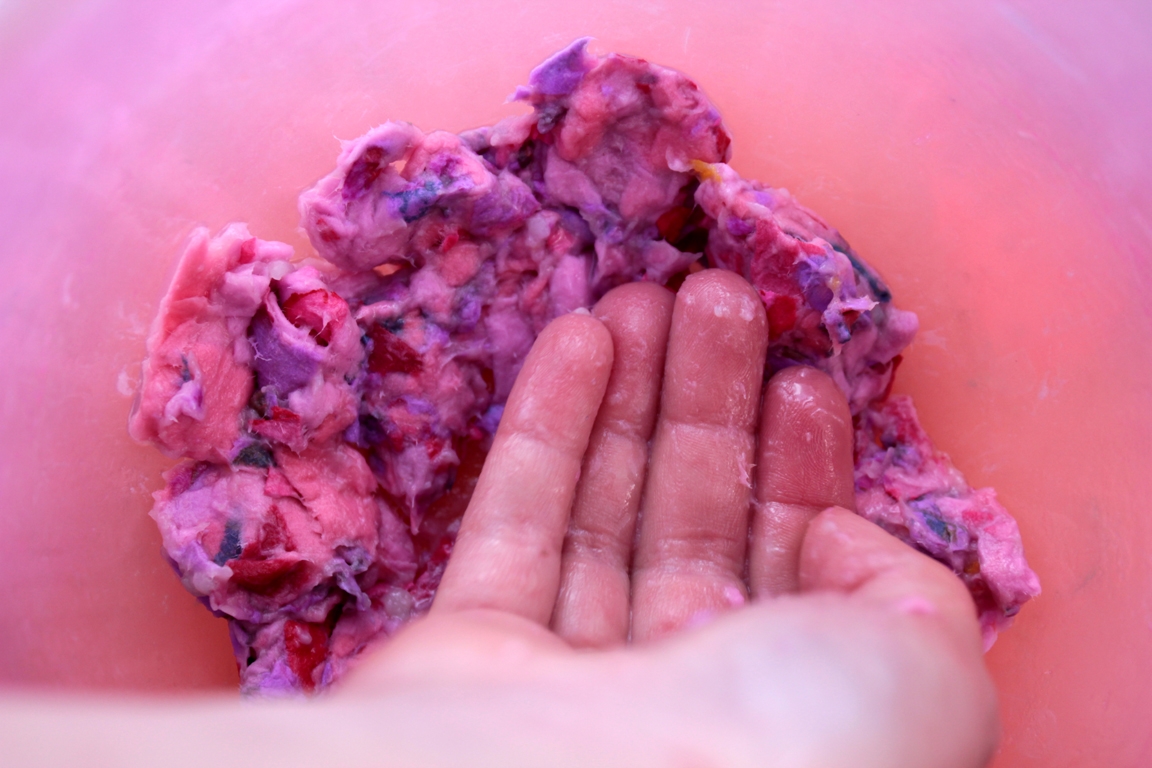
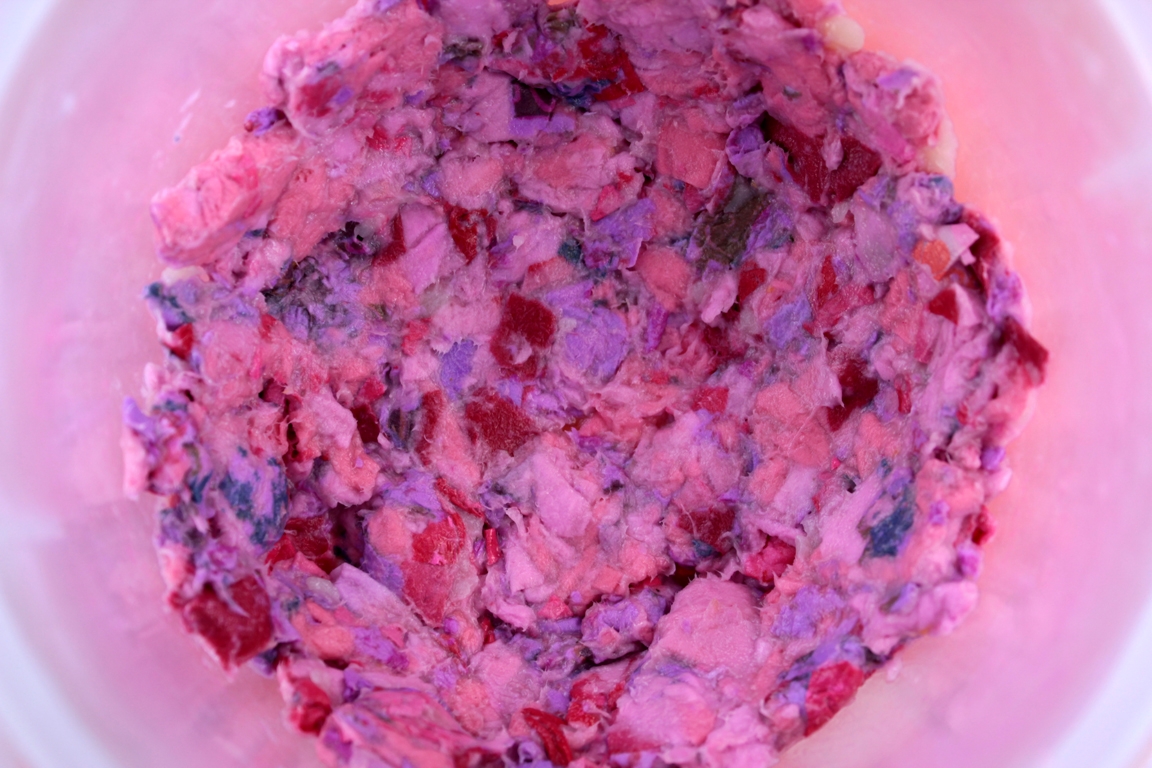
Place your (squeezed and strained) paper balls in a bowl, and break them up with your fingers to loosen them. When the paste has cooled, spoon some paste into your paper. The amount will depend upon how much paper you have--start with two or three spoonfuls. Mix the mixture well into your paper.
Step 5
When it's mixed pretty evenly, prepare your mold: rub a (smallish--soup size or so) bowl with petroleum jelly or mineral oil, and press your paper and paste mixture into the bottom and sides of the bowl. Don't worry too much about holes or perfectly even edges--they add character!
Step 6
Let your paper sit in its mold for several hours... the more paste you added to the paper, the longer it will take to dry. After 12 hours or so (or when it feels pretty firm) gently pry the paper away from the bowl's edges with a butter knife. Take out the paper bowl, and let it continue drying. If it comes apart a bit (in other words, the paper's still too soft) patch it up with a bit of paste.
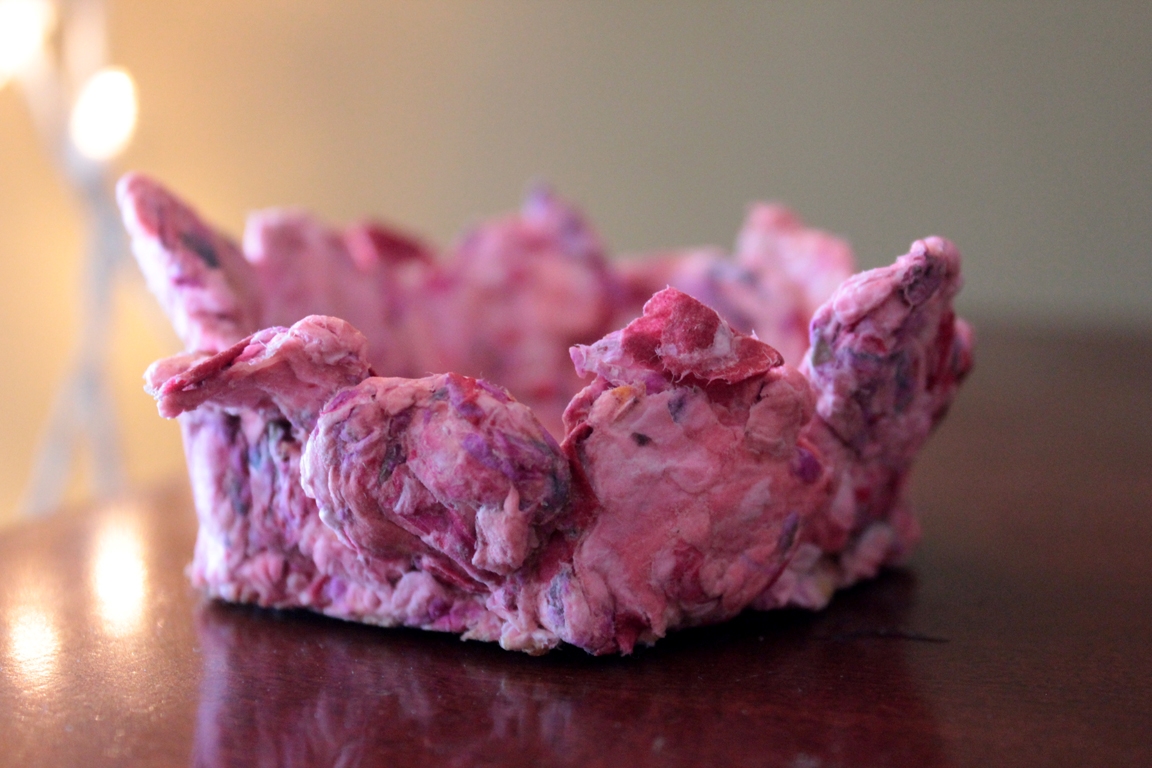
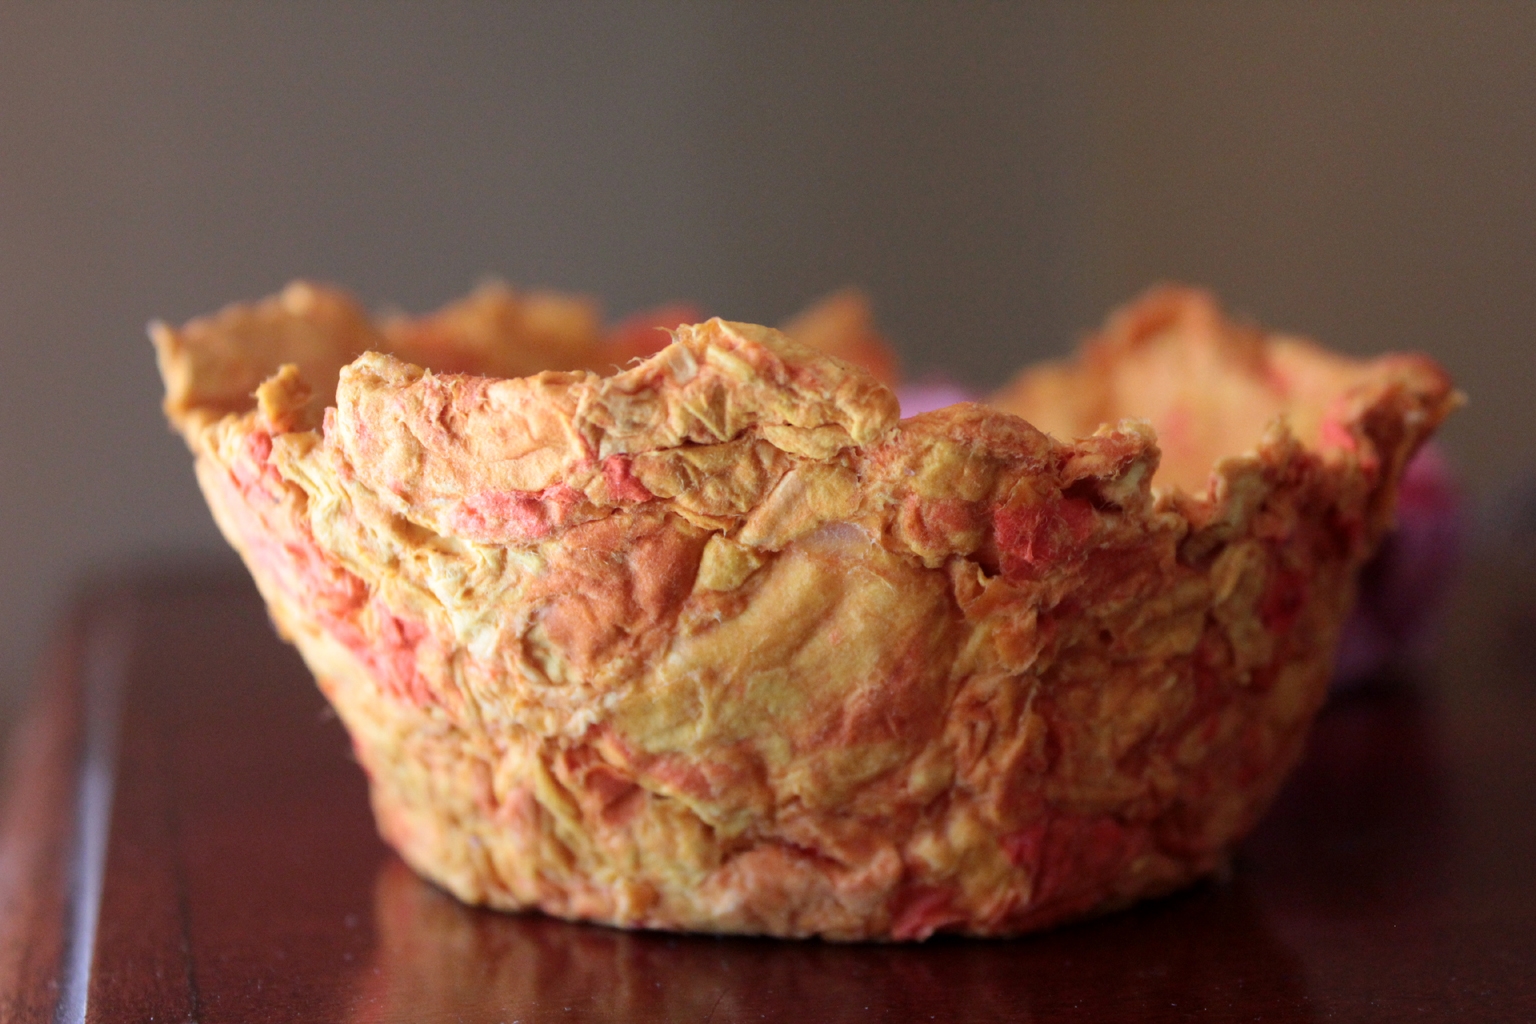
Done!
Voila! Now your beautiful bowl's ready to hold all your tiny treasures.