Step-by-step tutorial
Step 1
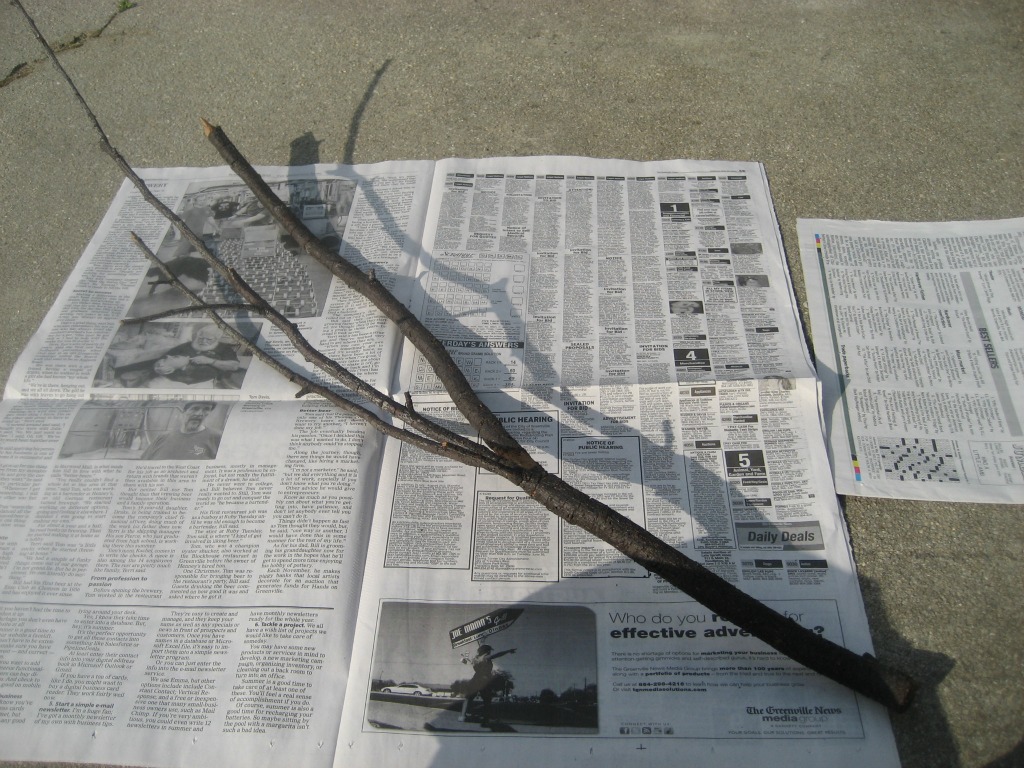
We scoured the backyard for the perfect branch.

Step 2
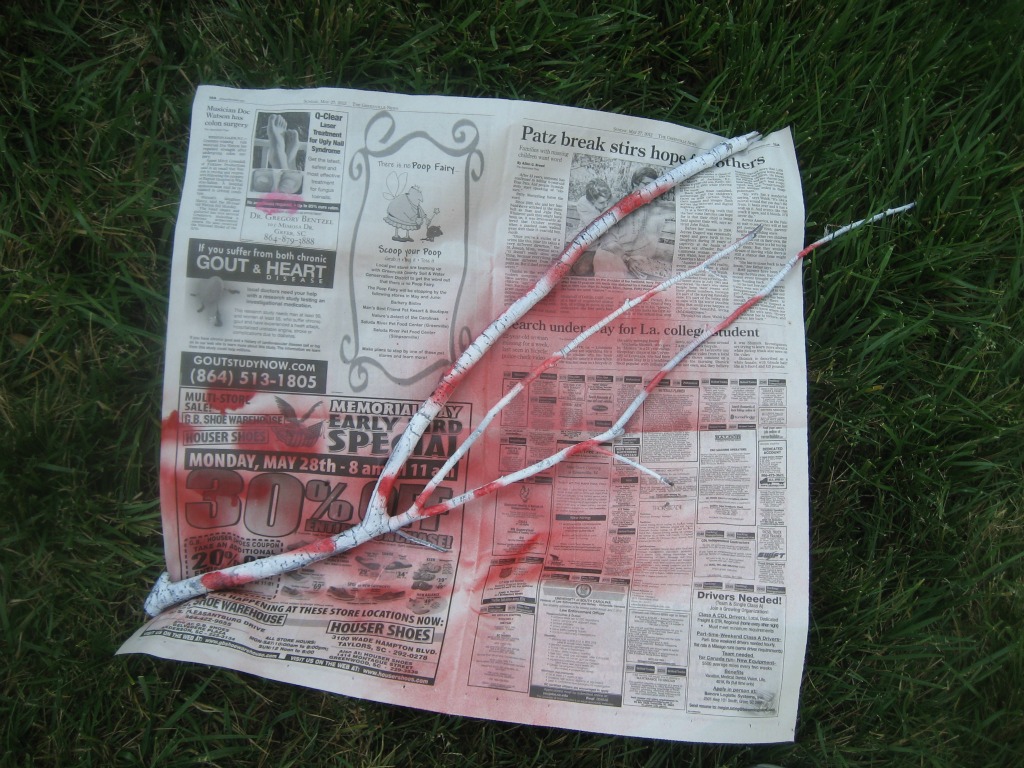
I then spray painted the branch white with red stripes to represent a piece of coral. To cut down on the mess, I spray pained outside on some newspaper.
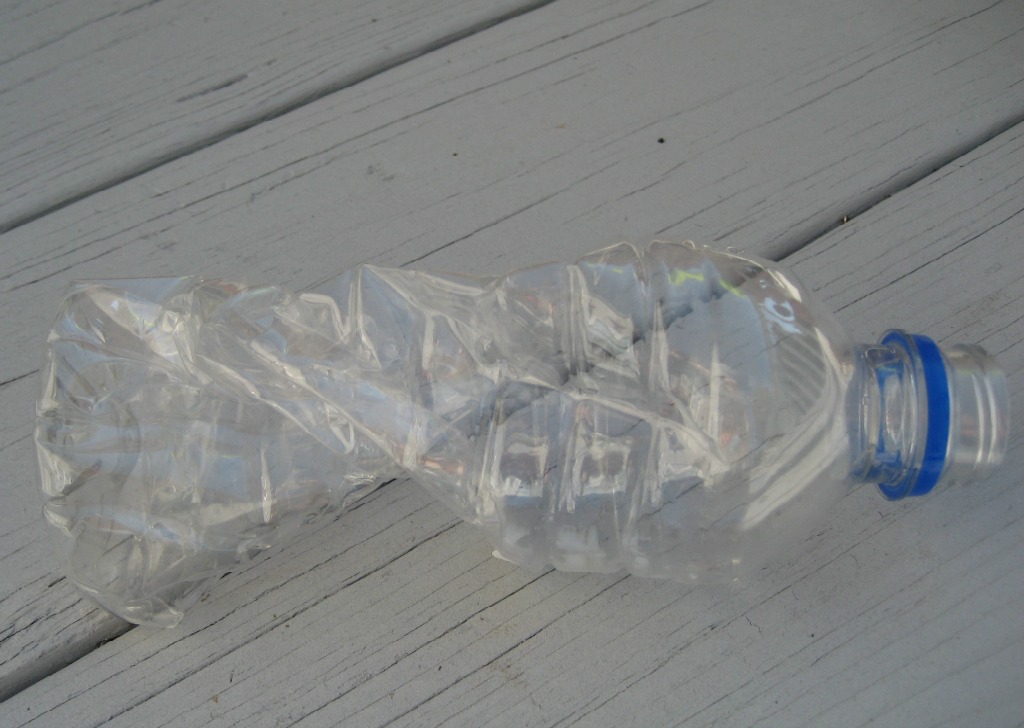
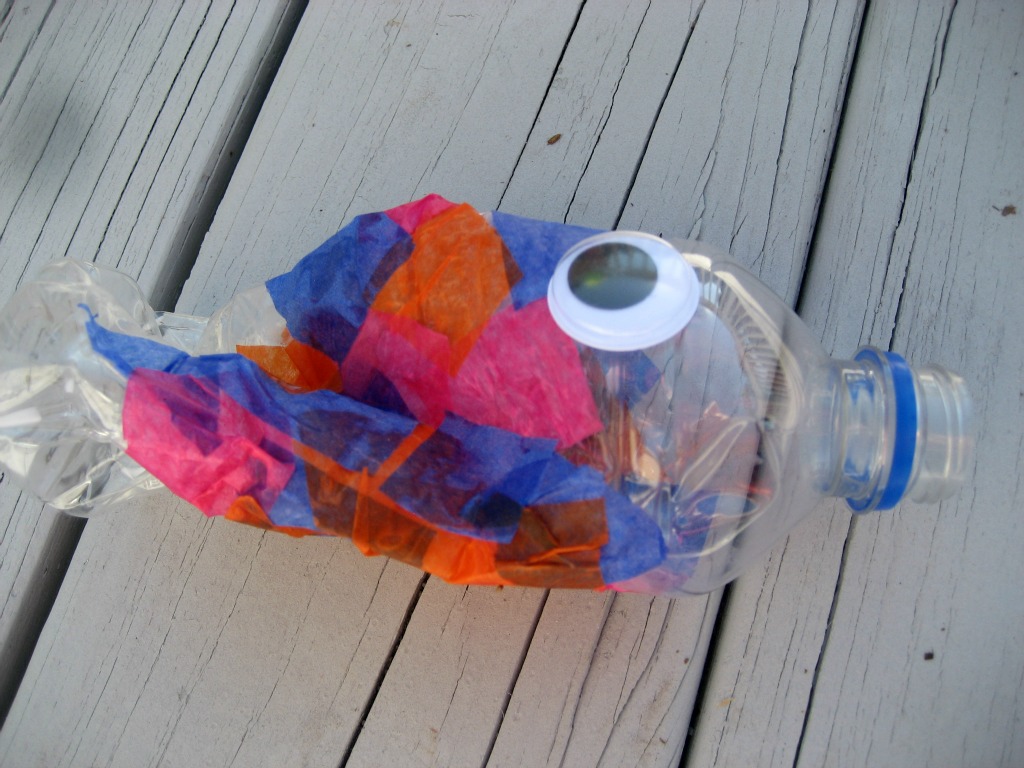
Step 3
We then twisted the bottom half of each of the water bottles to create the fish's tail.
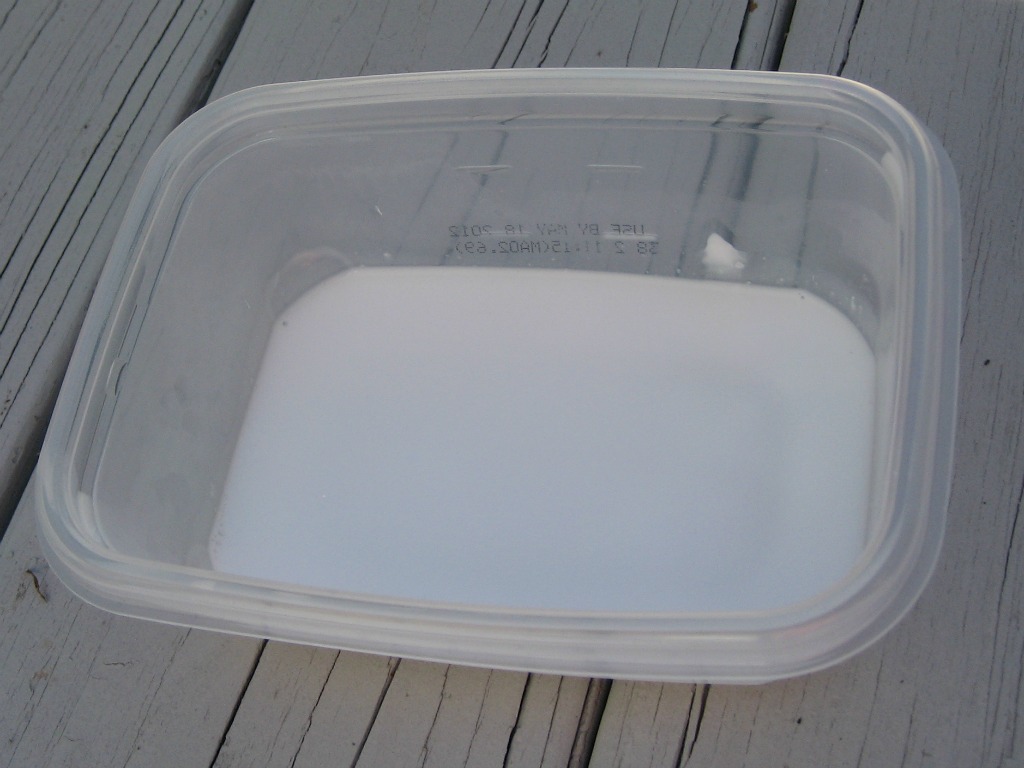
Step 4
We put glue and water in a plastic container and mixed it up.
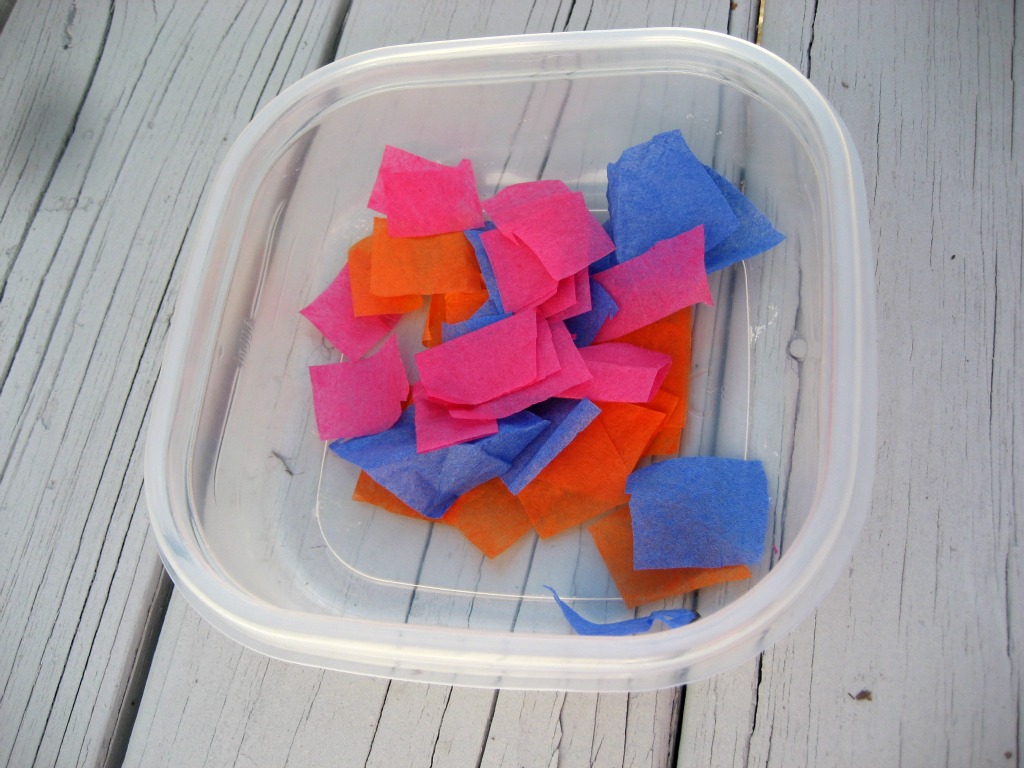
Step 5
We cut the tissue paper into small squares.
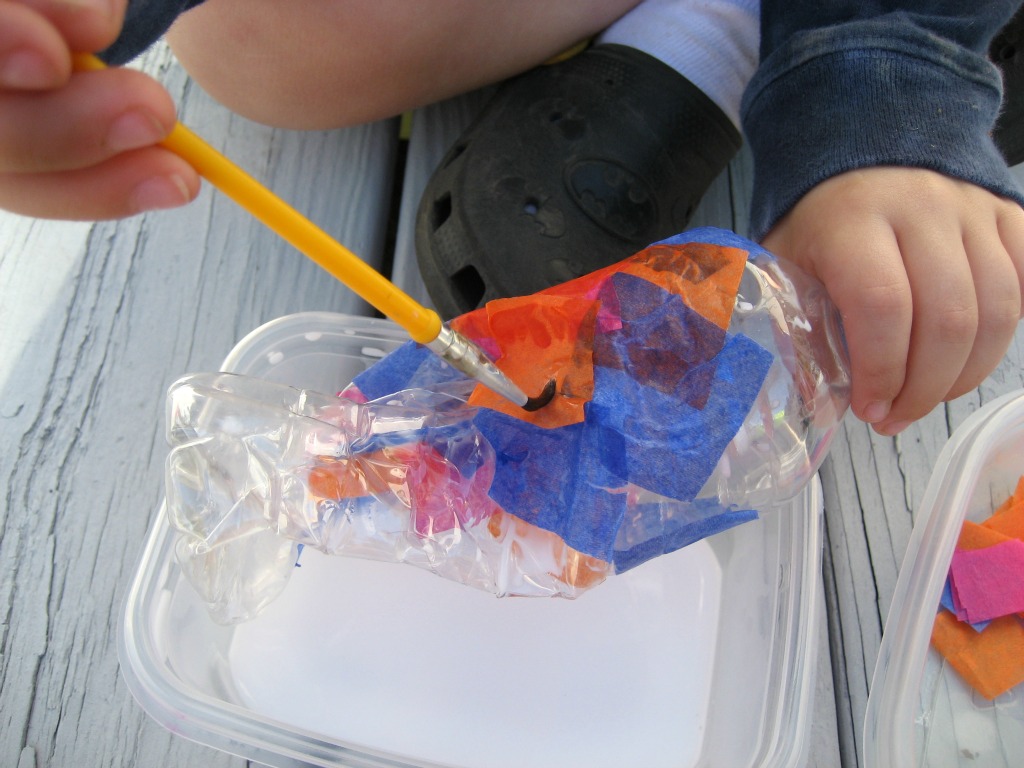
Step 6
My son placed the tissue square on the water bottle a square at a time and painted the water glue mixture on top of each square.
Step 7
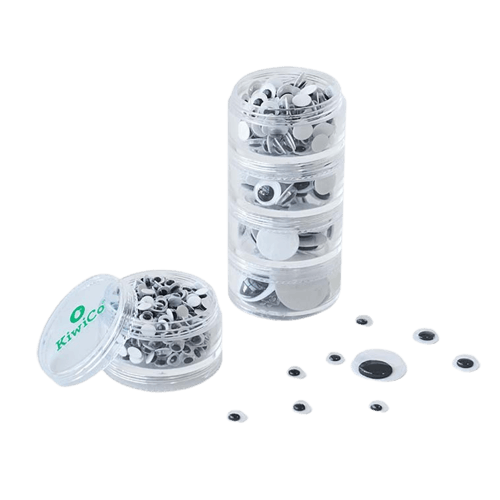
When the center section of the bottle was covered with tissue squares, we glued a googly eye to each side of the bottle.
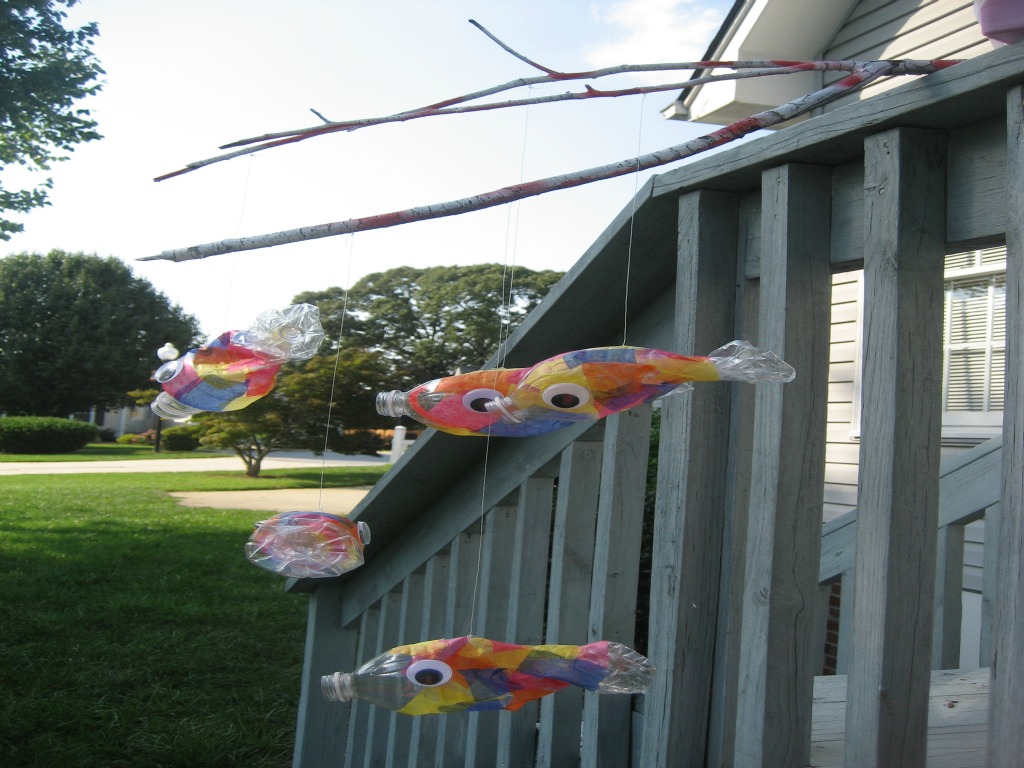
Final result!
I threaded the fish line onto a needle. The fishing line was then seedw with a single stitch into each of the water bottles to create a line to hang the fish off of. After each fish was given a string, the other end of the fishing line was tied to the branch. We used different lengths of fishing line for each fish so the fish would hang at different levels. Some lovely "flying fish," aren't they?!