Step-by-step tutorial
Step 1
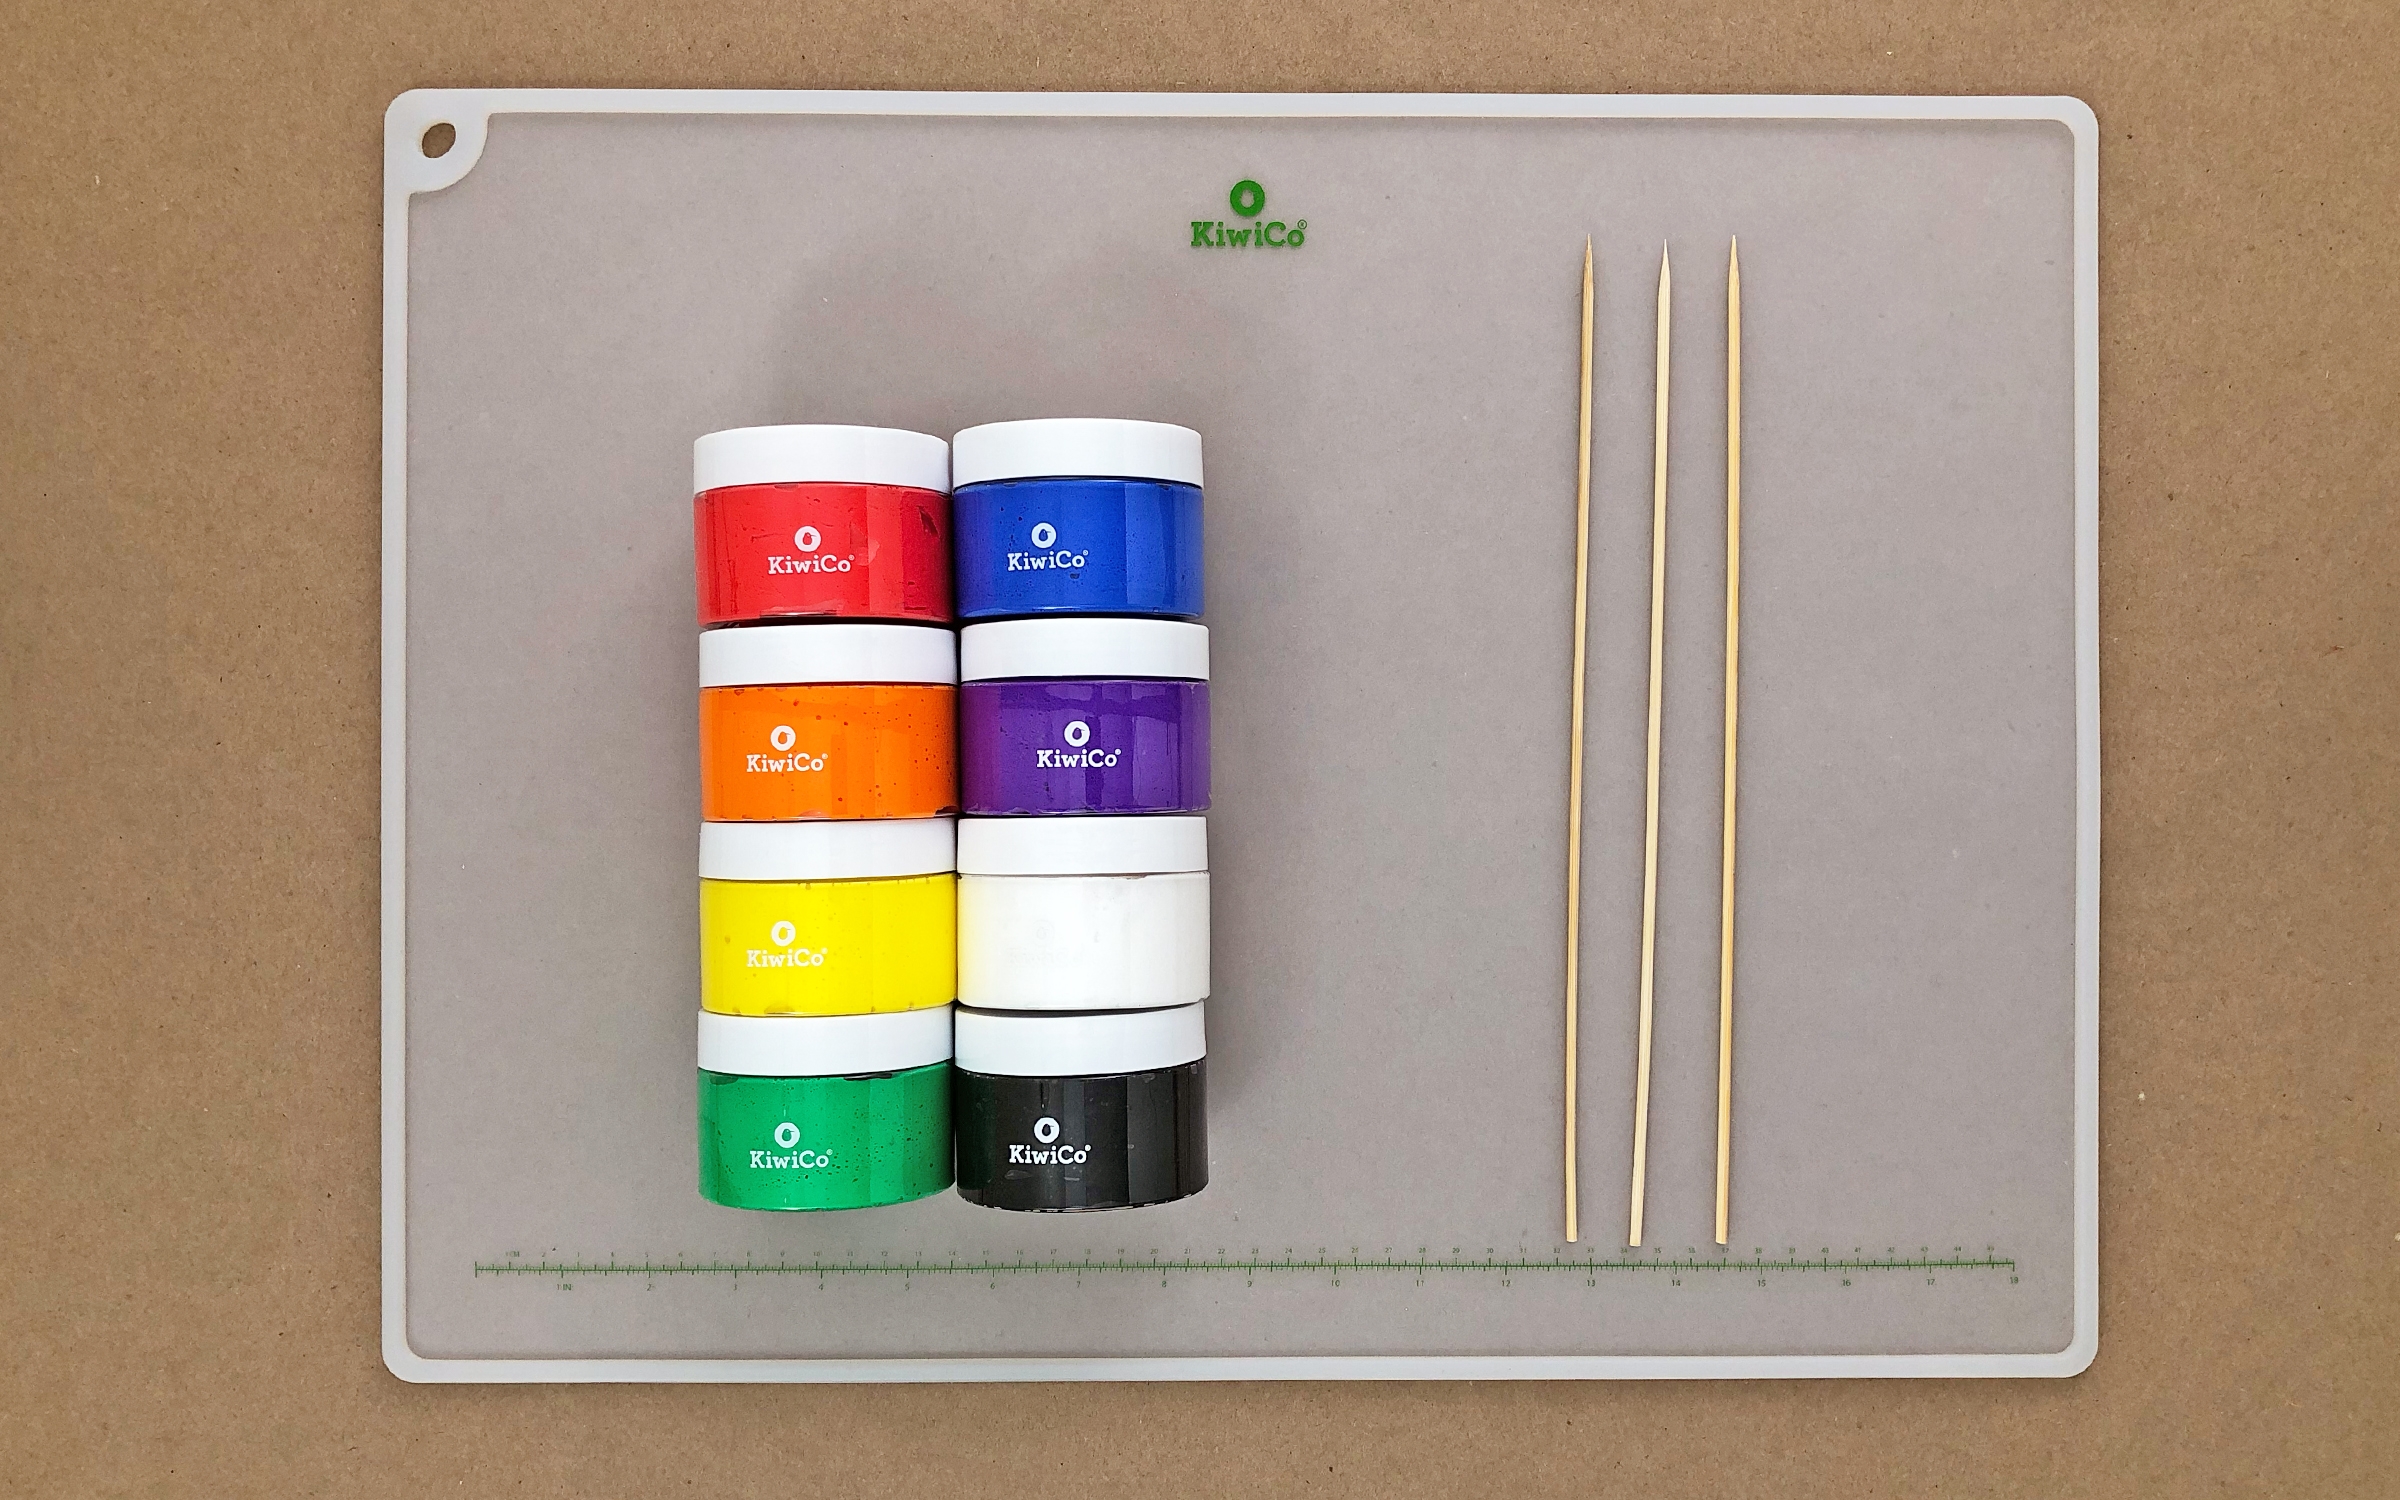
Gather your materials.

Step 2
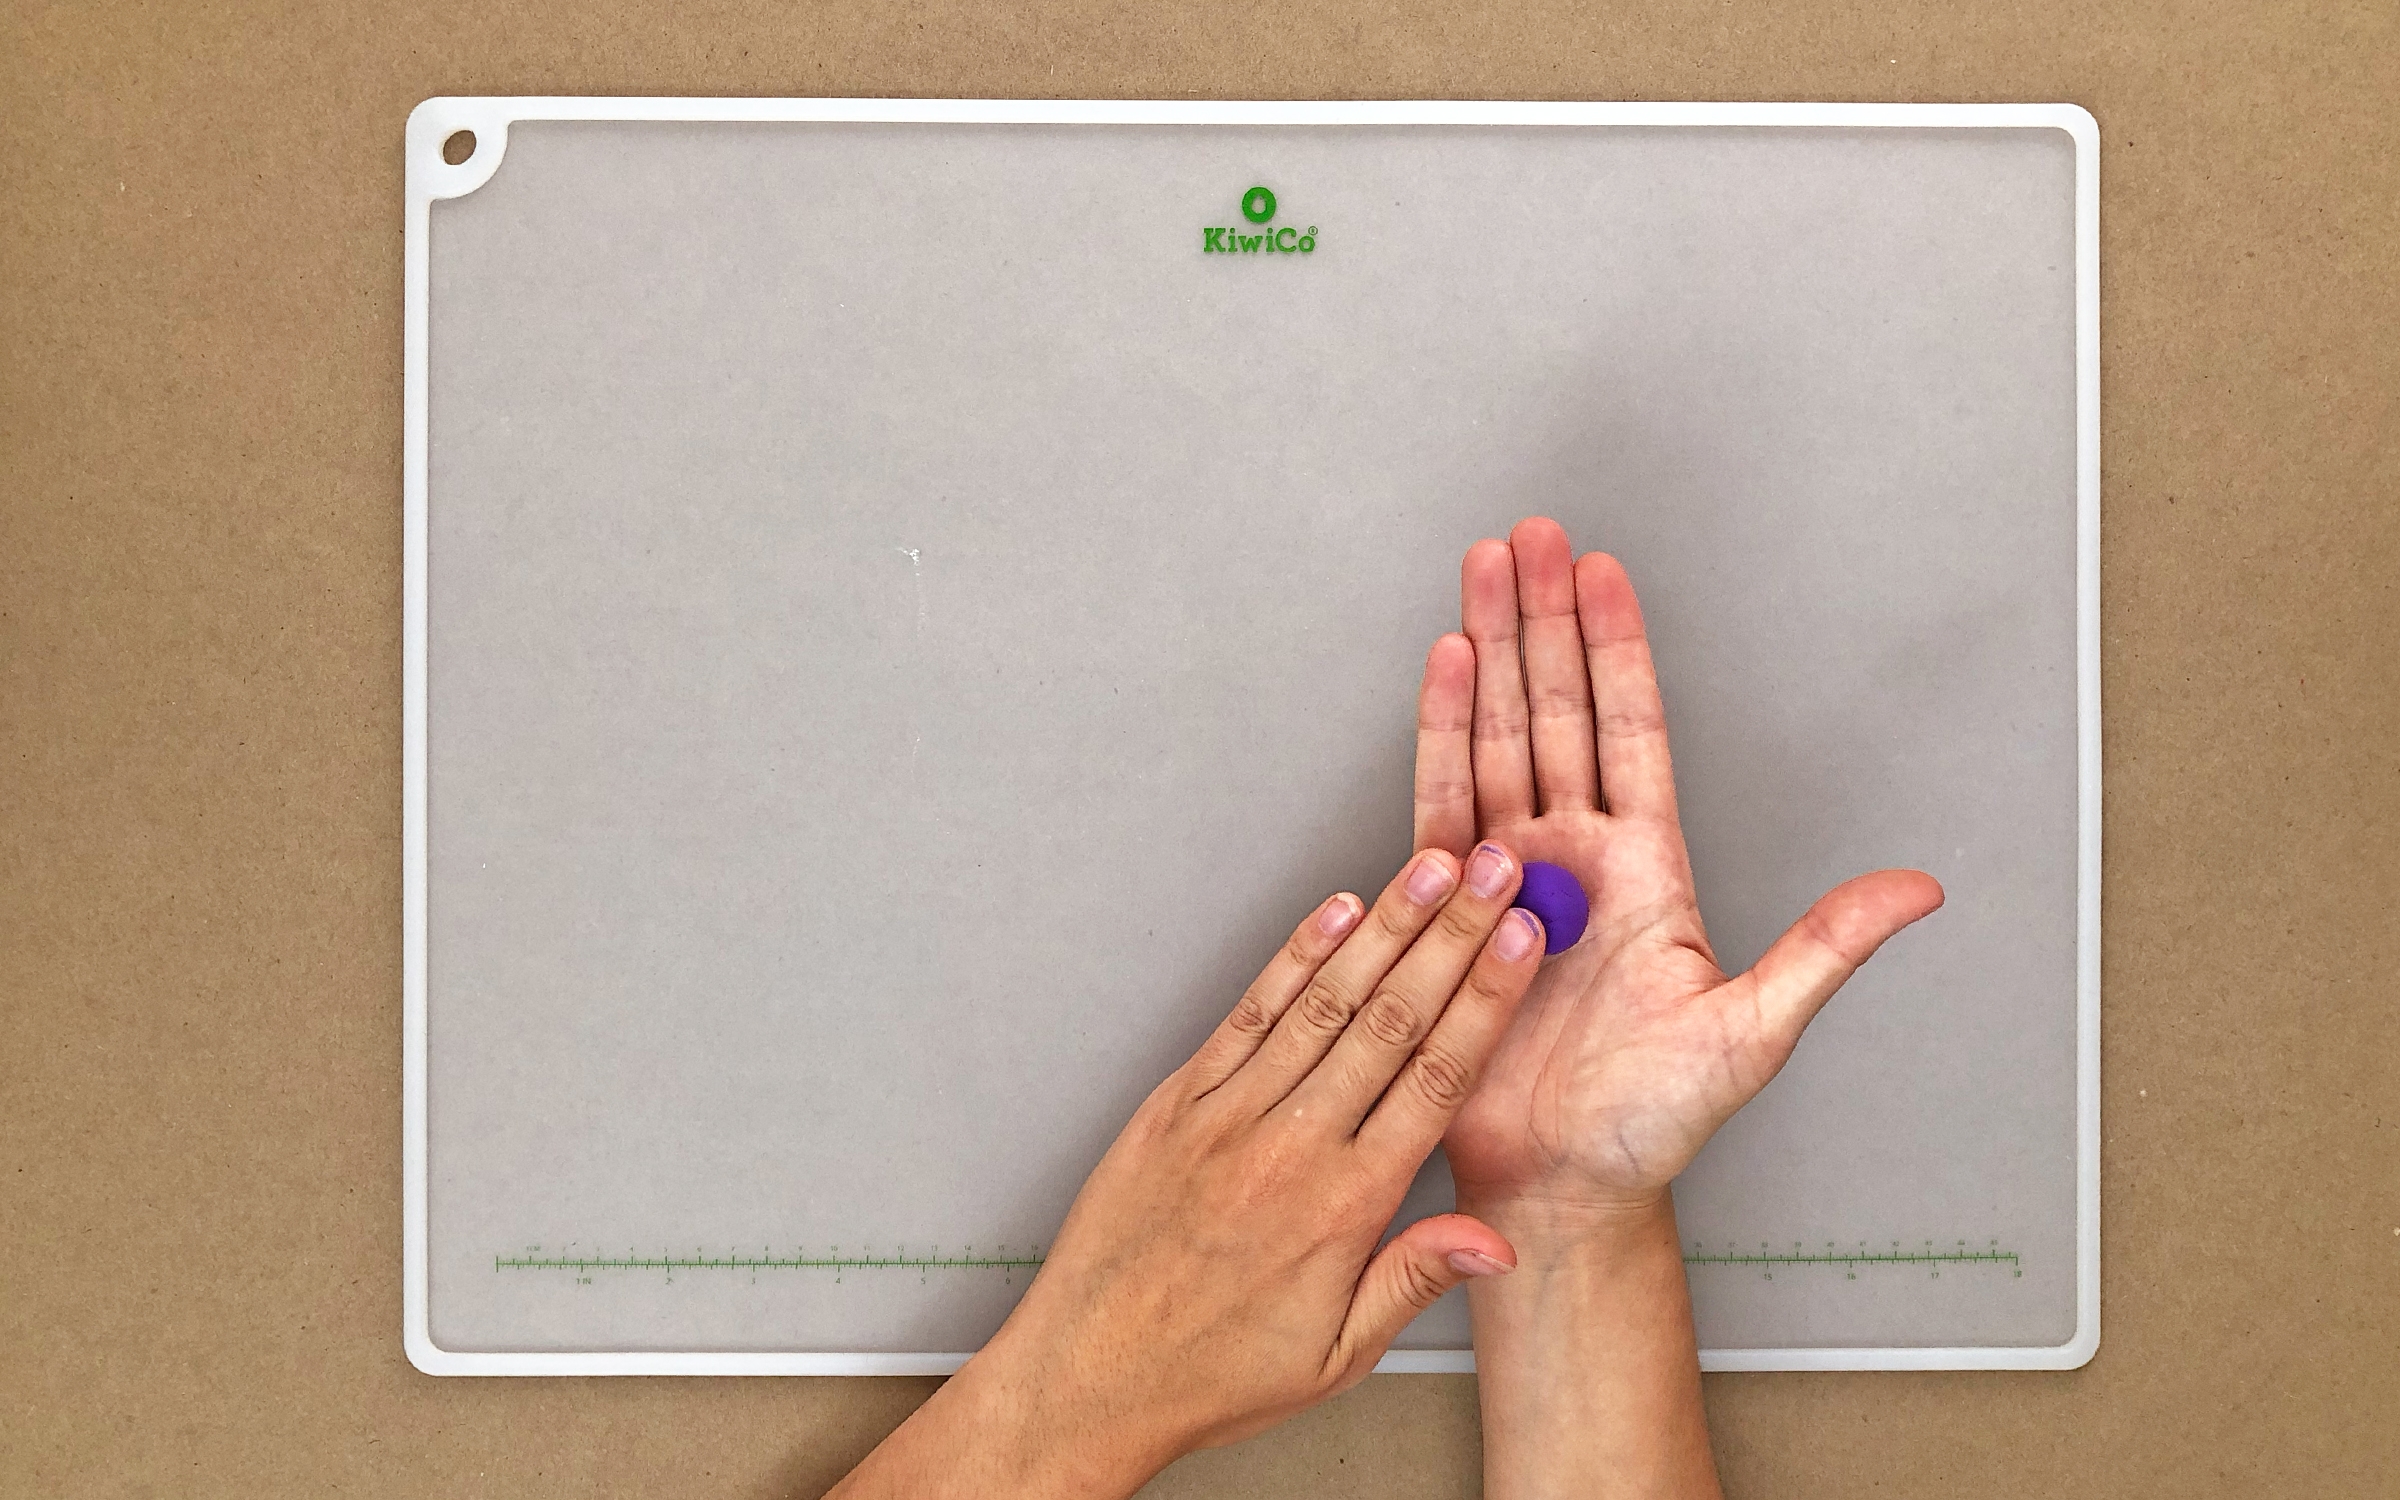
Make a polka dot bead! Start by rolling your bead shape using your base color.
Step 3
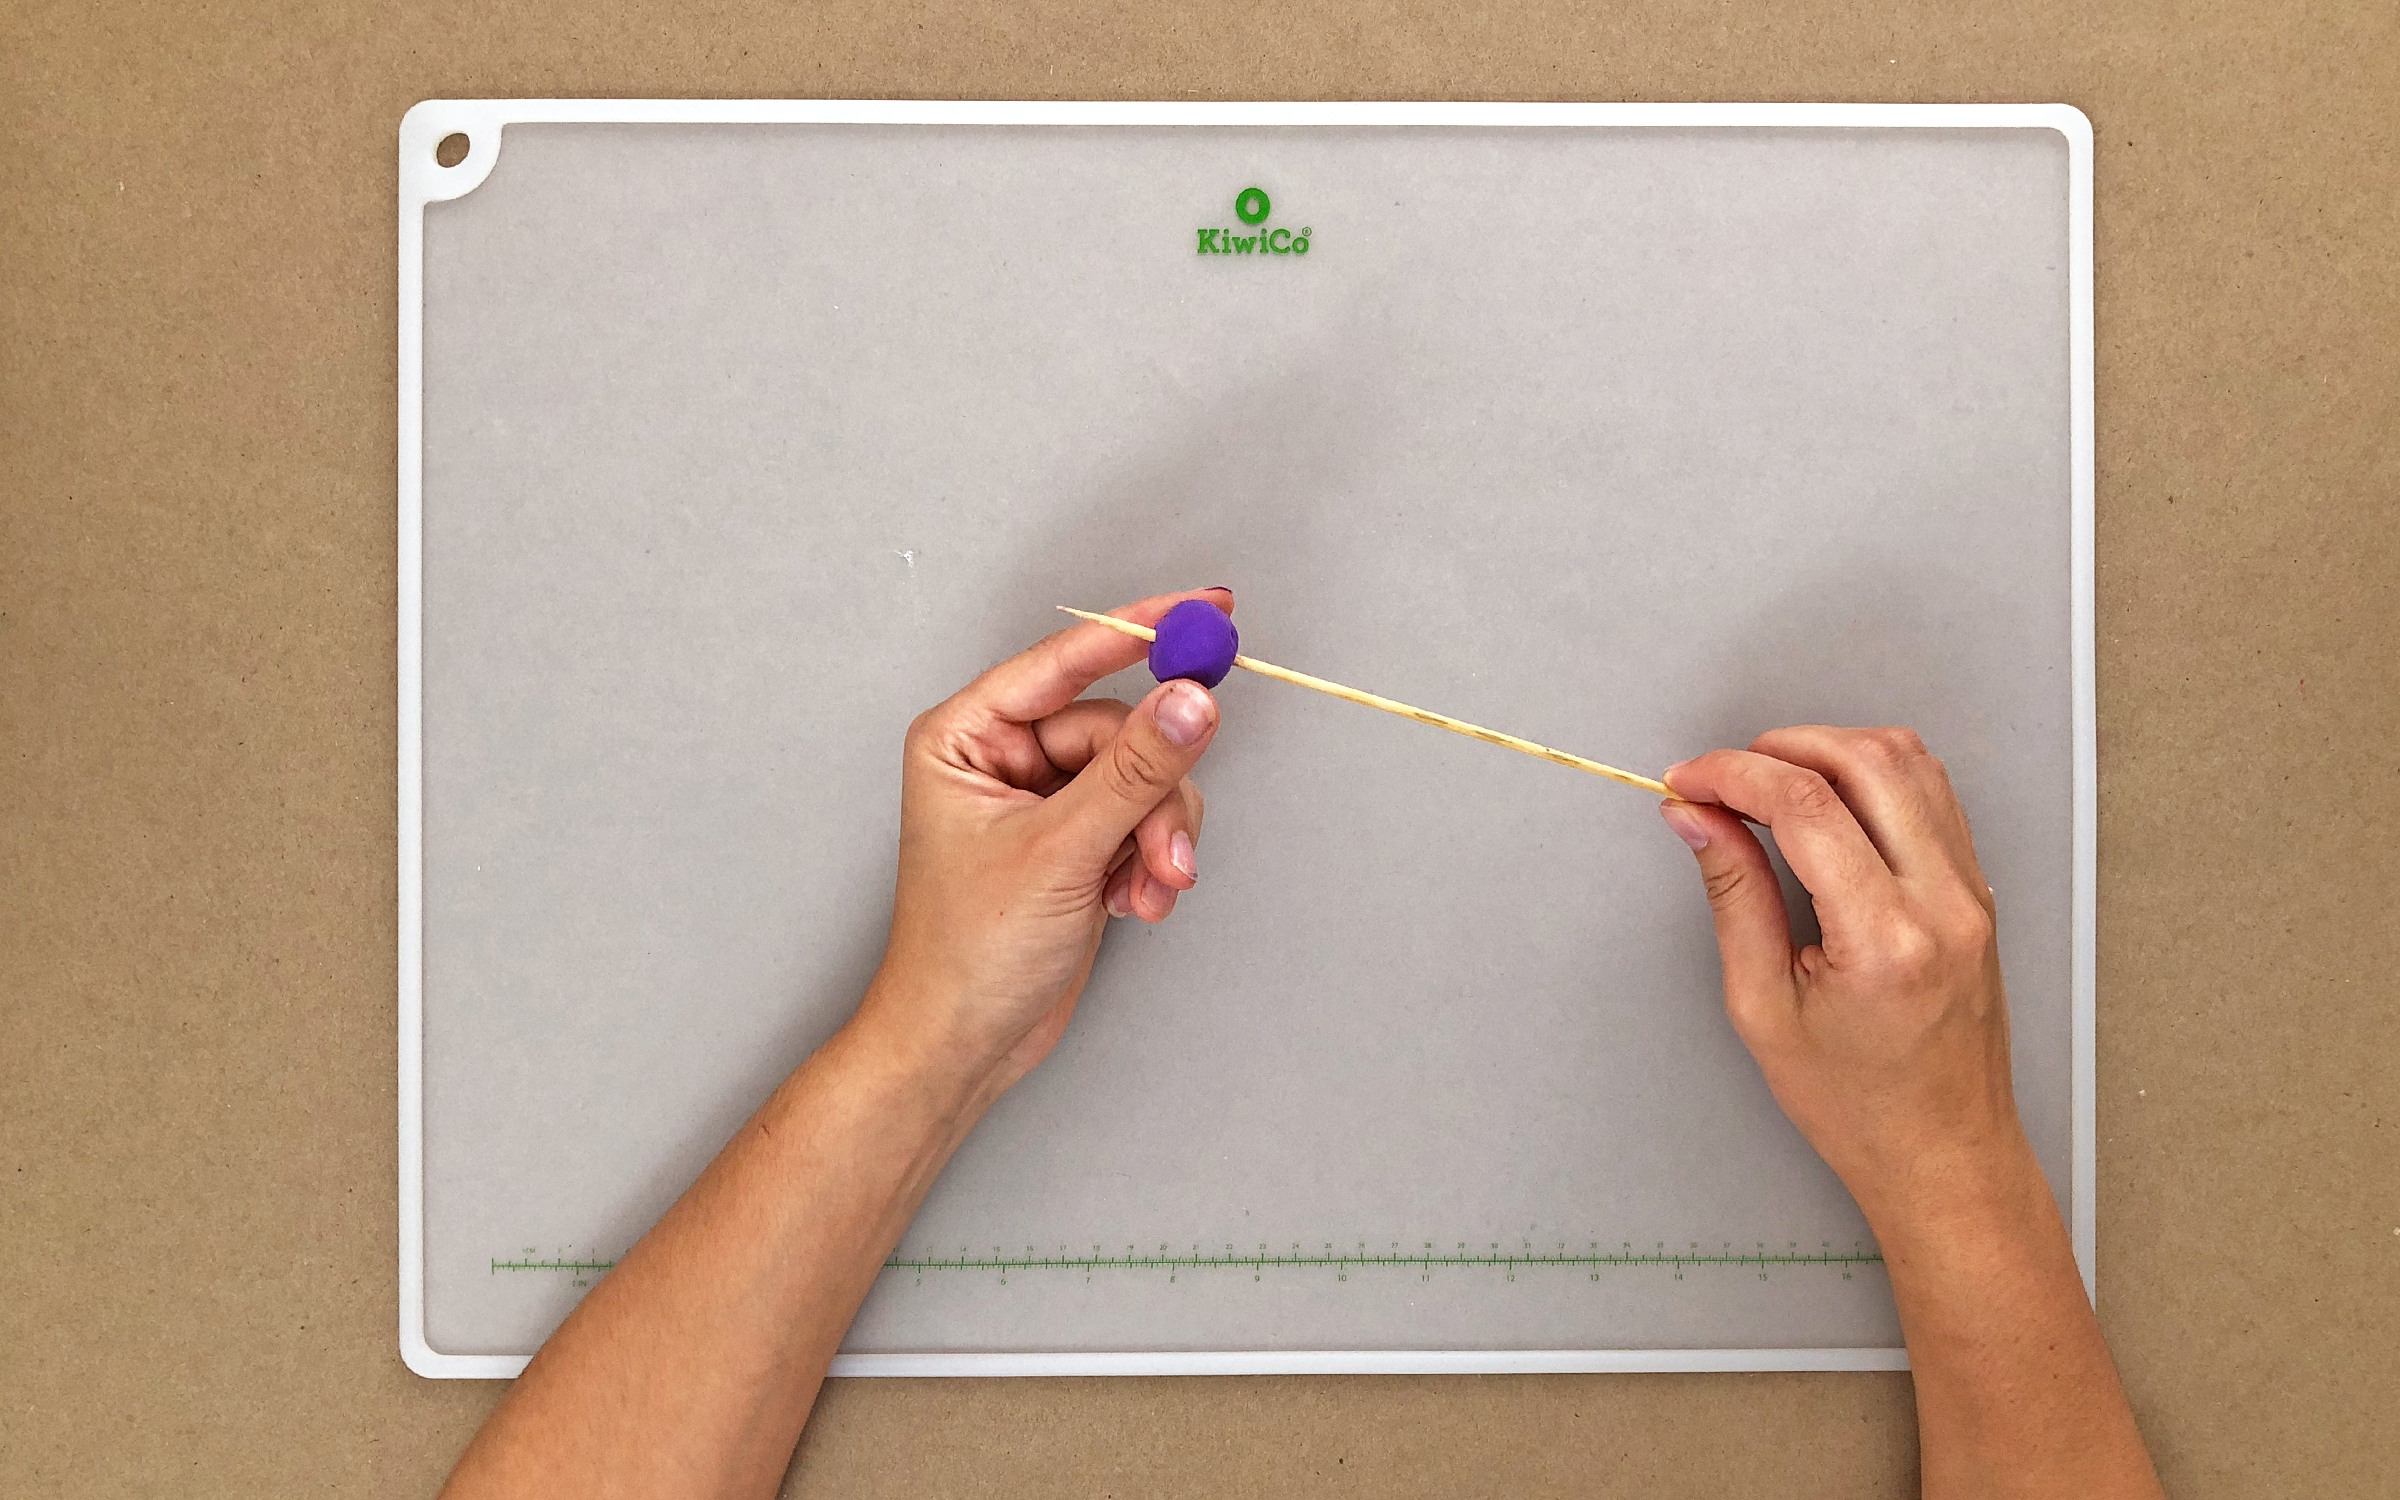
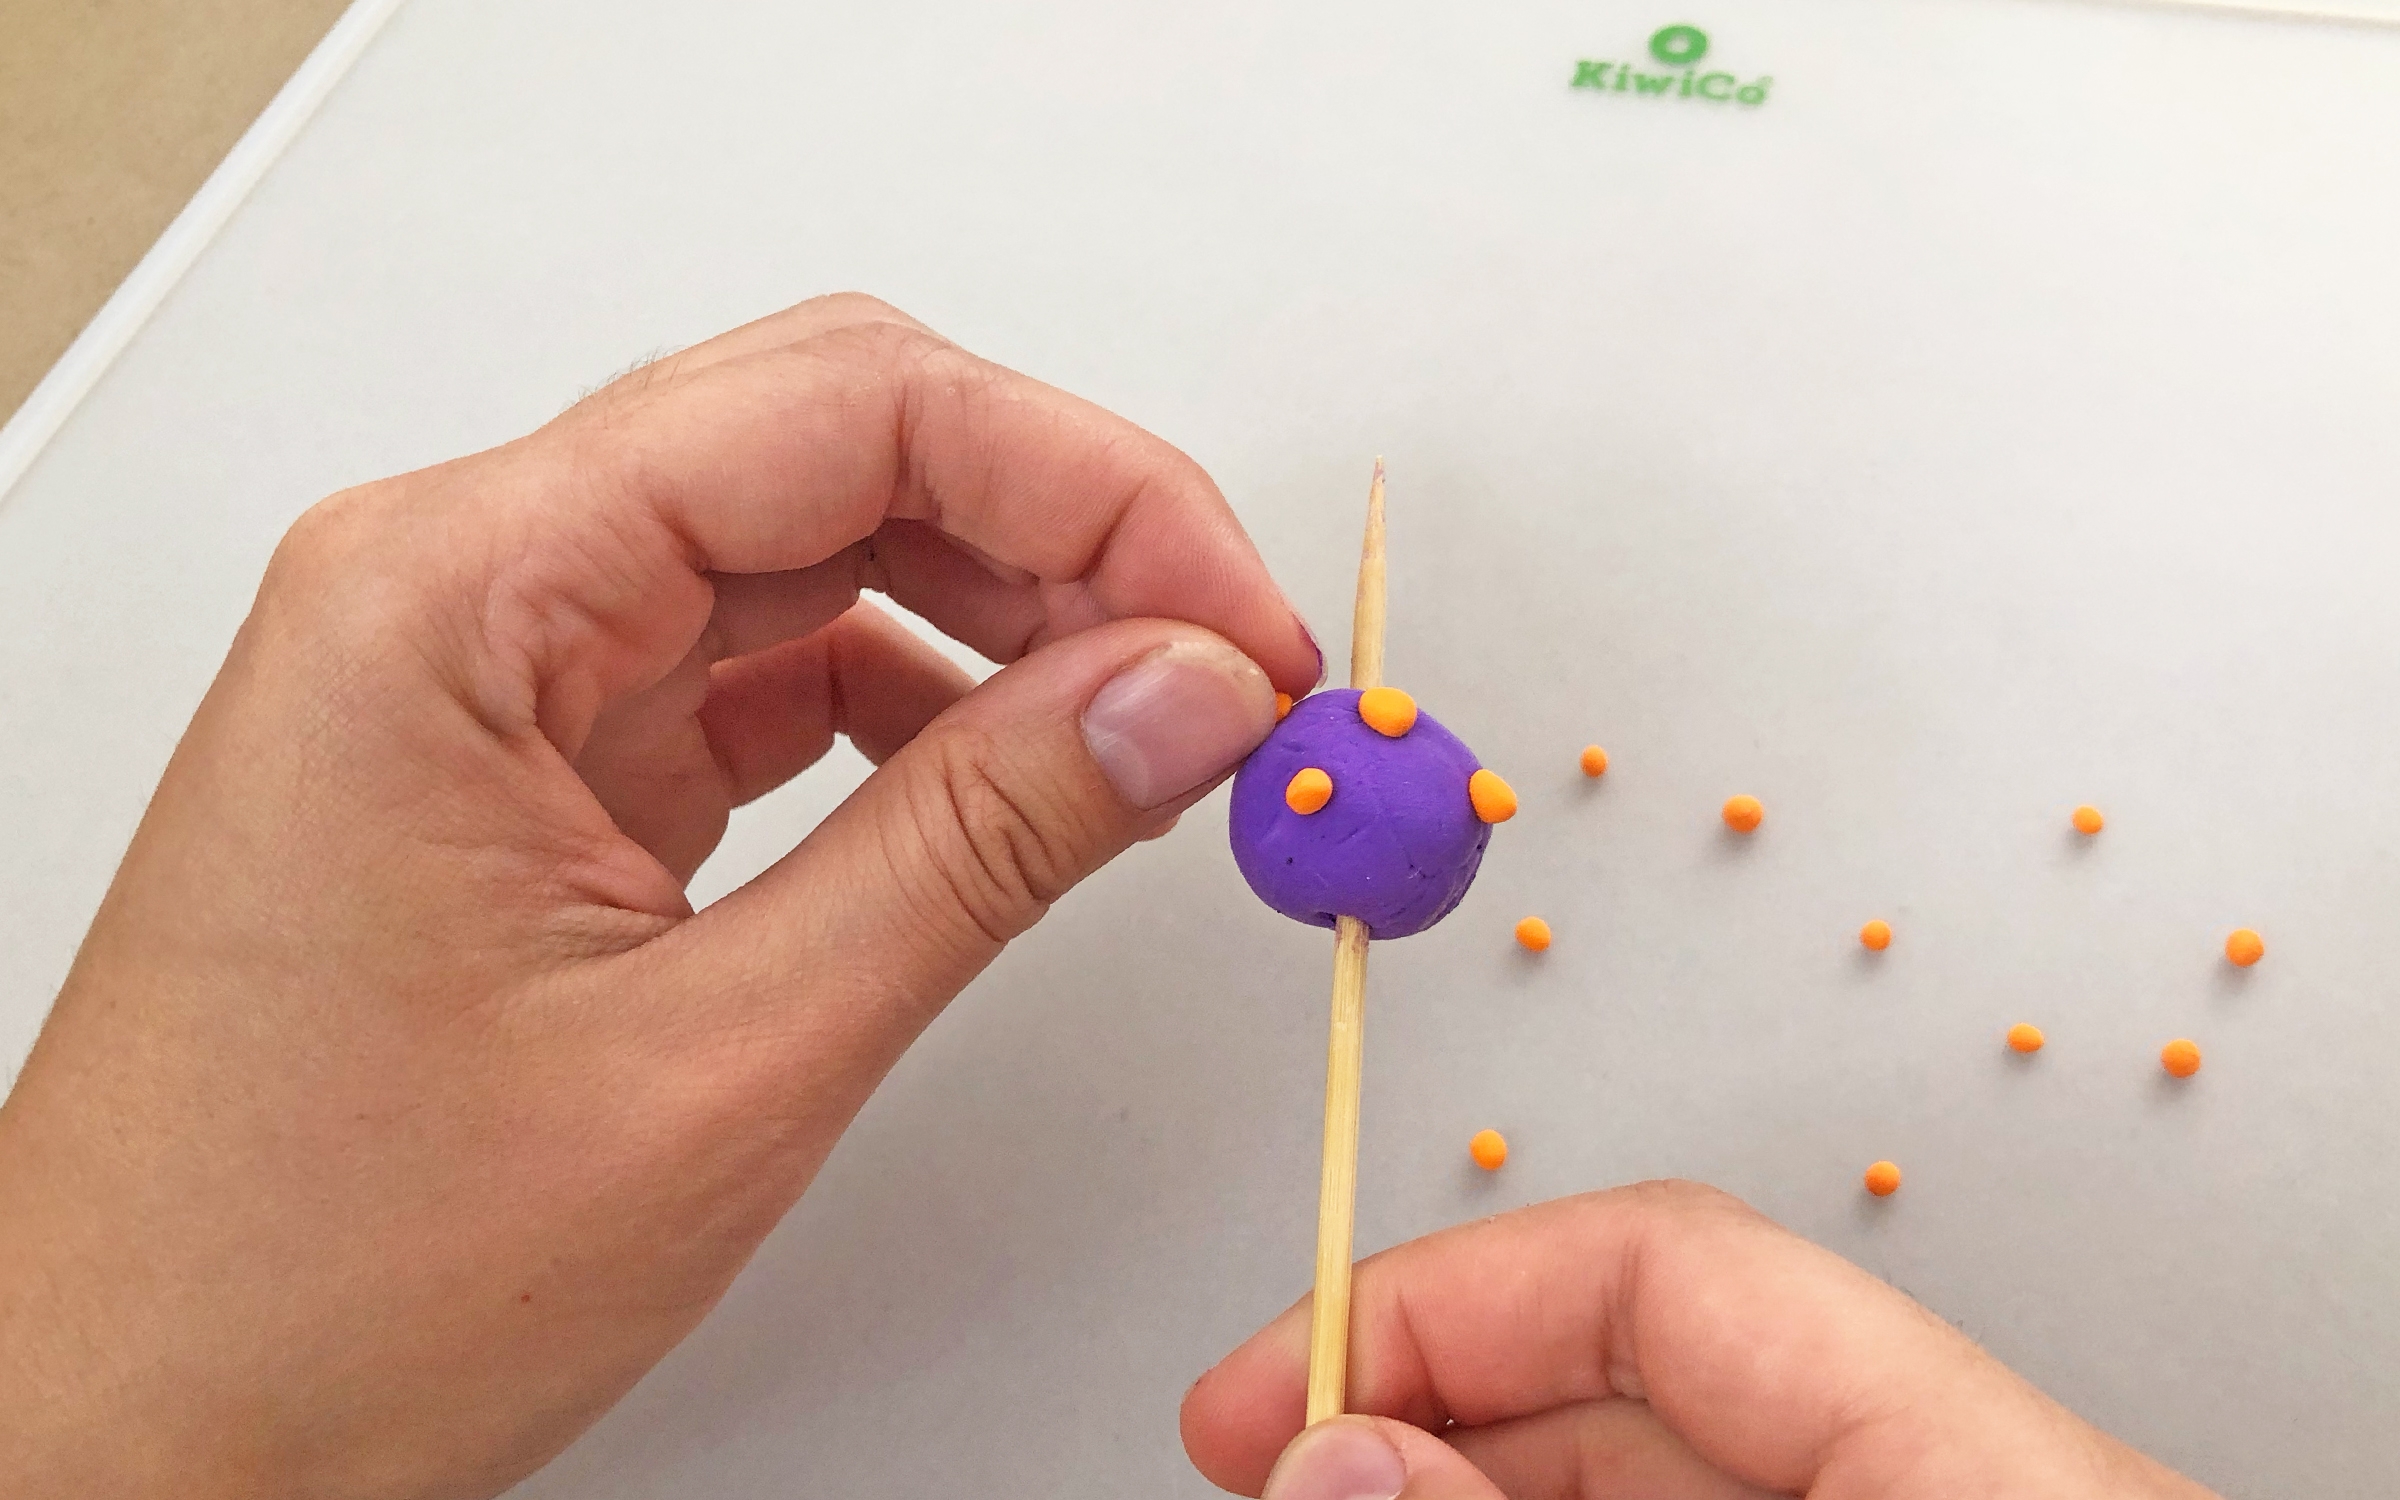
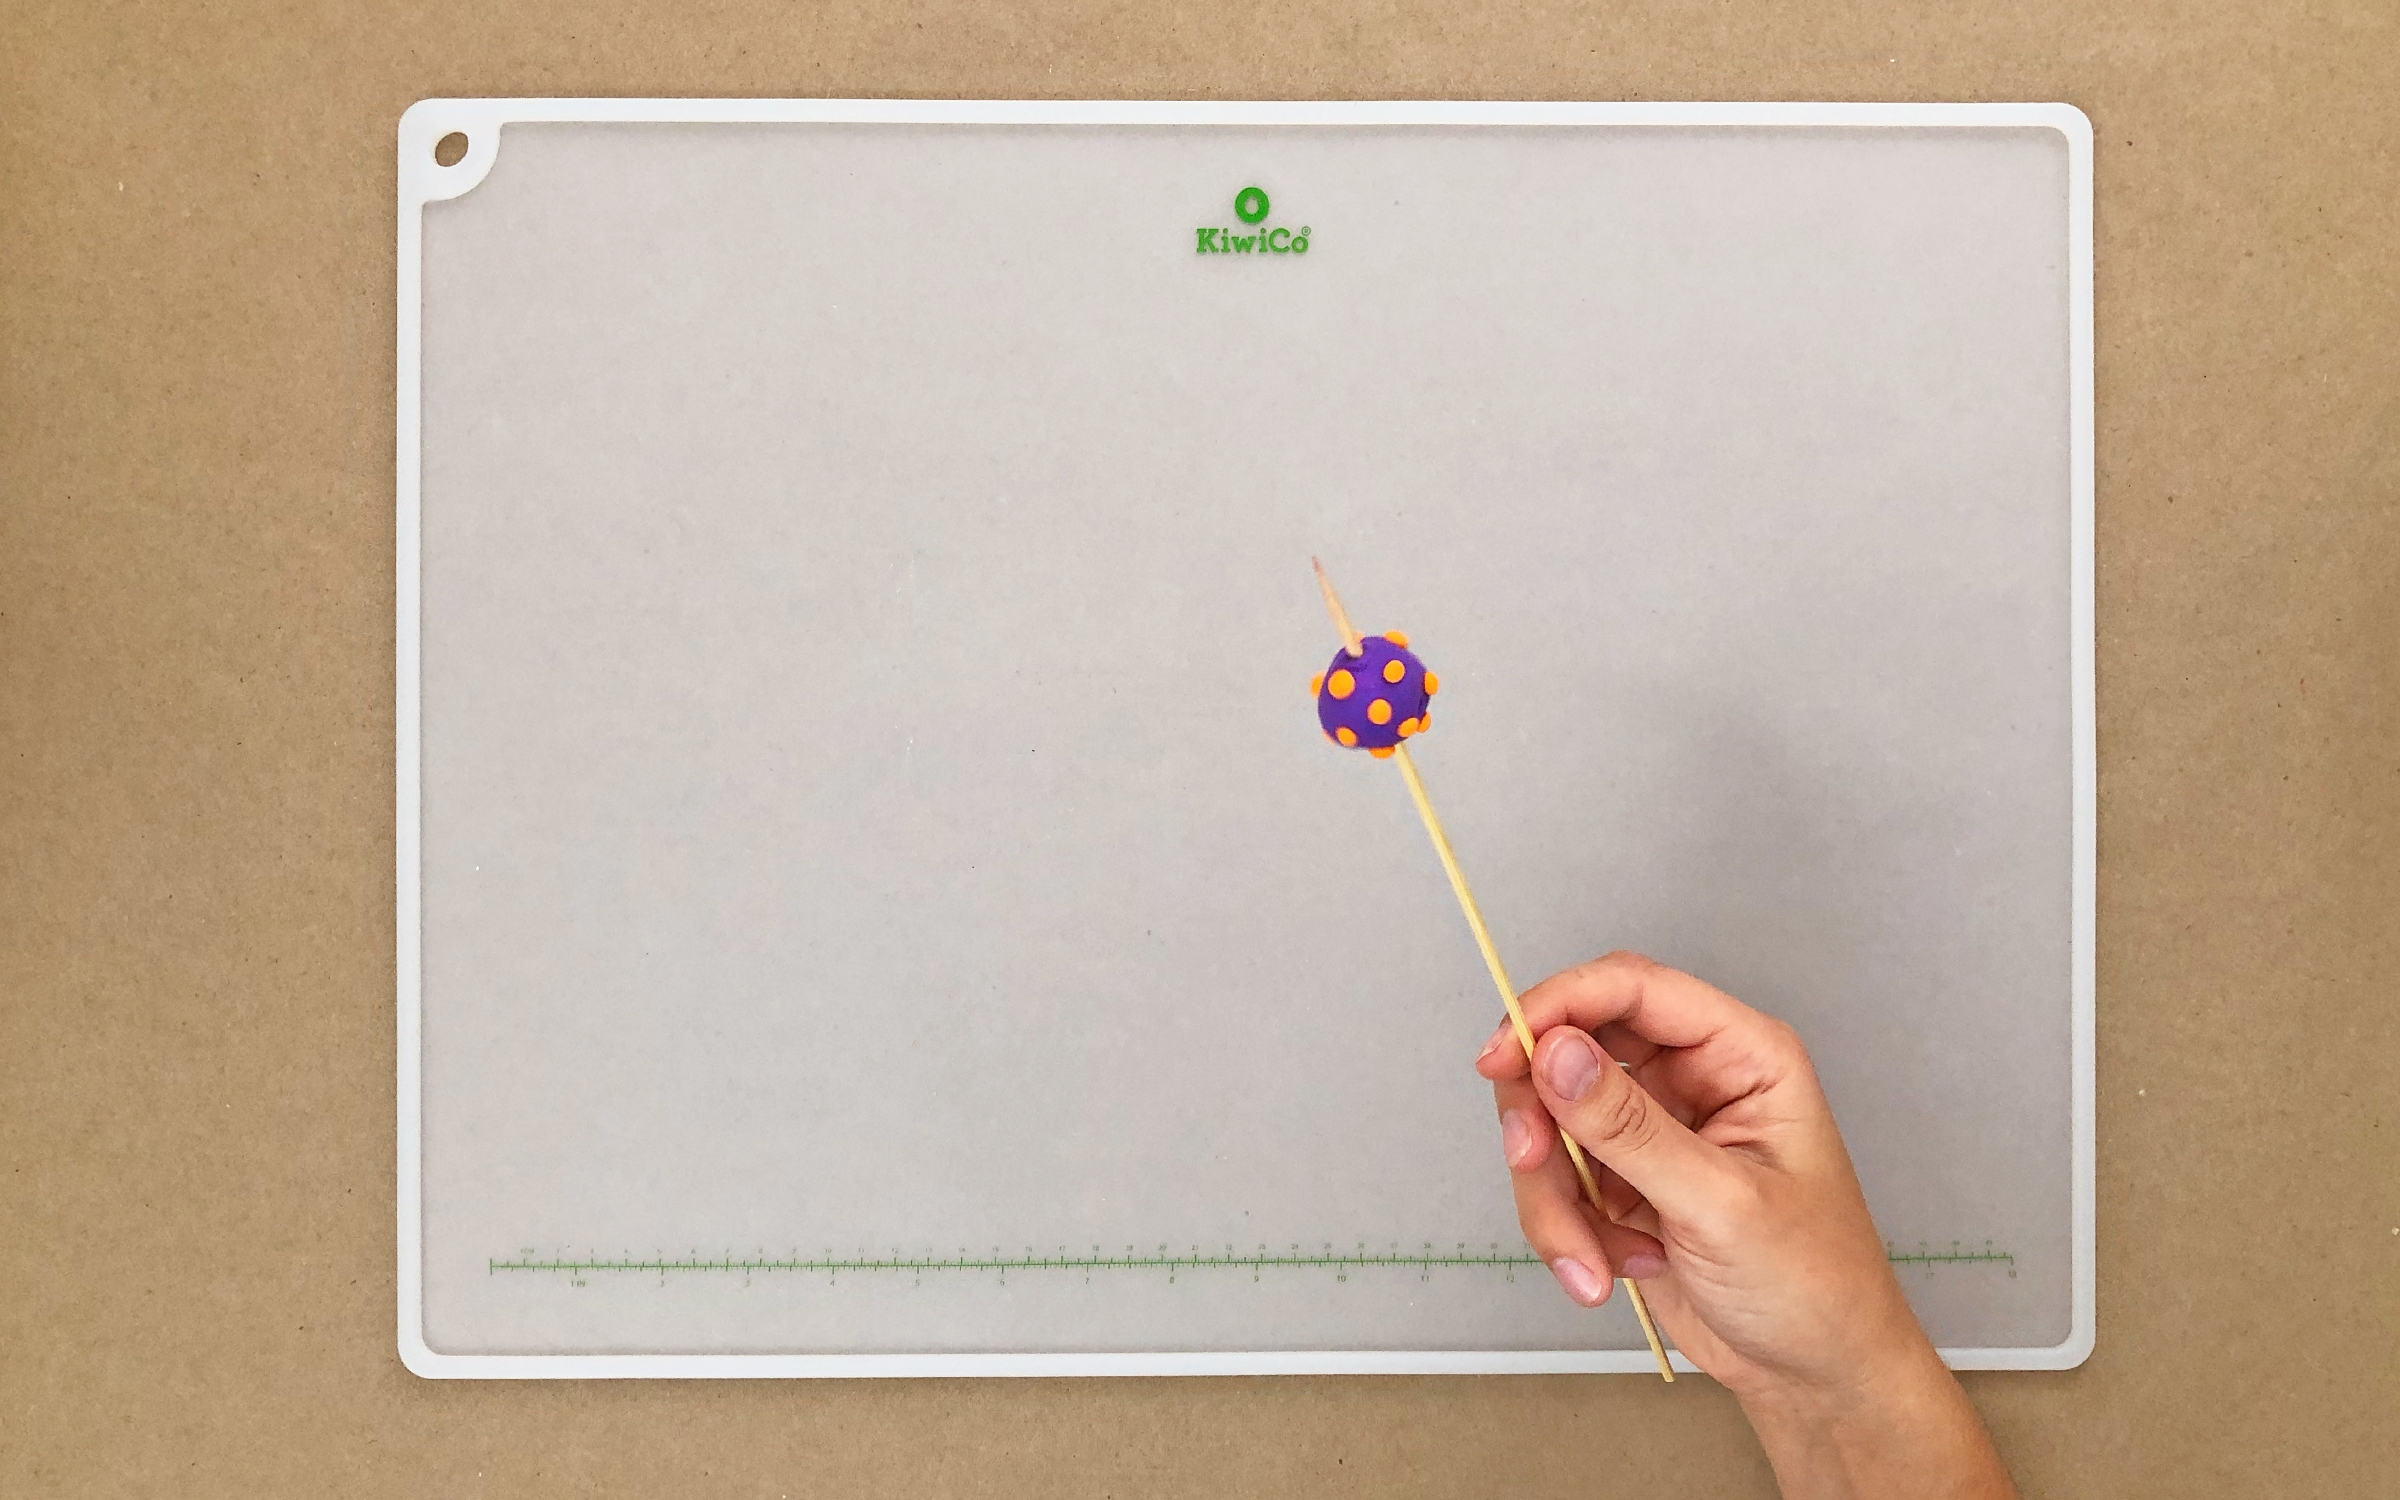
Poke the ball onto your skewer. To maintain its round shape, gently hold the ball with one hand while you twist the skewer back and forth as you insert it.
Step 4
Roll out your polka dots and affix them to your bead! For a more 3D look, use thick pieces of clay and push them onto the ball gently (just enough to make the pieces stick, but not enough to flatten them onto the ball). For a flat look, use thinner pieces and squish them onto the bead until the inlay piece is flush with the base surface.
Step 5
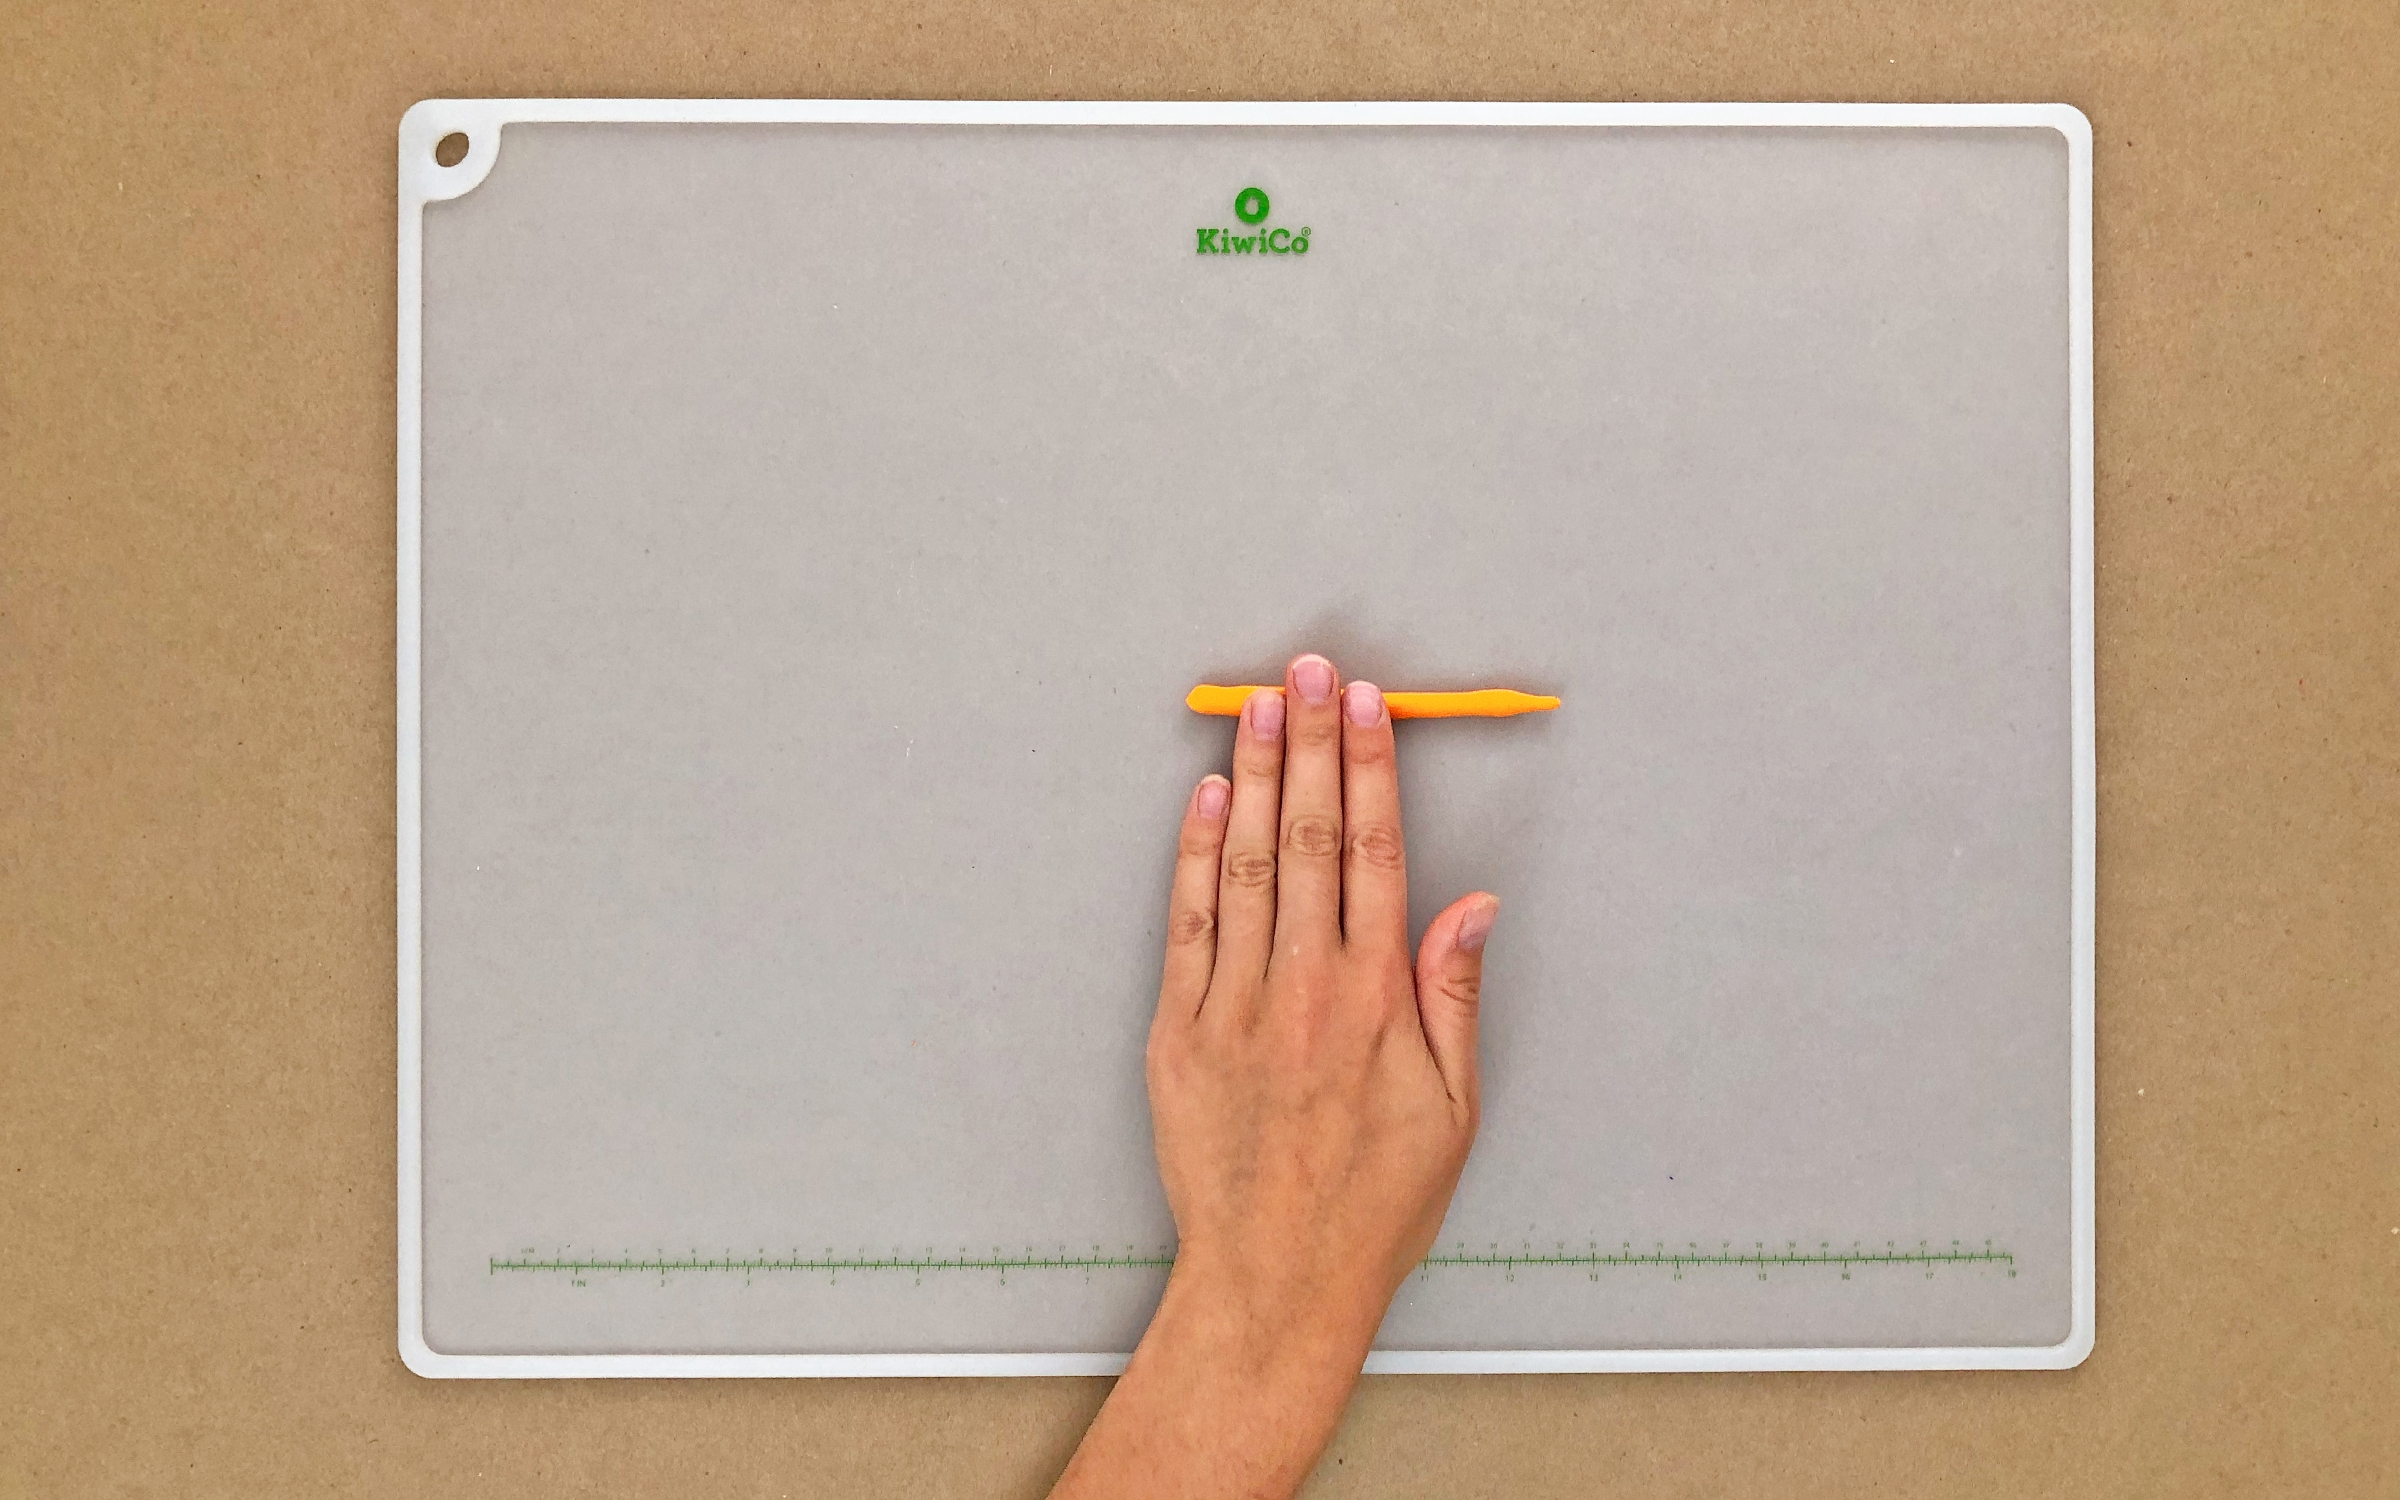
Make a tangle bead! Start by rolling your clay into a thin rope.
Step 6
Wrap the clay rope around your stick, twisting and turning the stick and rope to make a tangle that you like.
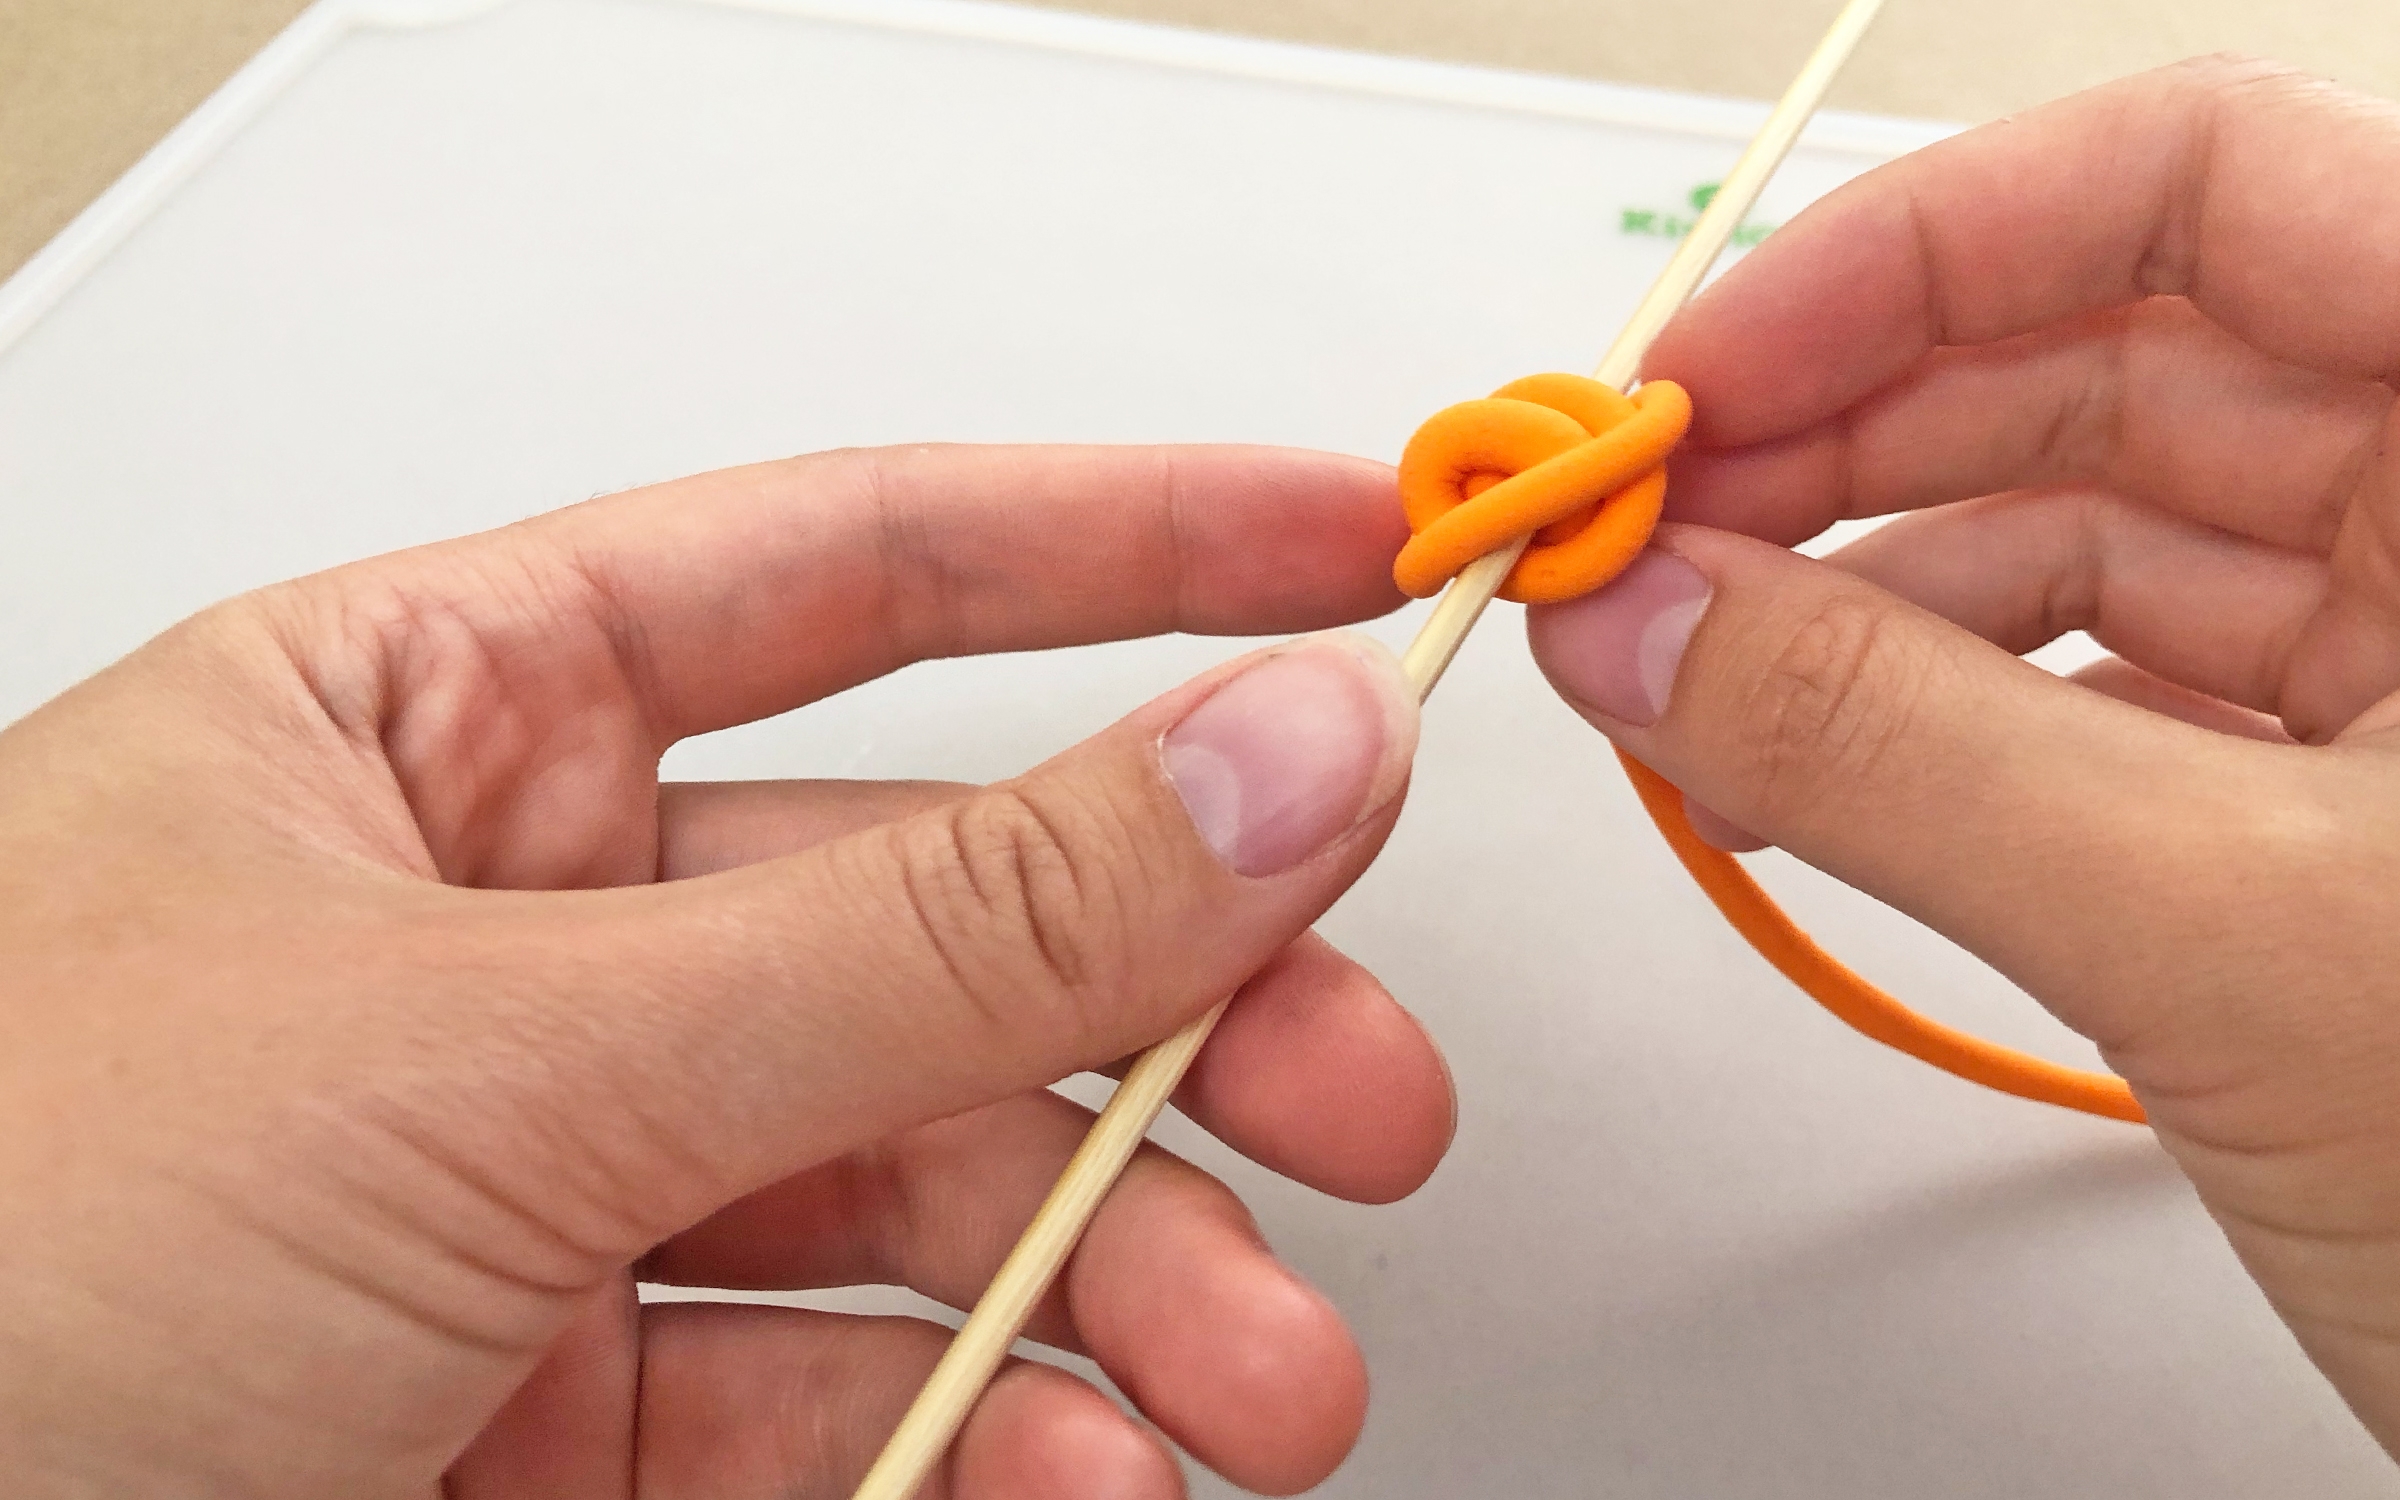
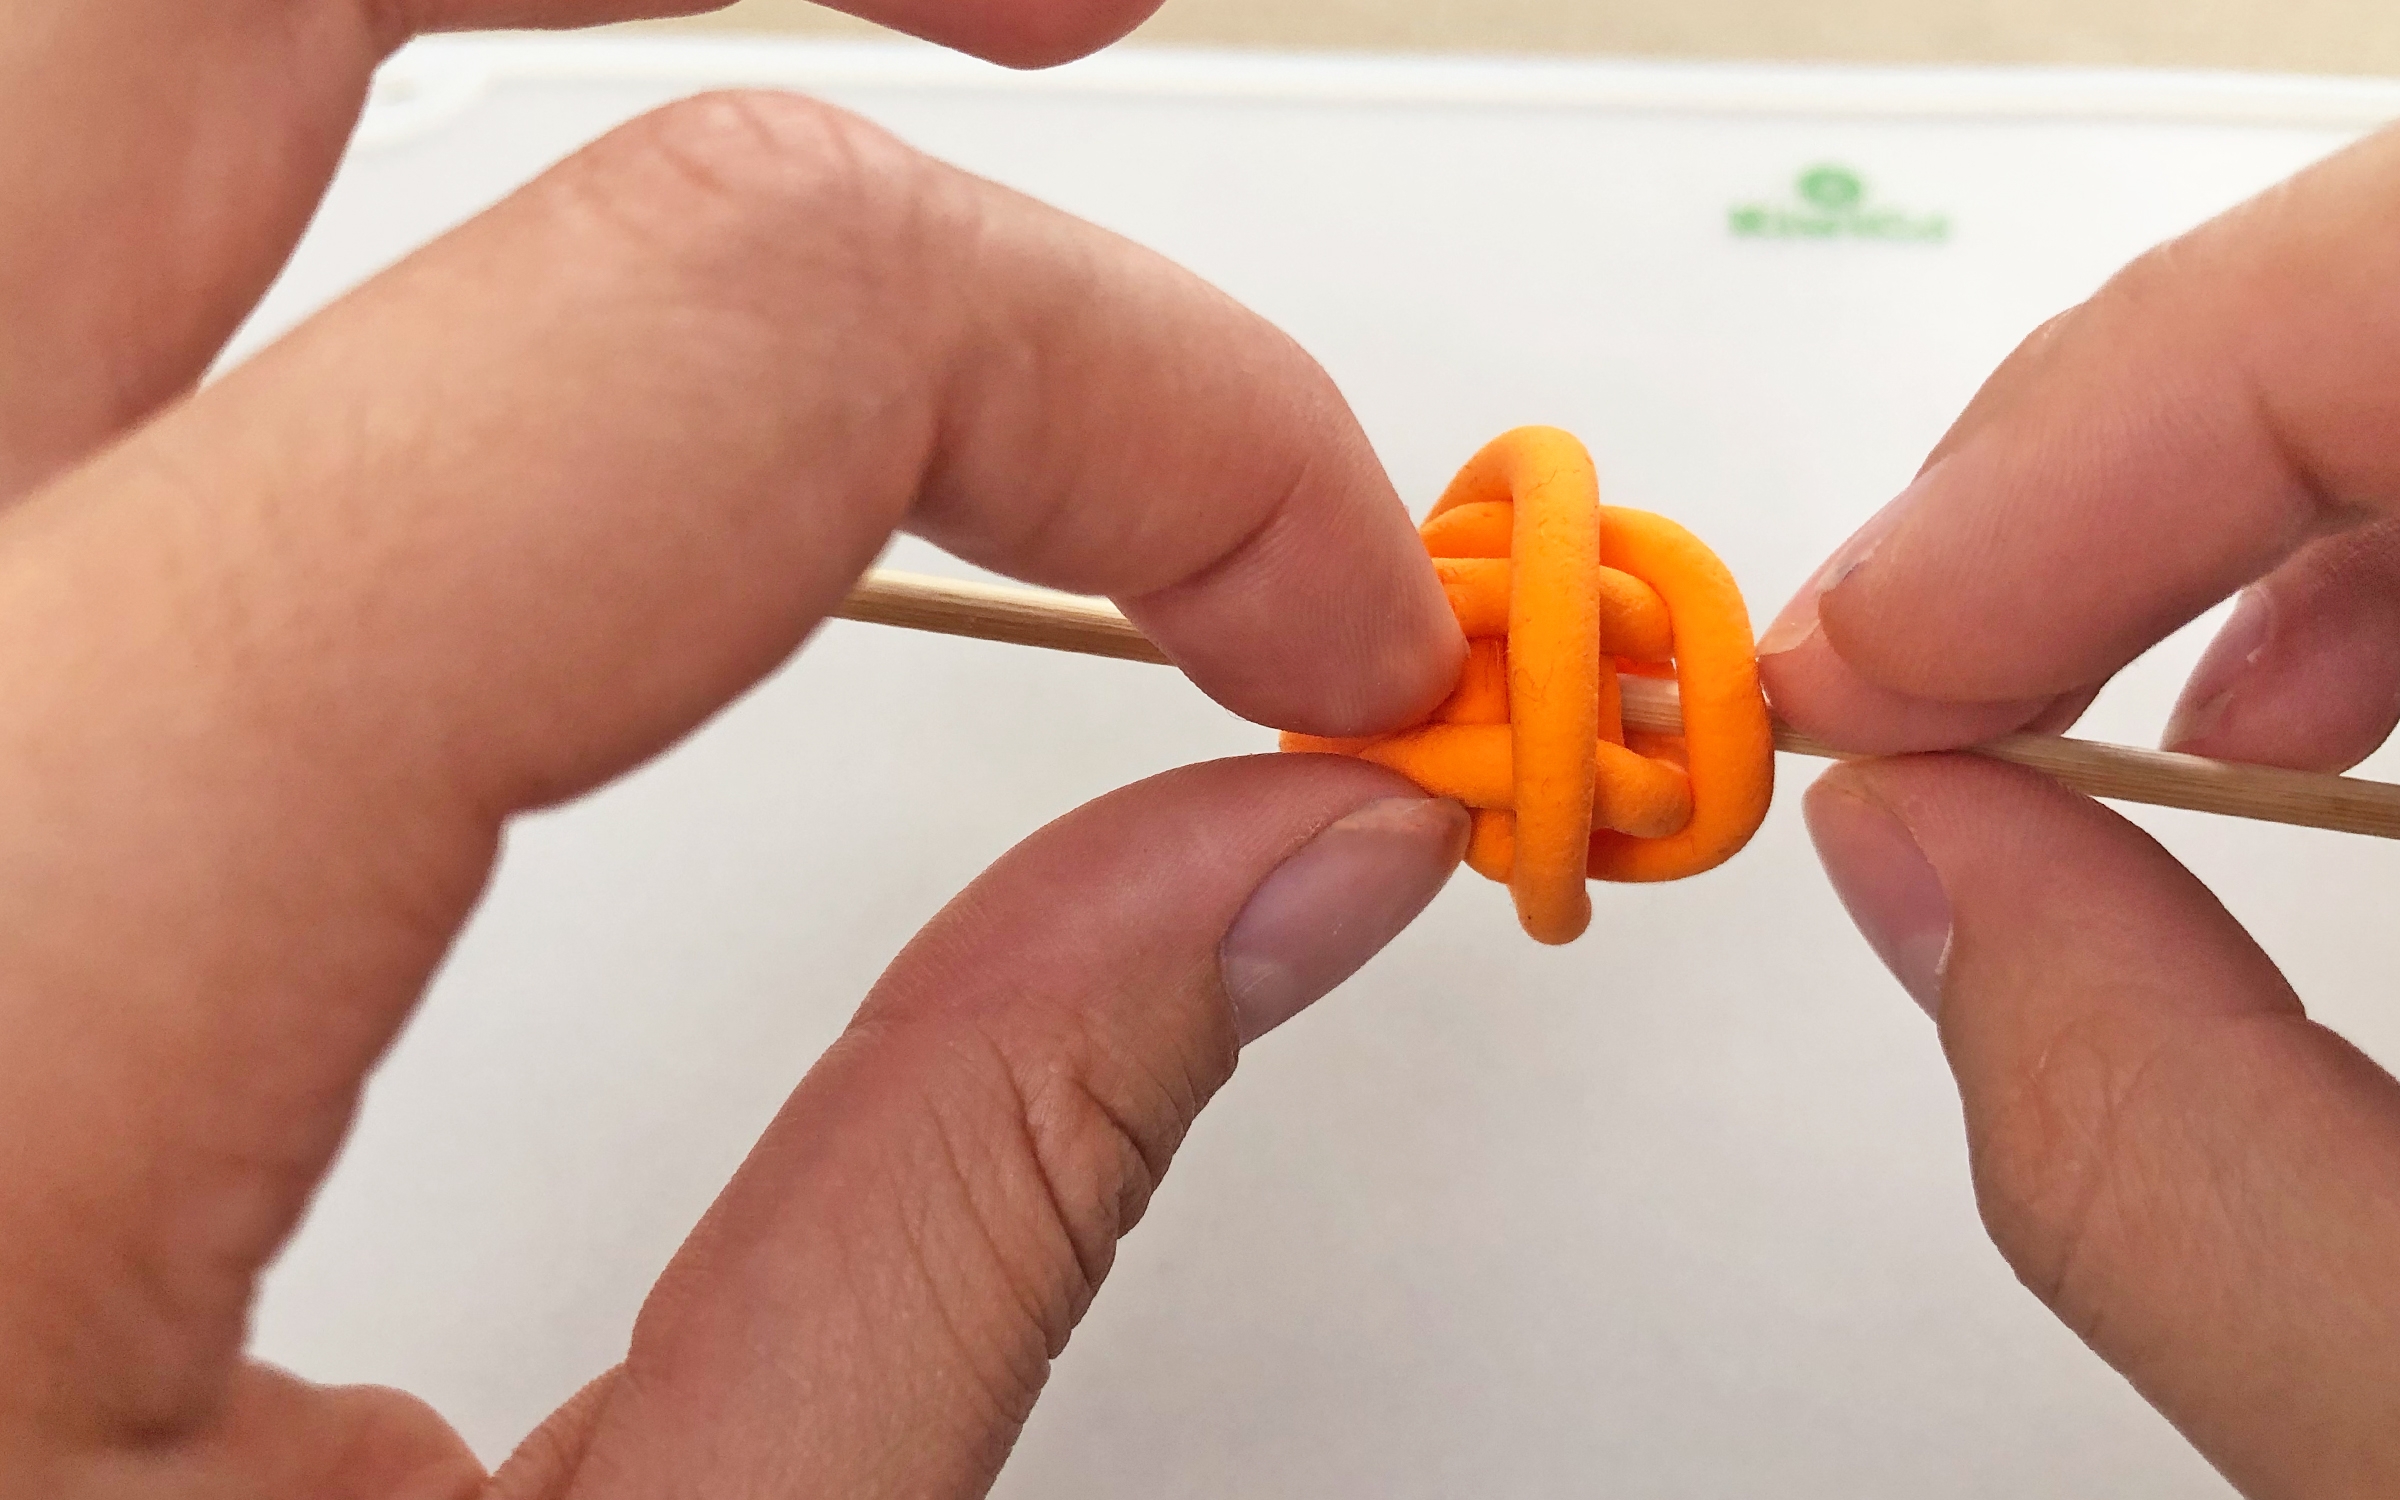
Step 7
When you get to the end of the rope, use your finger to tuck the end of the rope behind the tangle to hide it.
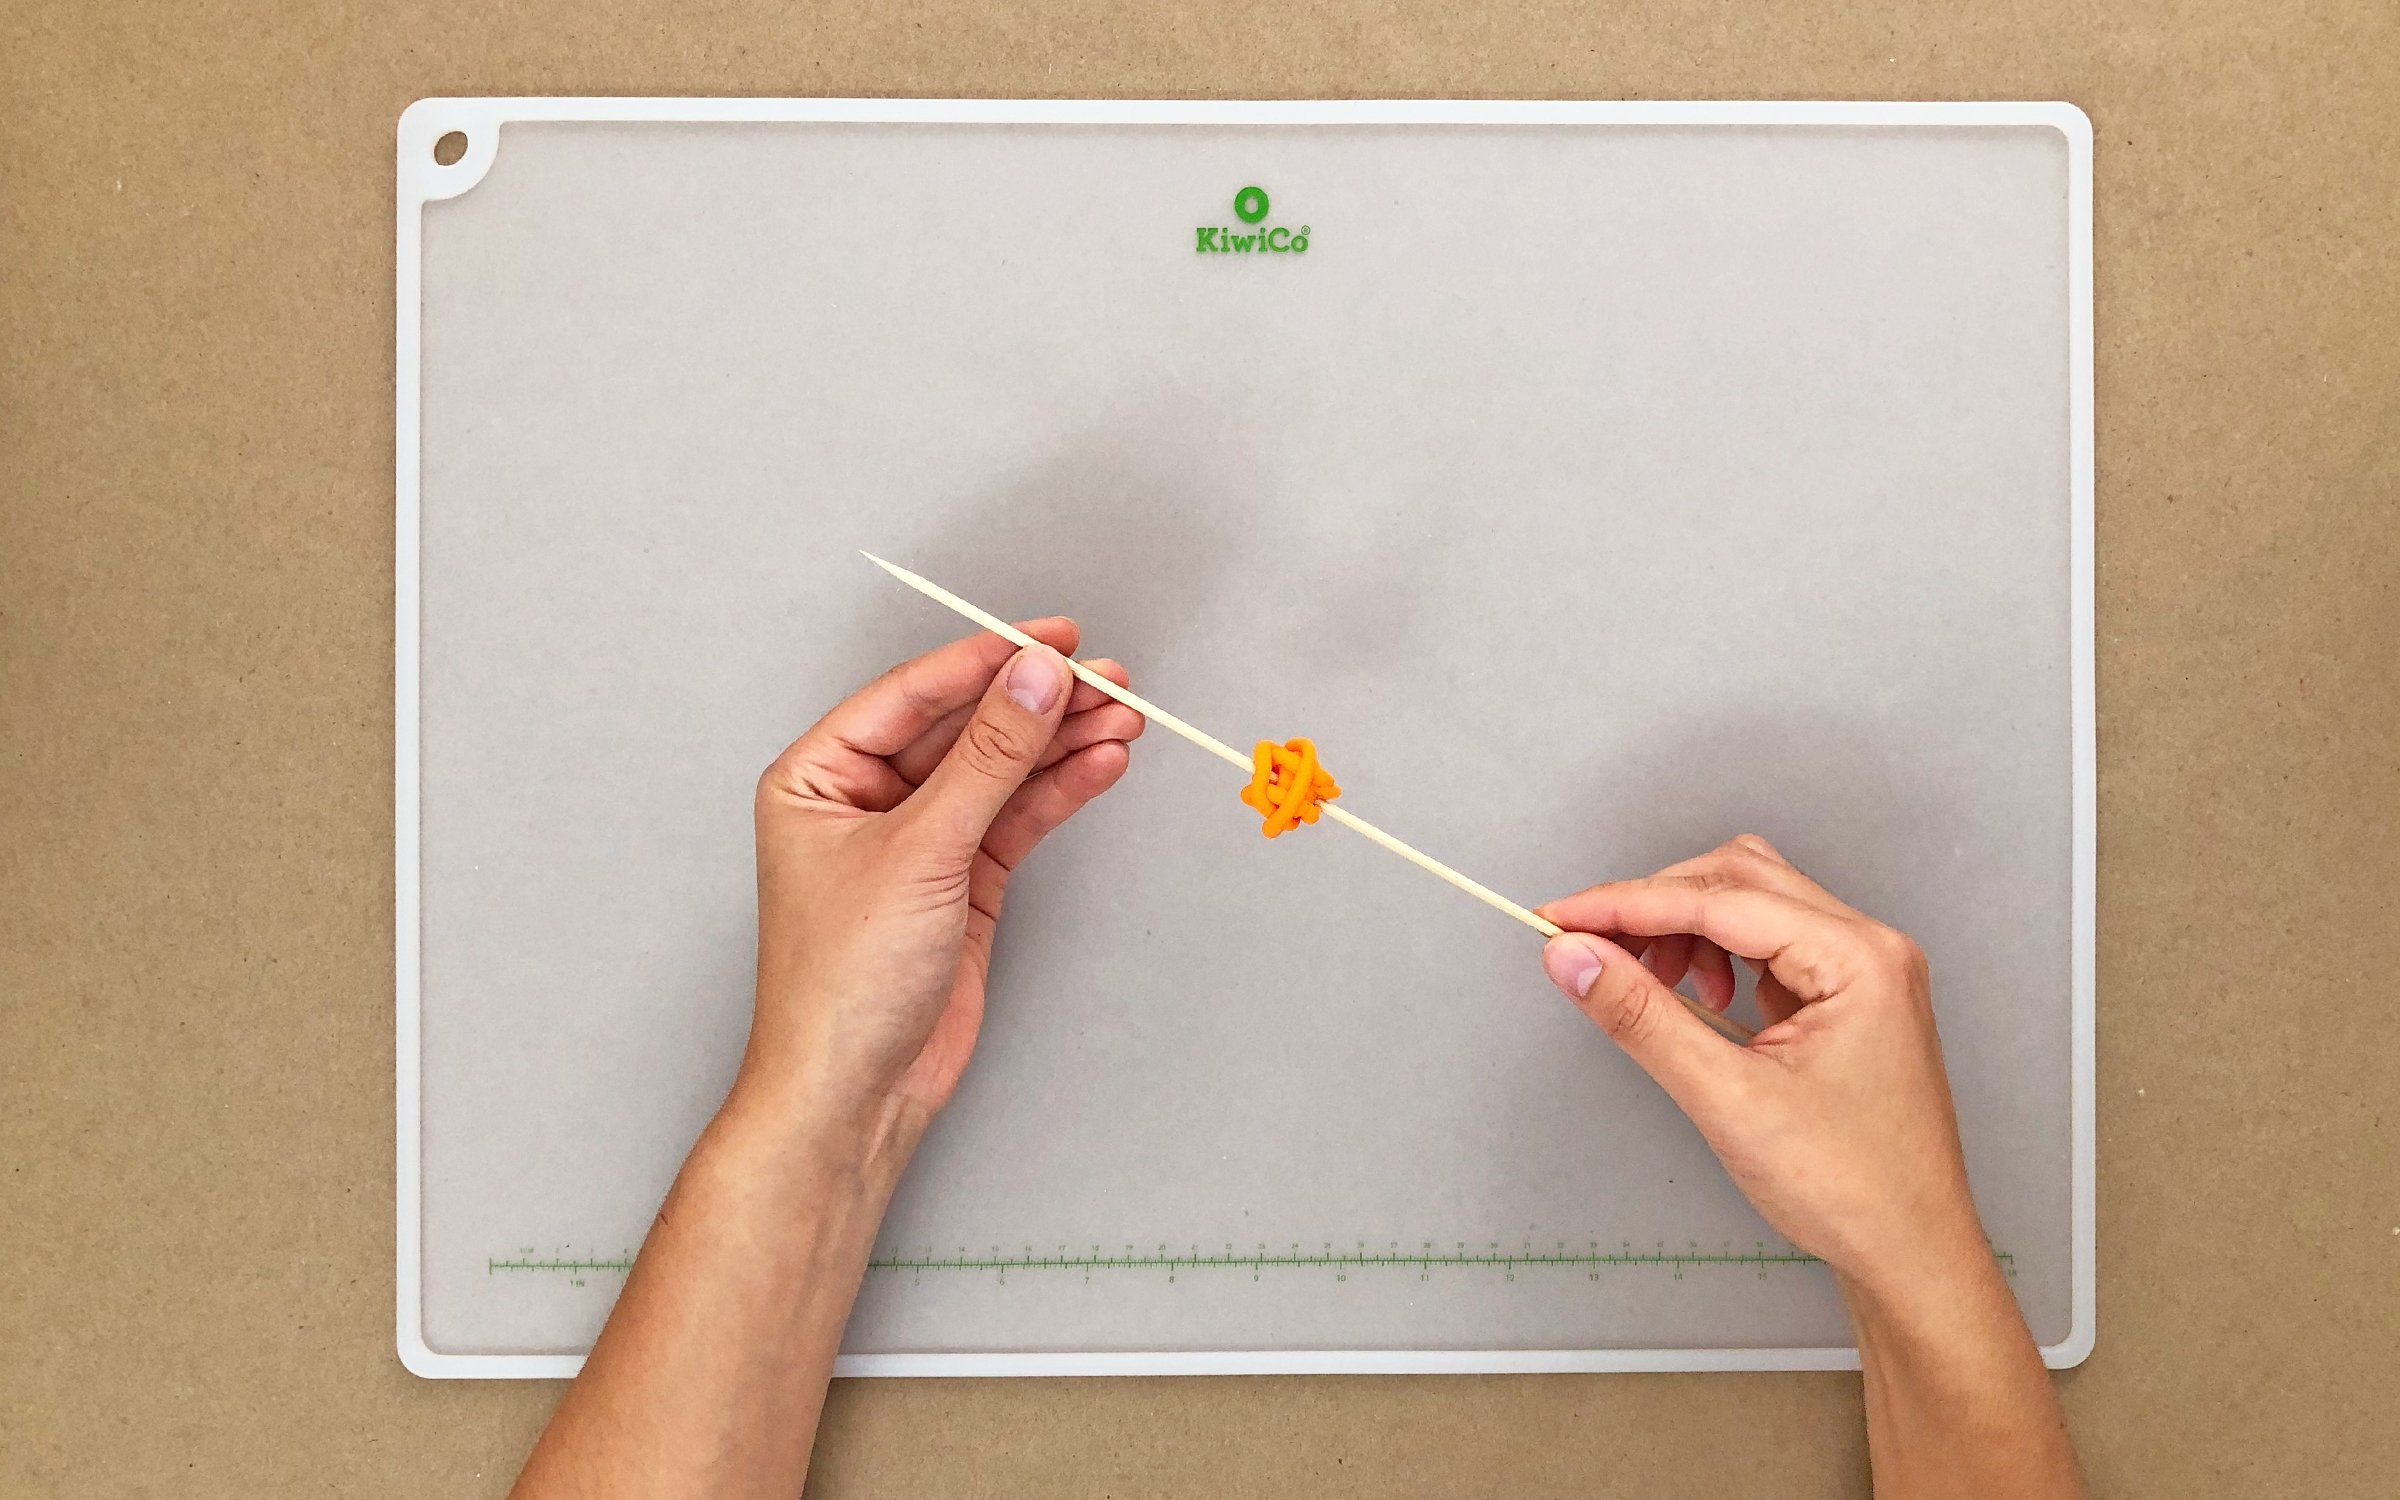
Step 8
Prop the sticks over a cup or bowl, and let dry for at least 24 hours before you try to remove the beads. If they still seem squishy in the middle when you try to remove them, let them continue to dry!
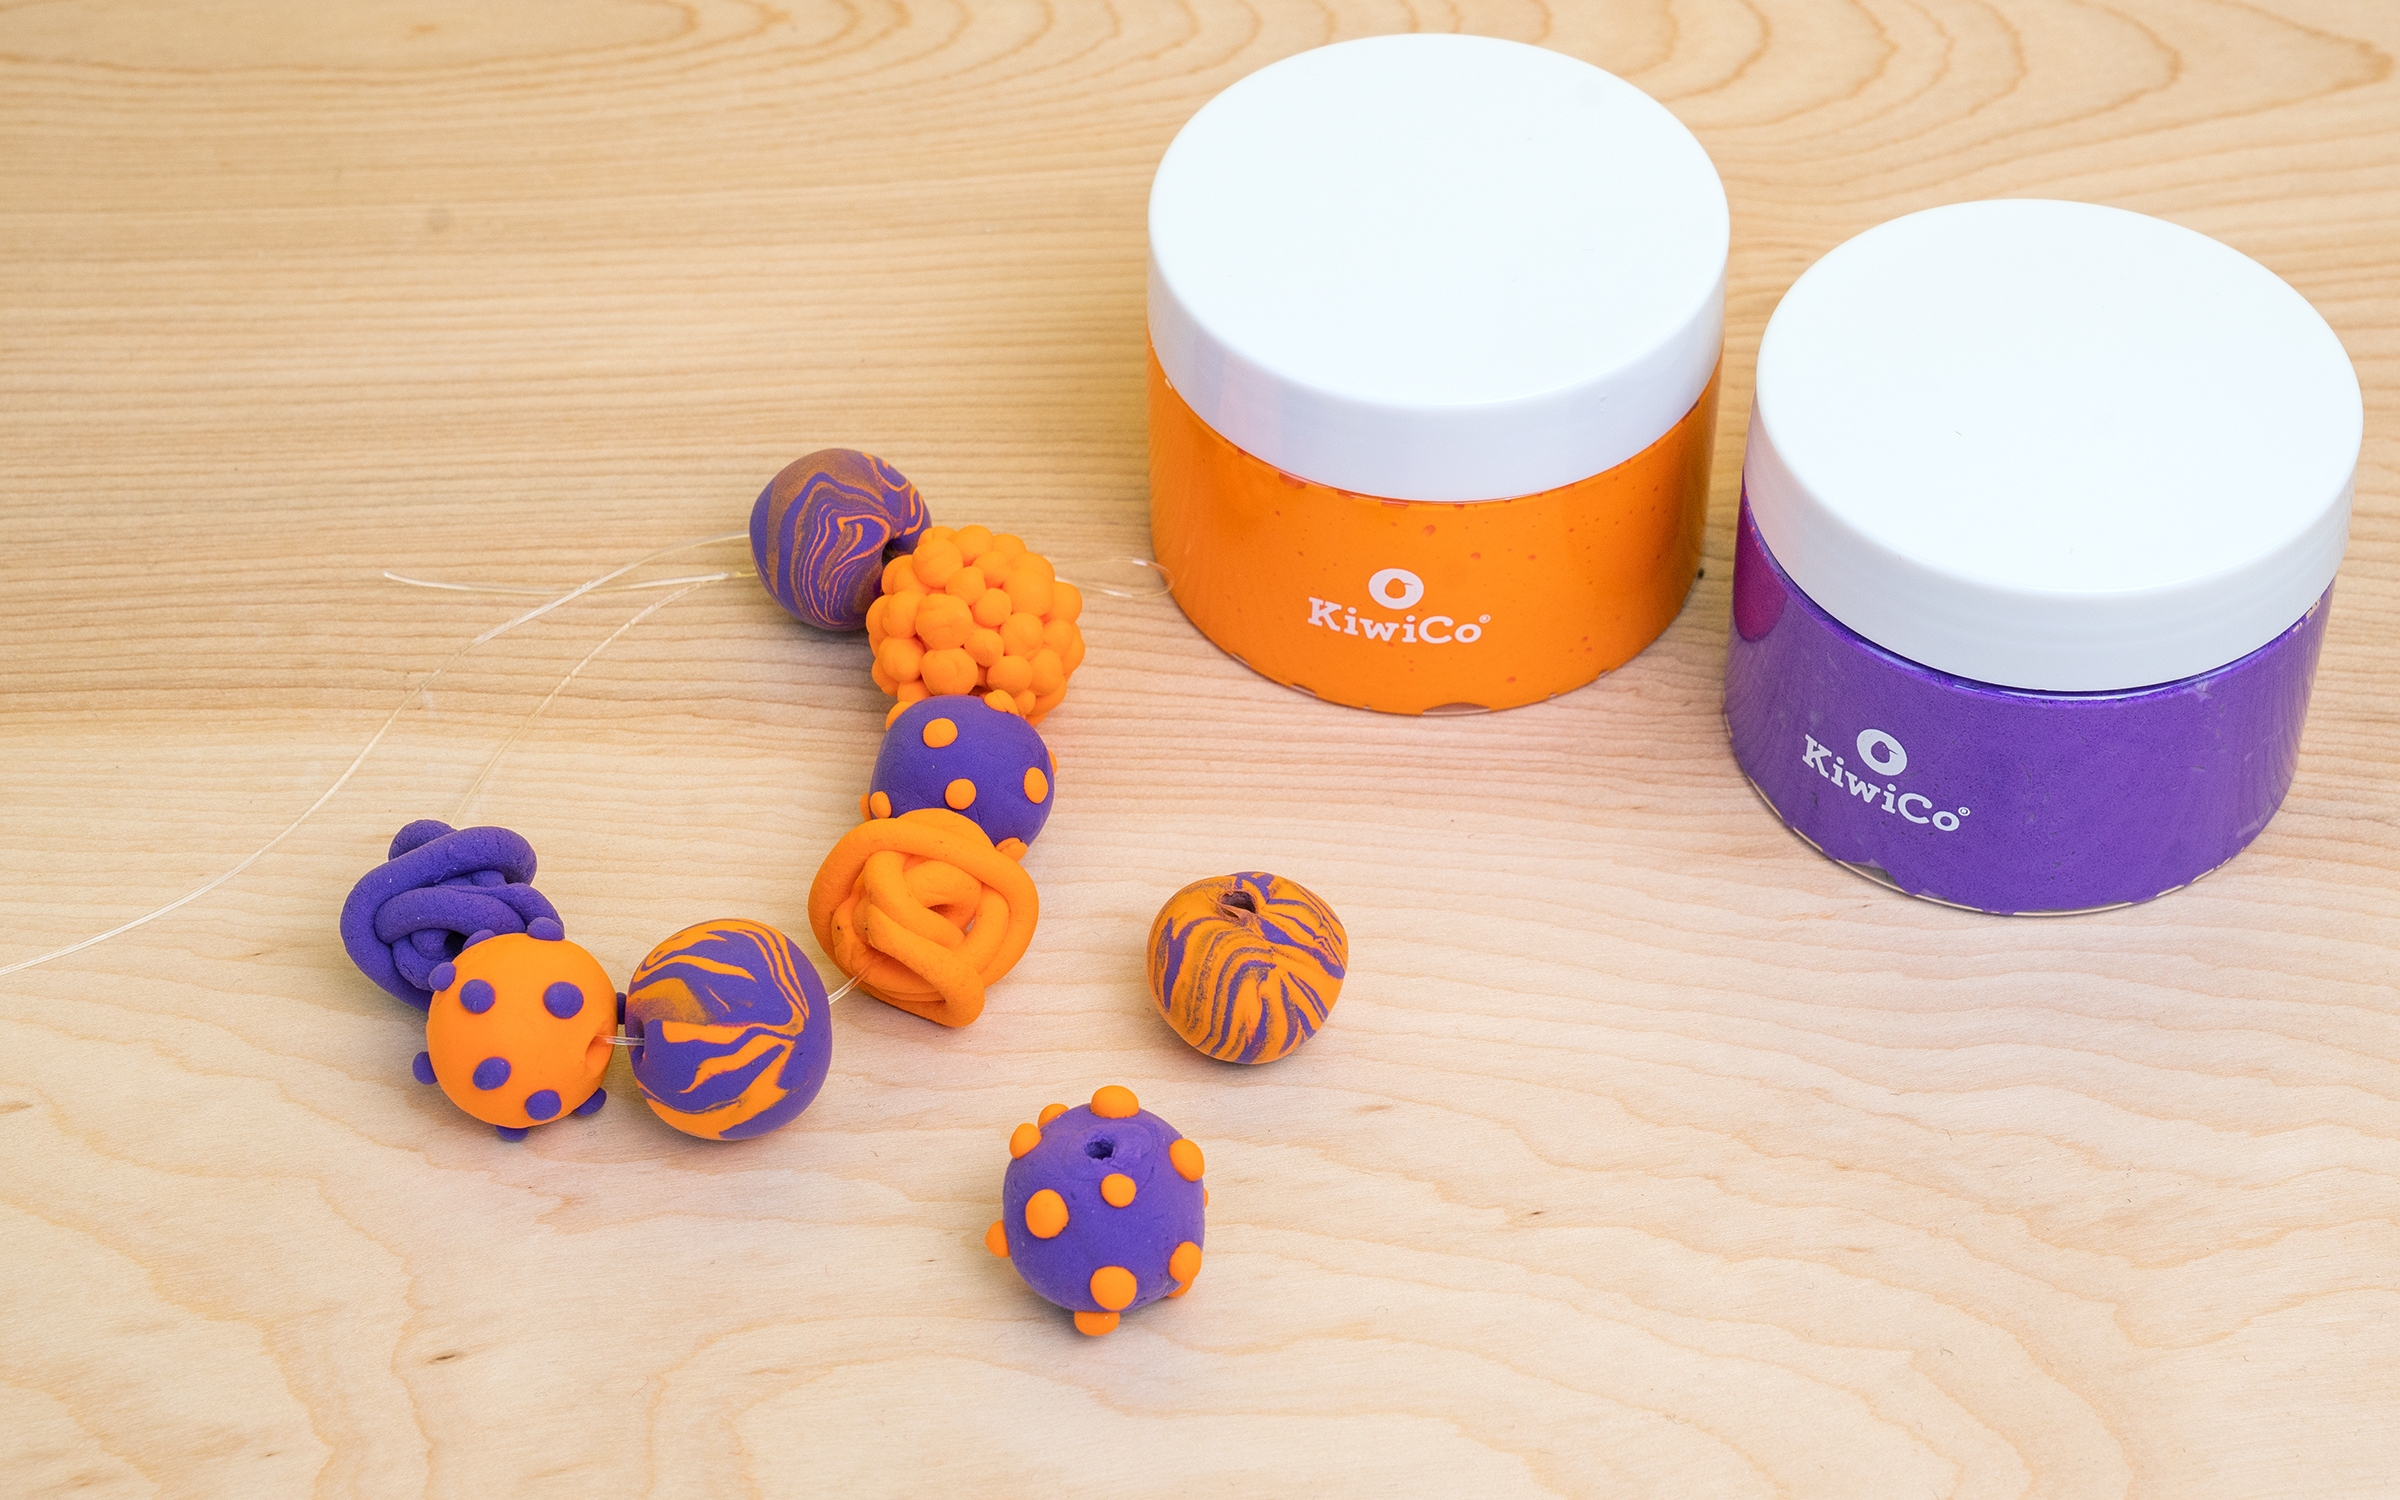
Step 9
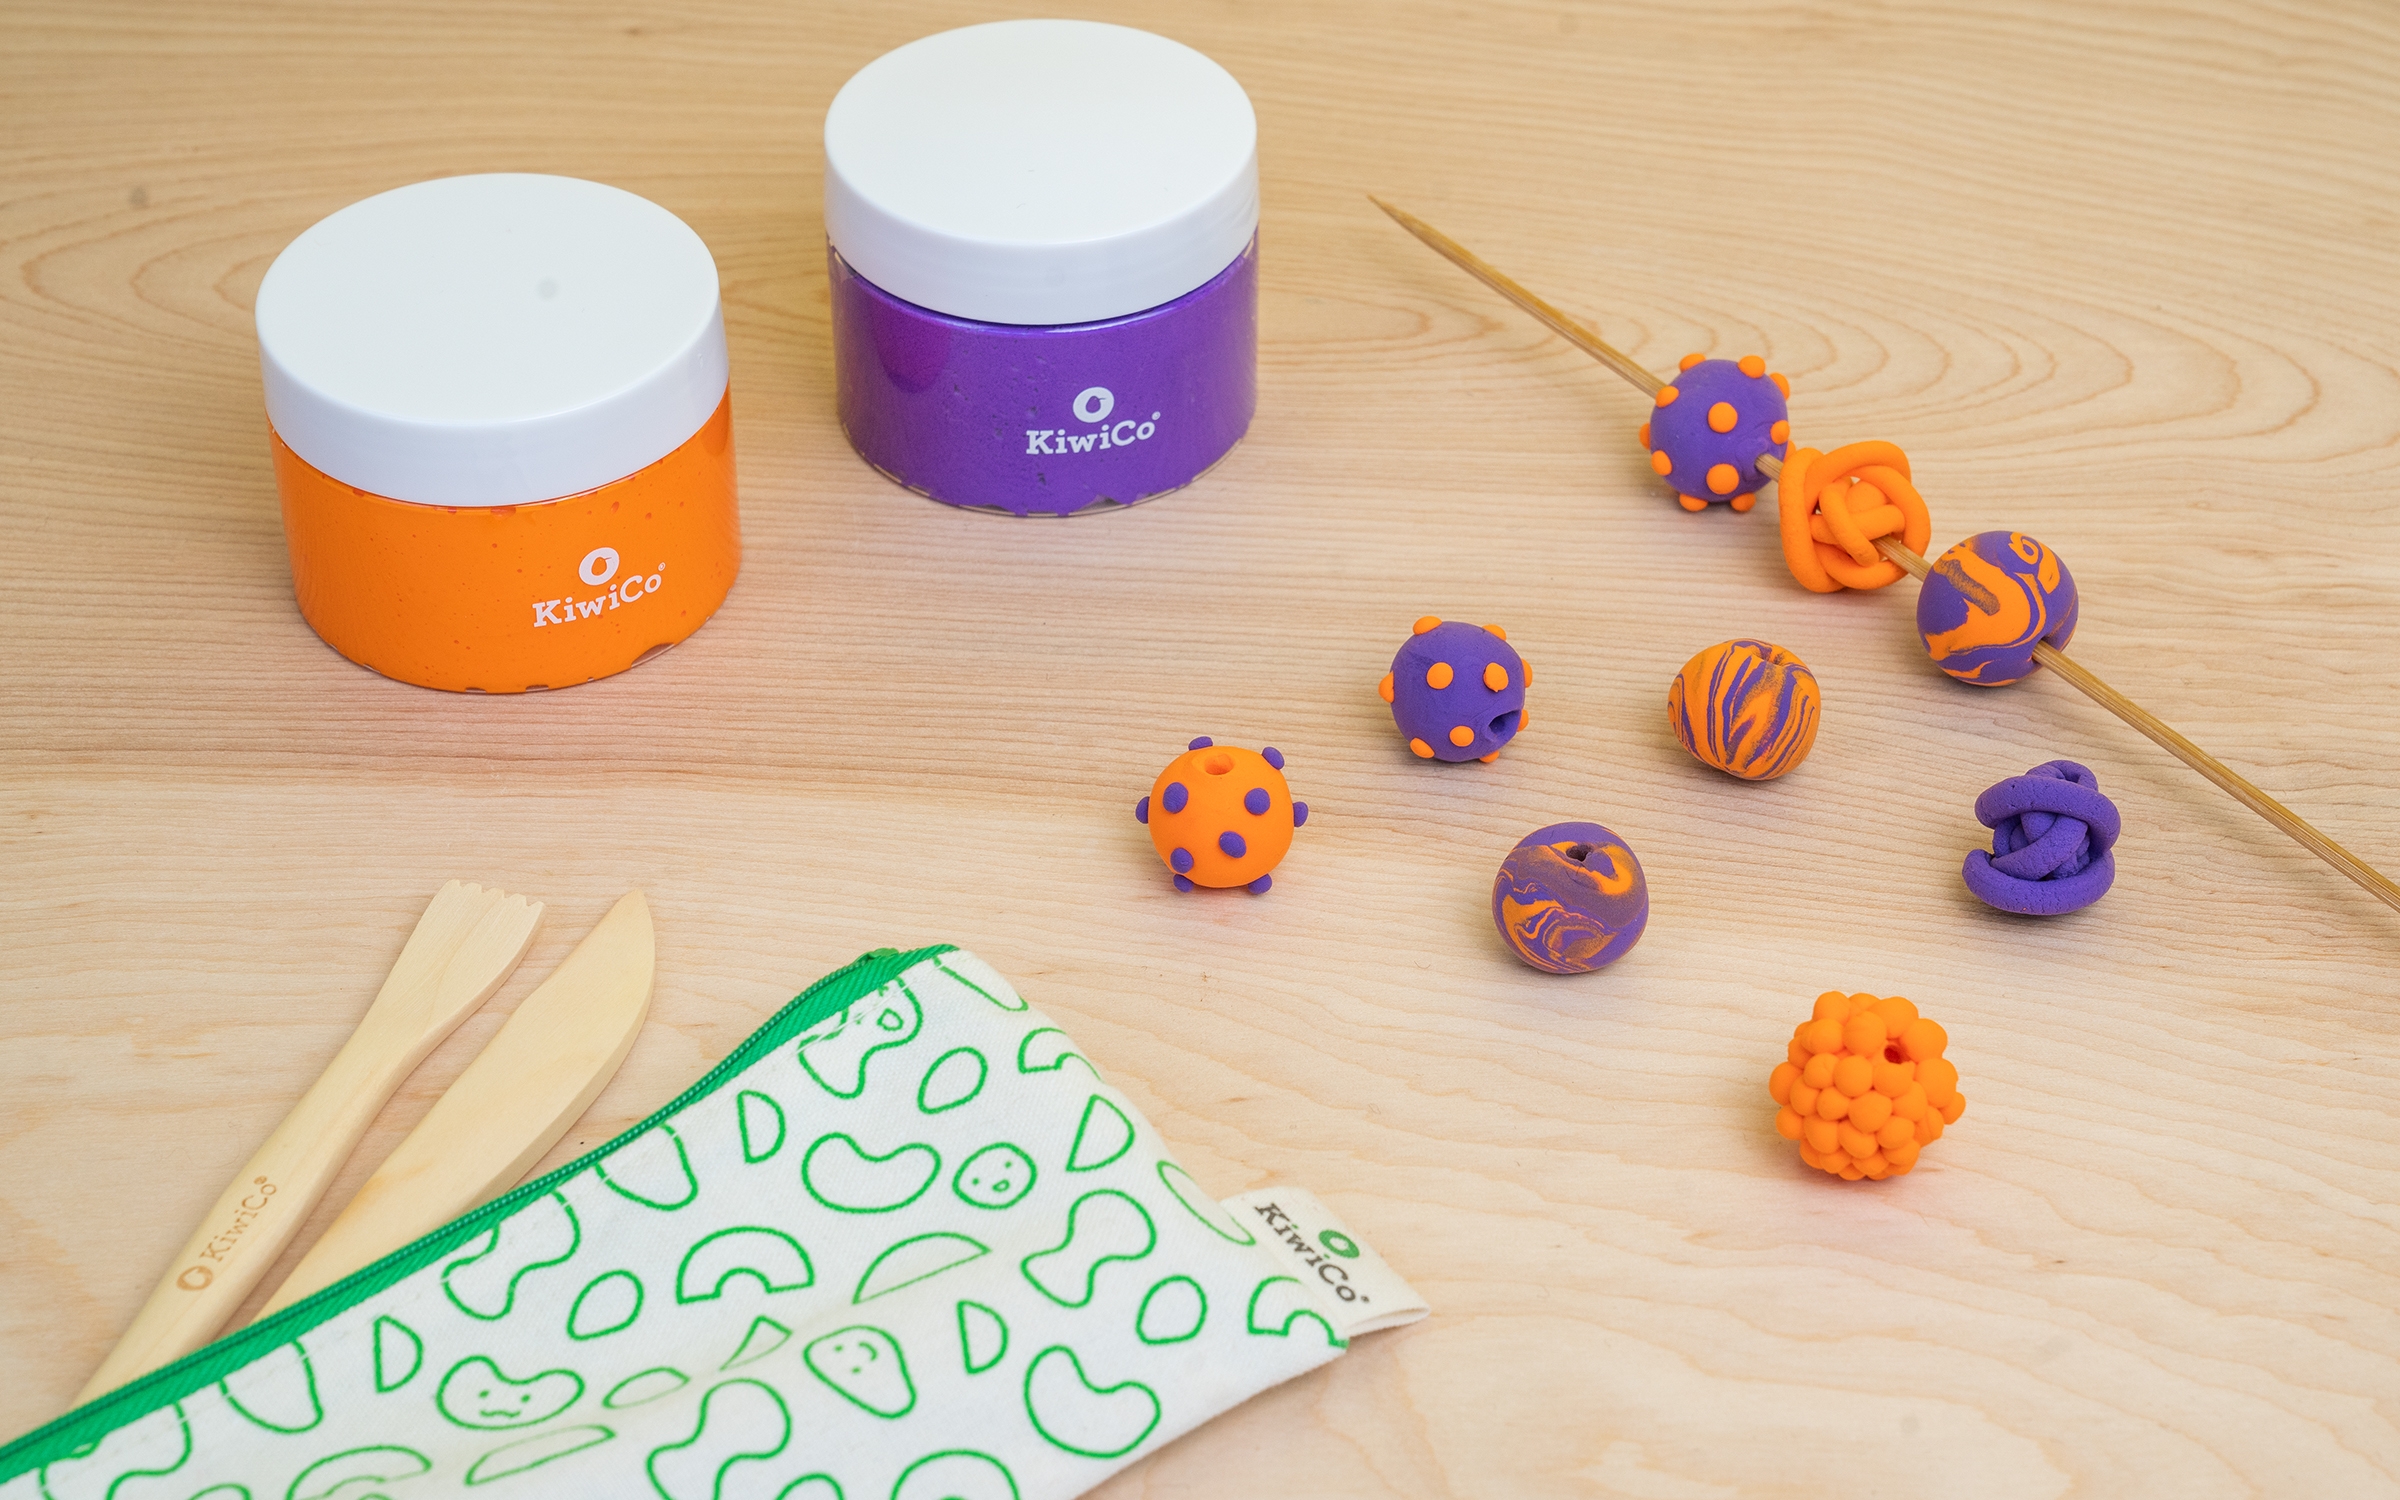
Once your beads are dry, use them however you want! We made ours into a bracelet using stretchy thread.
Learn more

Air-Dry clay is a type of polymer. A “polymer” is a chemistry term for a substance that’s made of many little chains of molecules– “poly” means “many”, and “mer” means part in Greek. These chains easily slide past each other, which allows polymers to stretch and deform really easily. That’s why your clay is so soft, squishy, and stretchy when it’s moist! When the water dries up, more bonds form between the chains in the polymer, which stiffens the clay.