Step-by-step tutorial
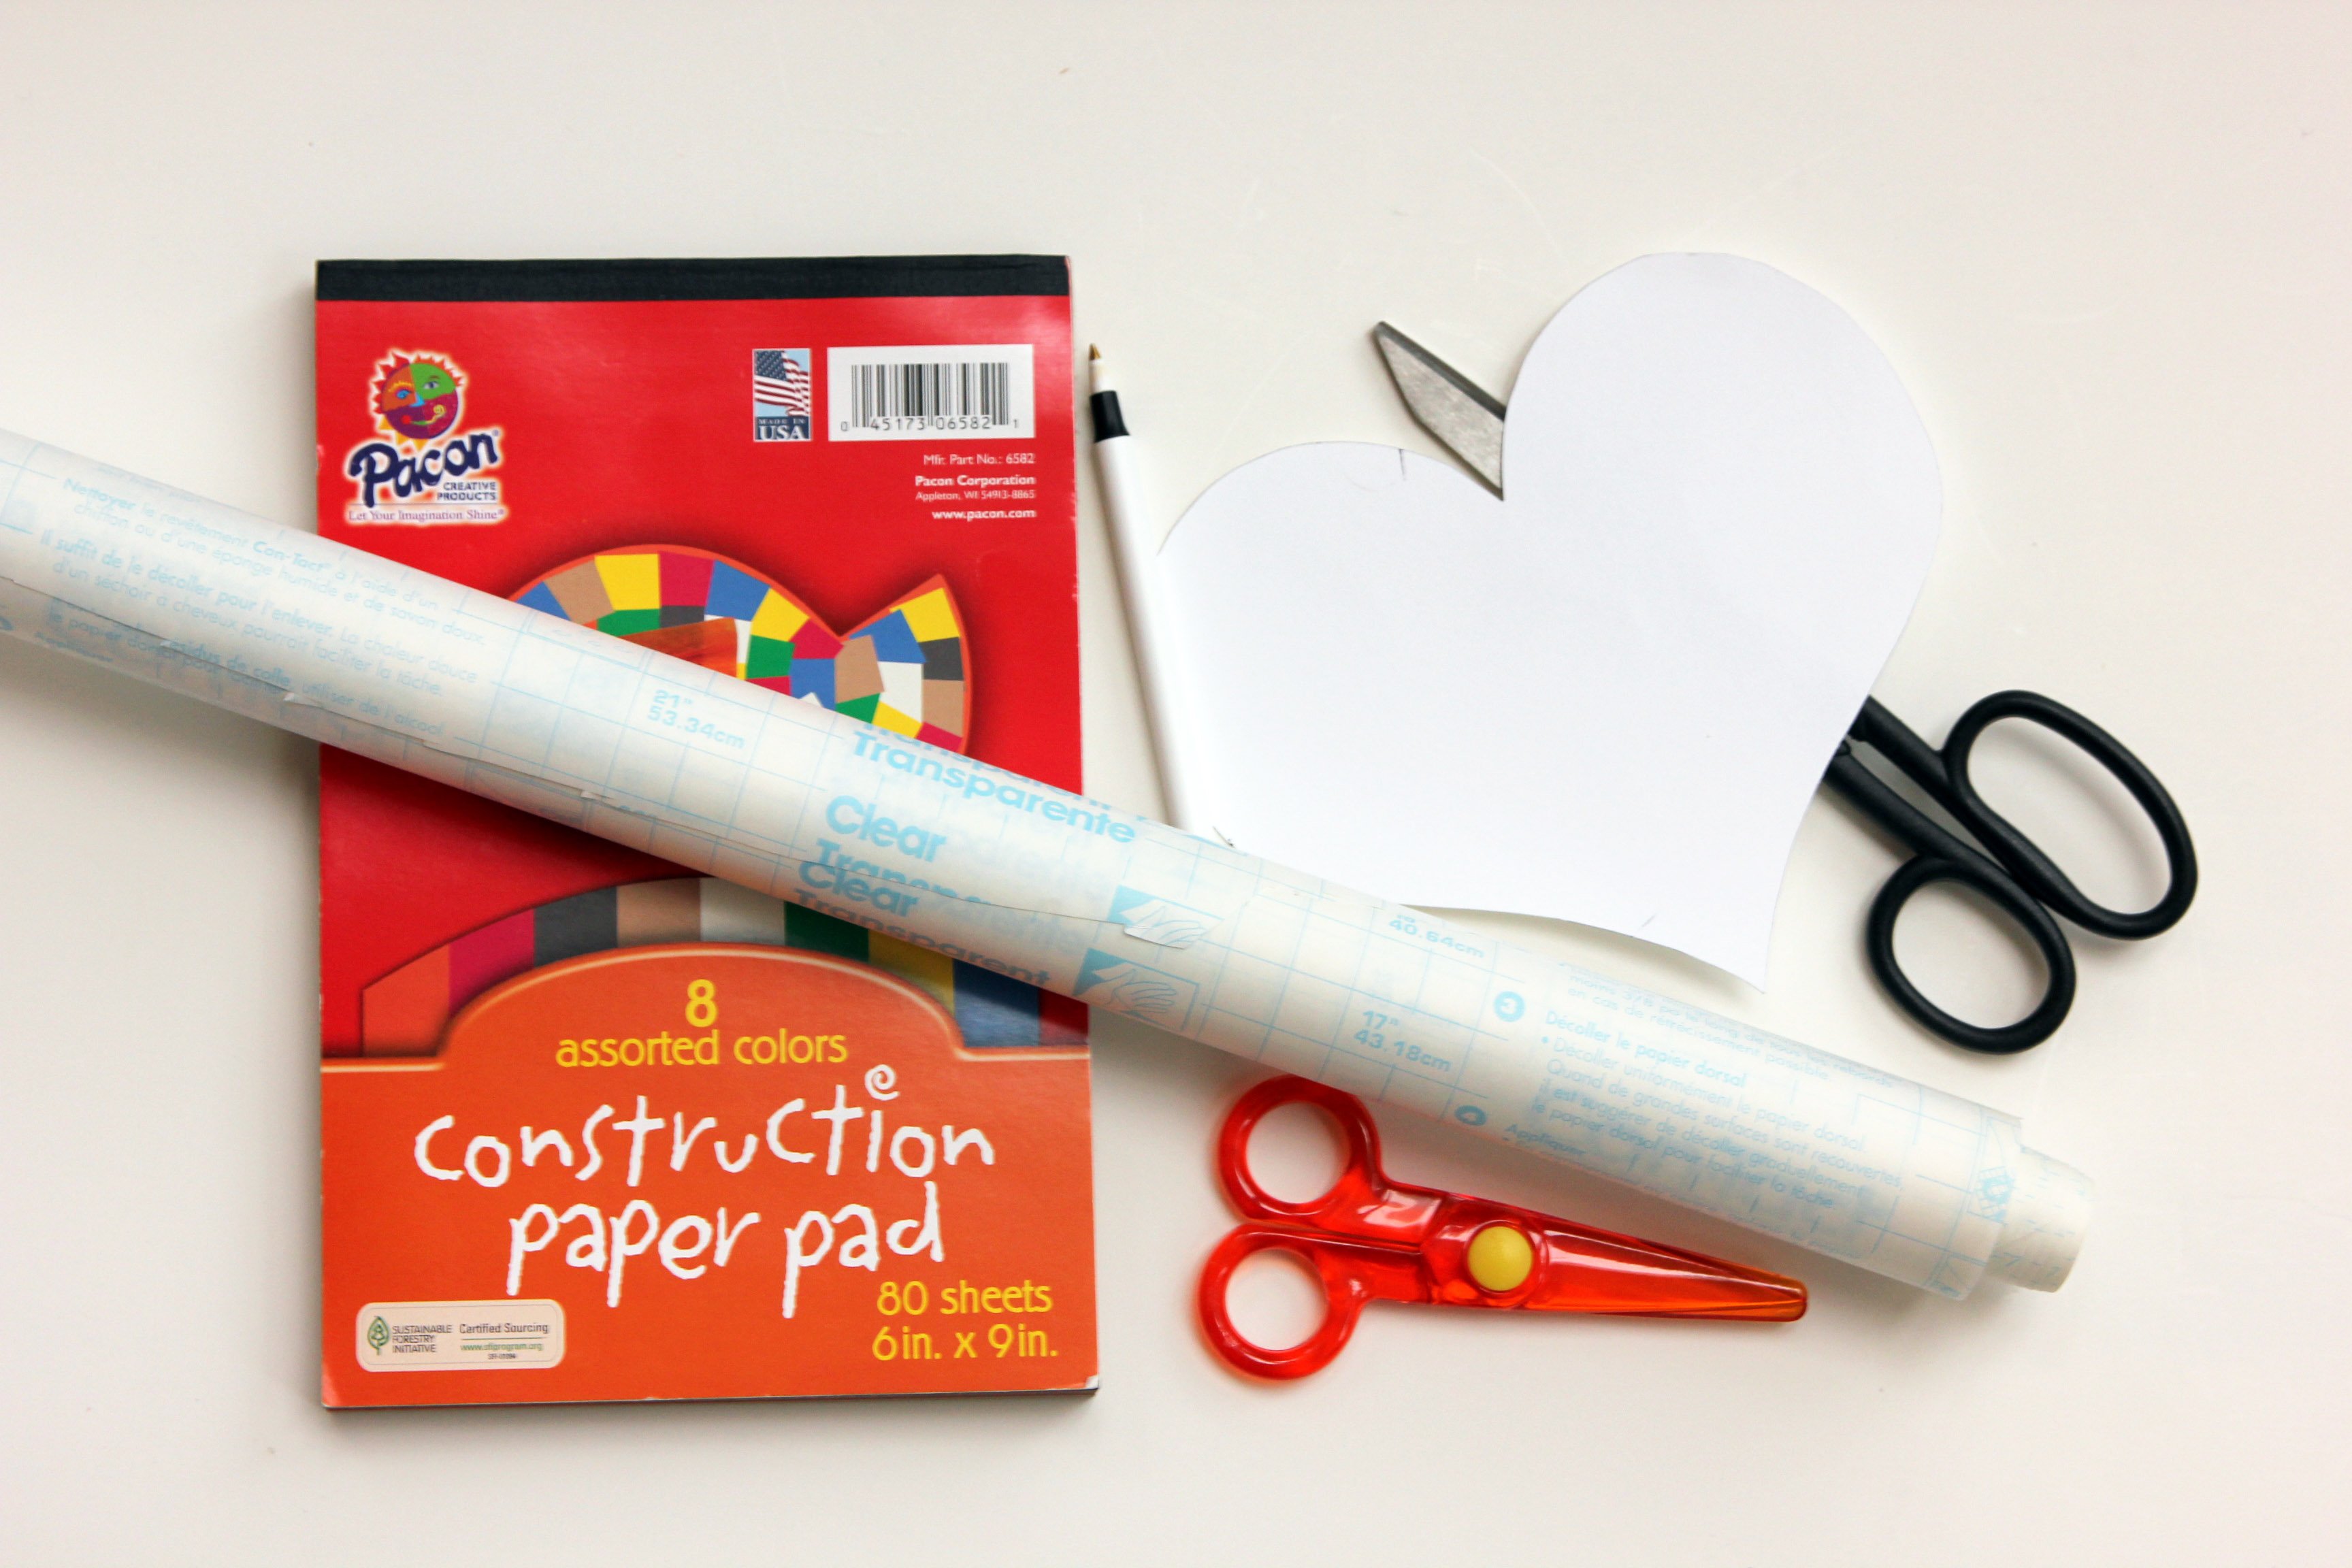
Step 1
Gather all your ingredients (not pictured: masking tape and white glue).

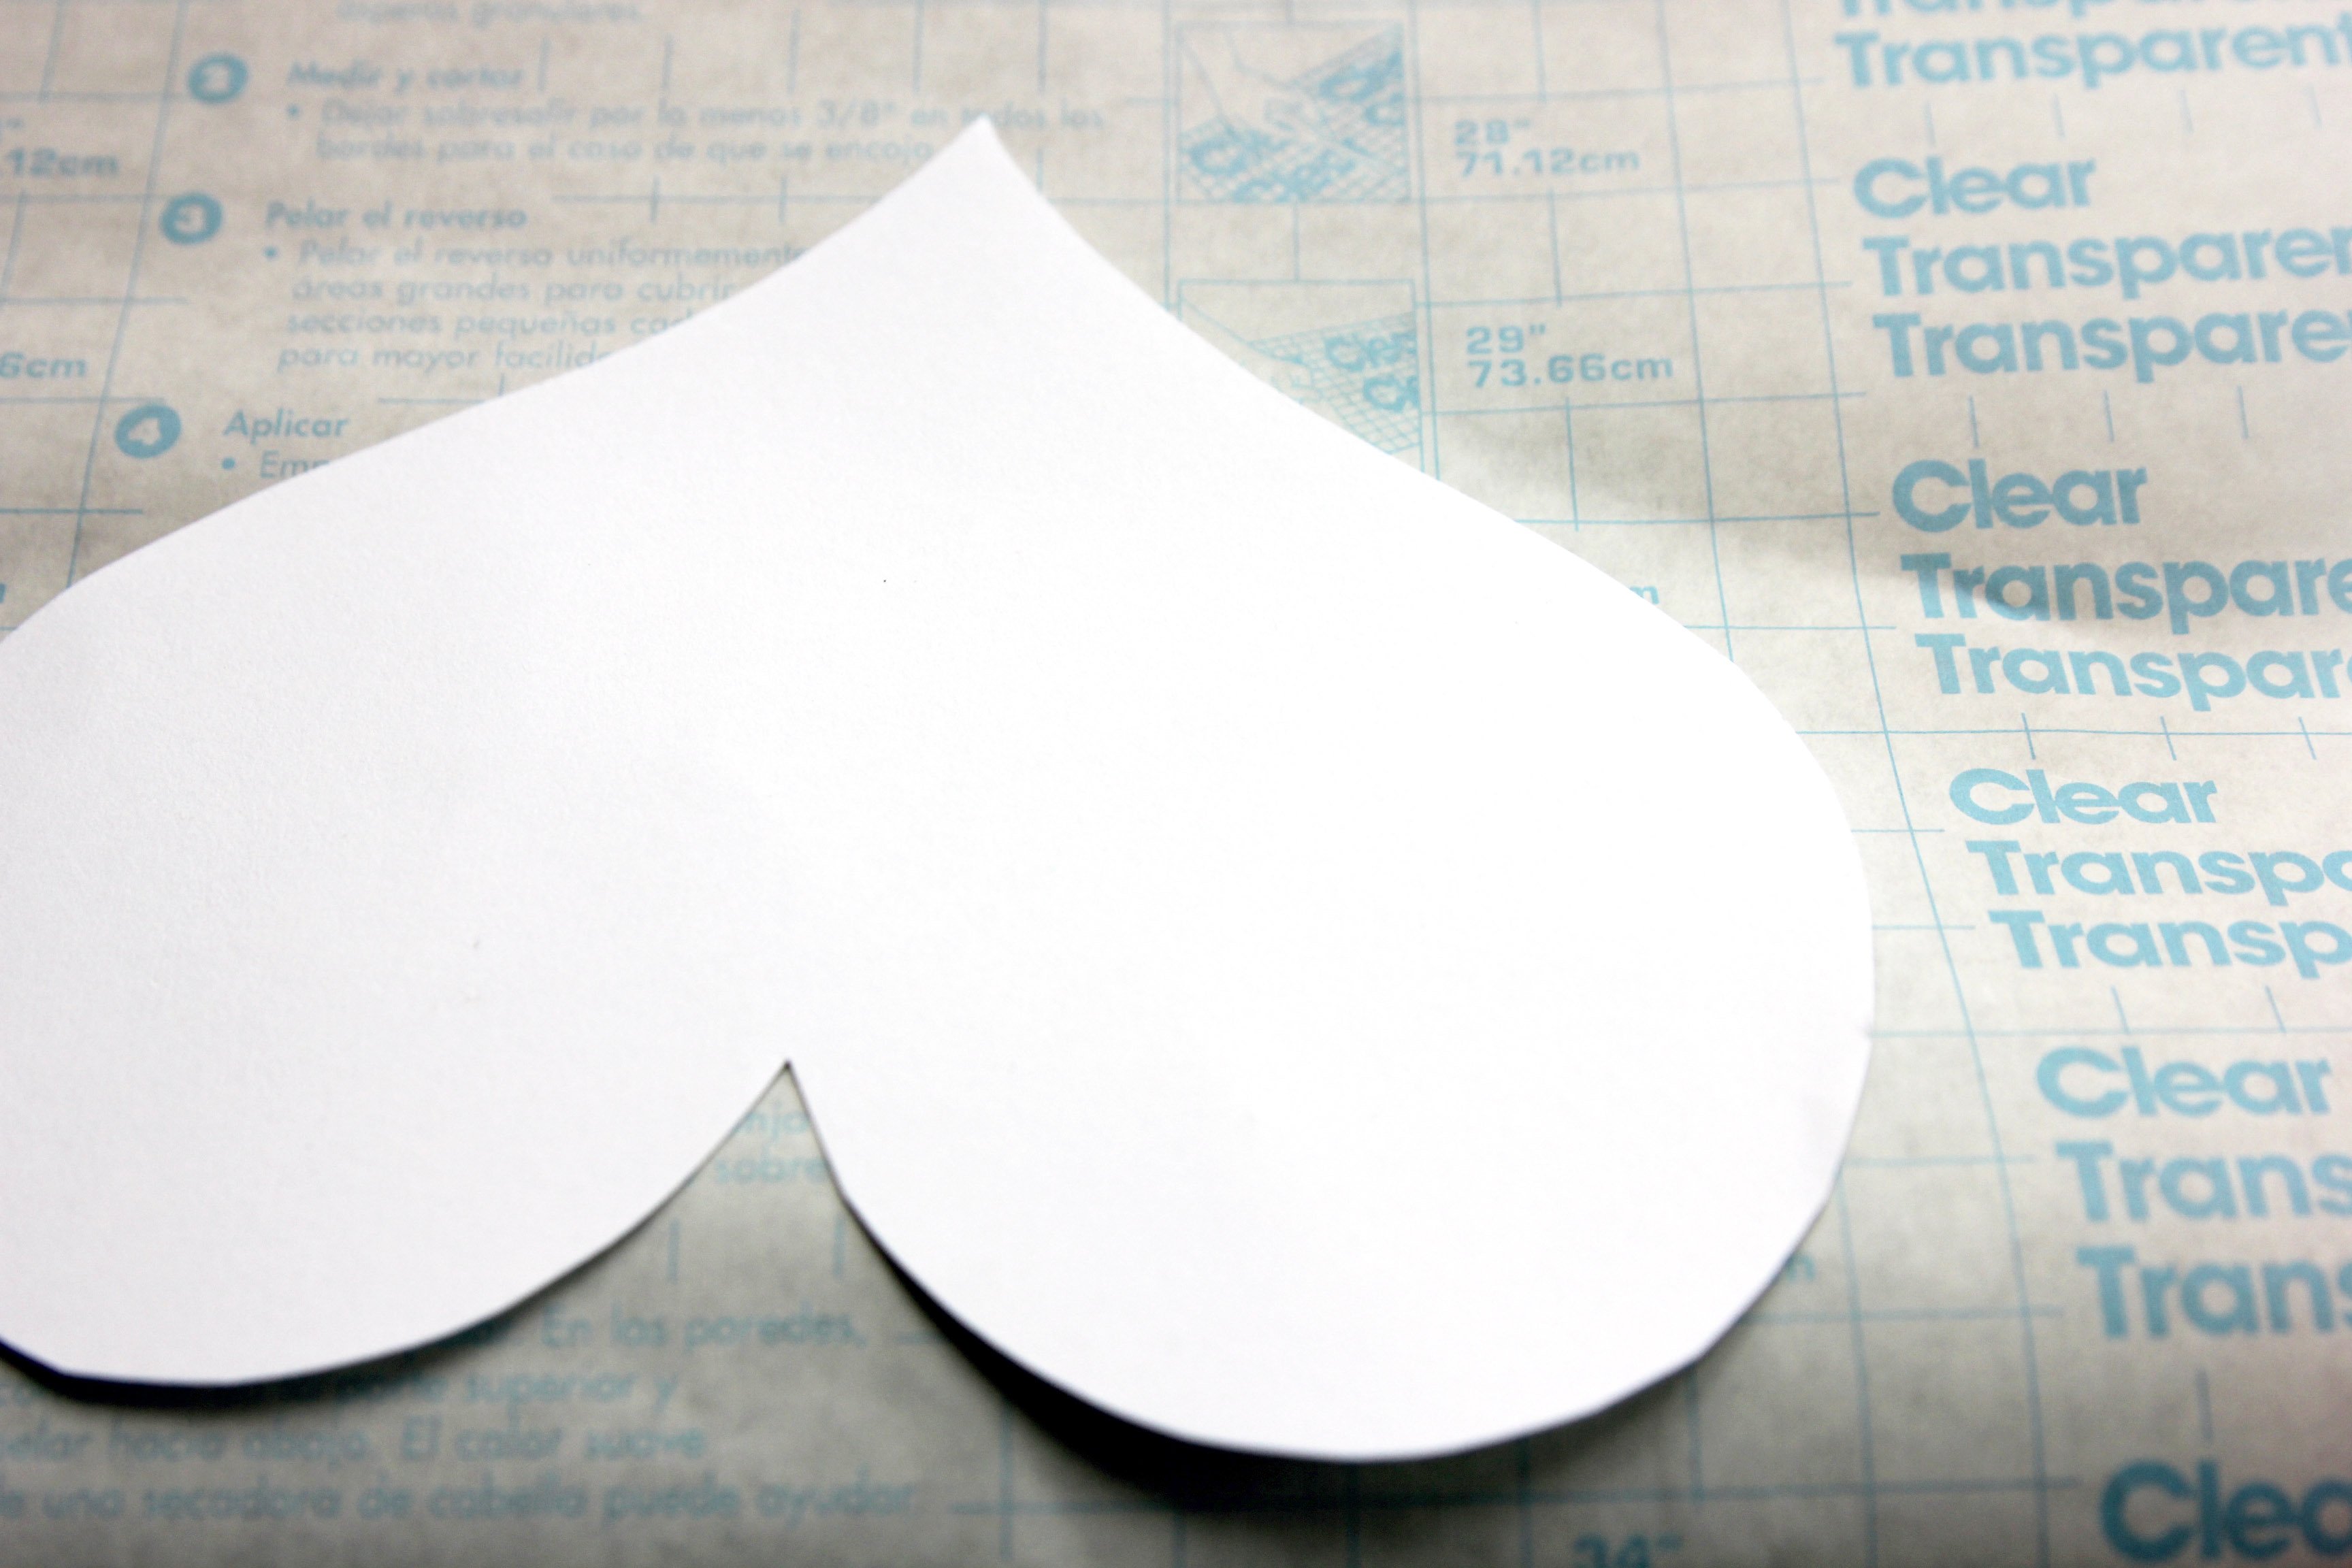
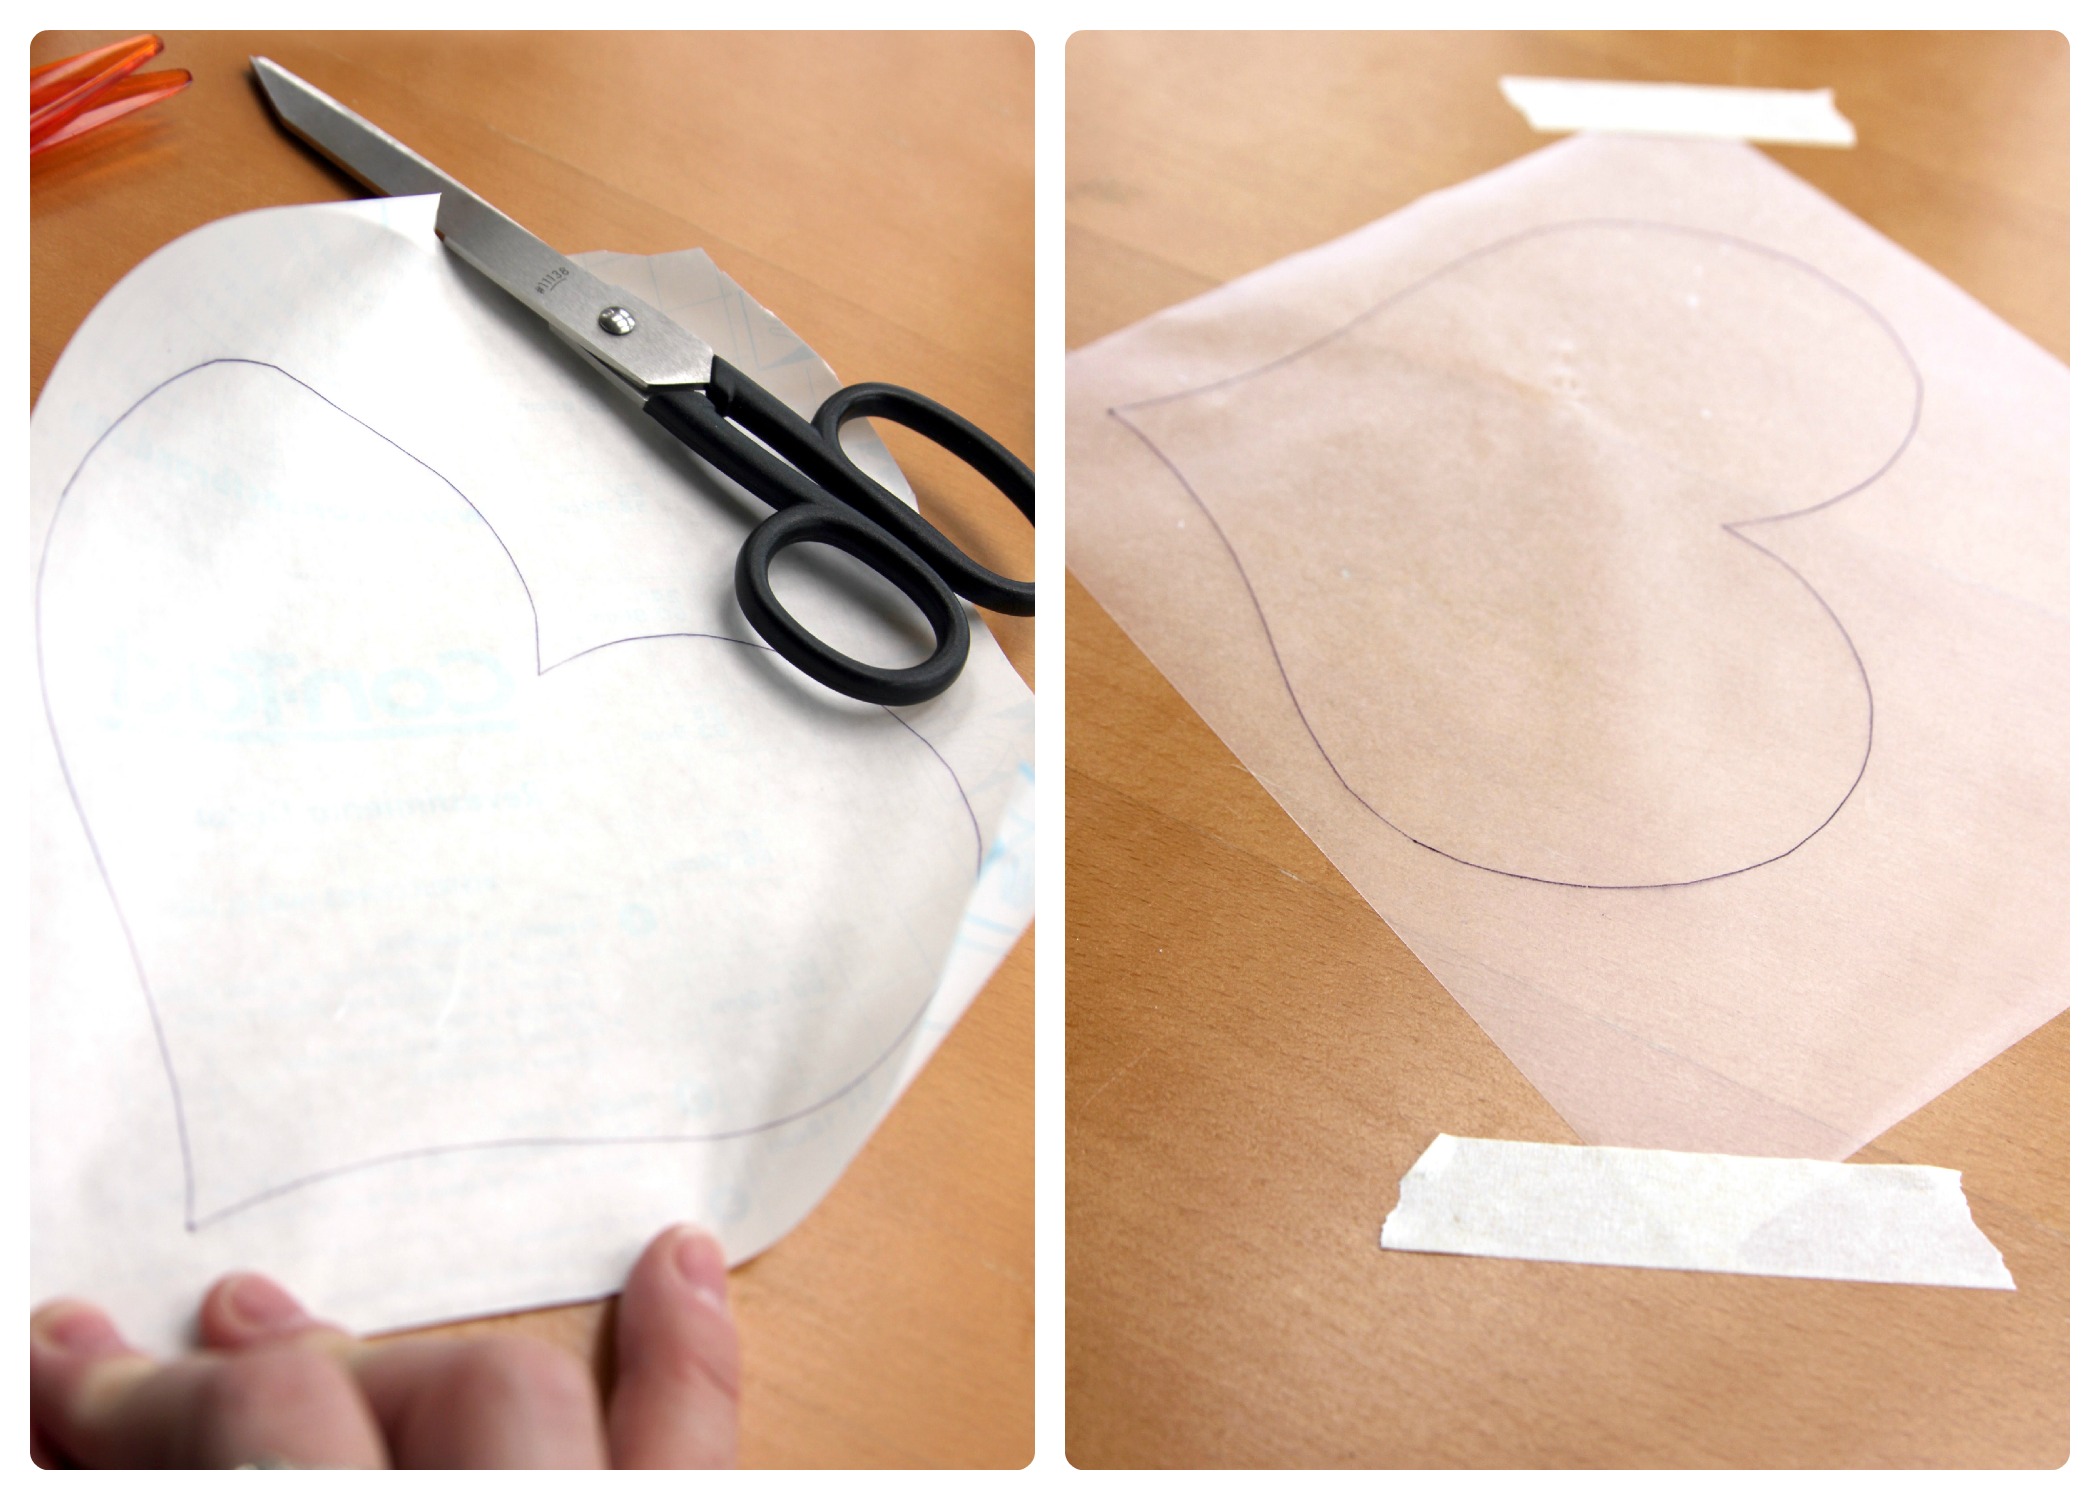
Step 2
Start by using the heart stencil and pen to trace a heart shape onto your contact paper. Trace onto the paper side with the words.
Step 3
Cut out around your heart, leaving a large border around the heart shape. V just started using scissors, so she cut them out and I trimmed them up a bit. Remove the paper backing from the contact paper (V loved doing this part!). Tape down heart traced contact paper, sticky side up.
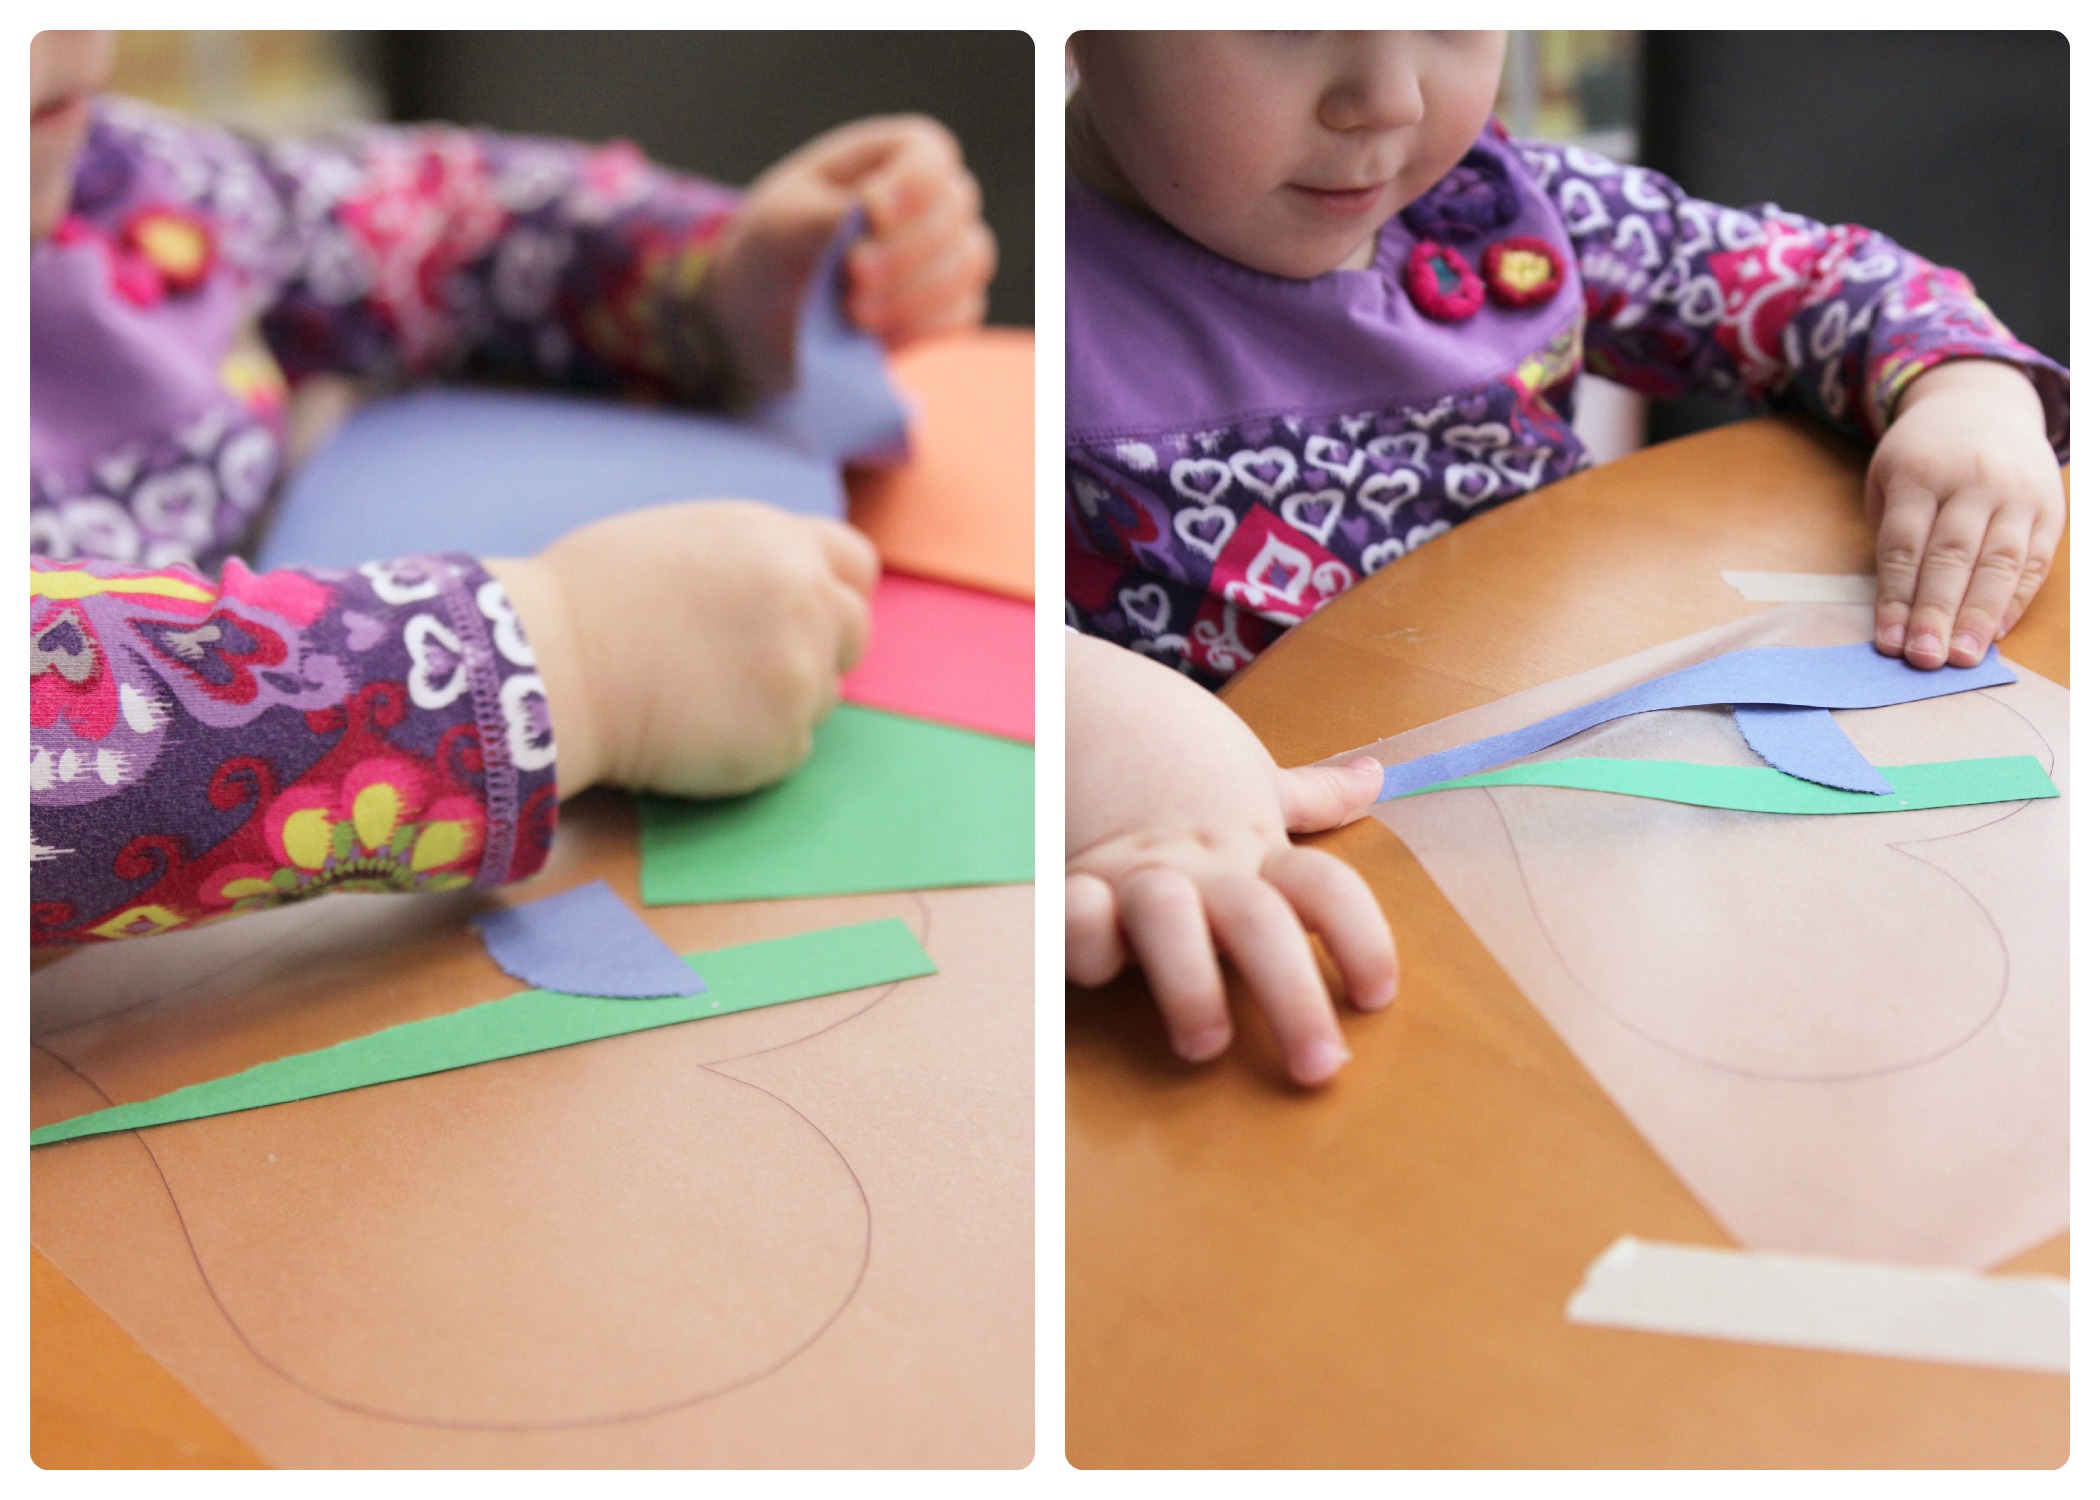
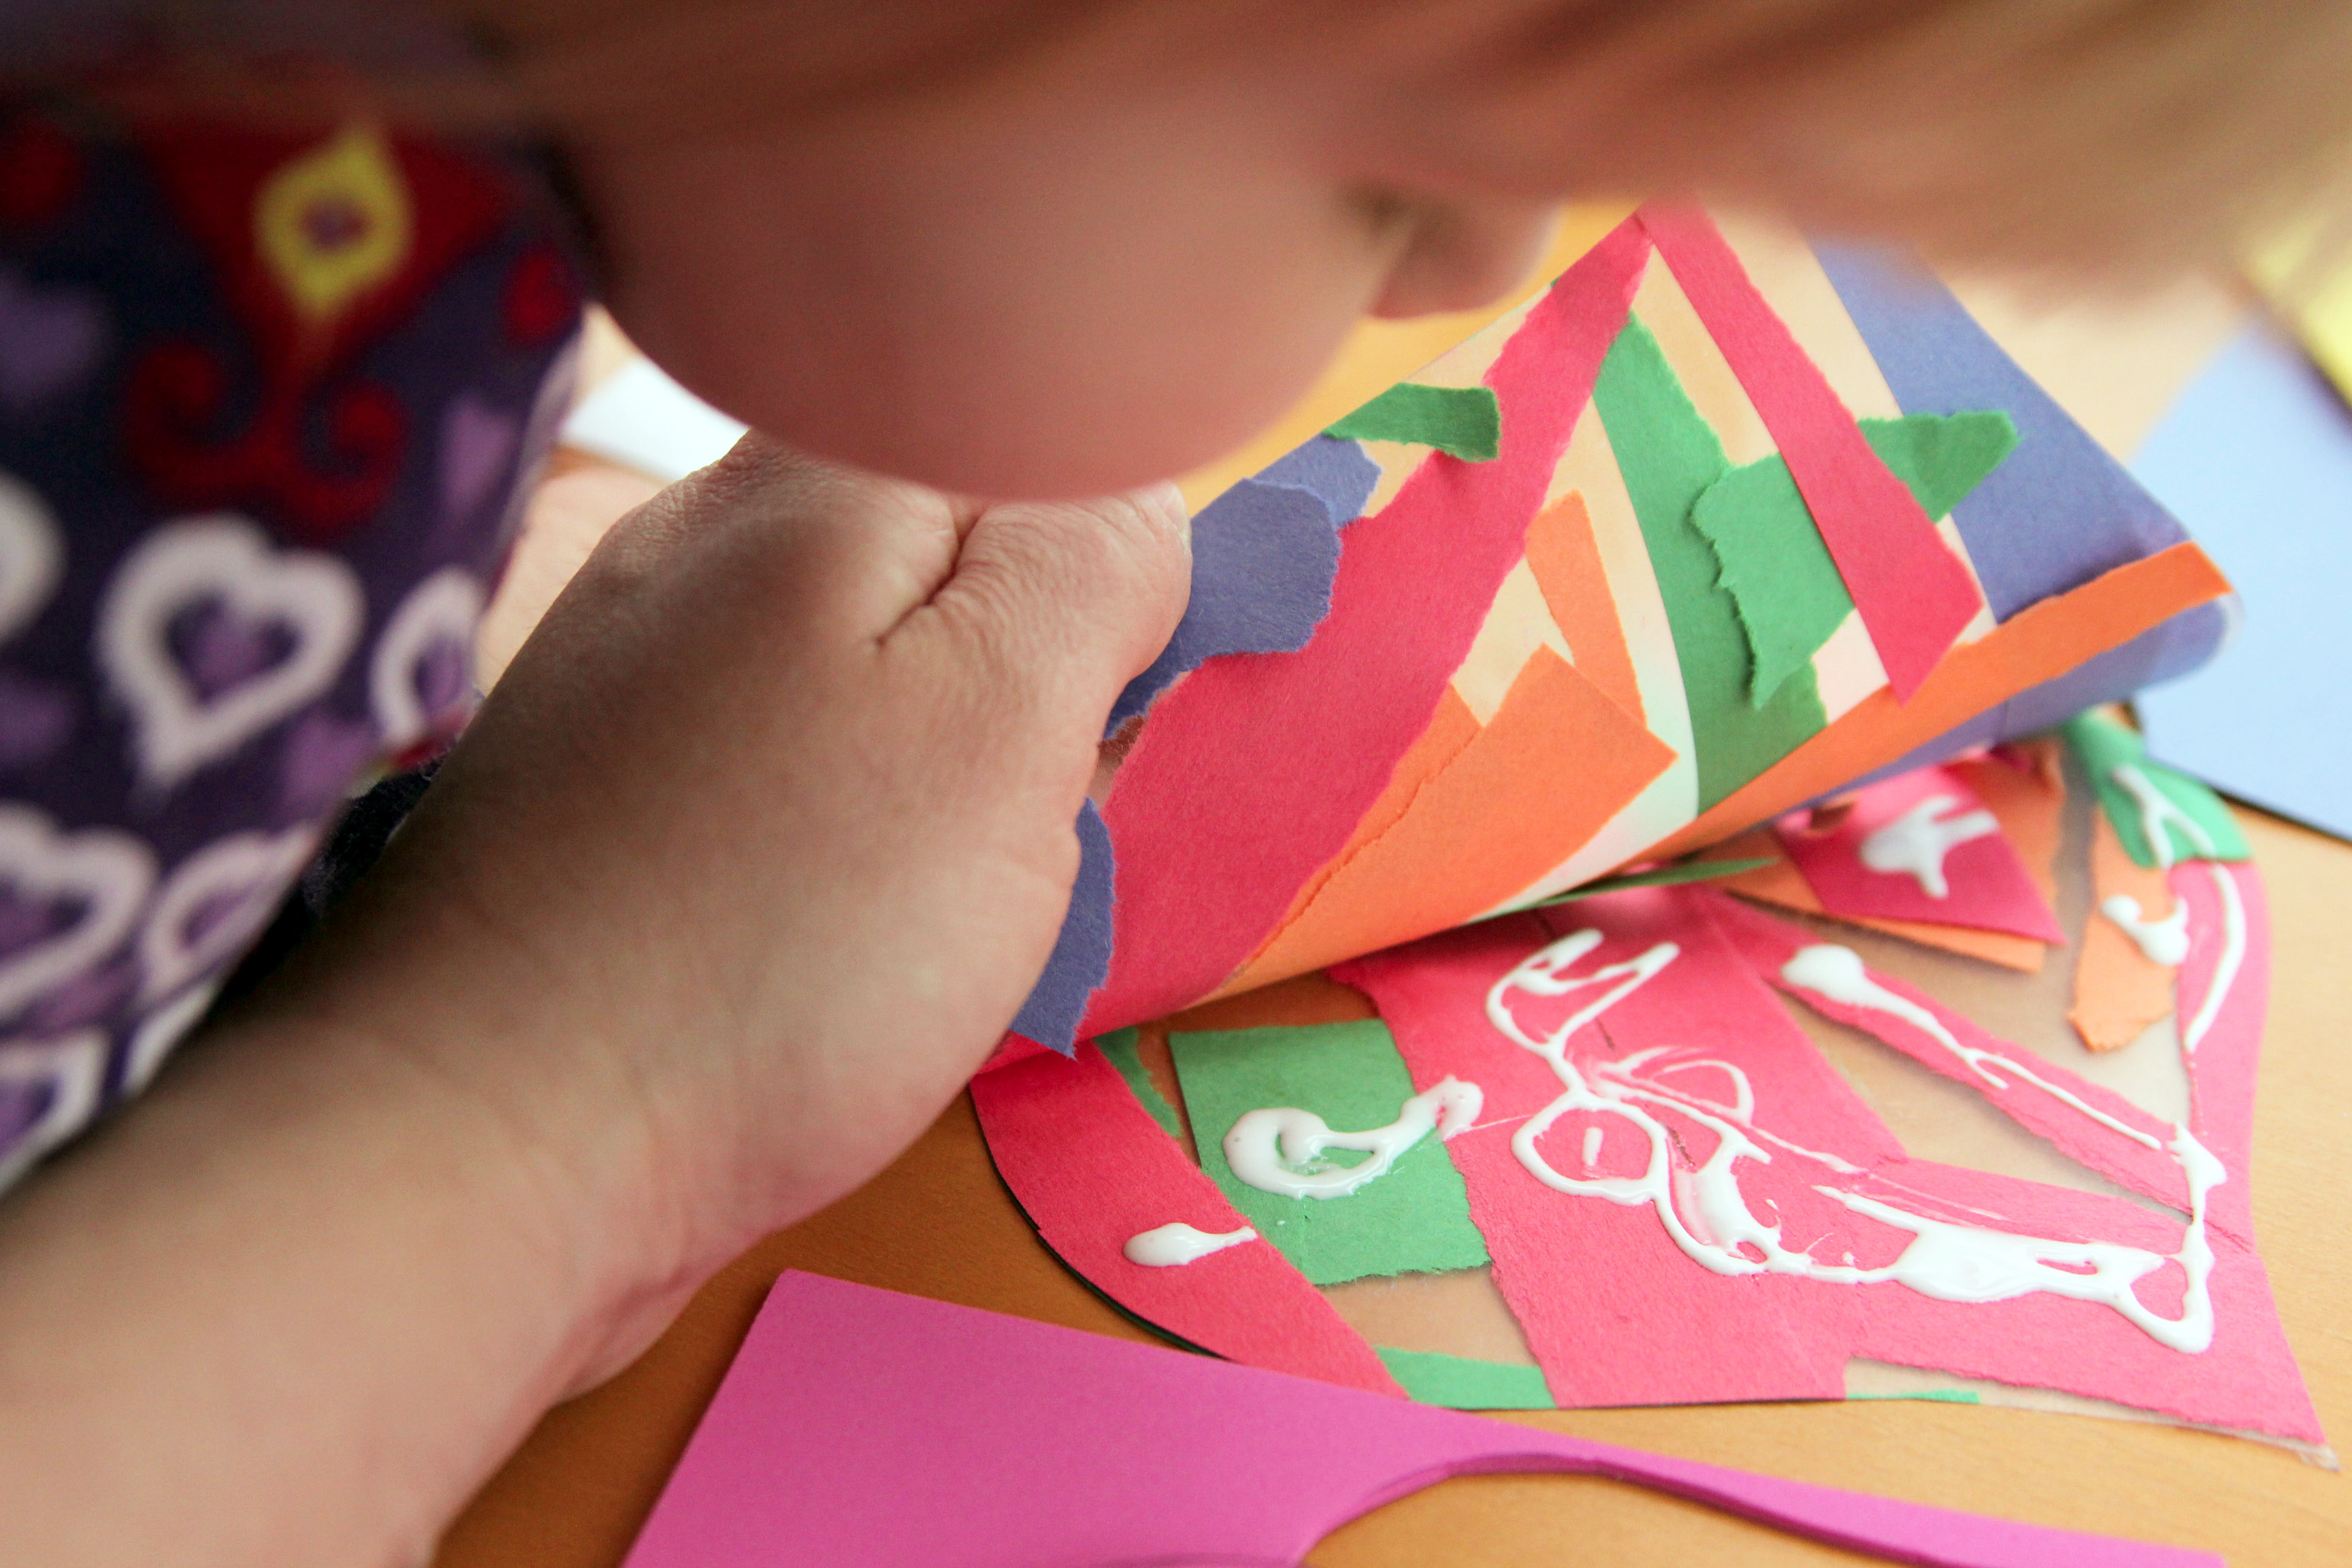
Step 4
Start tearing up the construction paper, placing the pieces onto the sticky side of the contact paper in any way. V LOVED tearing up the paper - this was her favorite part of this activity!
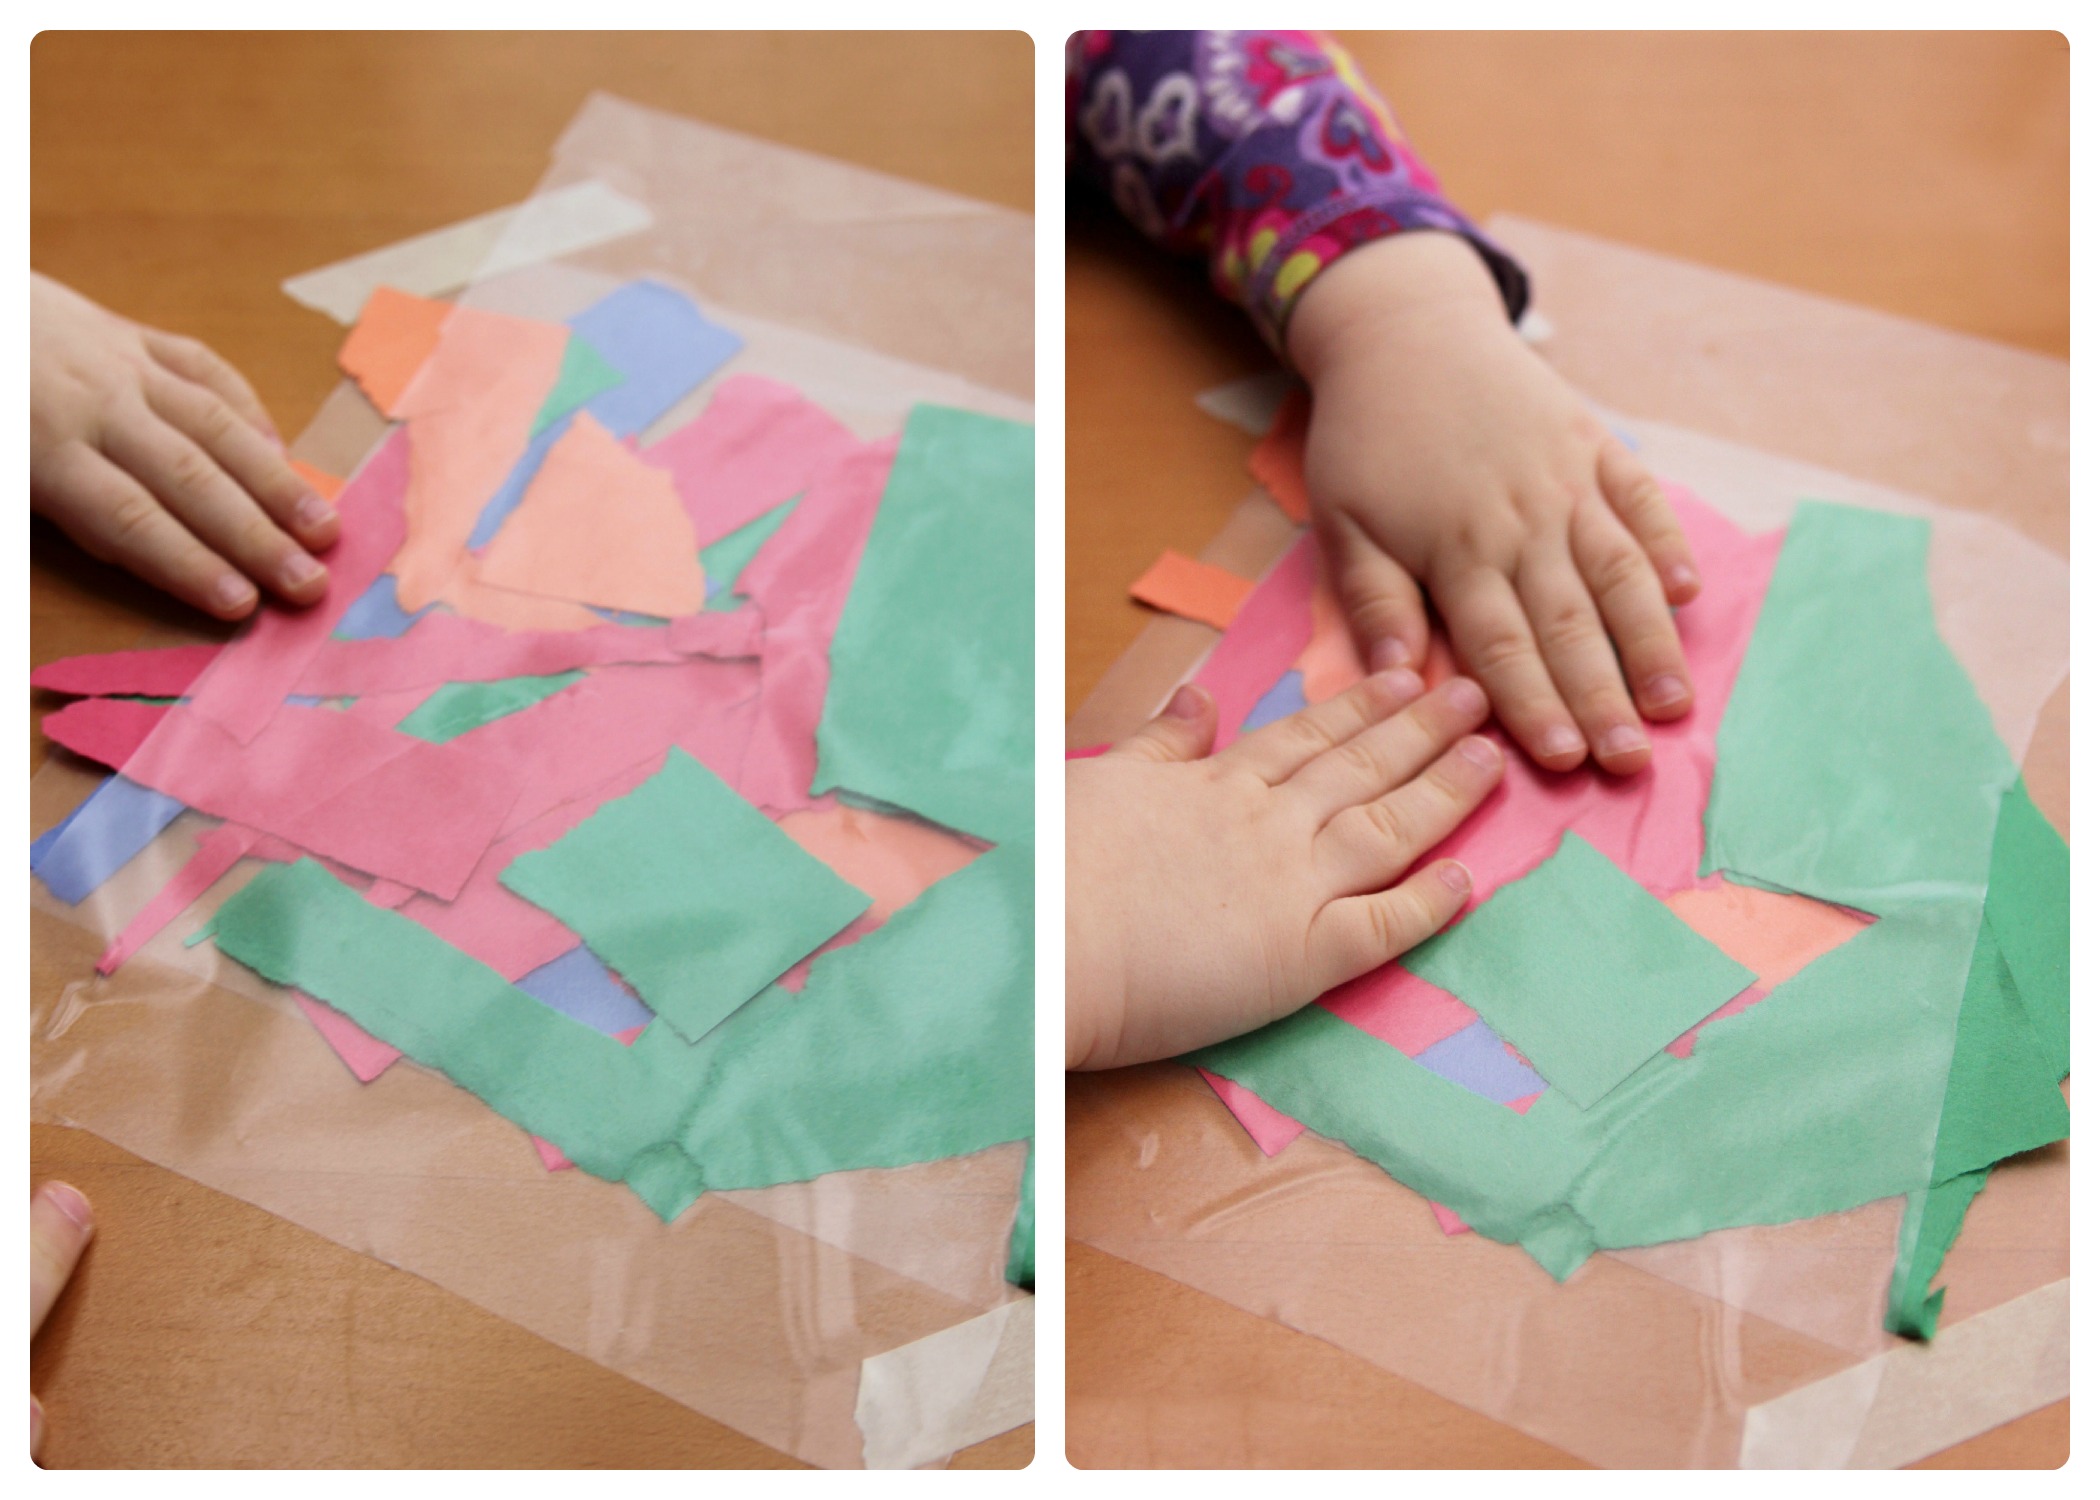
Step 5
Fill up the entire sticky space with torn paper. Cut out another piece of contact paper the approximate size of the collage piece. Remove paper from this piece of contact paper and lay sticky side down on top of paper collage, sealing it together.

Step 6
Next, pat down the layers securing them together. Another favorite of V's.
Step 7
Remove the masking tape and flip over the collage so that the traced heart shape is on top. Cut around collage following heart shape around.
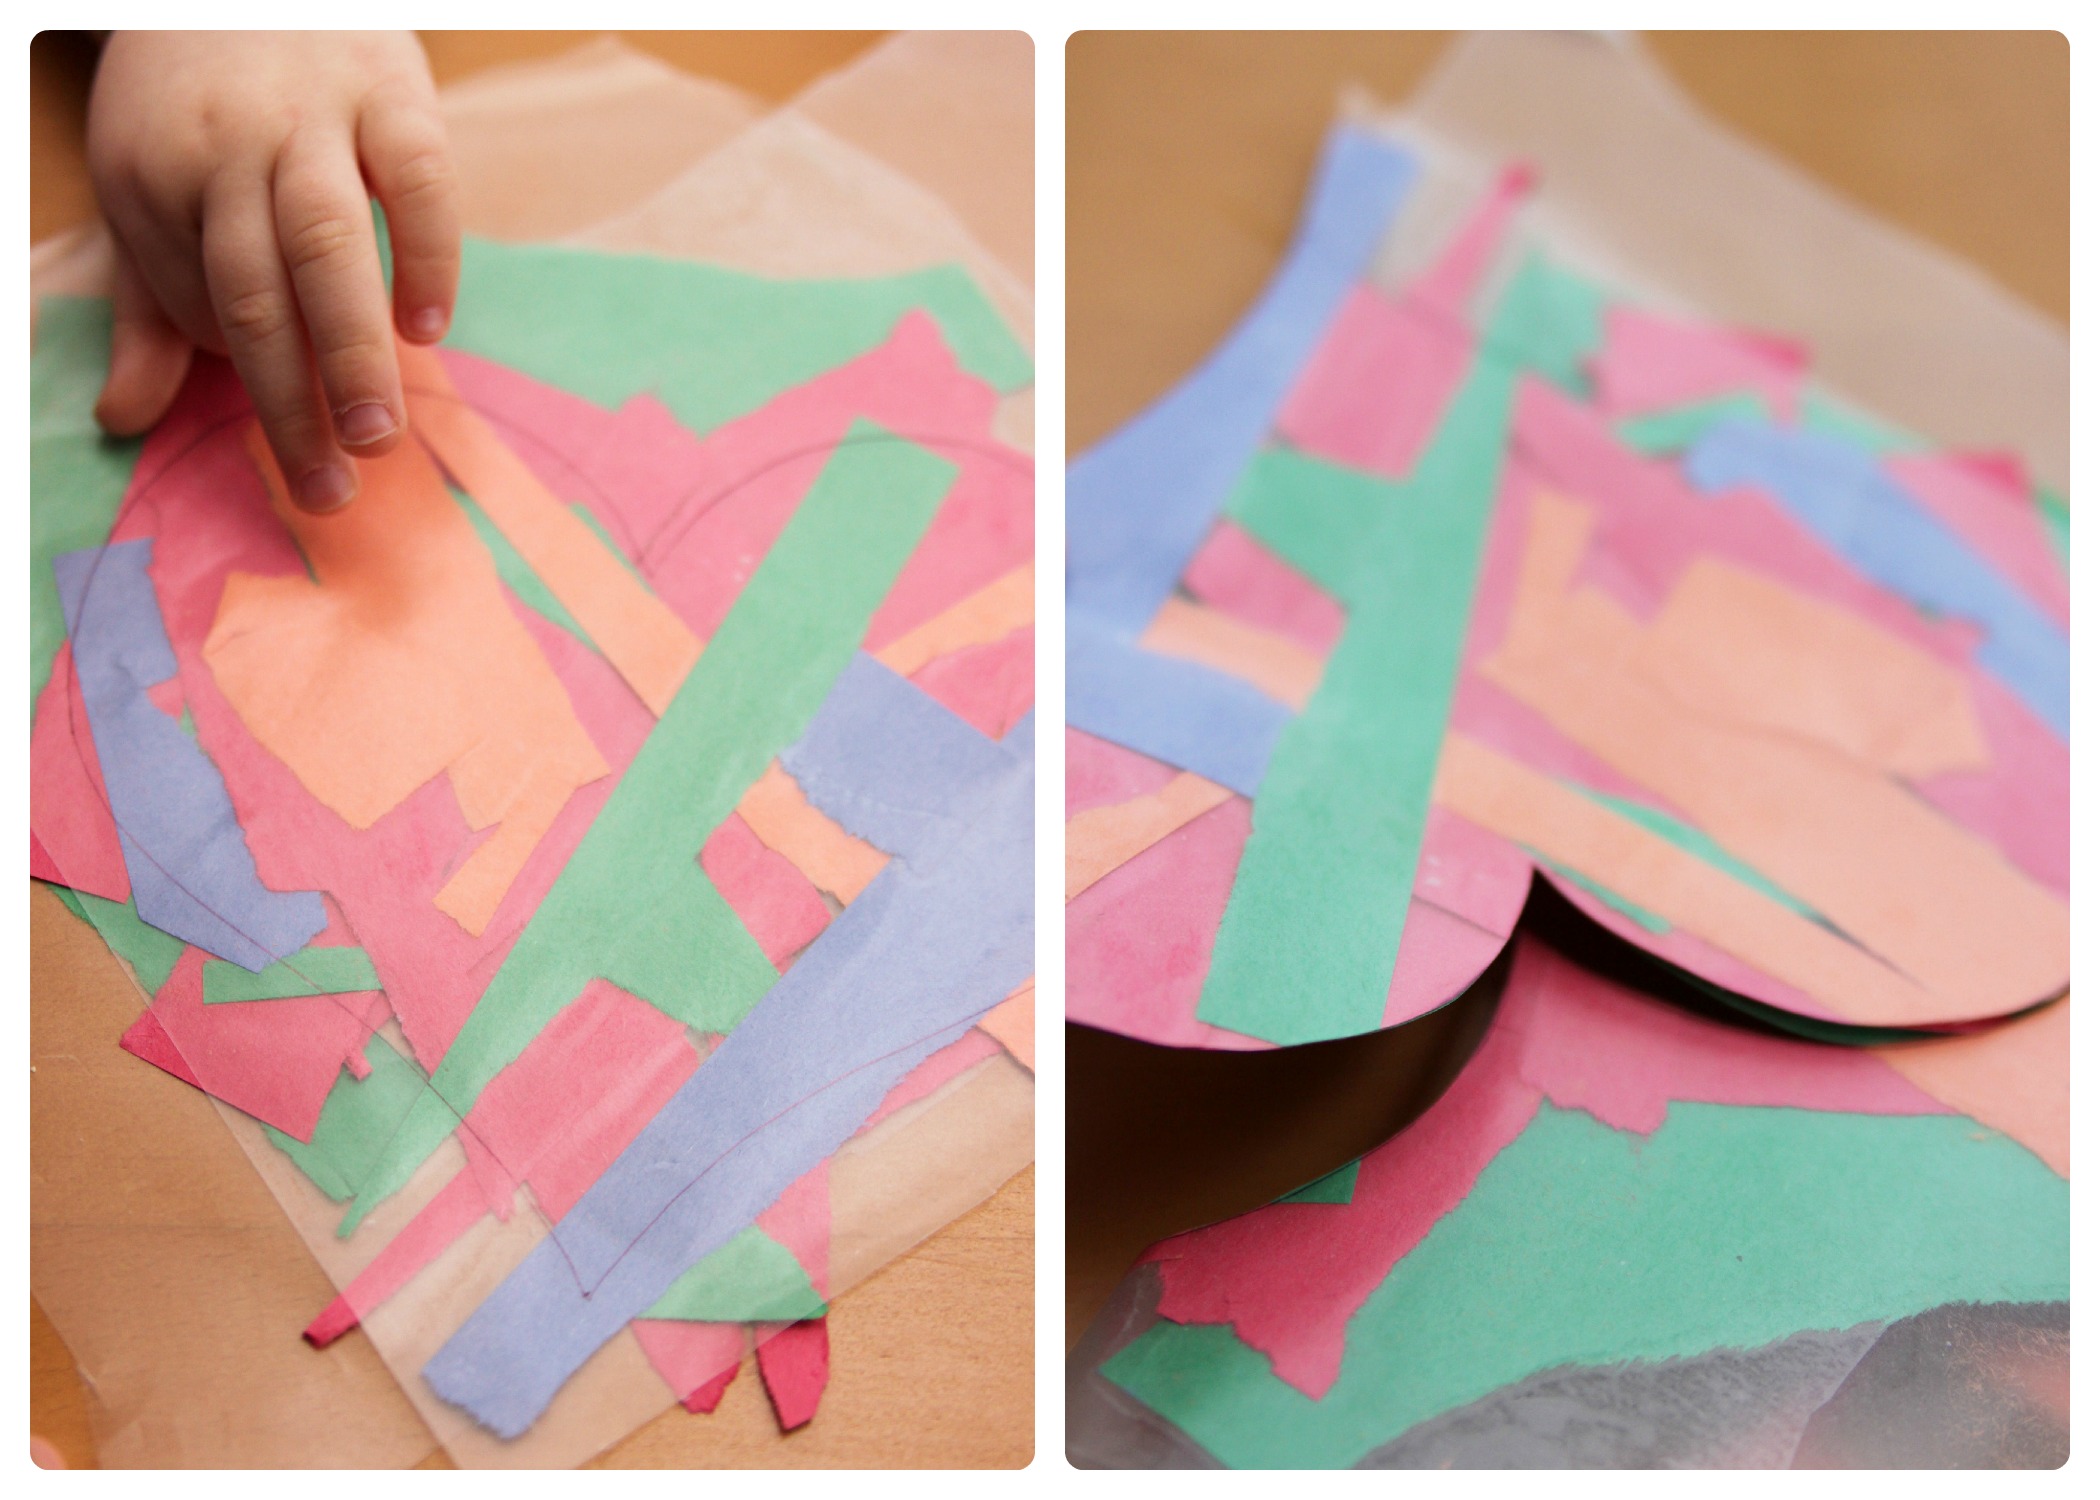
Step 8
If necessary, open layers and place a small amount of glue for extra closure. Ours was quite thick with torn paper (V was quite excited about this project and tore many strips). We had very few empty sticky spaces to hold it closed.
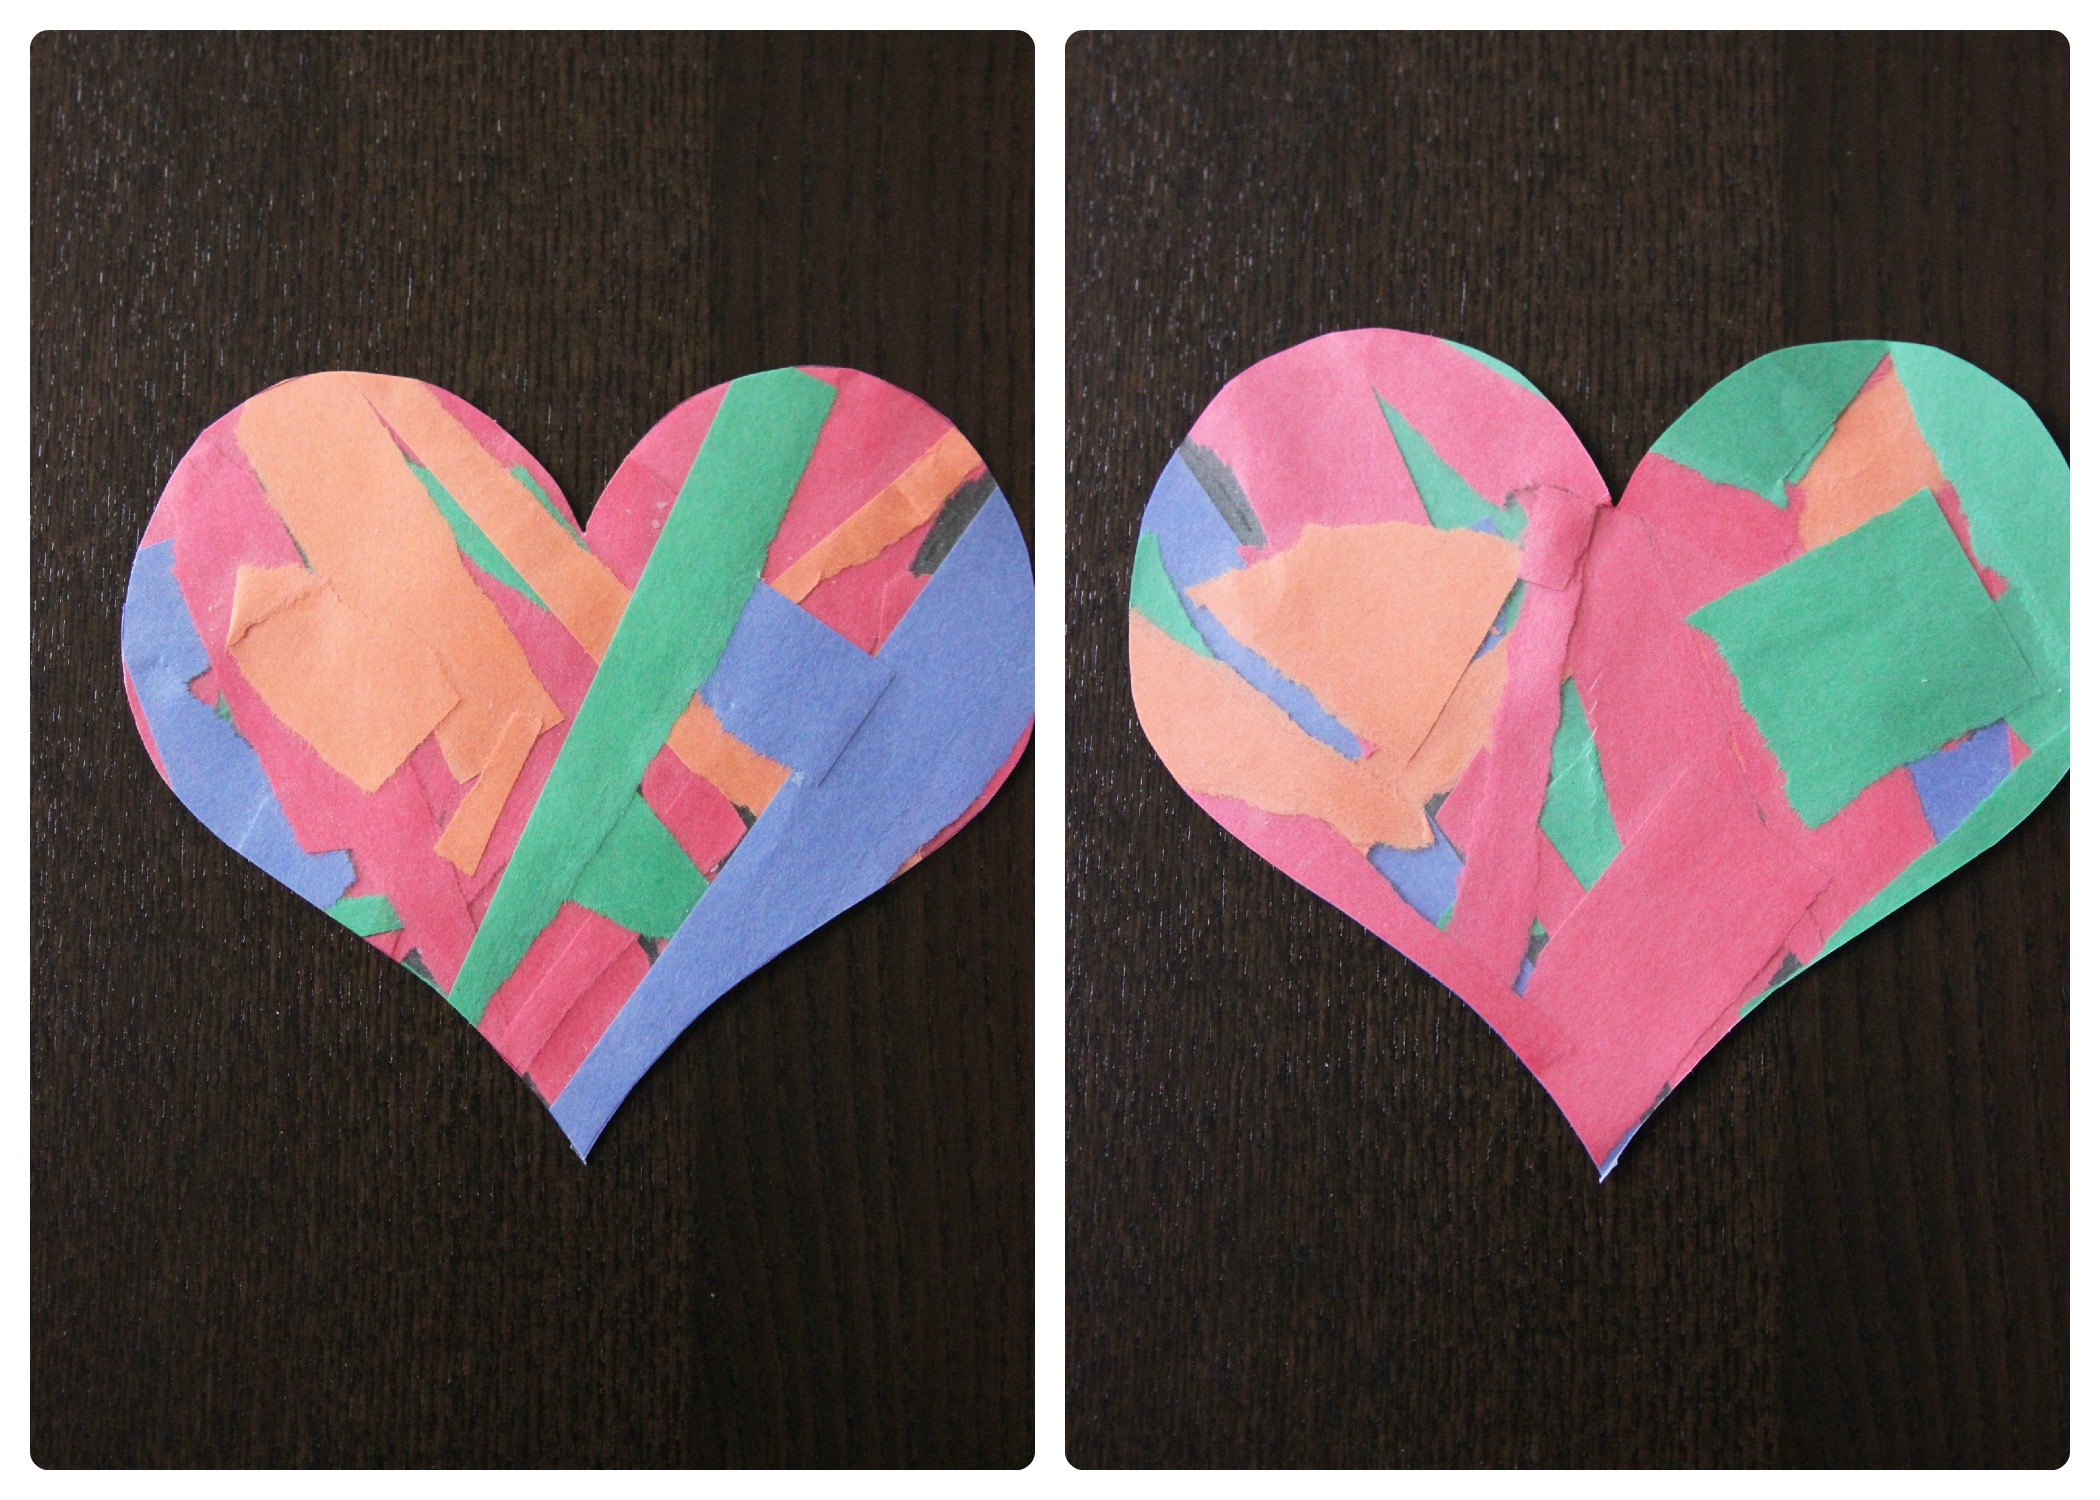
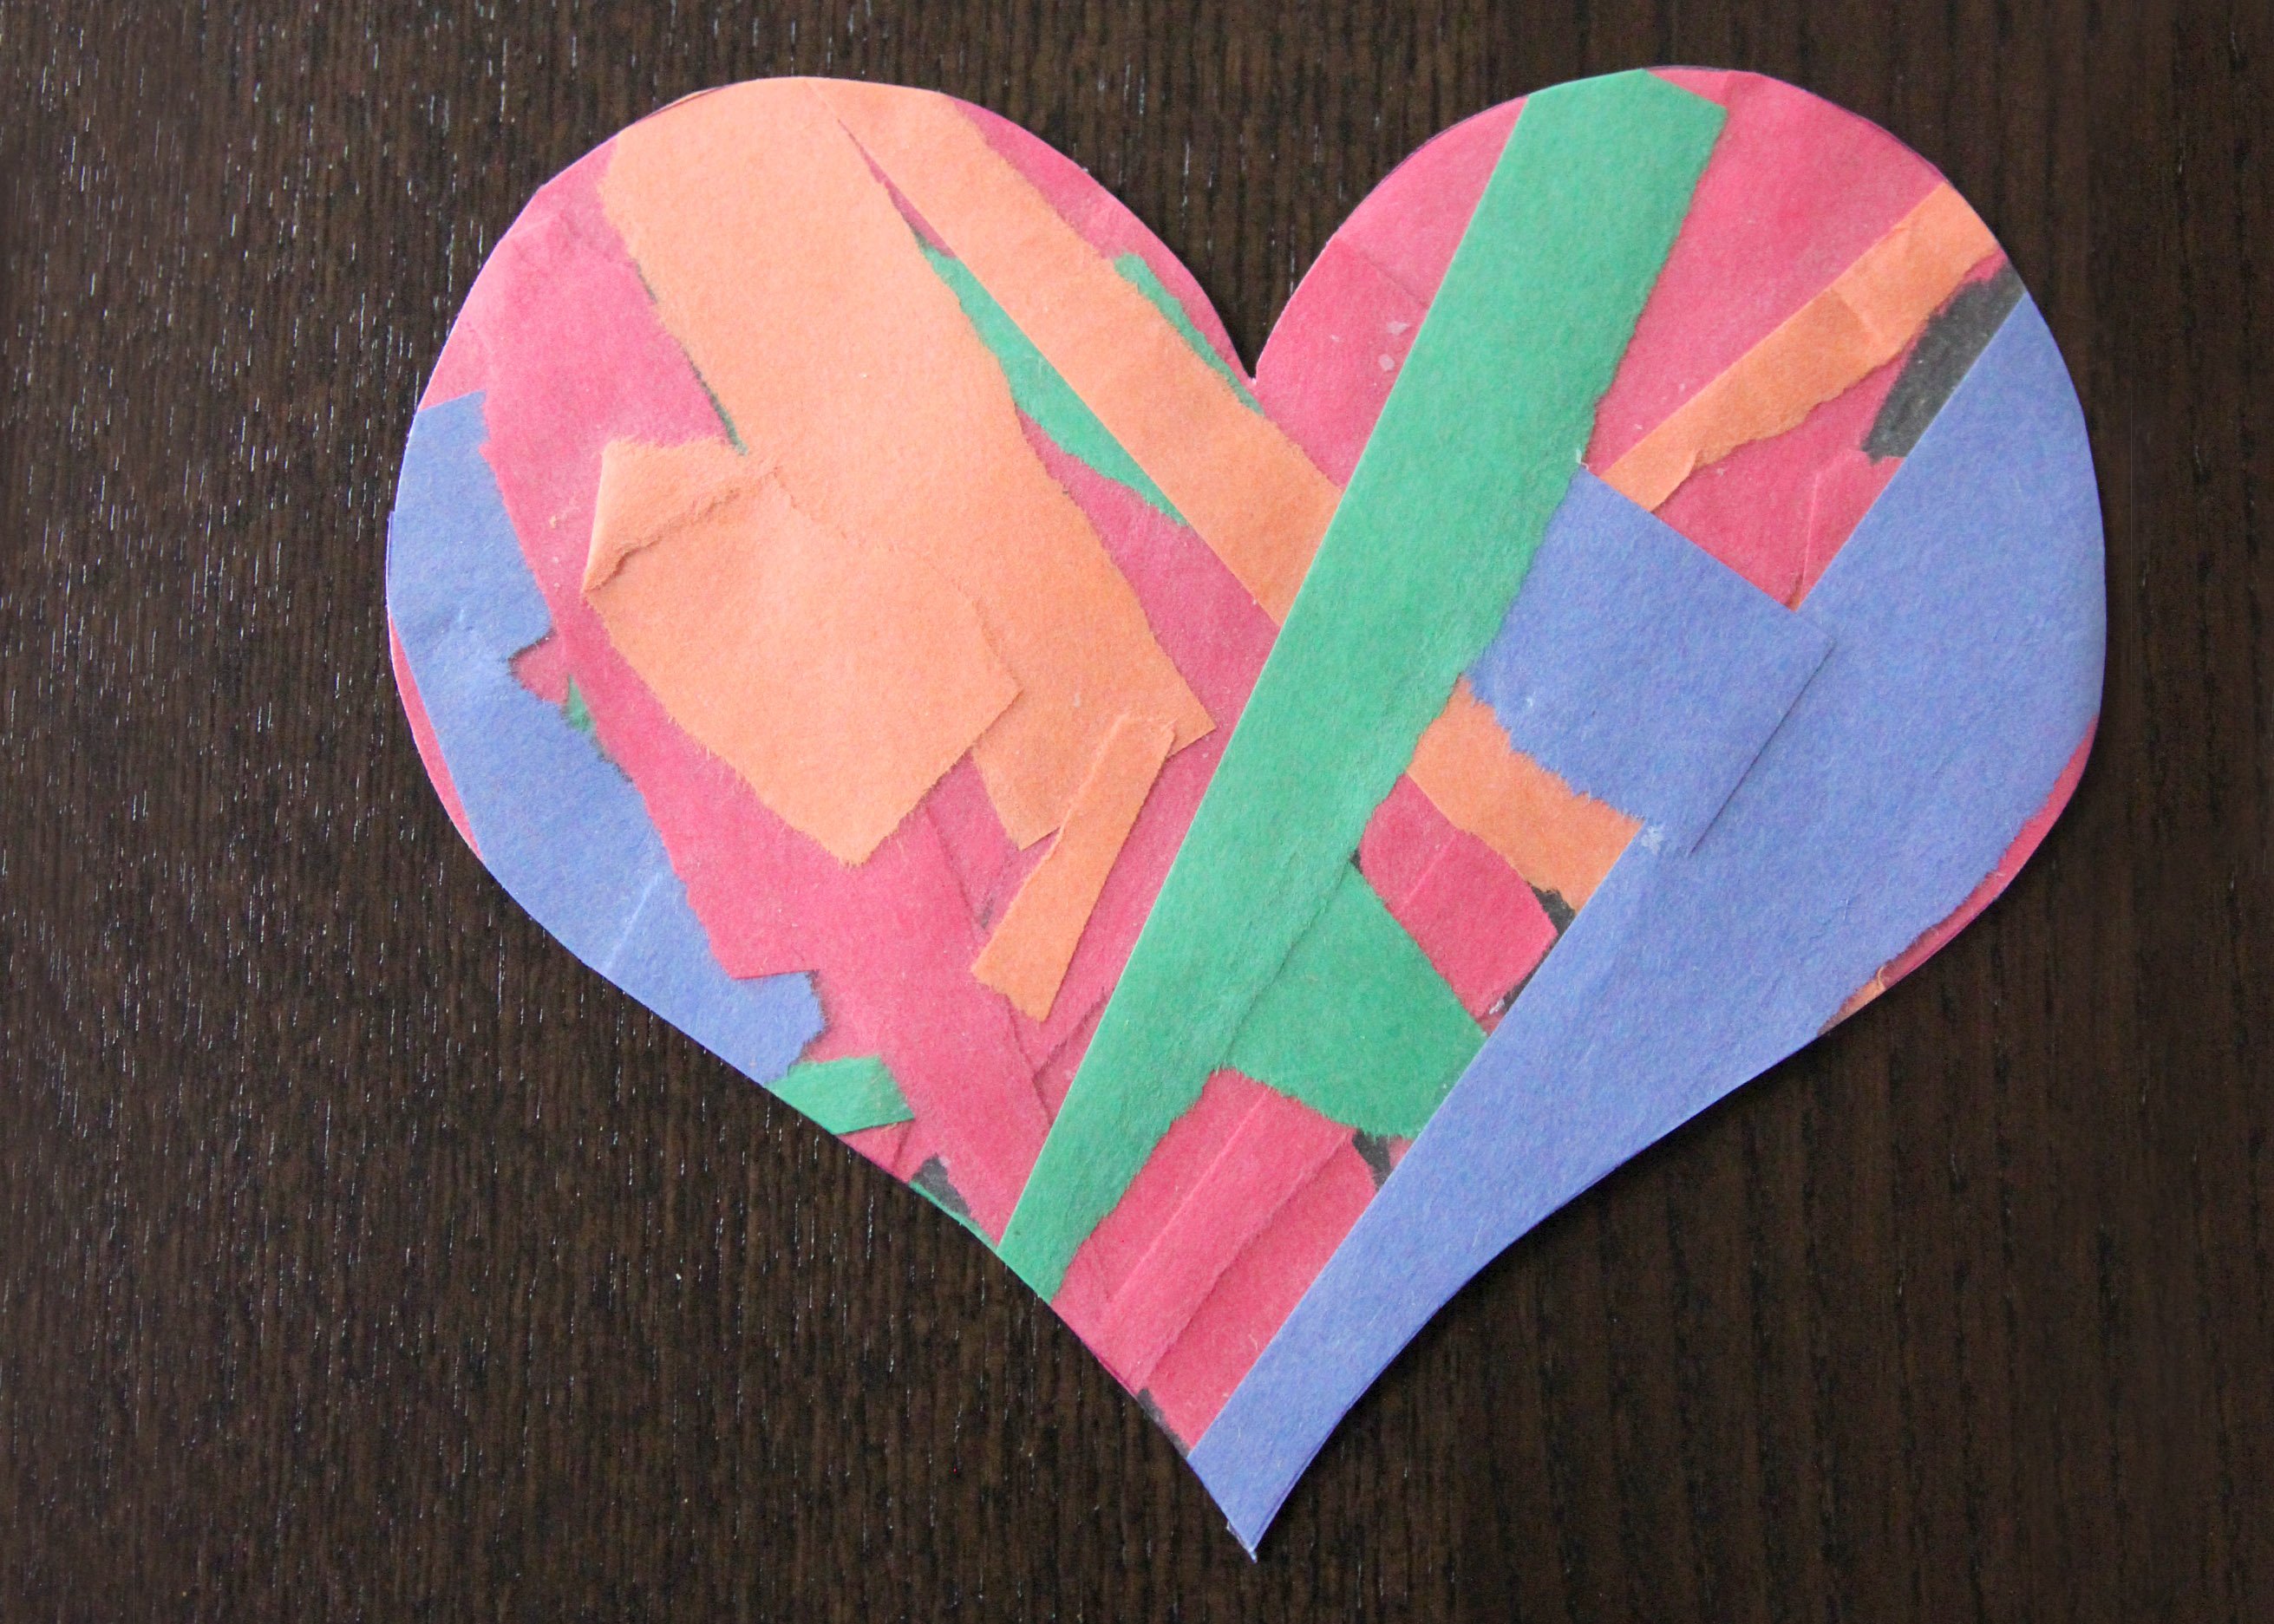
Final result!
And there you have it, the front and back look of a beautiful torn paper heart collage. If you'd like, you can add a magnet strip to the back to make it a magnetic decoration, some double stick tape to add it to a window, or some string to hang it.