Step-by-step tutorial
Step 1
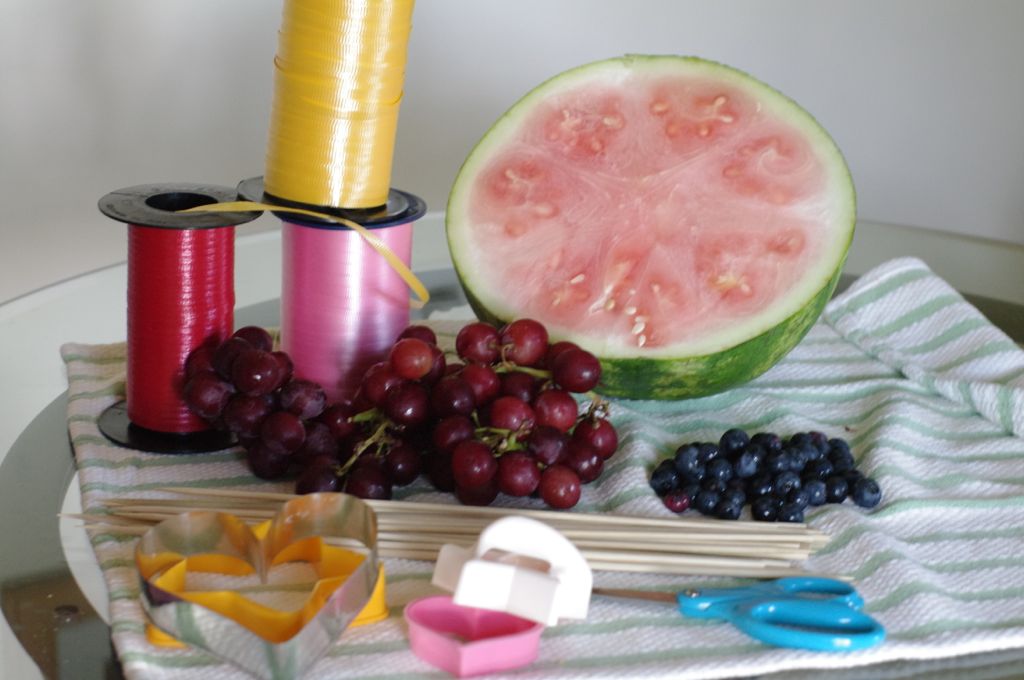
We washed our grapes and berries and sliced our watermelon in half. My daughter was thrilled to see that our watermelon was of the pink variety. She chose the ribbon colors. I gave her large and small cookies cutters shaped like stars and hearts.

Step 2
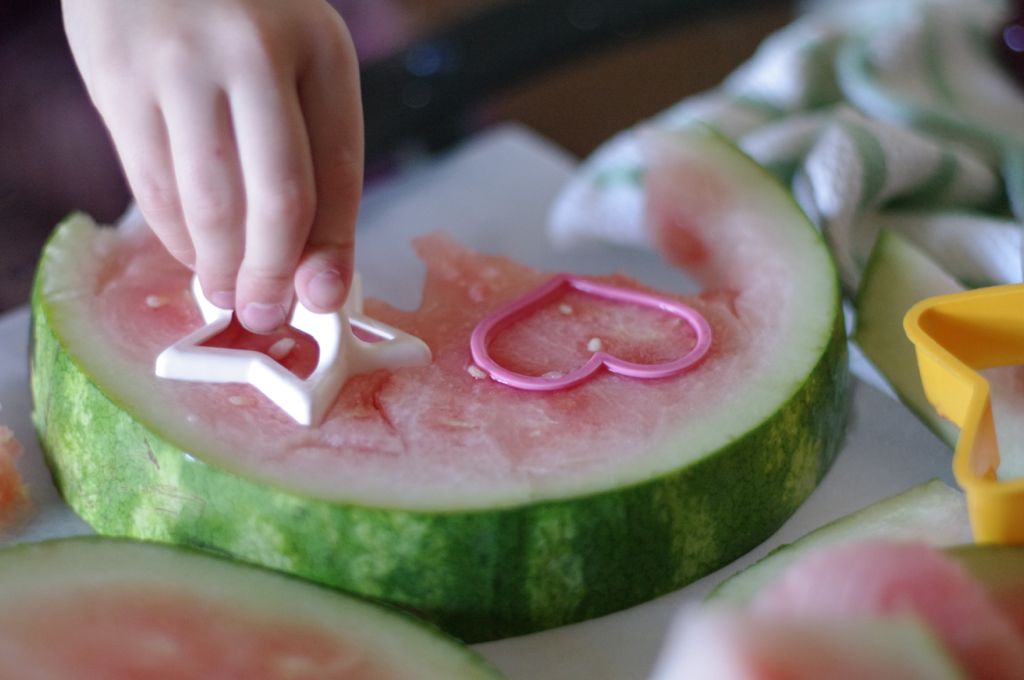
I sliced the watermelon into 1 to 1 1/2 inch slices and she went to work with cookie cutters.
Step 3
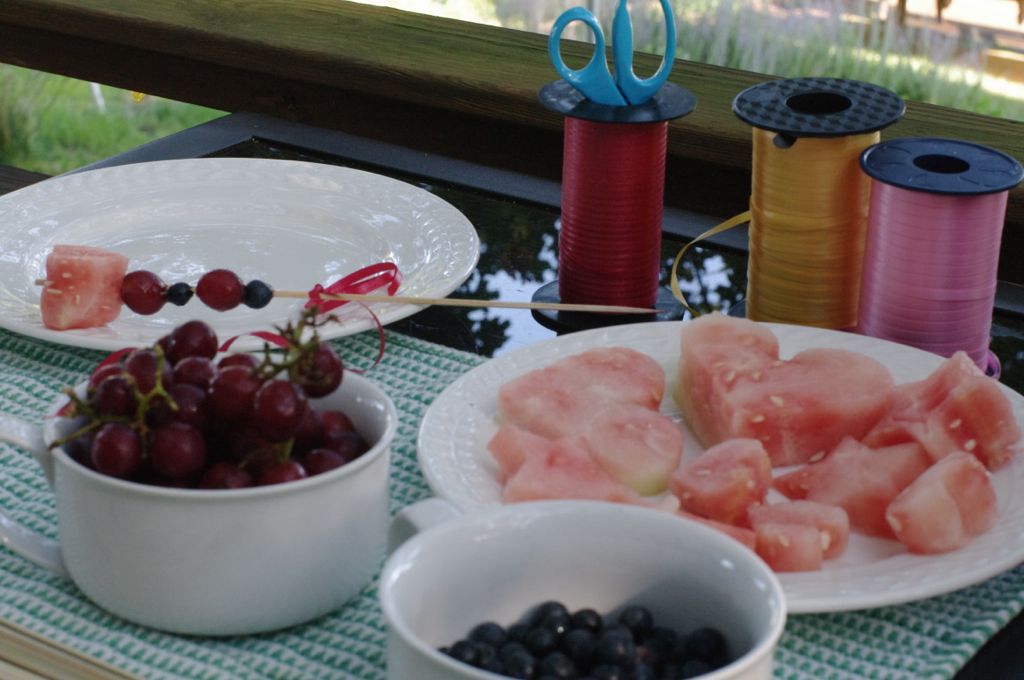
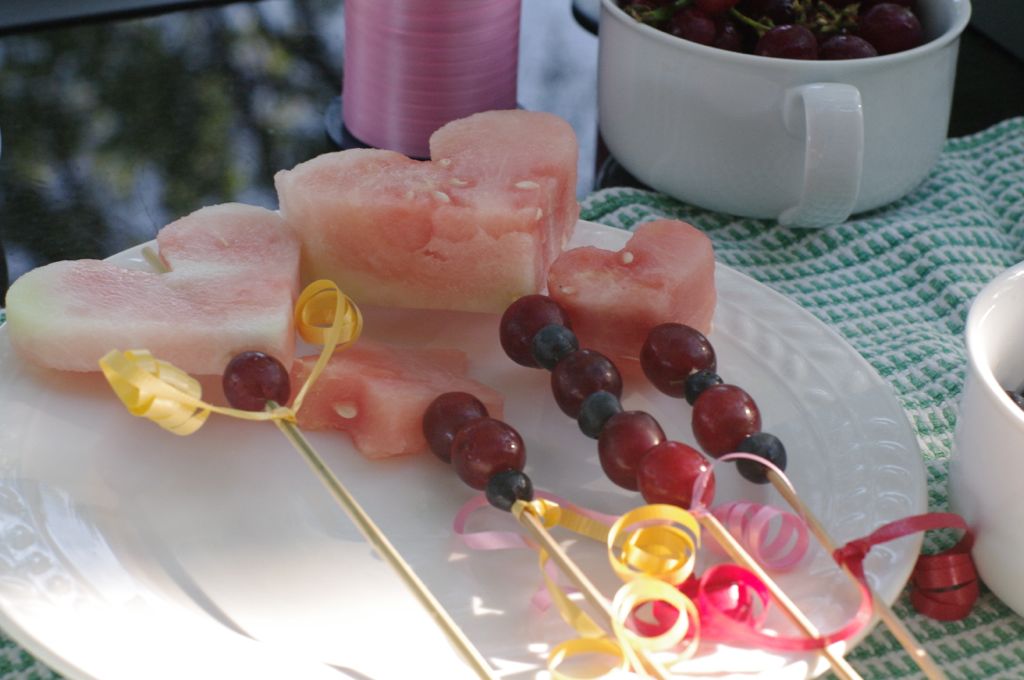
We put all of our watermelon cut-outs onto a plate and I set up a workstation for her to put them together.
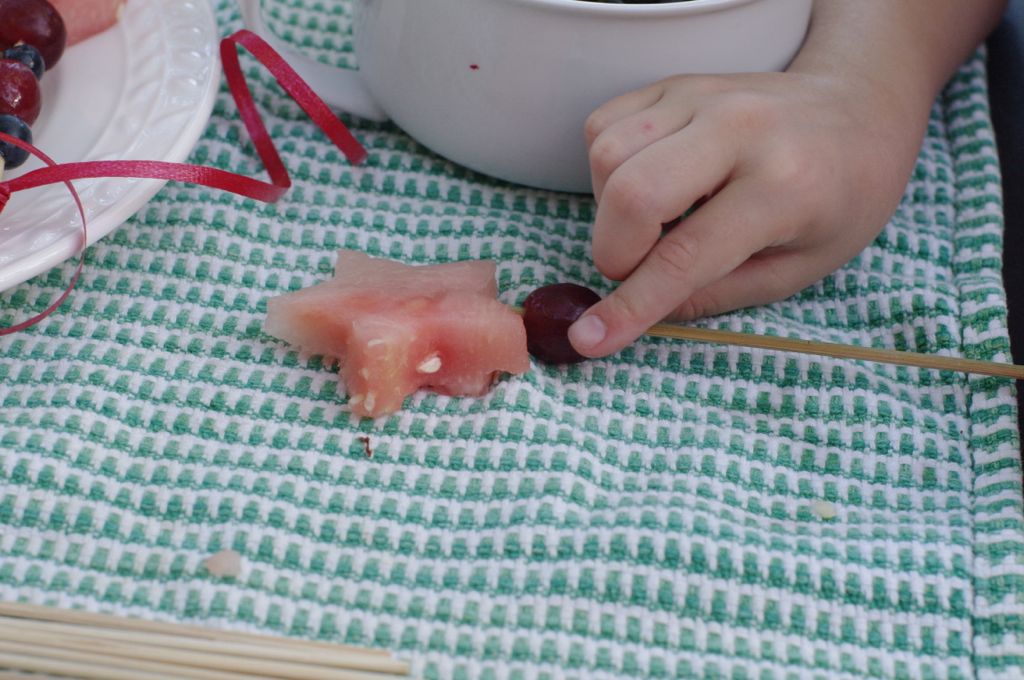
Step 4
Starting with the pointy end of the skewer, she slid the star or heart shape up to the top, then began adding grapes and berries.
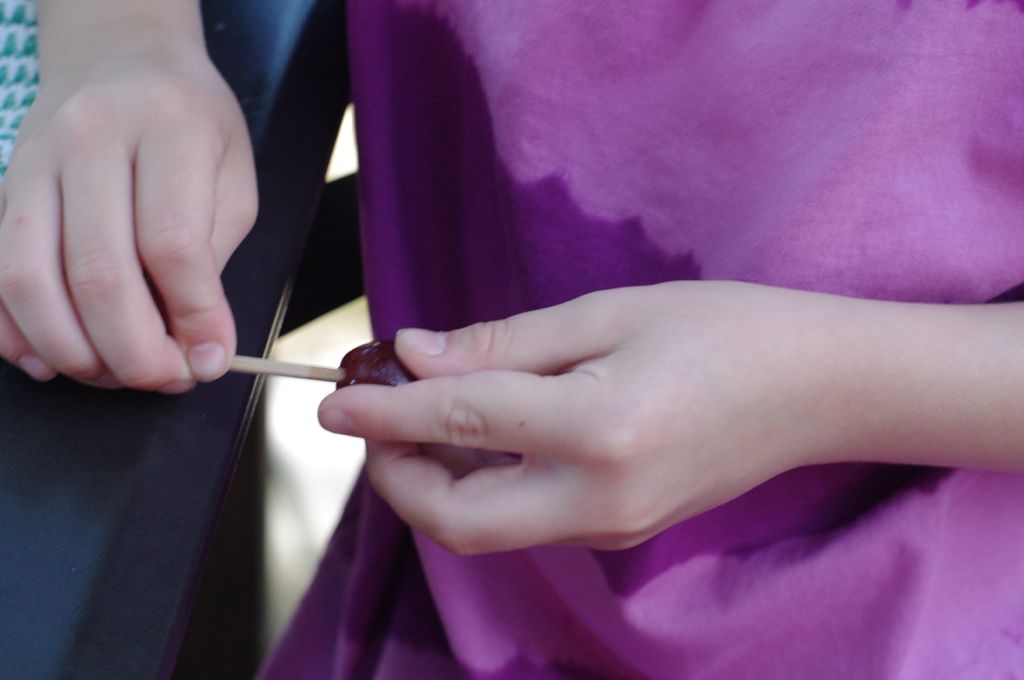
Step 5
Younger children might need help with this part. The smaller berries were tricky to get on there.
Step 6
Tip: If you're doing this project with very young kids, you can snip off the sharp end of the skewer. The fruit slides on just fine without it.
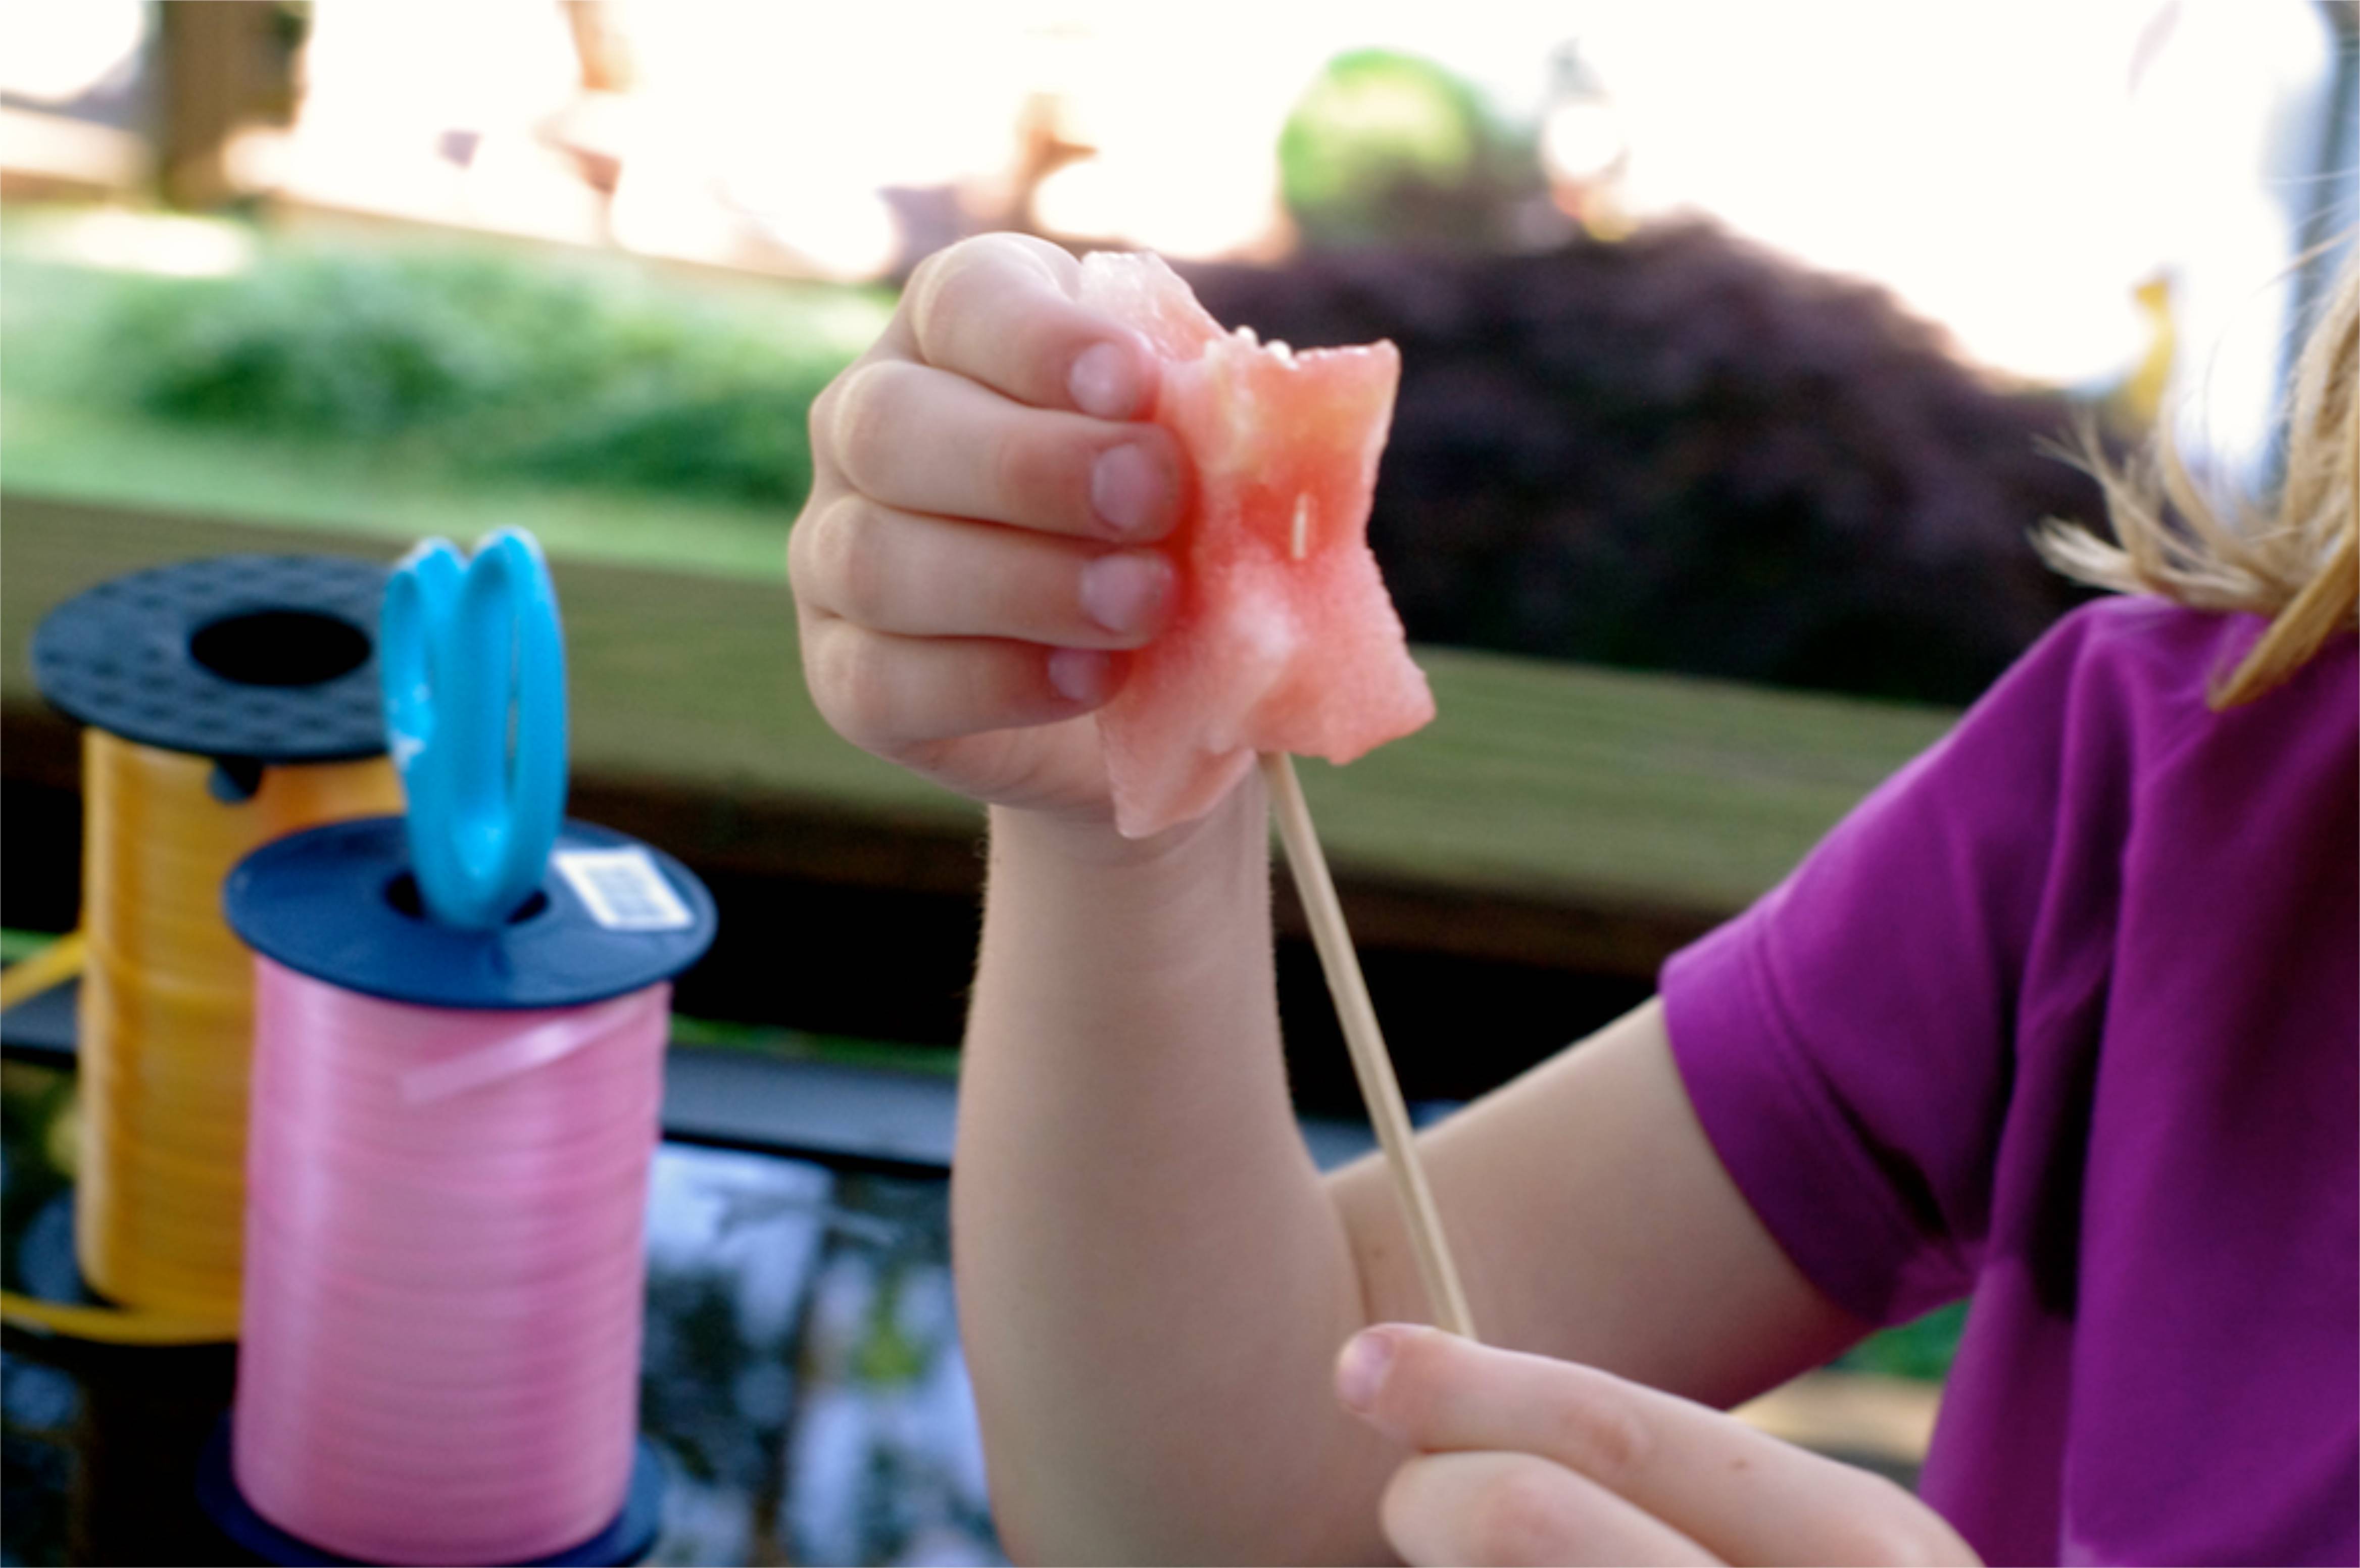
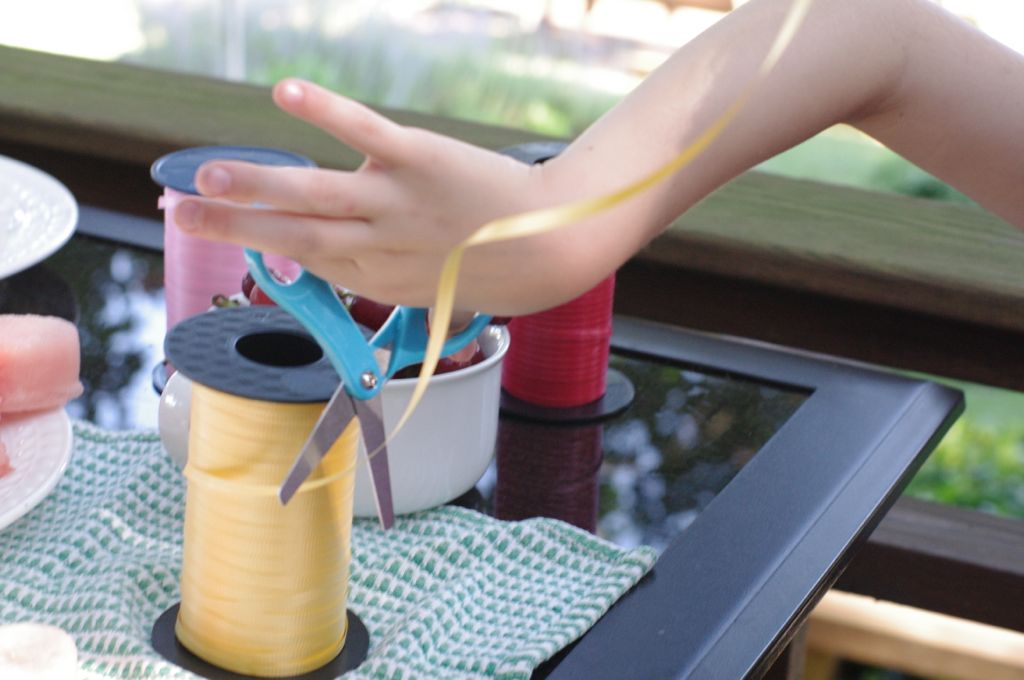
Step 7
She chose a piece of ribbon and cut it off the roll.
Step 8
I helped her tie the ribbons underneath the fruit and curl the edges of the ribbon with the scissor blade.
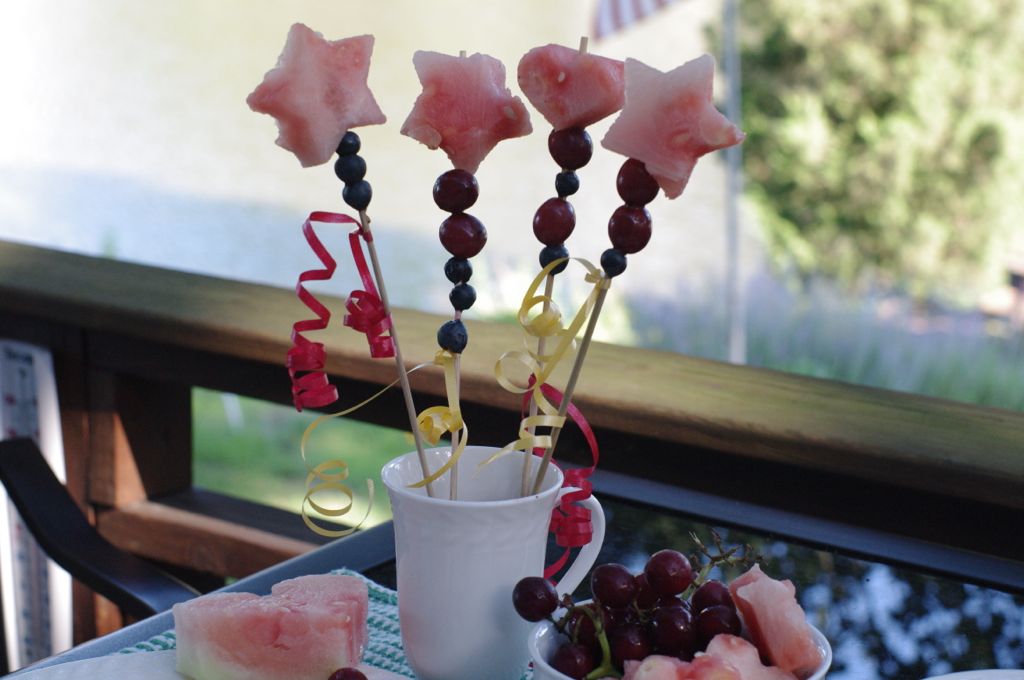
Final result!
Tada! Fruit magic wands. These were a great dessert for a cookout. The kids could grab one after they finished their meals while the adults were still eating and chatting.
