Step-by-step tutorial
Step 1
Any yogurt and toppings of your choice will work for these yummy frozen treats.

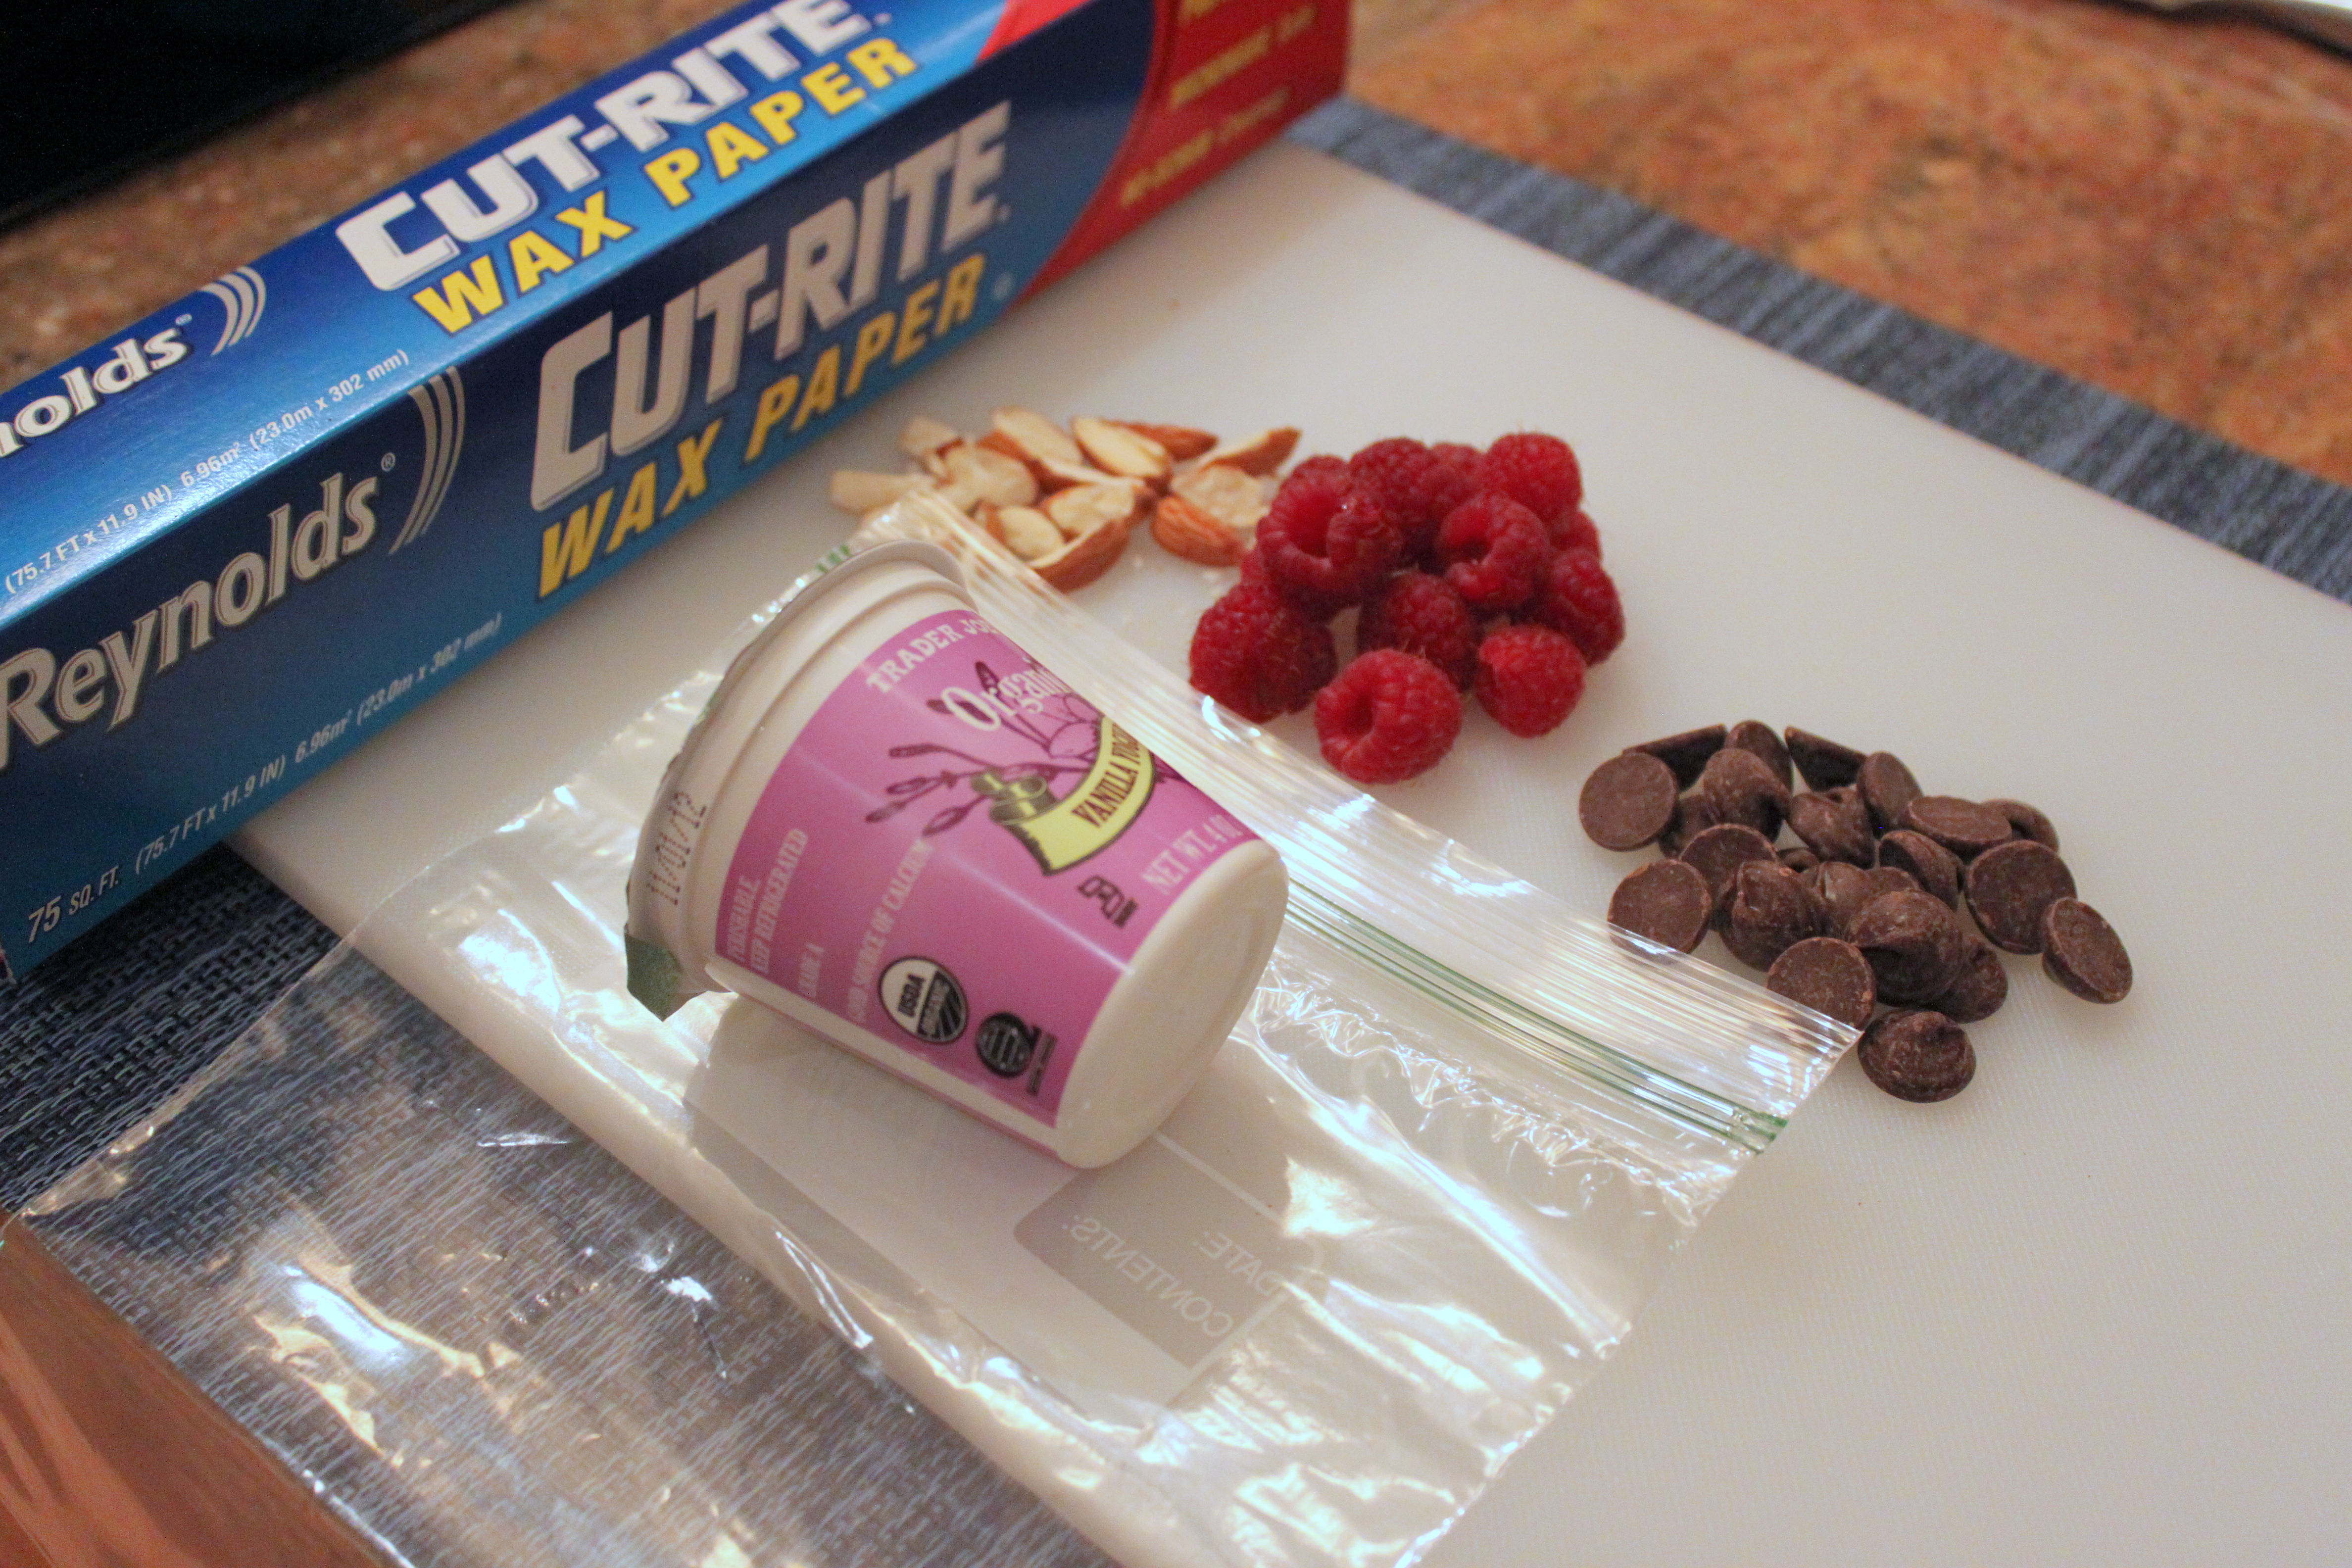
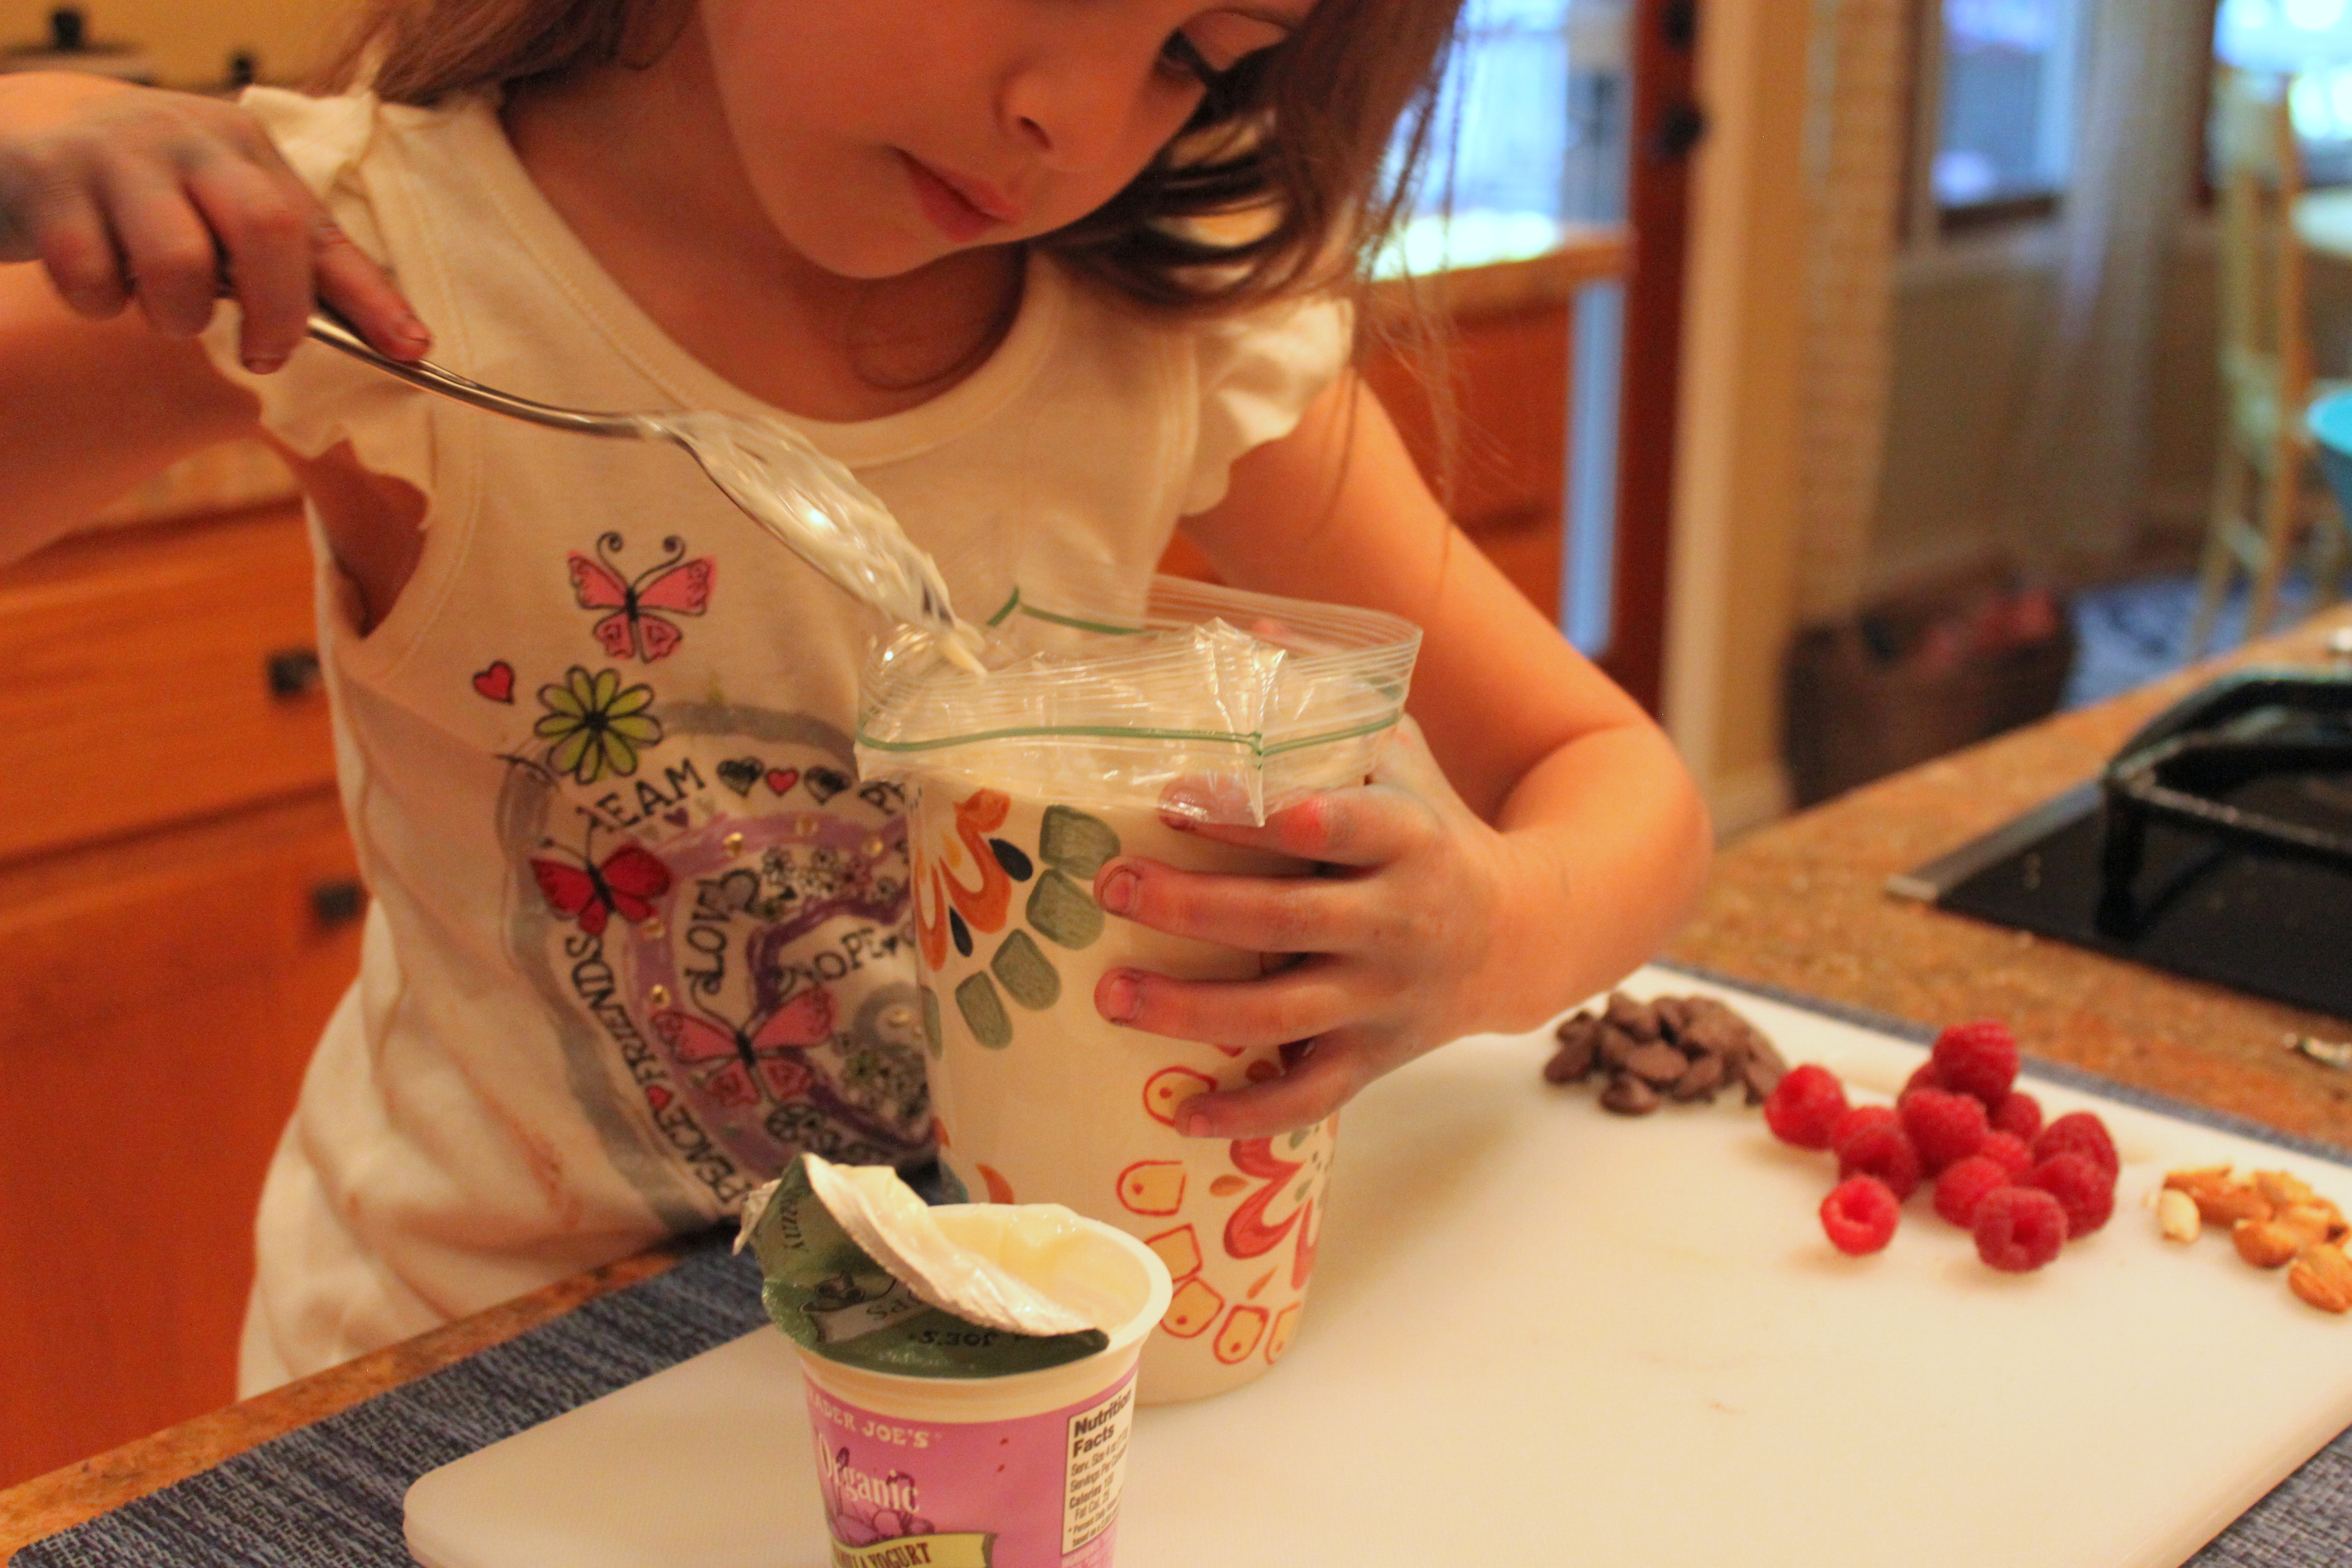
Step 2
First, place your baggie over a mug so it is easy for your child to scoop the yogurt right into the bag.
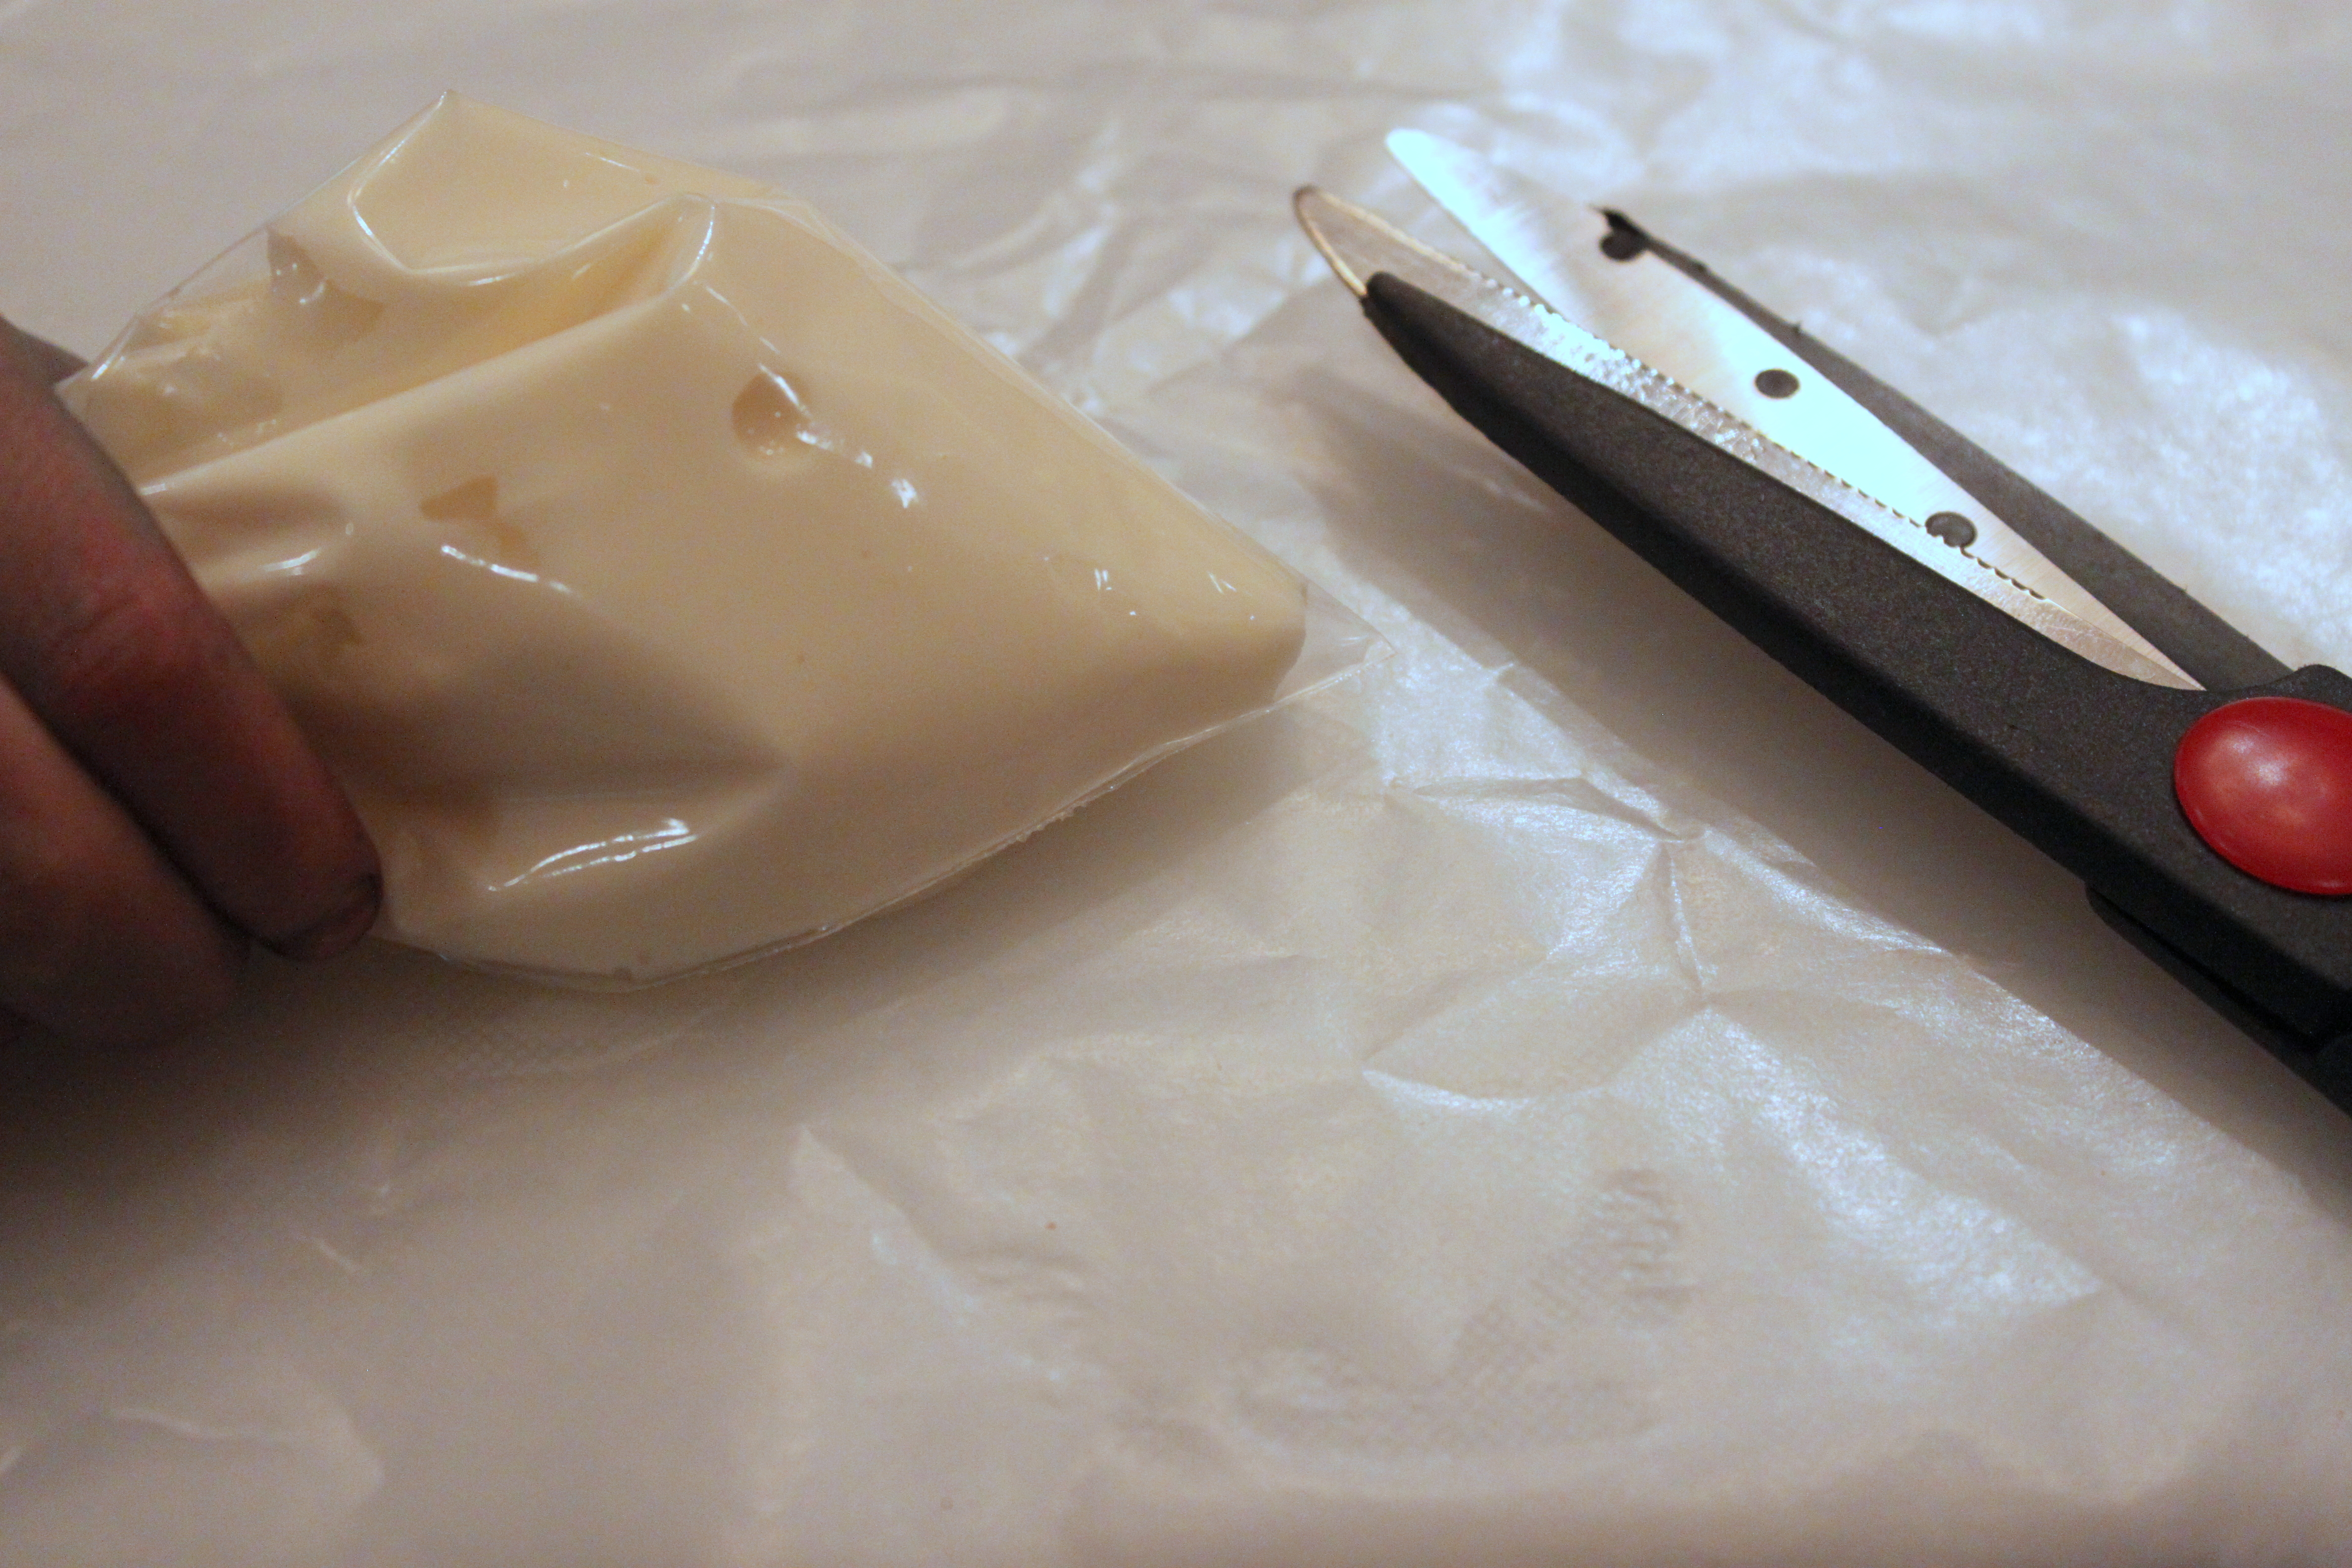
Step 3
Once filled, seal the bag and snip off a corner. Your kids can draw right onto the wax paper. I laid our paper on a cutting board (a baking sheet will work too) so that I could easily transport the treats to the freezer.
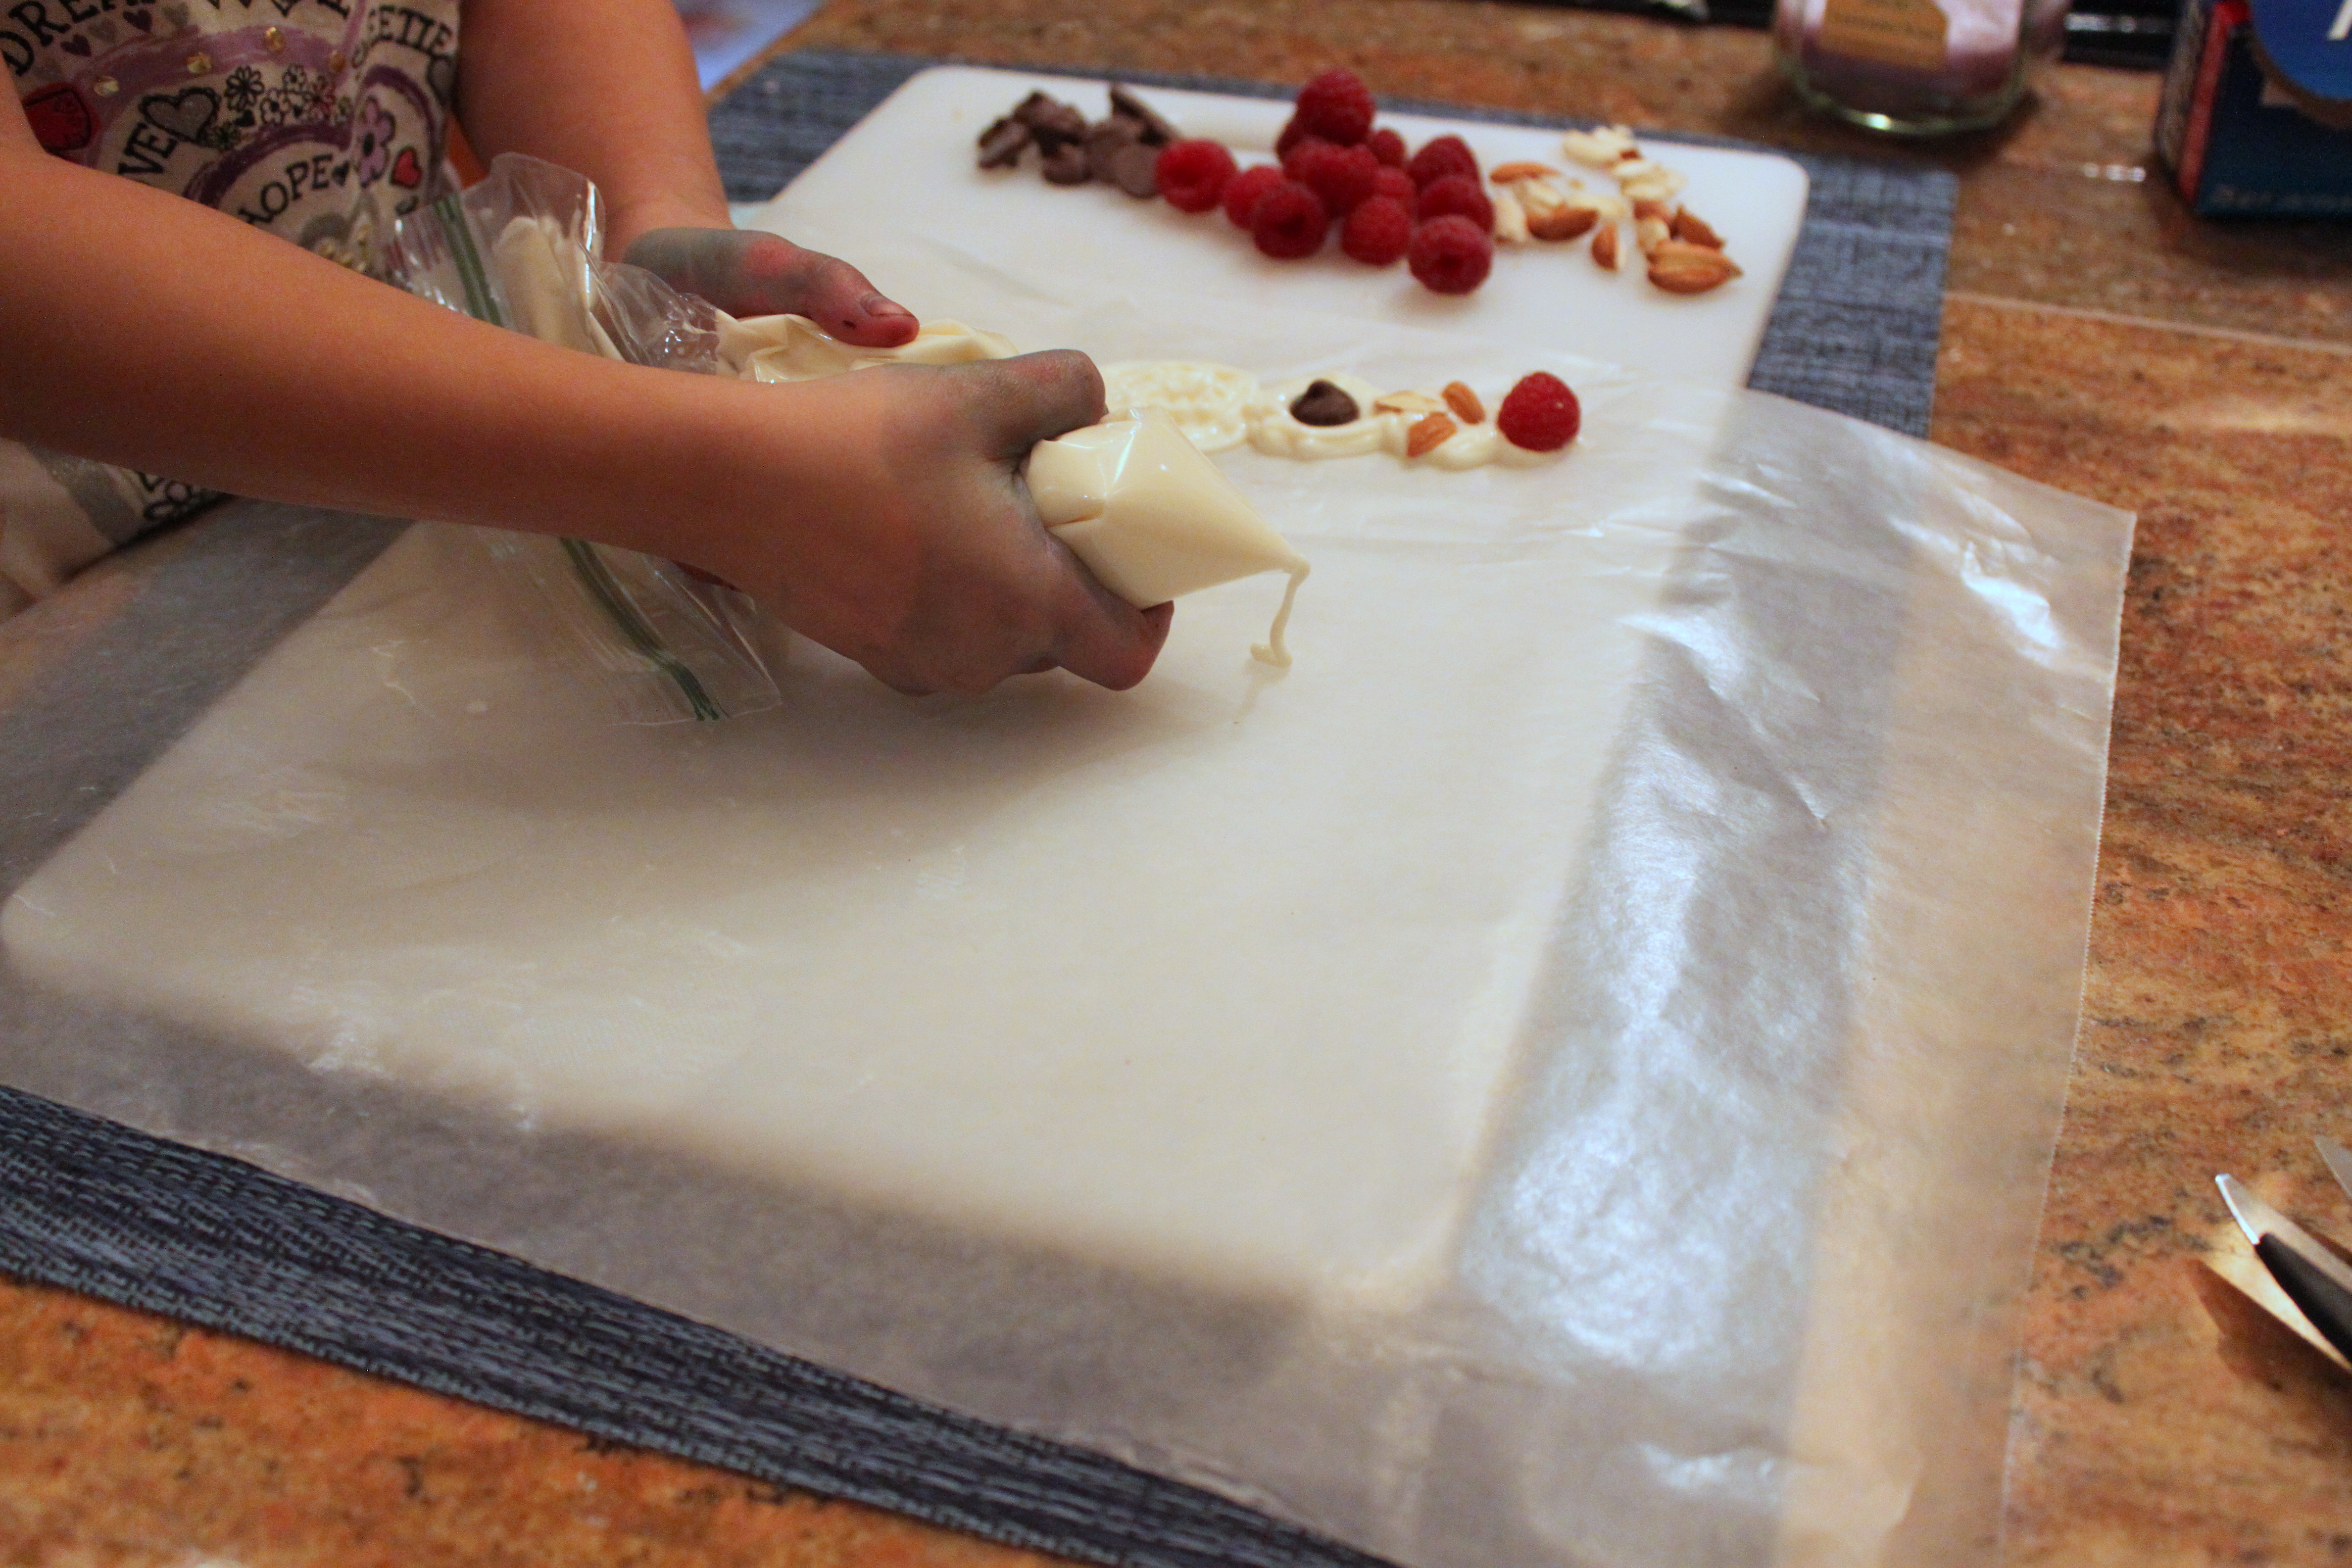
Step 4
My daughter absolutely loved this step! She loves to pretend she is a fancy chef and this "frosting bag" added to the experience. She made snowmen and trees with the yogurt. You could really do so many fun themes with this.
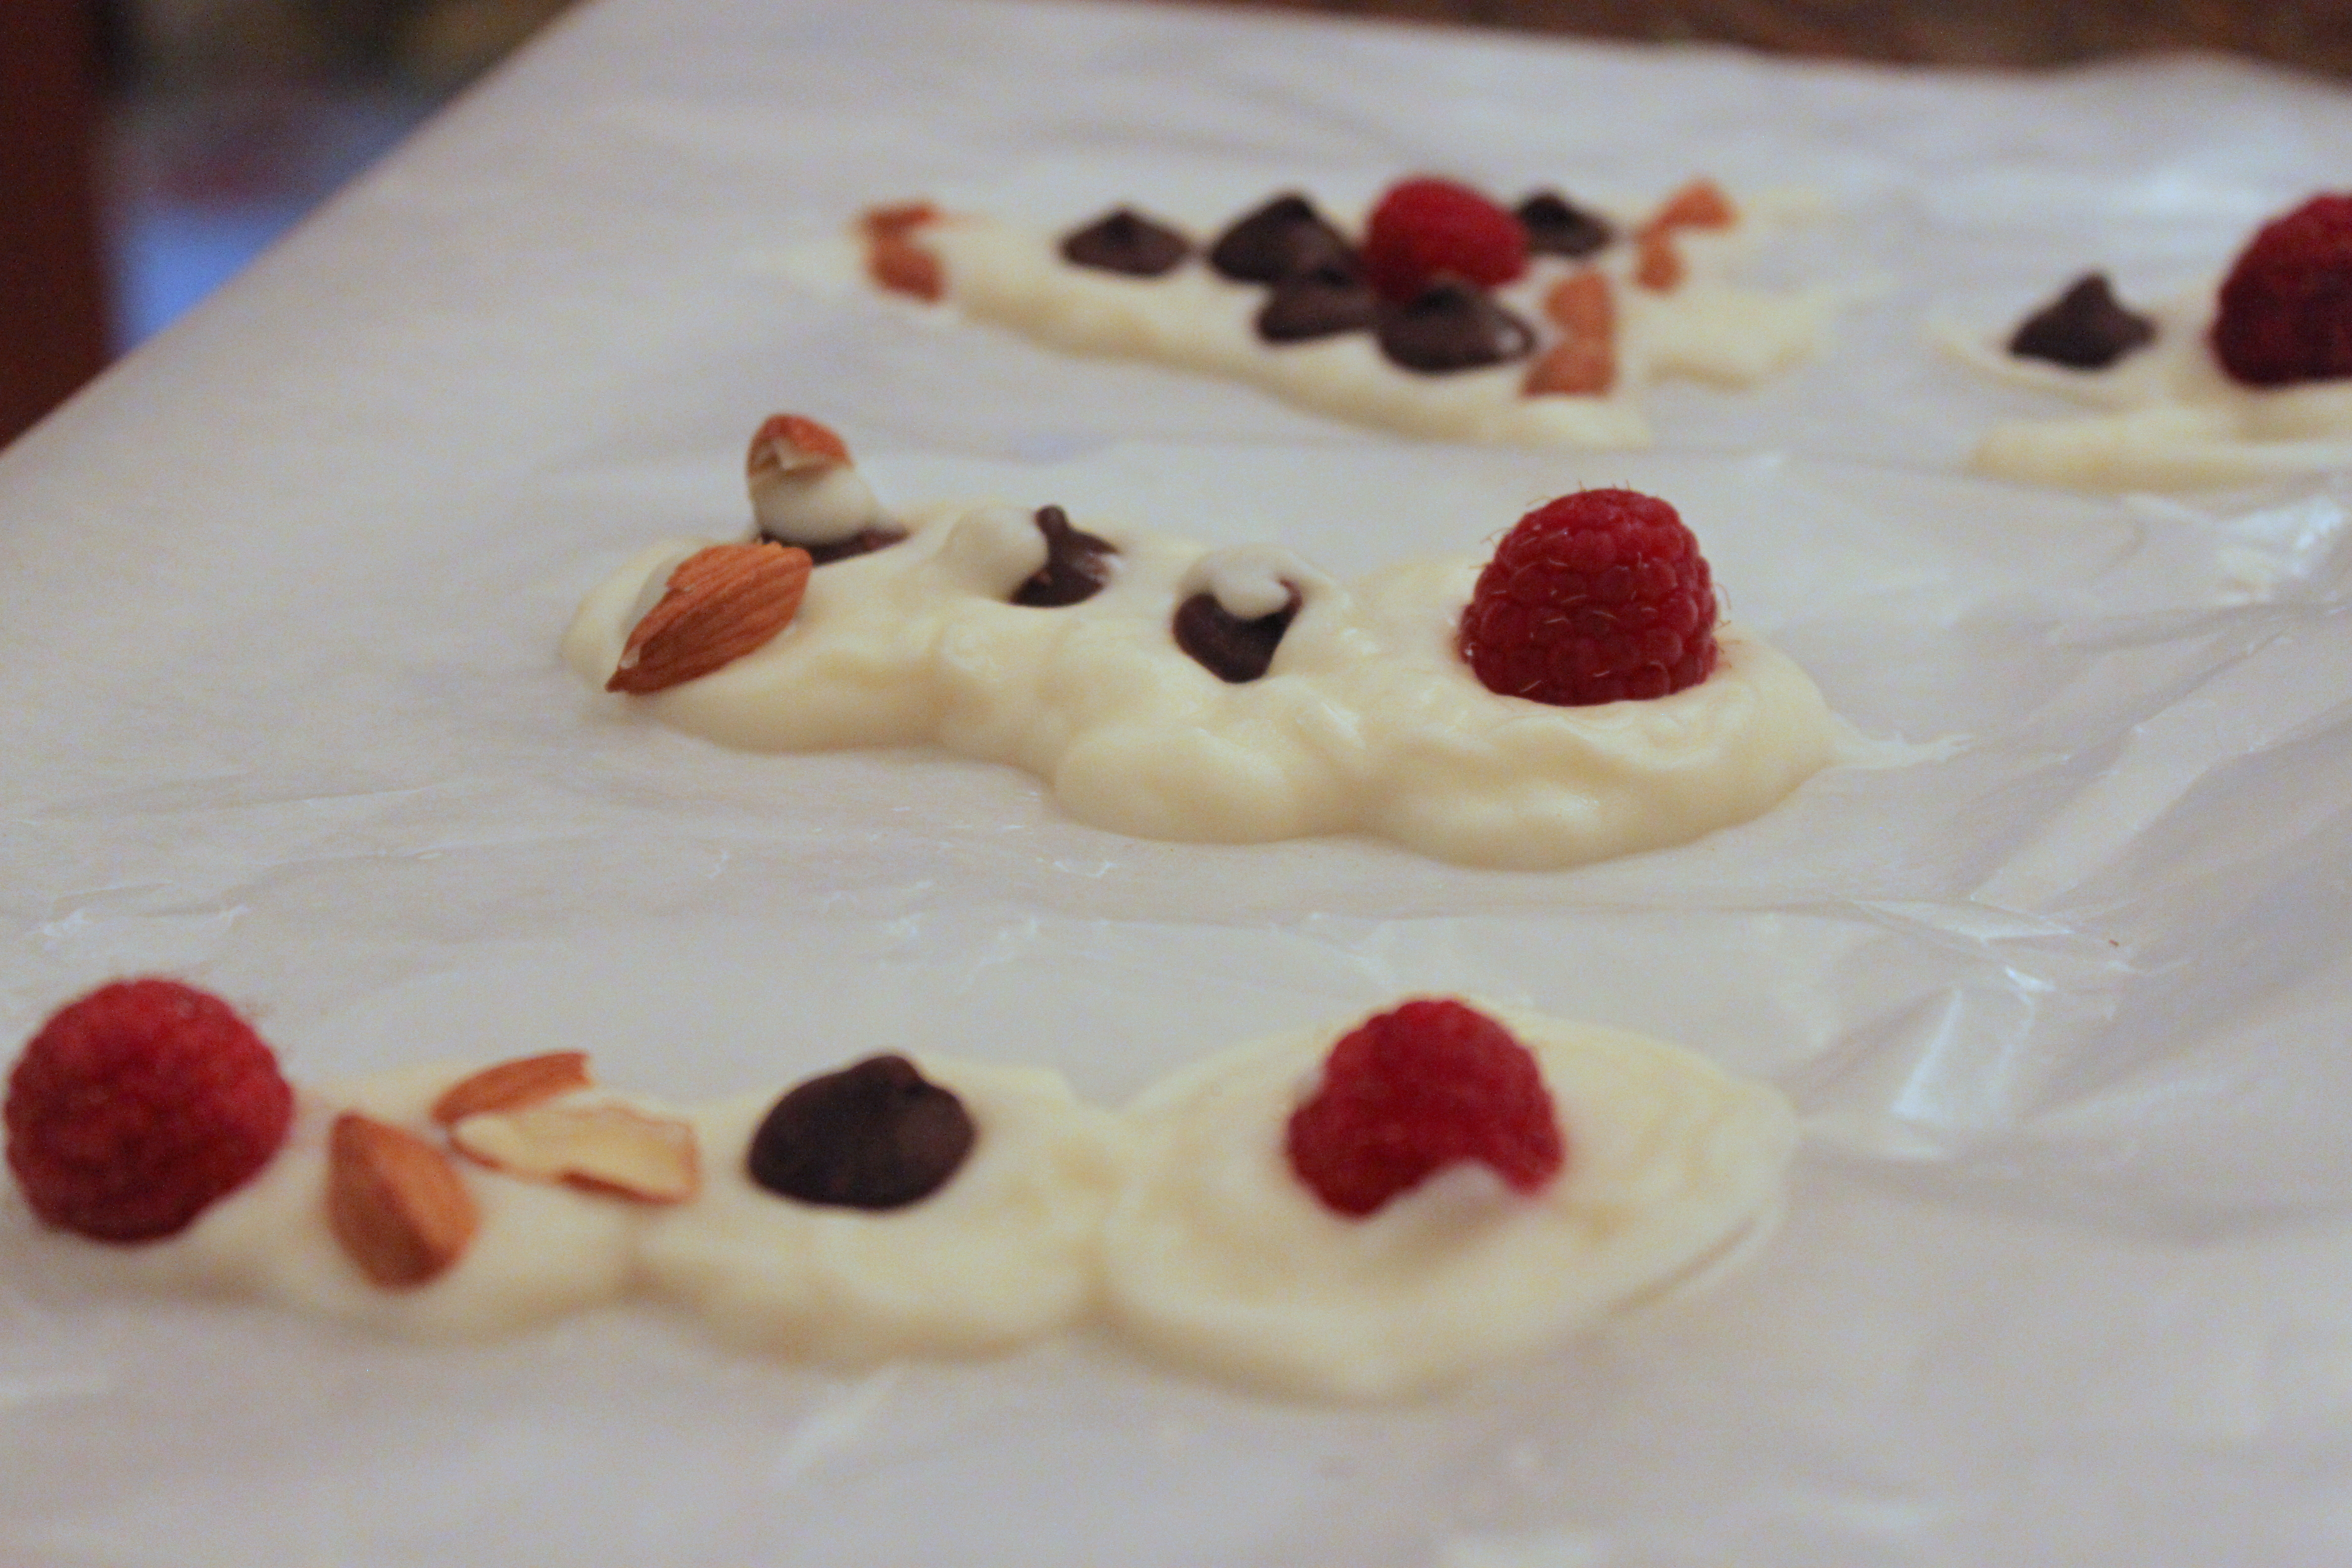
Step 5
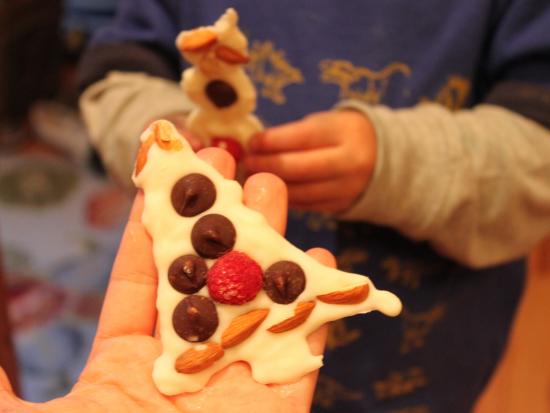
Once you have the yogurt shapes, it is time to decorate. We used chocolate chips, almonds, and raspberries. Sprinkles would have been fun too. Emma just loved adding each detail. Once they are decorated, they can go right into the freezer.

Step 6
A few hours later, you have some pretty yummy frozen goodness that will satisfy that holiday sweet tooth.
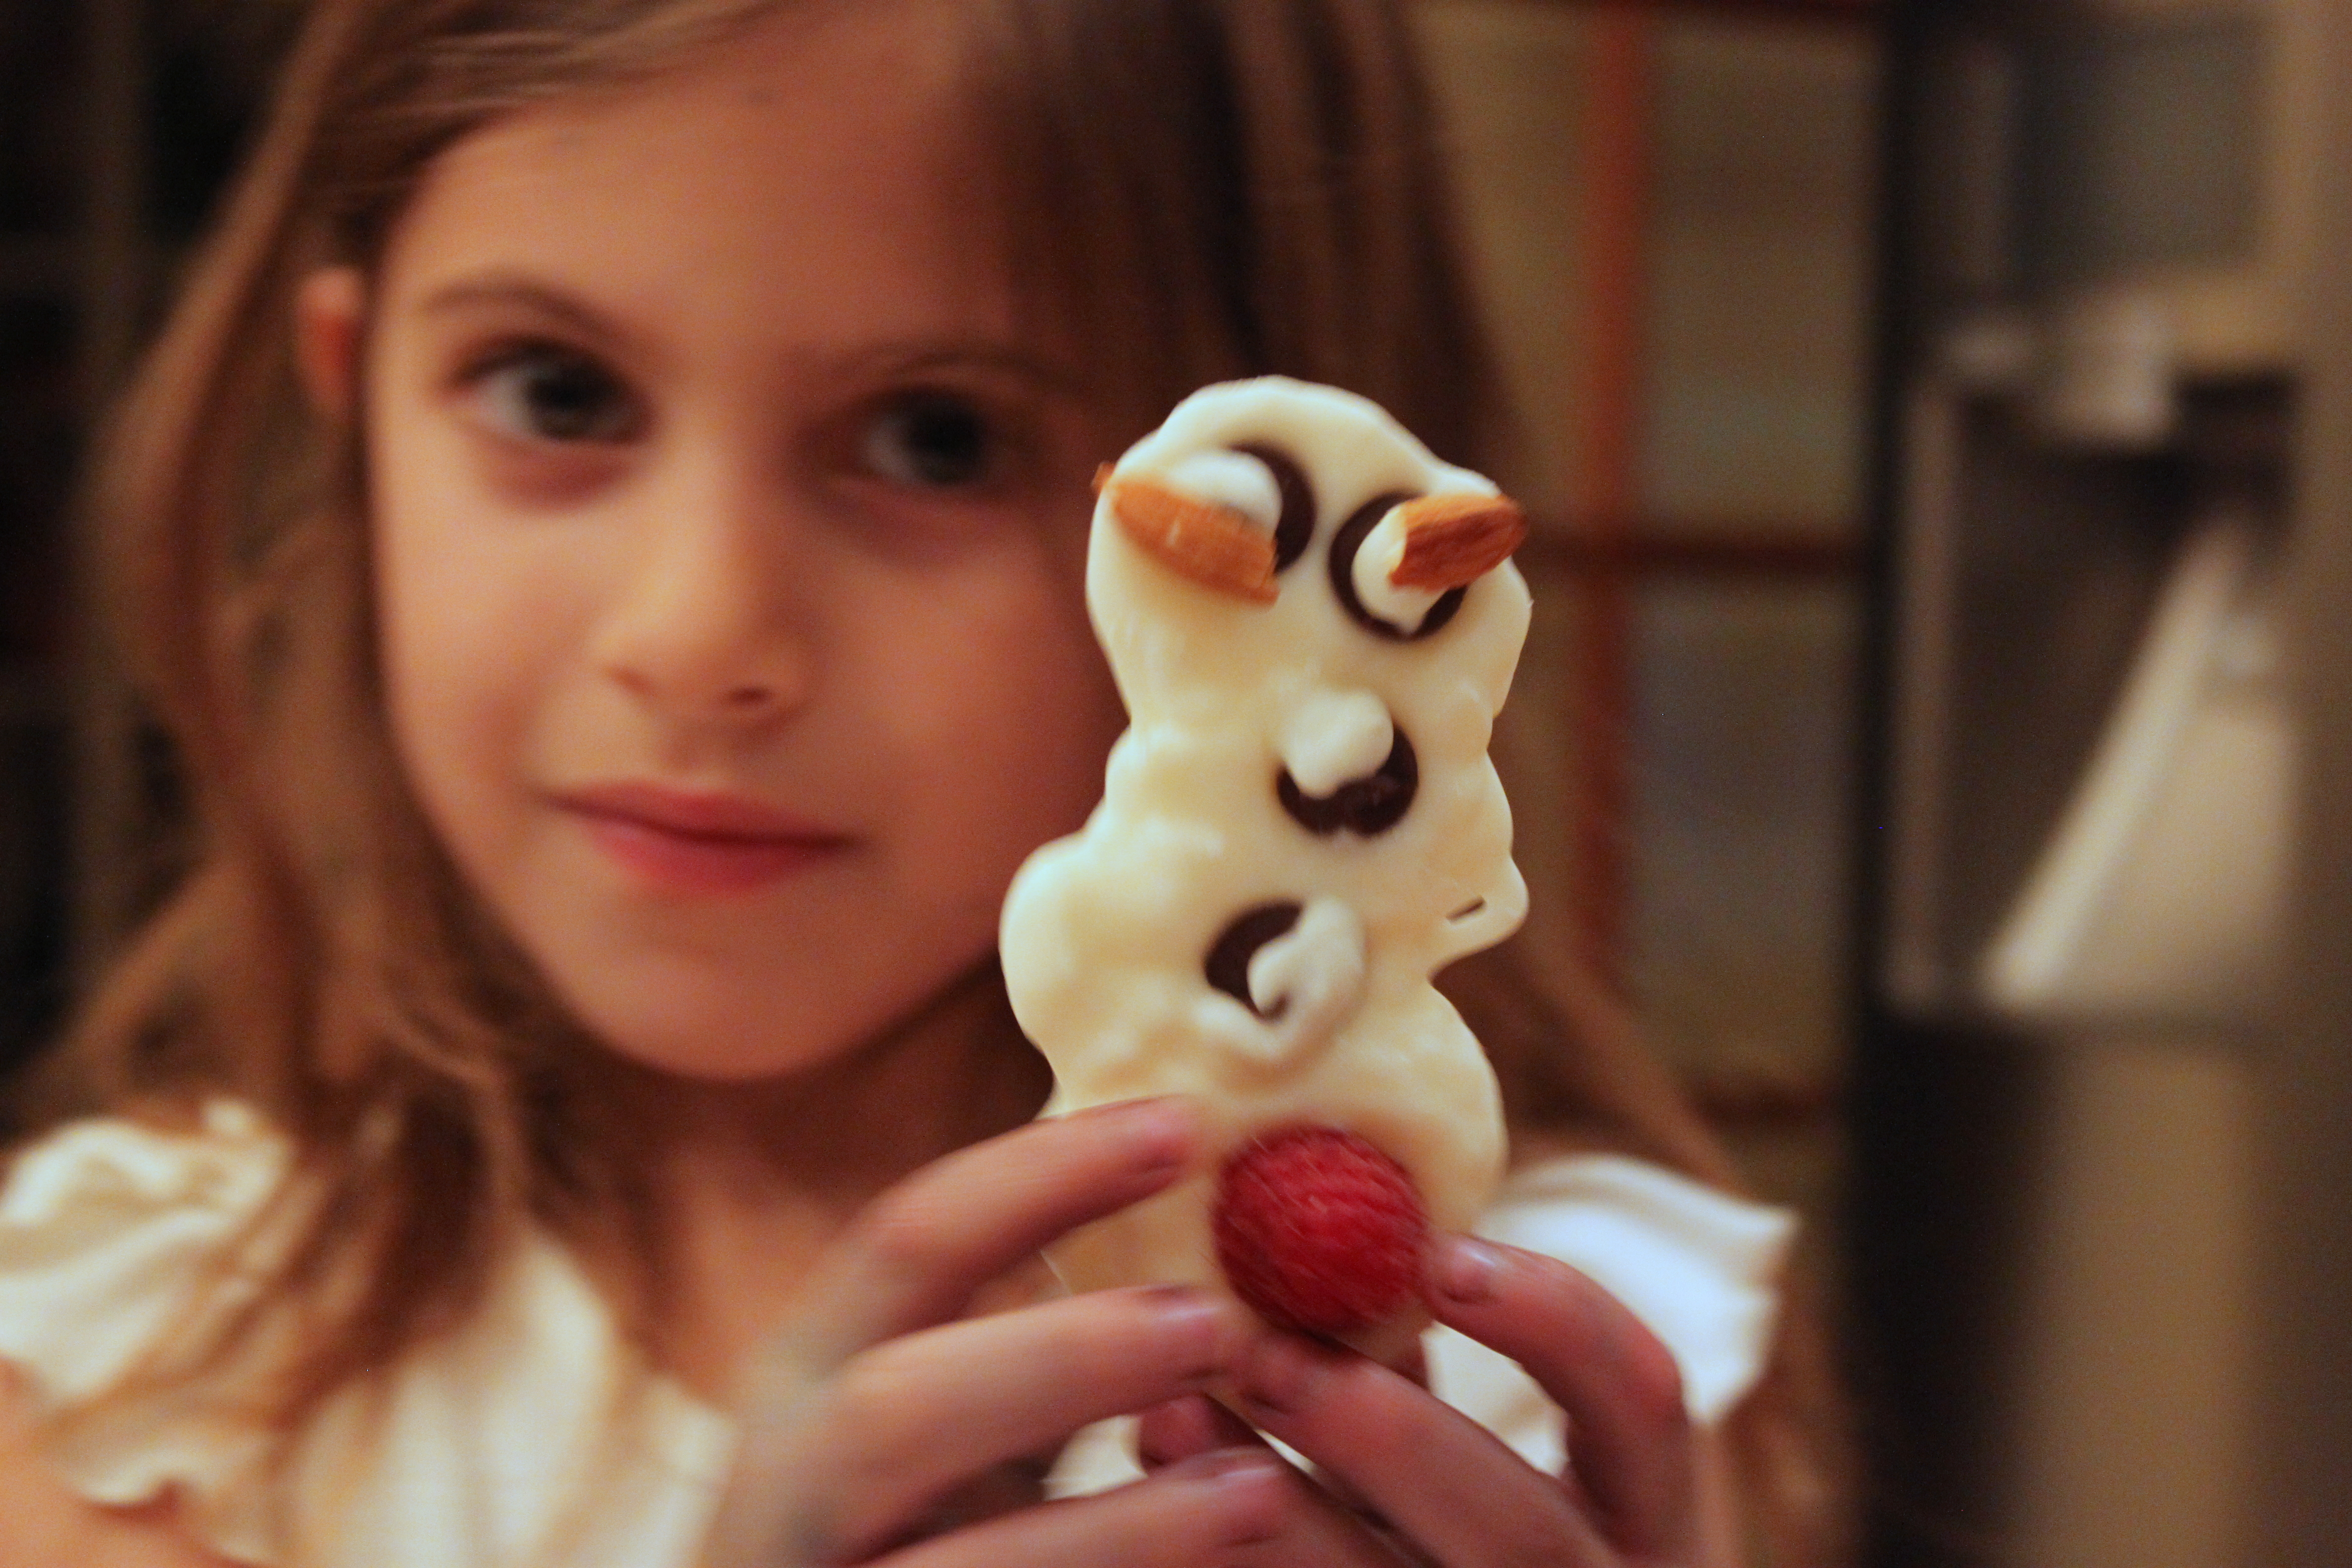
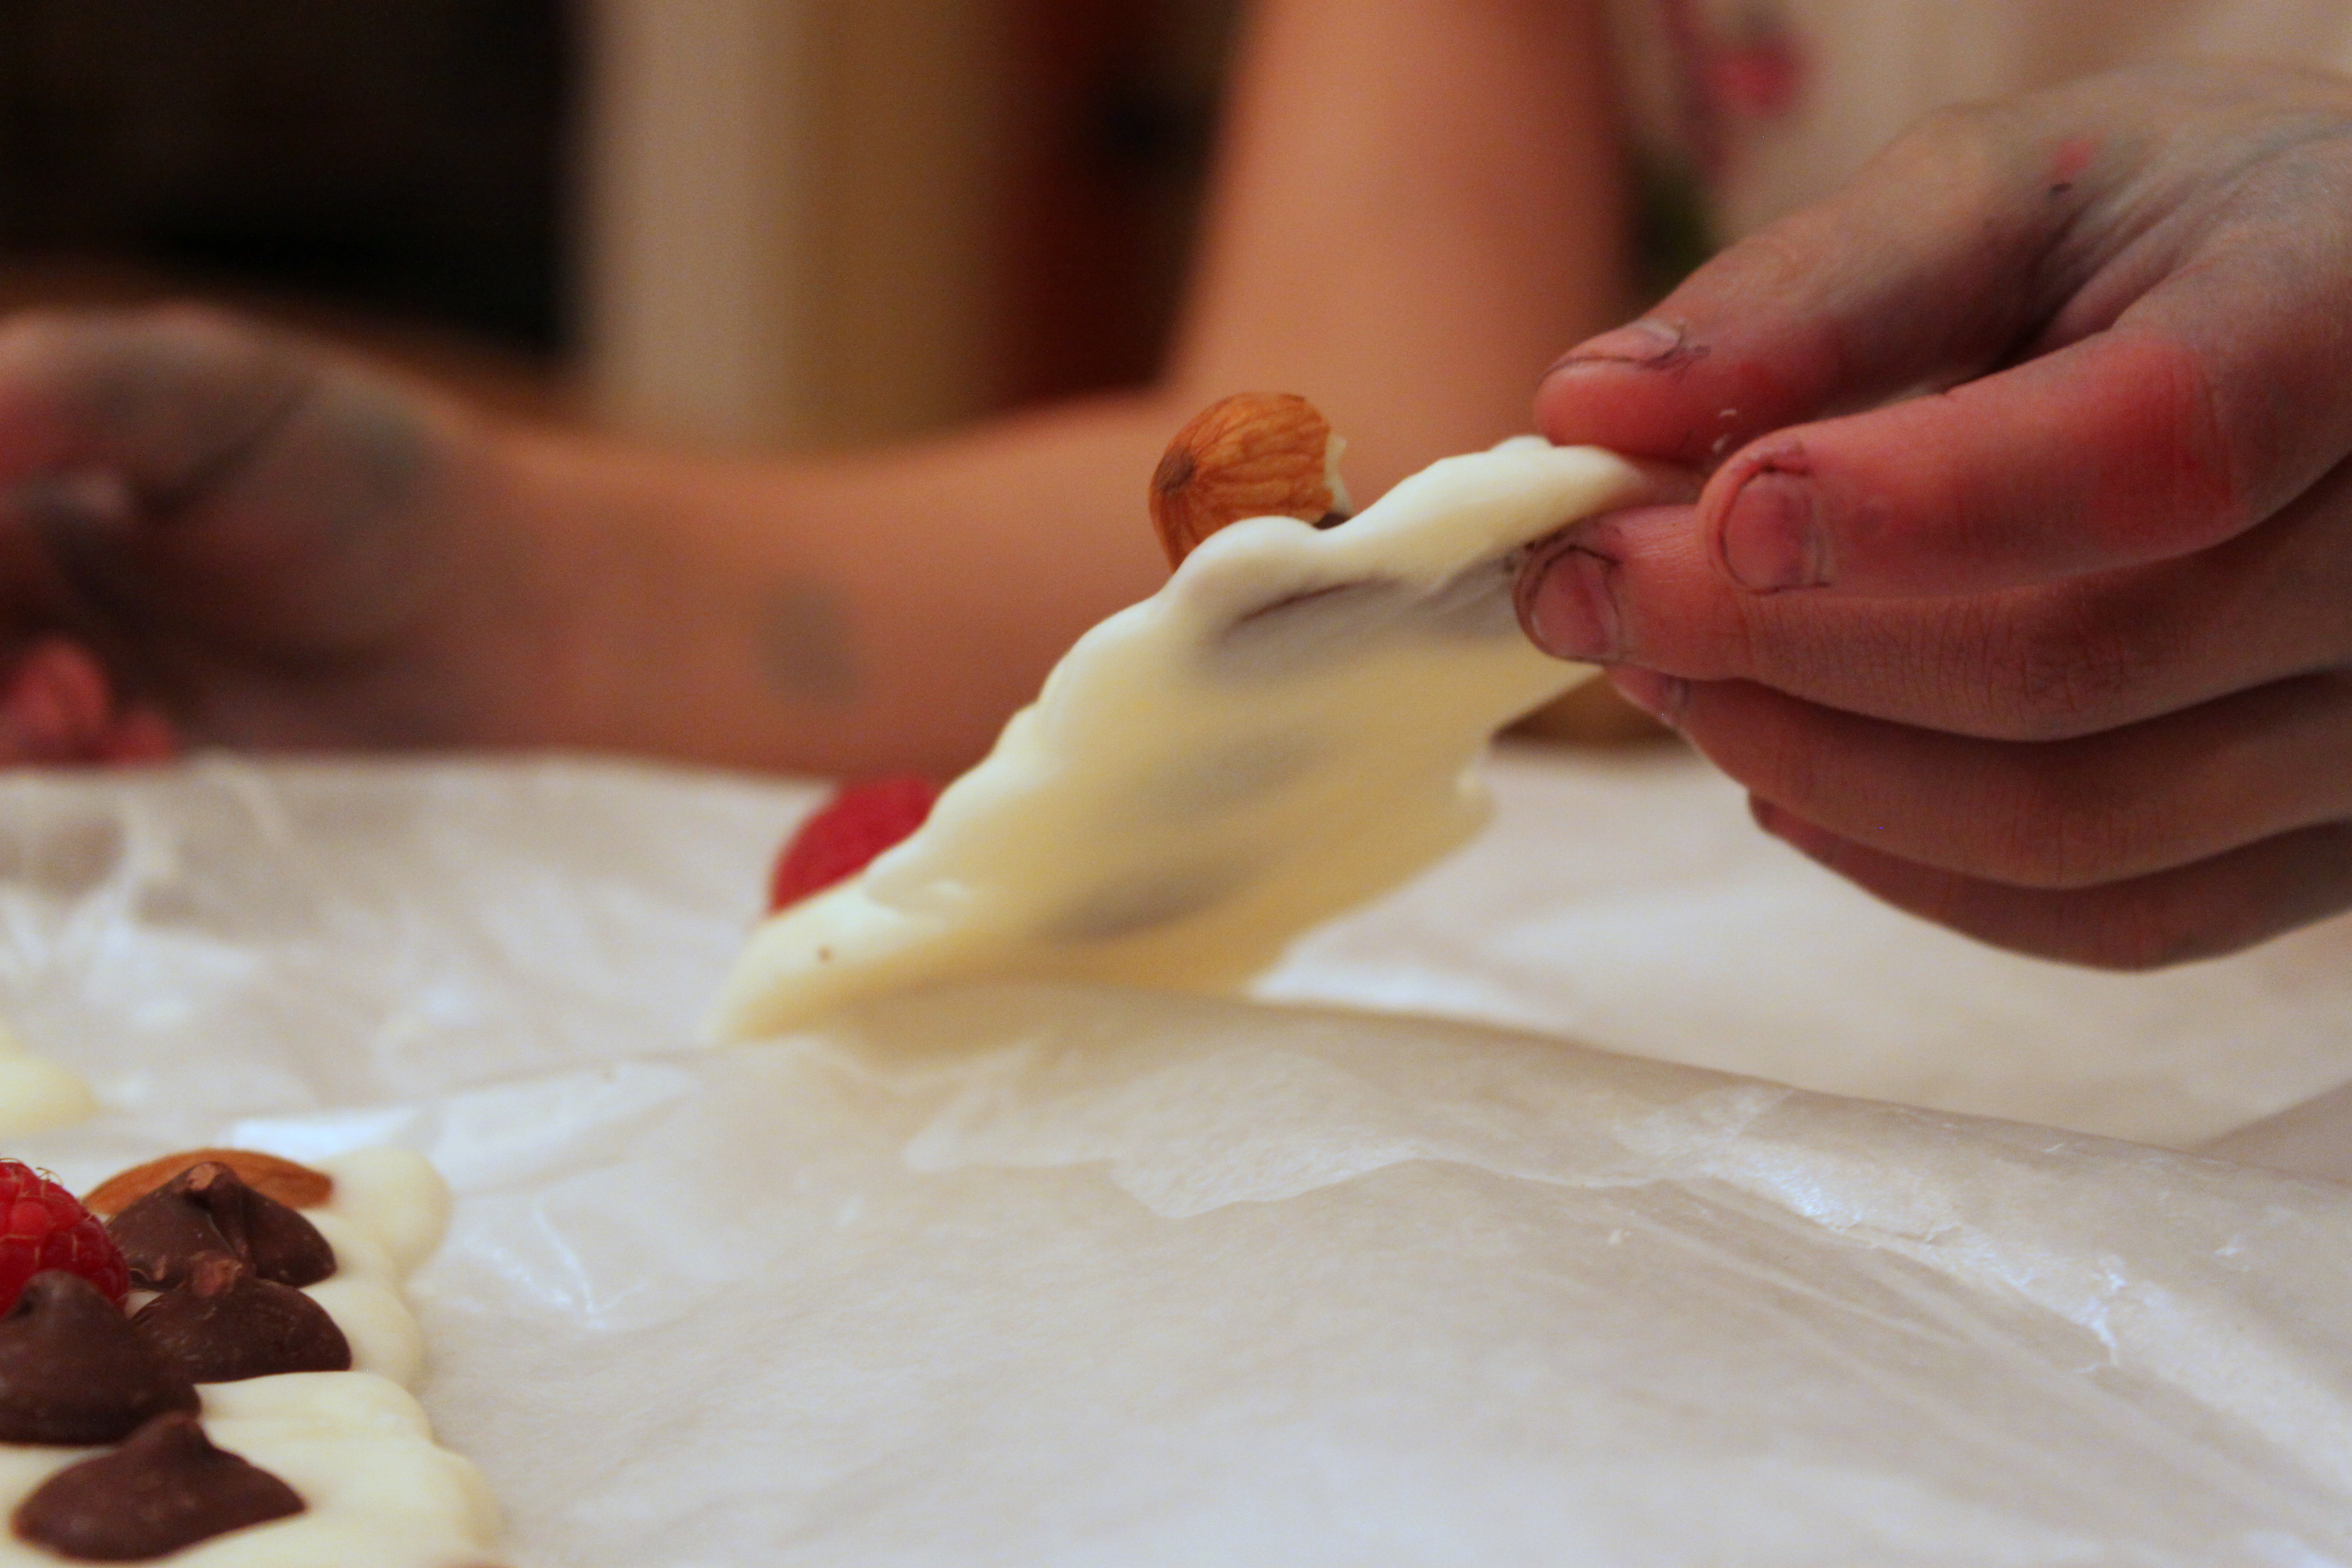
Step 7
These frosty treats peel right off! Emma thought this was so cool! I think adding craft sticks next time would be helpful.
Final result!
There you have it: a simple healthy treat that you can feel good about feeding your kids.