Step-by-step tutorial
Step 1
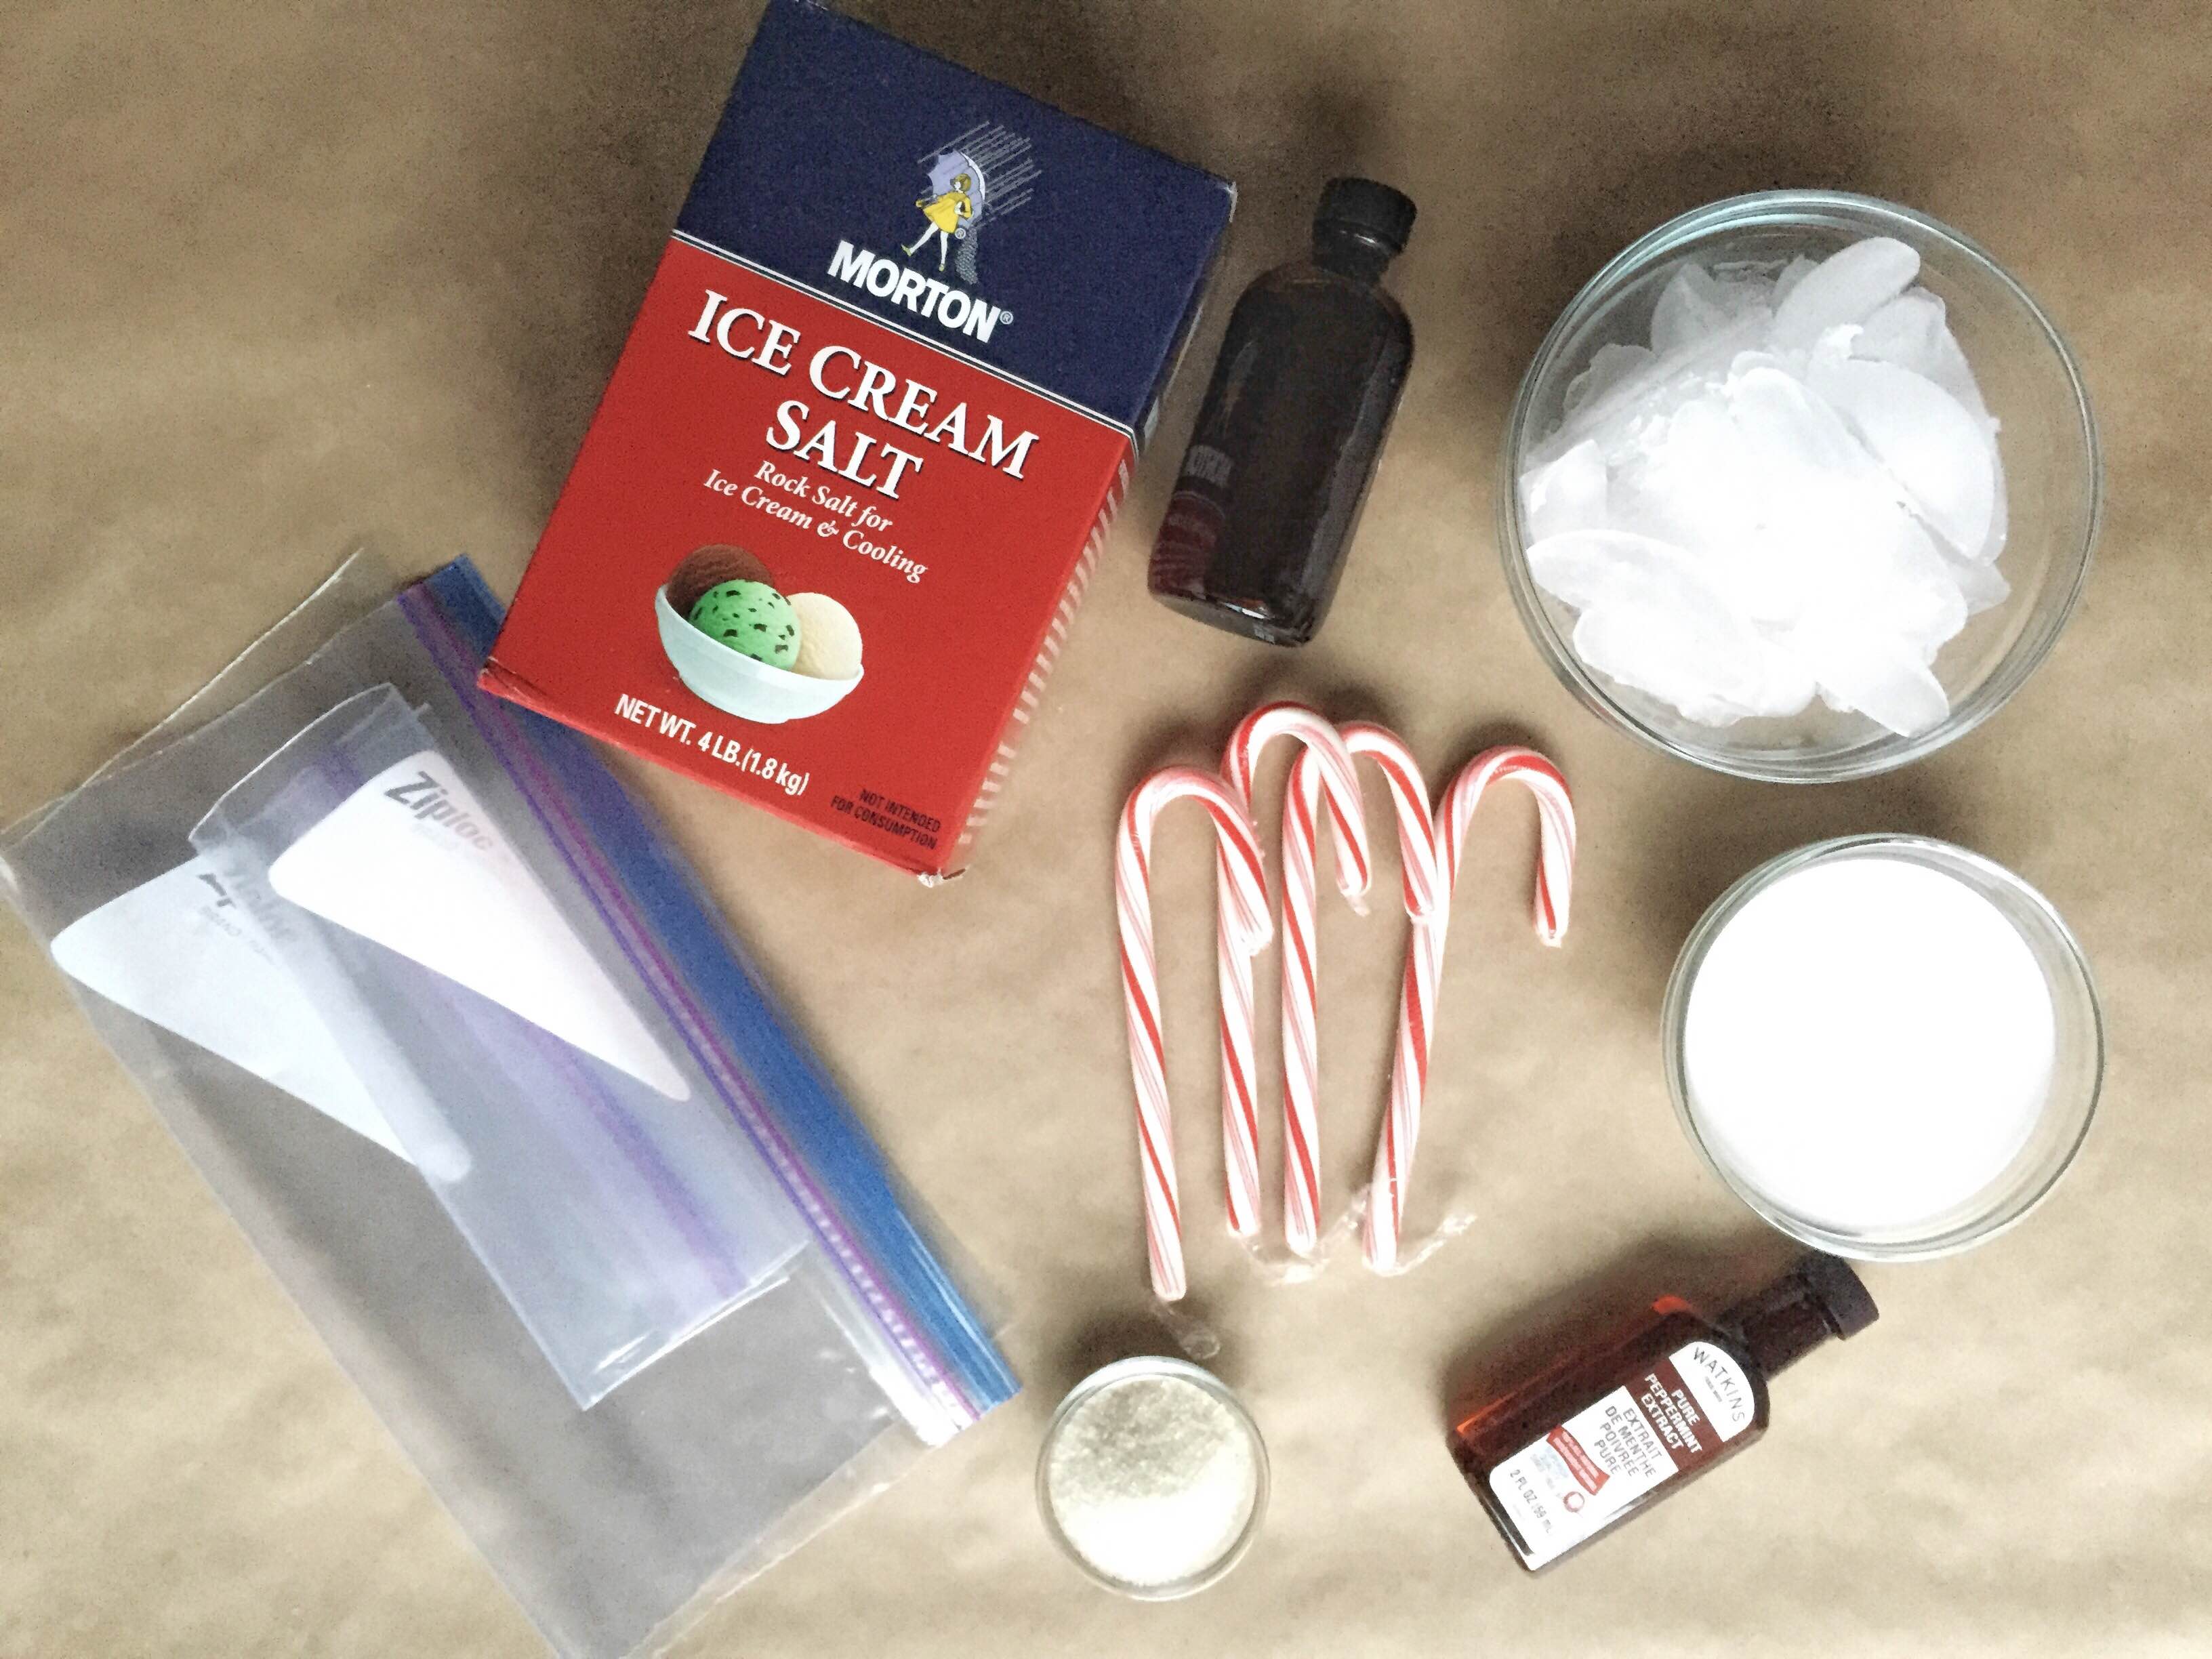
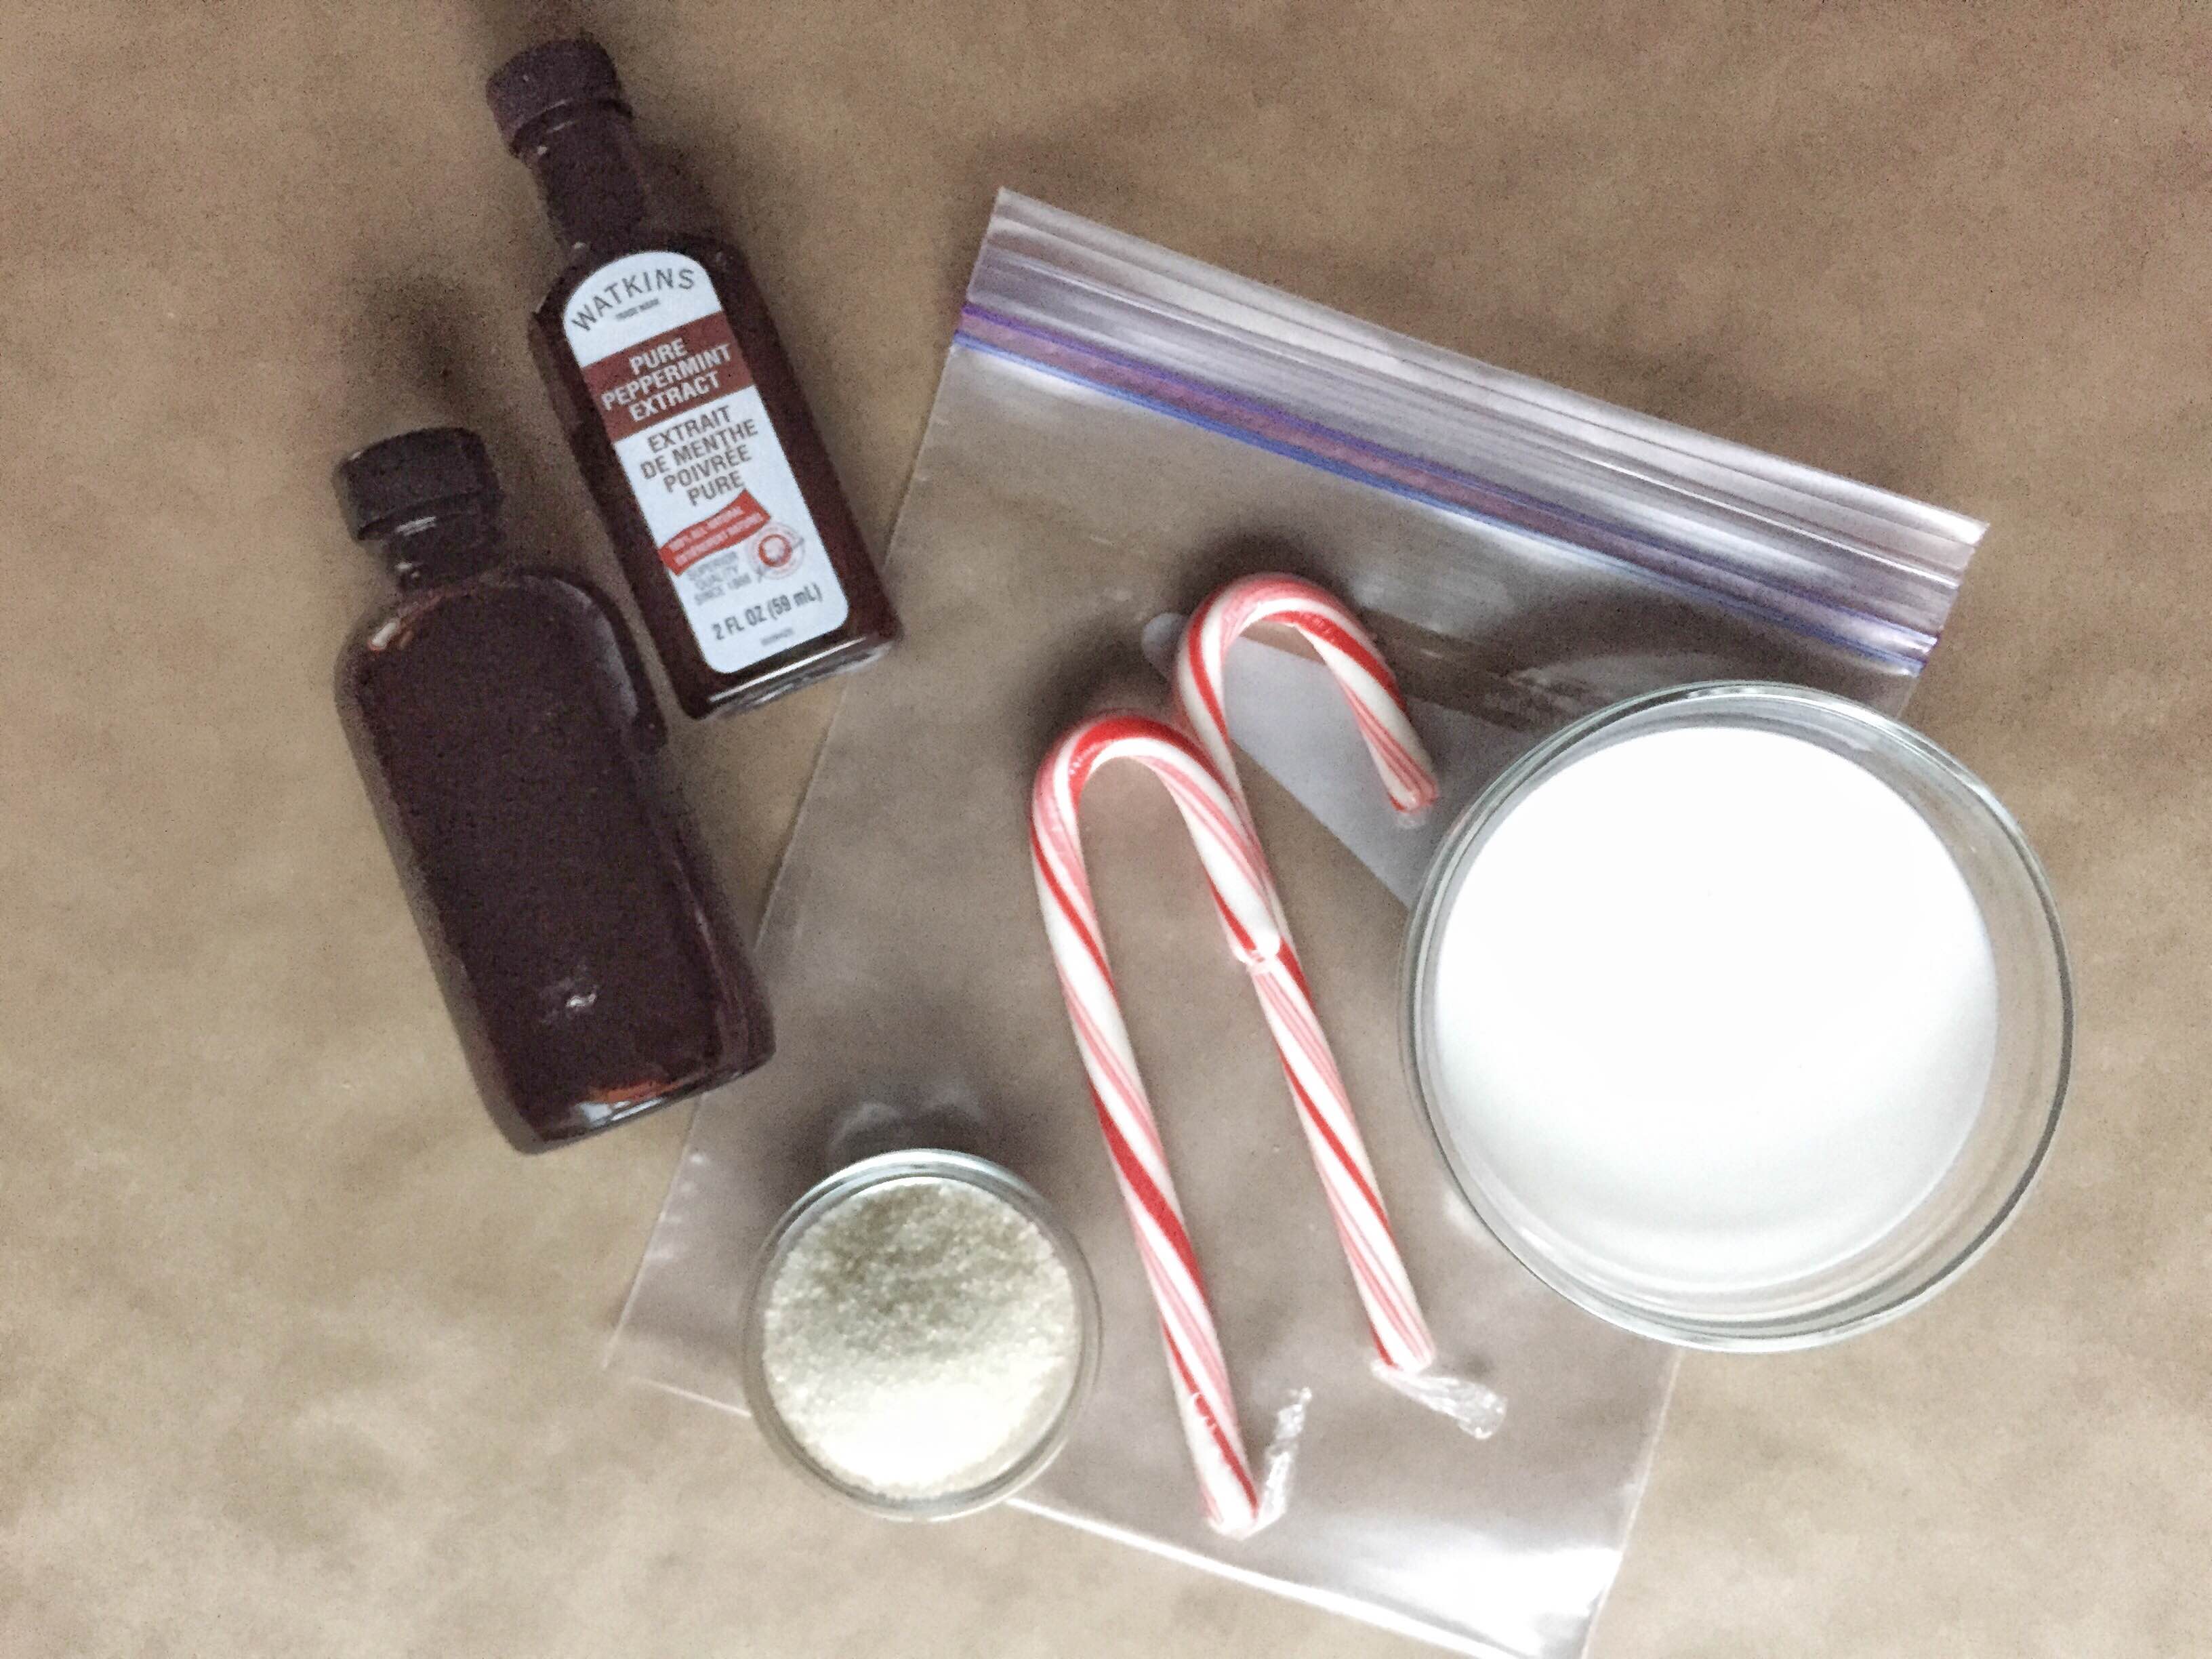
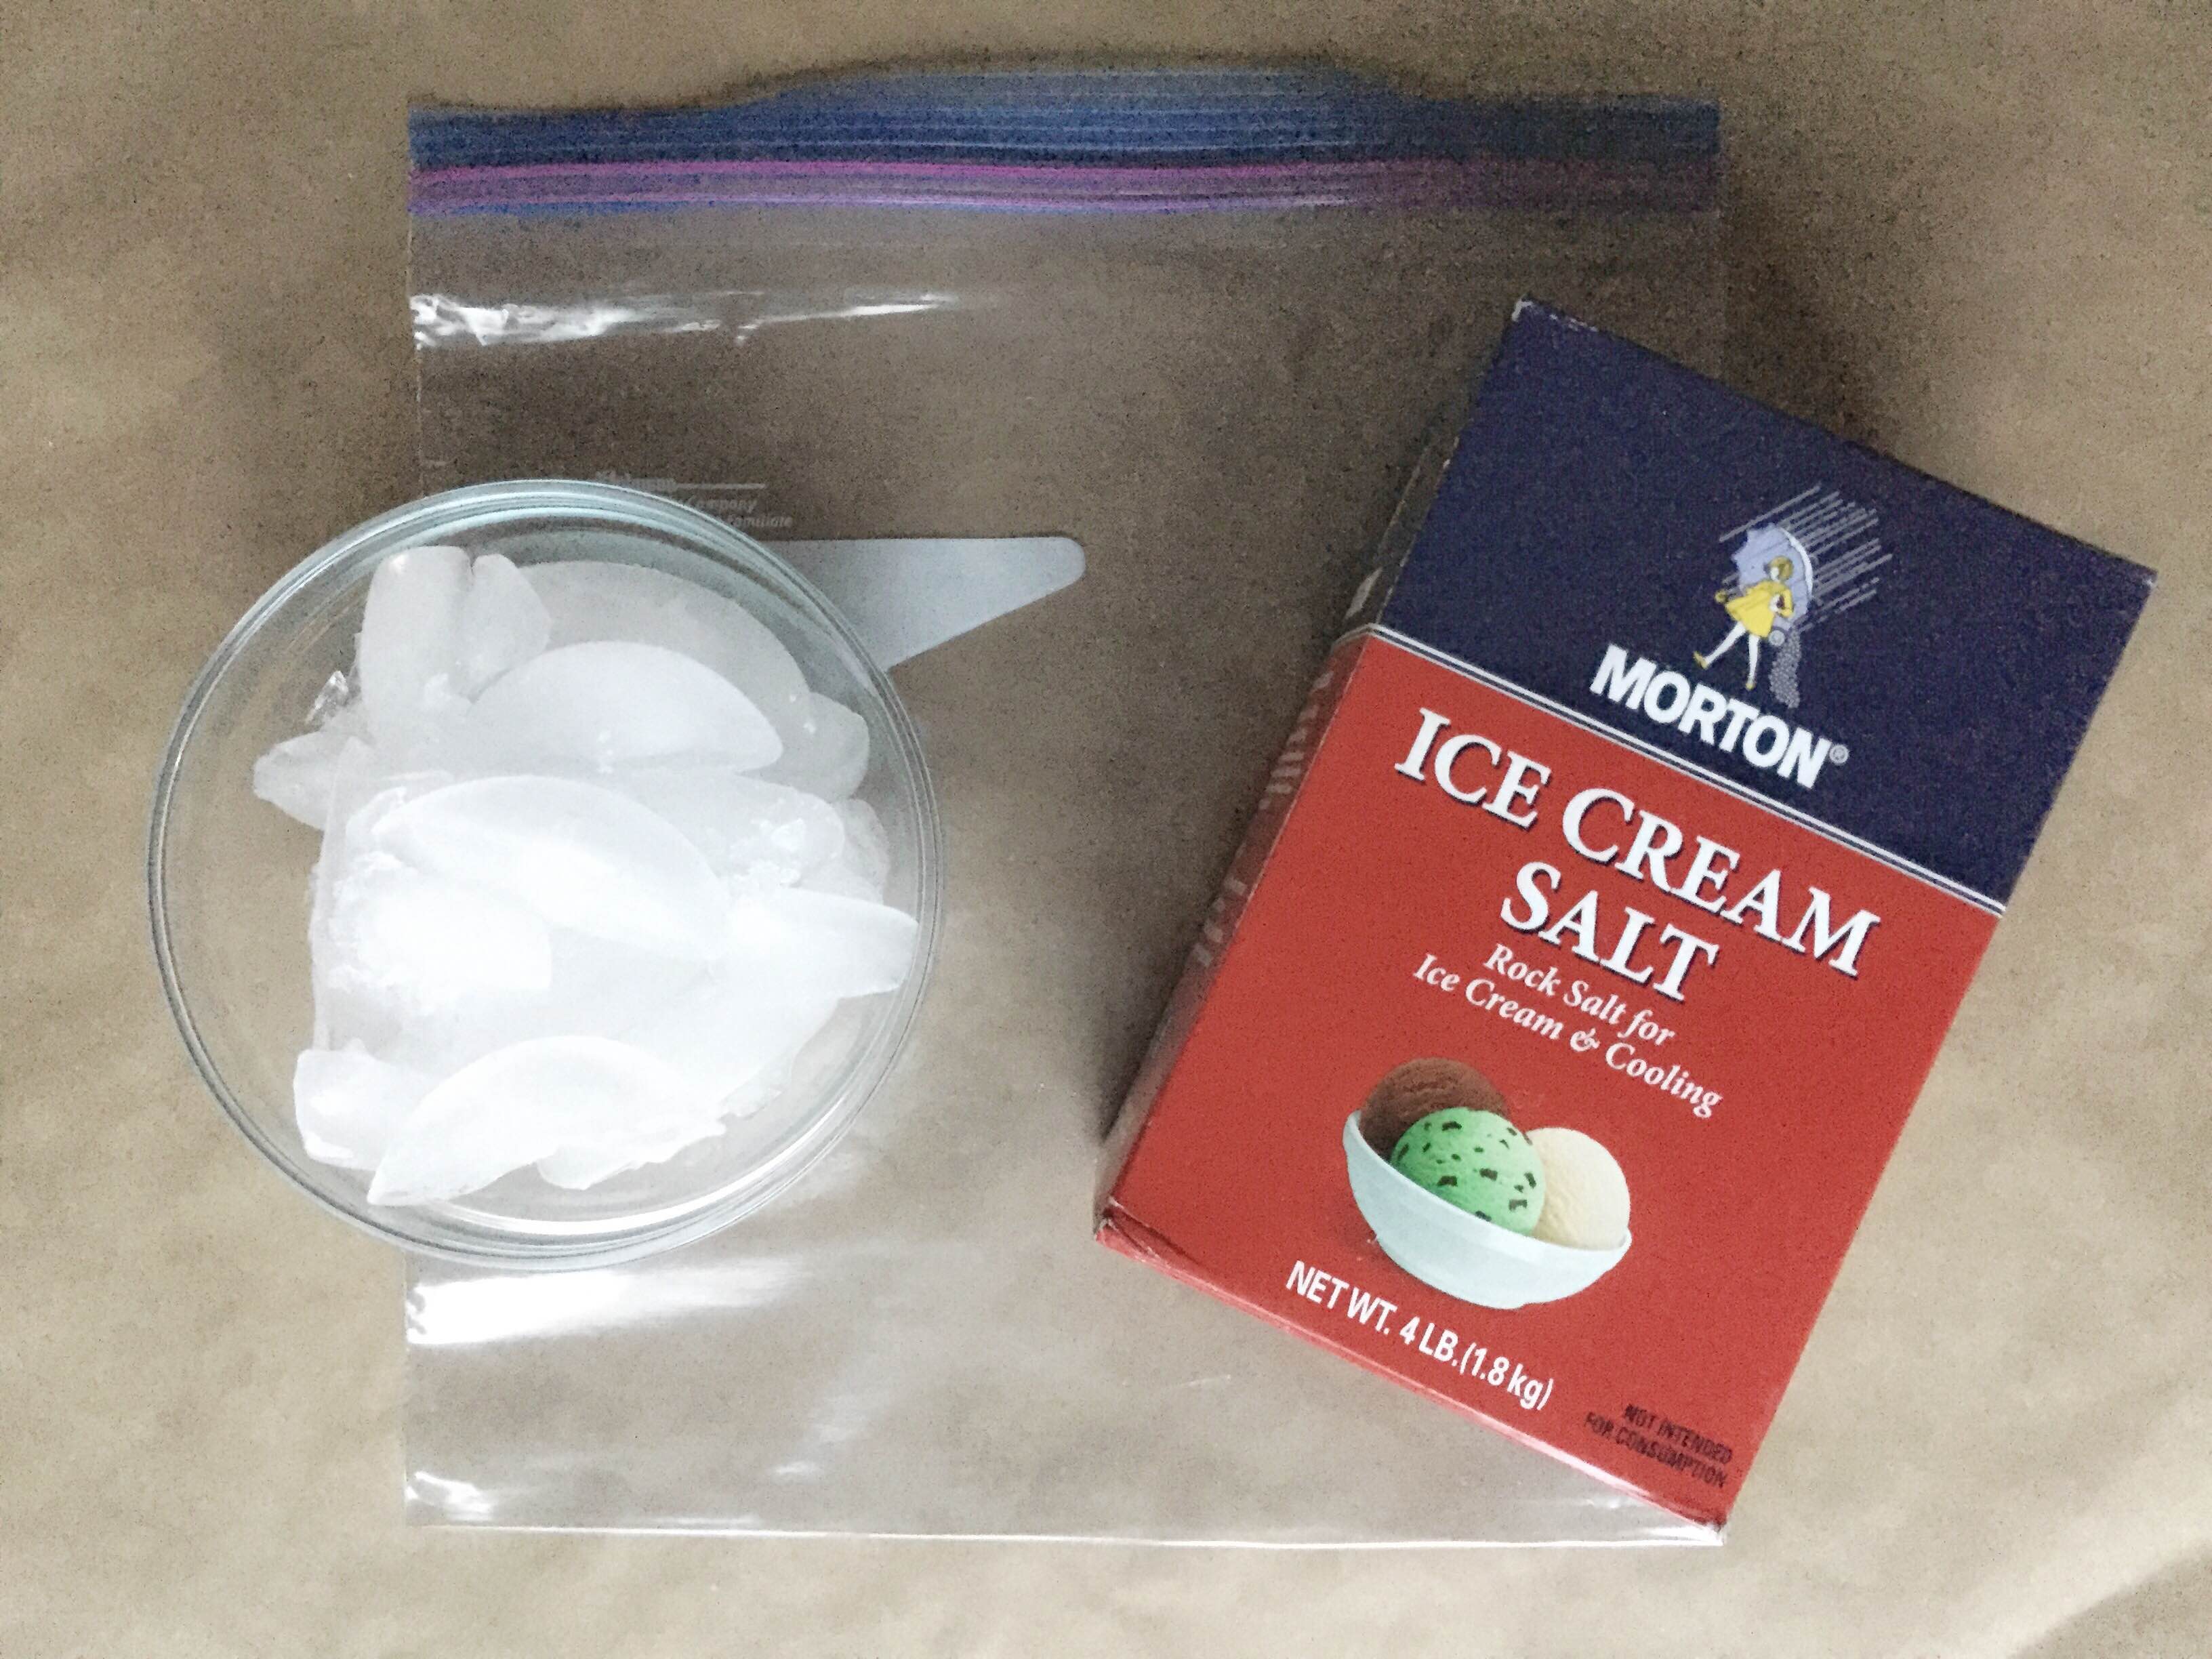
Gather your materials.

Step 2
Mix the half & half, sugar, vanilla extract, and peppermint candies in the quart sized bag. We crushed our peppermint candies before adding them and added a dash of peppermint extract for the extra flavor. Tightly zip up the storage bag.
Step 3
Fill the gallon-sized storage bag with ice so that it is about half full. Add a ½ cup of rock salt (or ice cream salt) to the mix. Zip it up well and give it a good shake.
Step 4
Open the bag of ice and place the quart-sized bag inside. Press the larger bag down to push out any extra air. Seal it up tightly and shake it around for 5-10 minutes. As the cream mixture starts to freeze, you'll notice ice cream forming in the inner bag! To help the mixture along, we also stuck the whole bag in the freezer for an extra 10 minutes.

Tip
If the bag gets too cold and wet while shaking, it helps to wrap it in a tea towel or paper towel.
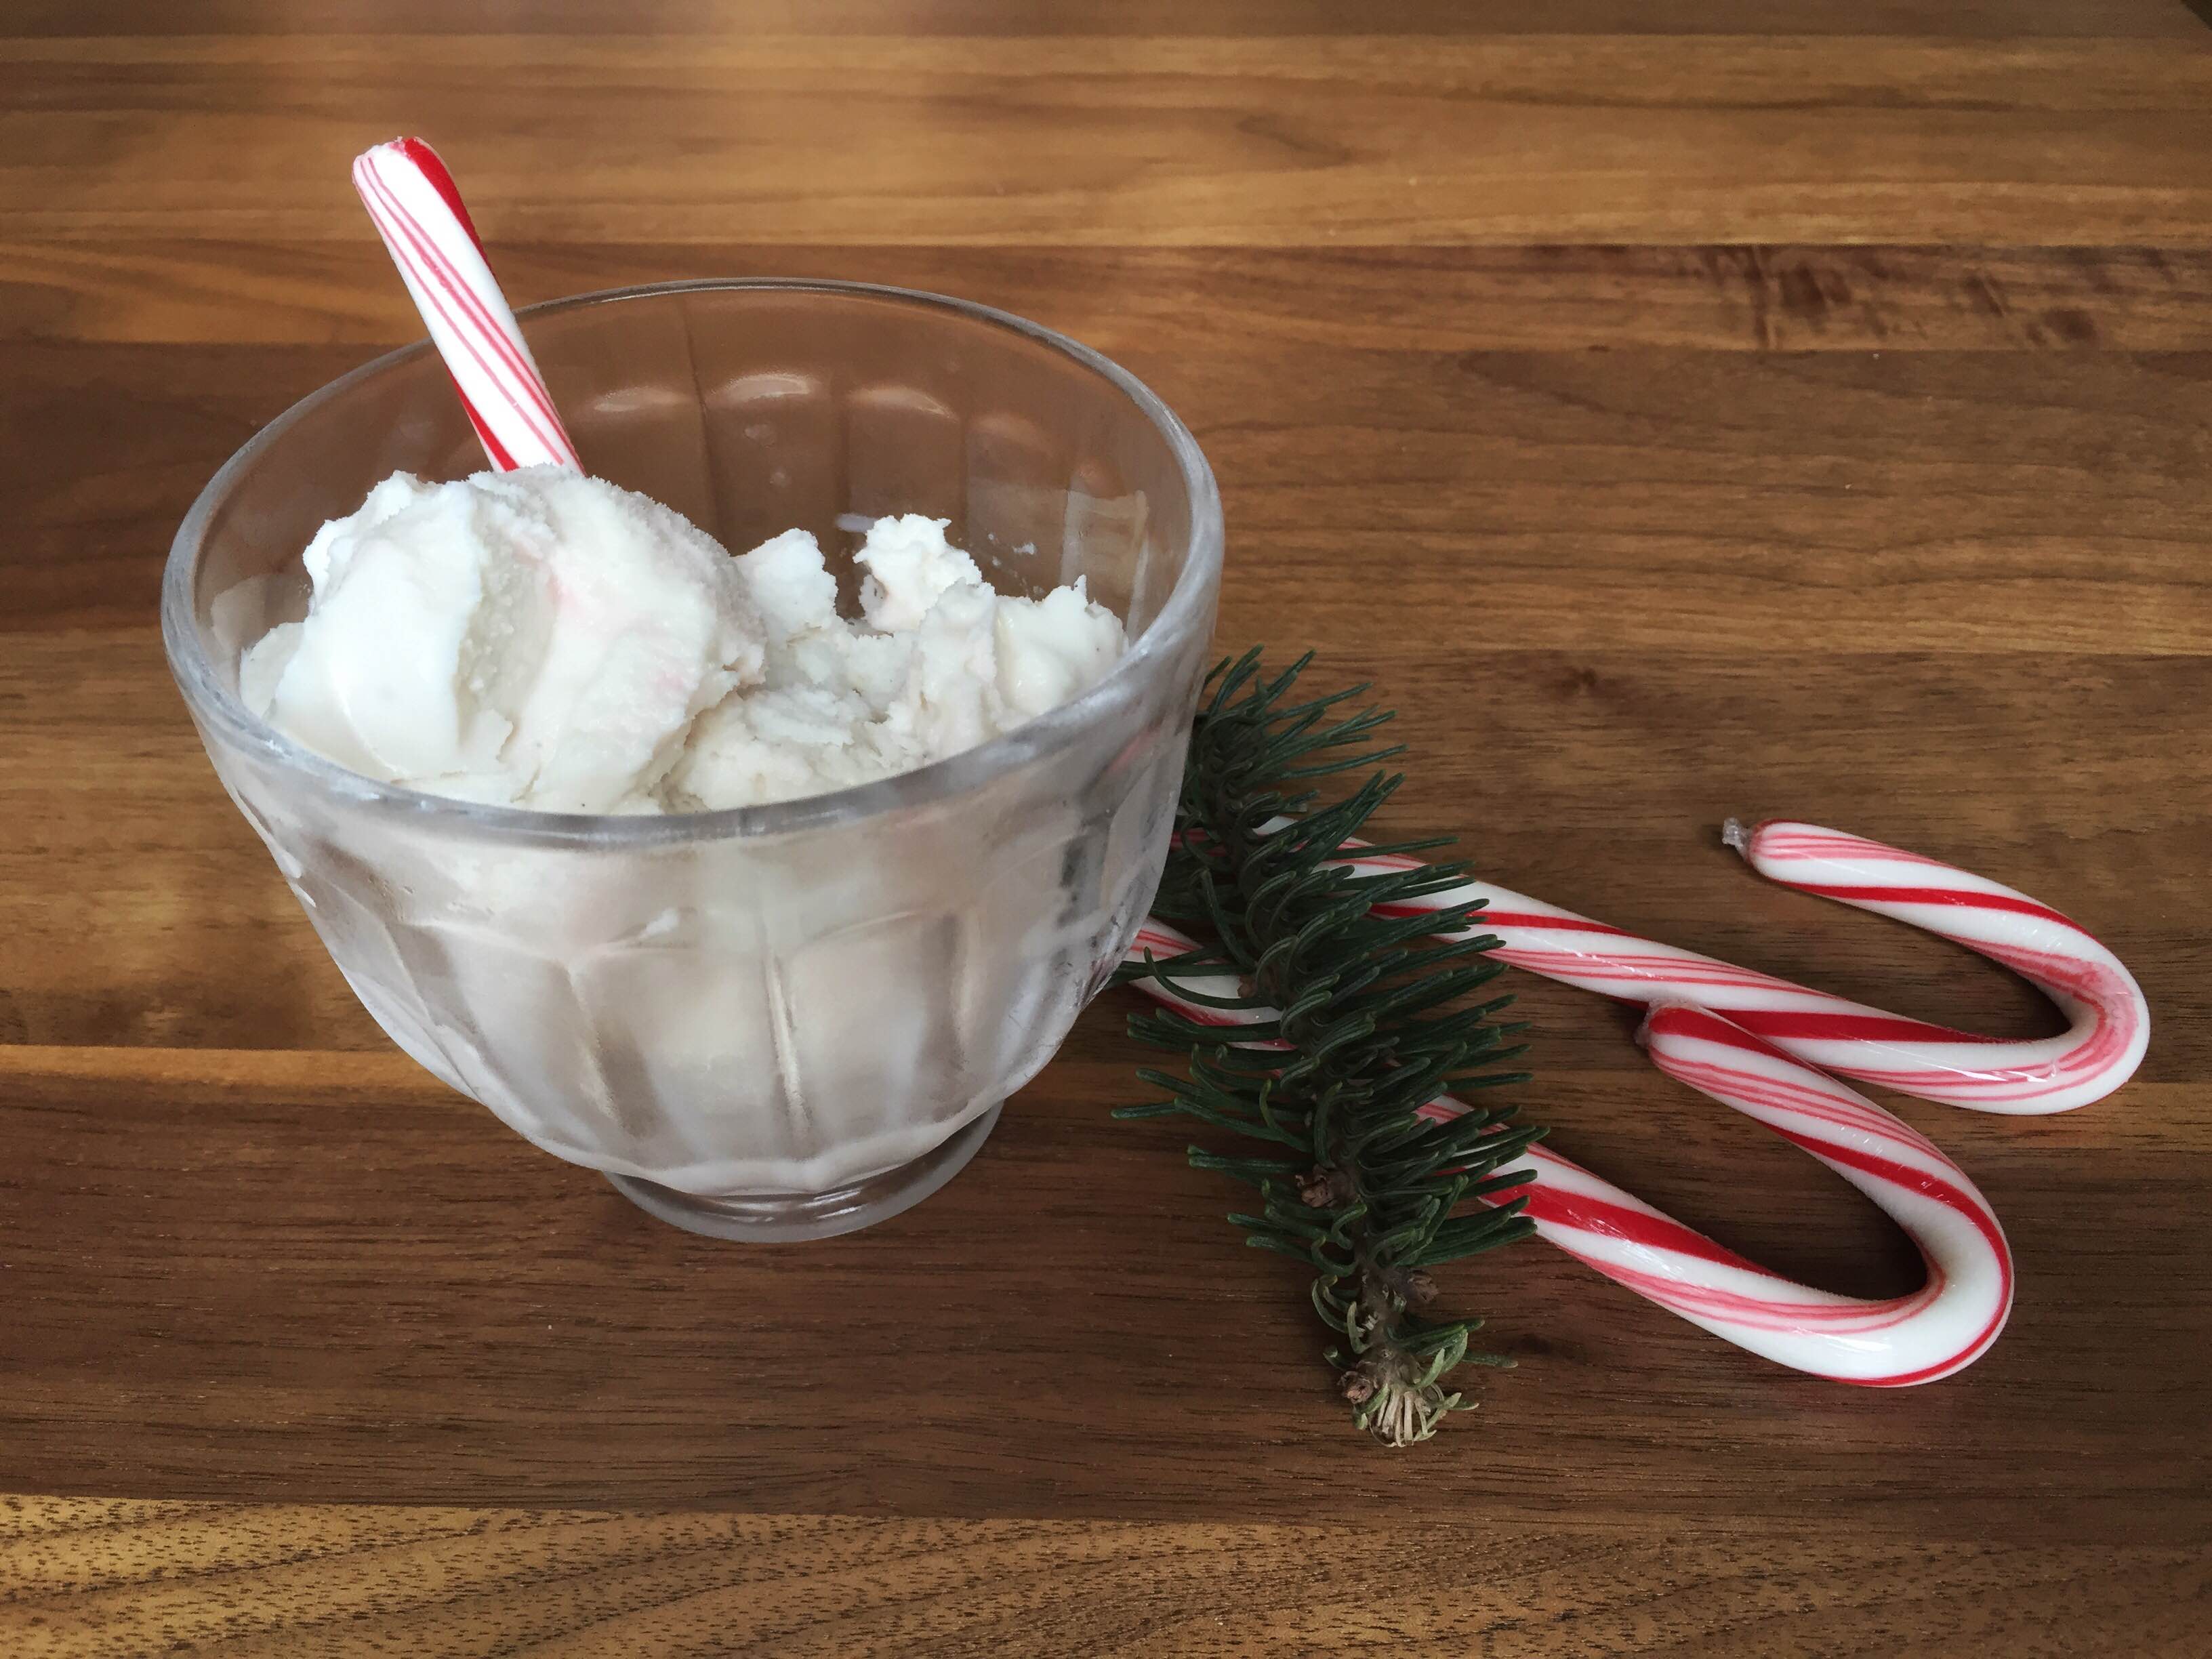
Done!
When the ice cream is ready, quickly rinse the inner bag in cold water to wash away the salt water. Scoop out your homemade ice cream and serve it with an extra peppermint stick!