Step-by-step tutorial
Step 1
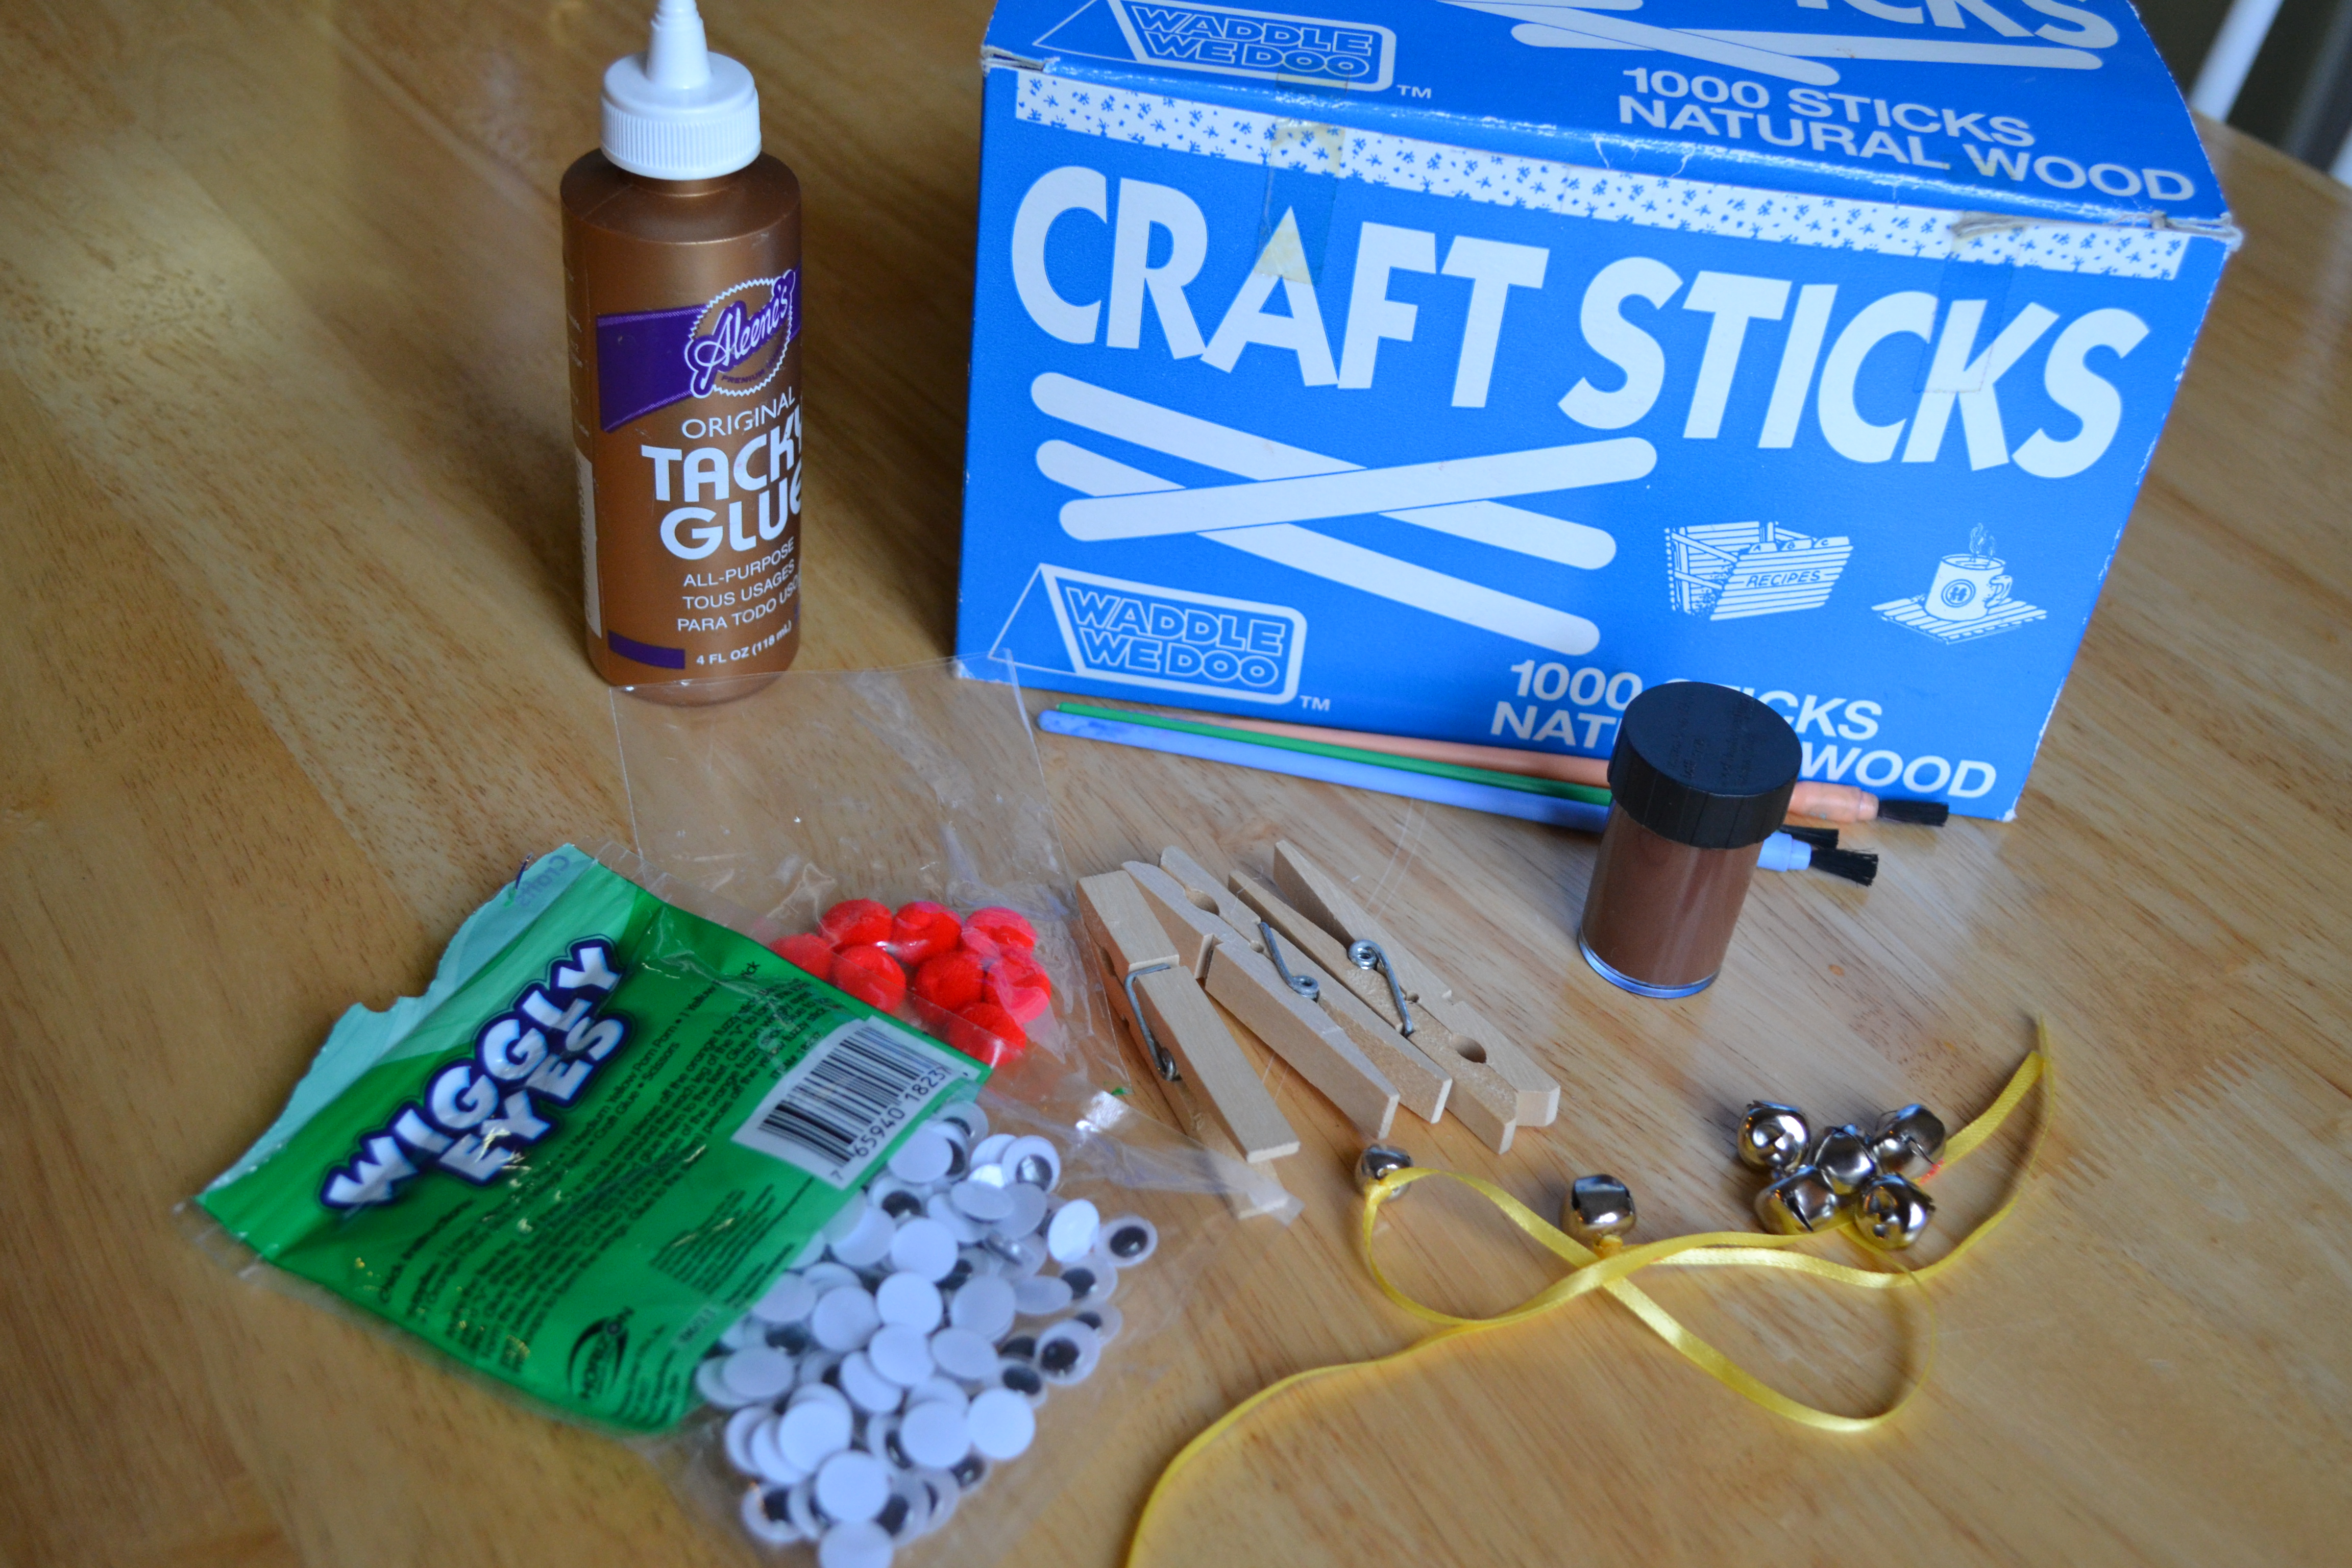
Gather all materials. I love these little reindeer because they gave us a chance to use some of the wooden clothespins that I bought to work on developing my son's hand strength. We used acrylic brown paint because it's what I had on hand, but I always recommend using washable paints when working with young kids.

Step 2
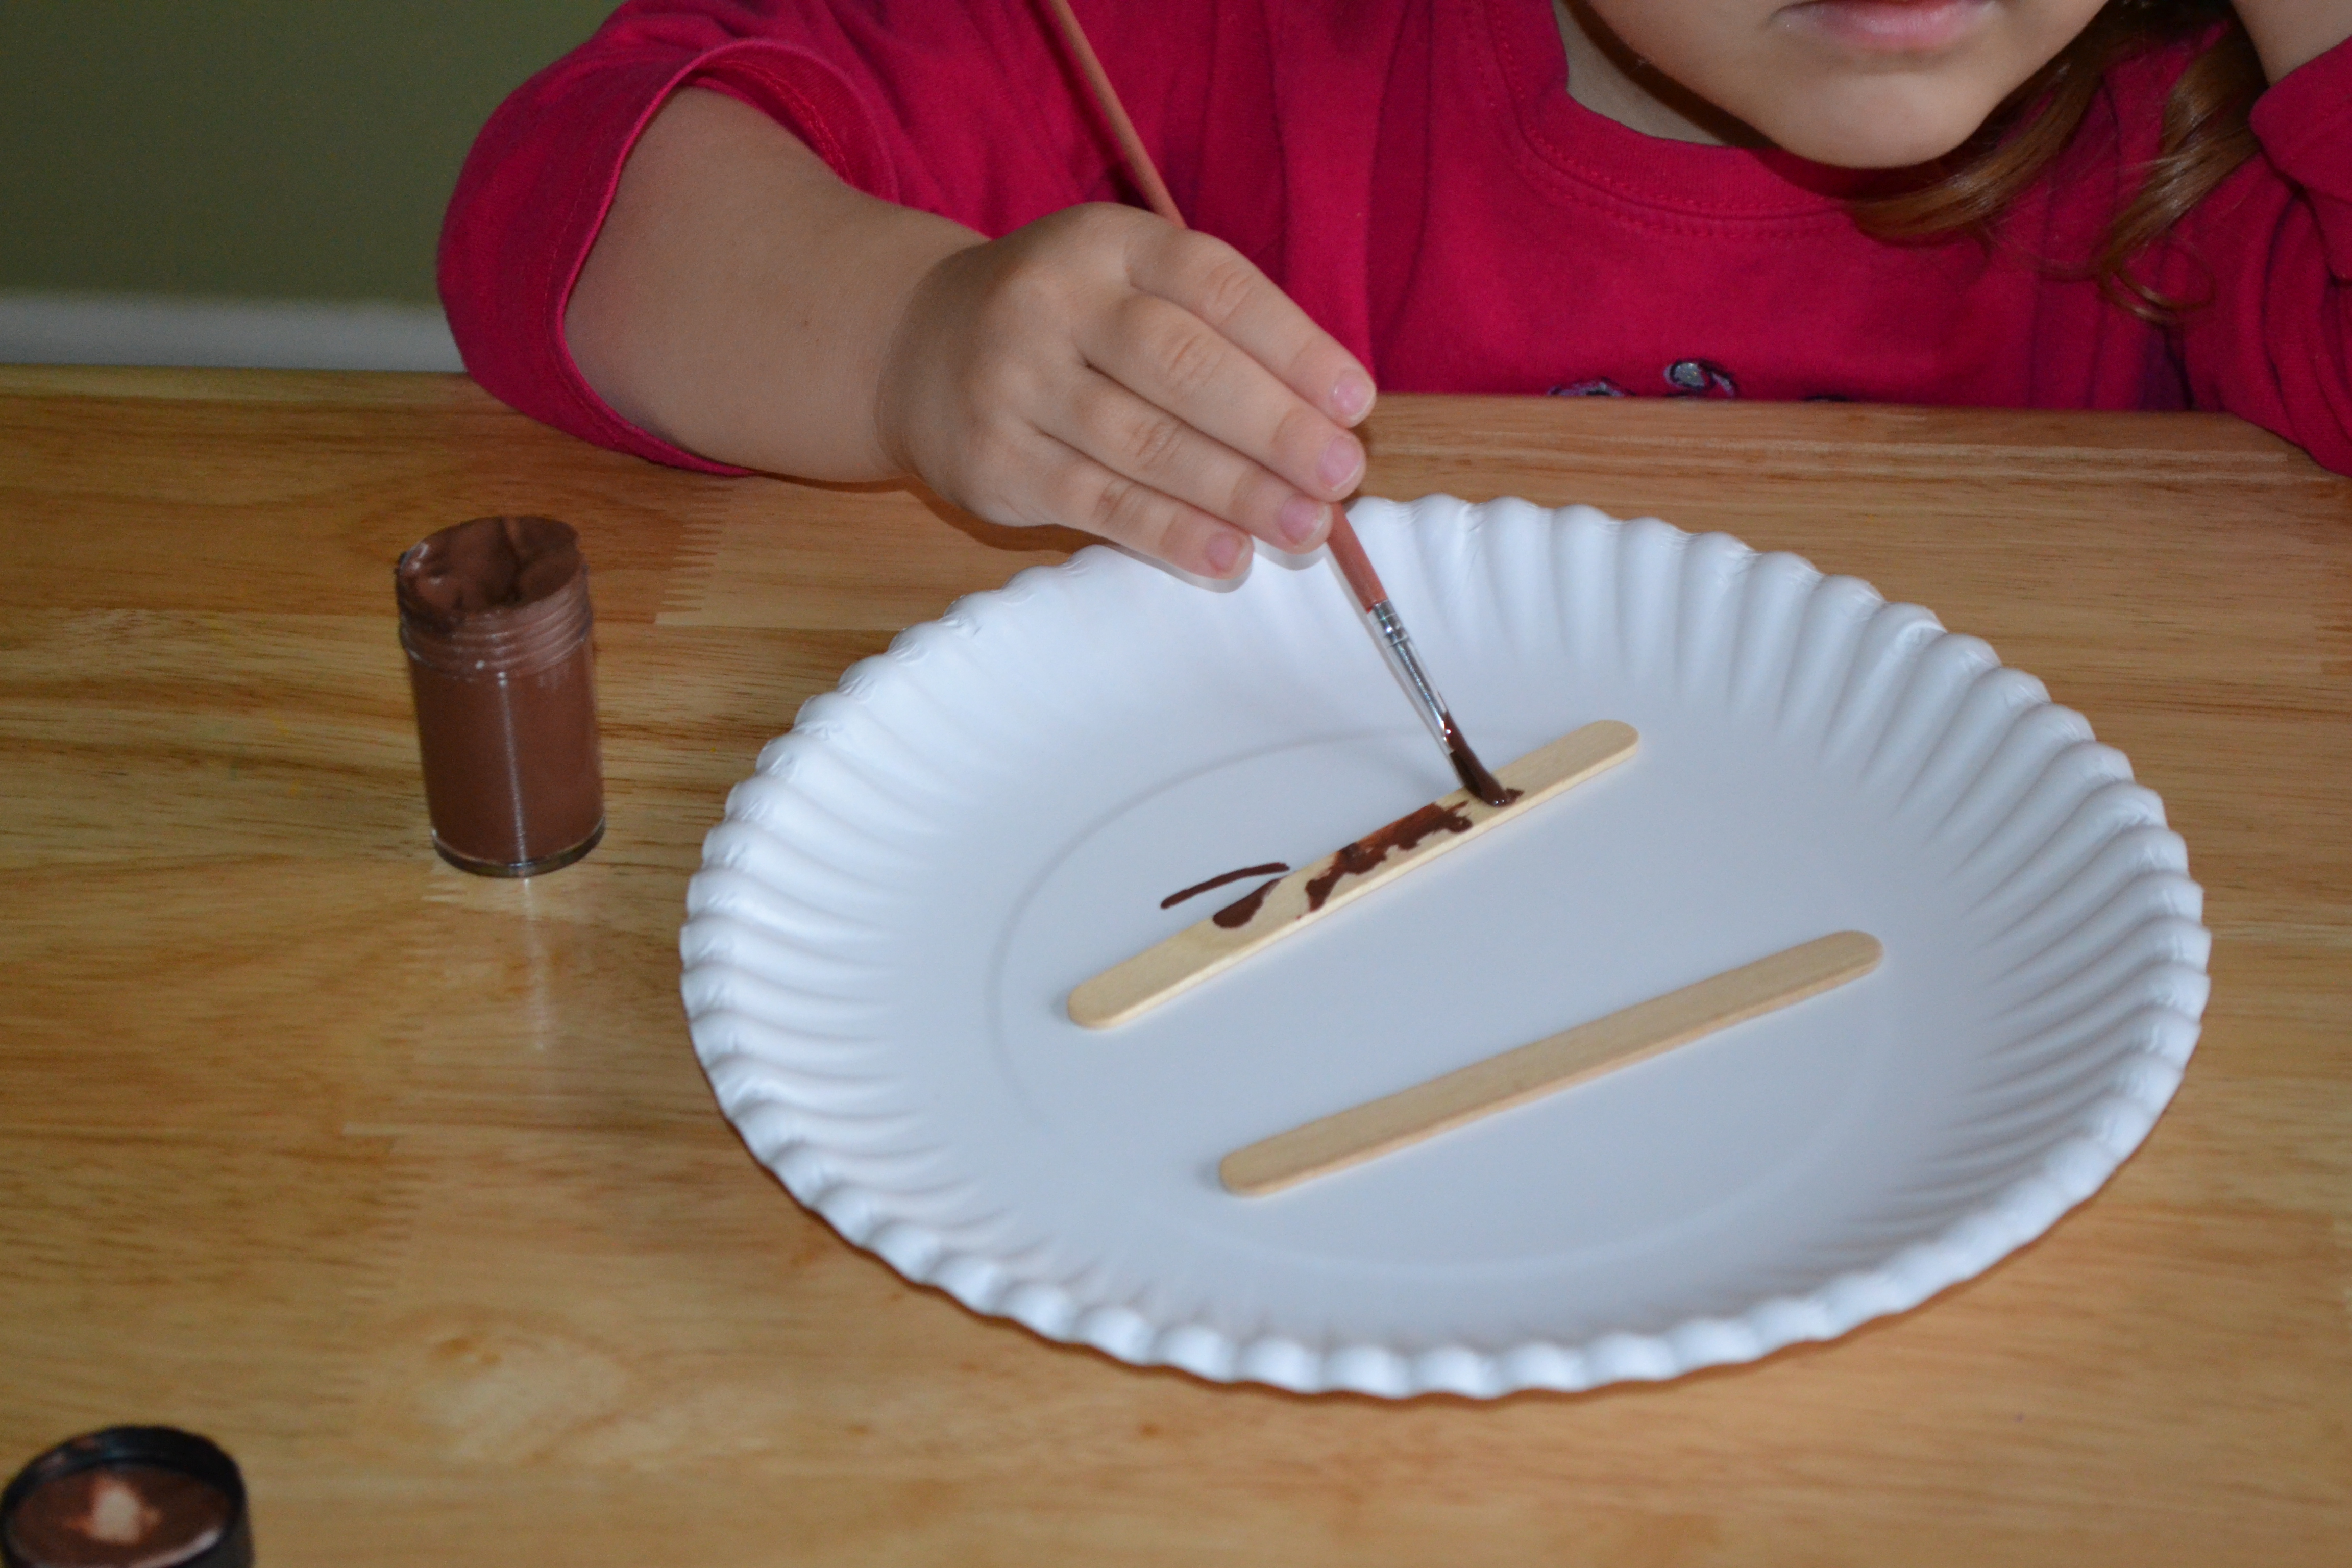
First, we painted the Popsicle stick and 3 clothespins brown. I put them on a paper plate and we washed our hands and work surfaces immediately since we were using acrylics. We ended up painting one side of the sticks and letting them dry before painting the other side. I went back and touched up my 3-year-old's painting, but the older kids were able to cover most of their sticks and clothespins on their own.
Step 3
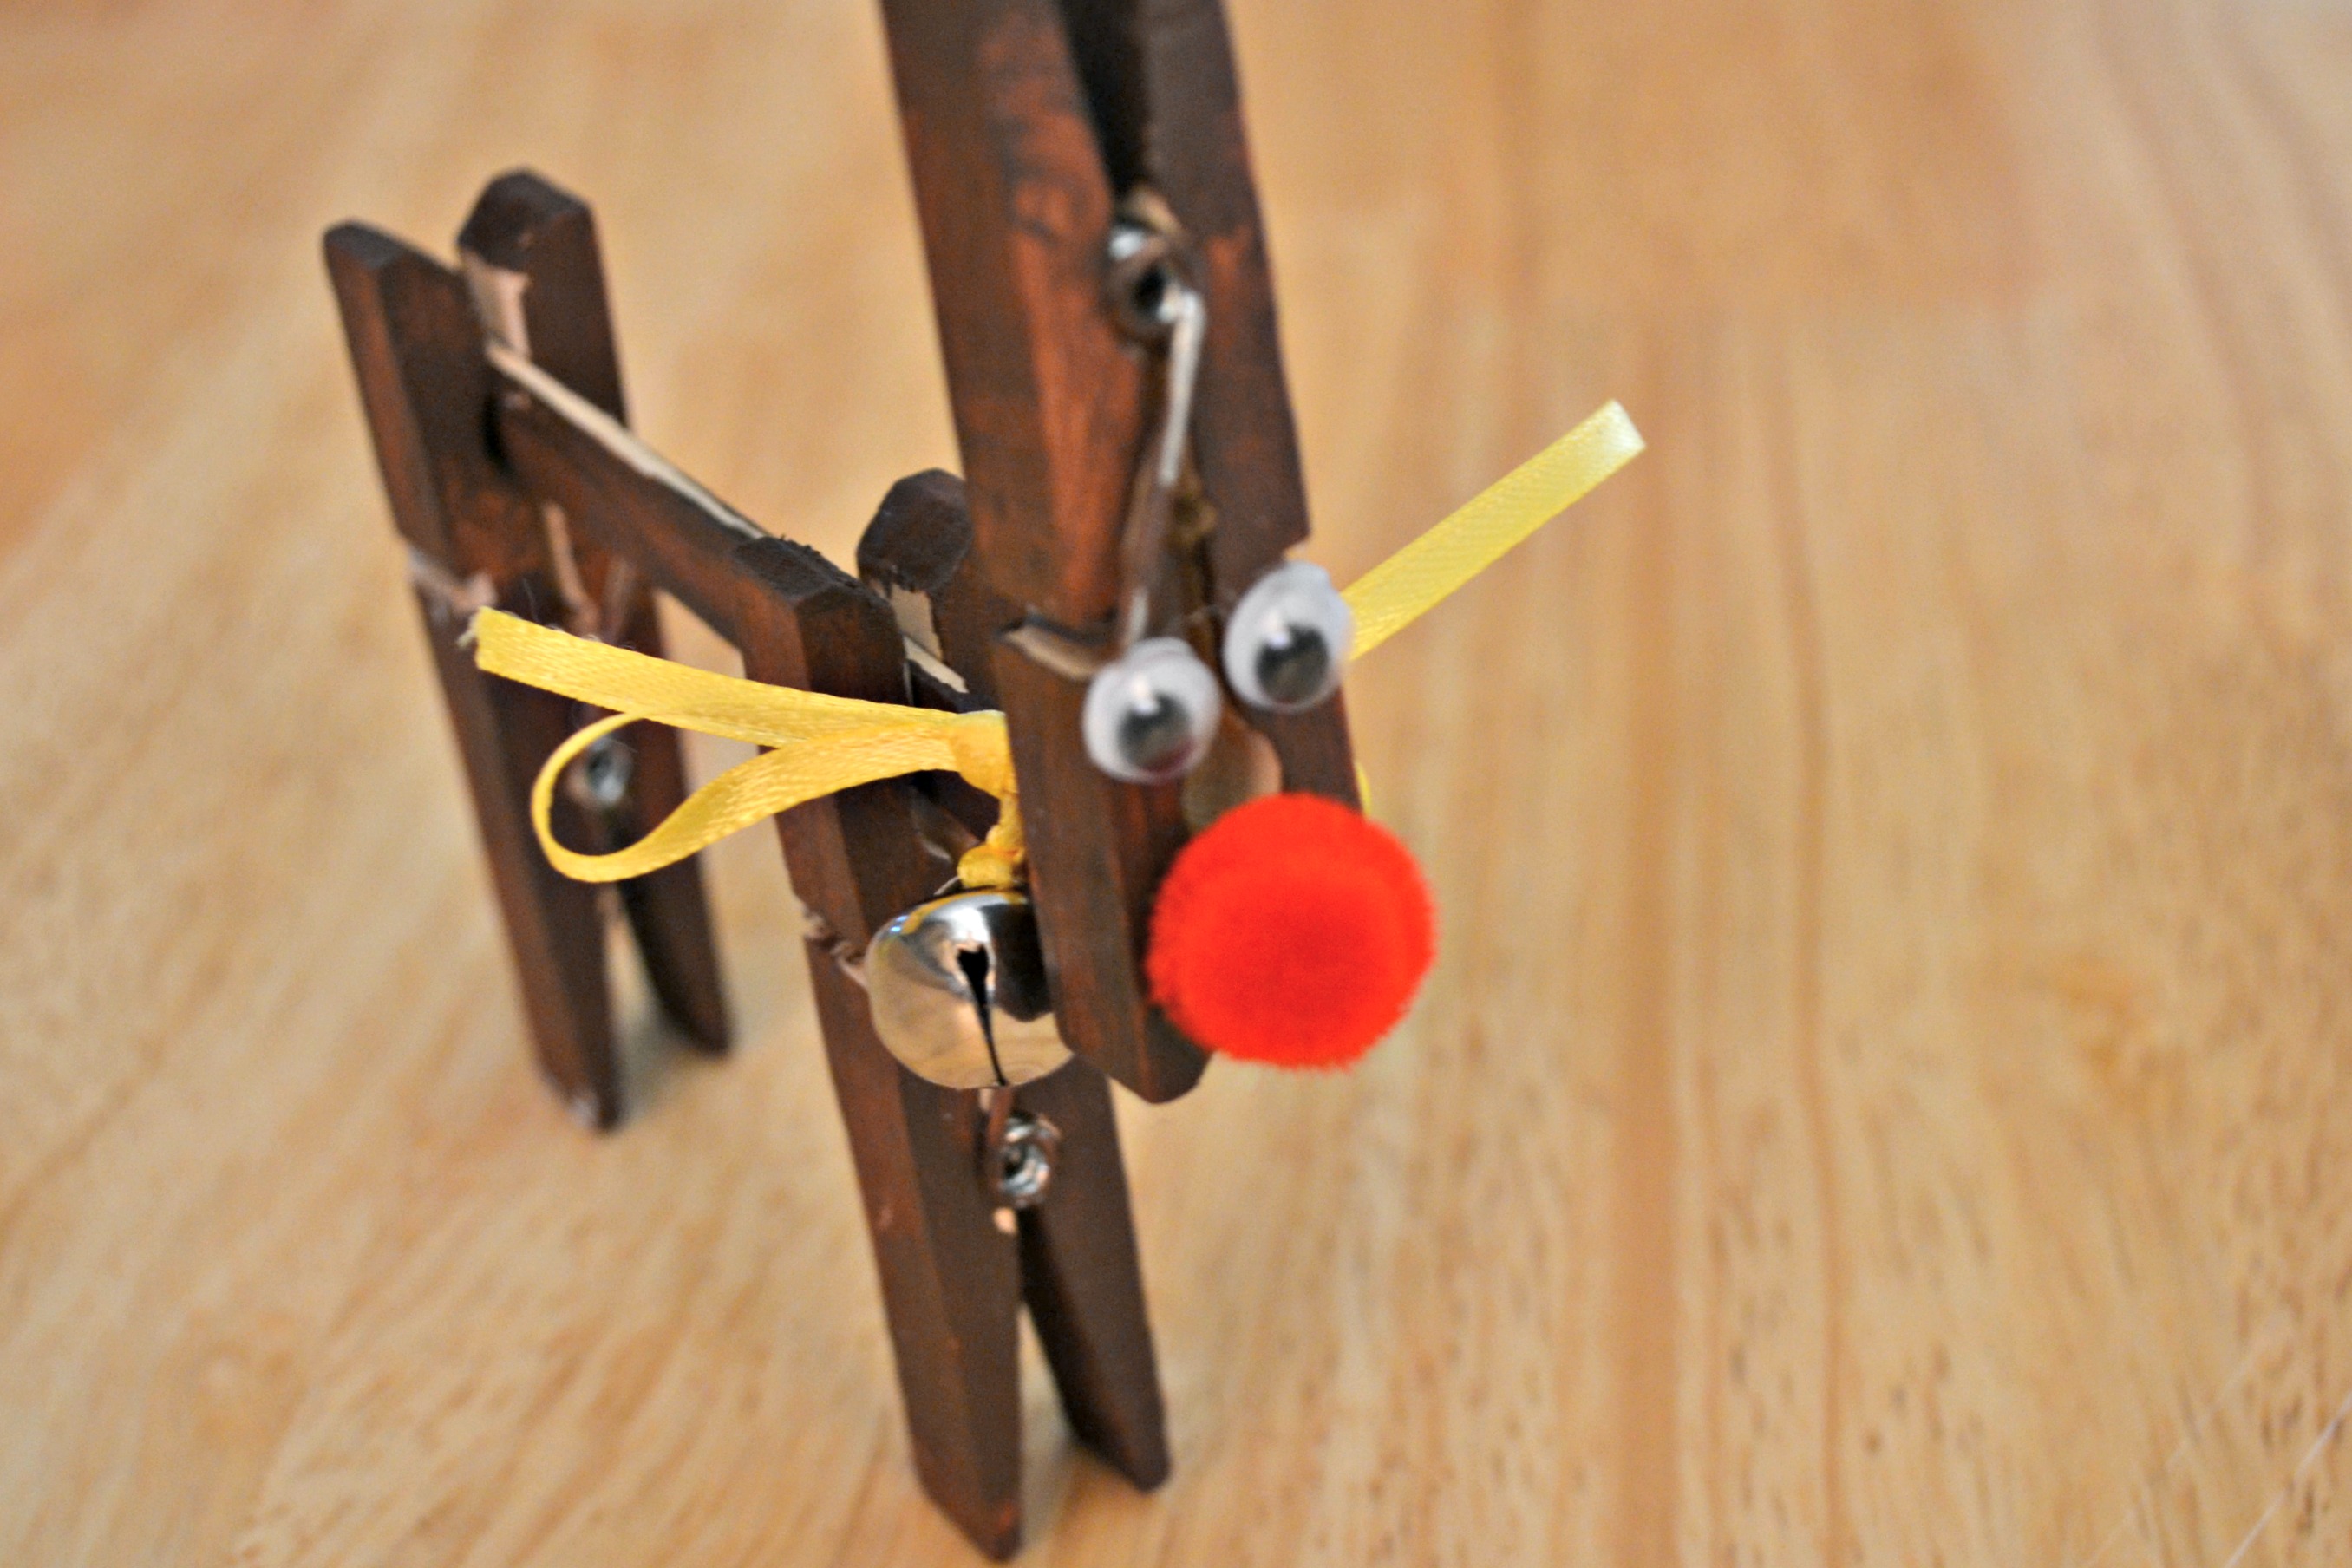
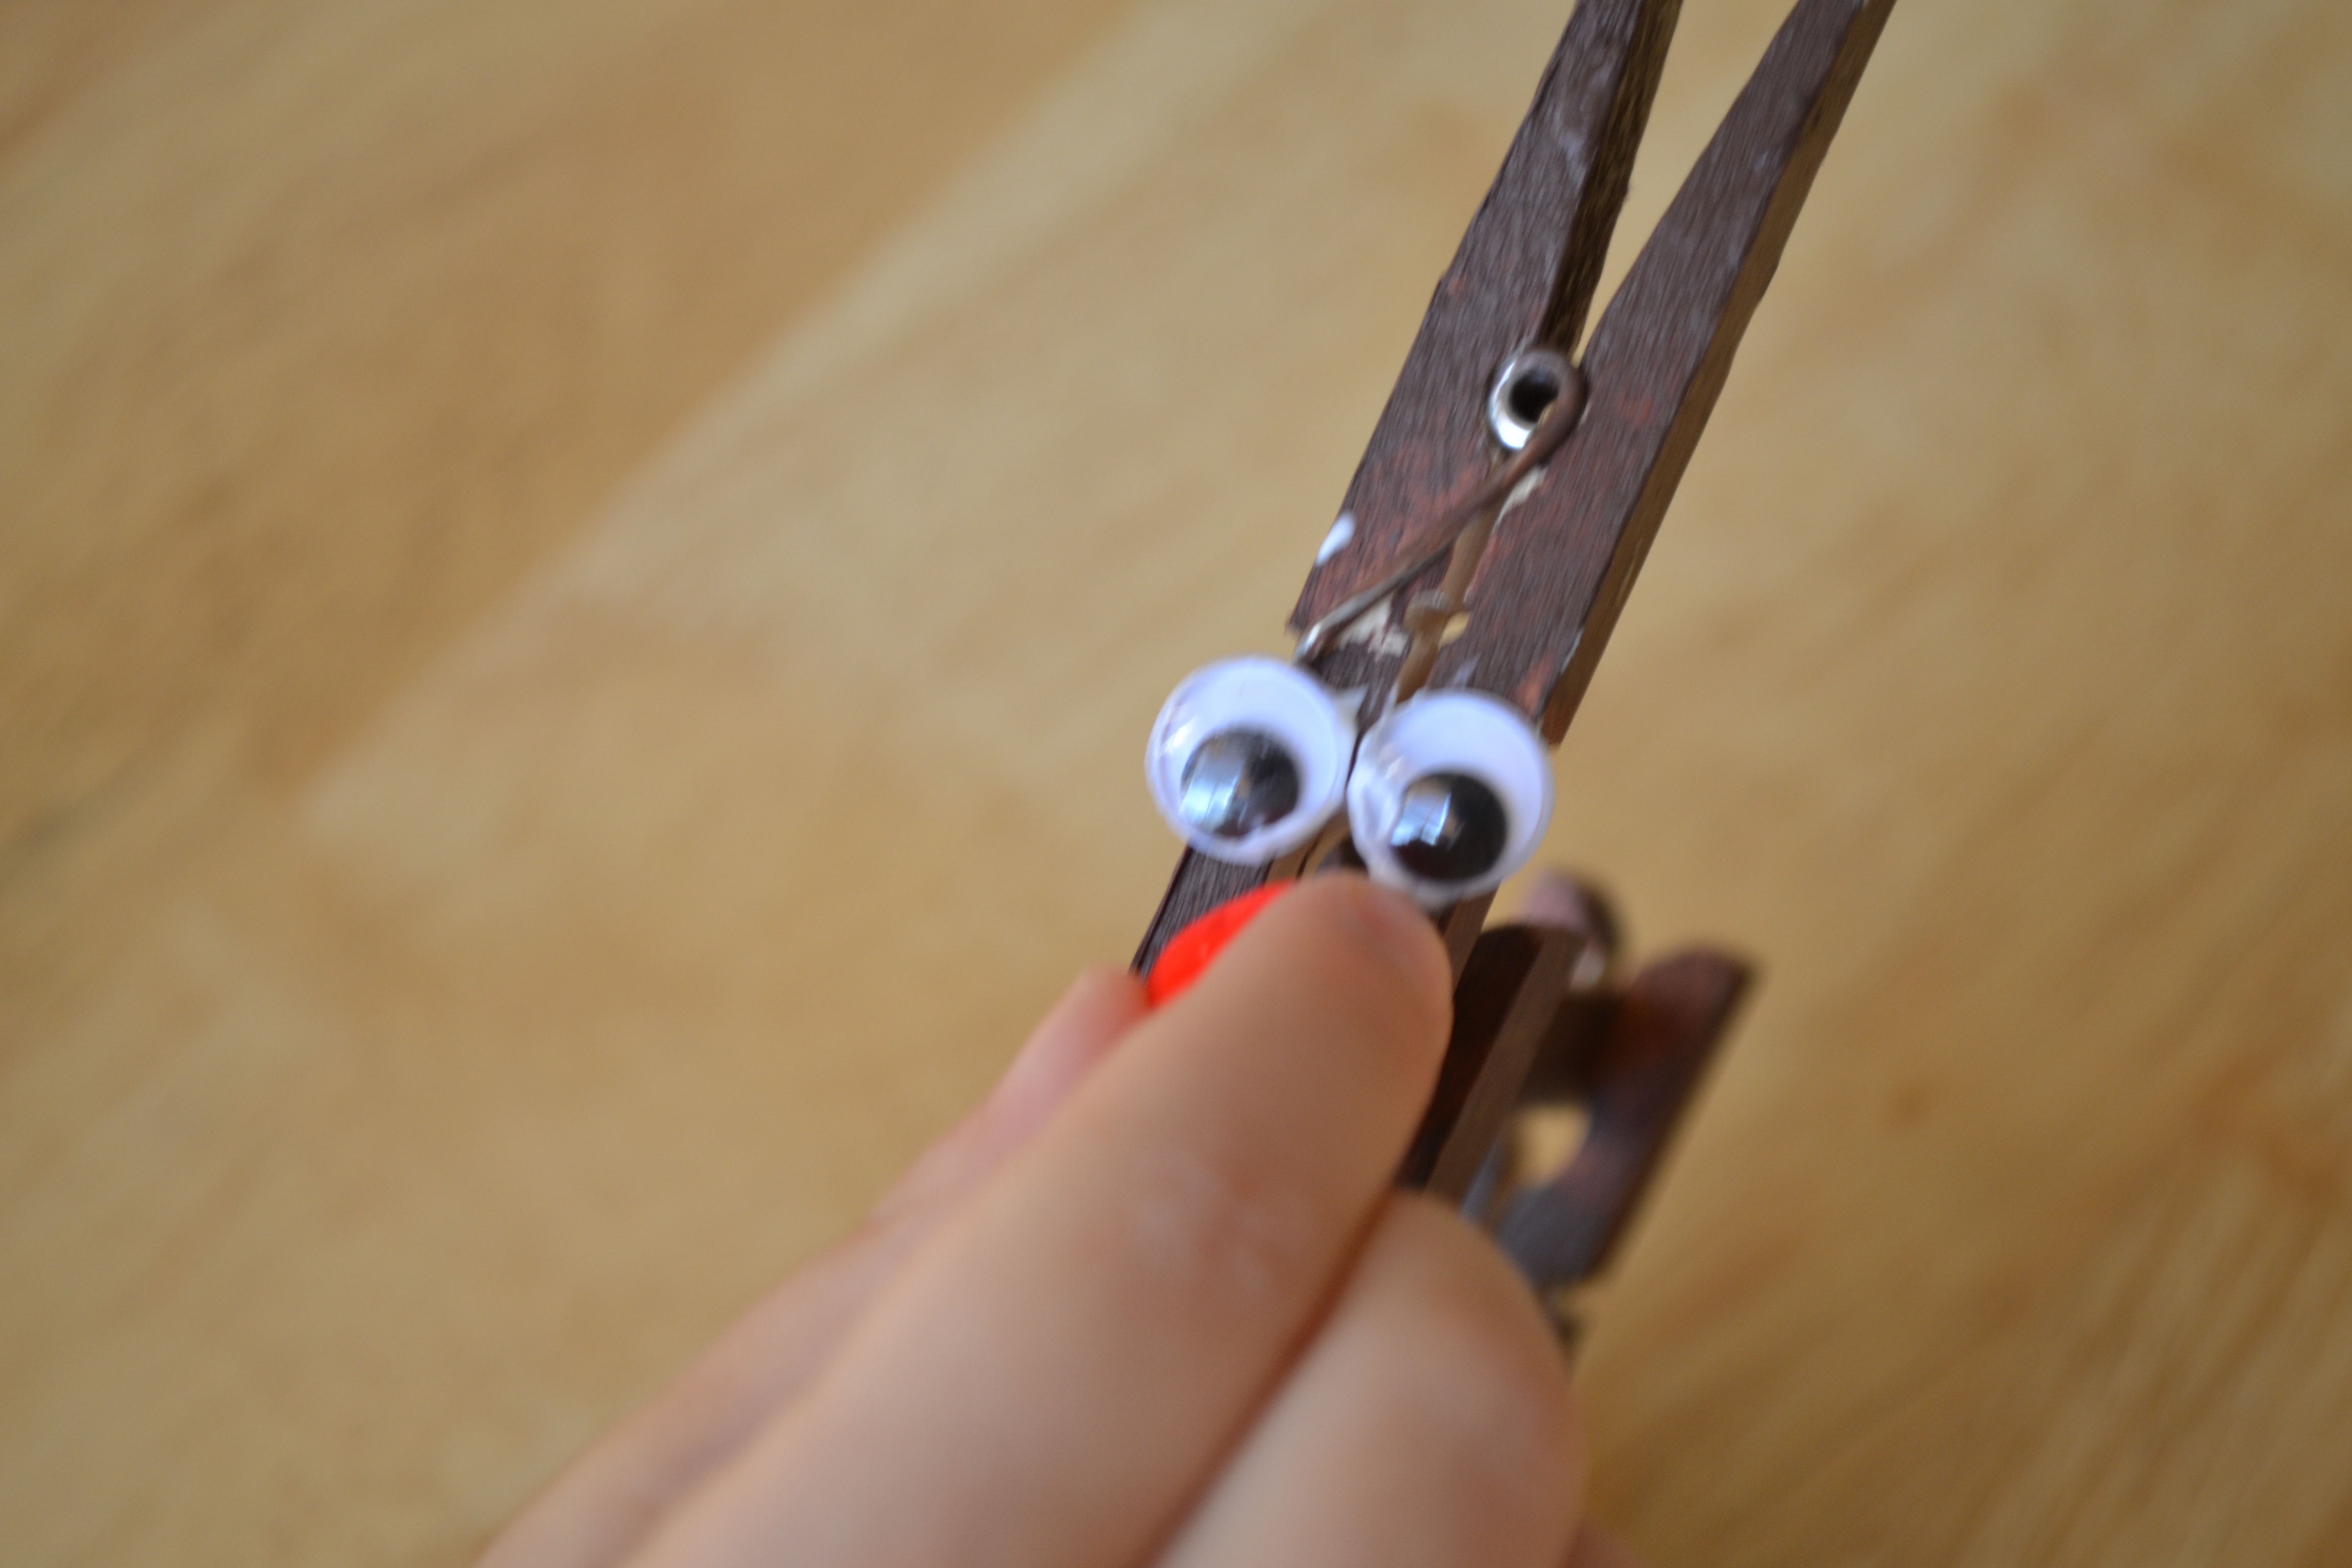
We took one clothespin and set it on its side so we could glue it on the googly eyes and nose. The first time we made one, we tried putting the reindeer together first and then gluing the face on, but we found it was easier to glue first and then assemble the body and legs.
Step 4
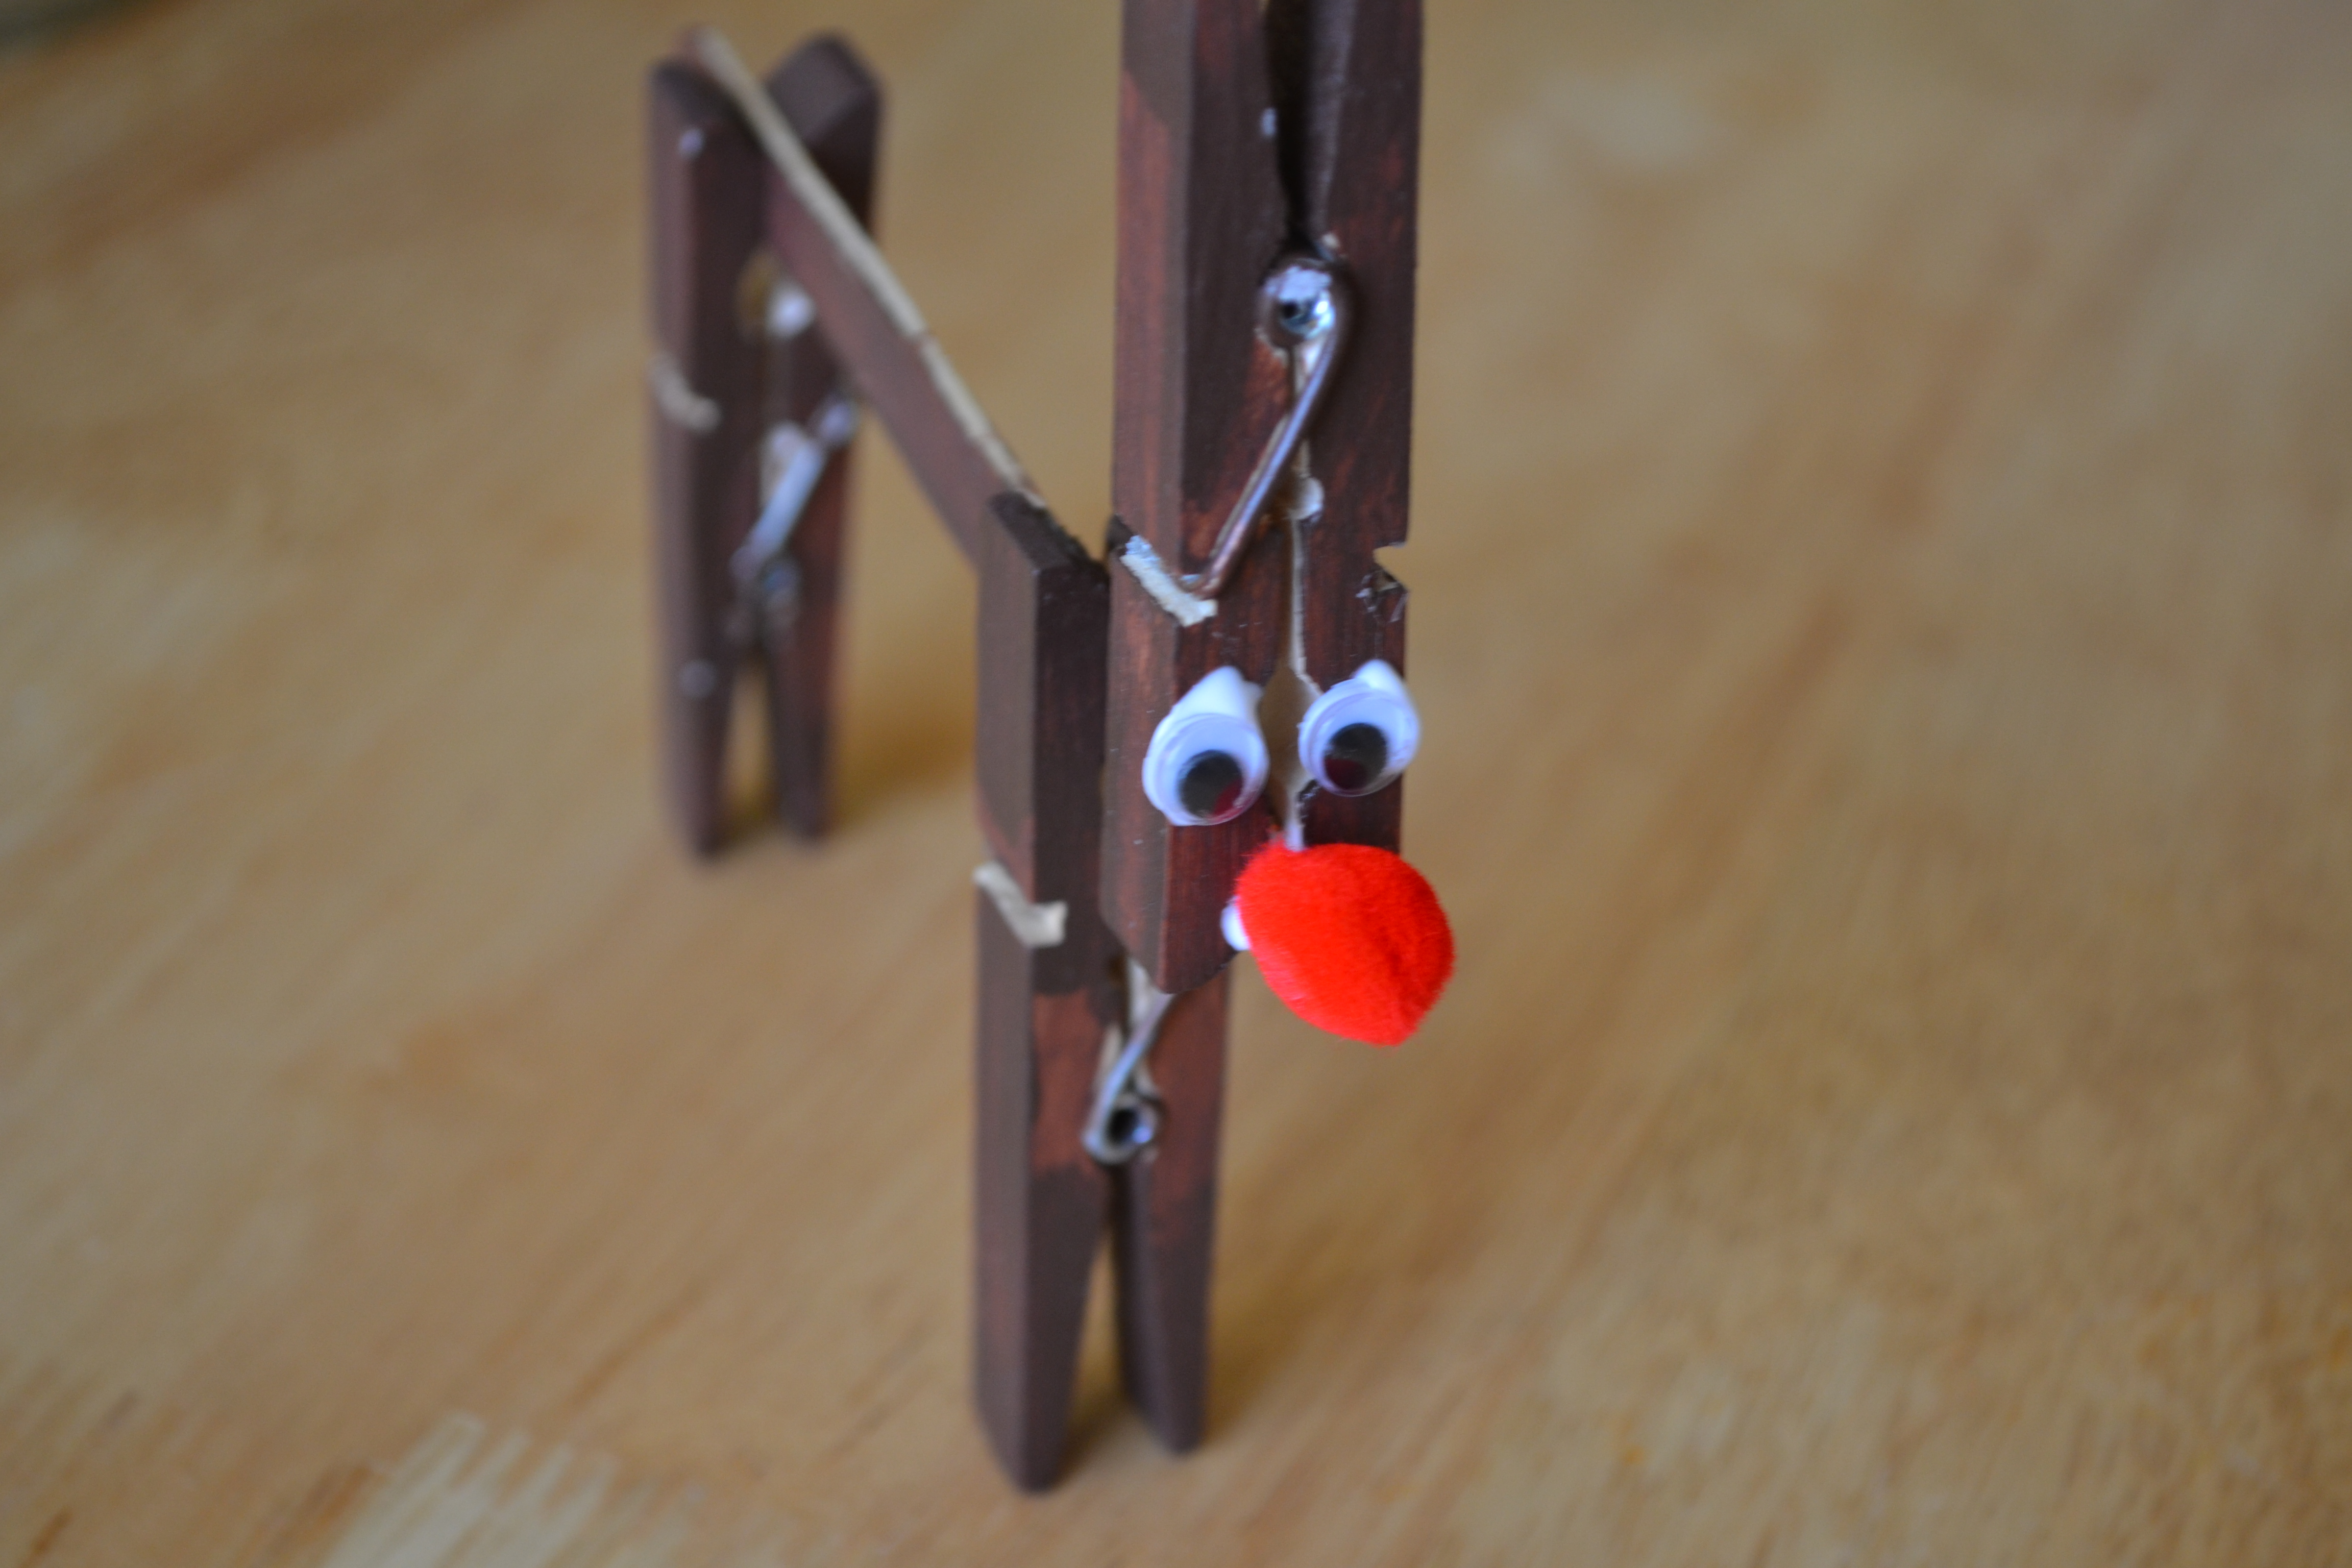
After the face was glued together, the kids put their reindeer together by pinching the head and two leg clothespins onto the craft stick. My toddler had fun playing with the pins until he accidentally pinched his finger!
Done!
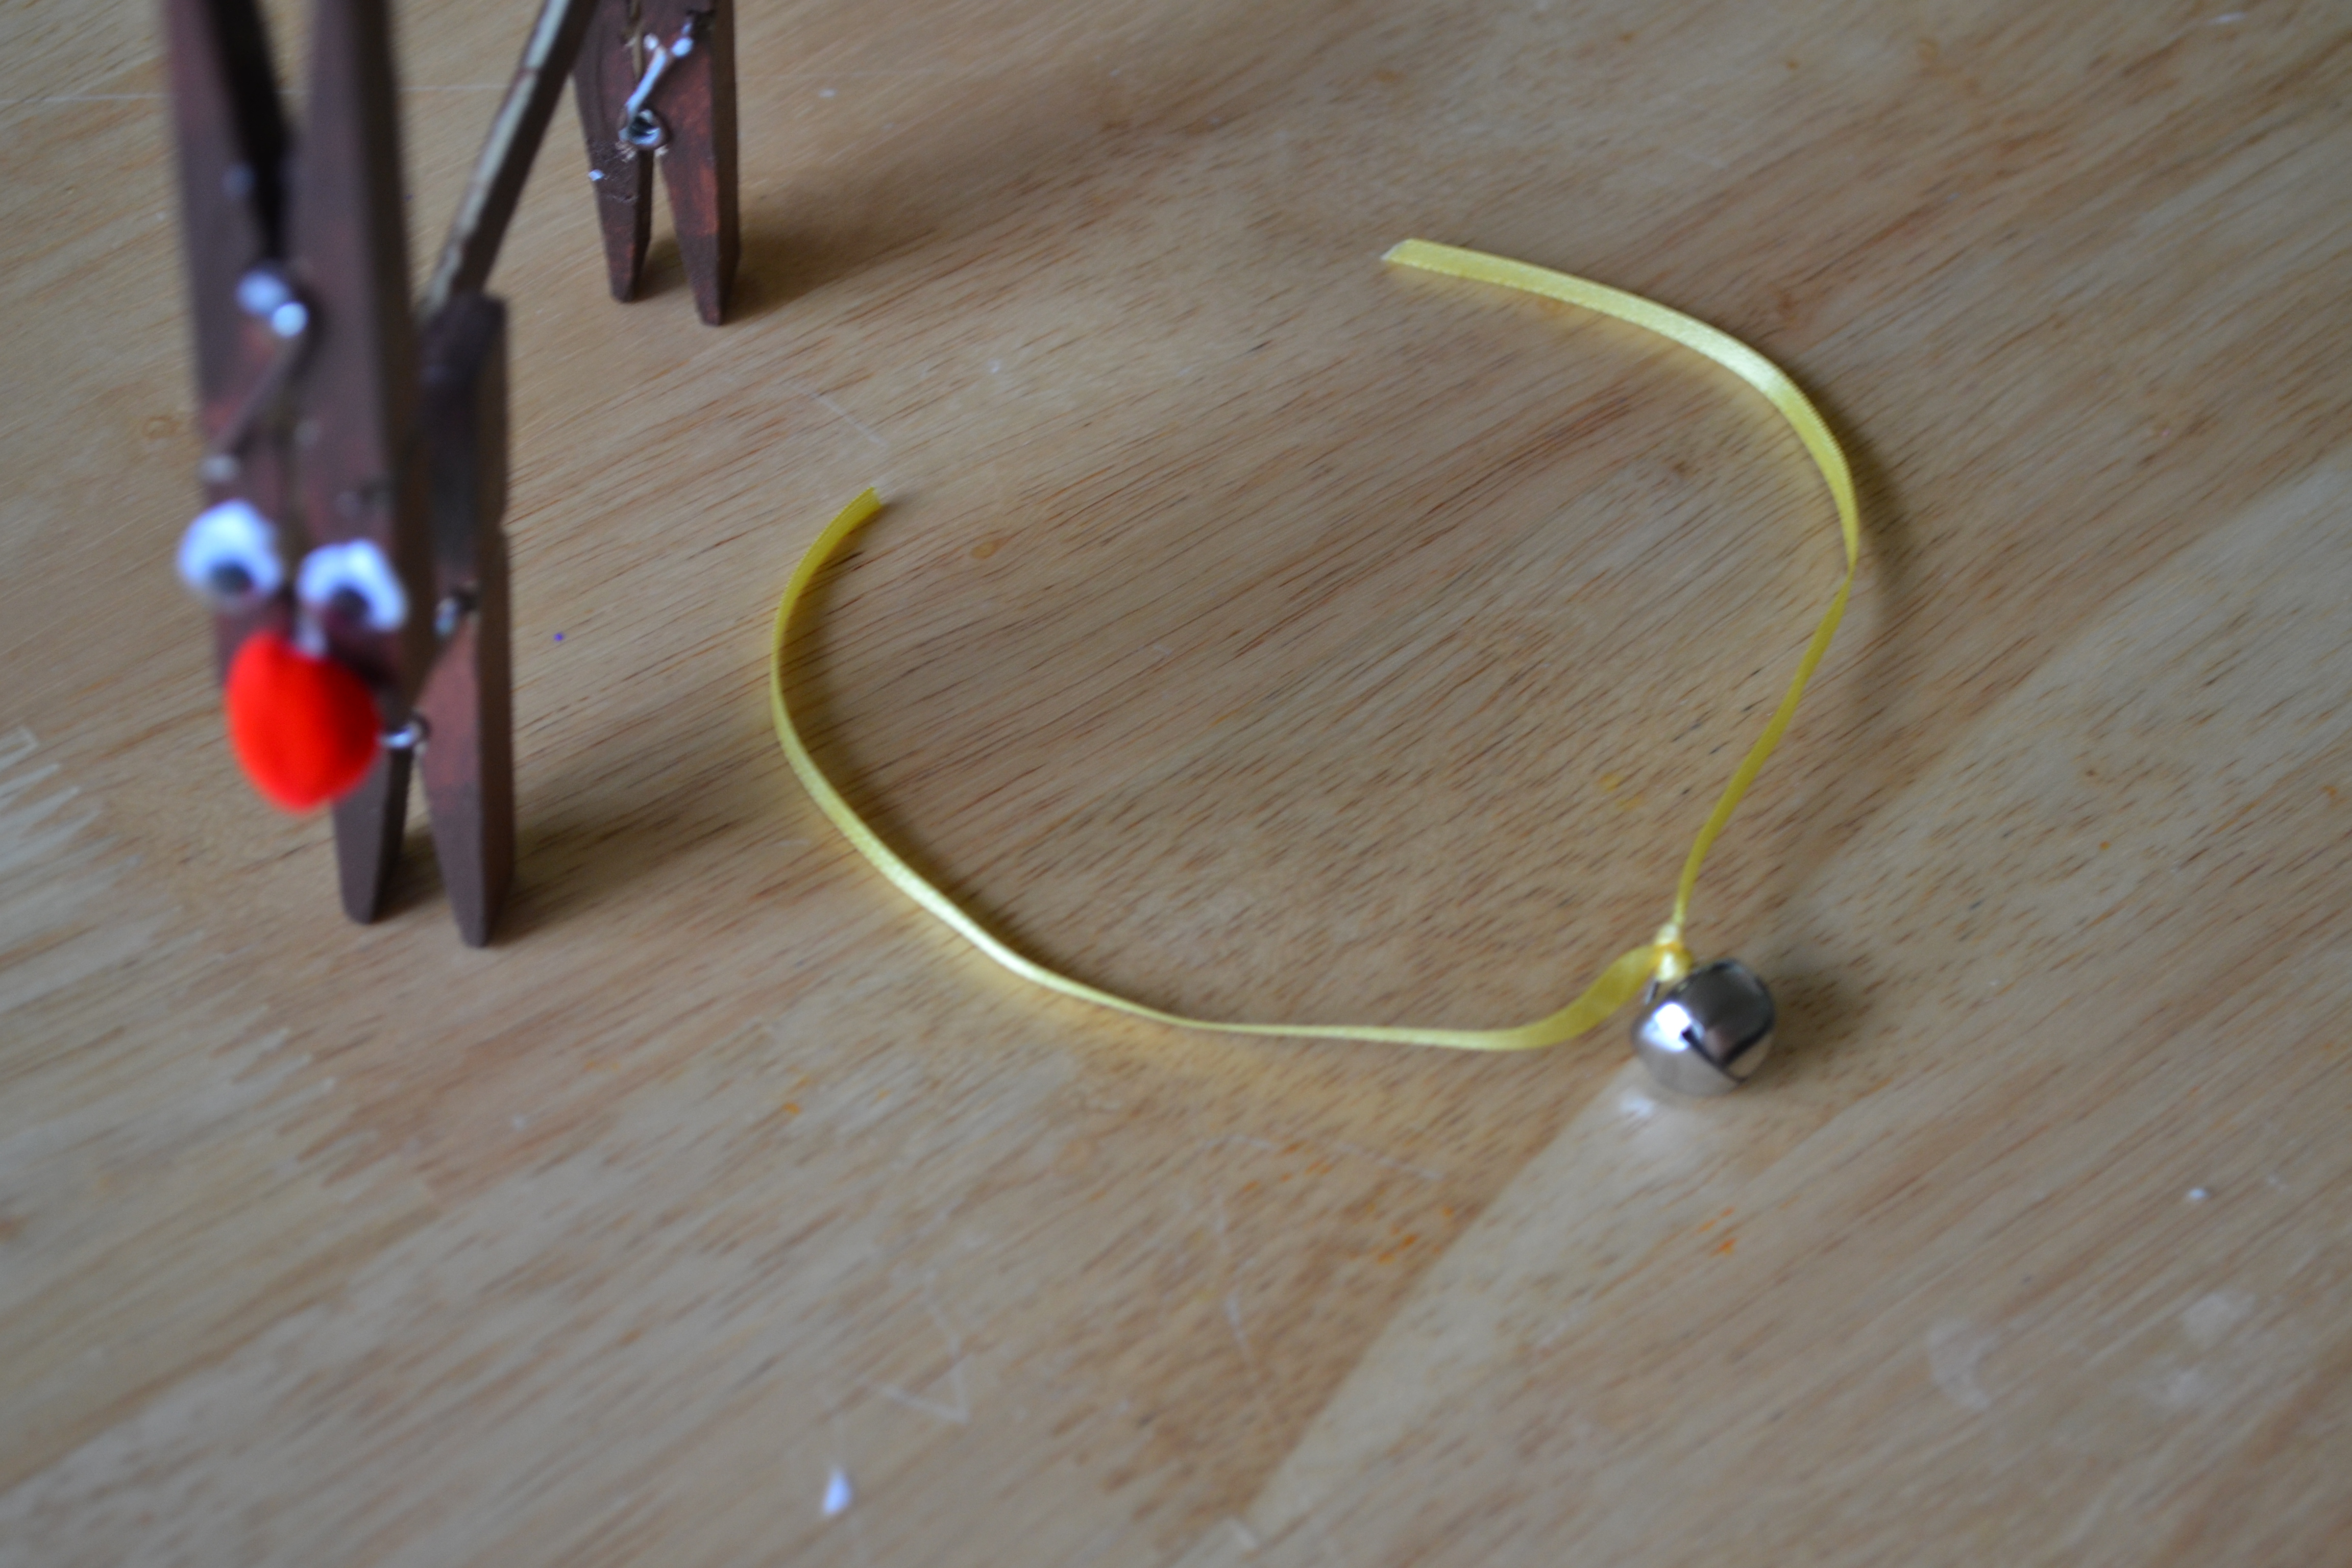
To decorate our reindeer we tied a bell onto some yellow ribbon and tied it in a bow behind the head clothespin. I had to help the kids with this part because they had trouble getting the bows tied with the tiny ribbon. The reindeer have made an adorable addition to our Christmas mantle!