Step-by-step tutorial
Step 1
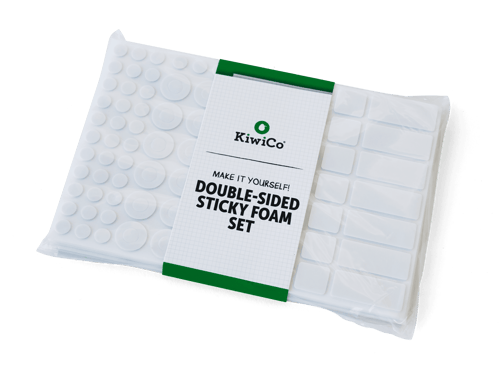
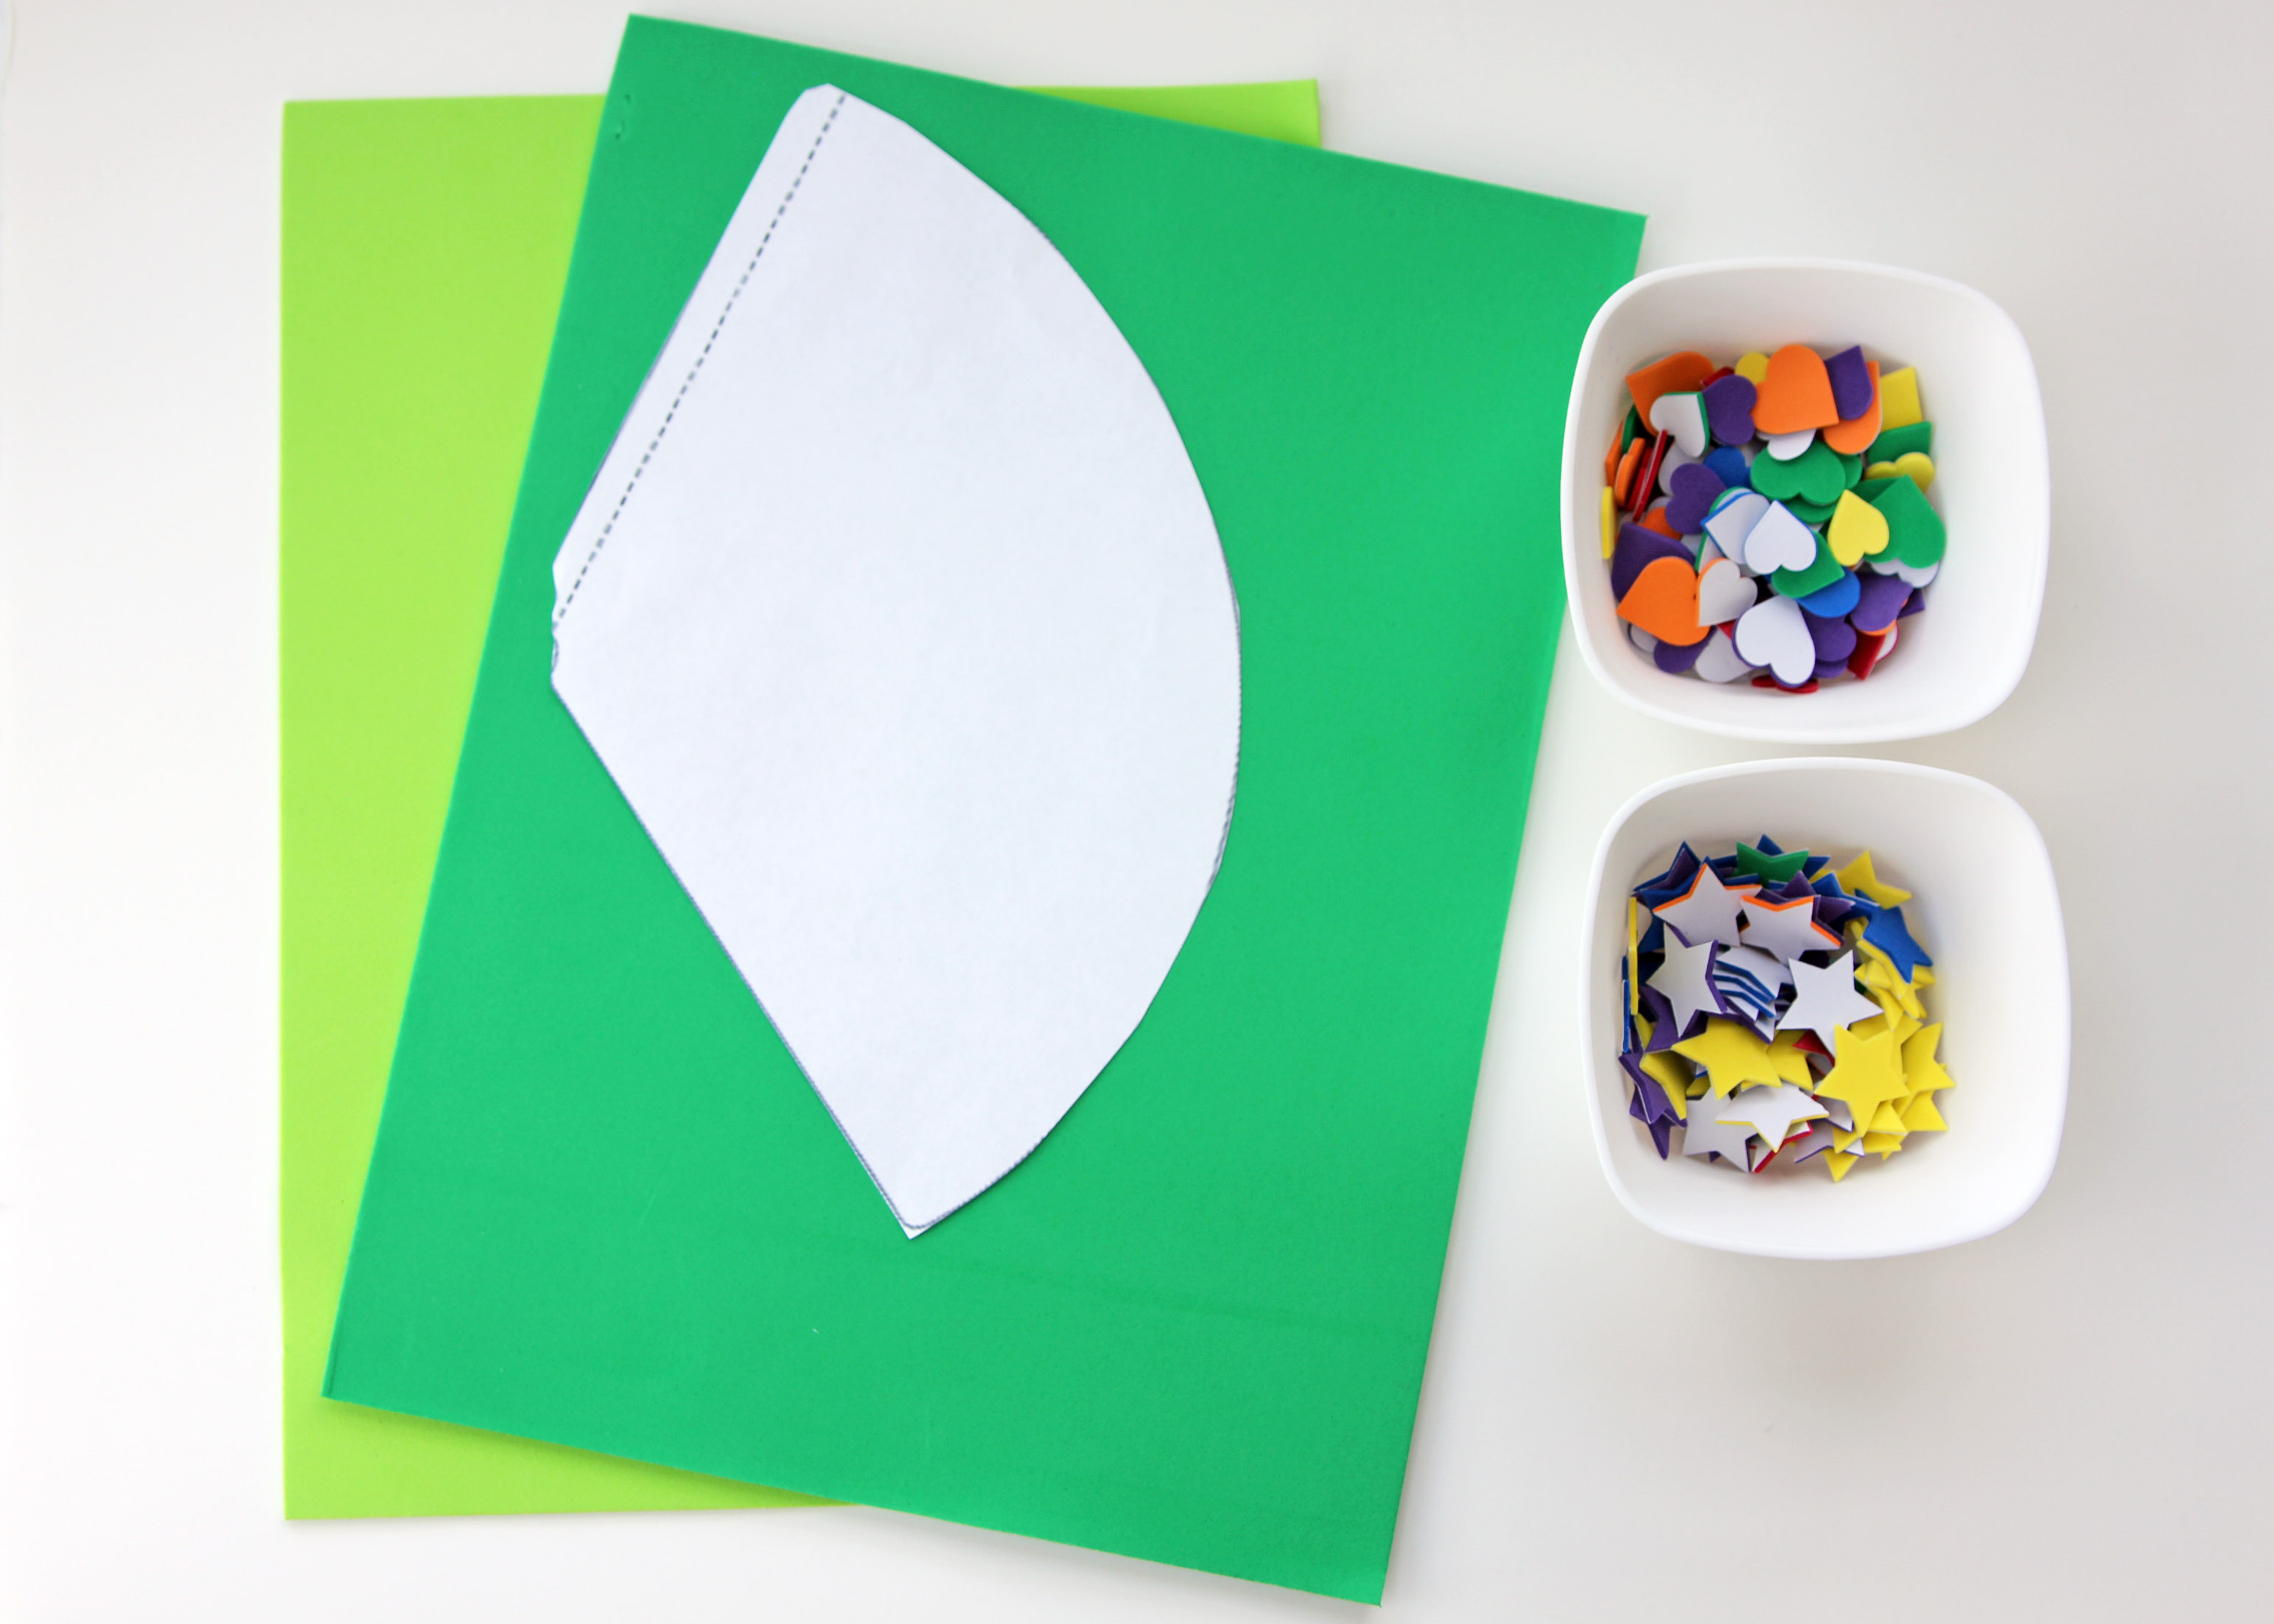
Print out cone template and cut out. Gather your remaining materials.

Step 2
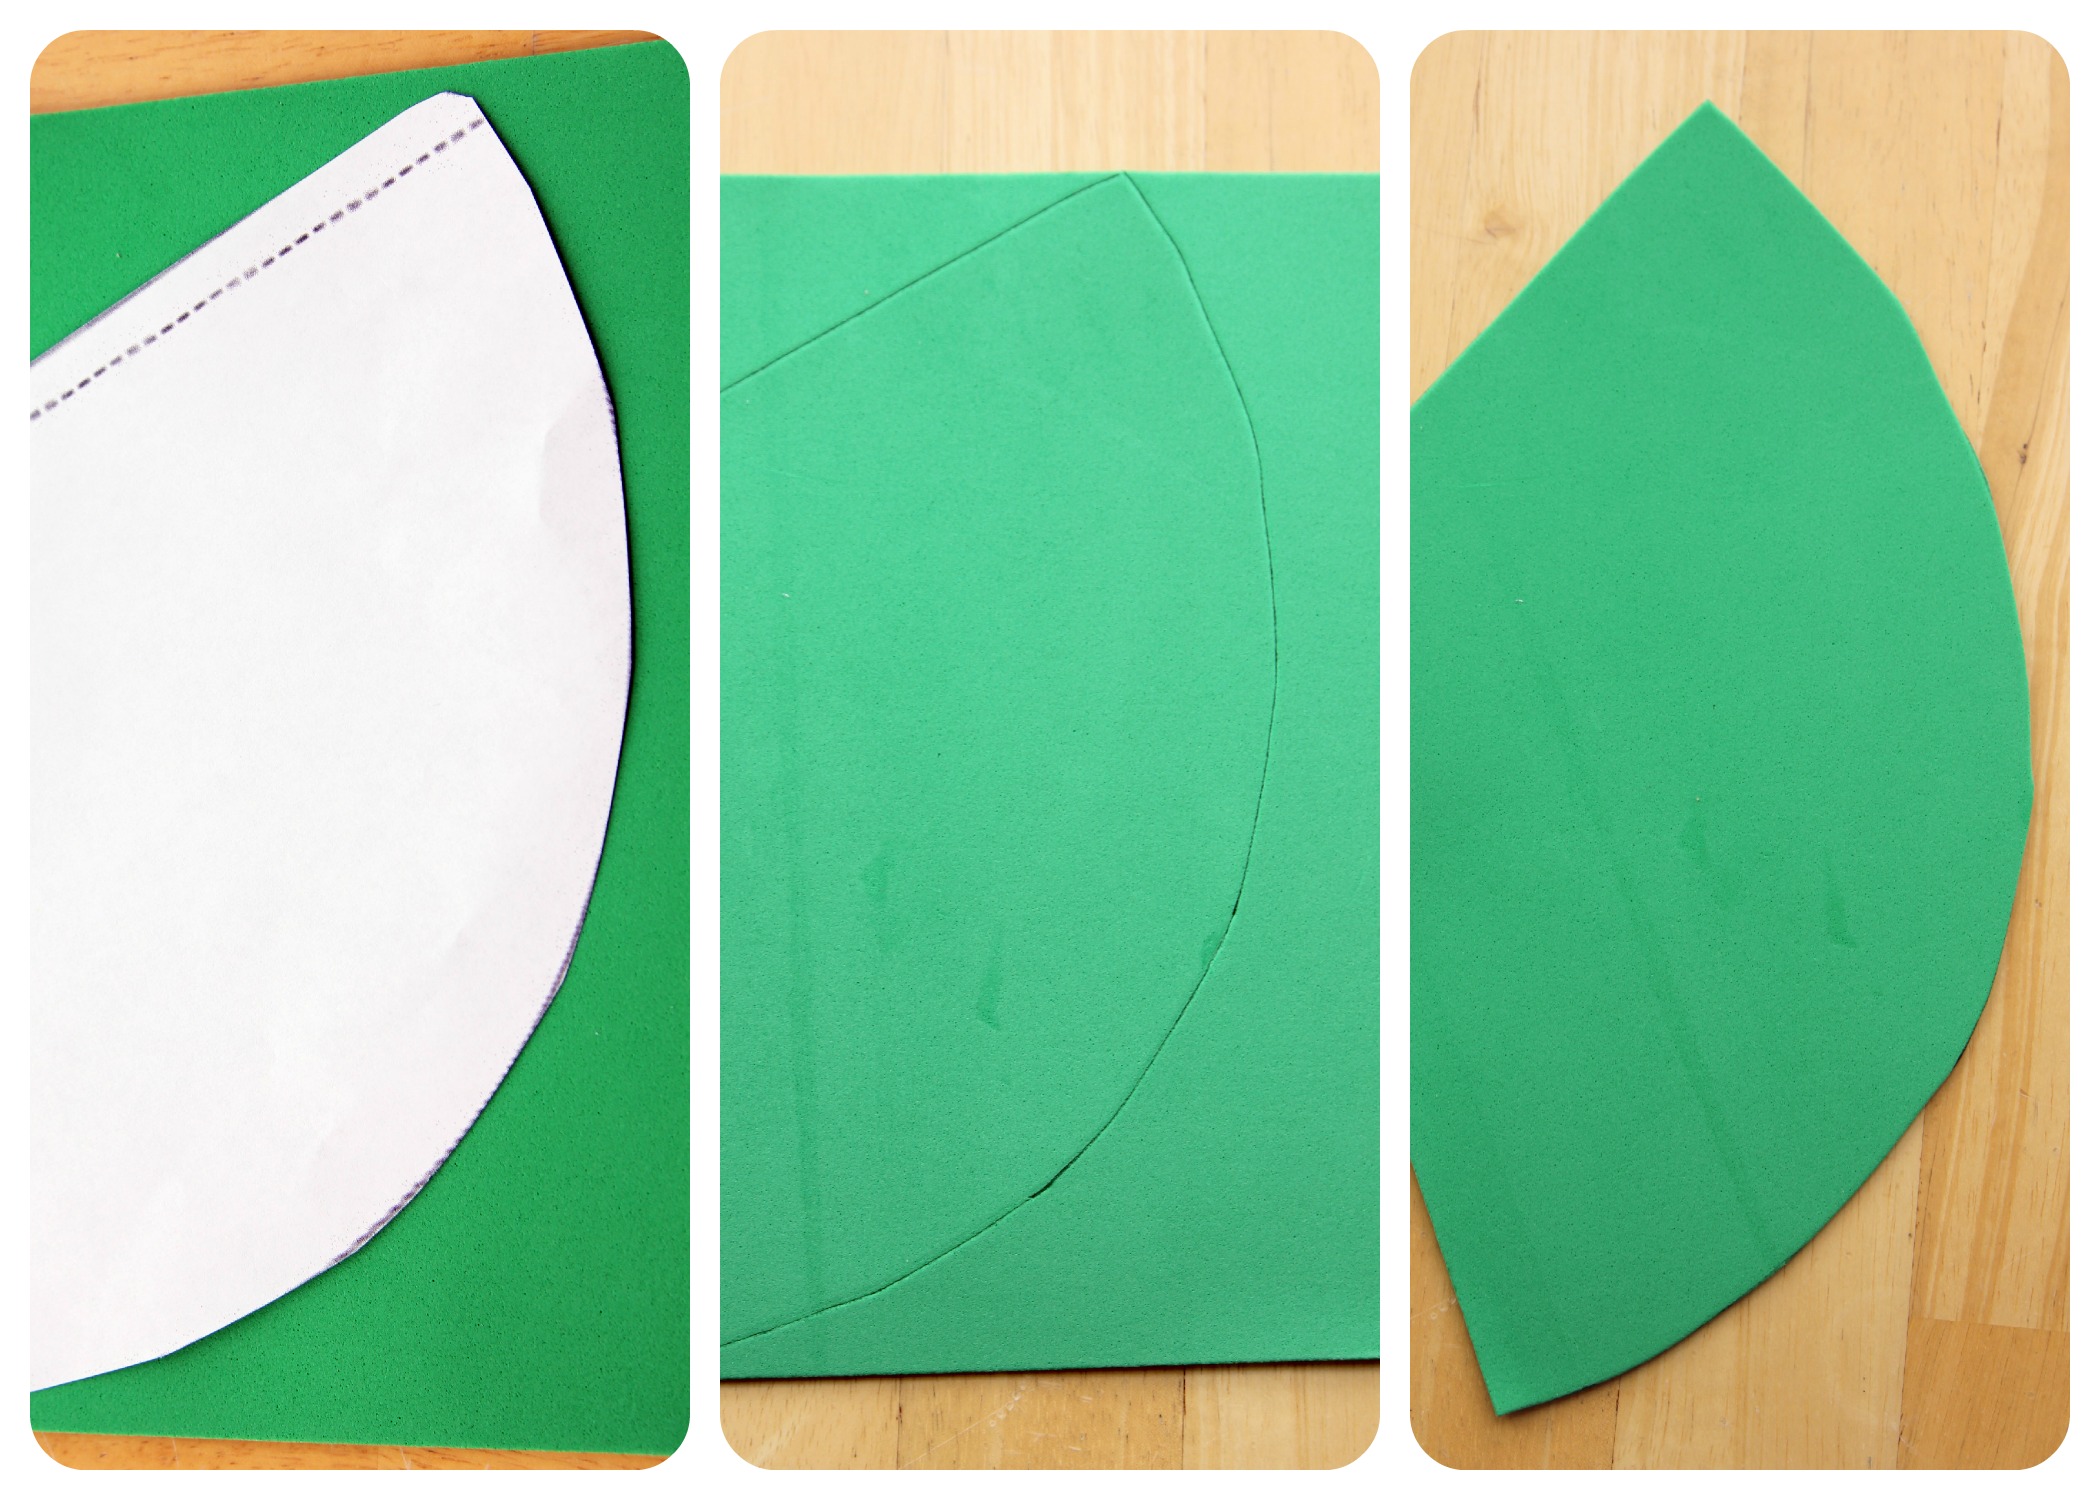
Place template on foam sheet. Trace outline and cut out shape. (V.'s not quite old enough for scissors yet--but of course this is a step that slightly older kids can do on their own.)
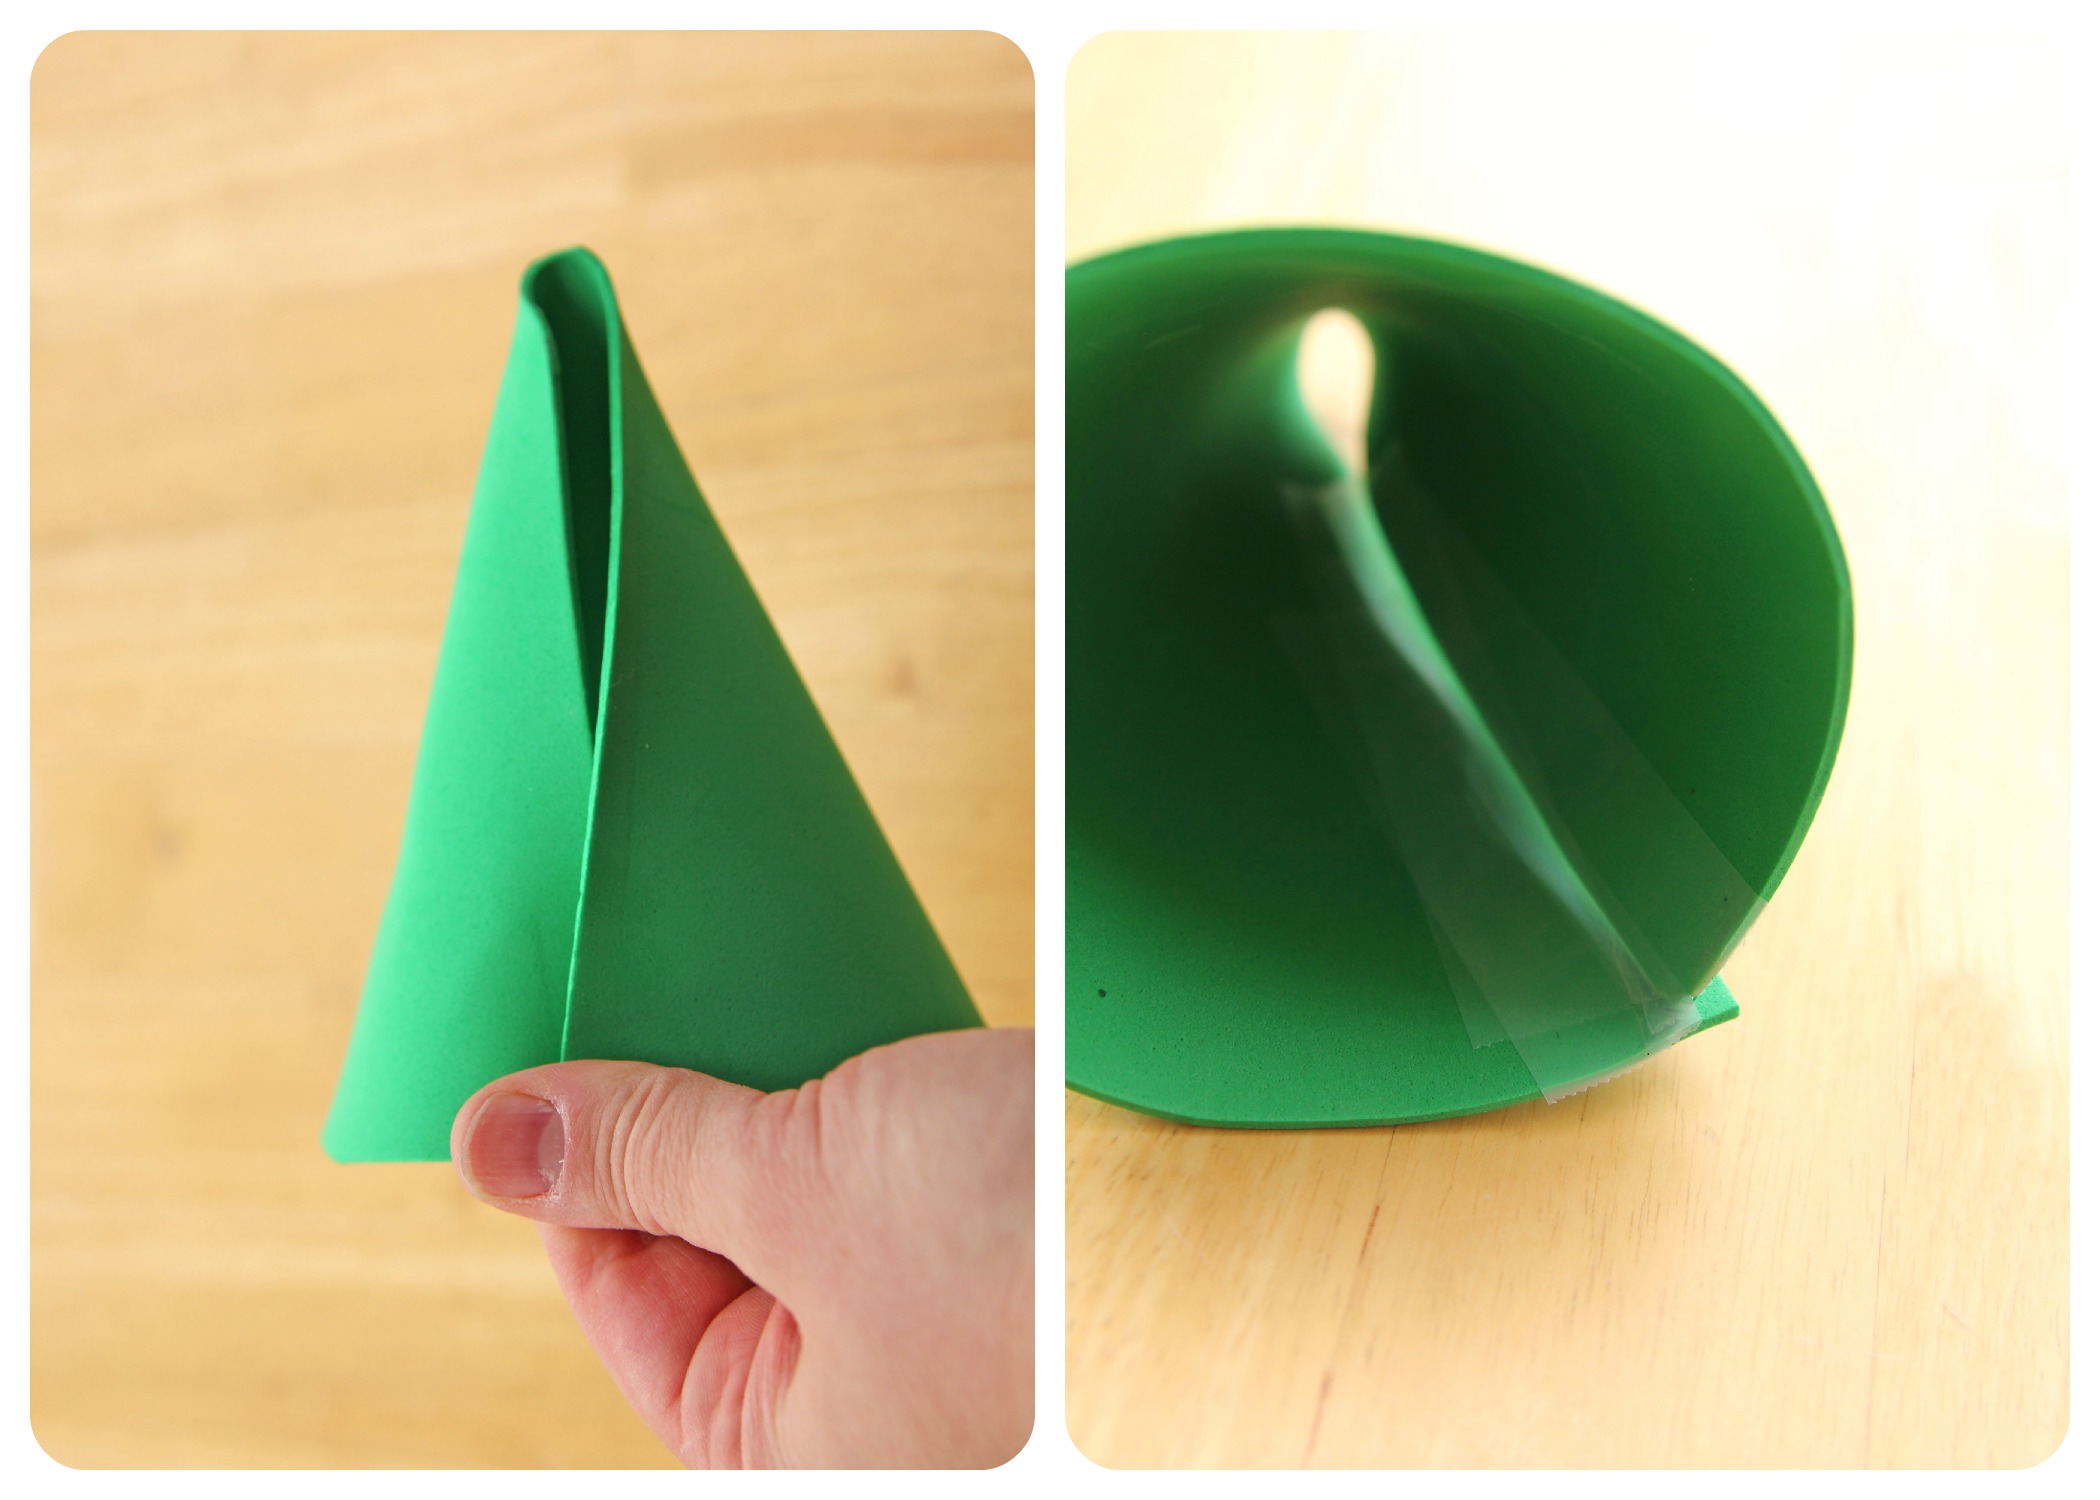
Step 3
Secure cone around, edge to edge. Tape inside to secure. After we completed the decoration process, we decided a more secure closure was necessary. Later in the process we added glue to secure further. That is a step you can do now, before you start decorating, or wait until the end like we did.
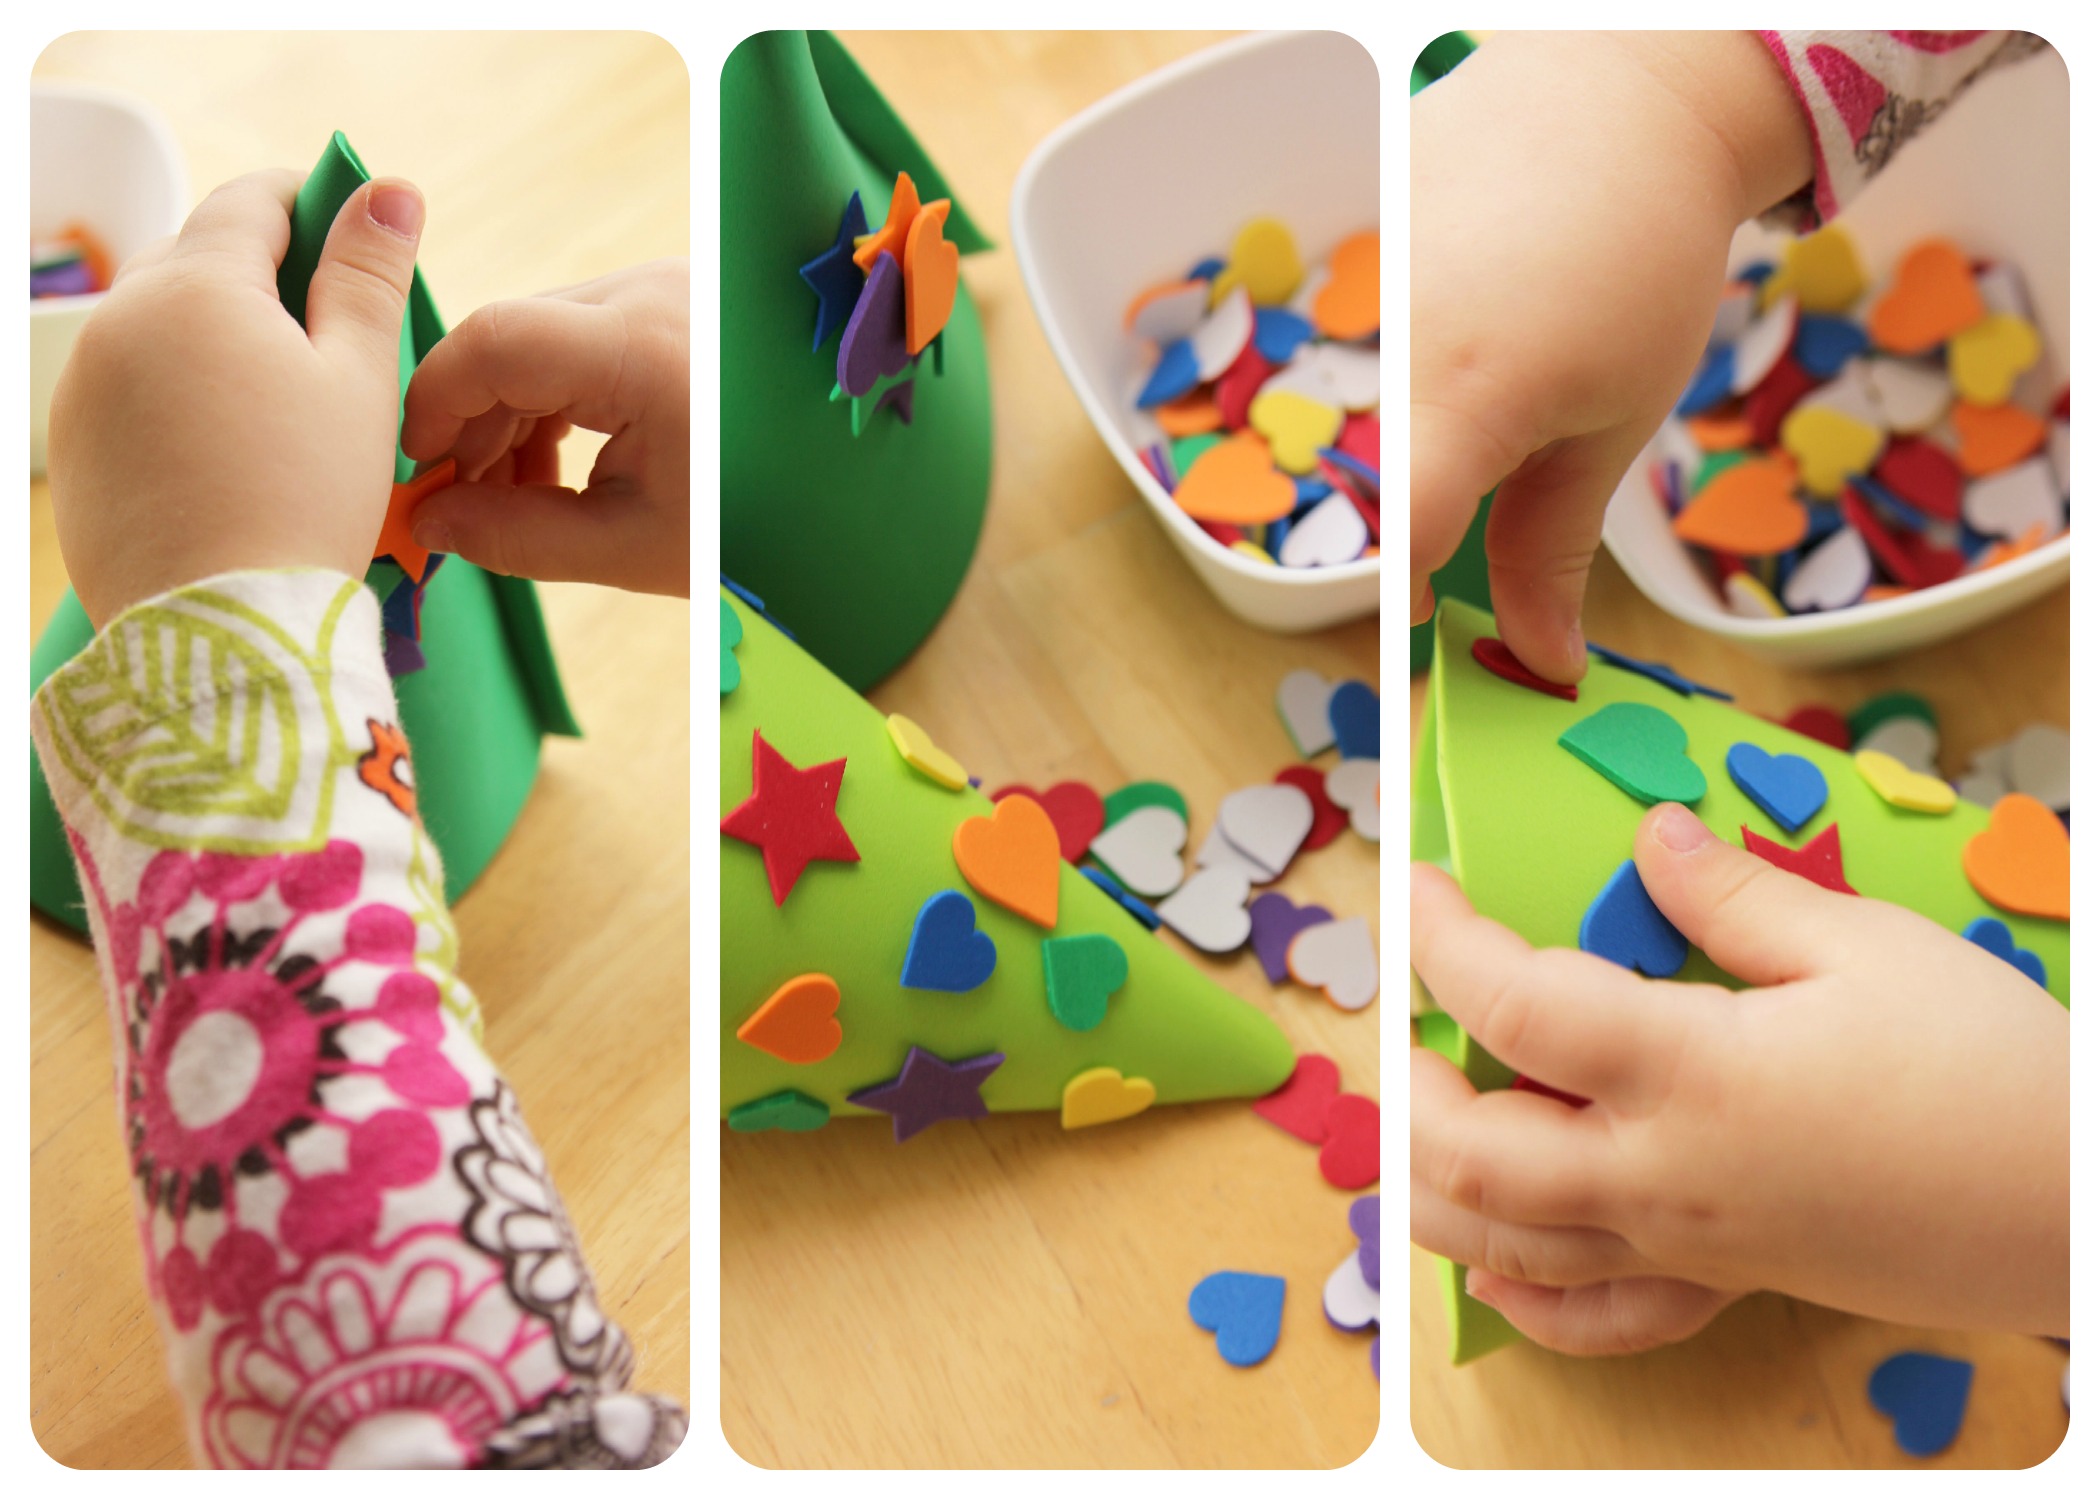
Step 4
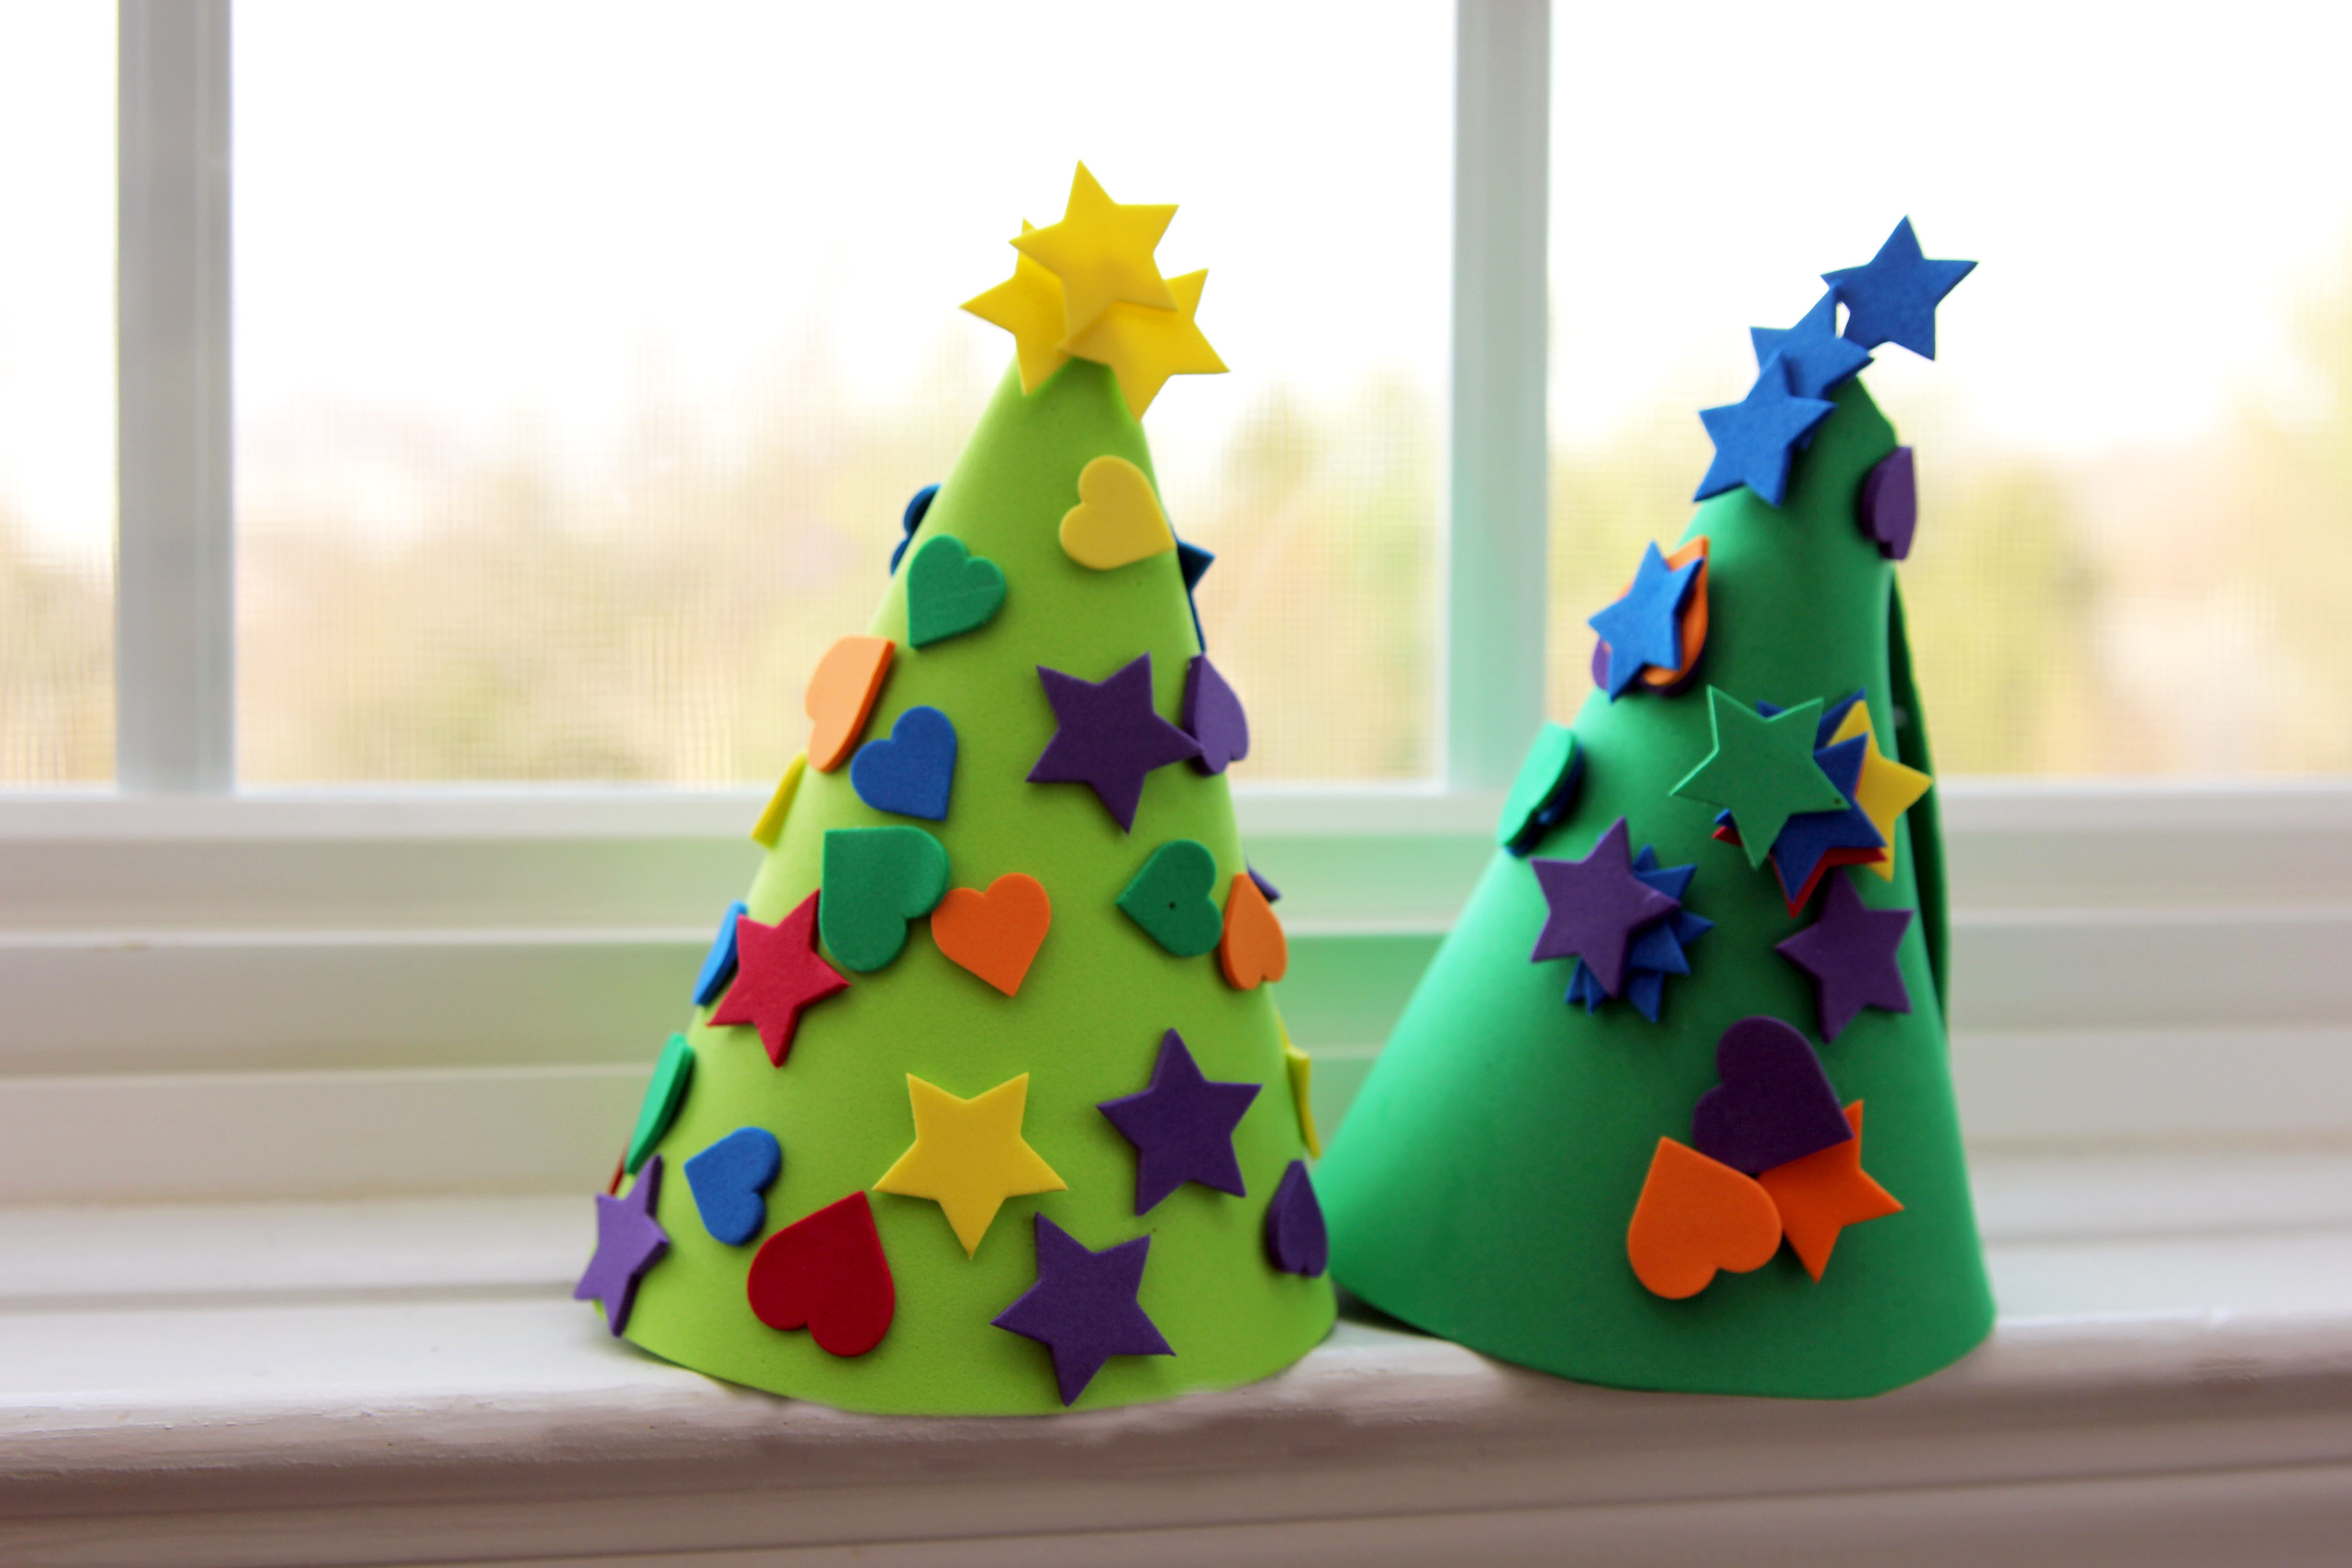
Decorate your little tree with the foam stickers. Have fun with this part! V was filled with excitement as she was decorating her trees.
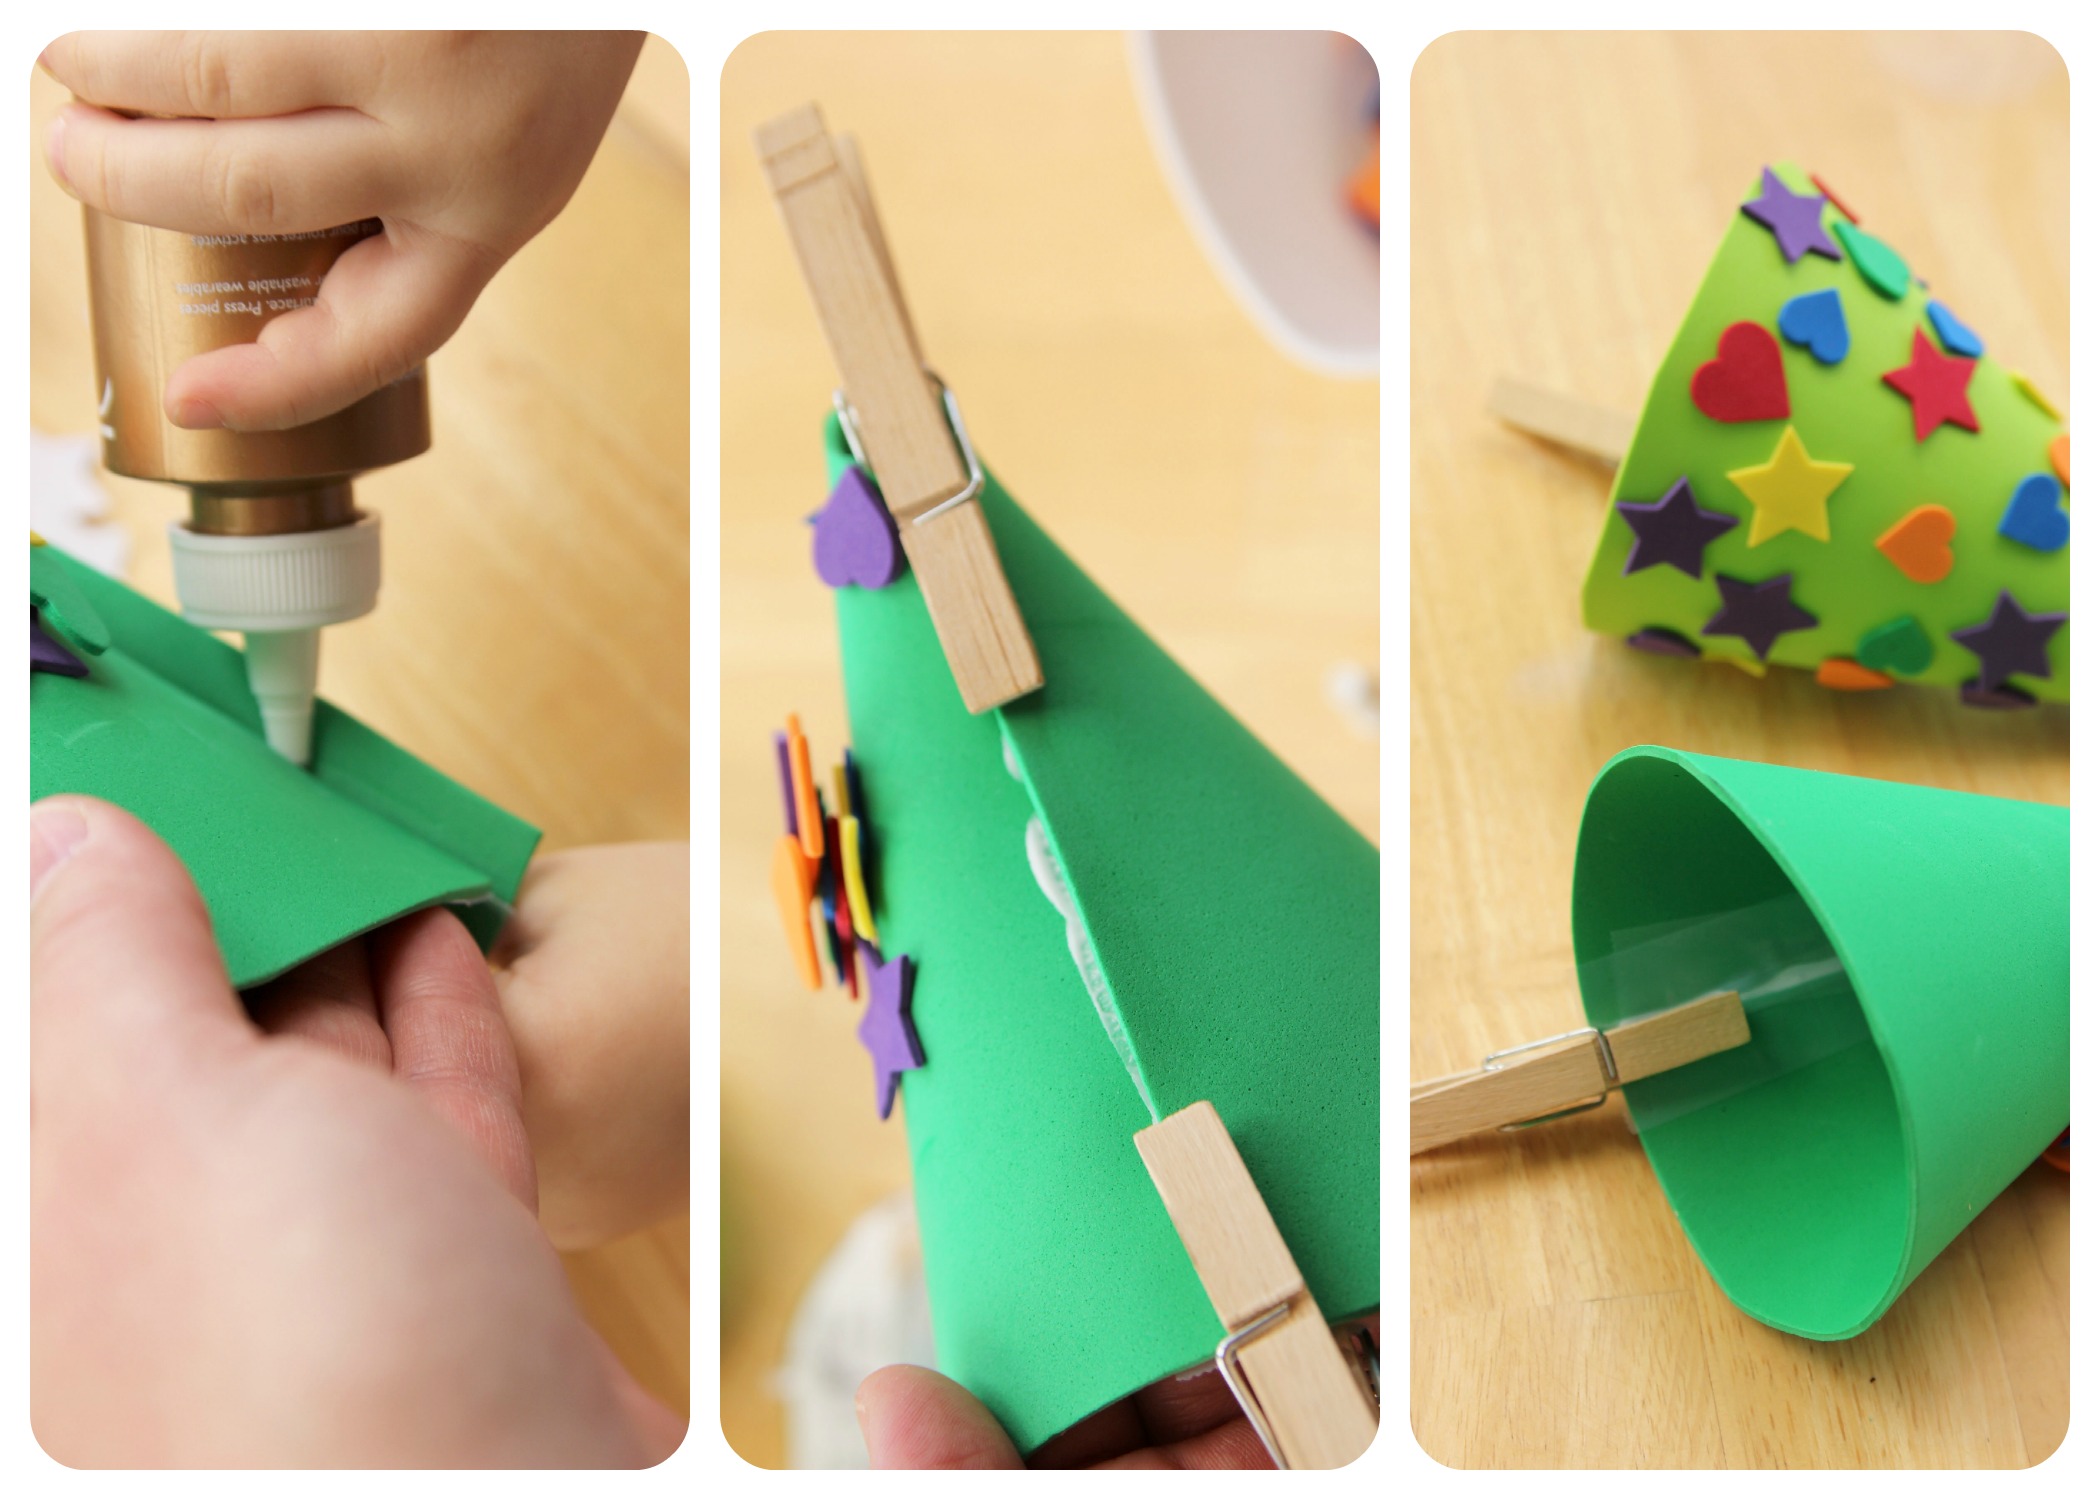
Step 5
Secure edges with craft glue. V wanted to do this part all by herself - I held it in place while she glued. Press each edge together with clothespins, or another tool like a binder clip that will hold it together to dry.
Done!
Let the trees dry completely, approximately 1-2 hours. Once dry you will have some pretty little Christmas trees! We turned our trees into homemade kiddo presents, and gifted one to each set of grandparents.