Step-by-step tutorial
Step 1
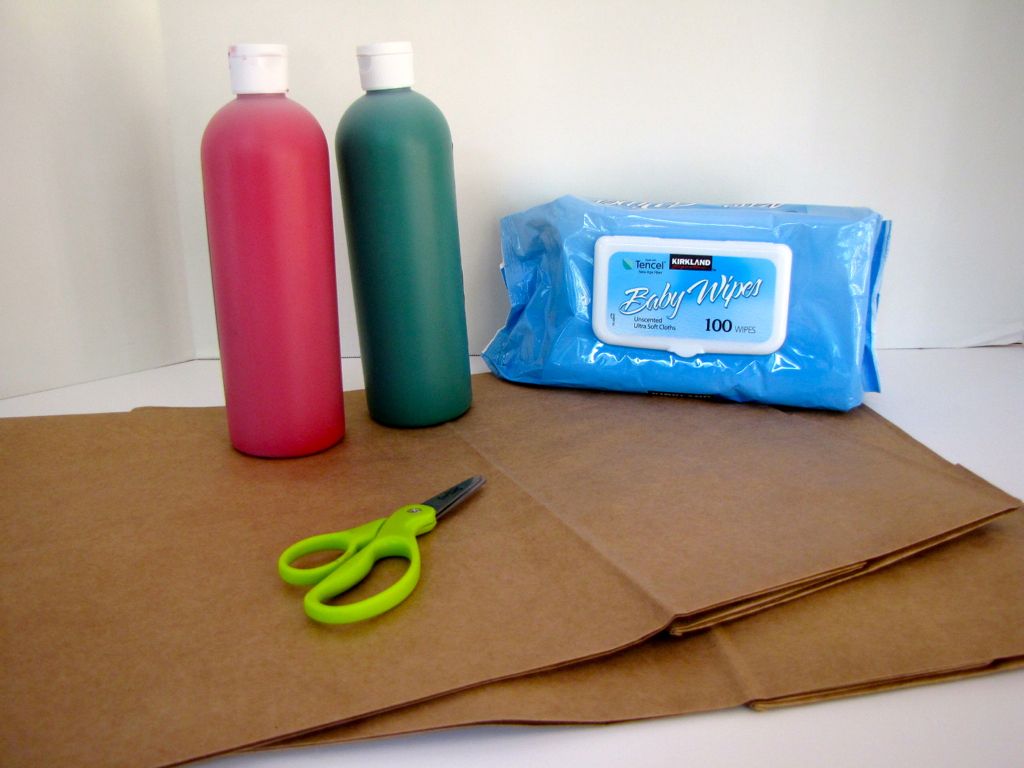
First, I assembled my supplies.

Step 2
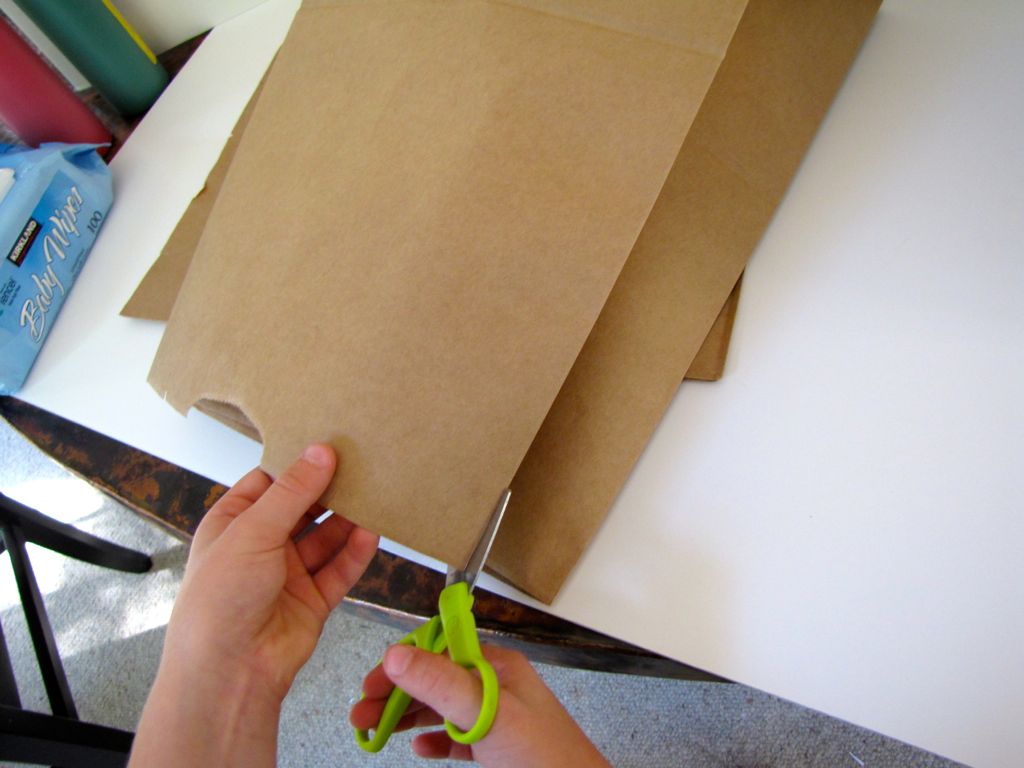
I had my kids cut open the paper bags so we can open them up and lay them flat.
Step 3
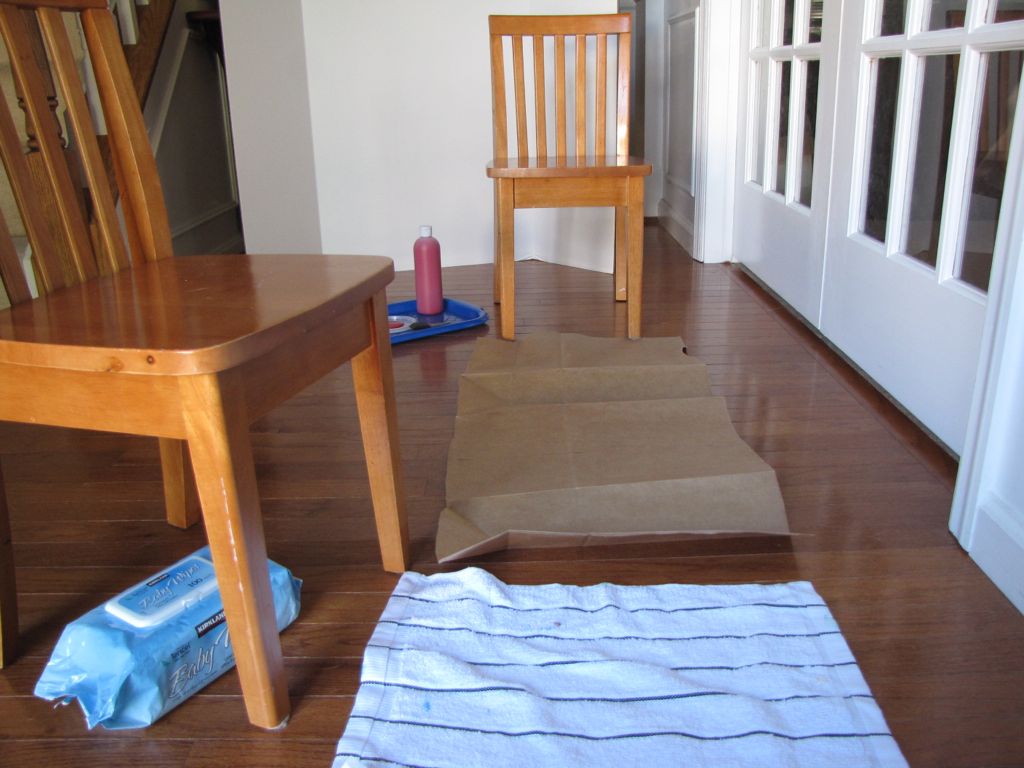
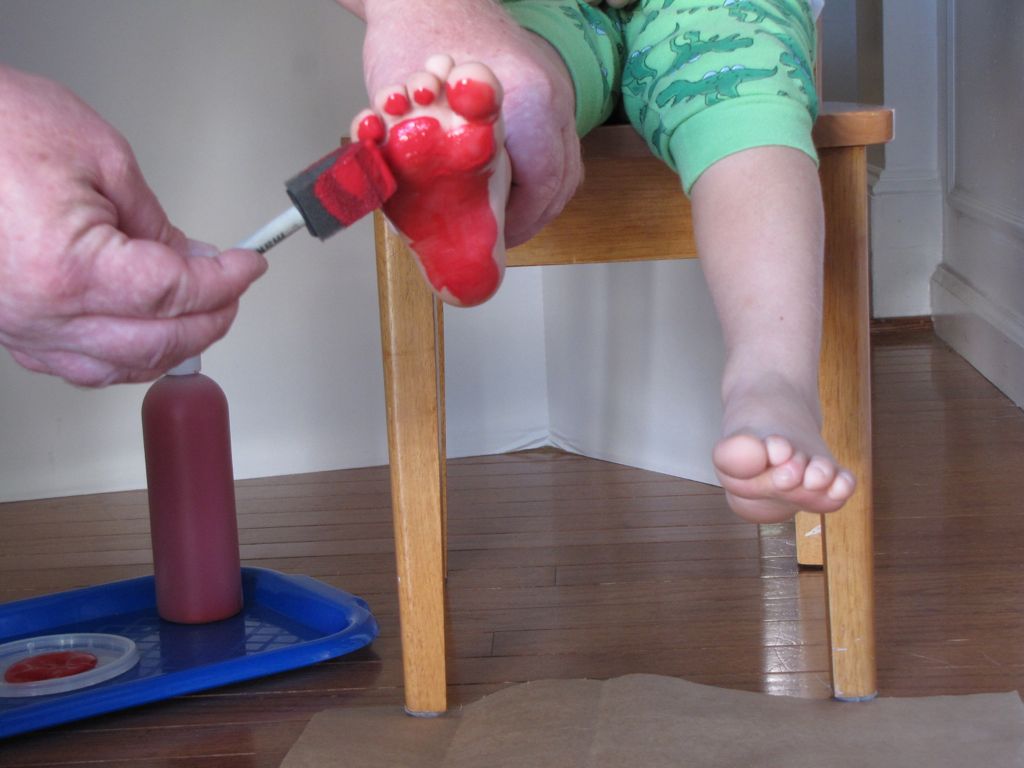
Next, we set up the footprint area, which consists of a chair at one end of the paper bag, along with our paint tray. At the other end is a towel to land on and another chair to sit in while the painter gets his or her feet wiped off .
Step 4
I was grateful to have my husband's help painting kids' toes so I could take pictures for you today. We used a foam paintbrush, which covers a lot of area and doesn't tickle quite as much.
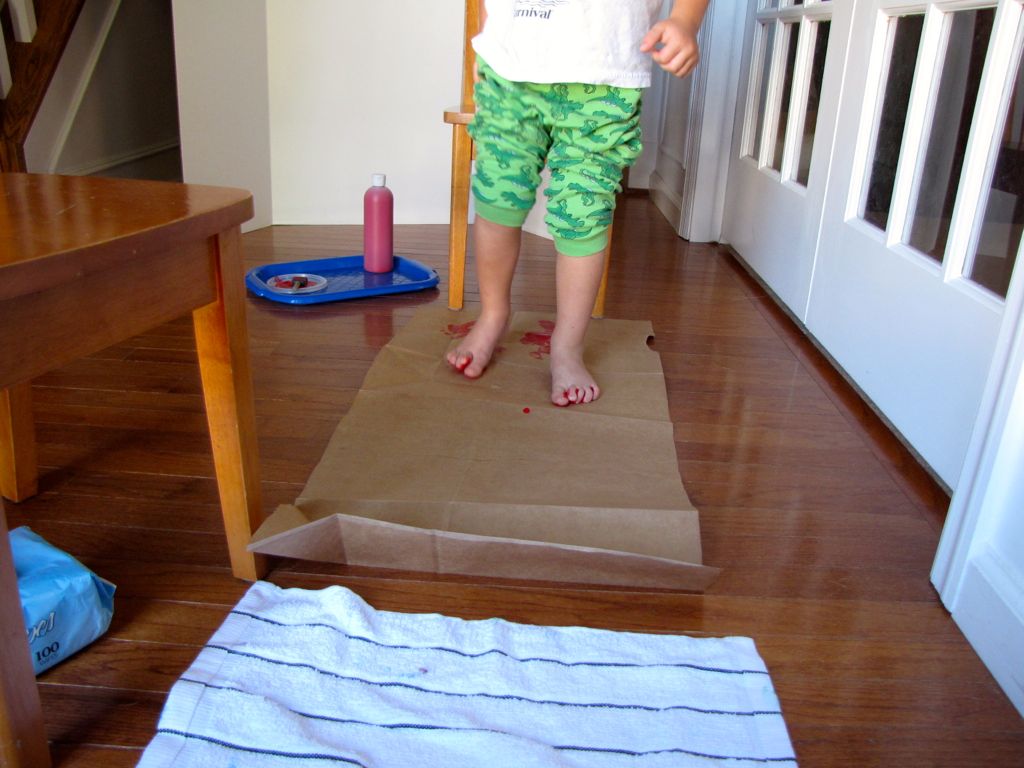
Step 5
Once my son's feet were sufficiently coated in paint, he walked across the paper bag and landed on the towel.
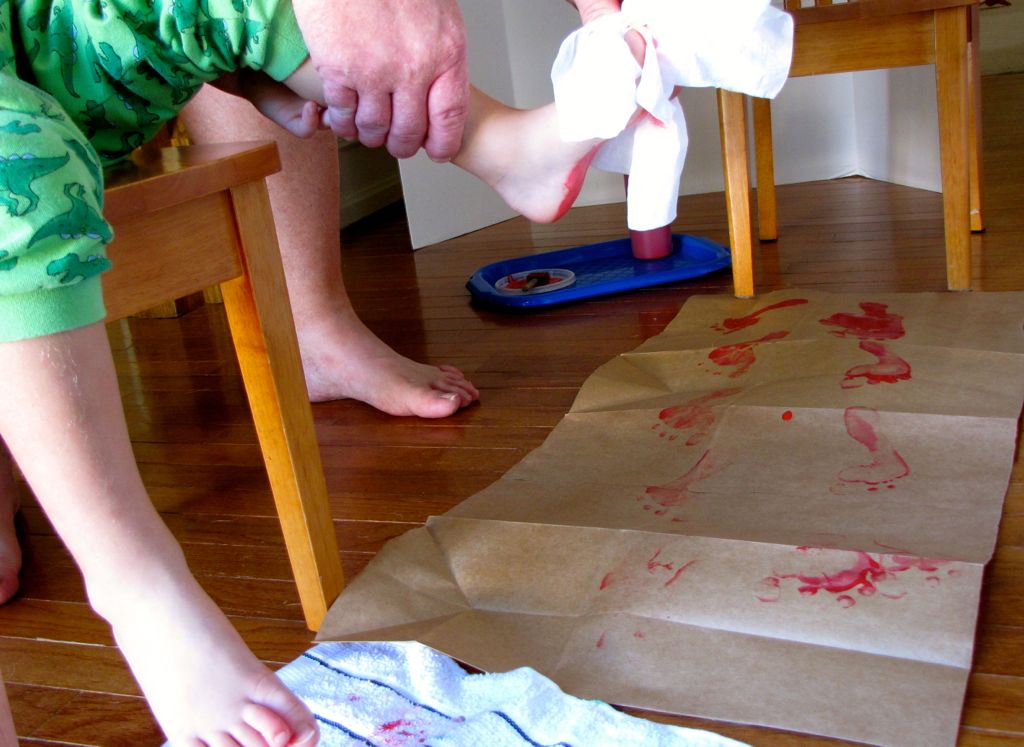
Step 6
Daddy used baby wipes to get the excess paint off of our son's feet. We let the red paint on the paper bag dry, then did this again with green paint.
Step 7
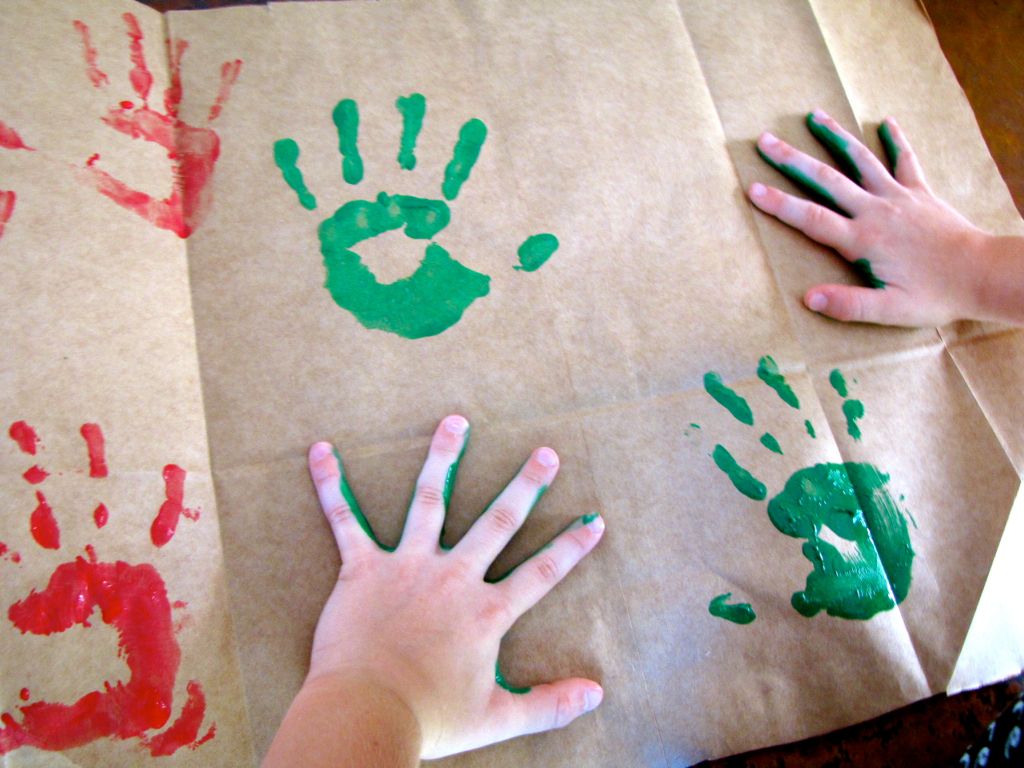
Next, we made the hand prints. We placed another paper bag on the table and the kids coated their hands in paint. They concluded that painting yourself is fun!
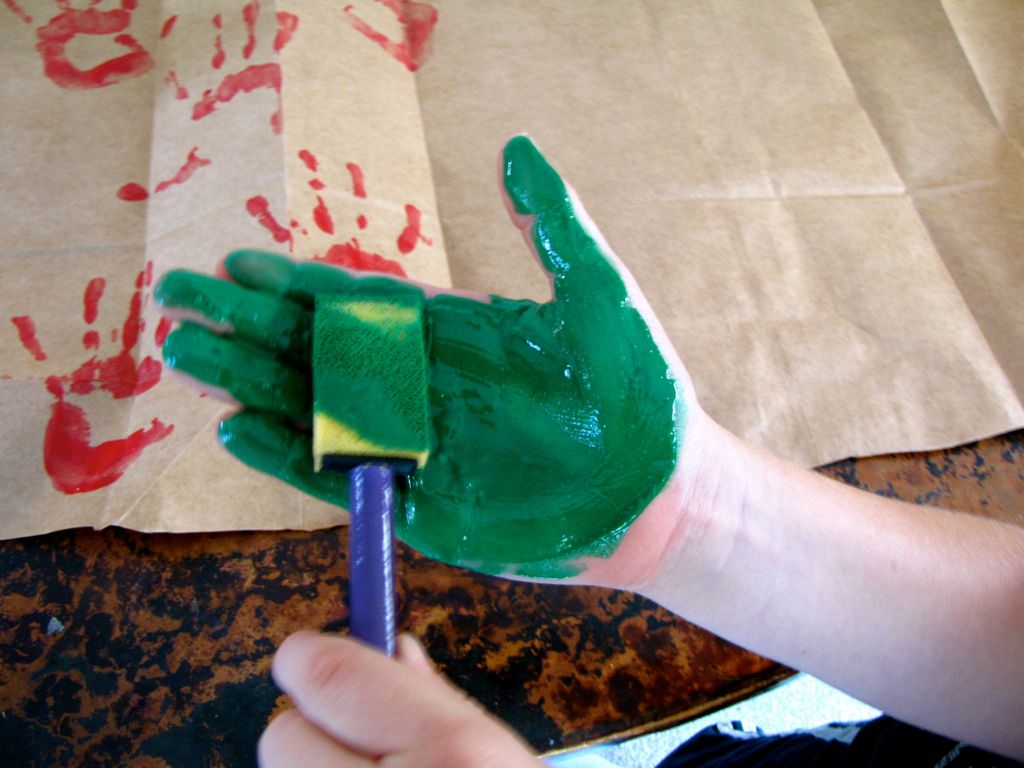
Step 8
I asked them to gently but firmly stamp their hands on the paper bag, which they did. Then we let this dry.
Step 9
Once dry, we had two large sheets of wrapping paper, one with footprints and one with hand prints.

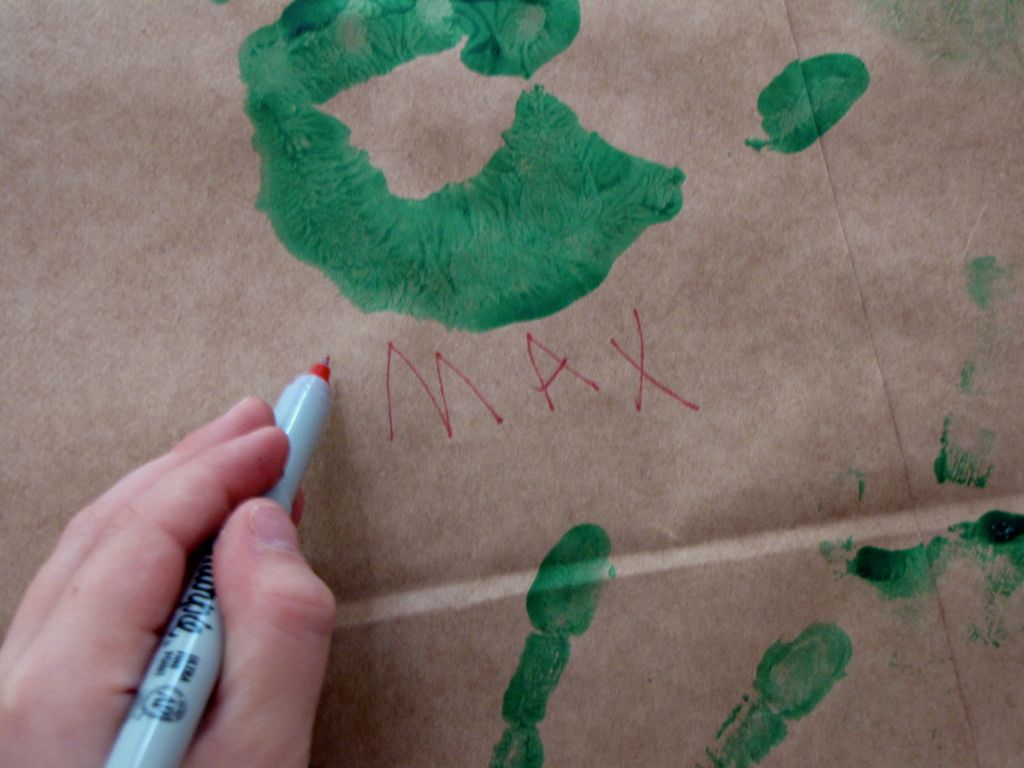
Step 10
Next, I had them write their name under some of their prints and their age under others, because I know that this is wrapping paper that the grandmas aren't going to toss in the recycling bin. In fact, we have a set of this wrapping paper made when my two oldest kids were 4 and 2 that is still making the rounds of family holiday gift-giving, four years later!
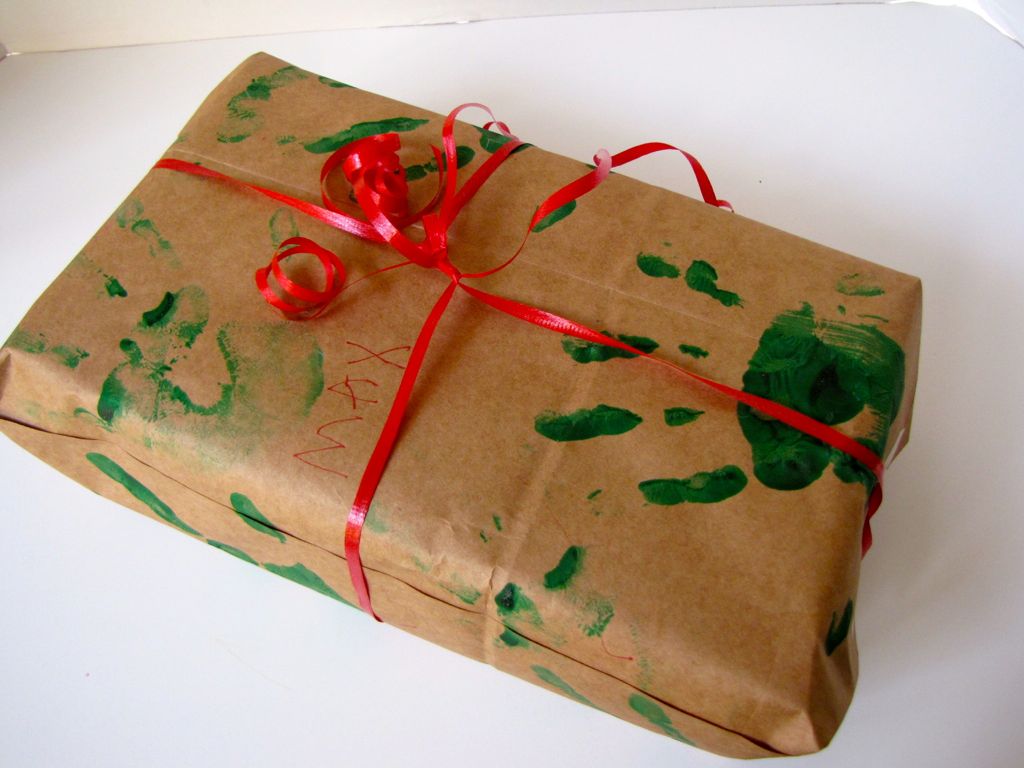
Final result!
Now you're ready to wrap. I gave the kids some tape, helped them cut the paper, and showed them how to curl the ribbon. Here's our final result. Happy Holidays!
