Step-by-step tutorial
Step 1
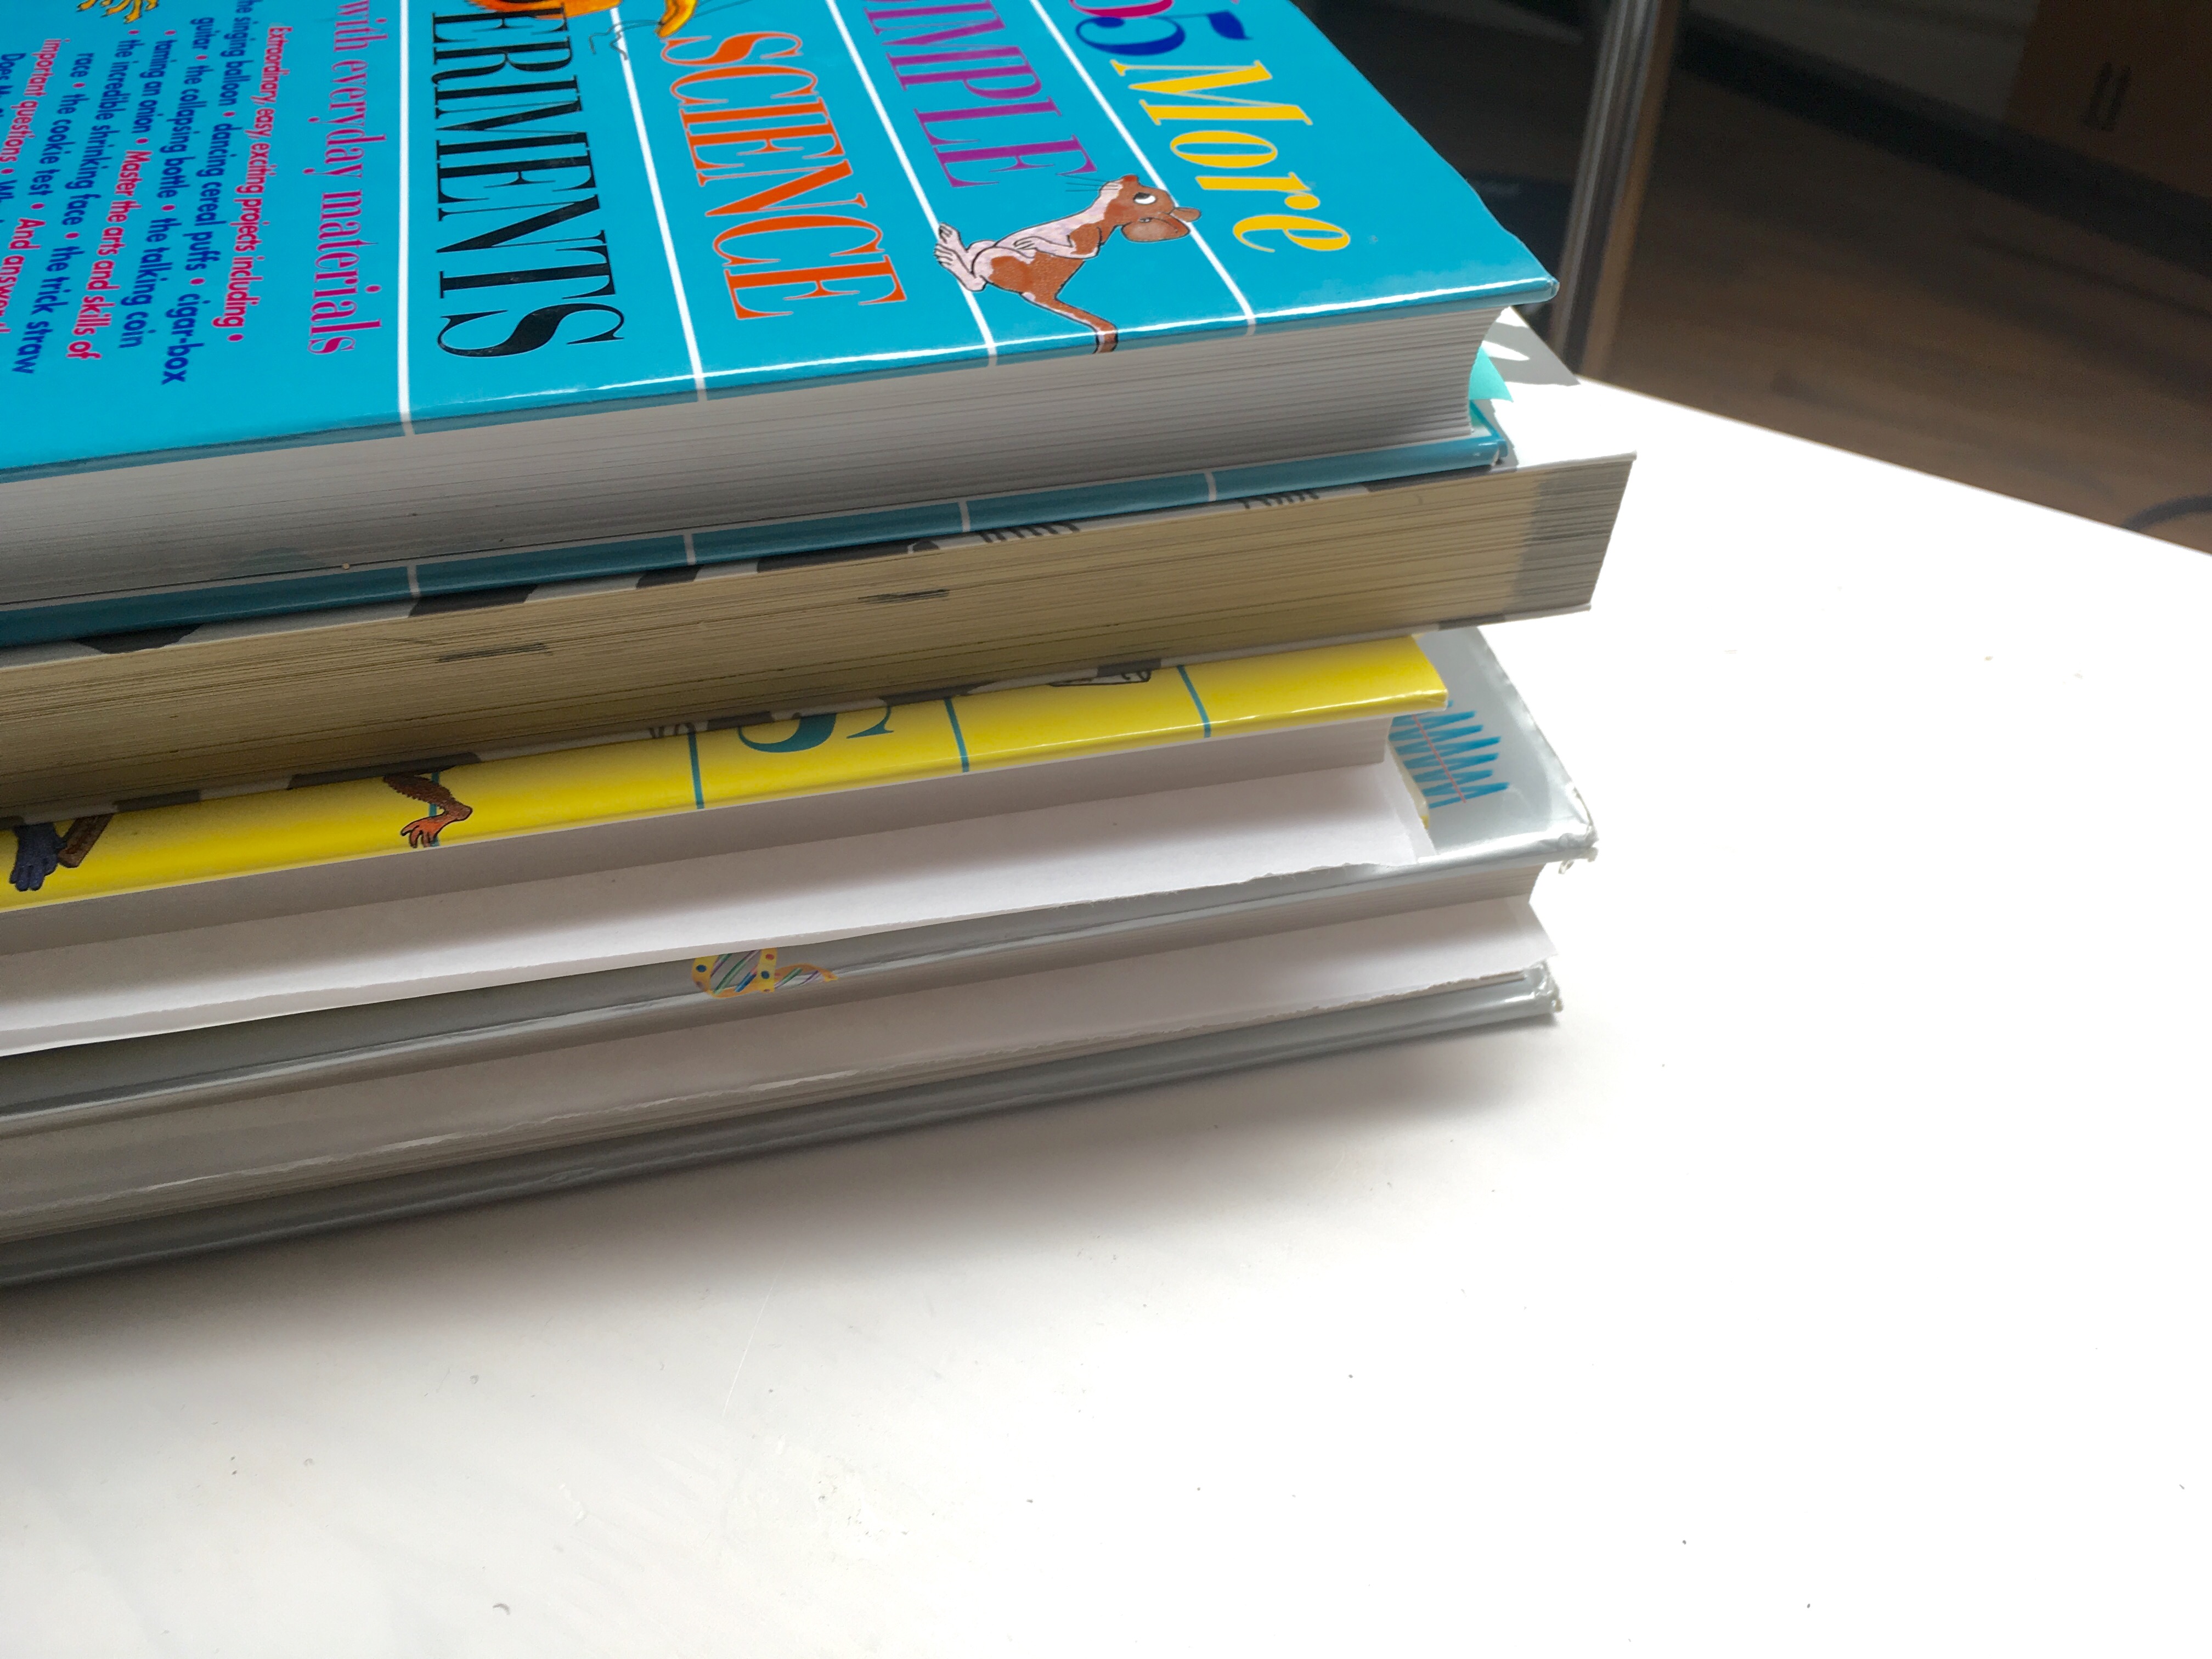
Open a heavy textbook to the middle, and put two pieces of wax paper on each side of the spread. Place the flowers or leaves you have collected onto one side. Make sure your flowers and leaves are facing up!


Step 2
Slowly close your textbook with the leaves and flowers tucked between the wax paper. This will flatten and dry them out. We placed a stack of textbooks on top to add more weight. Wait over overnight for the flowers and leaves to dry.
Step 3
While we waited for our pressed leaves, we started making our dough.
Mix 1 cup of baking soda, ½ cup of cornstarch, and ¾ cup of warm water together until the baking soda and the cornstarch has completely dissolved in the water.
Step 4
Microwave the mixture in intervals of 40 seconds at power level 5. Stir the mixture after each interval.
For faster results, have an adult help heat the mixture in a pot over a medium heat until it has started to dry and develop a soft doughy consistency.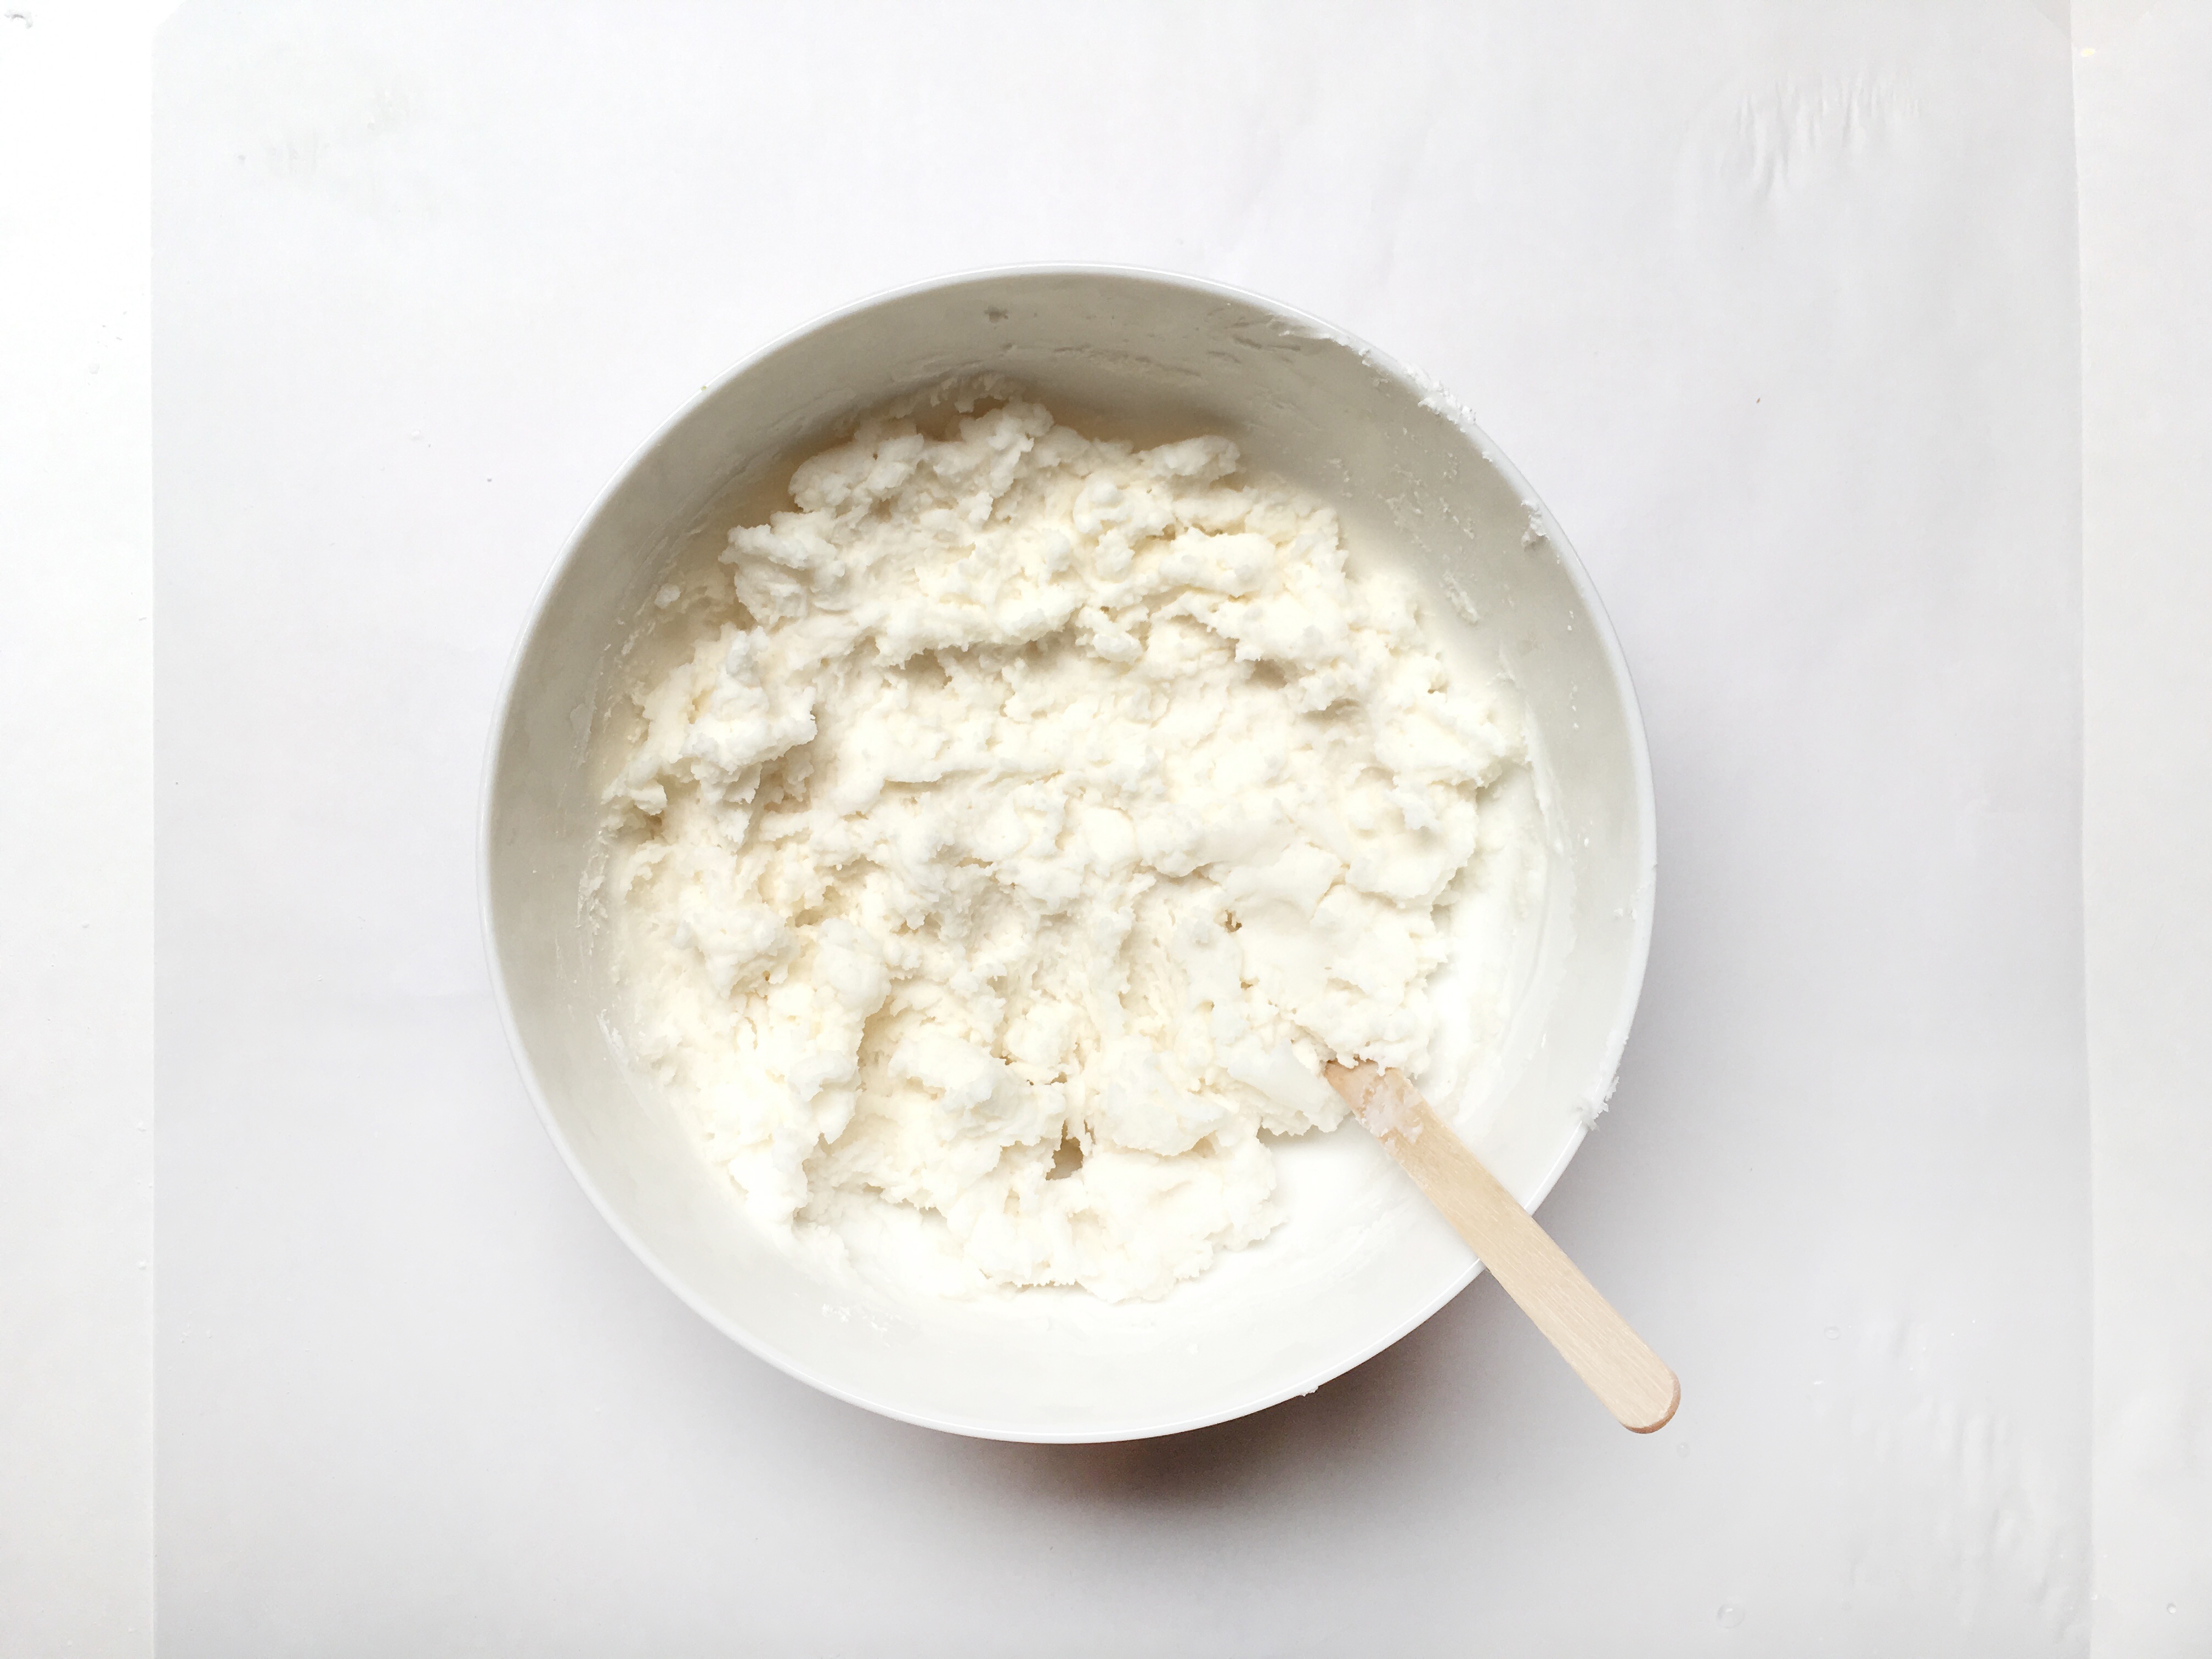
Step 5
Scoop out the dough and knead your mixture together until the dough is smooth. If you heated your dough on the stove, make sure to let it cool first!
Roll your dough into a ball.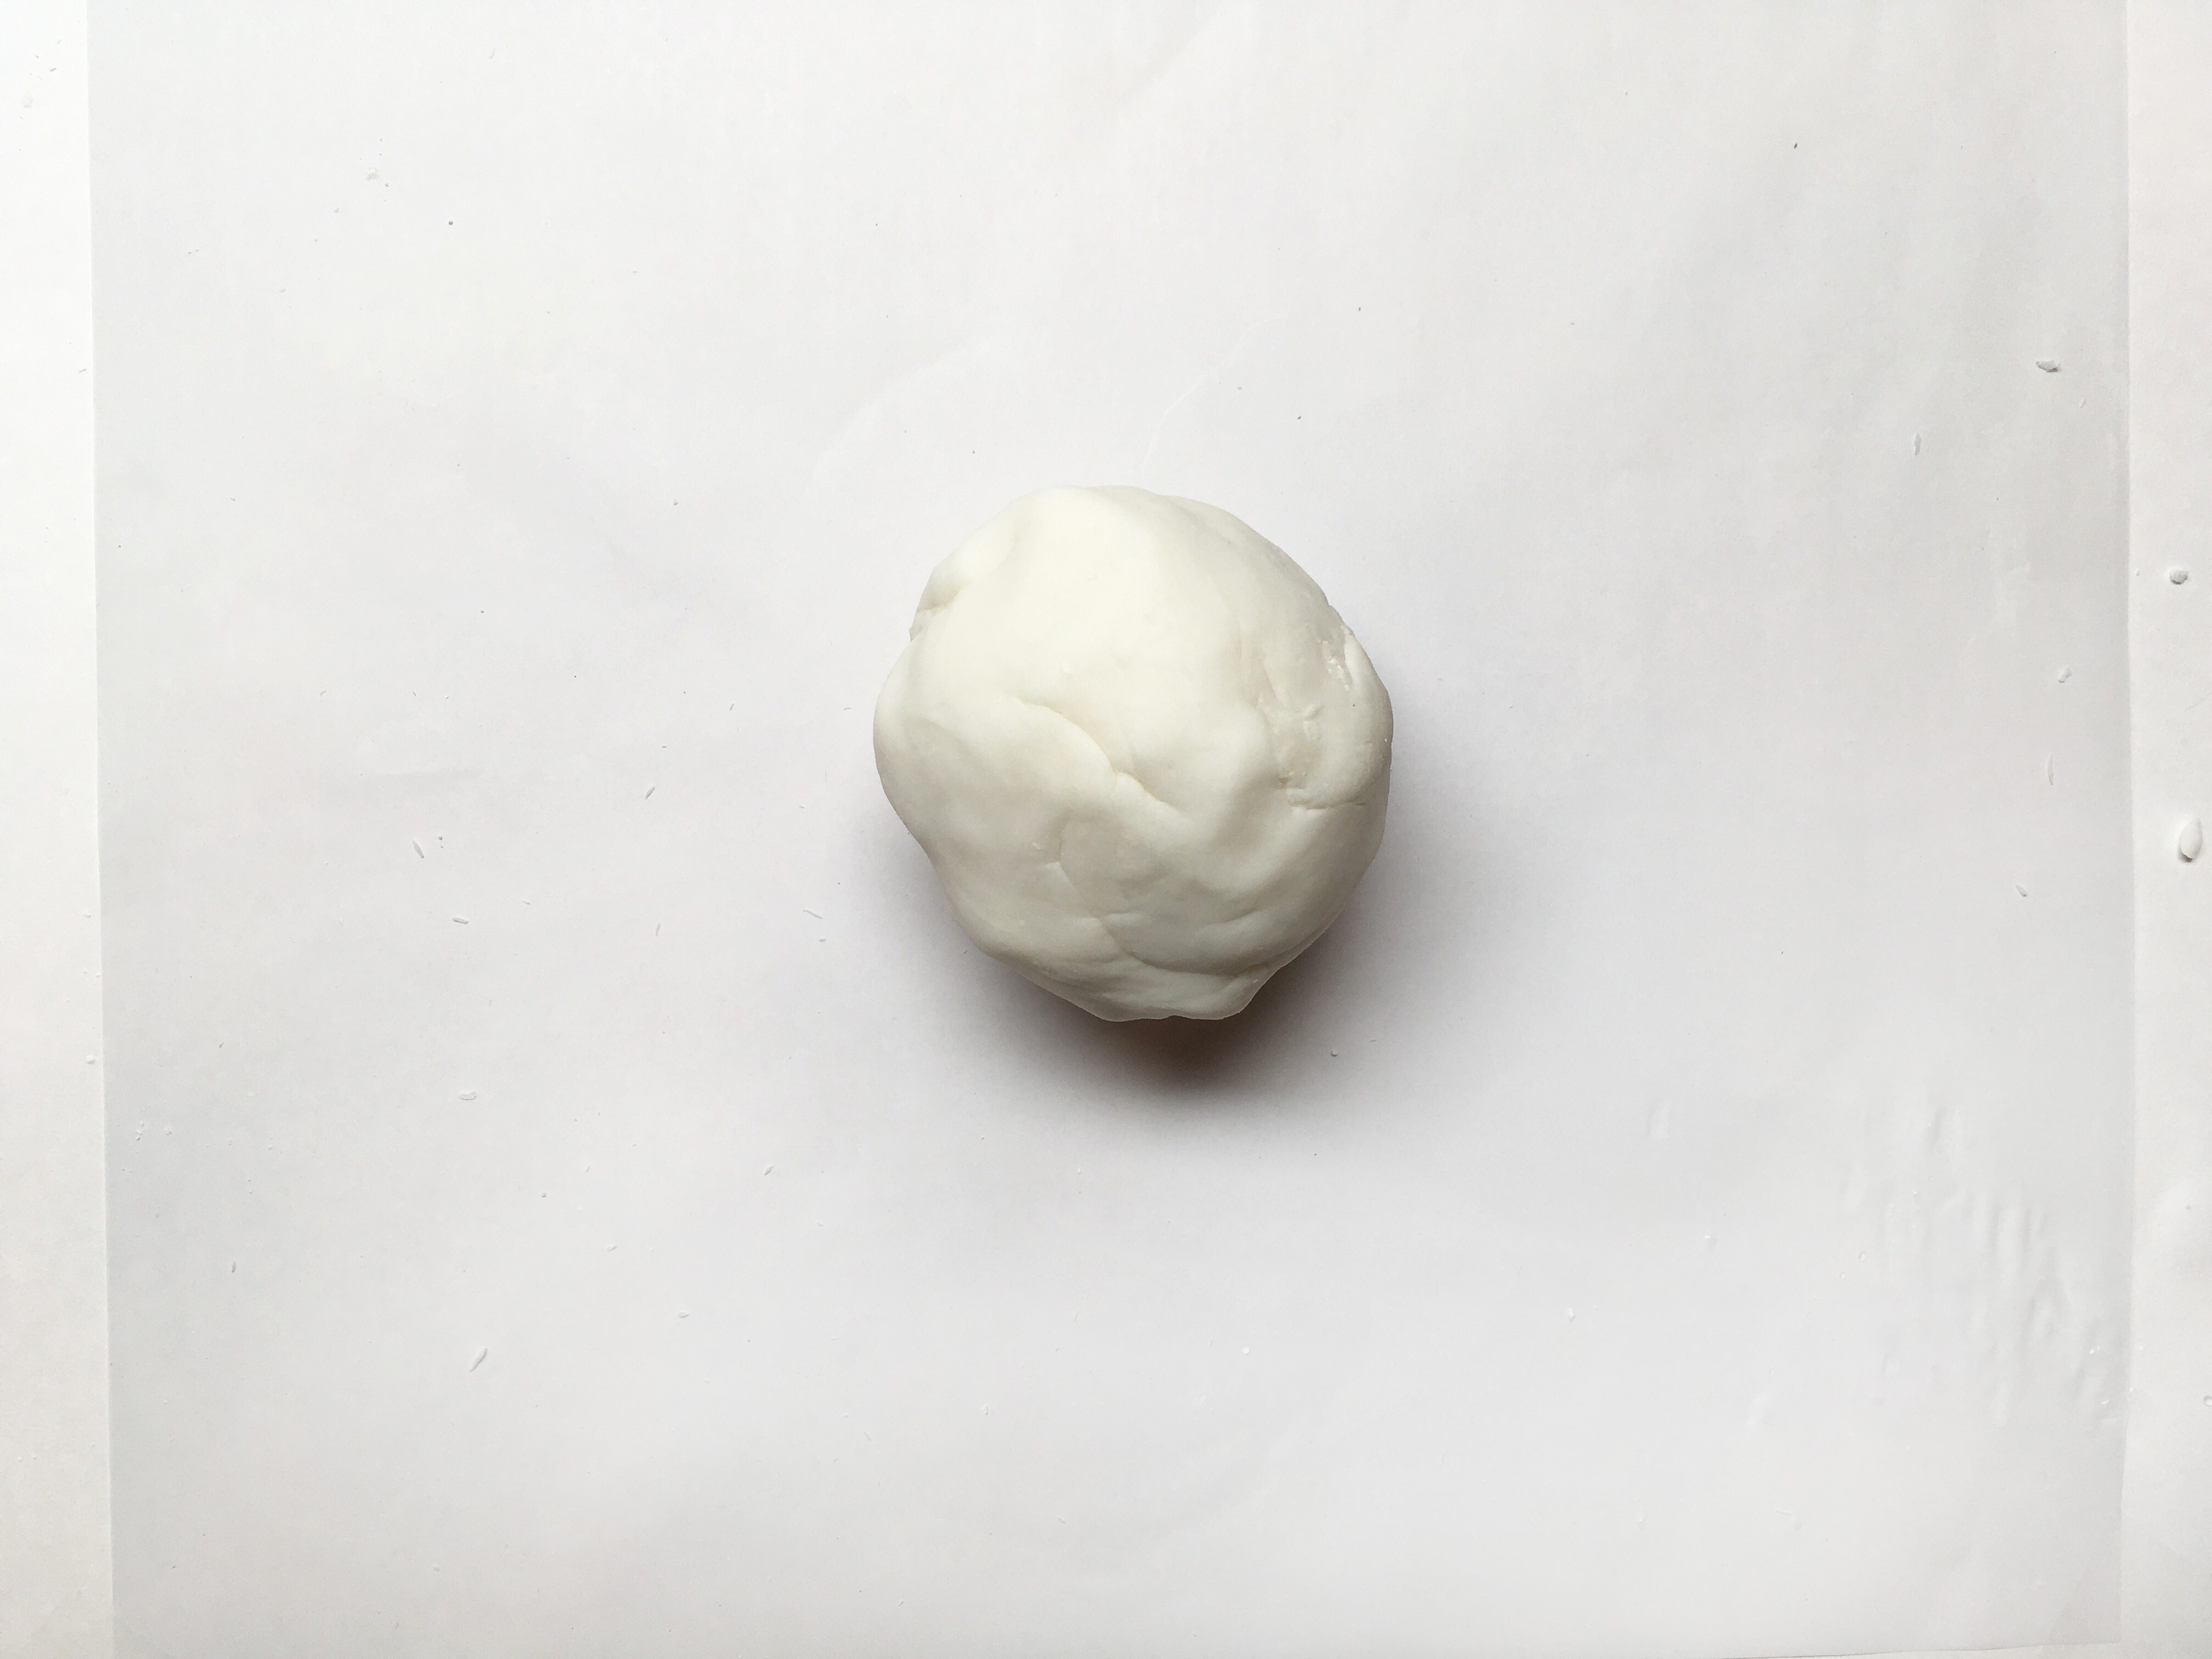
Step 6
Use a rolling pin to roll out your dough.

Tip
We placed two dowels on the sides of our dough to make sure we were rolling it out to a consistent thickness.
Step 7
Use your cookie cutter to punch out shapes in your dough! We used a round cookie cutter for our ornaments, but use other shape, if you prefer! Don't forget to poke a hole through the top of the shape for your ornament to hang.
Let your ornaments completely dry, flipping them over to dry the underside if needed.
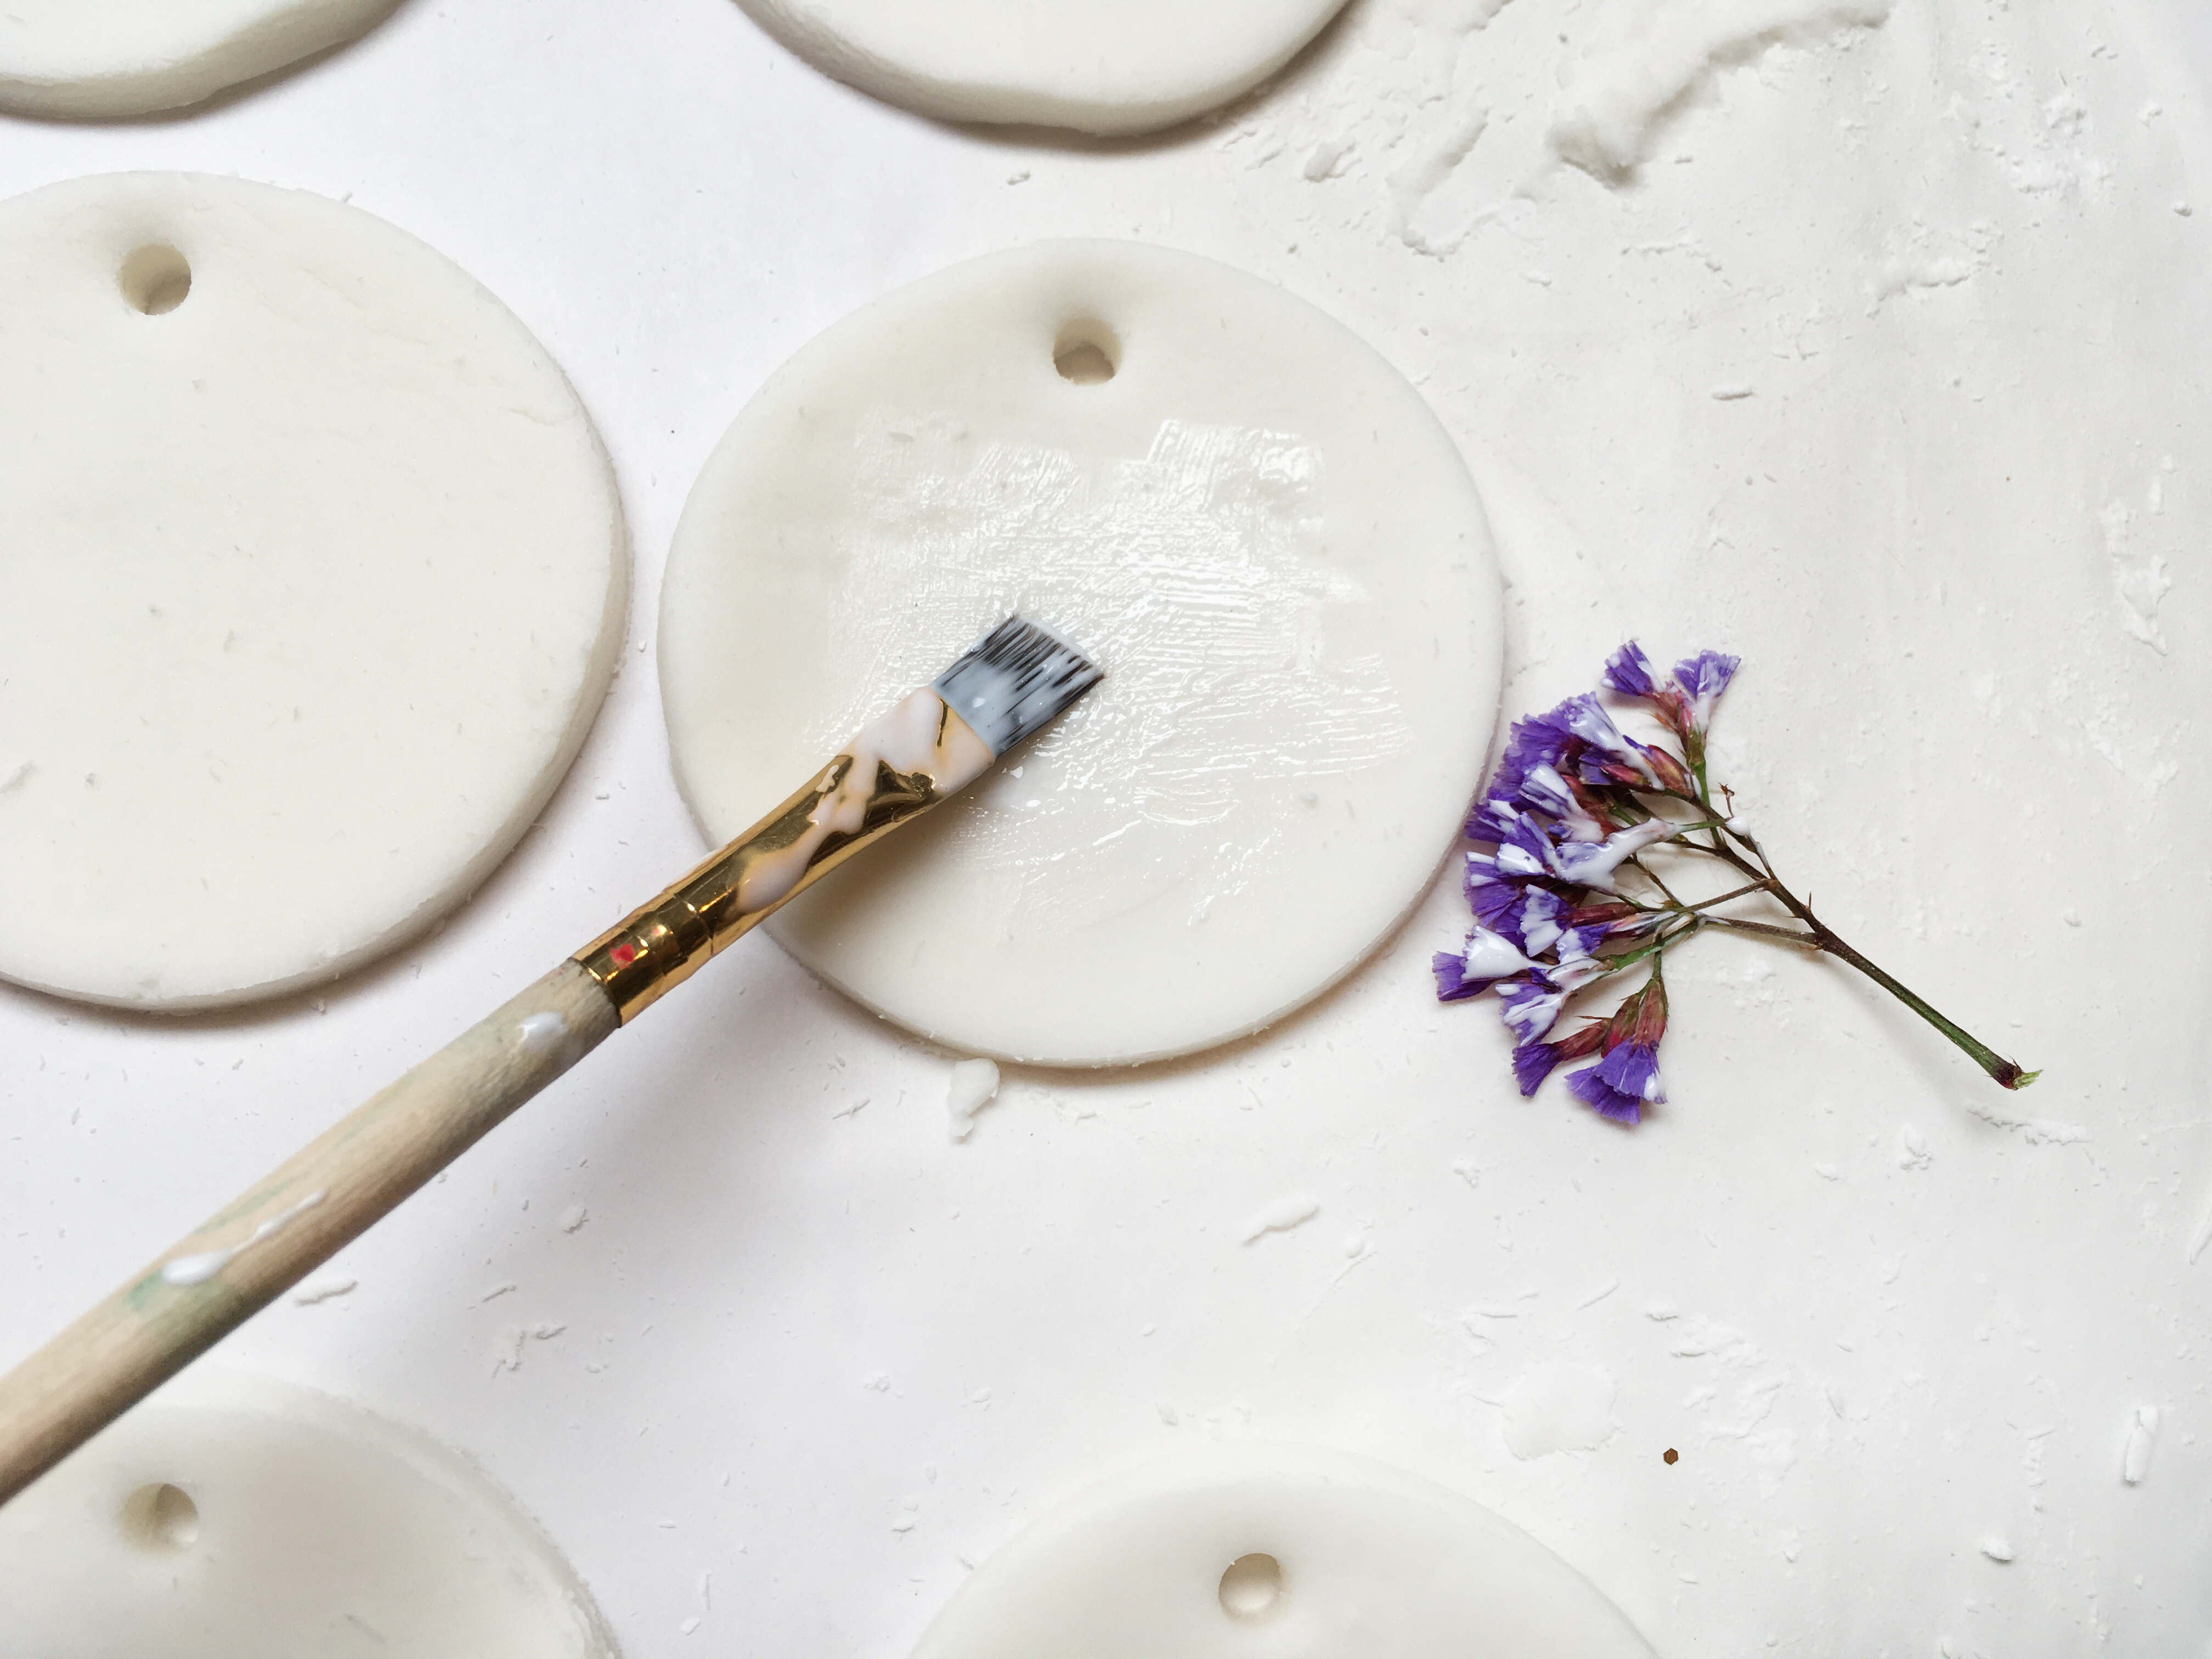
Step 8
Once the ornaments and pressed flowers & leaves are dry, get ready to create your ornaments! Use your paintbrush and paint a layer of mod podge onto your dough. Gently paint one side of your flower or leaf. Carefully press your flower or leaf onto your ornament. If you like, paint another layer over the finished ornament. Let it dry.
Step 9
Cut your string and tie the ends in a double knot. String it through the hole.
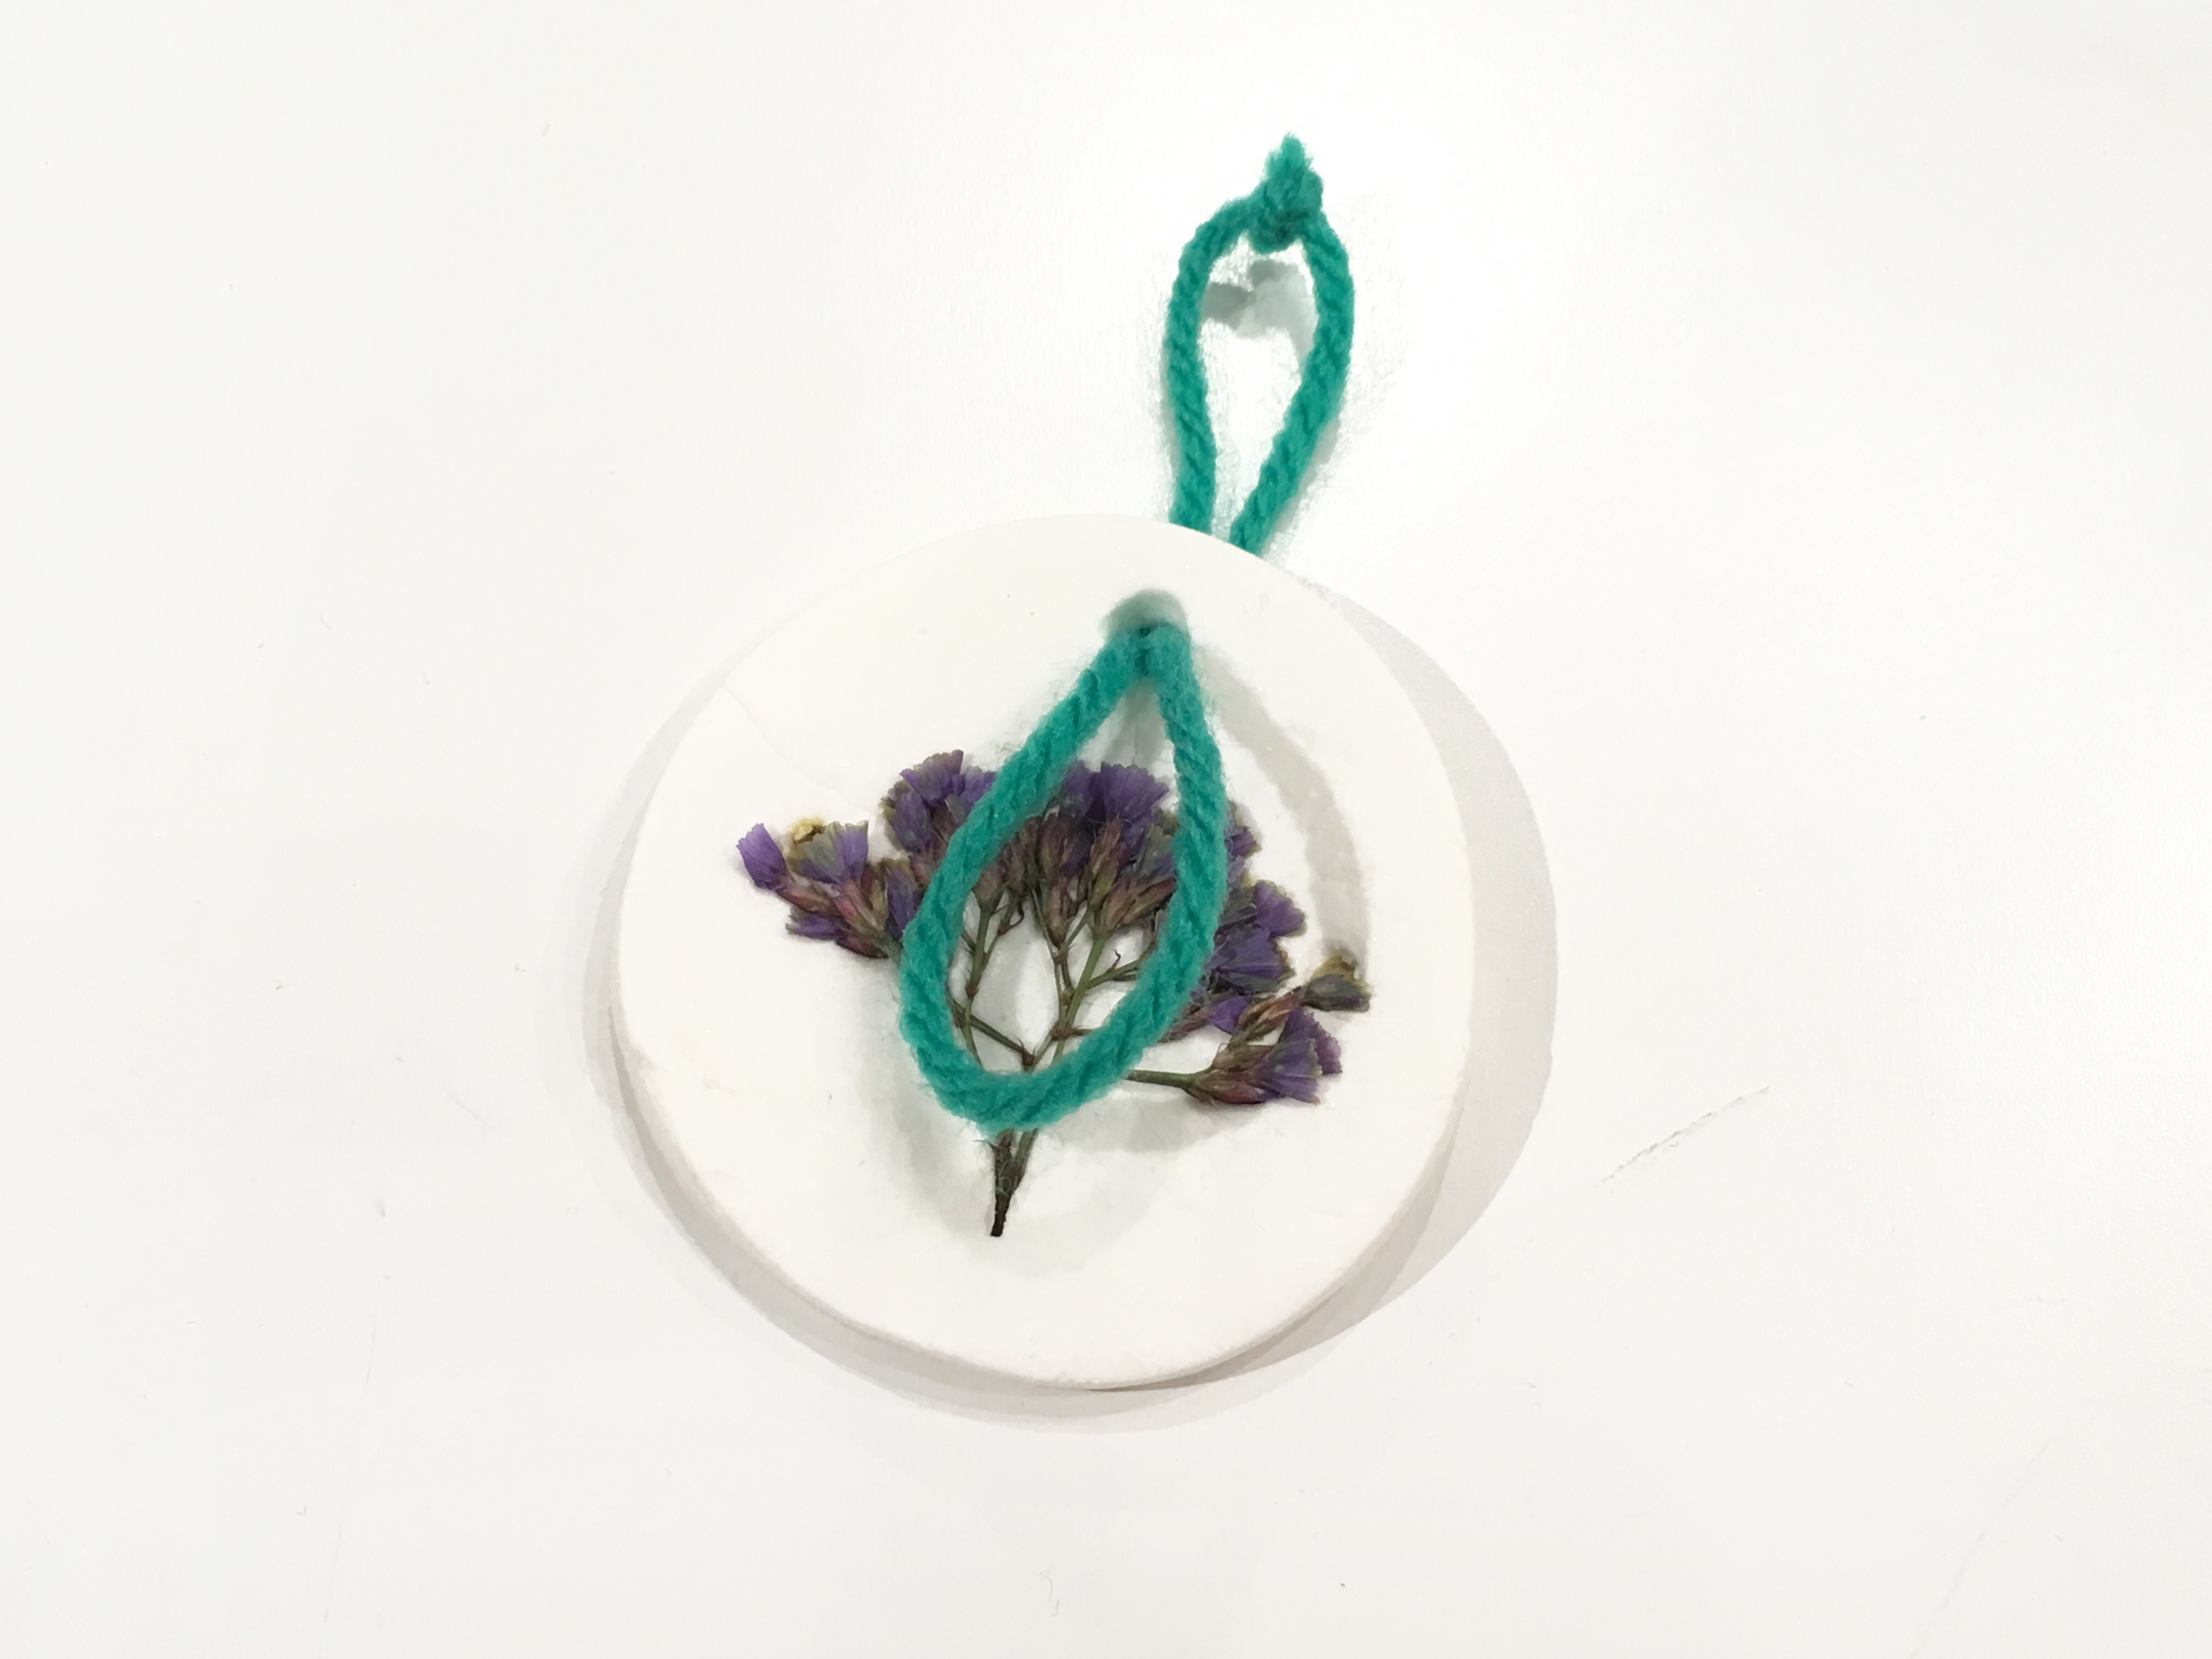
Step 10
Take one end of the loop and slip it under the other end to secure the string.
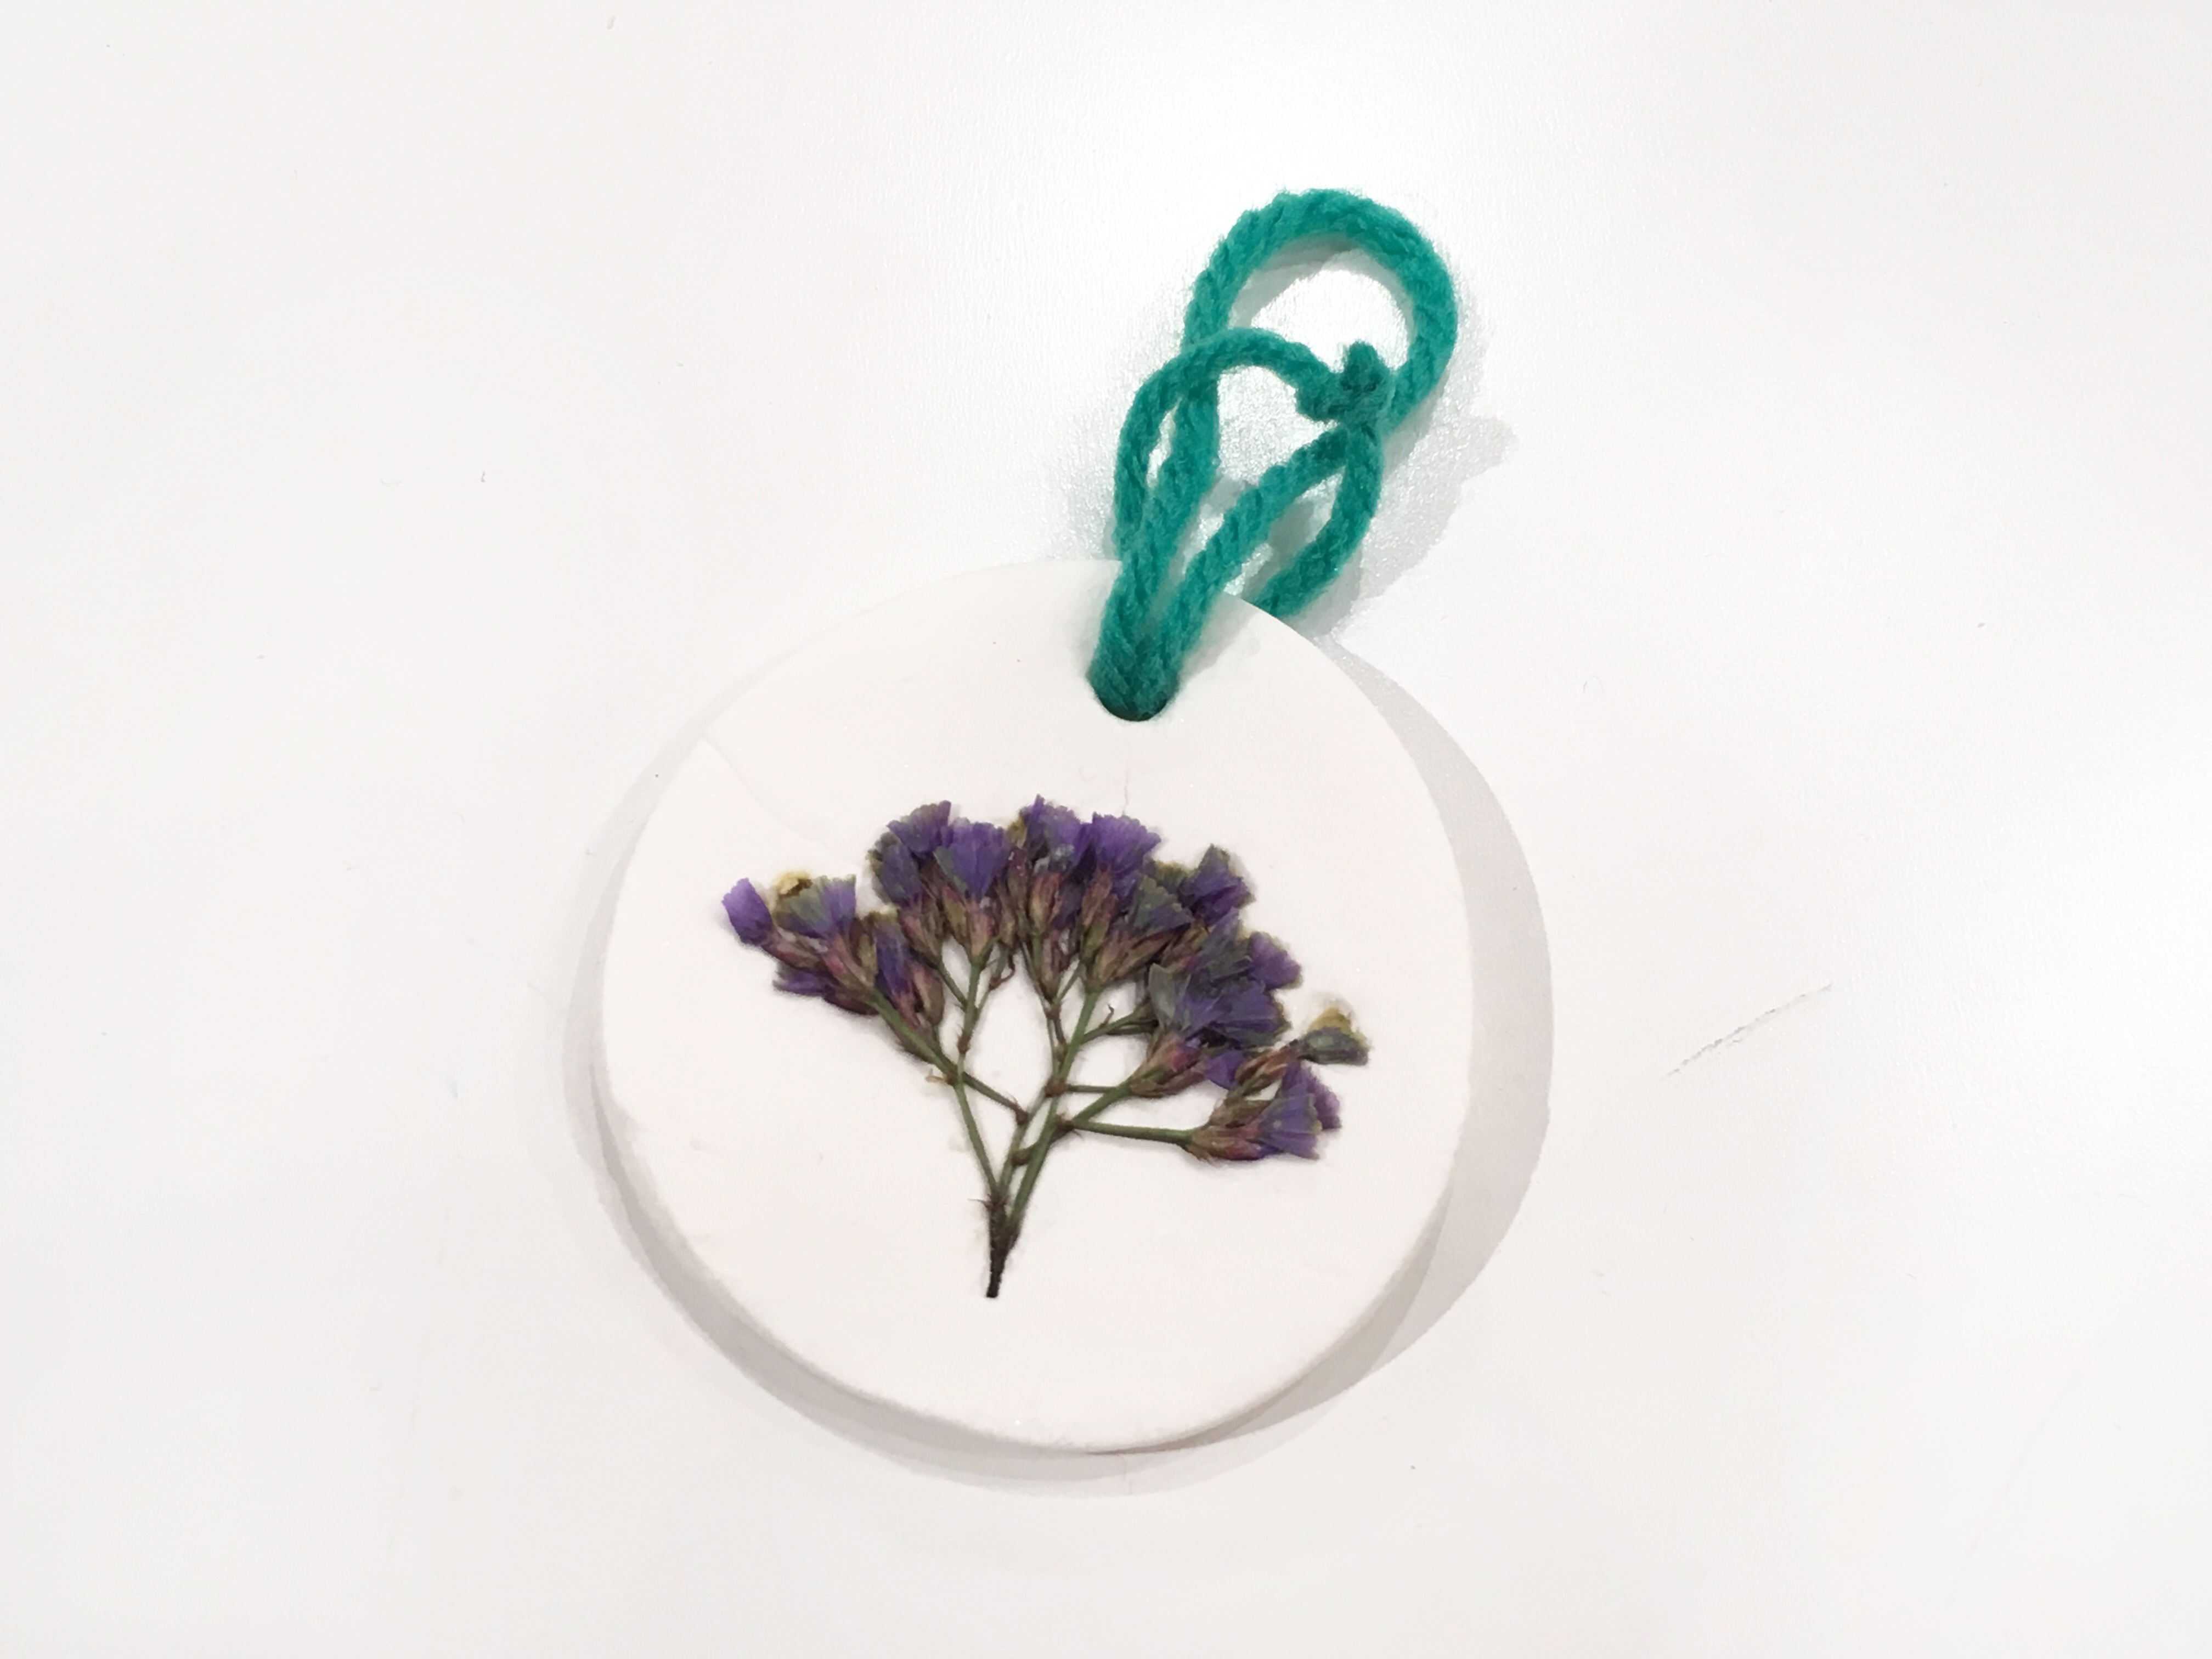
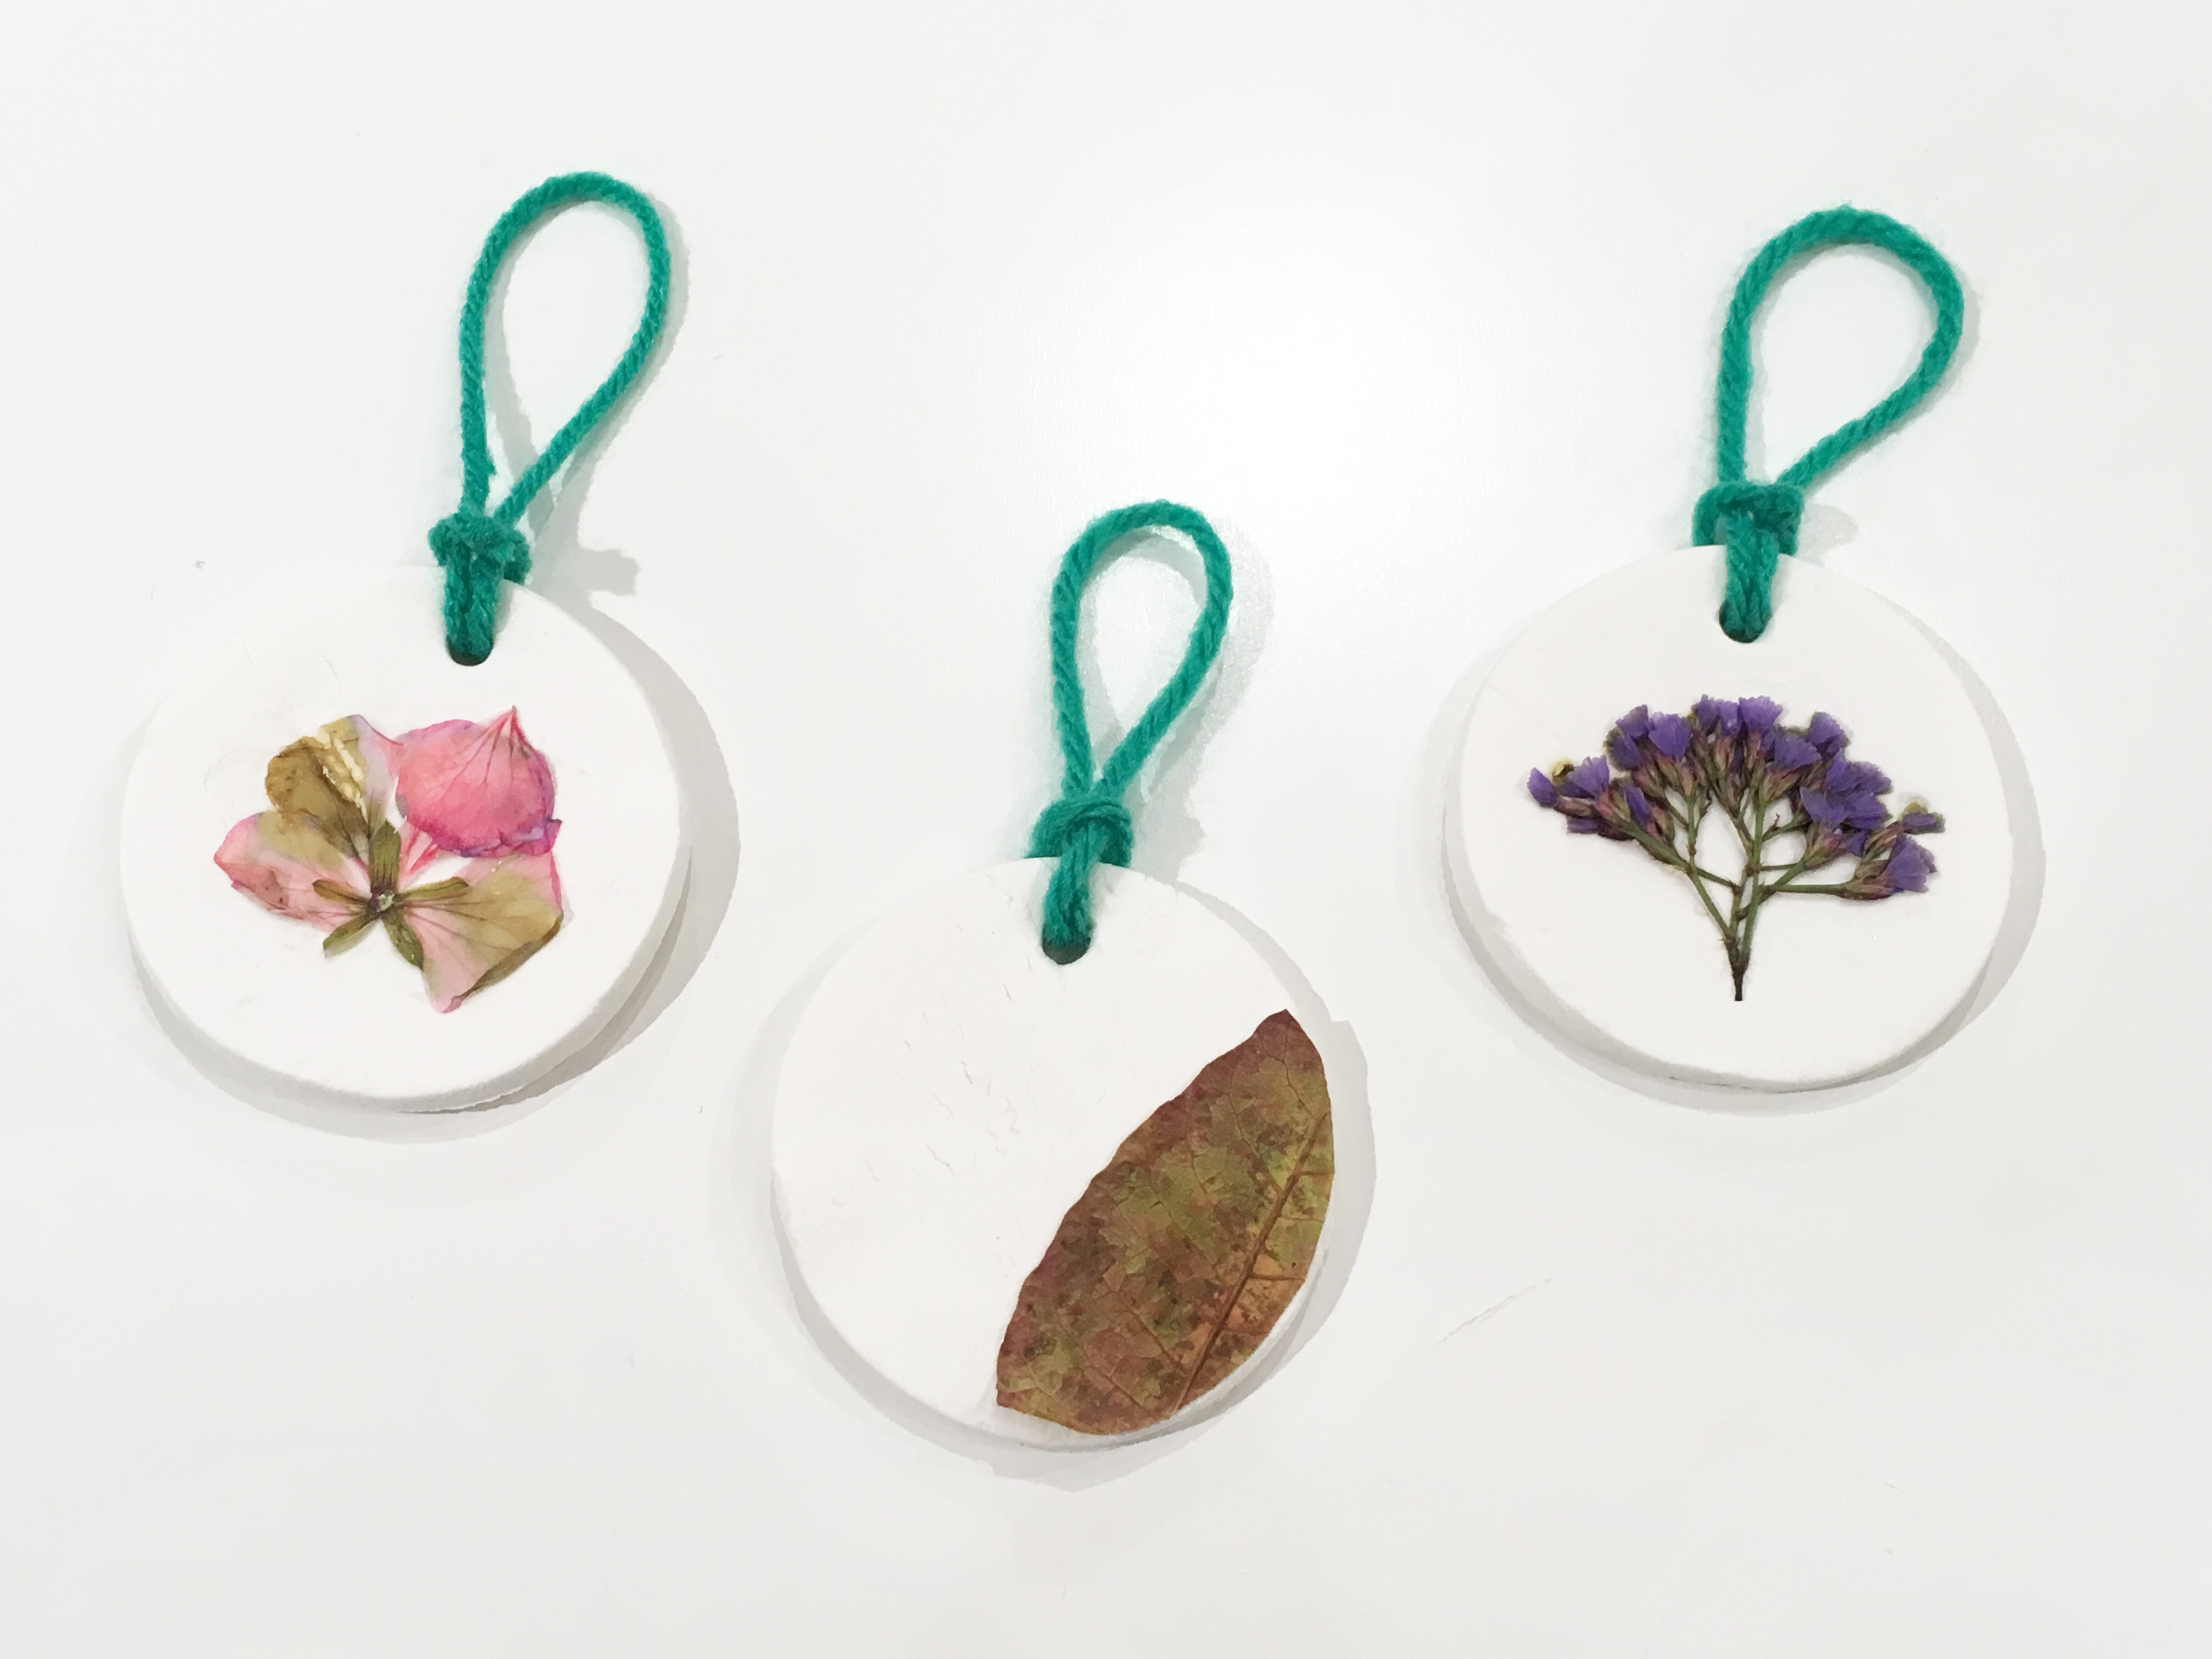
Done!
Now your fall ornaments are ready! Hang them up to enjoy fall foliage all year round.