Step-by-step tutorial
Step 1
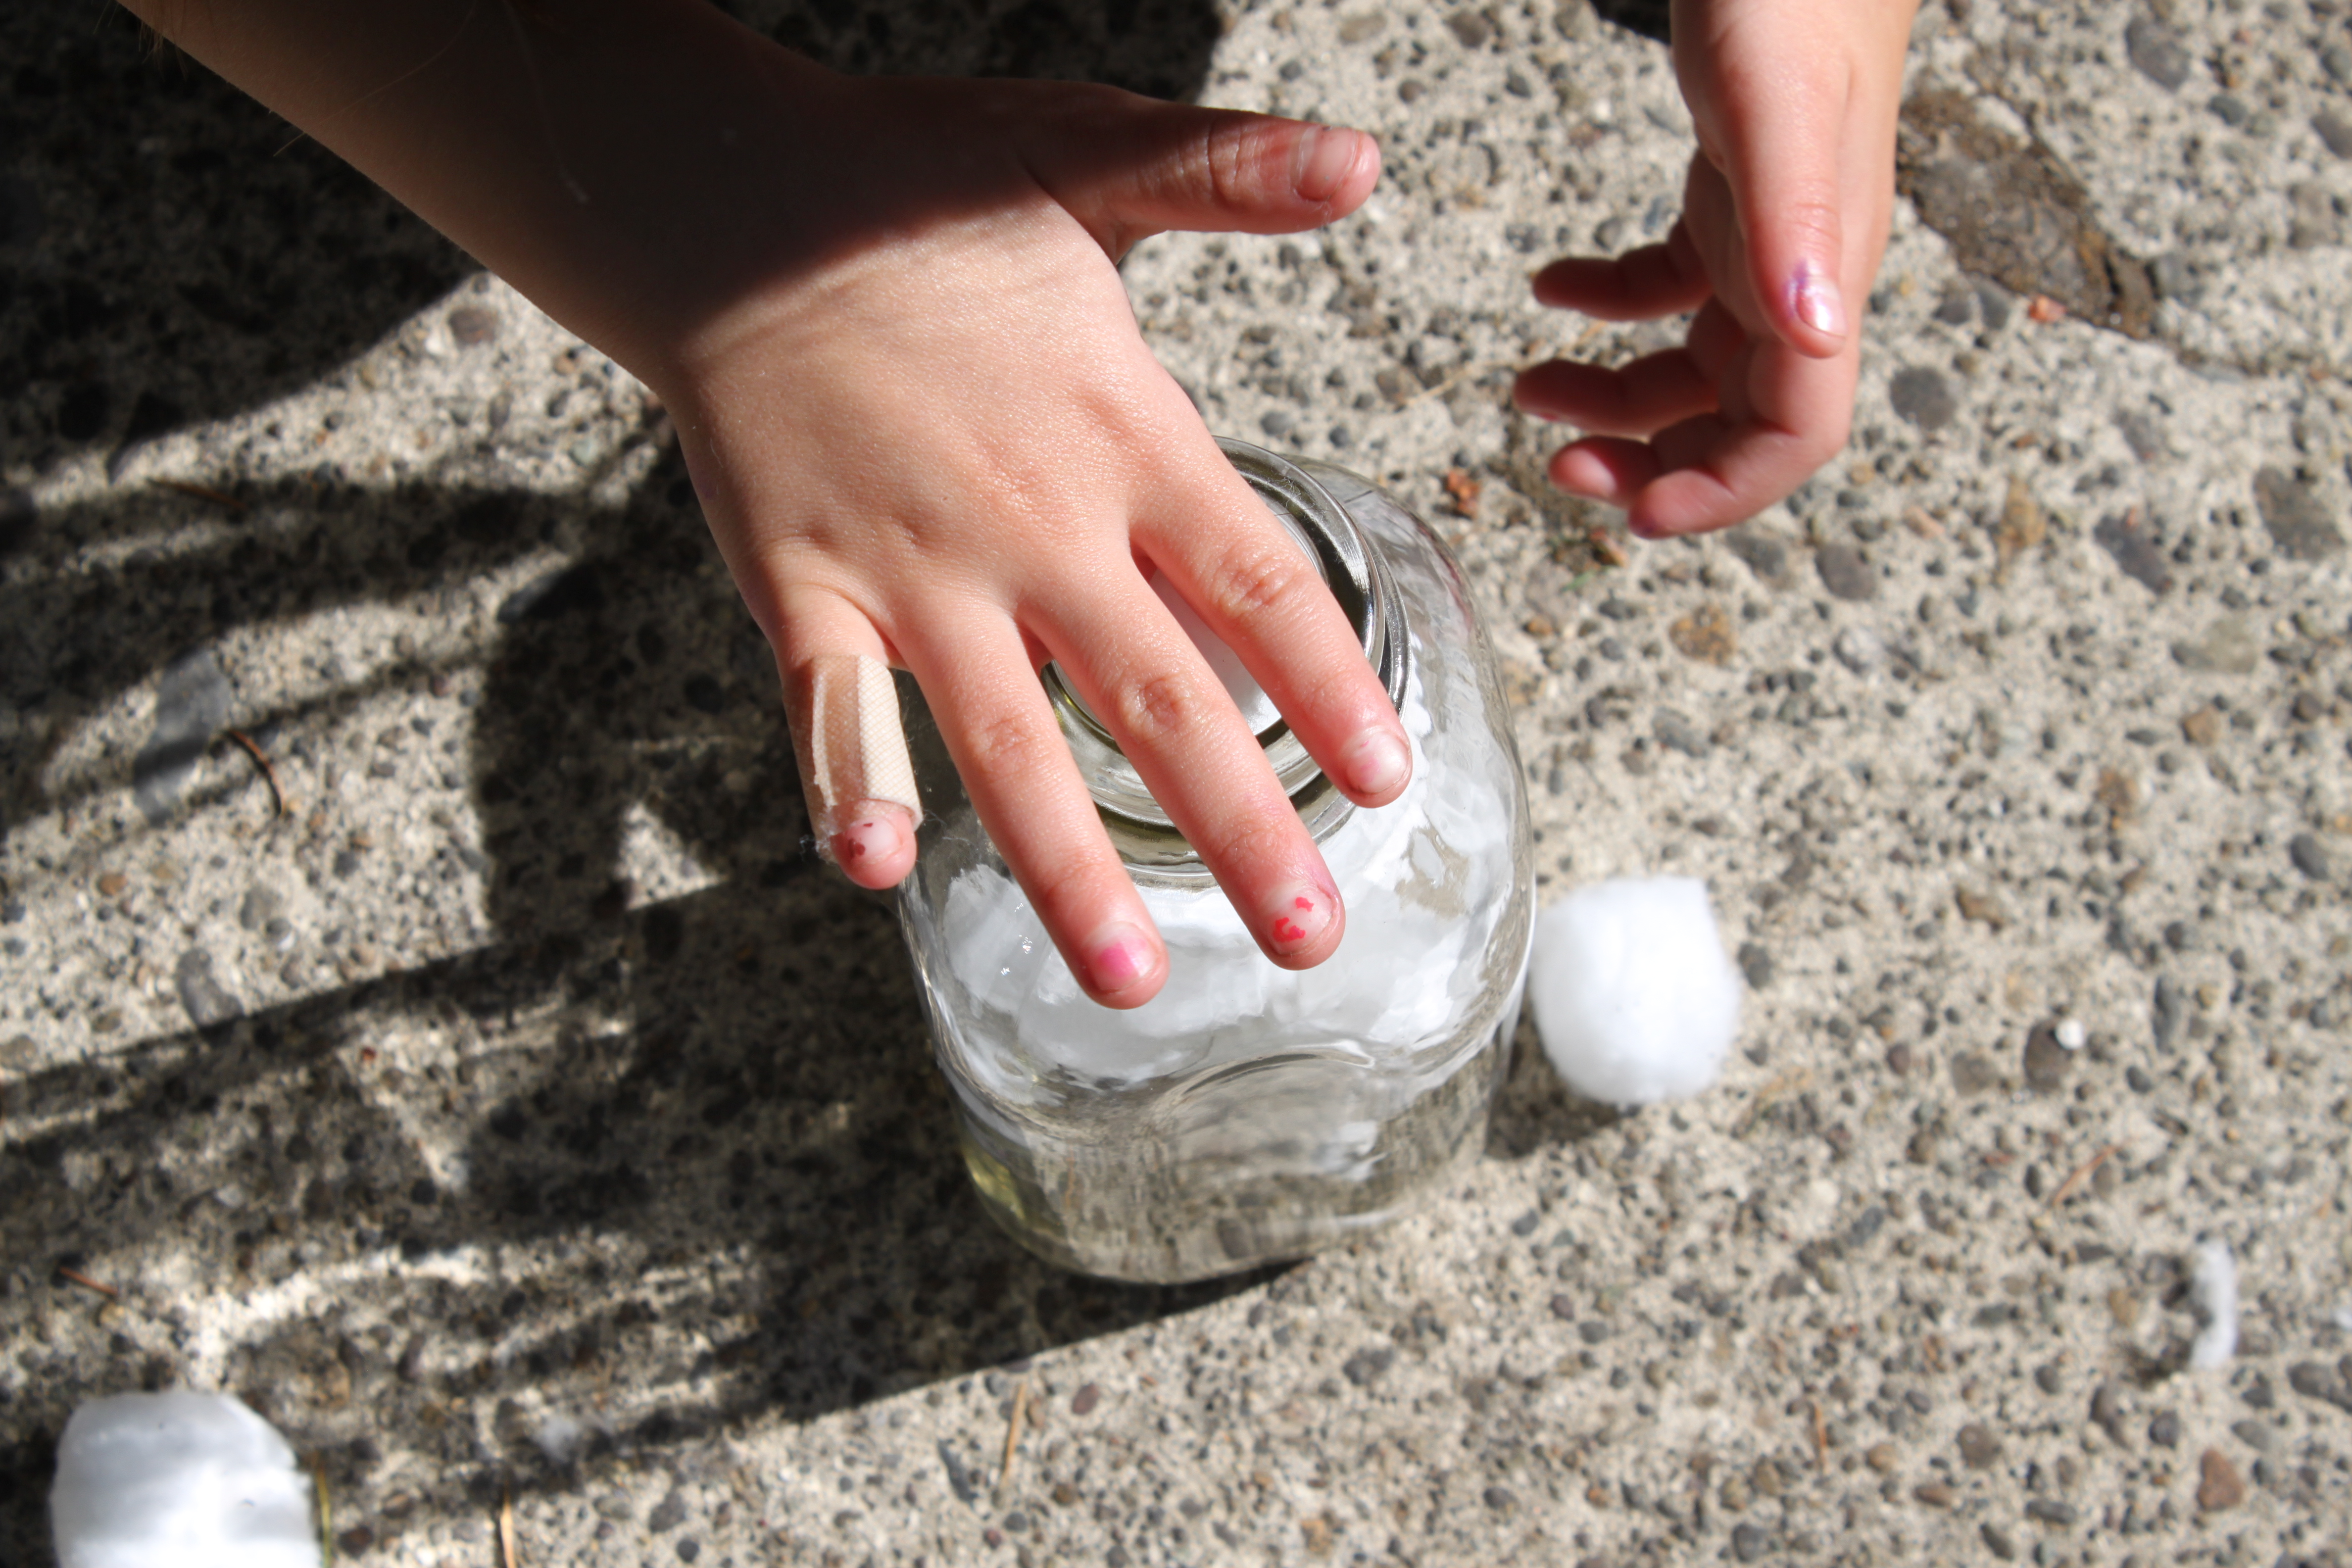
First, of course, get your tongs out. Scatter the cotton balls all over the floor and let the kids have some fun racing to fill their milk bottles. This is great for hand-eye coordination and fine motor skills.

Step 2
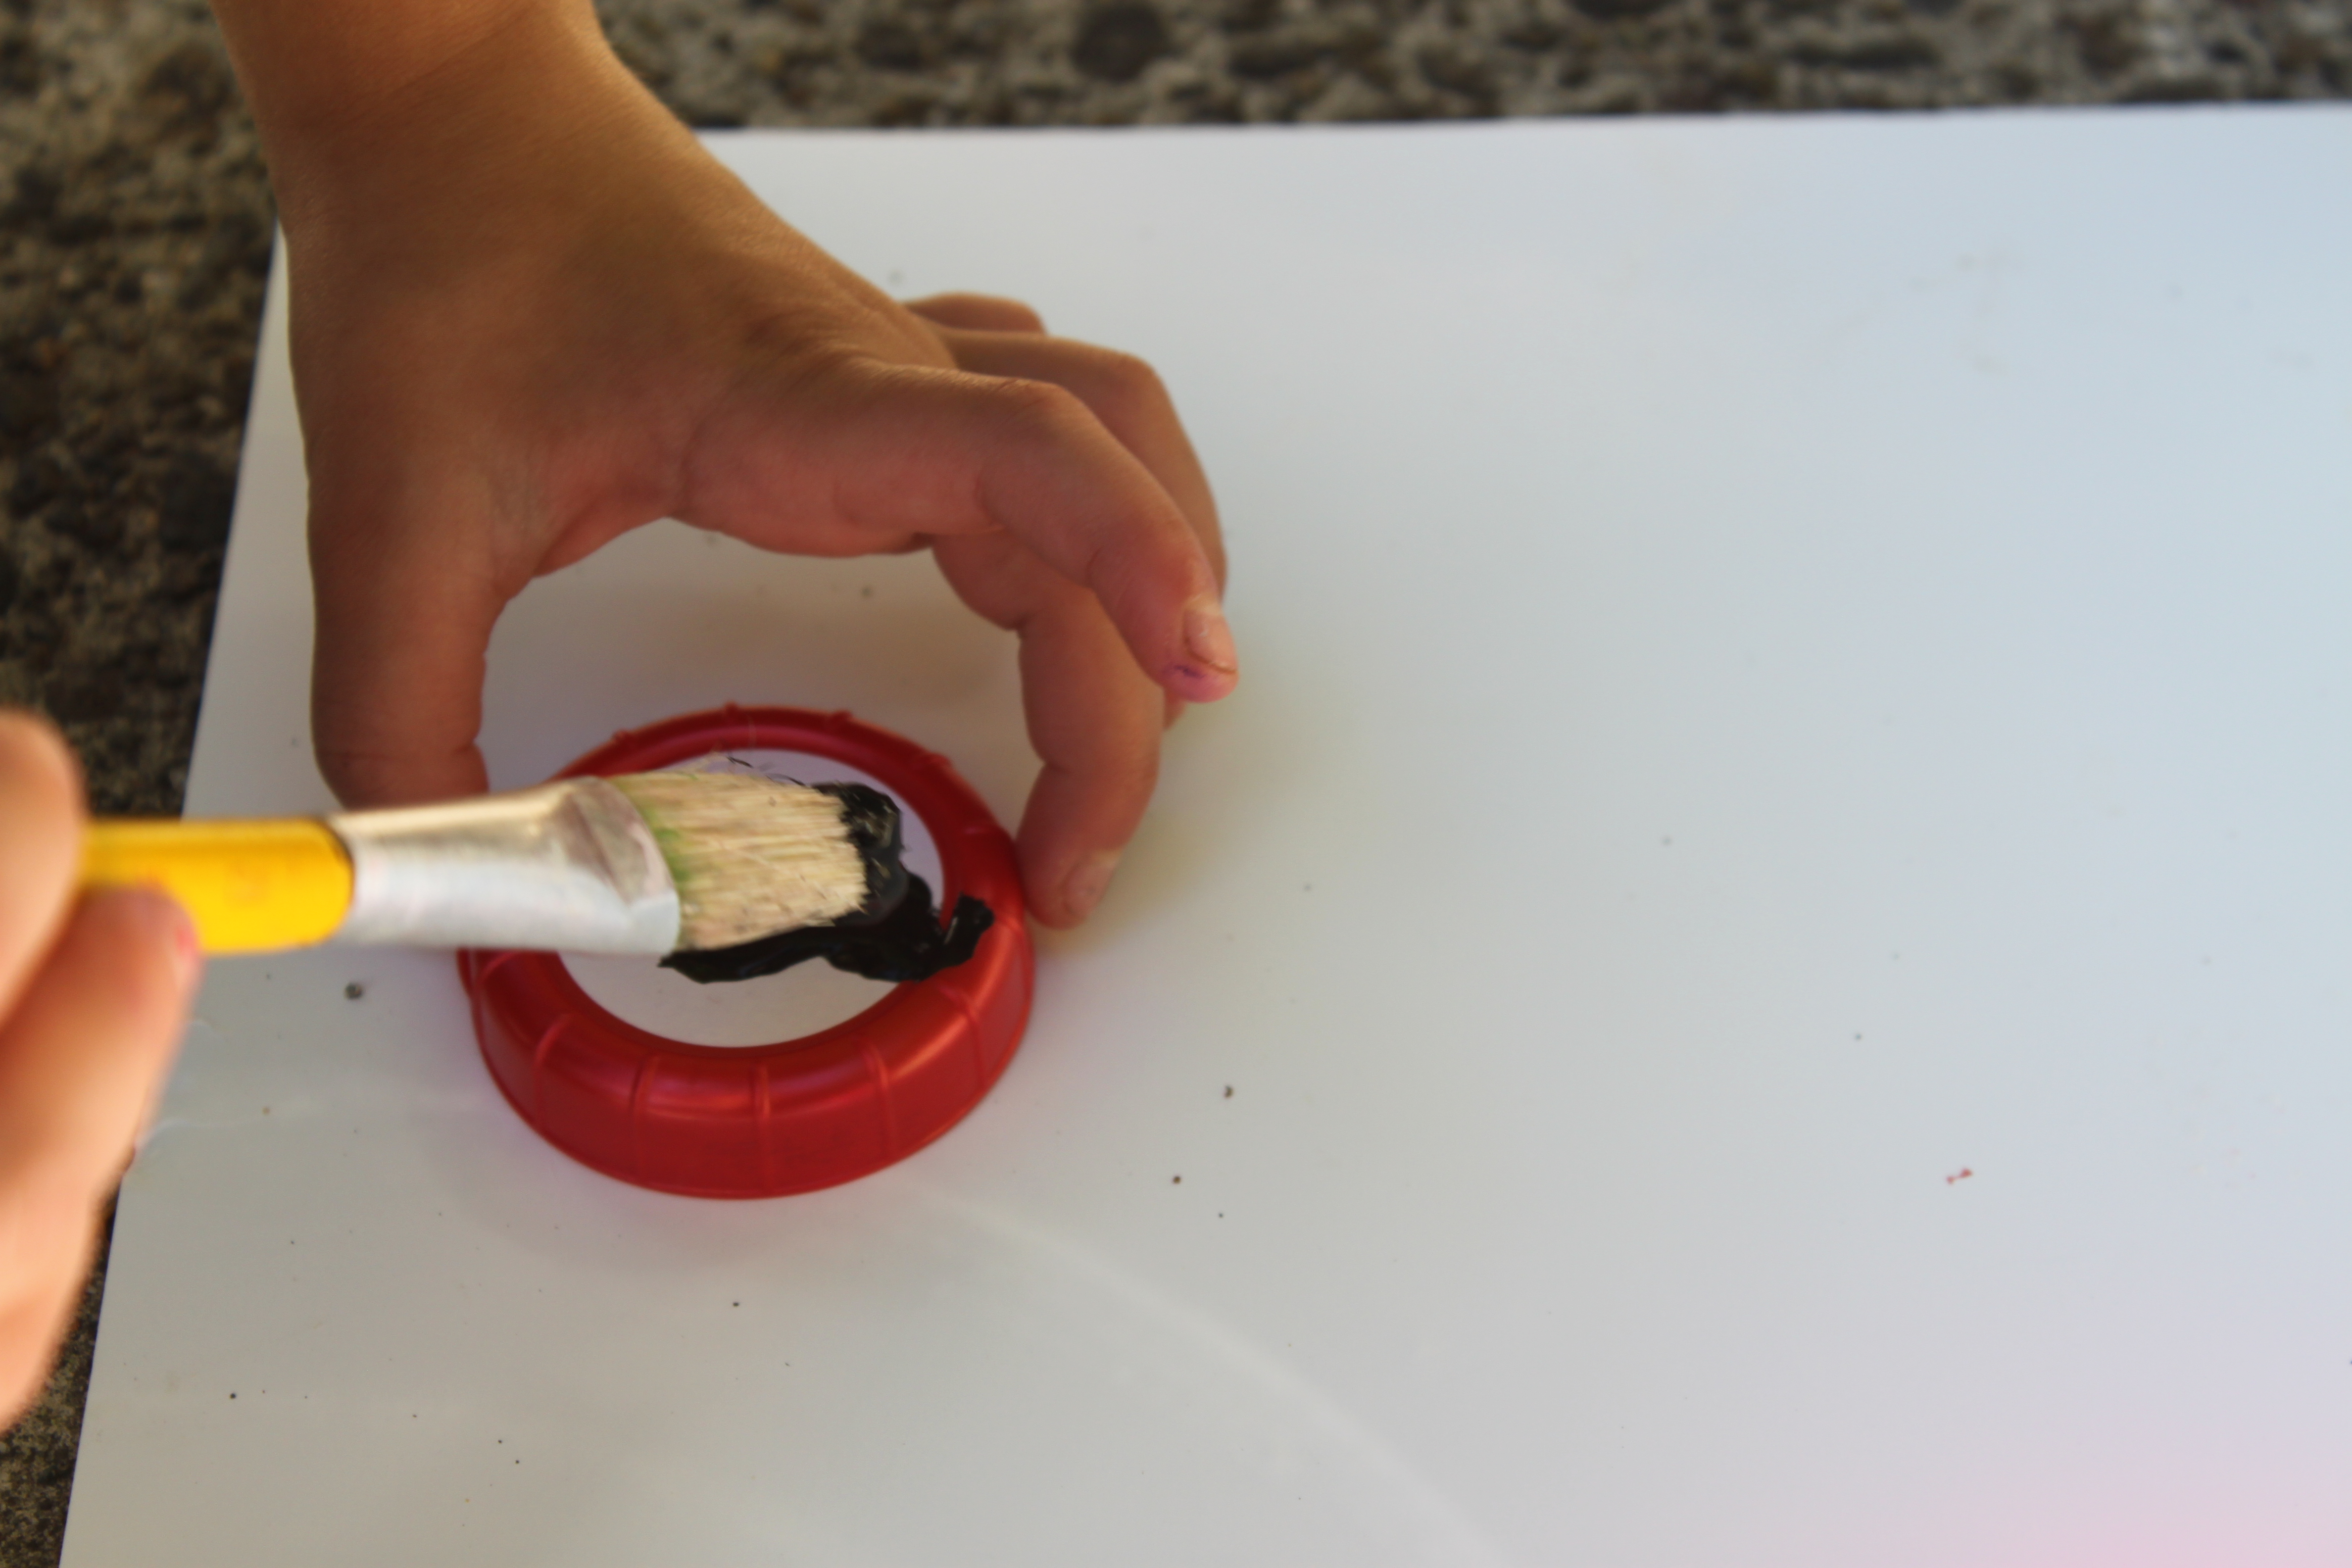
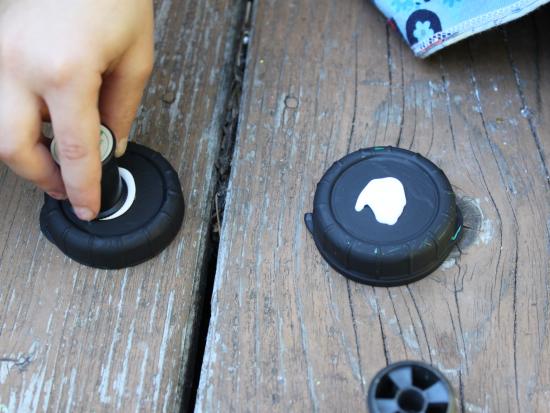
When they are all full of cotton, we painted the milk tops black and let them sit in the sun to dry while we created our snowman.
Step 3
Things changed quickly as soon as we started. "Why are snowmen always boys, mama?" Asked the ever-so-curious five-year-old of mine...and I bet you can also guess where this led to...

Step 4
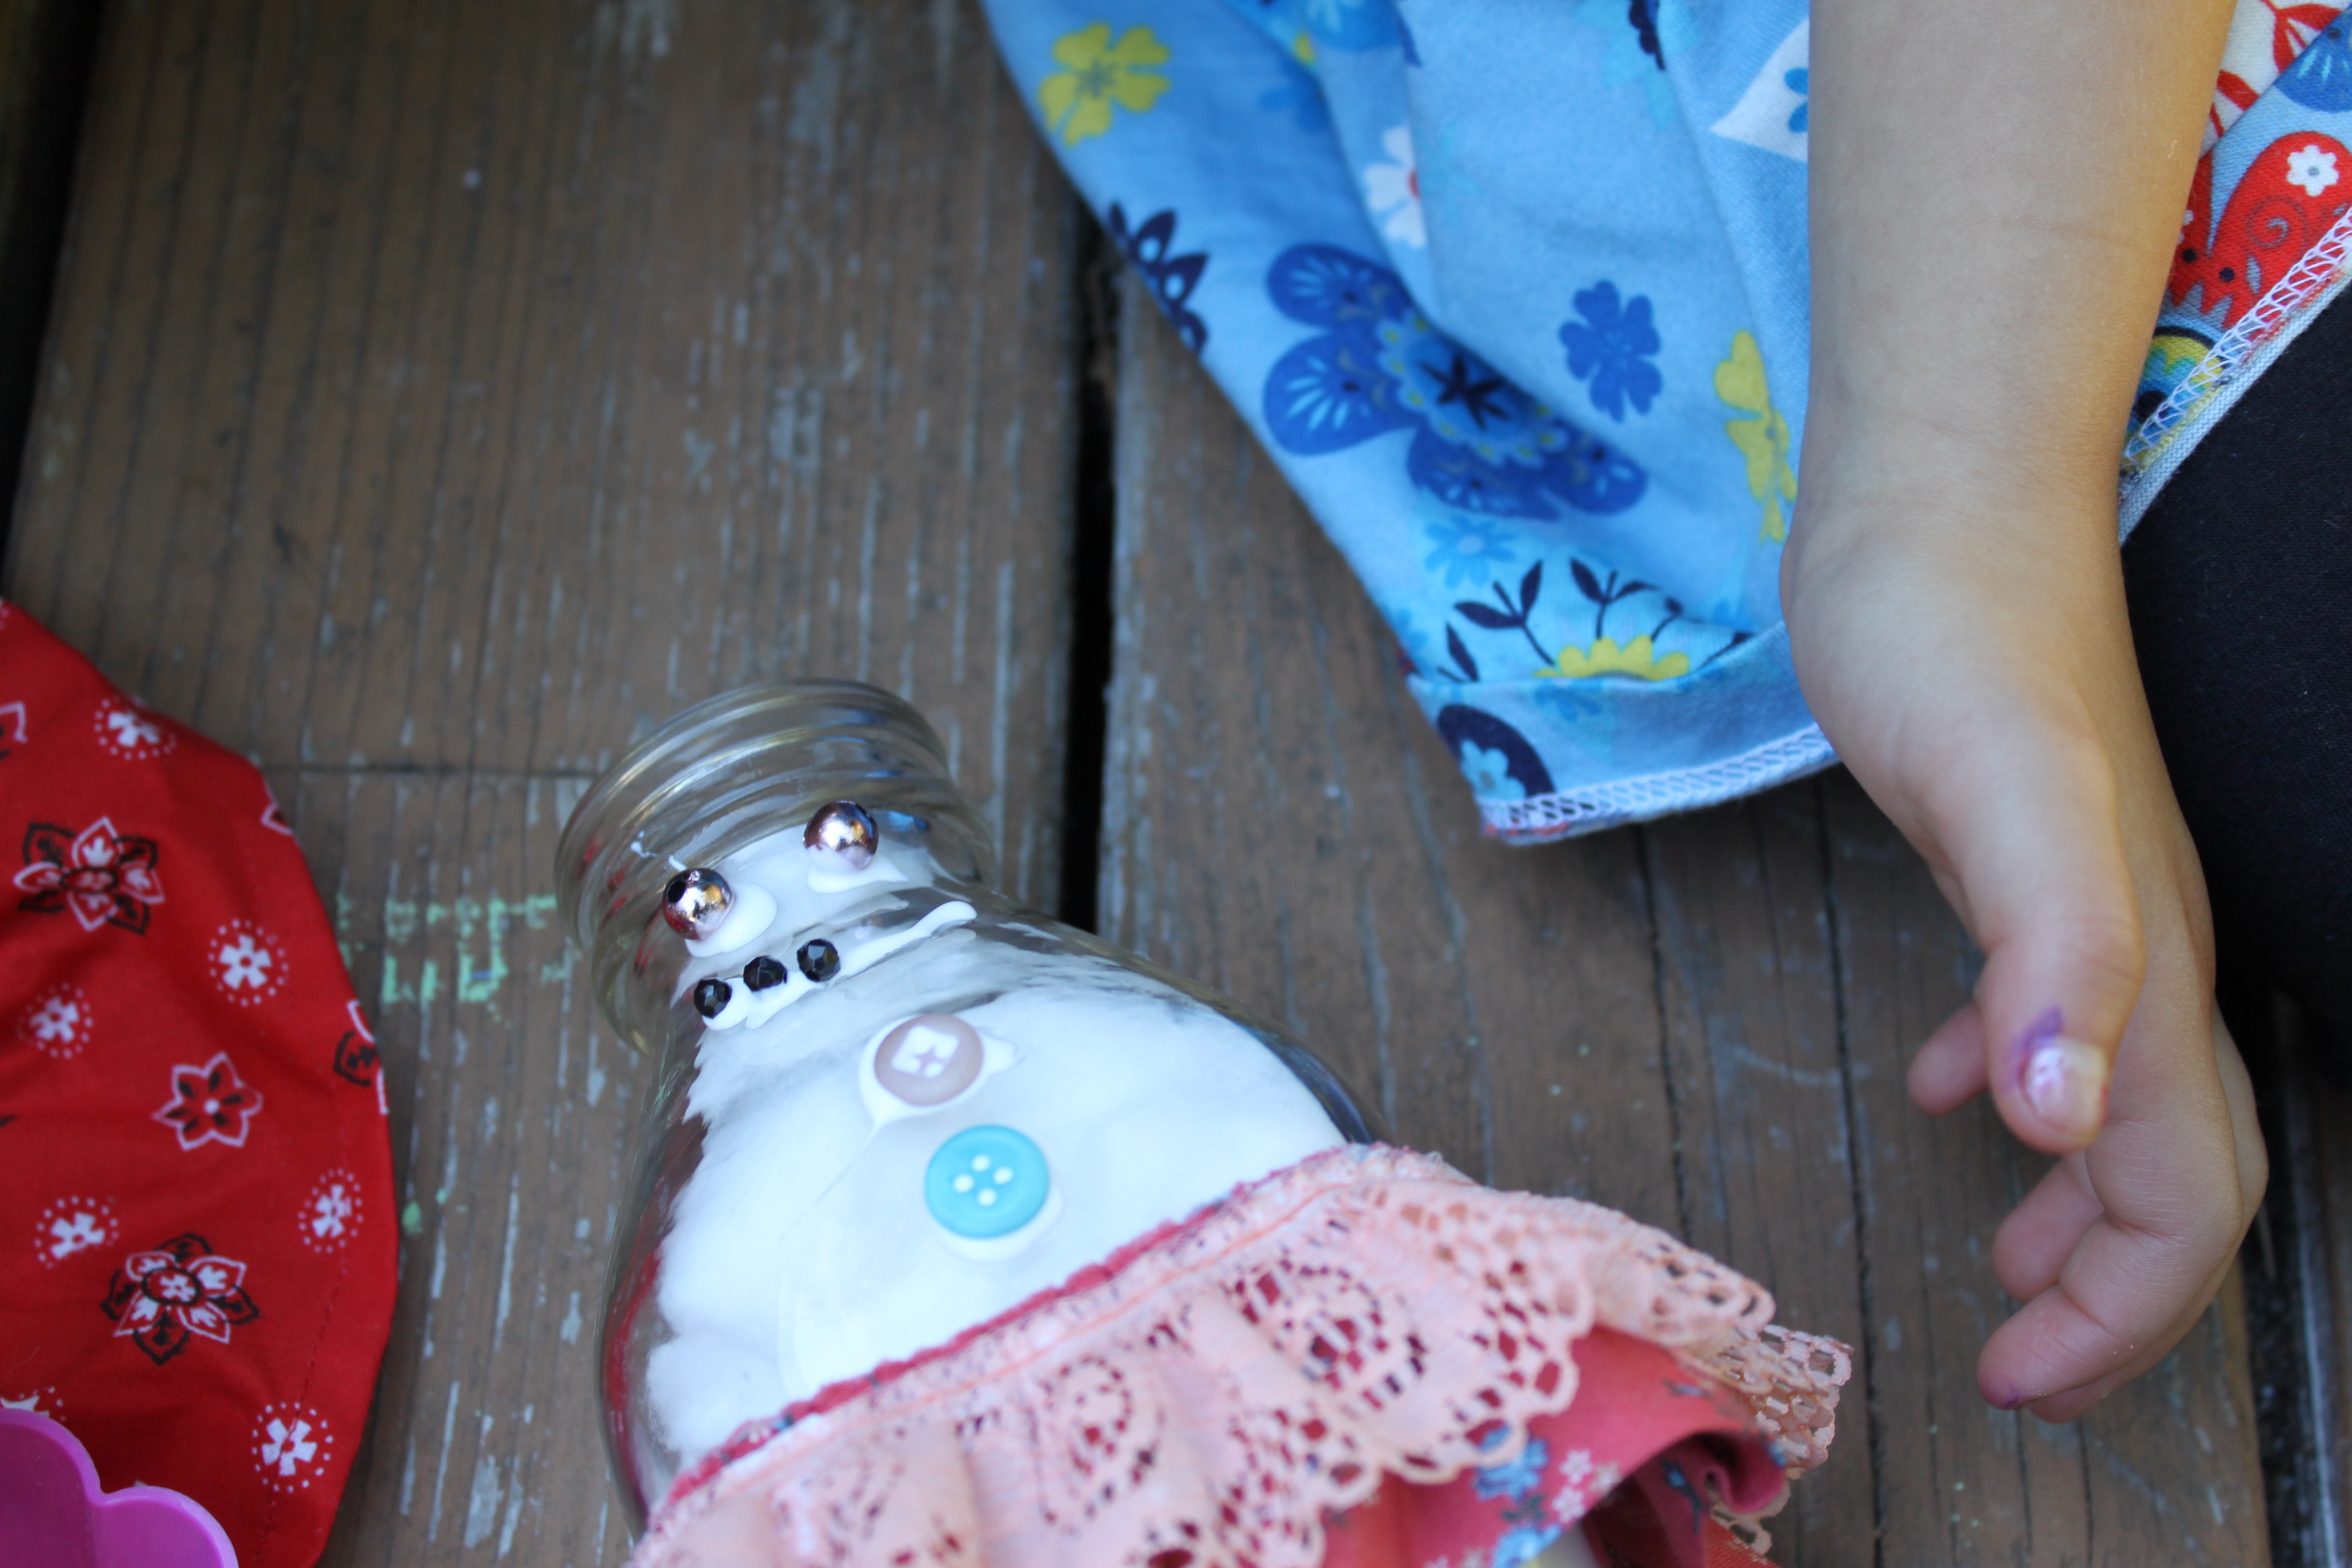
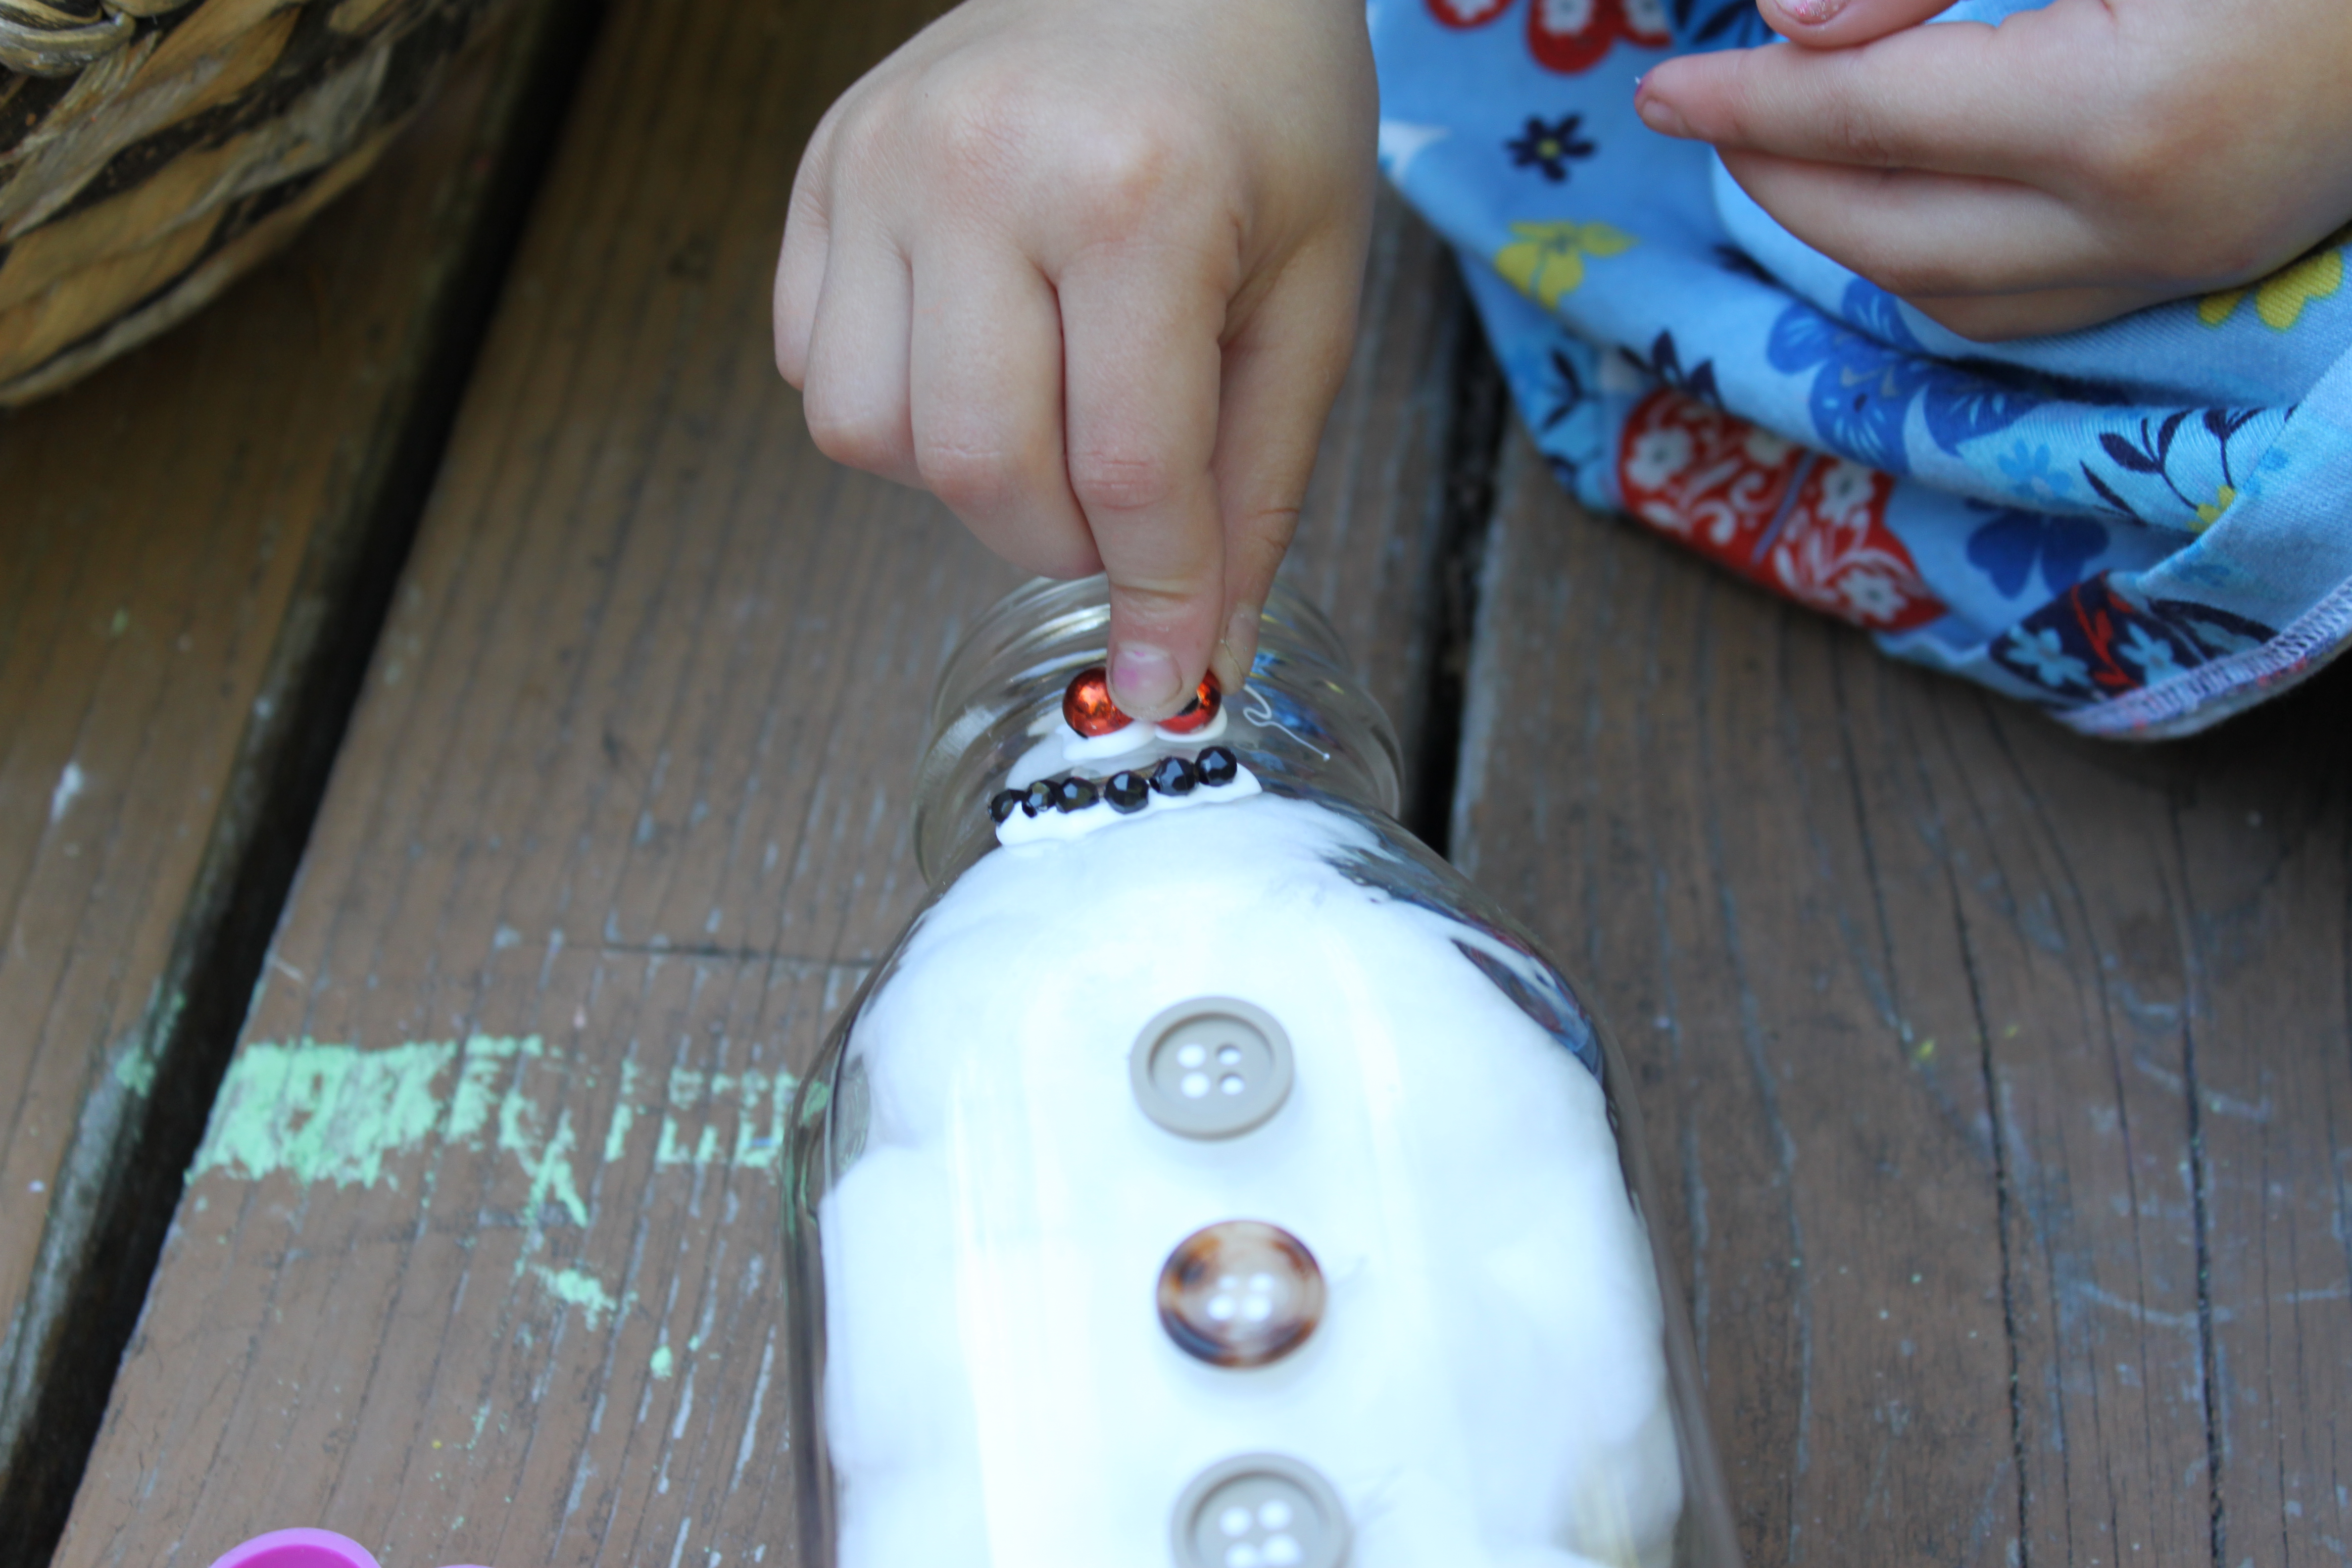
With some frilly trim, we created skirts for our snow ladies, buttons for shirts, beads for faces, and pipe cleaner for a carrot nose.
Step 5
We used tacky glue for a good strong hold on our snow gals. Emma loved adding each feature and seeing her snow friend come to life.
Step 6
Our milk caps were dry at this point, and we added an empty thread spool right on top. They were already black so they were perfect, but since Emma changed our plan to snow ladies, she thought a pink feather on top was needed for these hats.
Step 7
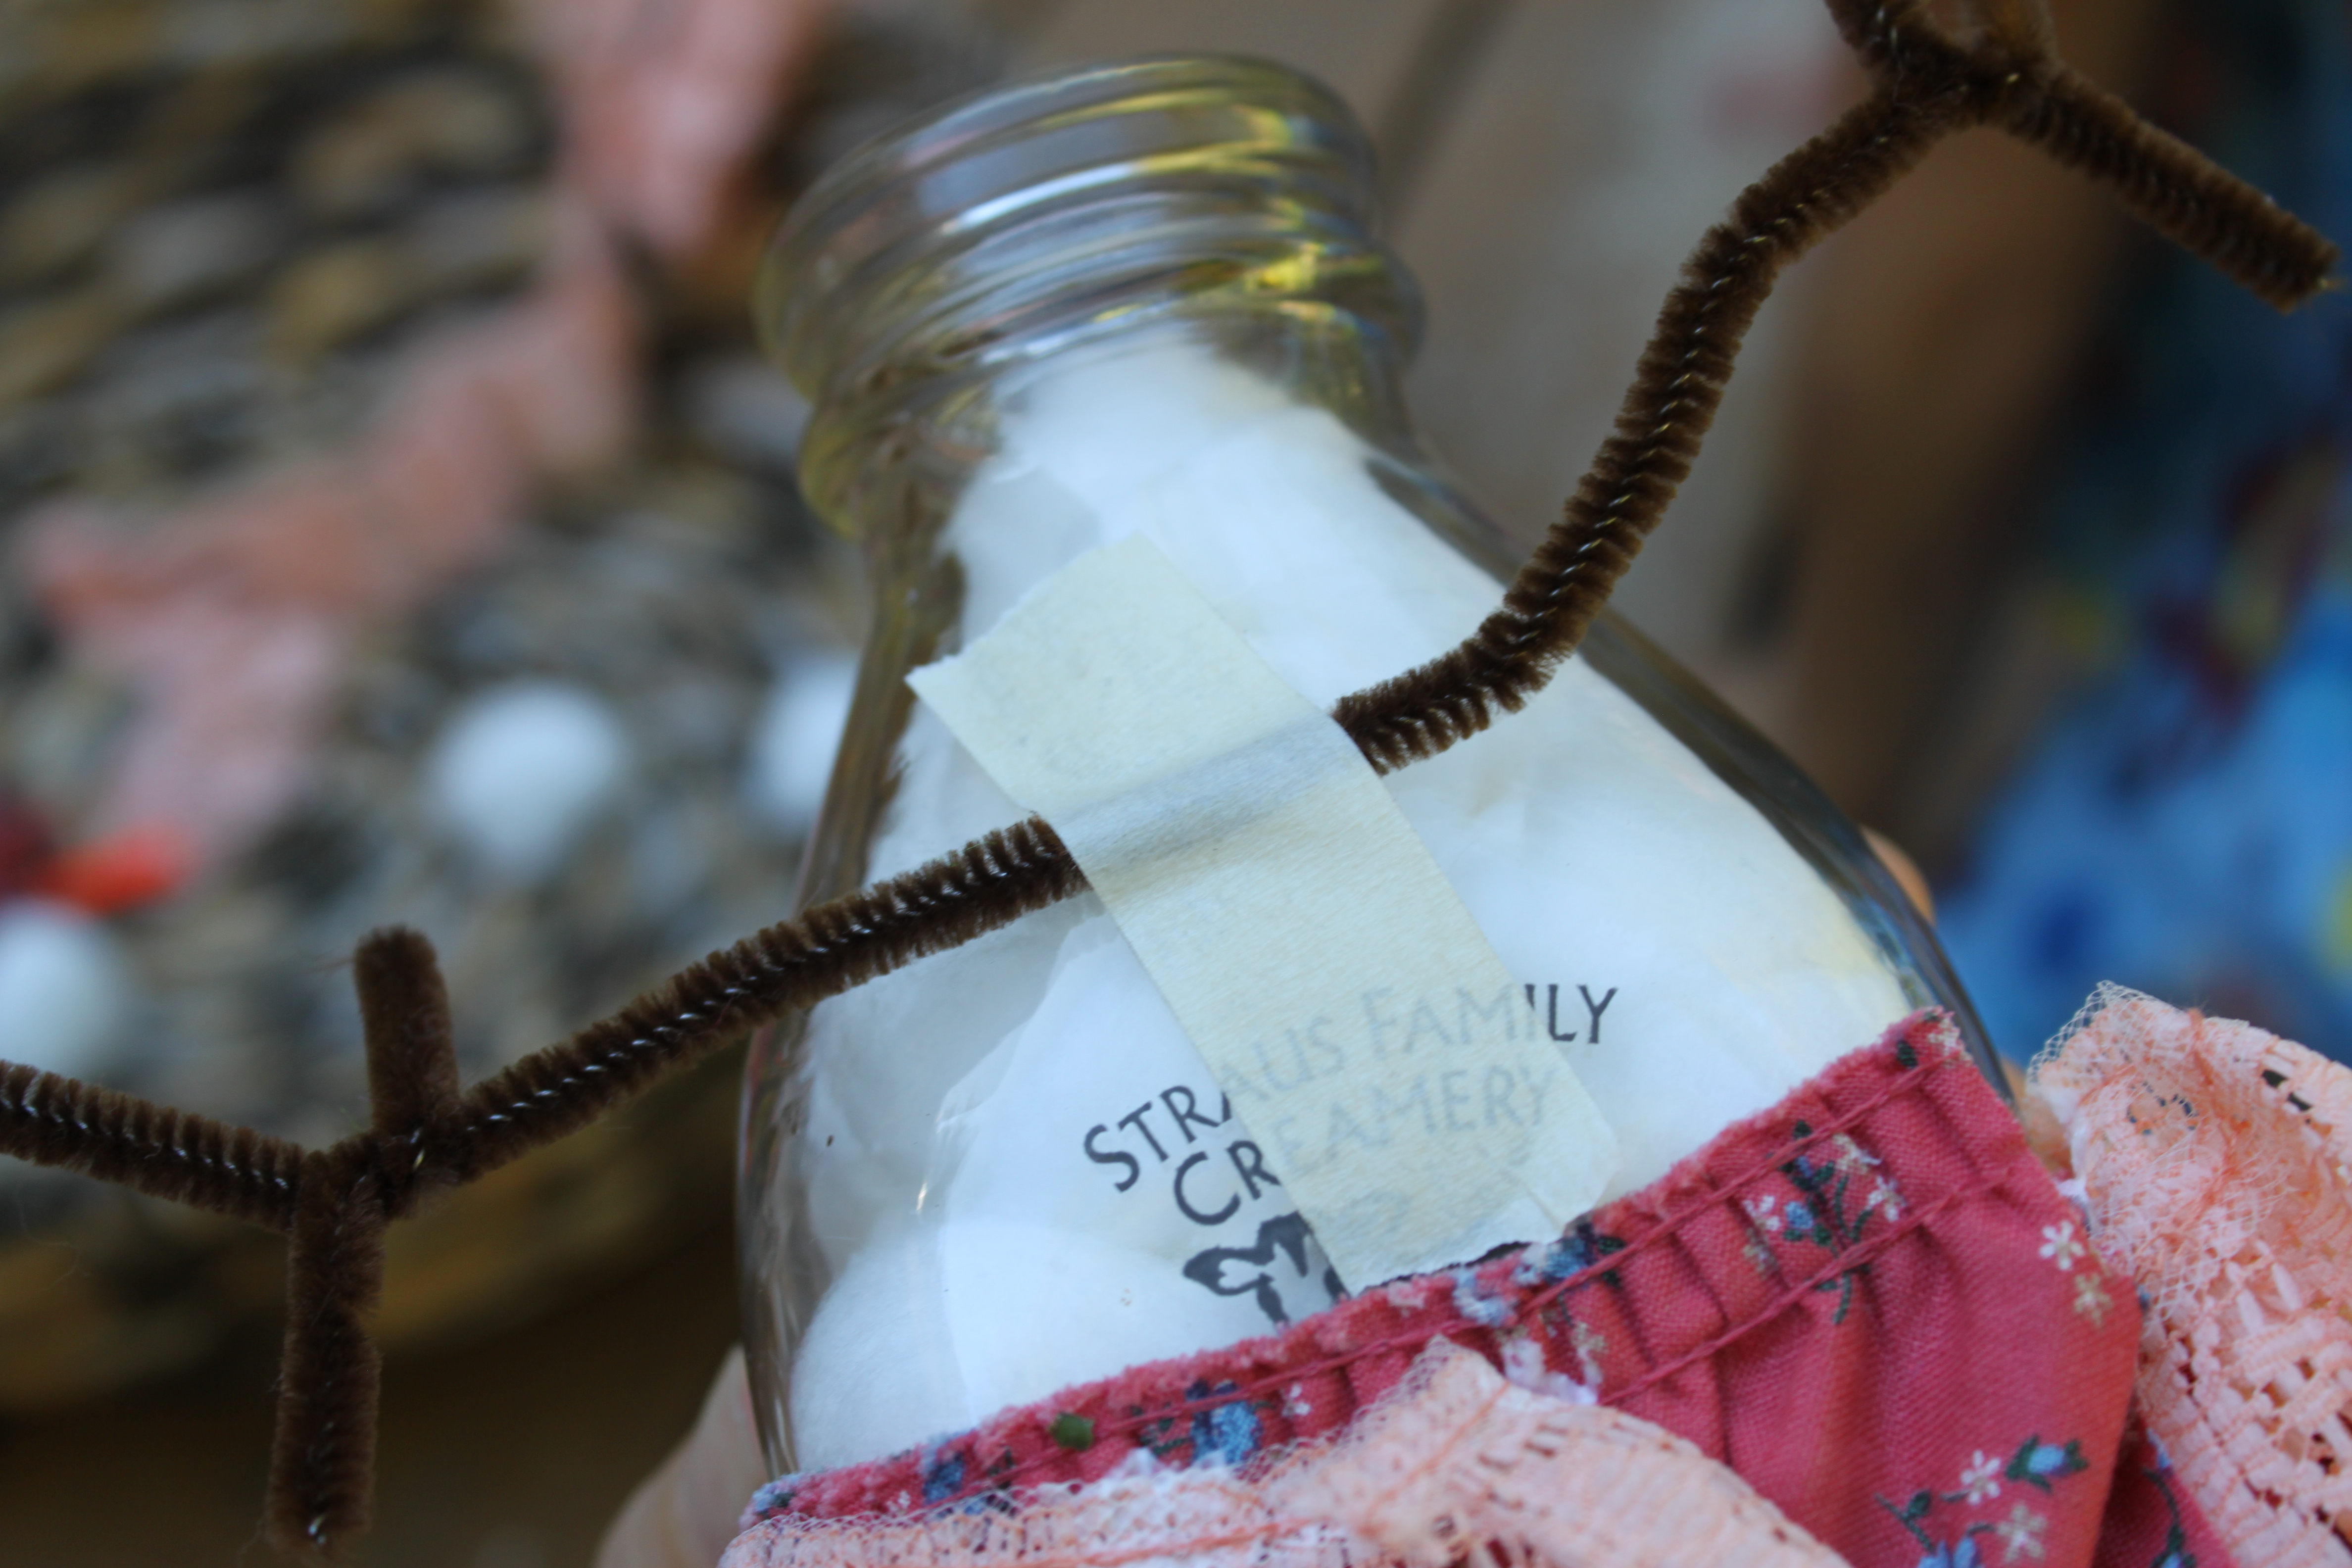
The brown pipe cleaner twisted a bit and taped to the back of the bottle with a piece of masking tape became the perfect arms for our snow lady.
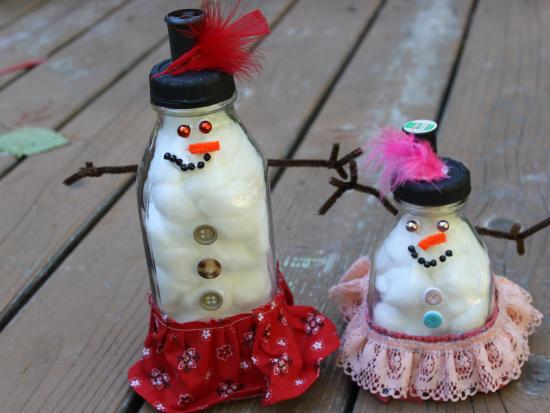
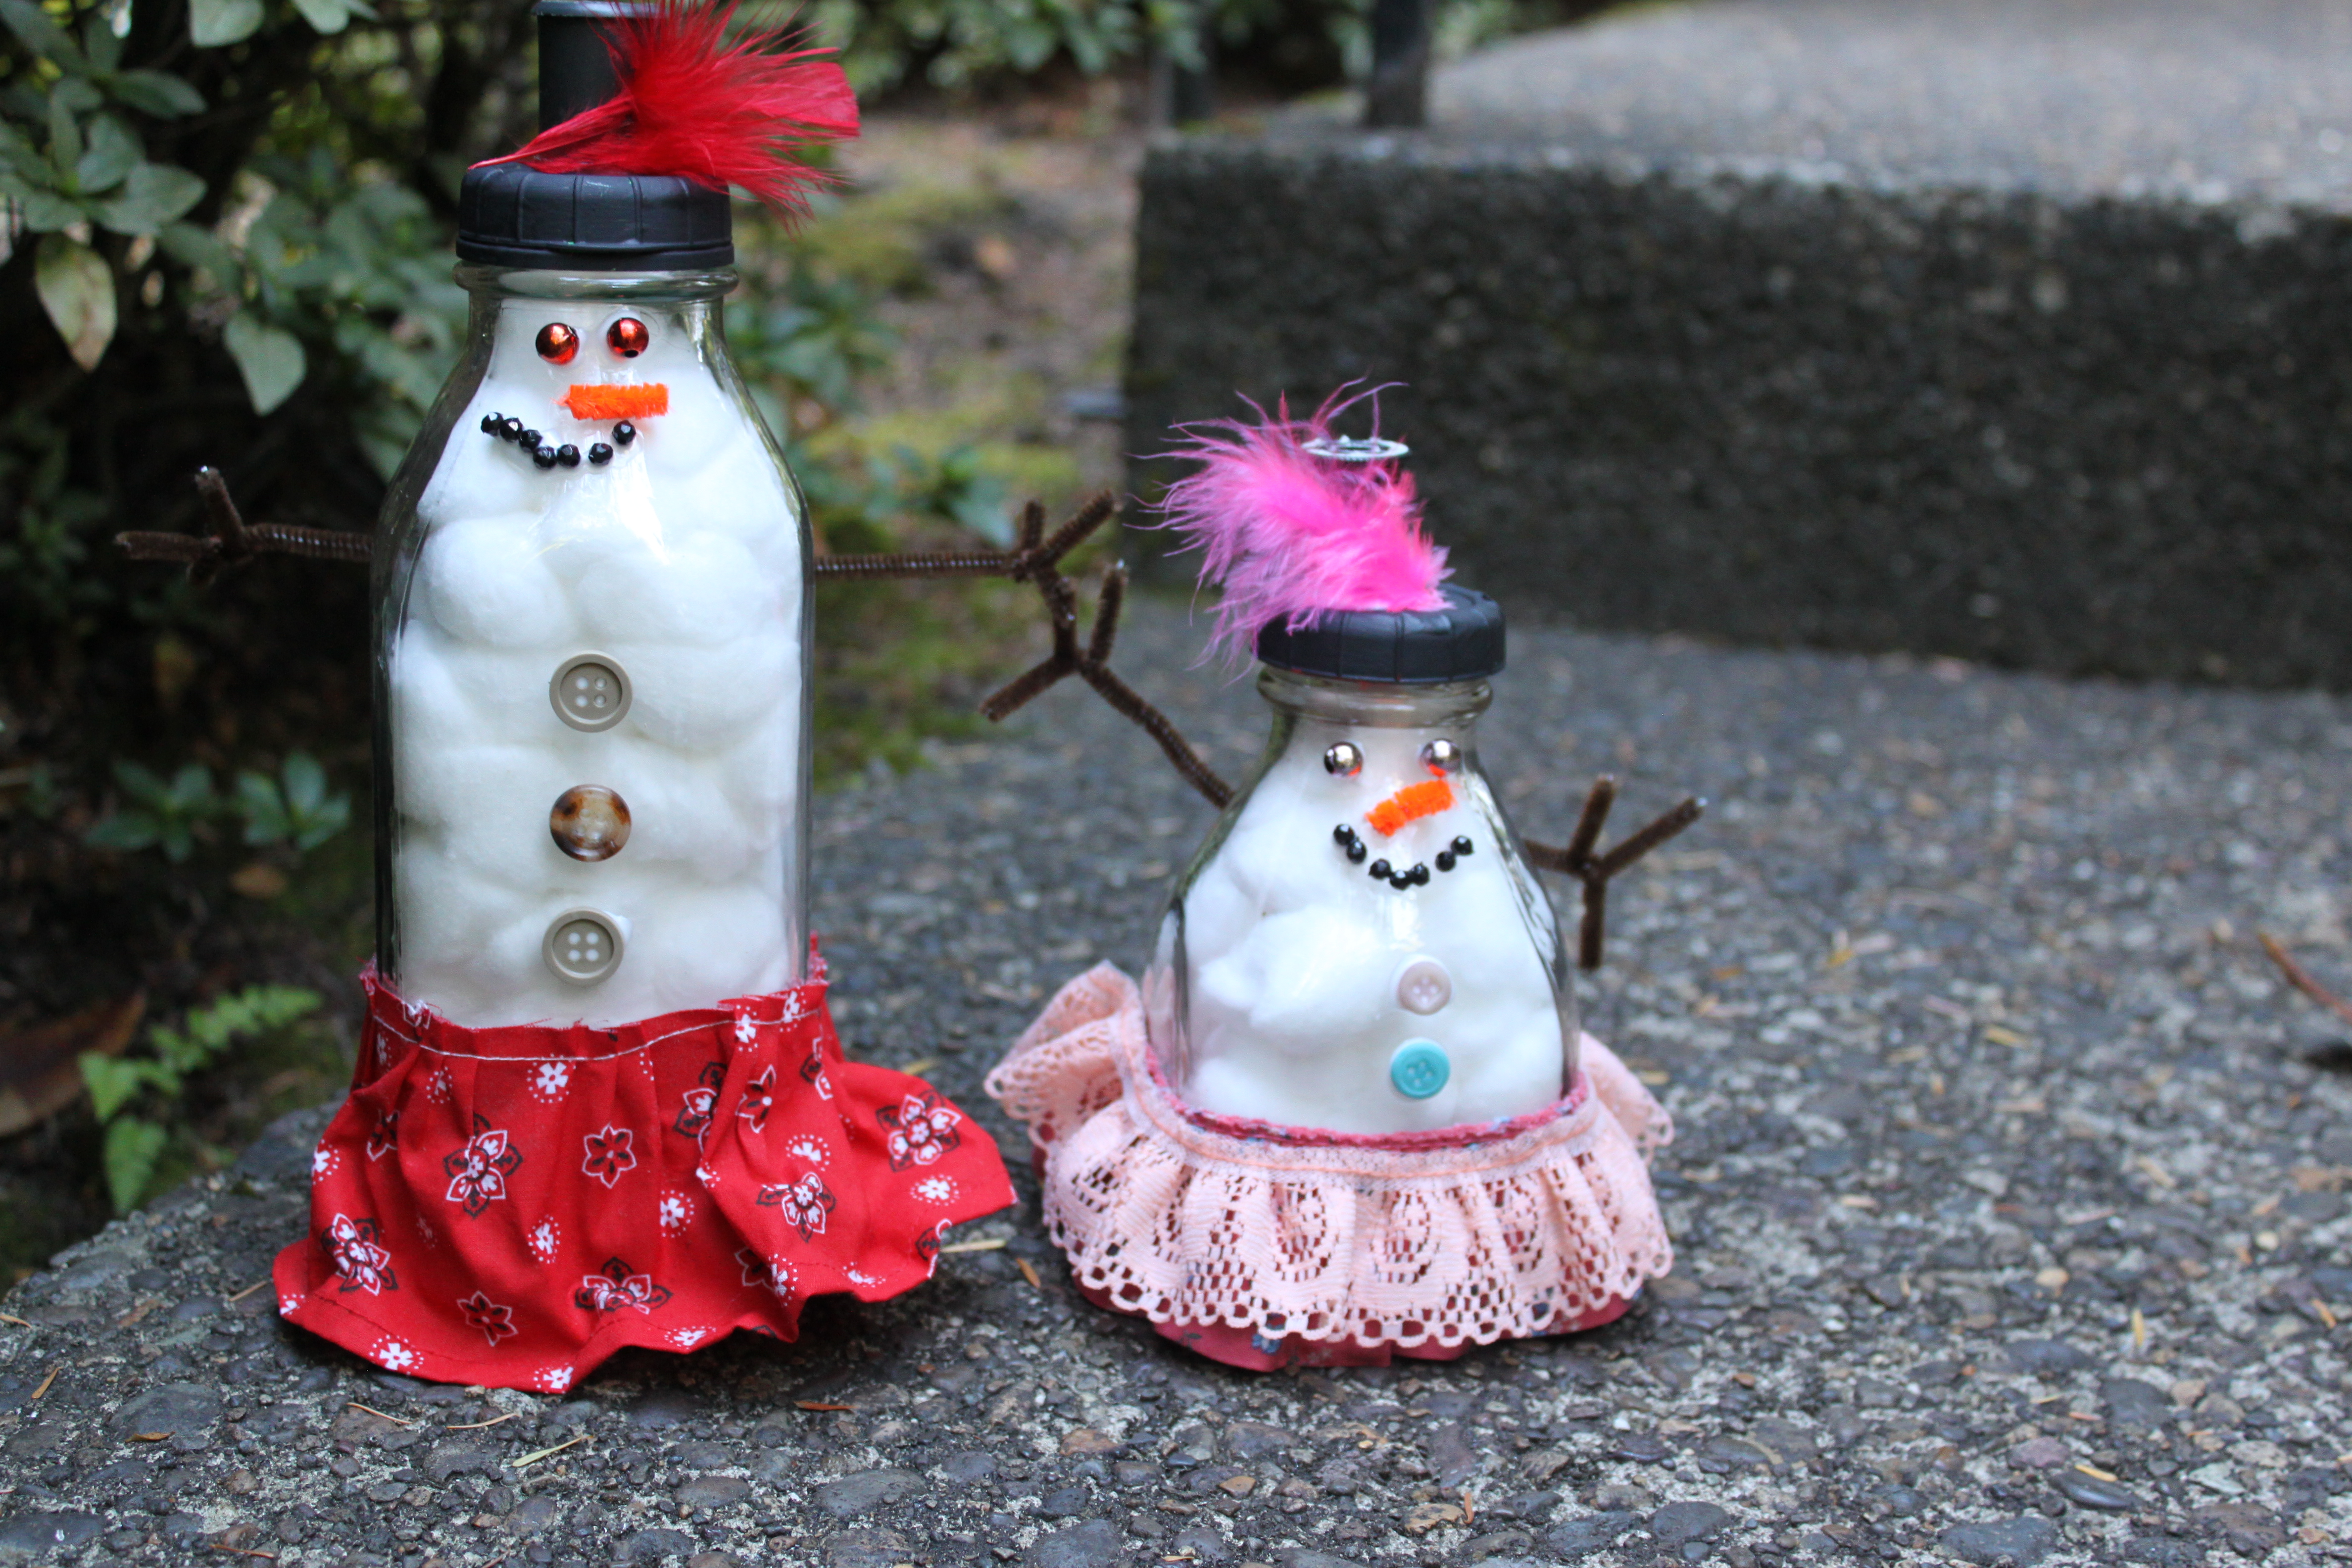
Final result!
We placed our darling feather top hats on and they were the cutest snow ladies I've ever seen. I think these would be a great gift to bring to a hostess of a holiday party or for a teacher. I love that they are easy for my kids to put together and all the imperfect details make them even more precious.