Step-by-step tutorial
Step 1
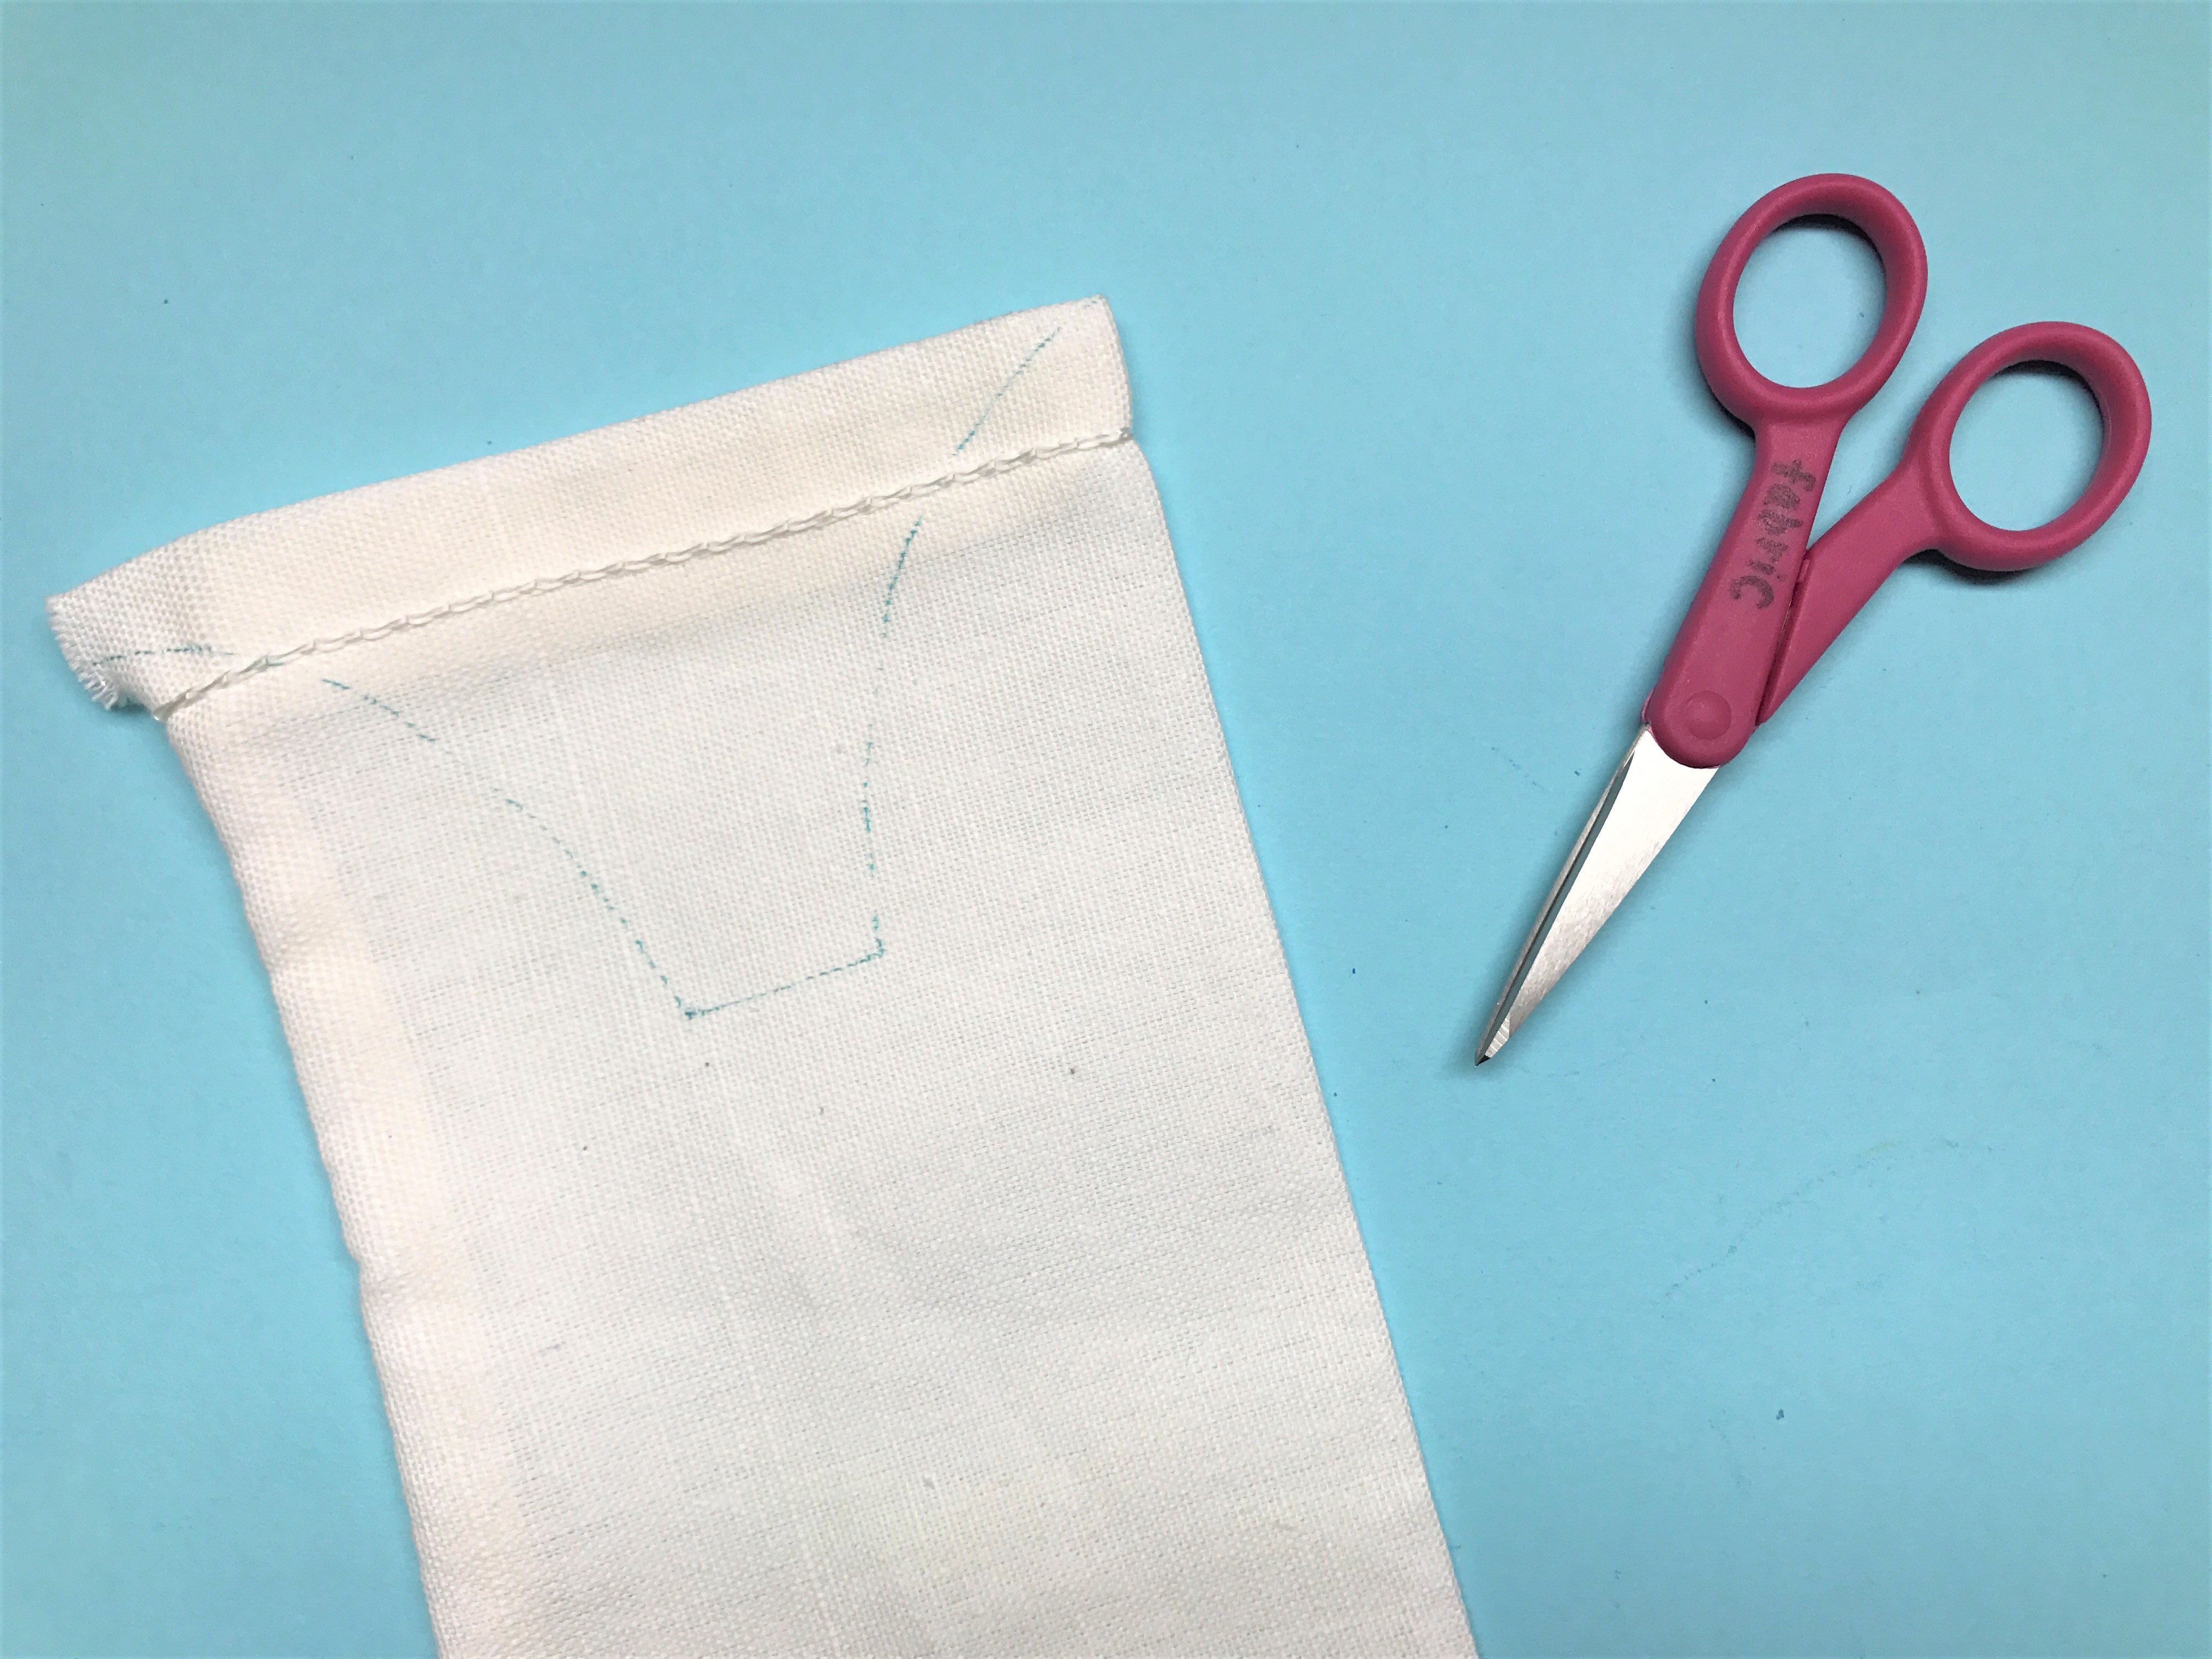
To make the ears of the bunny, we first pulled out the drawstring on a muslin bag. Then, we drew a curved V-shape about 3-4 inches from the top of the bag. Then, cut along the lines.

Tip
We used sharp fabric scissors to get a crisp cut. An adult should help with any sharp tools, if needed.
Step 2
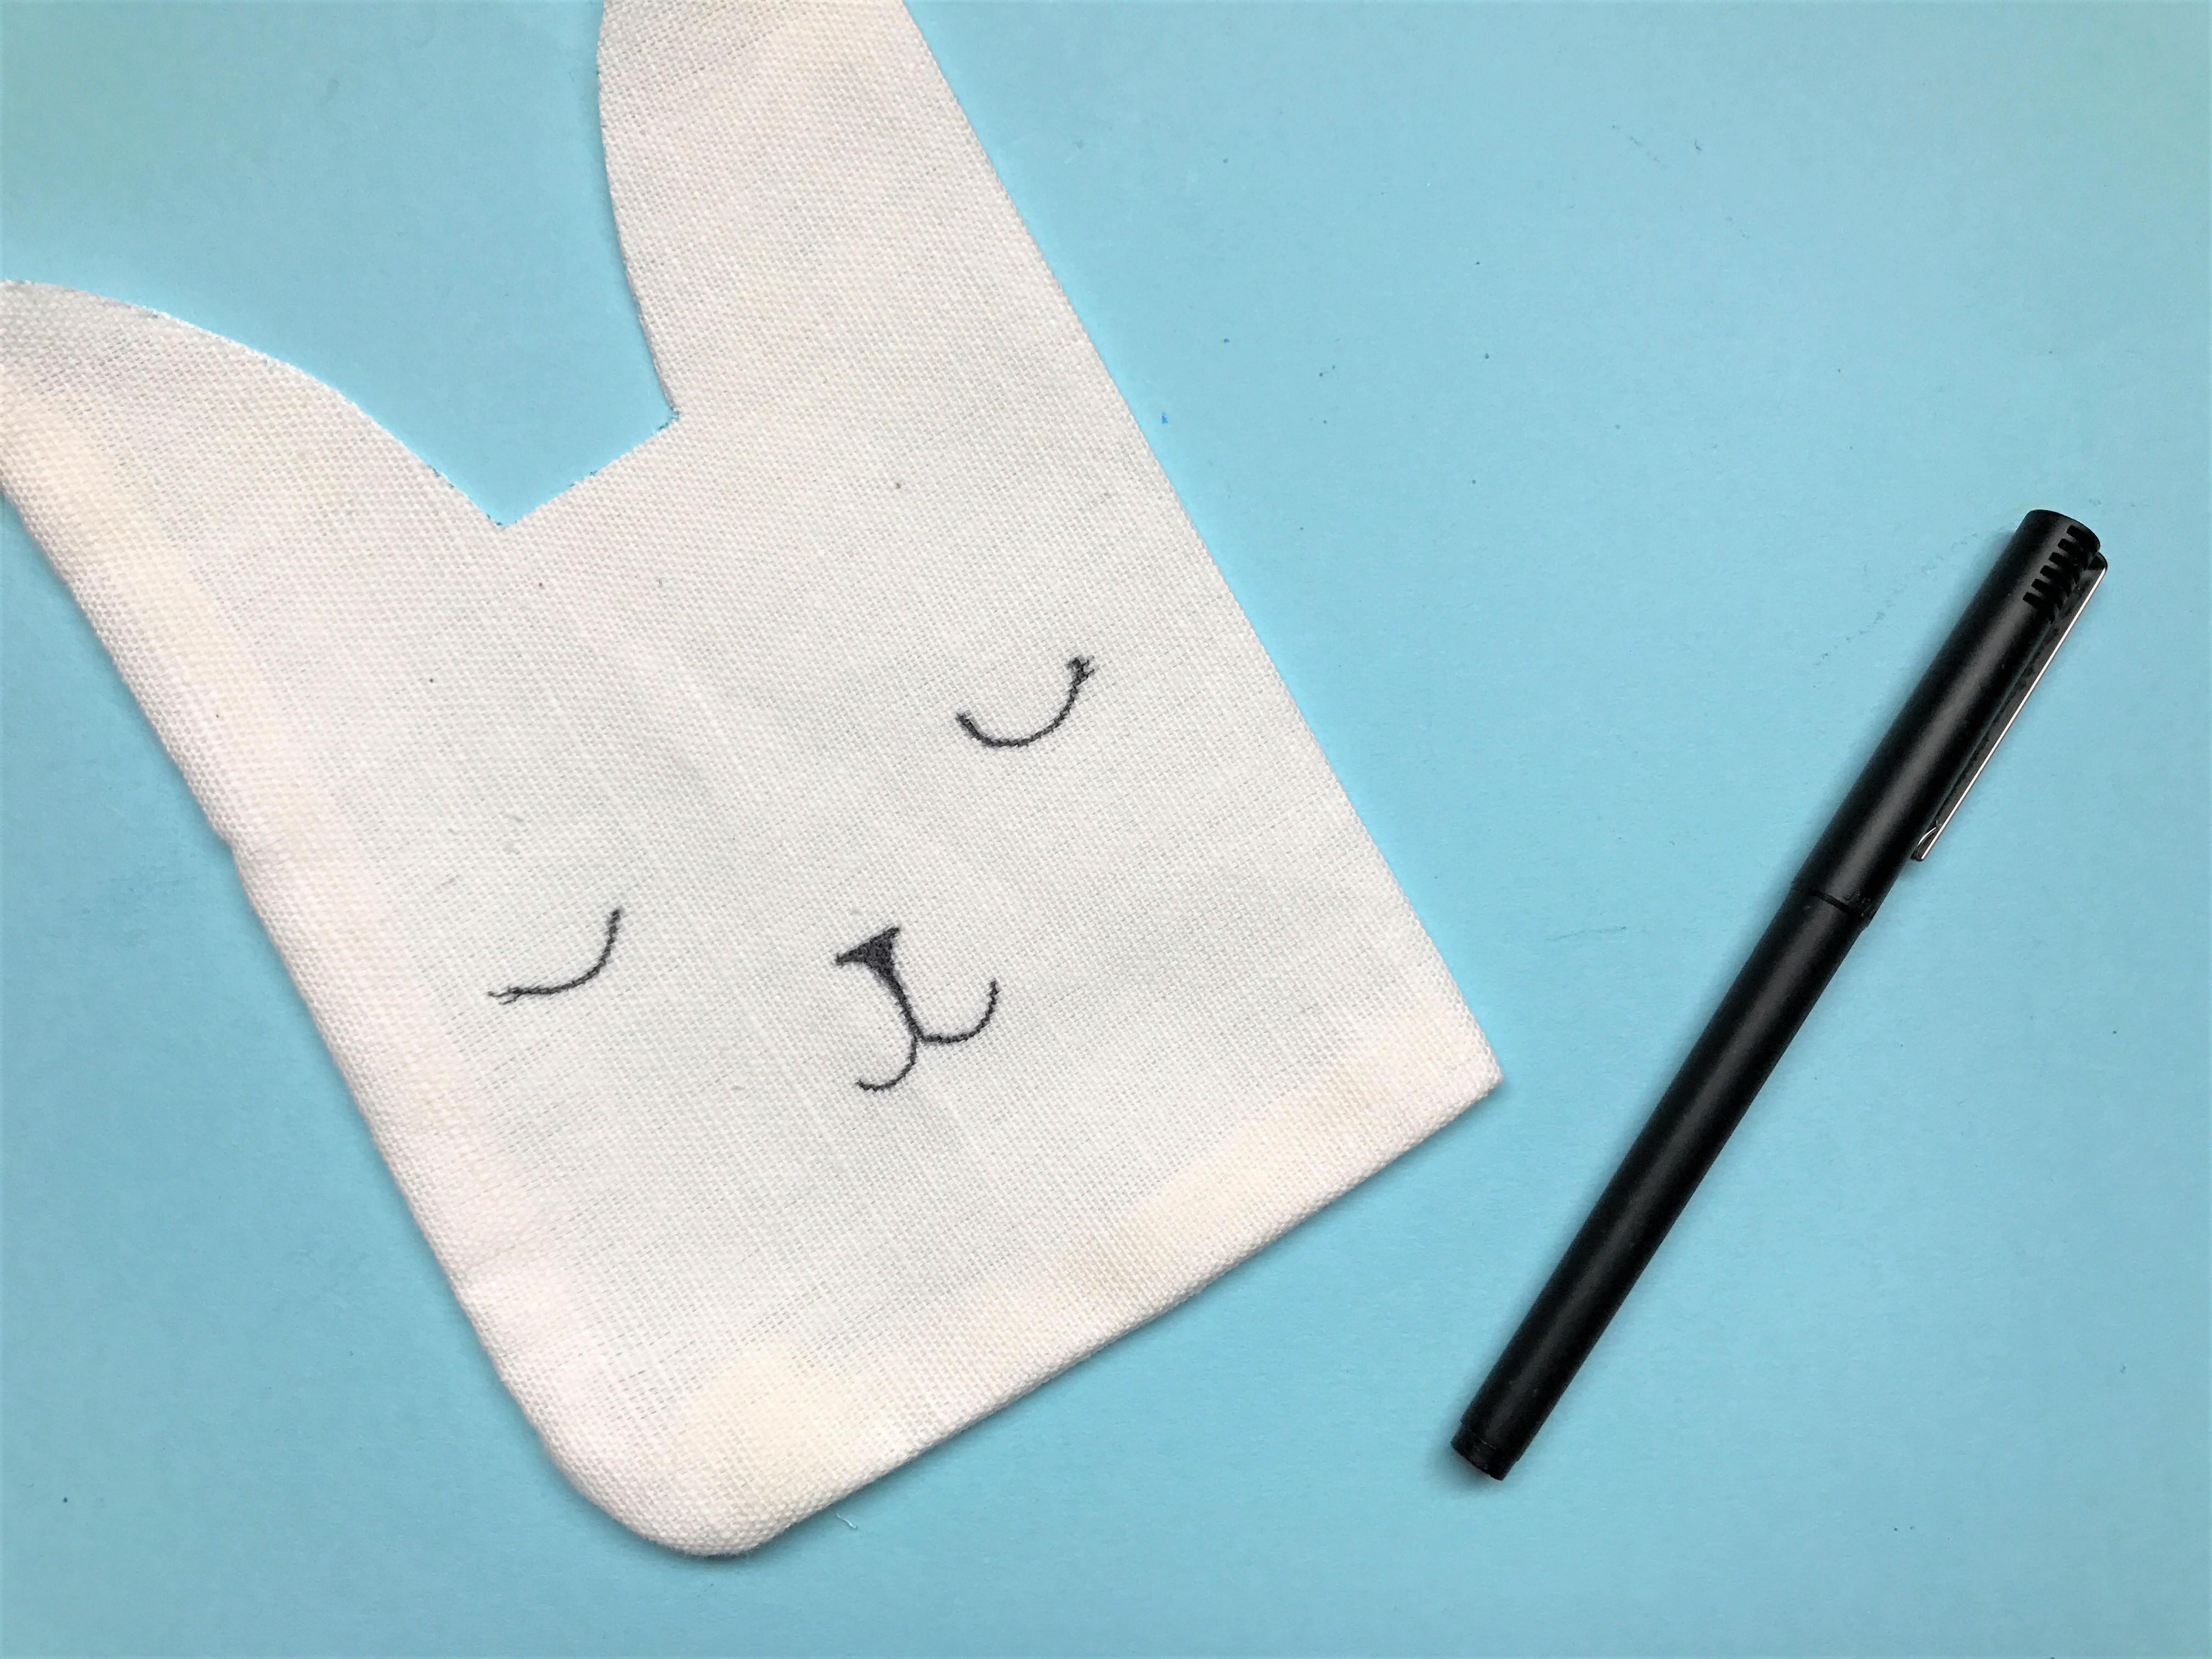
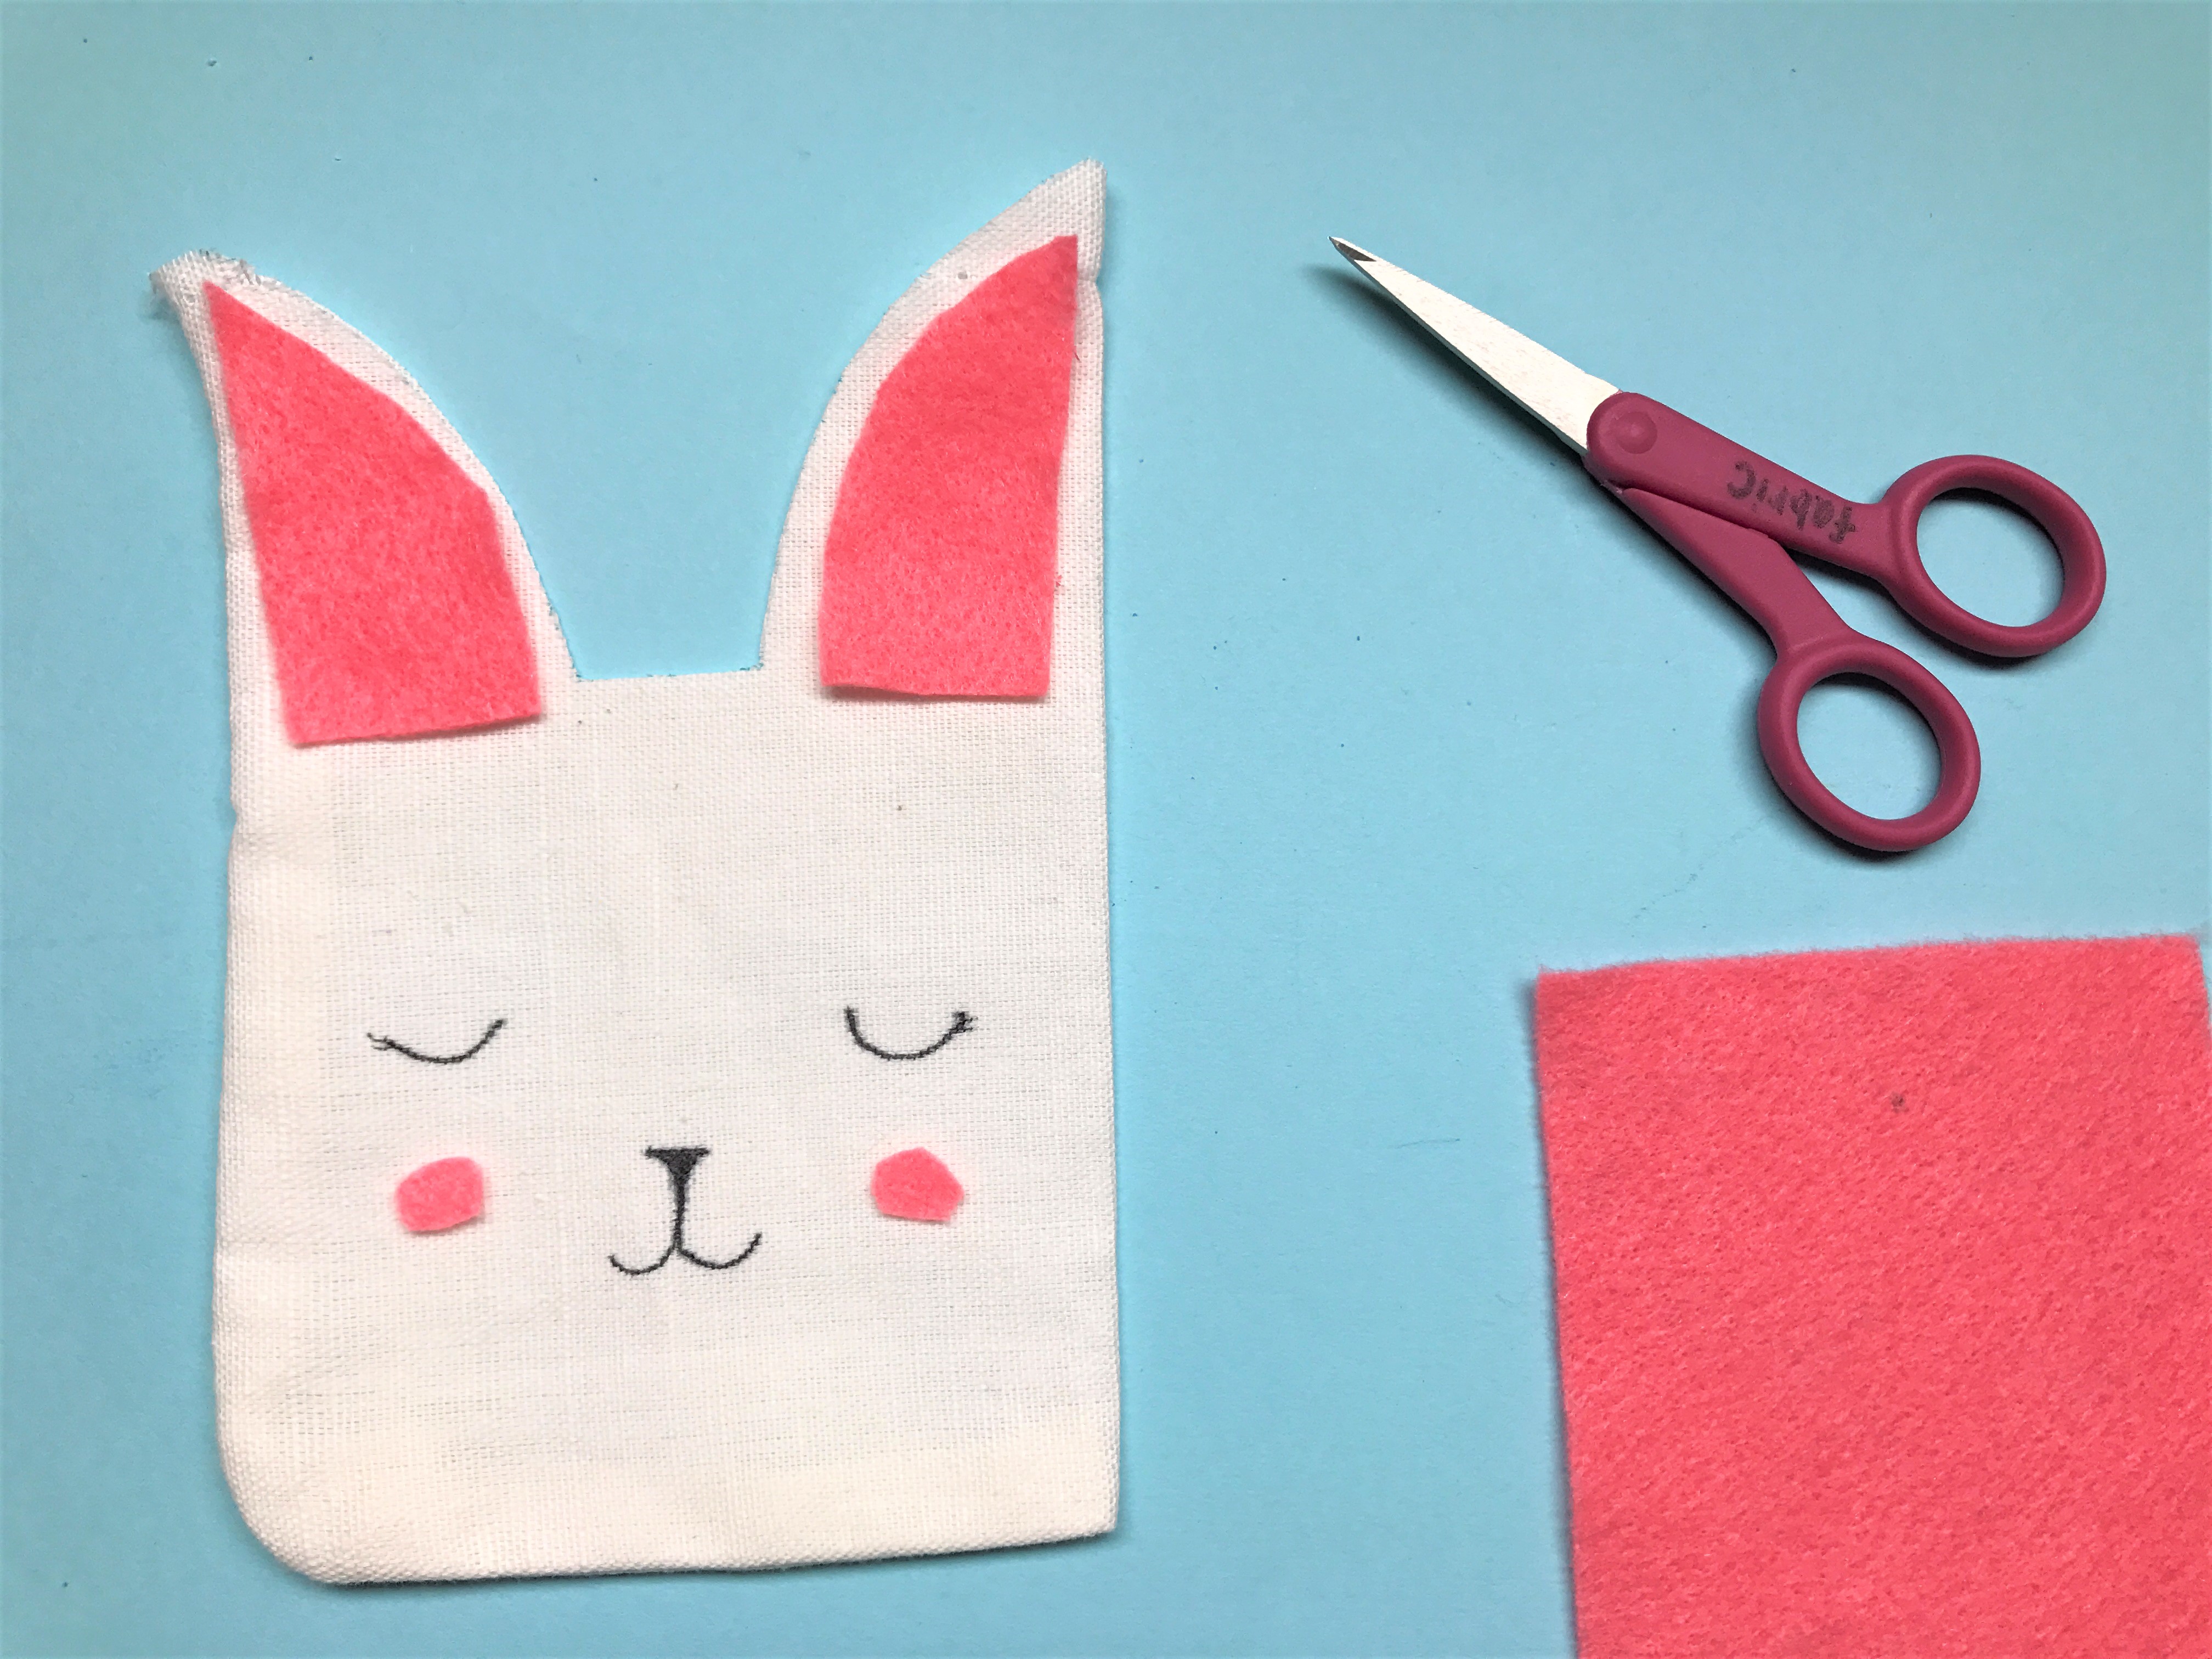
Flip the bag over and draw a face on the center of your bunny bag with a thin black marker.
Step 3
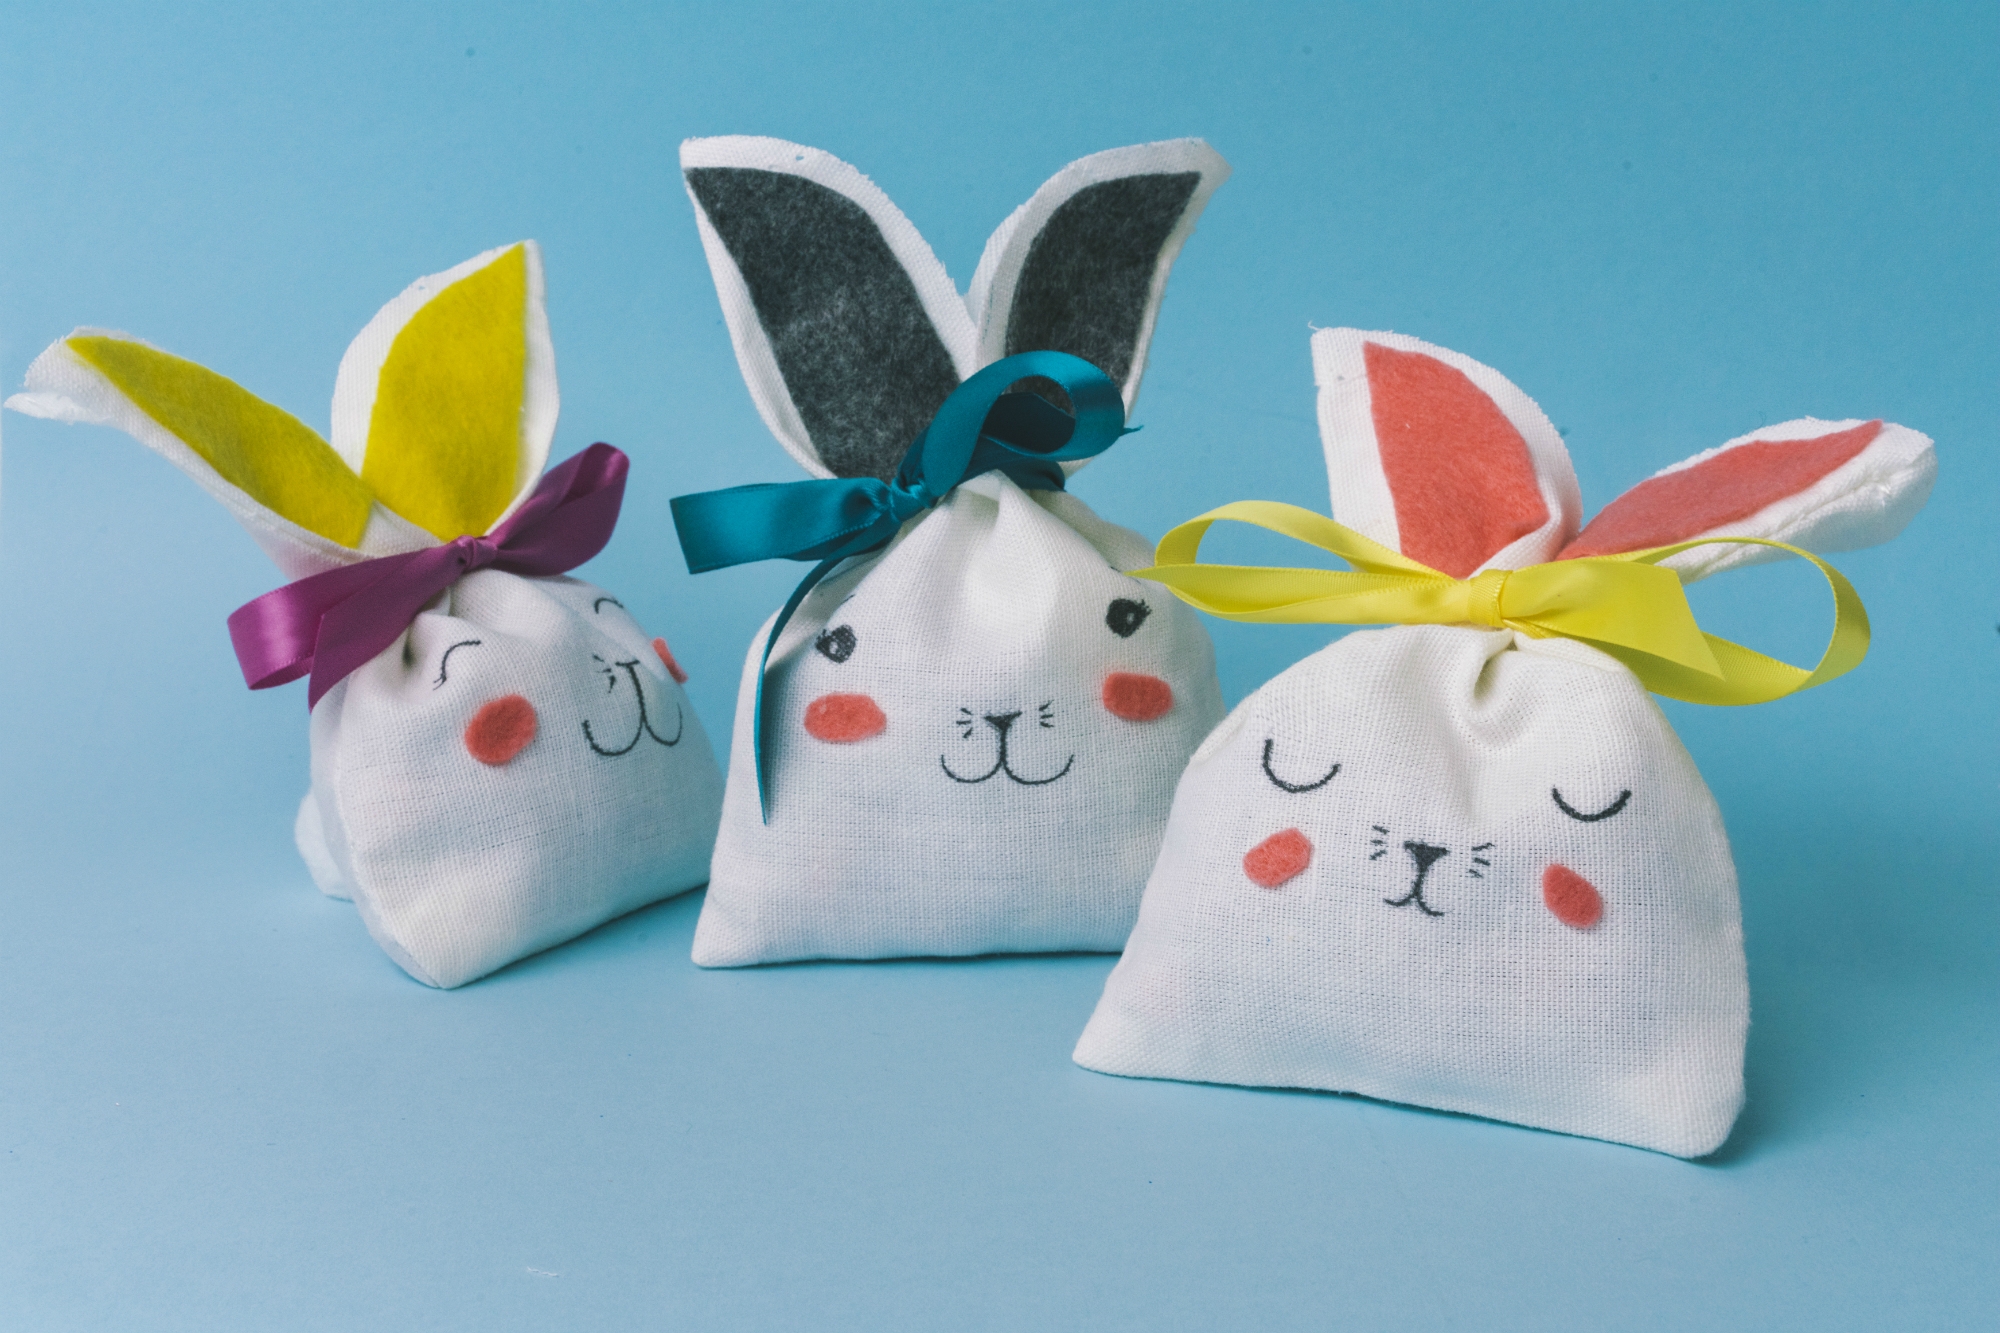
Add felt to the inner ears of the bunny and add any accents to the face. We gave our bunnies rosy cheeks!
Step 4
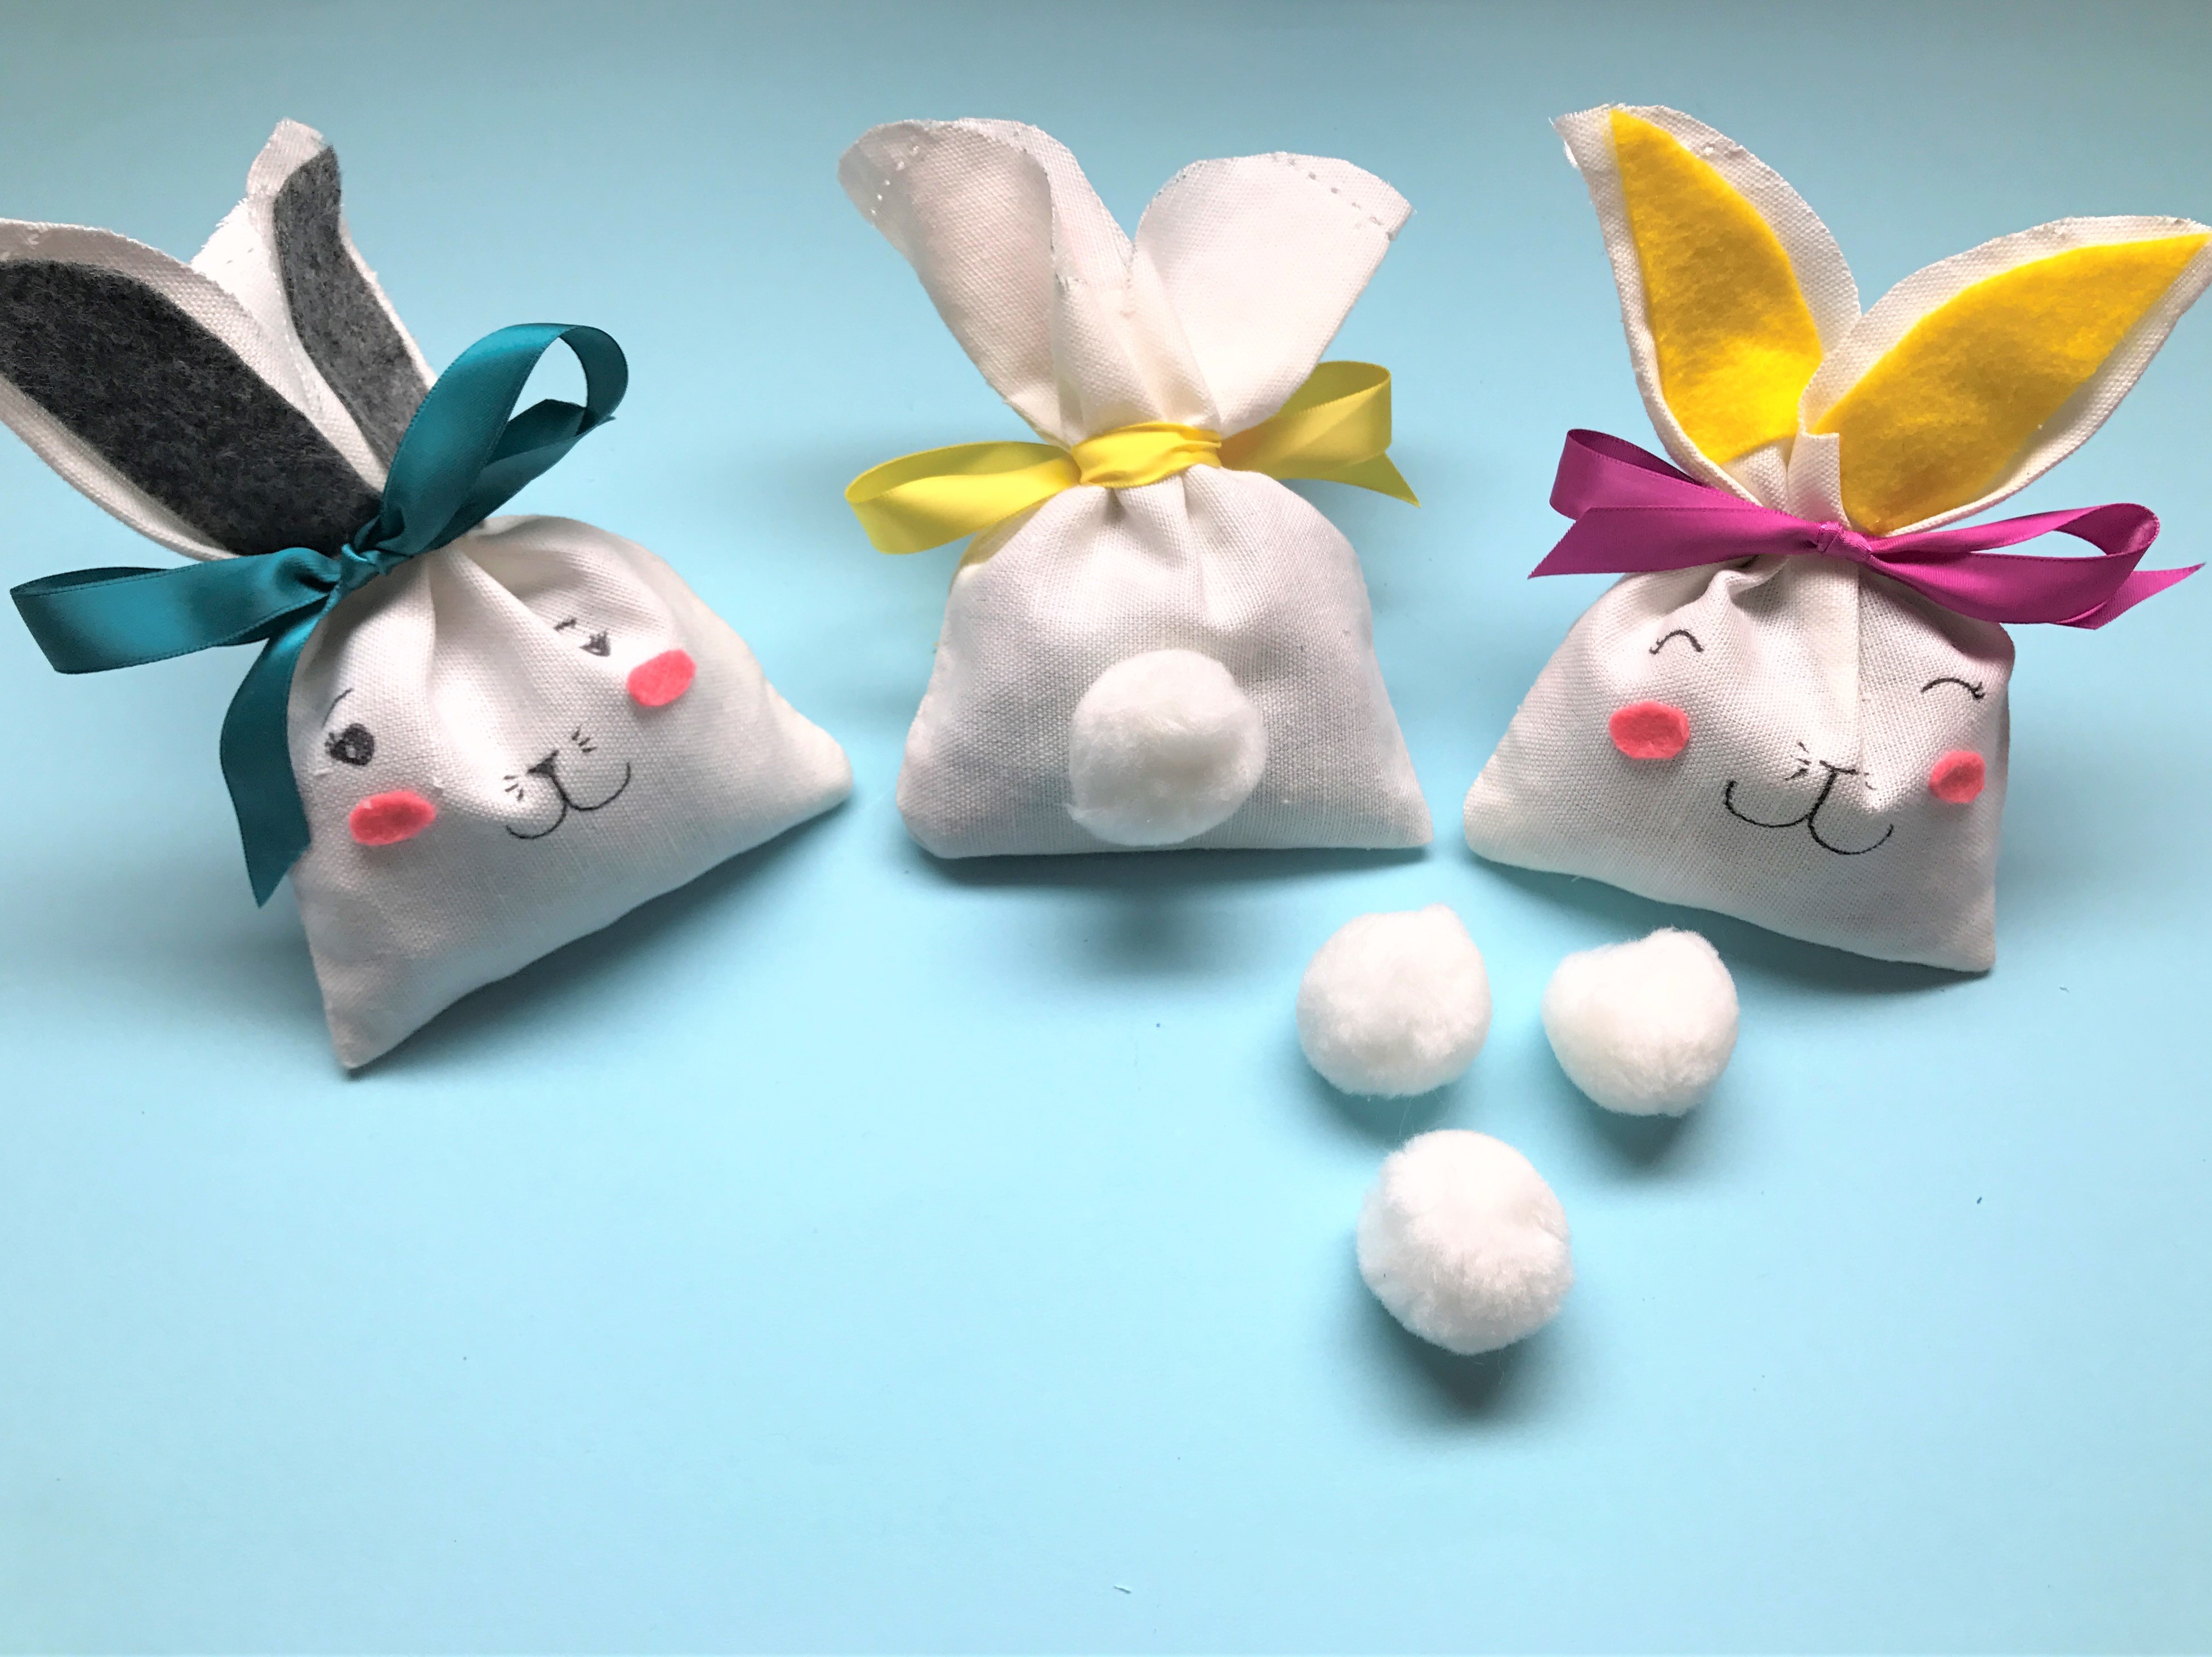
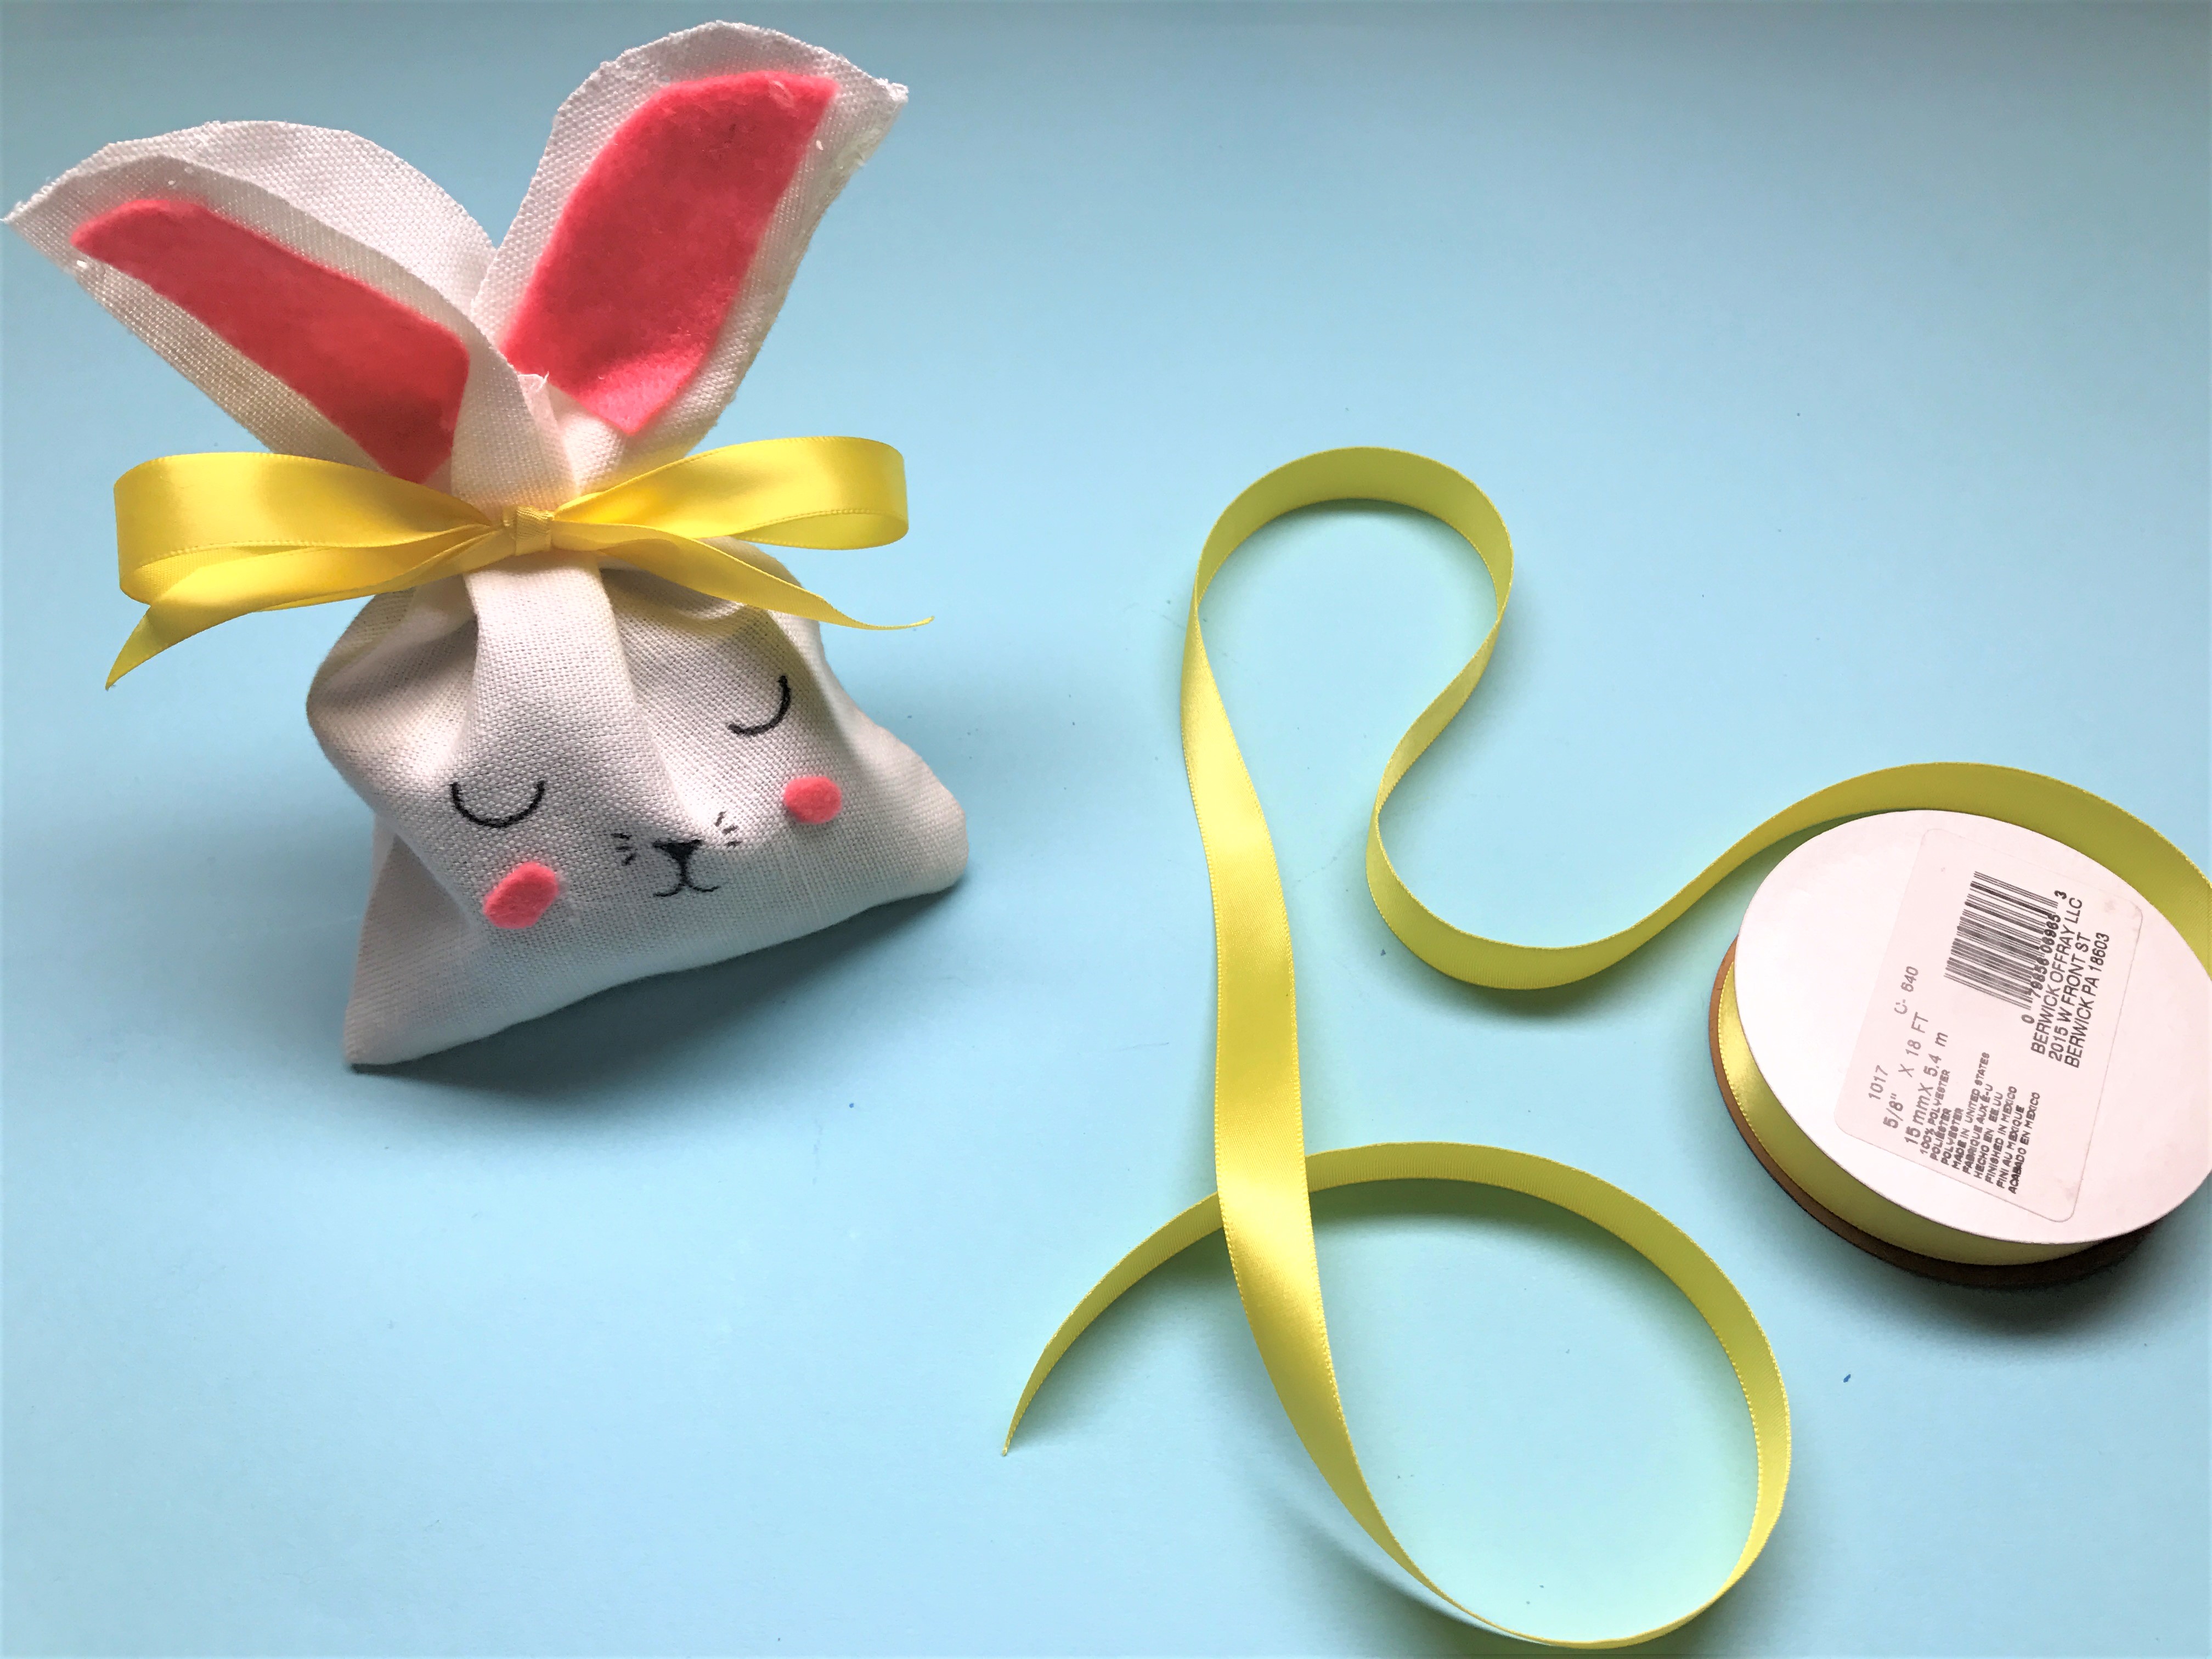
There are so many ways that these bunny bags can be enjoyed this Easter. Fill them with candy and share them as treat bags, or fill them with scents (like dried lavender) and display them as holiday decor. Once filled tie a ribbon around the bottom of the ears to complete your bag.
Done!
Add a pom pom to the back of the bag for a finishing touch! The pom pom also works great to stabilize your bunny's so they don't tip over. What other uses would you use your bunny bags for?