Step-by-step tutorial
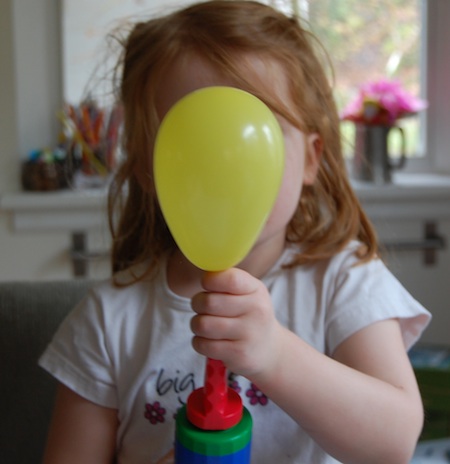
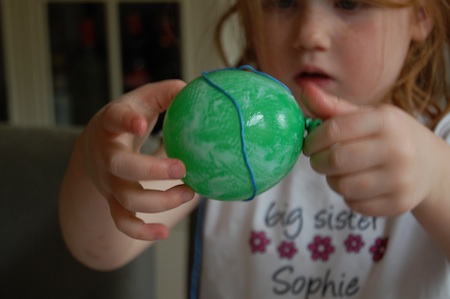
Step 1
Blow up your balloons. Remember, the size of your balloon will be the size of your egg -- so unless you're thinking of ostrich eggs, you don't need them to be too big. (Do you have one of these balloon-pumper things? They're awesome, in case you ever find yourself needing a ton of balloons for a birthday or a project like this or this.)

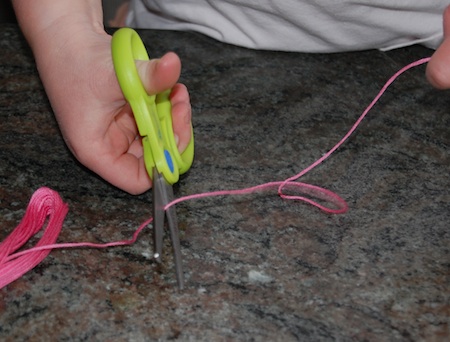
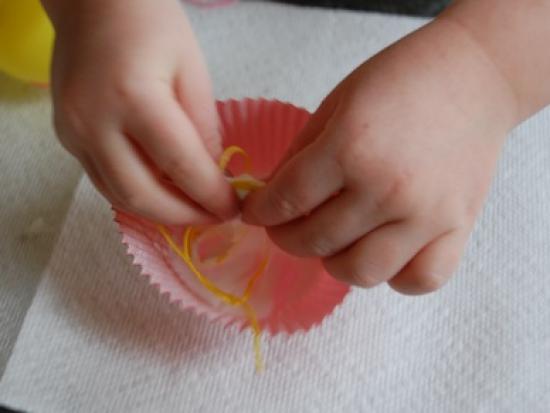
Step 2
Measure and cut strands of your embroidery thread. We used strands about 2 feet long. Depending on how thickly you want to cover your balloon, you will need 10-15 strands of thread.
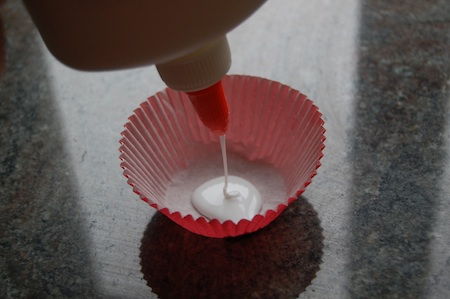
Step 3
Pour a few tablespoons of glue into the cup.
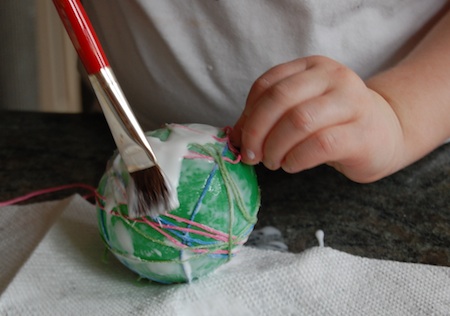
Step 4
Dip the first strand of thread into the glue. Holding the thread over the cup of glue, pull the thread through your finger and thumb to spread the glue along the whole length of the thread. (This is where it will get messy! But my daughter LOVED it, and I got to show her how fun it is to rub glue on your hands, let it dry and peel it off! Weird, I know. Did anyone else ever do that??)
Step 5
Wrap the thread over the balloon, covering as much space as you can.
Step 6
Repeat steps #4 & 5 with more thread, until you have covered as much of the balloon as you would like. Note: the more you have covered the balloon, the sturdier your egg will be. S also decided to paint more glue on the balloon after the thread was on; not sure this is a required step, but I thought it might help reinforce the structure.
Step 7
Let dry overnight.
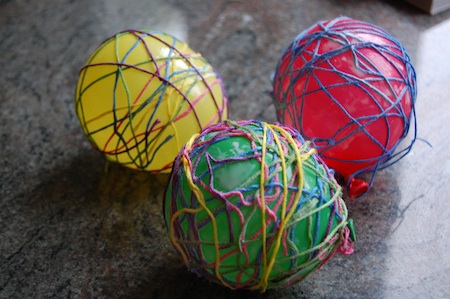
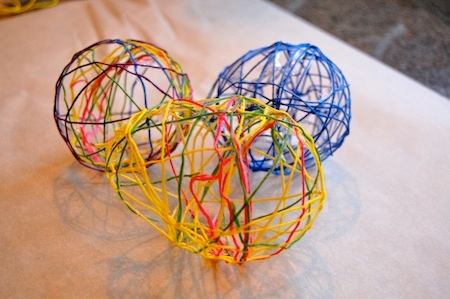
Final result!
After the glue on the thread has dried COMPLETELY, pop the balloon (using scissors or a knife). Carefully pull the balloon out through a gap in the thread (you can use your fingers or tweezers). You'll be left with a beautiful egg!