Step-by-step tutorial
Step 1
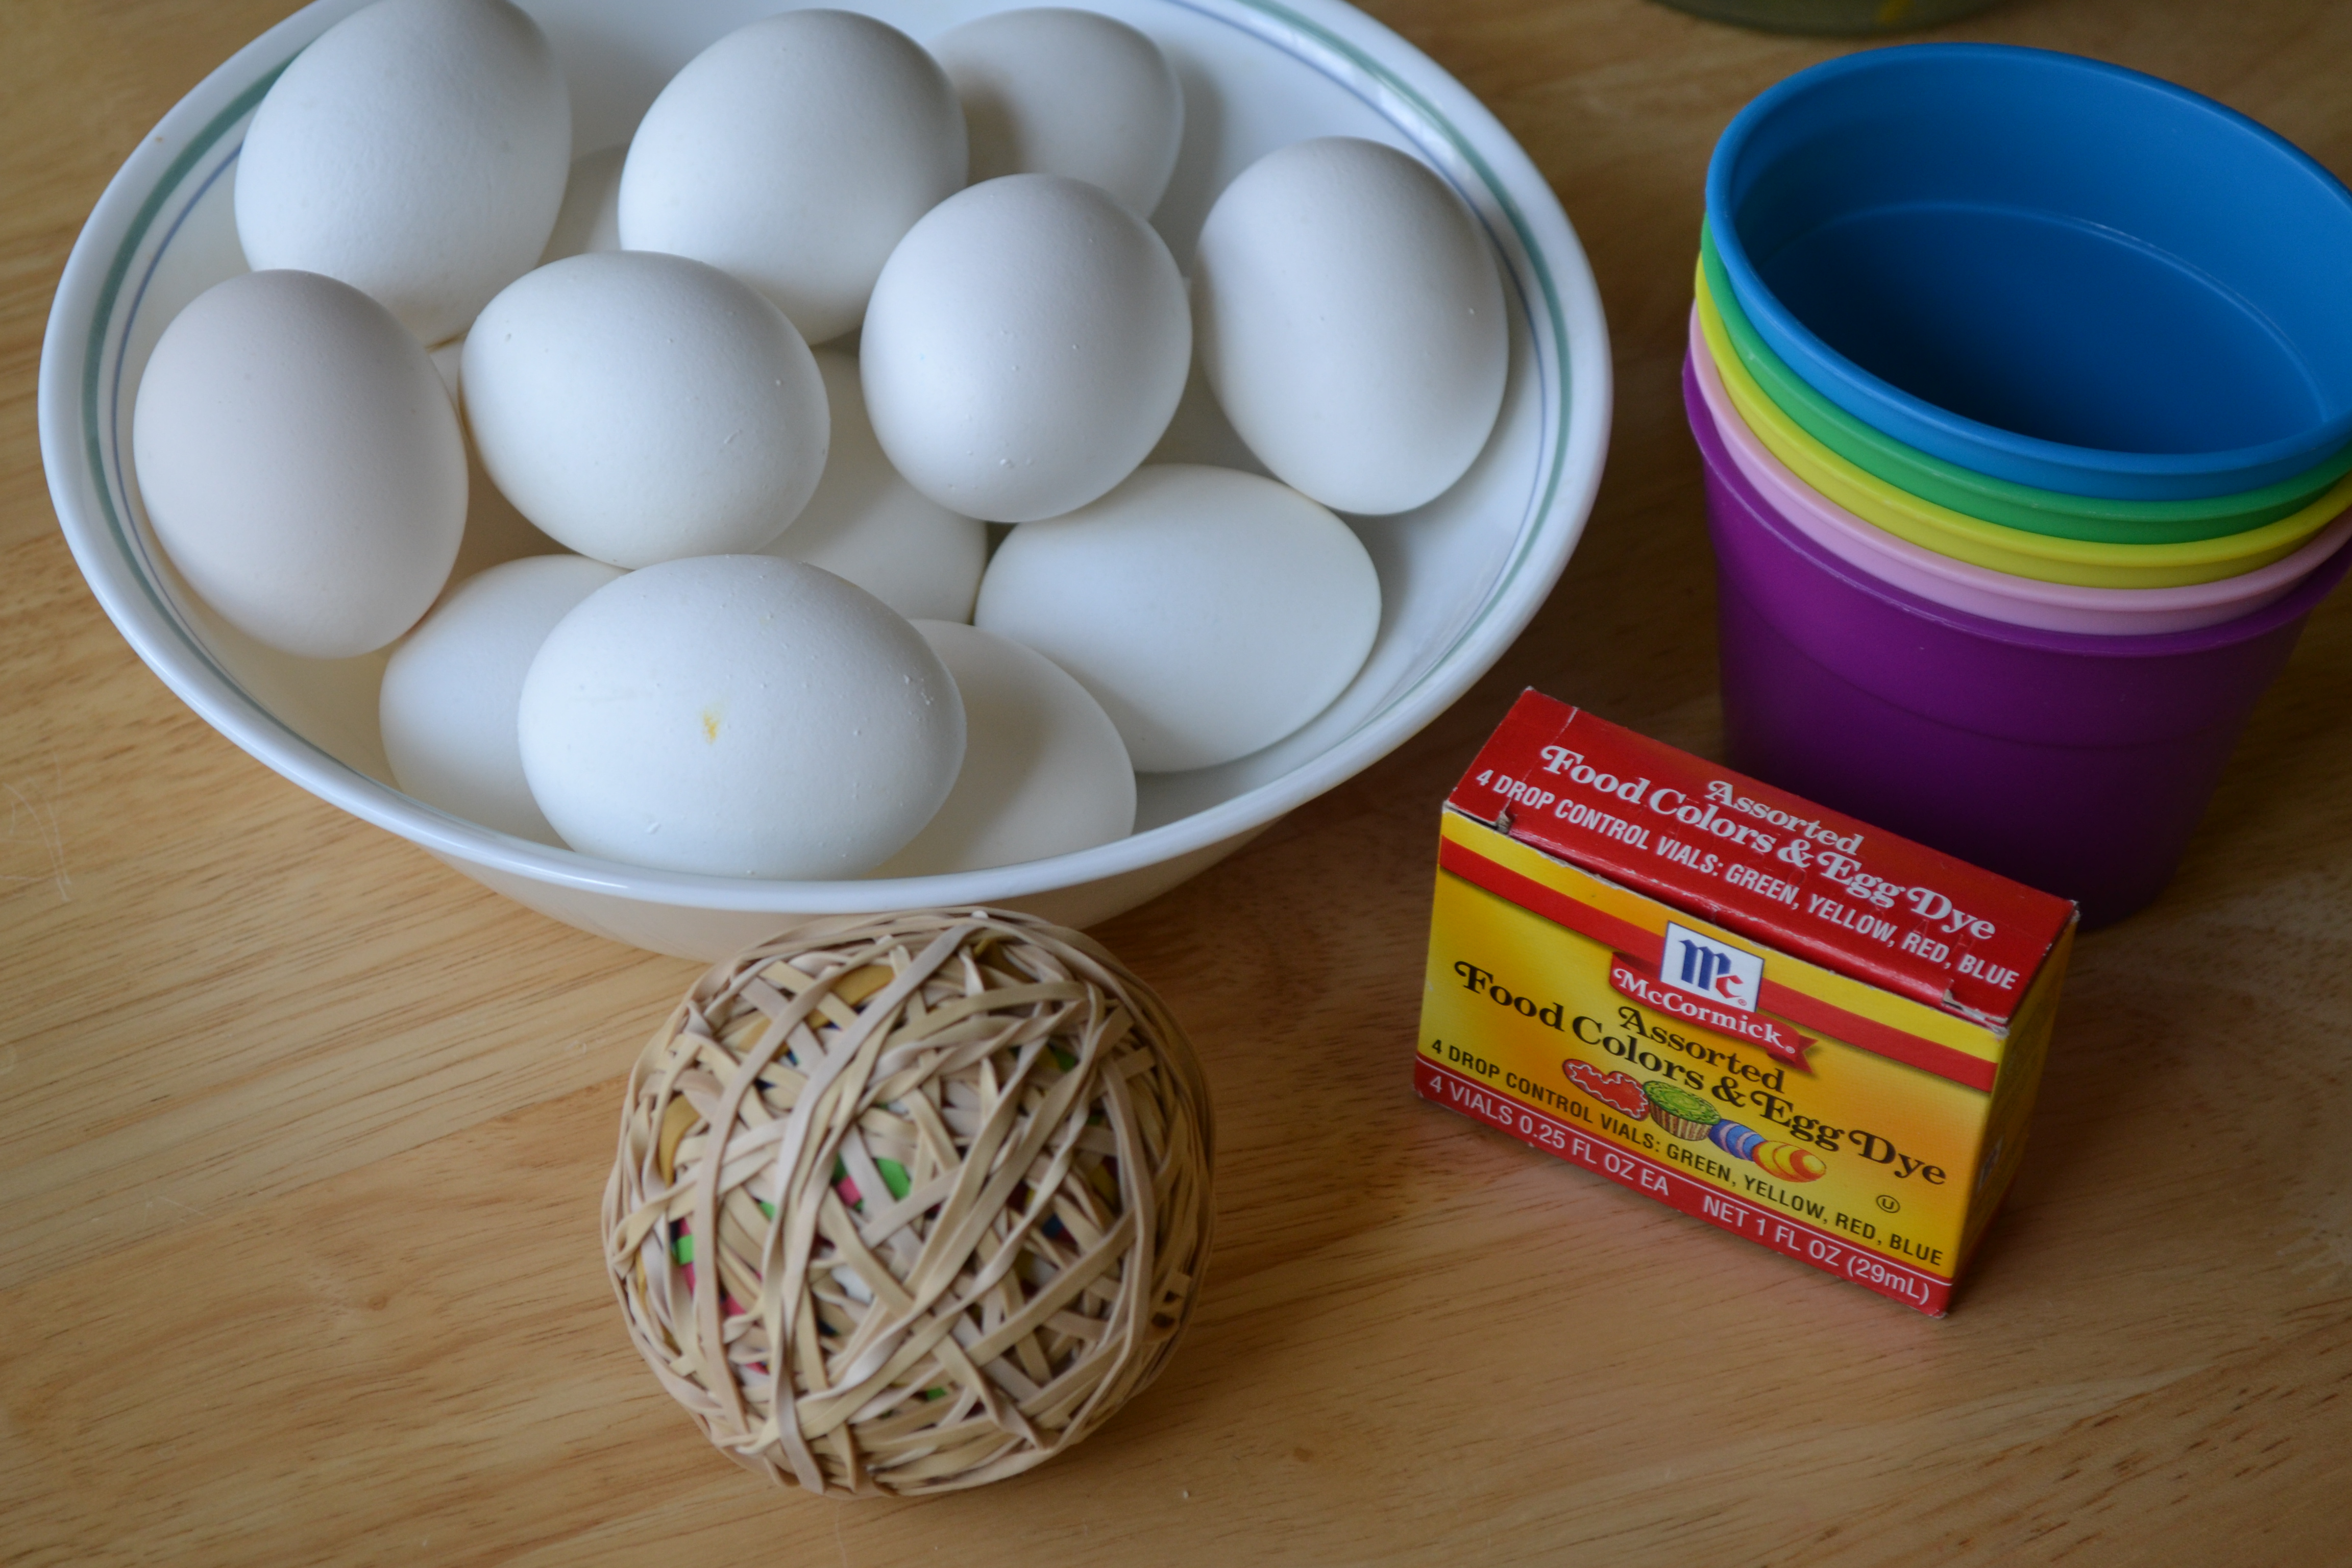
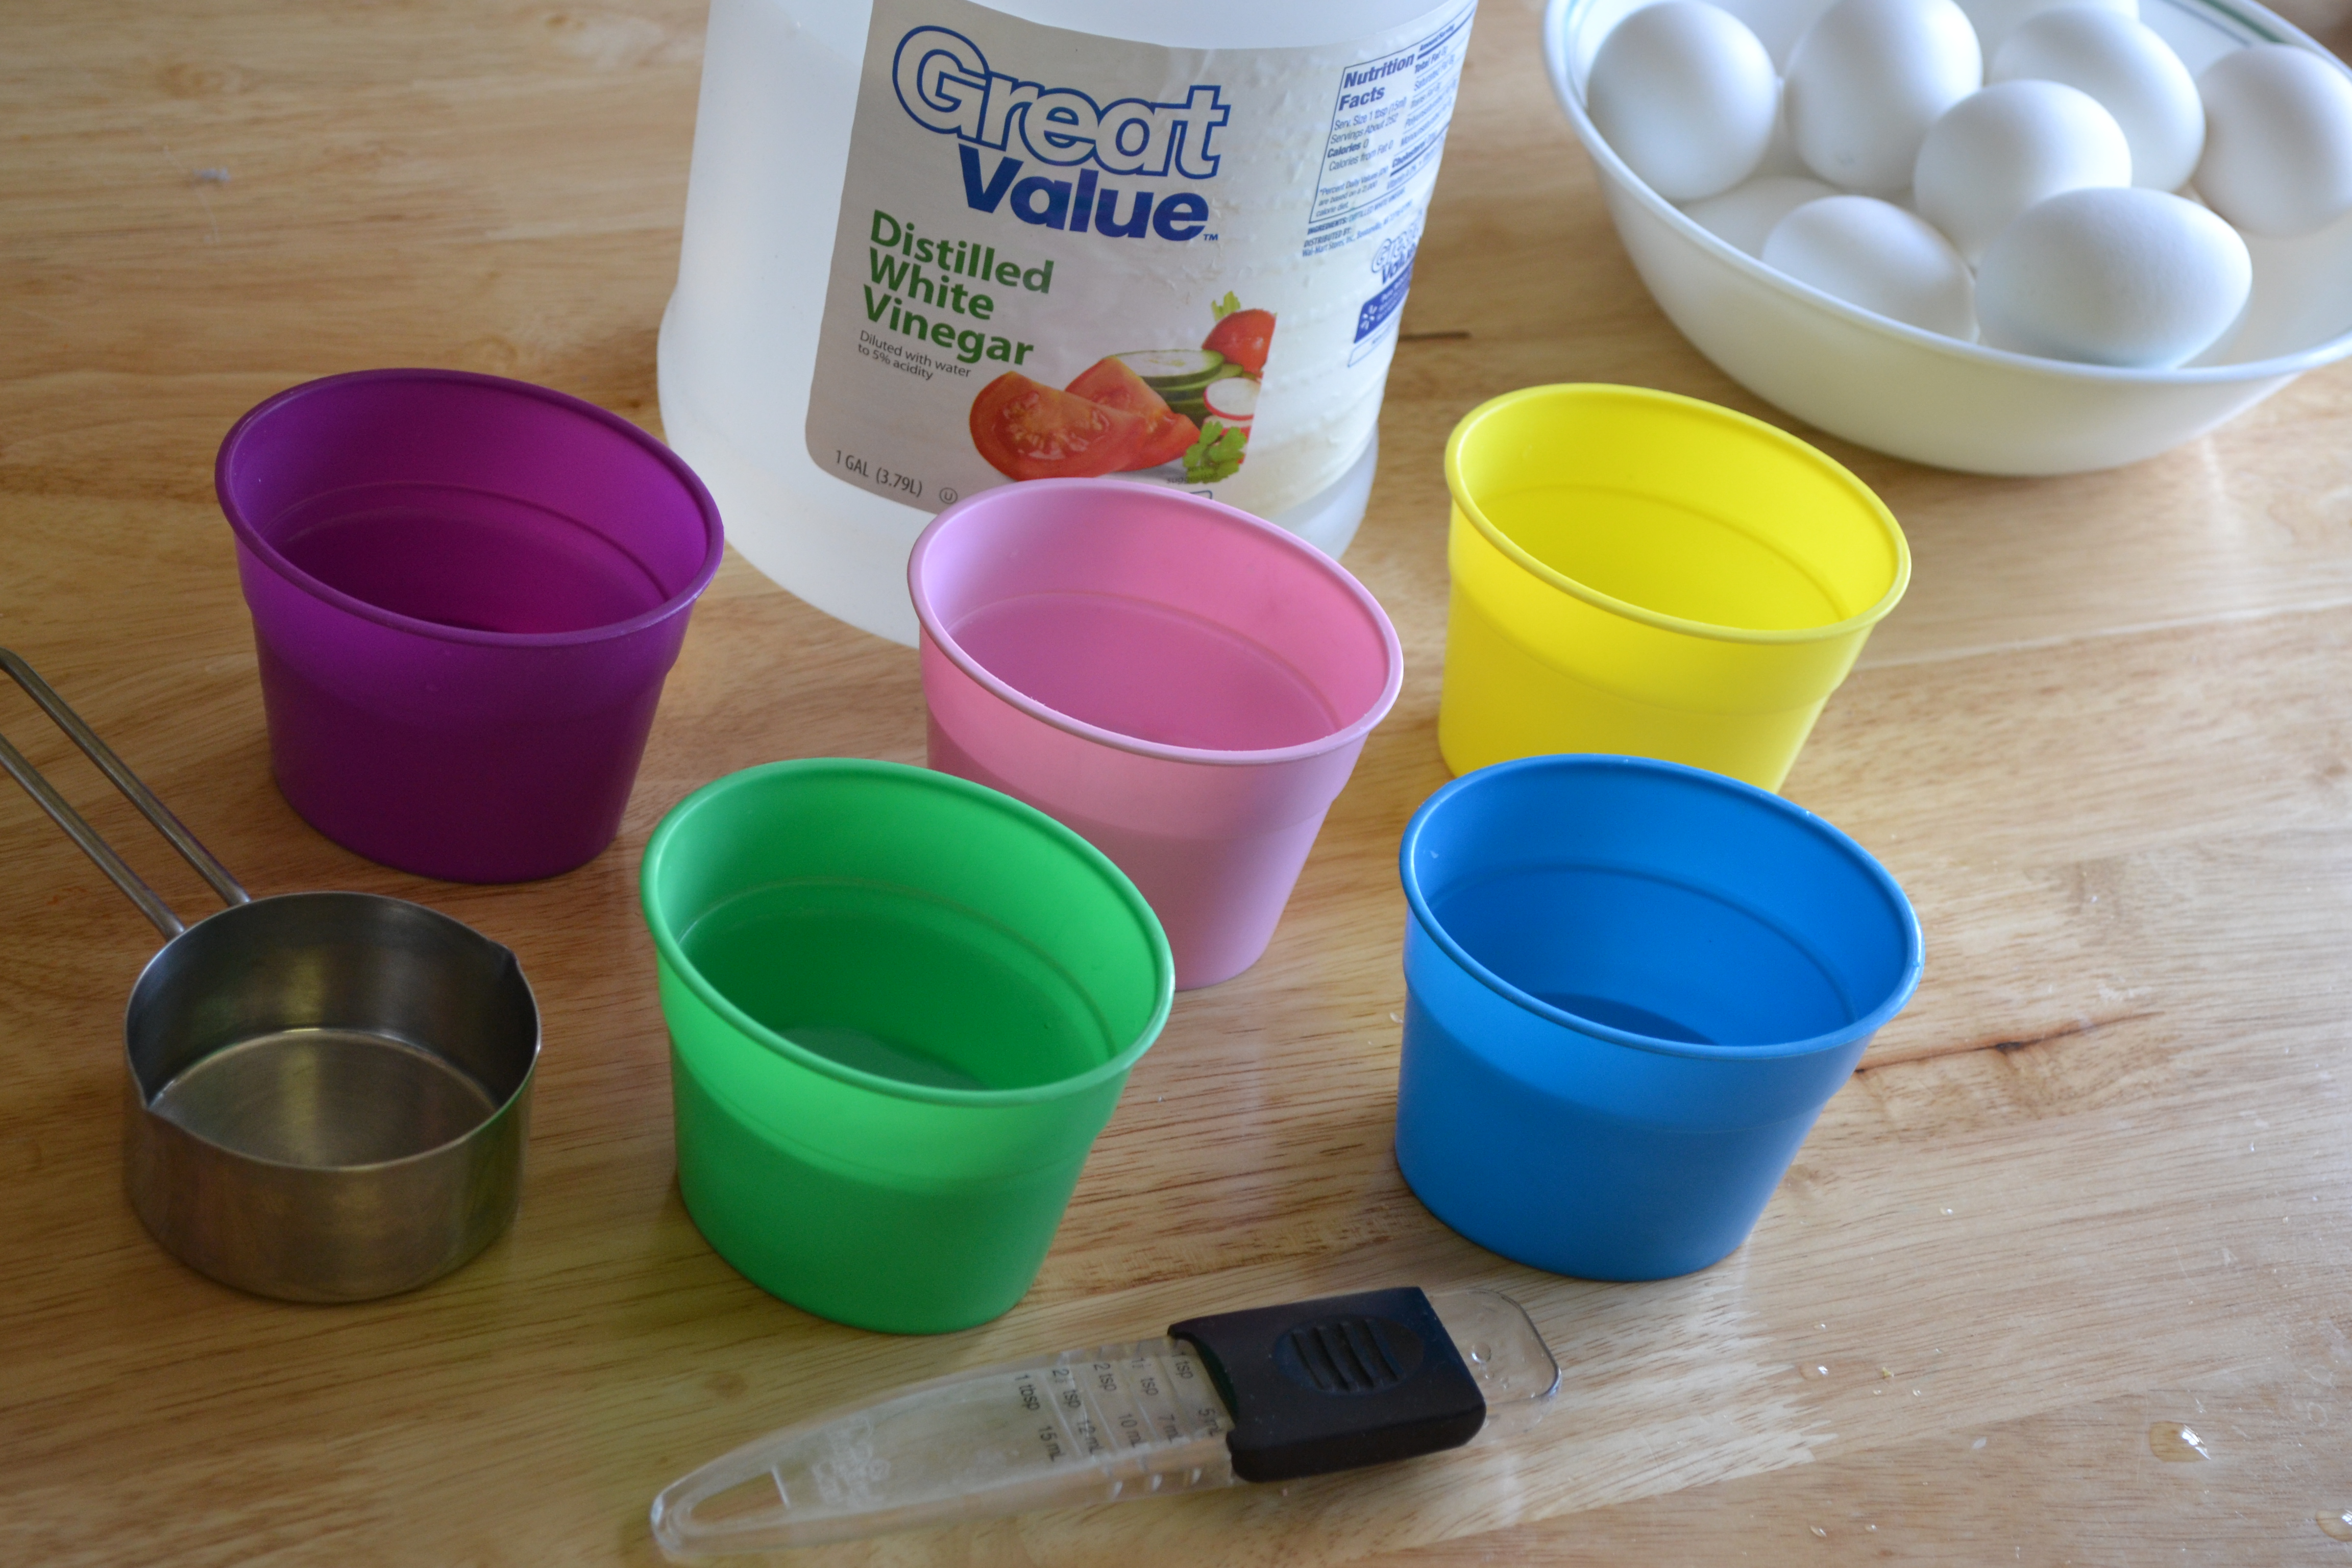
Gather all materials. We use regular food coloring instead of purchased egg kits simply because it's what we already have on hand. I do use the plastic egg cups from a kit we bought years ago because the kids really like them.

Step 2
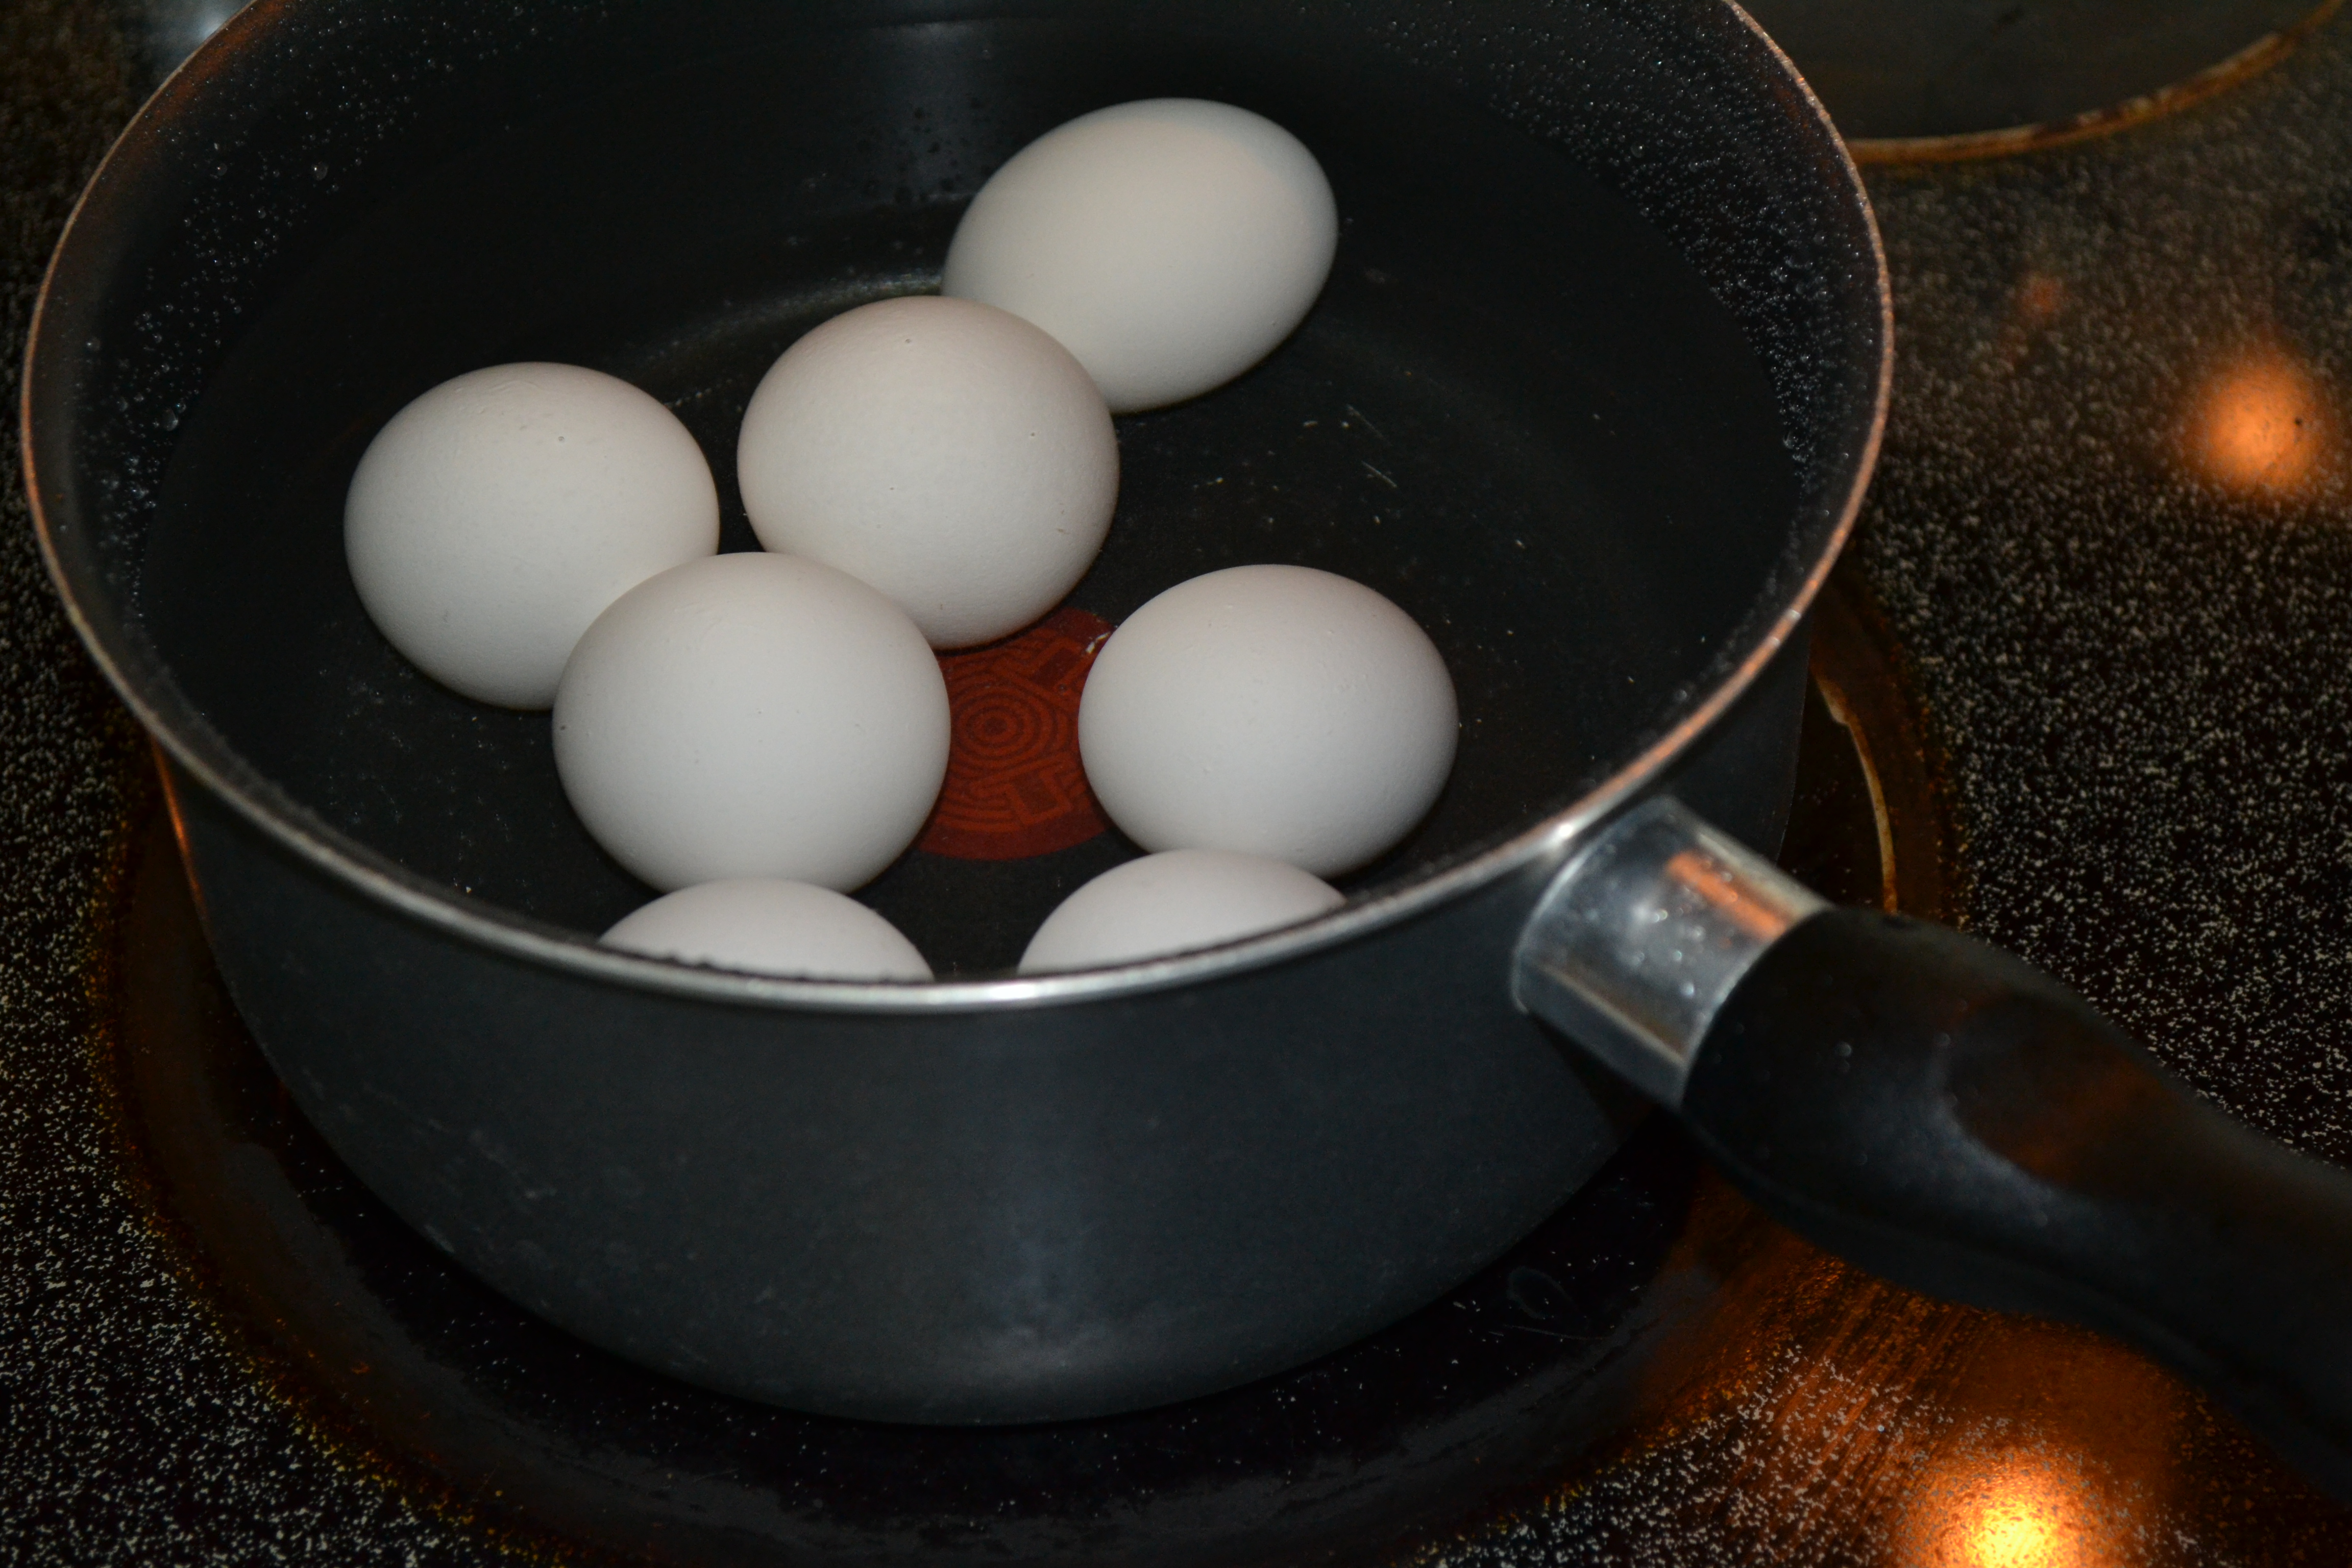
Have an adult hard-boil the eggs. There are lots of ways to boil an egg. In general, make sure you put them in a pan covered with cold water and then bring to a boil. Some recipes say to remove from heat once boiling and let sit for about 15 minutes. Then, place them in a bowl of cold water for 15 minutes. Whatever way you boil them, just be careful not to crack them!
Step 3
While the eggs were boiling, we used the vinegar and food coloring to make our egg dye. The kids had a great time following the directions on the food coloring box to make different shades for our eggs.
Step 4
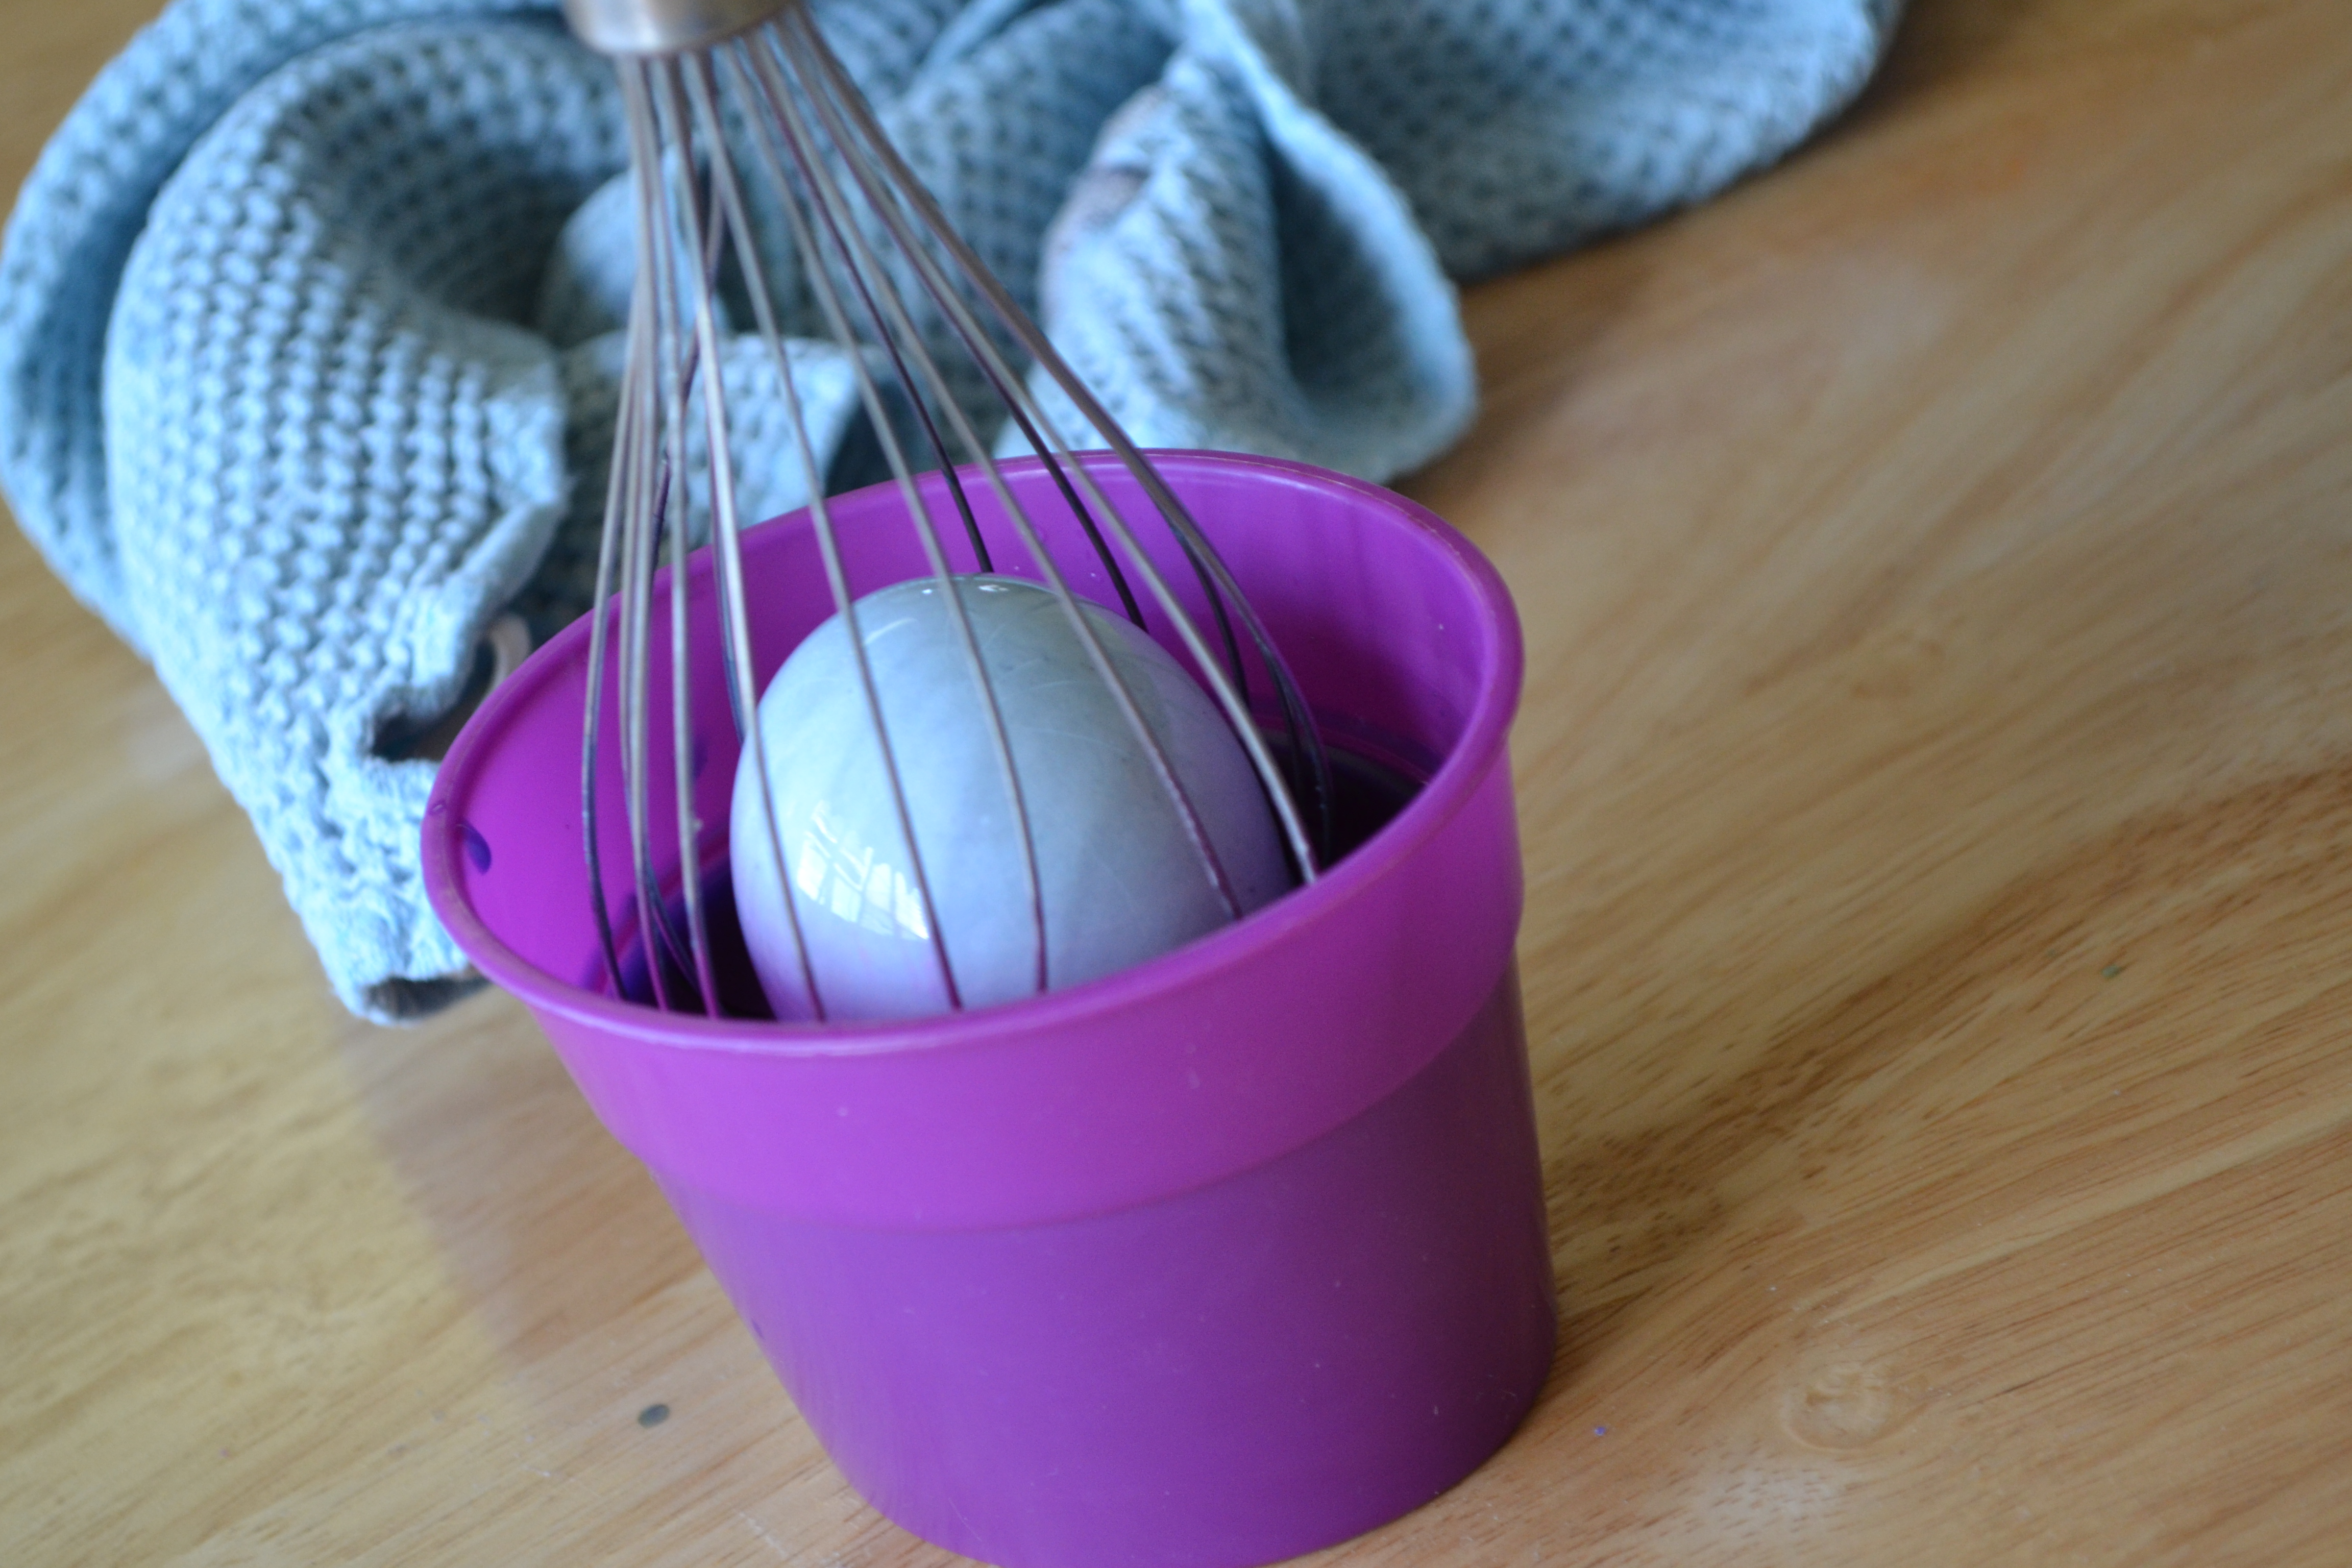
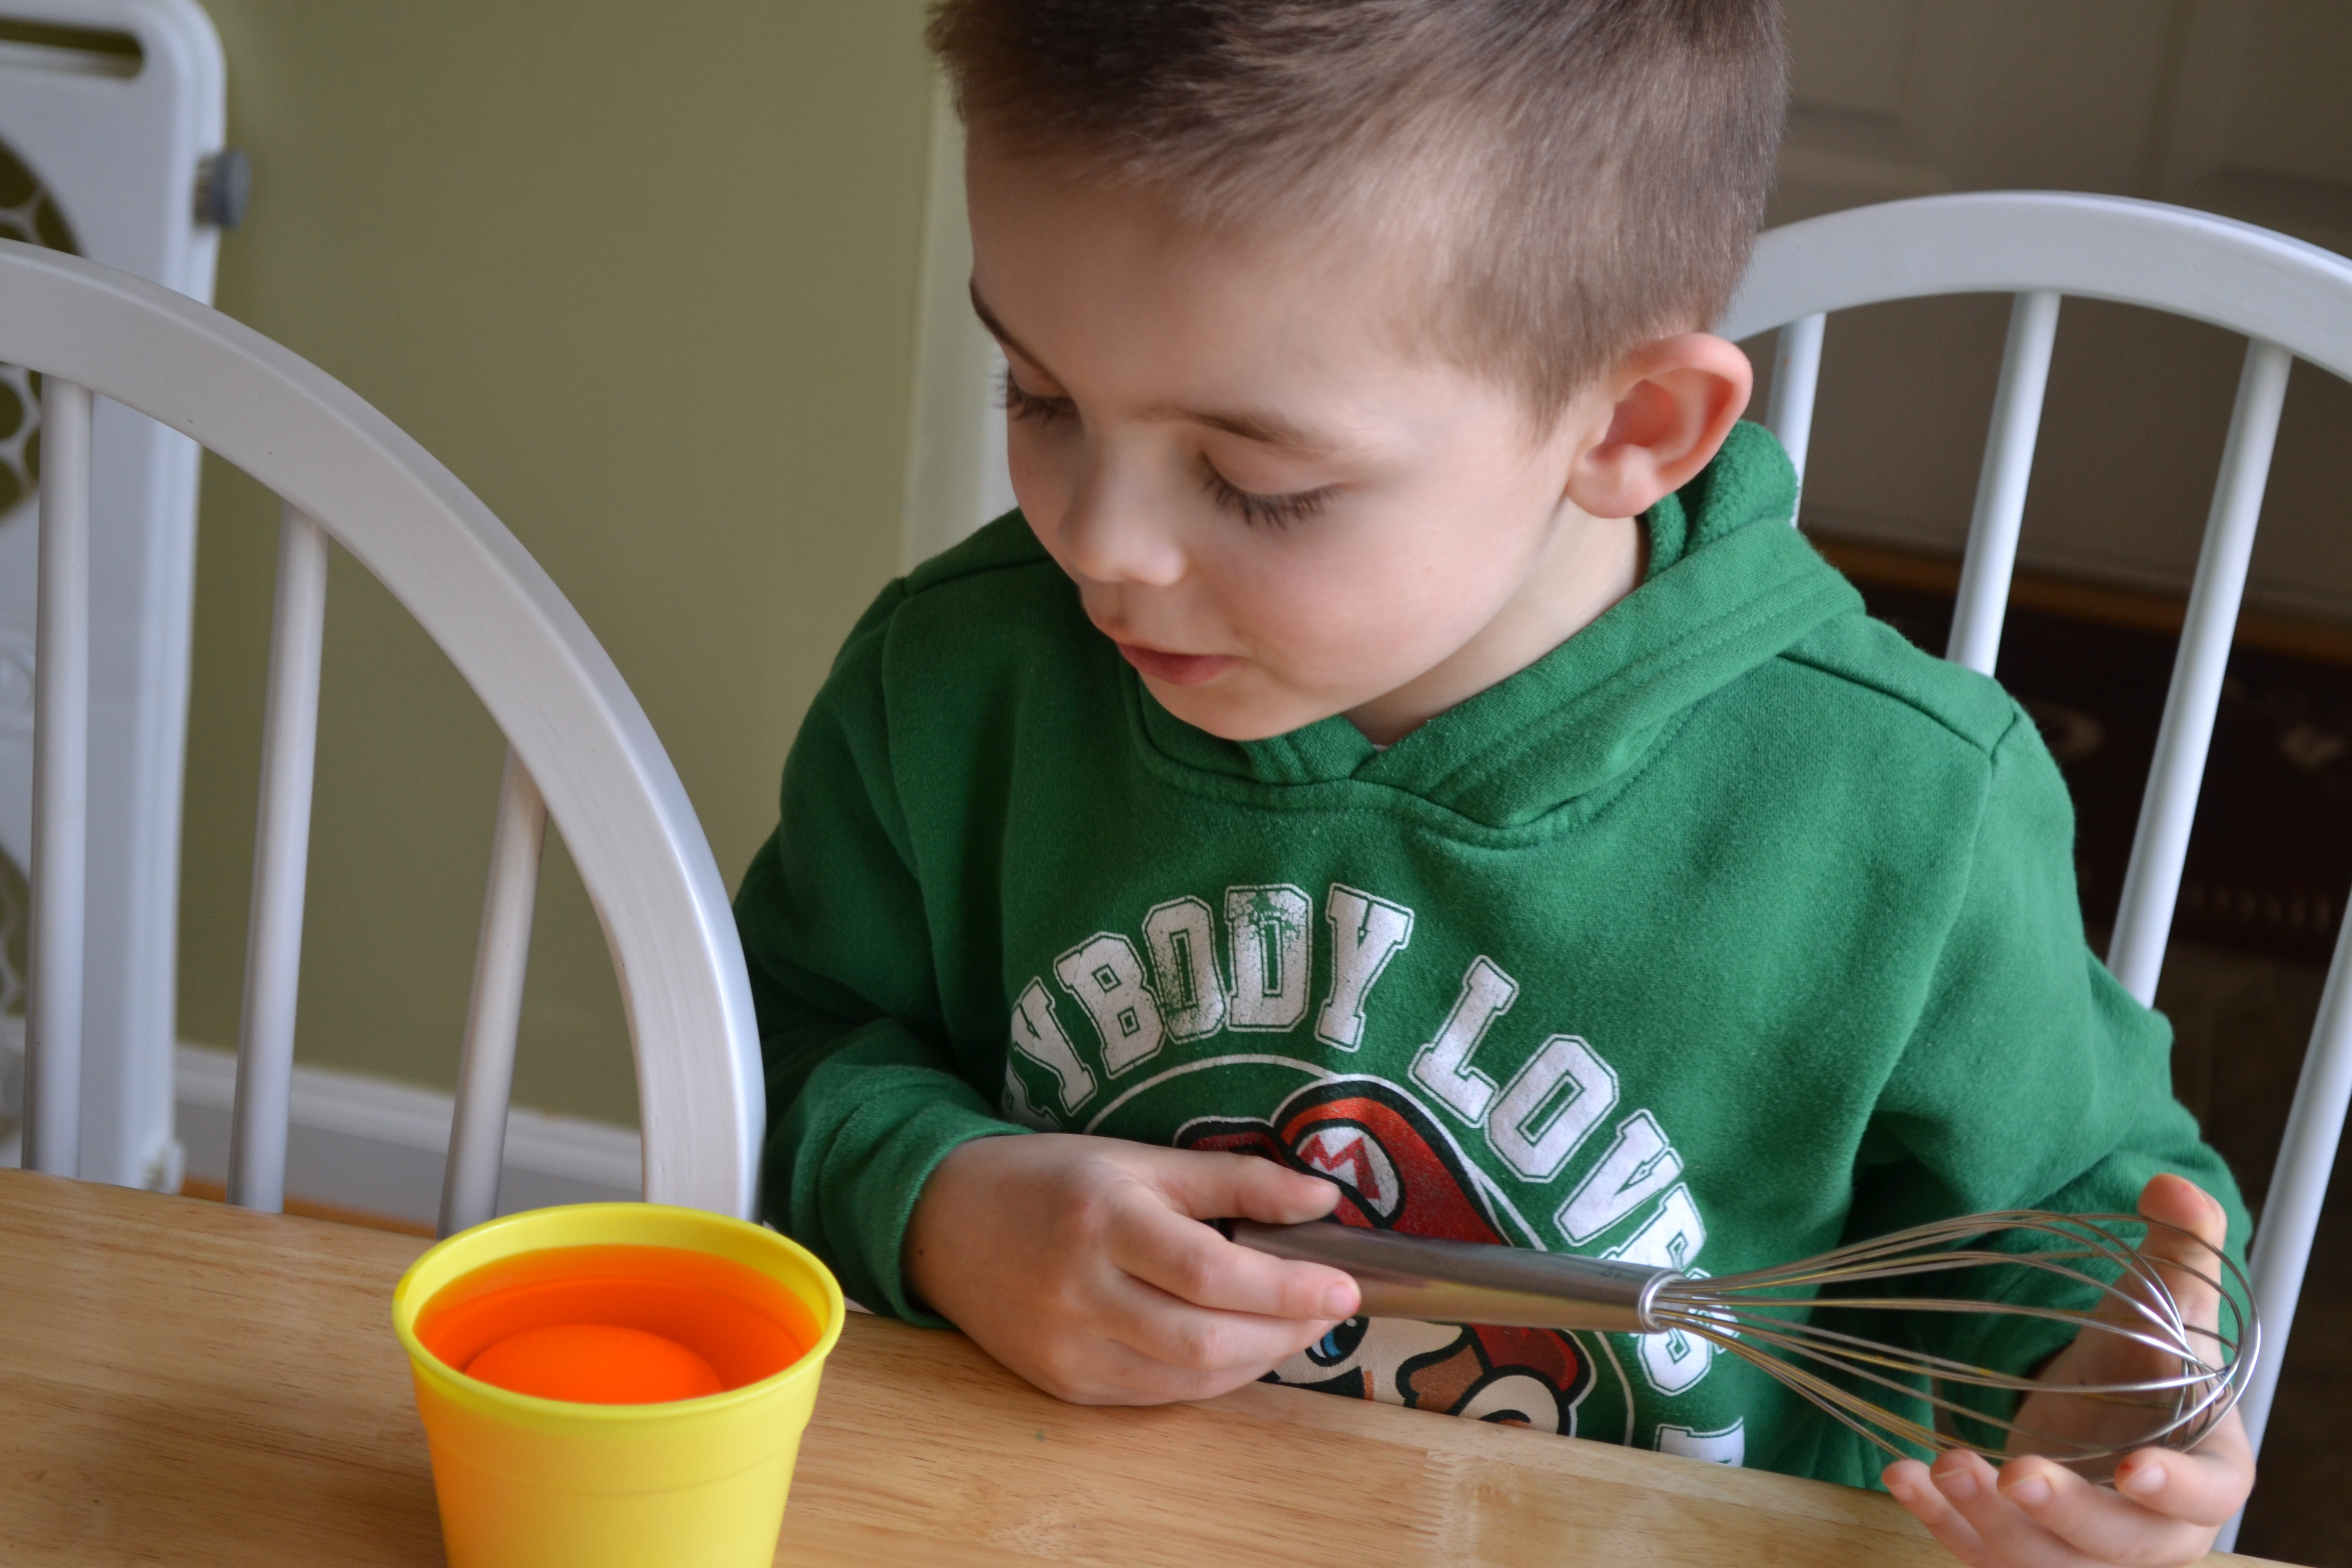
The kids each took an egg and placed it in a whisk to use as a dipper. I picked this tip up from Pinterest and I'm so glad. It was the most helpful for my 2-year-old who kept wanting to lift his egg up to see it change color. The other kids preferred using tongs and their fingers to get to their eggs.
Step 5
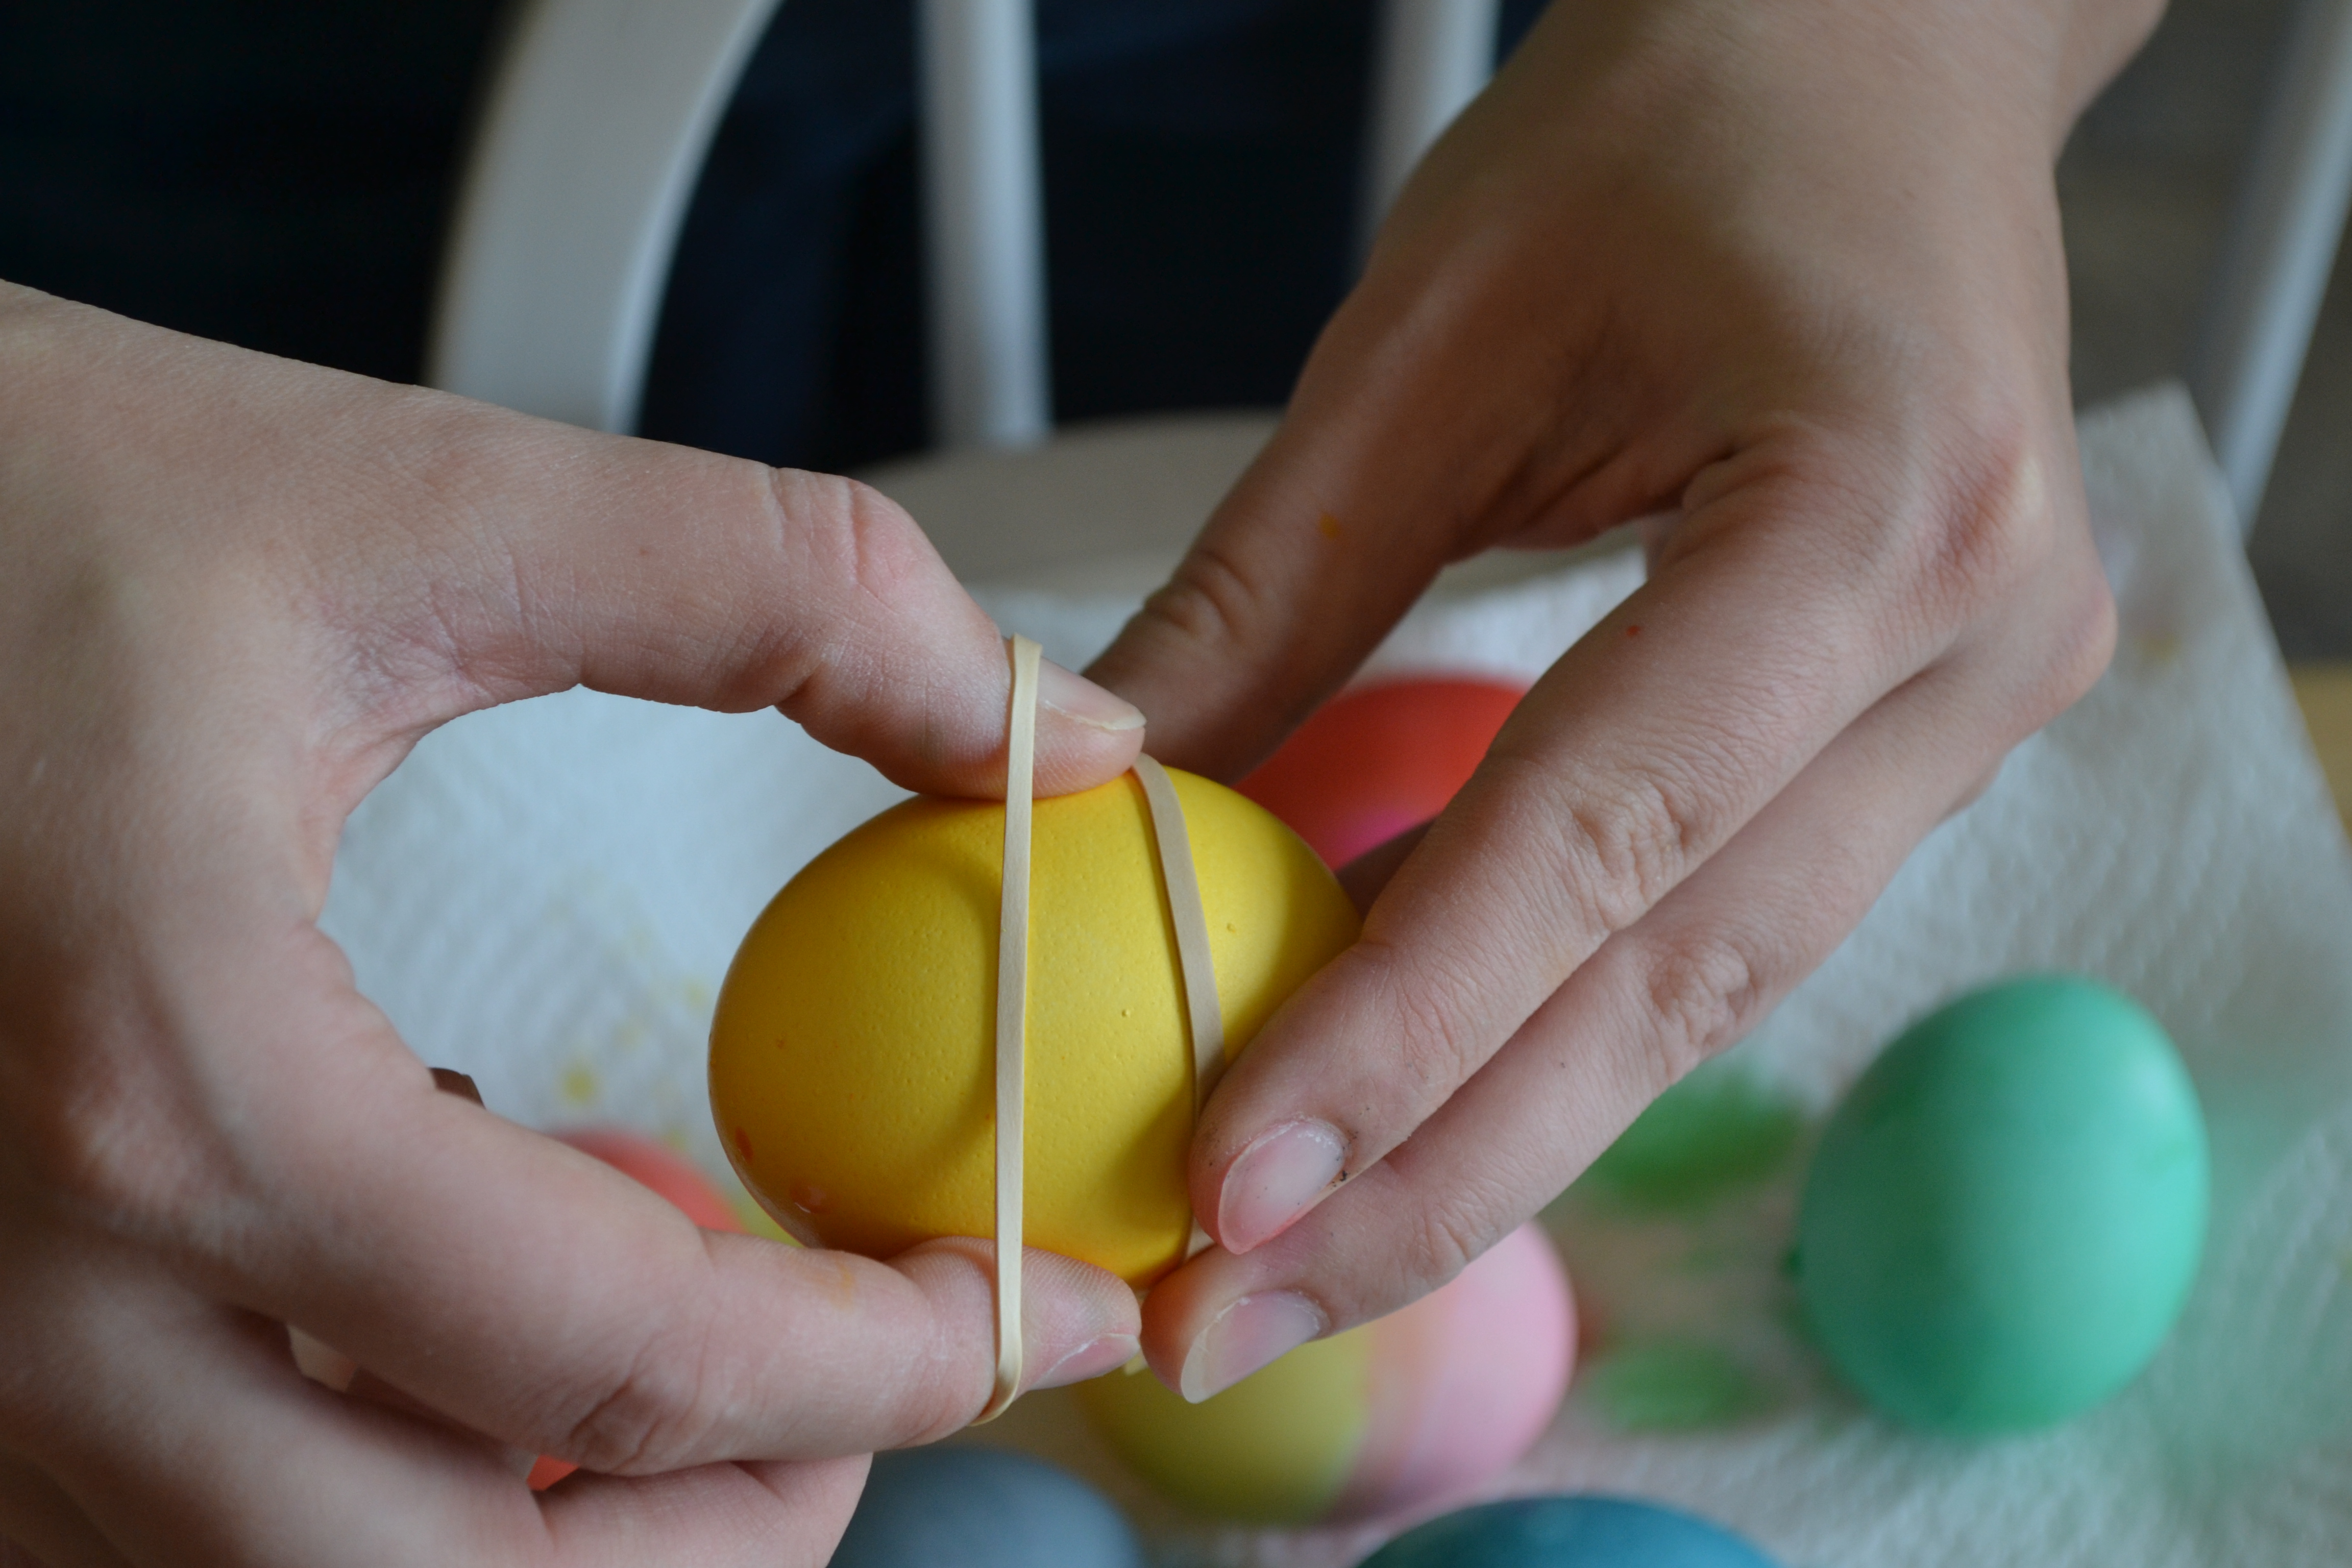
After each egg had a base color, we carefully wrapped a rubber band around each egg two or three times being careful not to crack the eggs.
Step 6
Then, the kids chose another color to place their egg in. In general, we tried to choose a lighter color for the base color and then a darker color for the second coat.
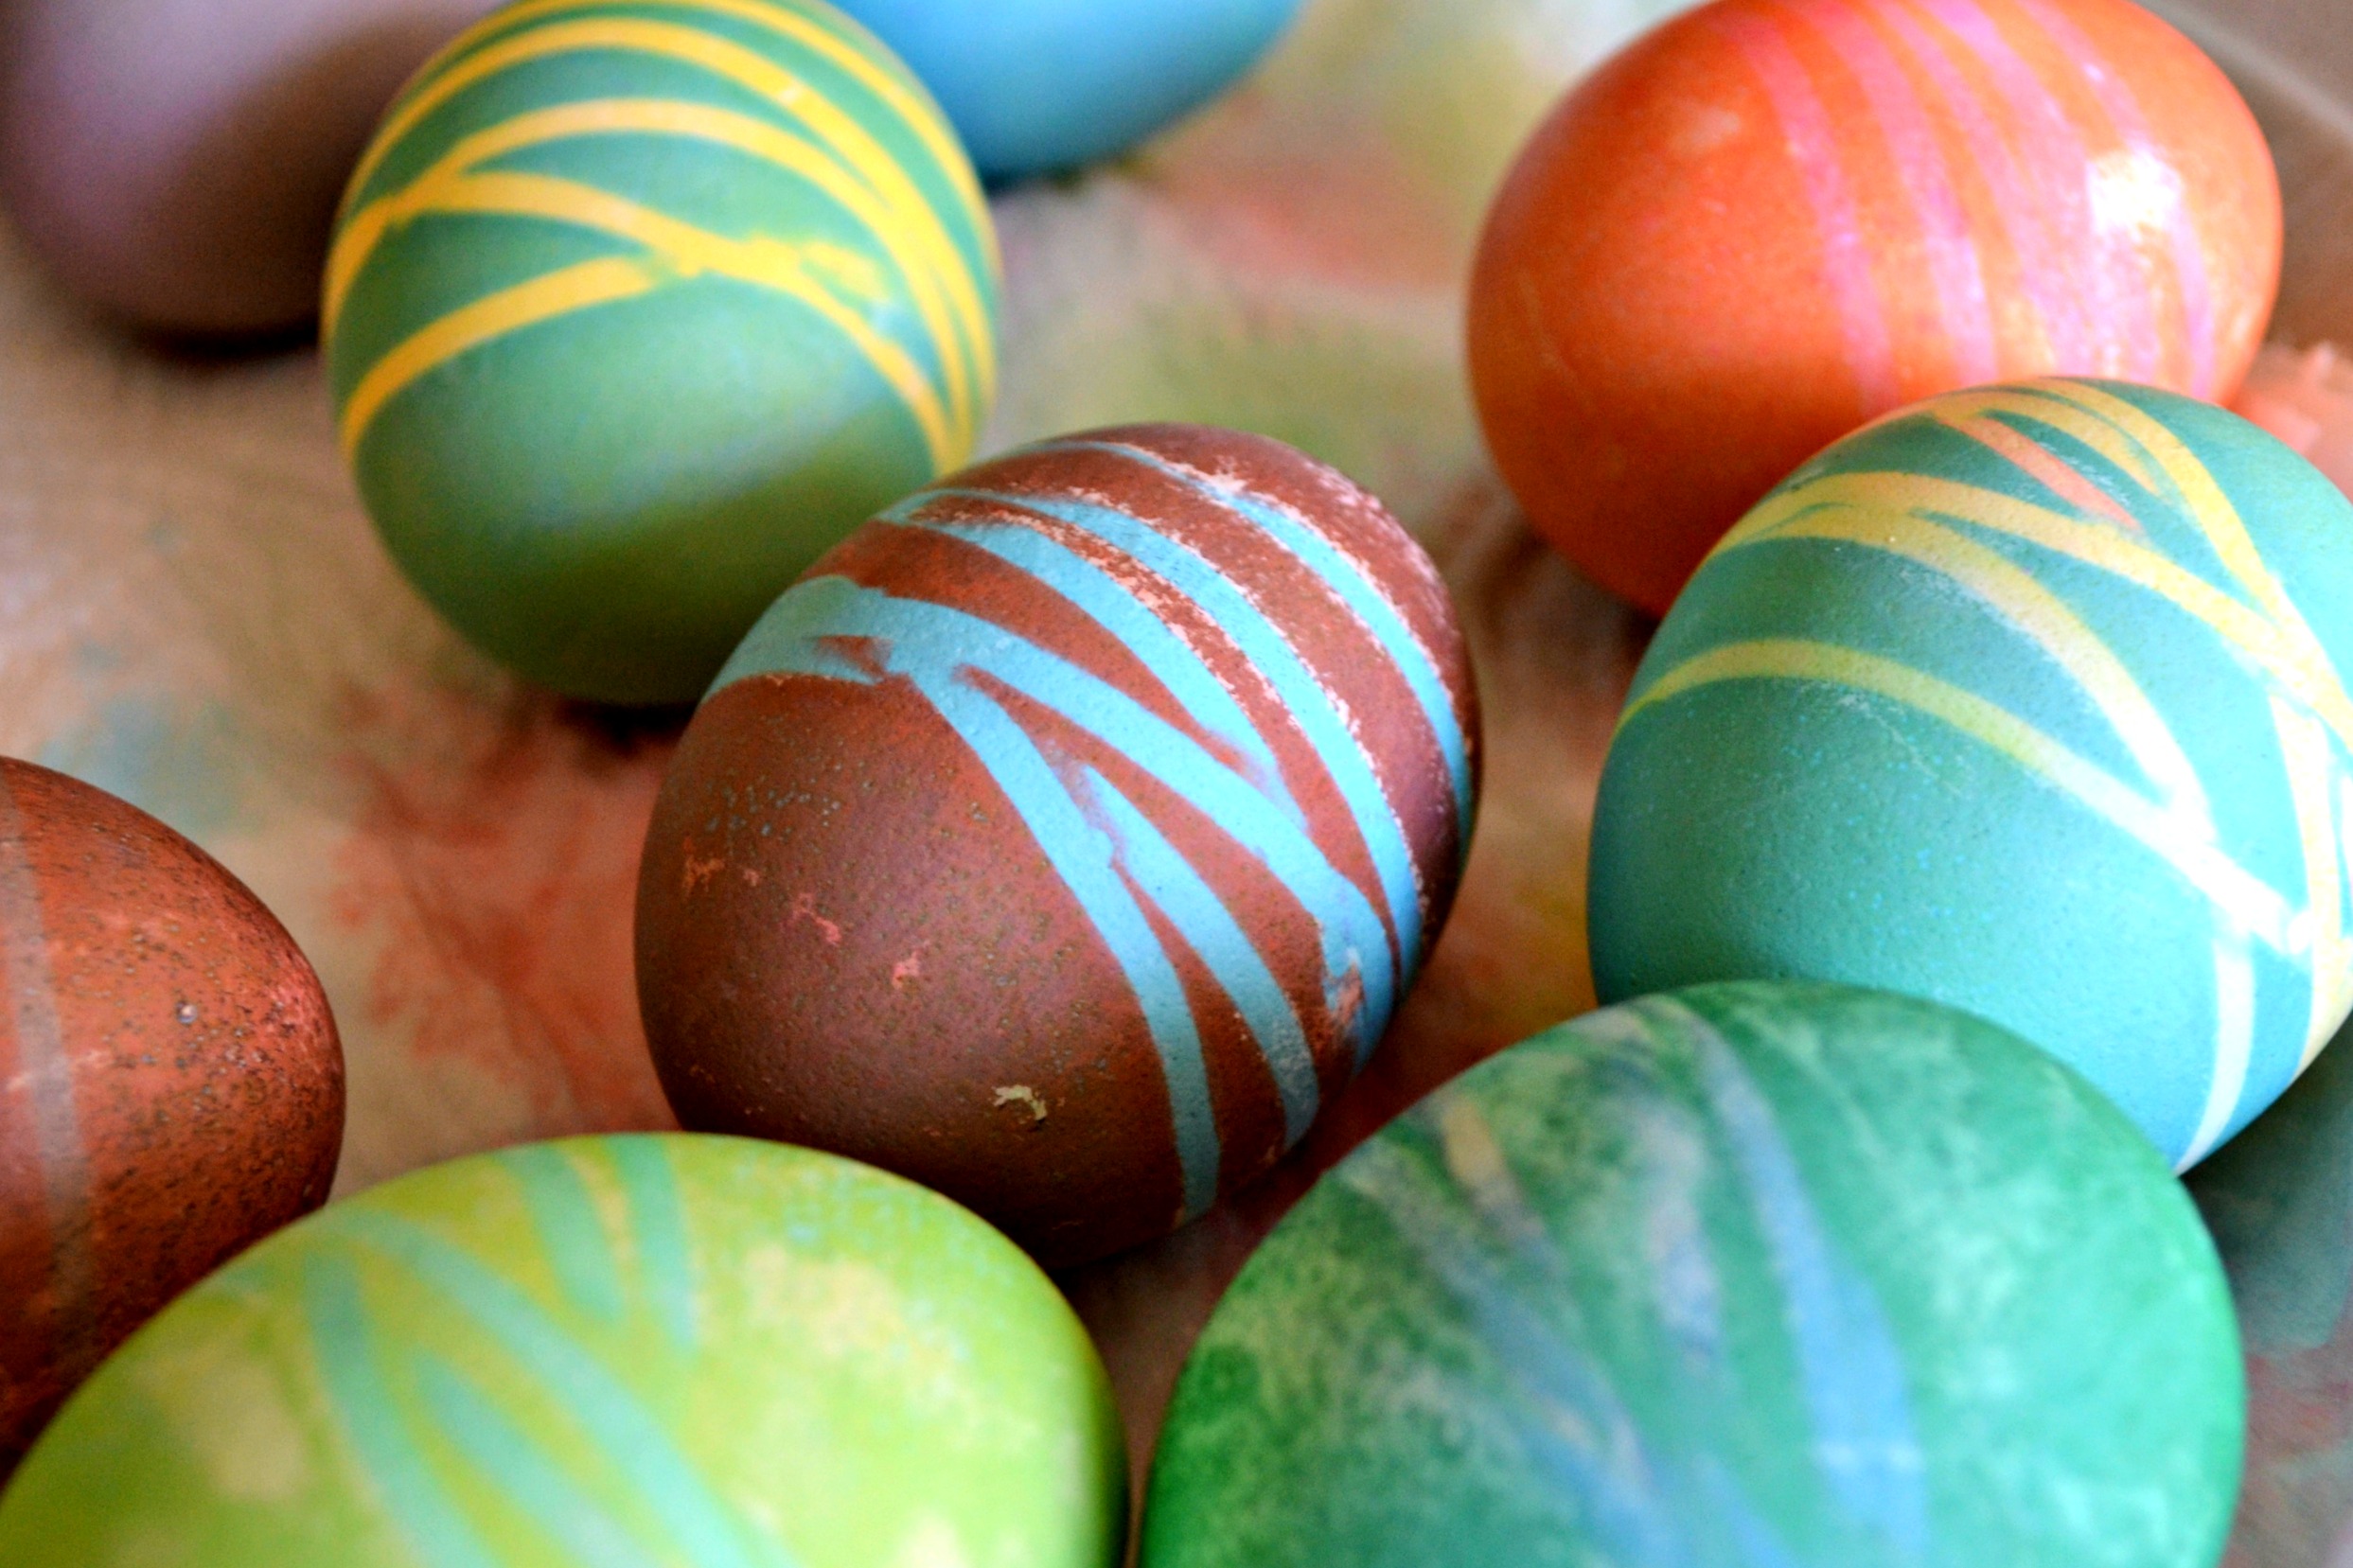
Done!
After the eggs got their second coat, we placed them on a plate covered in a paper towel to dry. The kids were so excited when they took the rubber bands off and saw the patterns they had created!