Step-by-step tutorial
Step 1
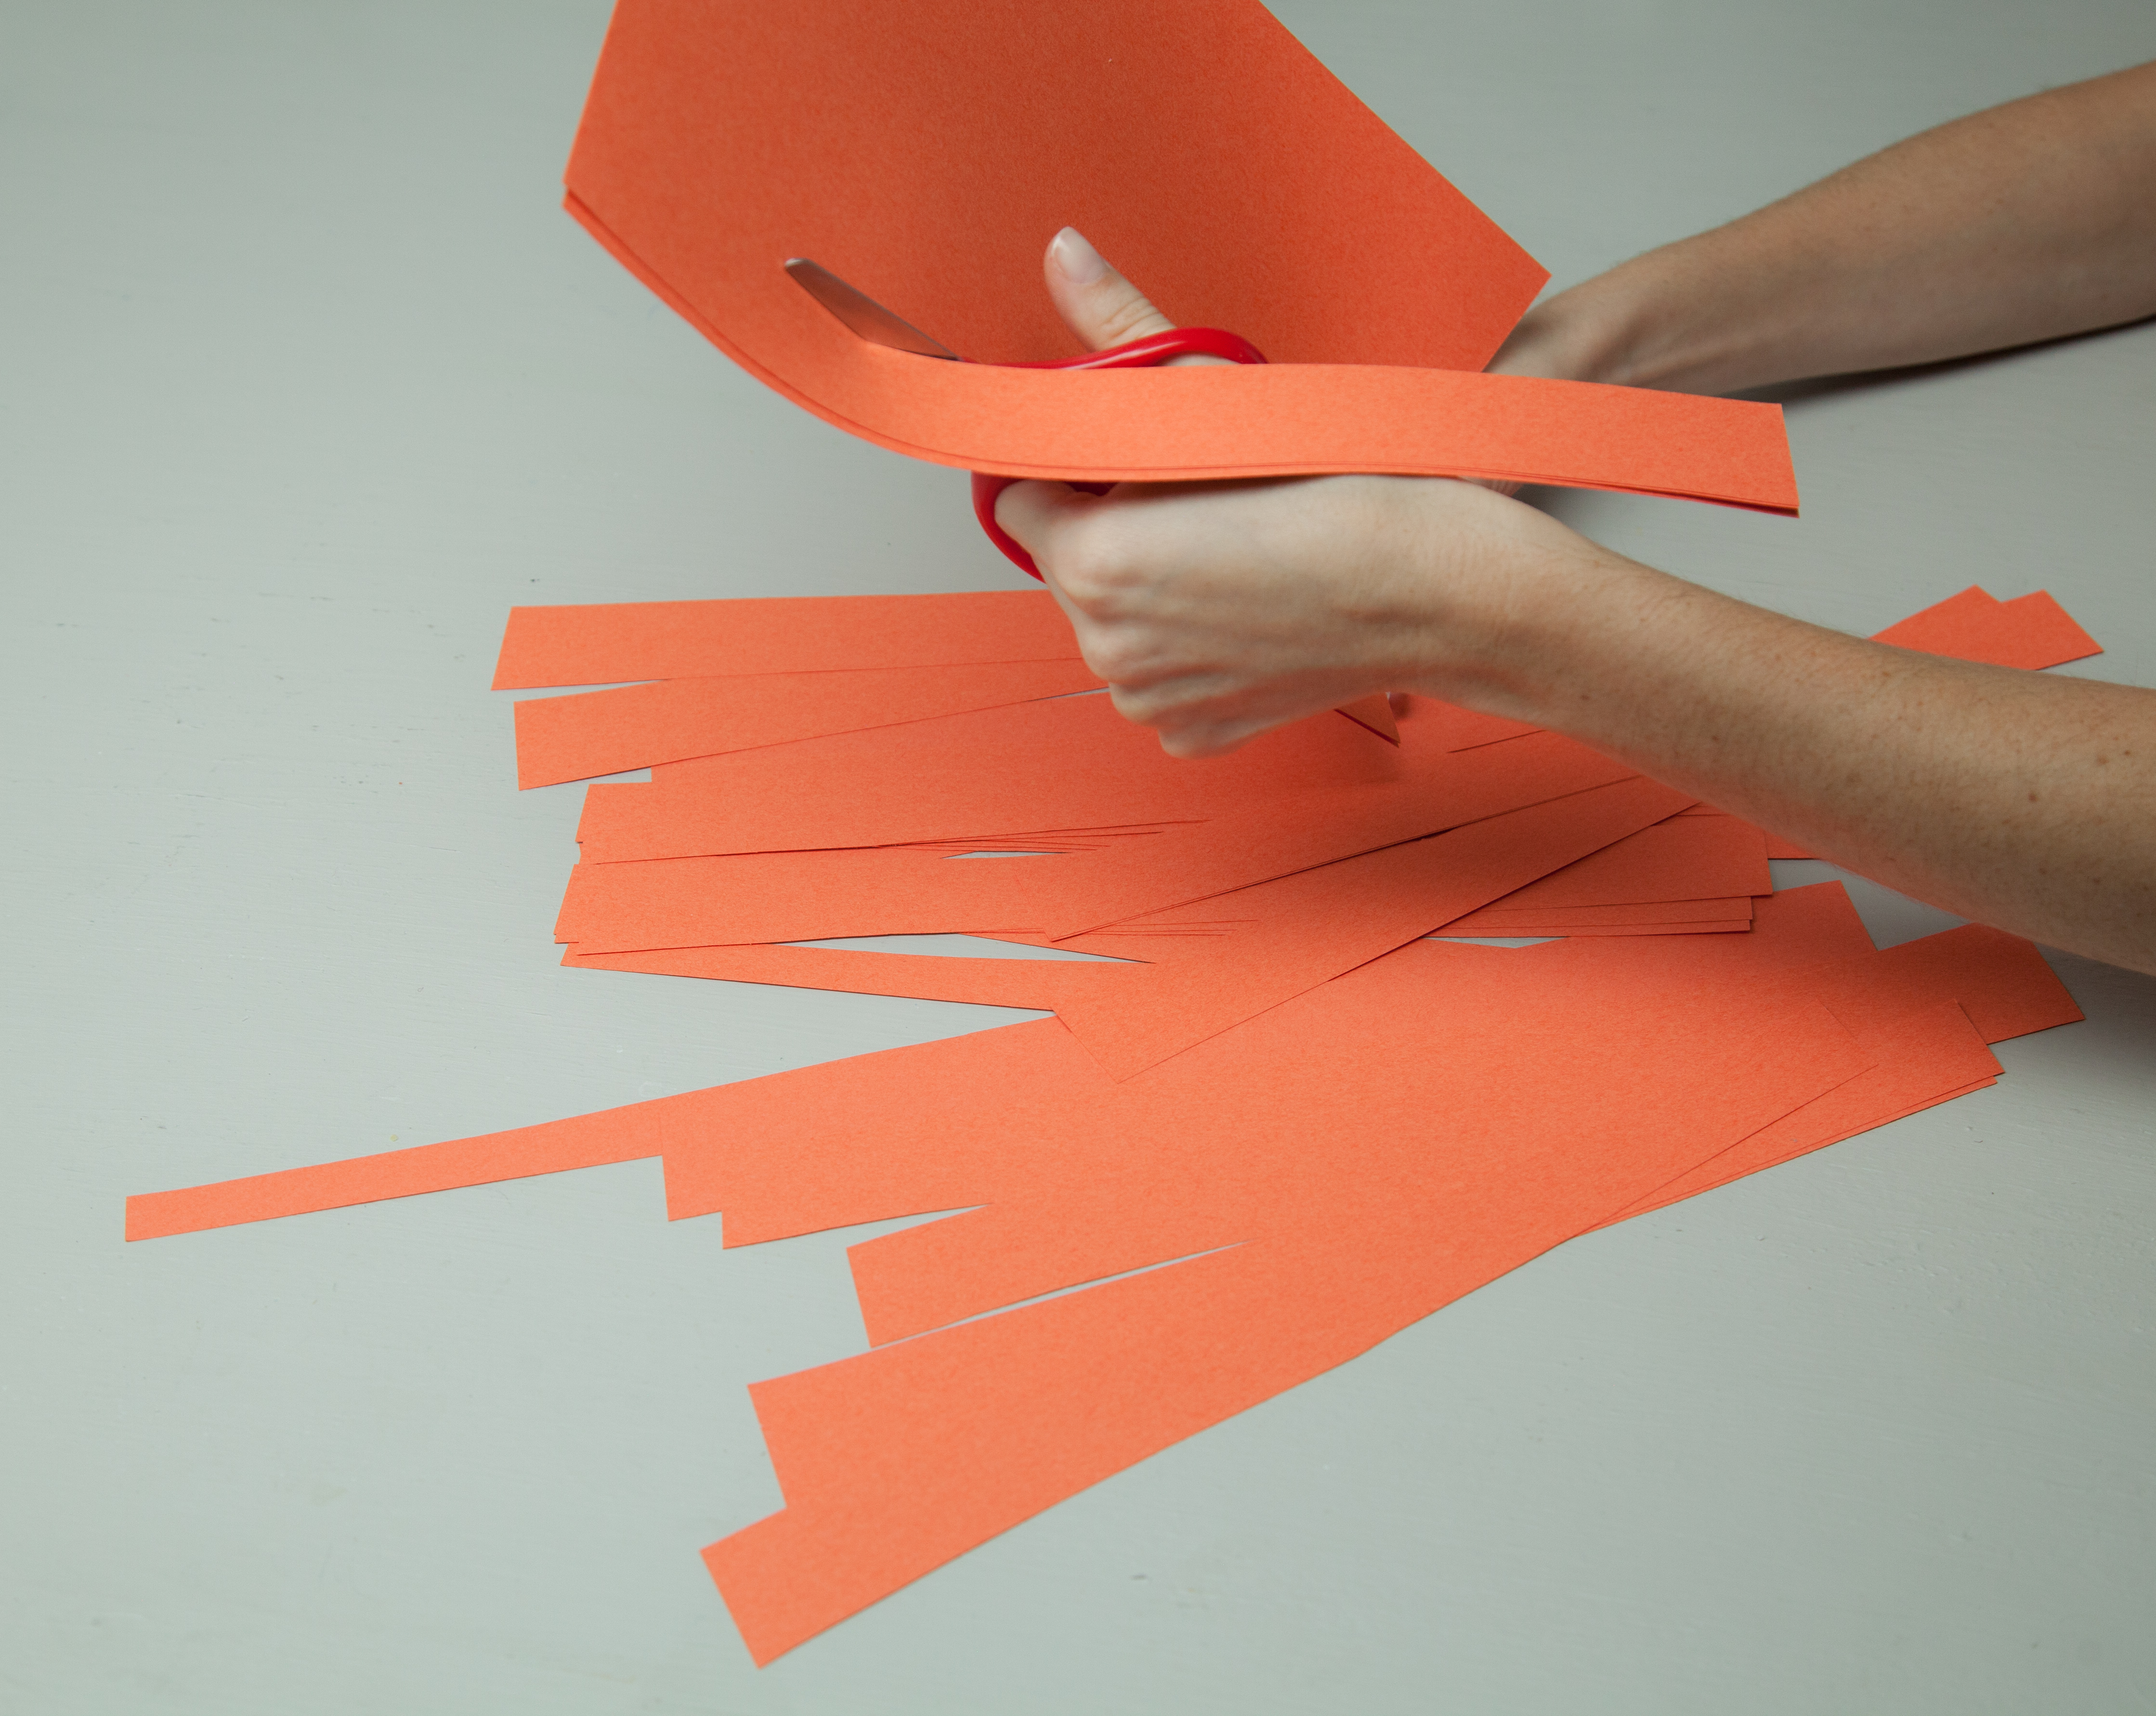
Cut long strips of orange construction paper.
Pour school glue into one of the cups and add a little bit of water to the mixture to water it down.
Step 2
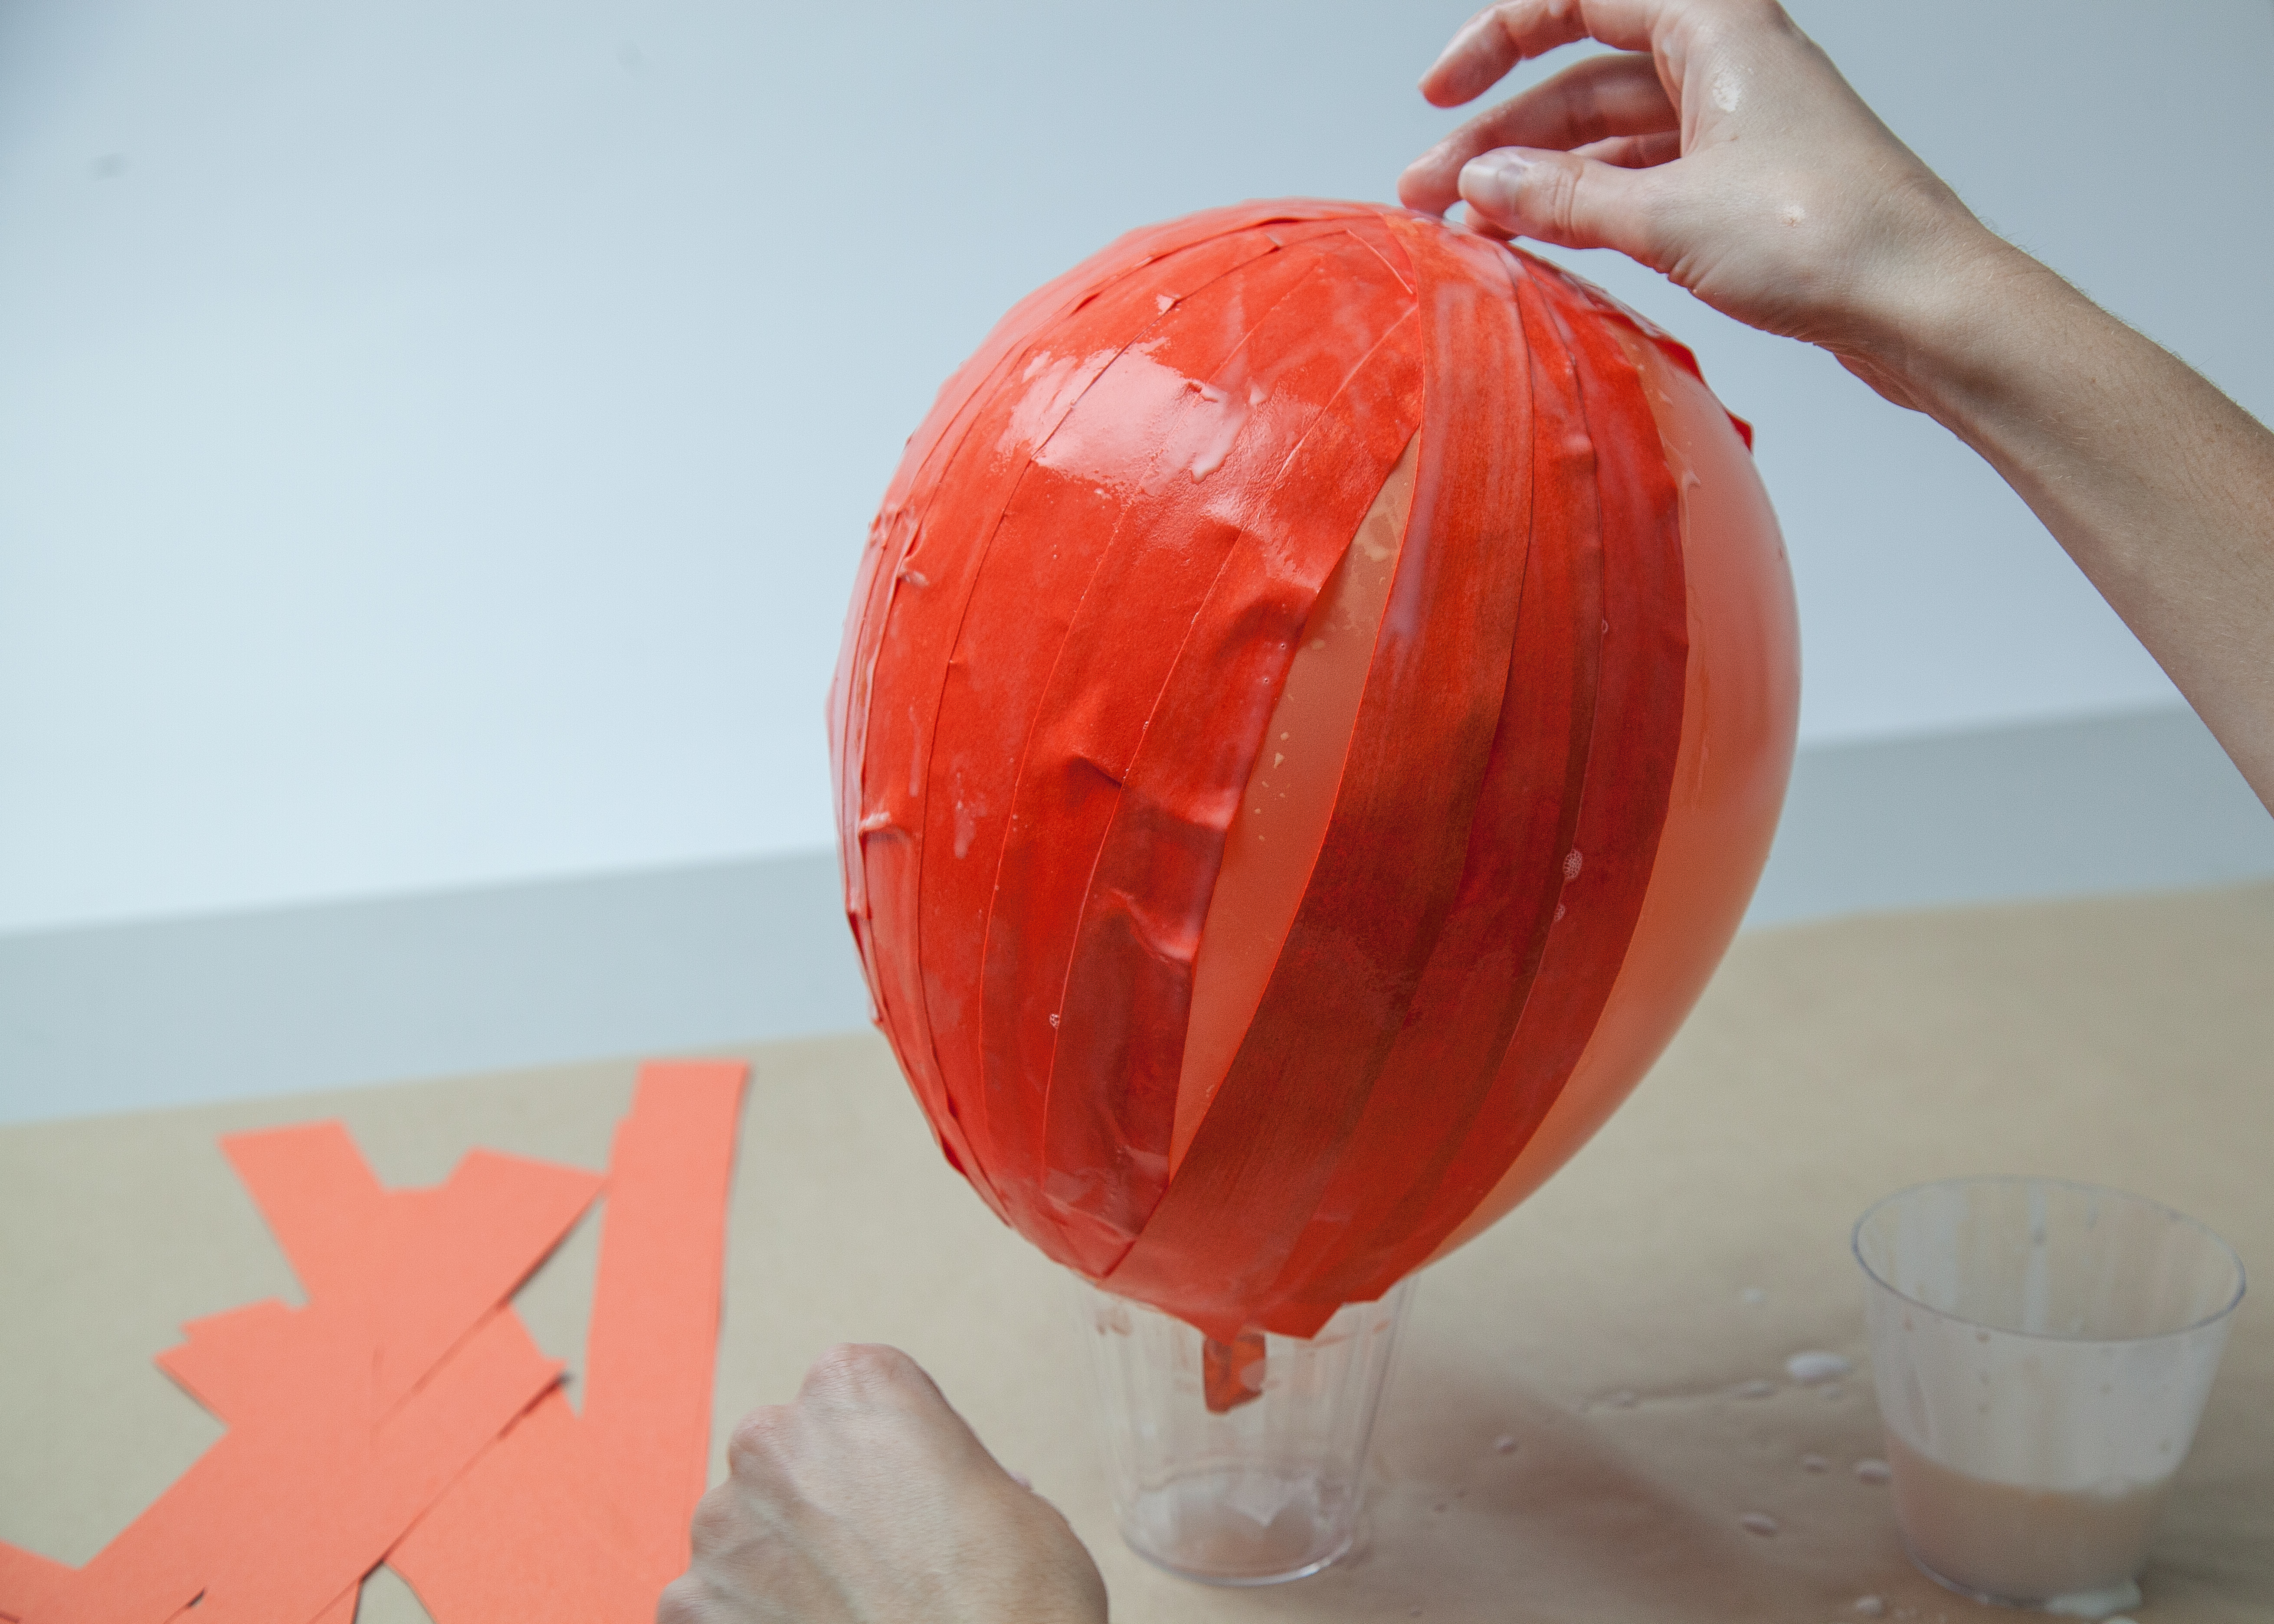
Blow up your balloon to the desired shape of a pumpkin. Balance the balloon in a cup.
Dip each strip of orange construction paper into the glue and water mixture. Remove the extra glue by pinching the top of strip and running your fingers down it. Make sure to do this over the cup Place the strip onto the balloon. Cover the entire balloon with orange strips of paper.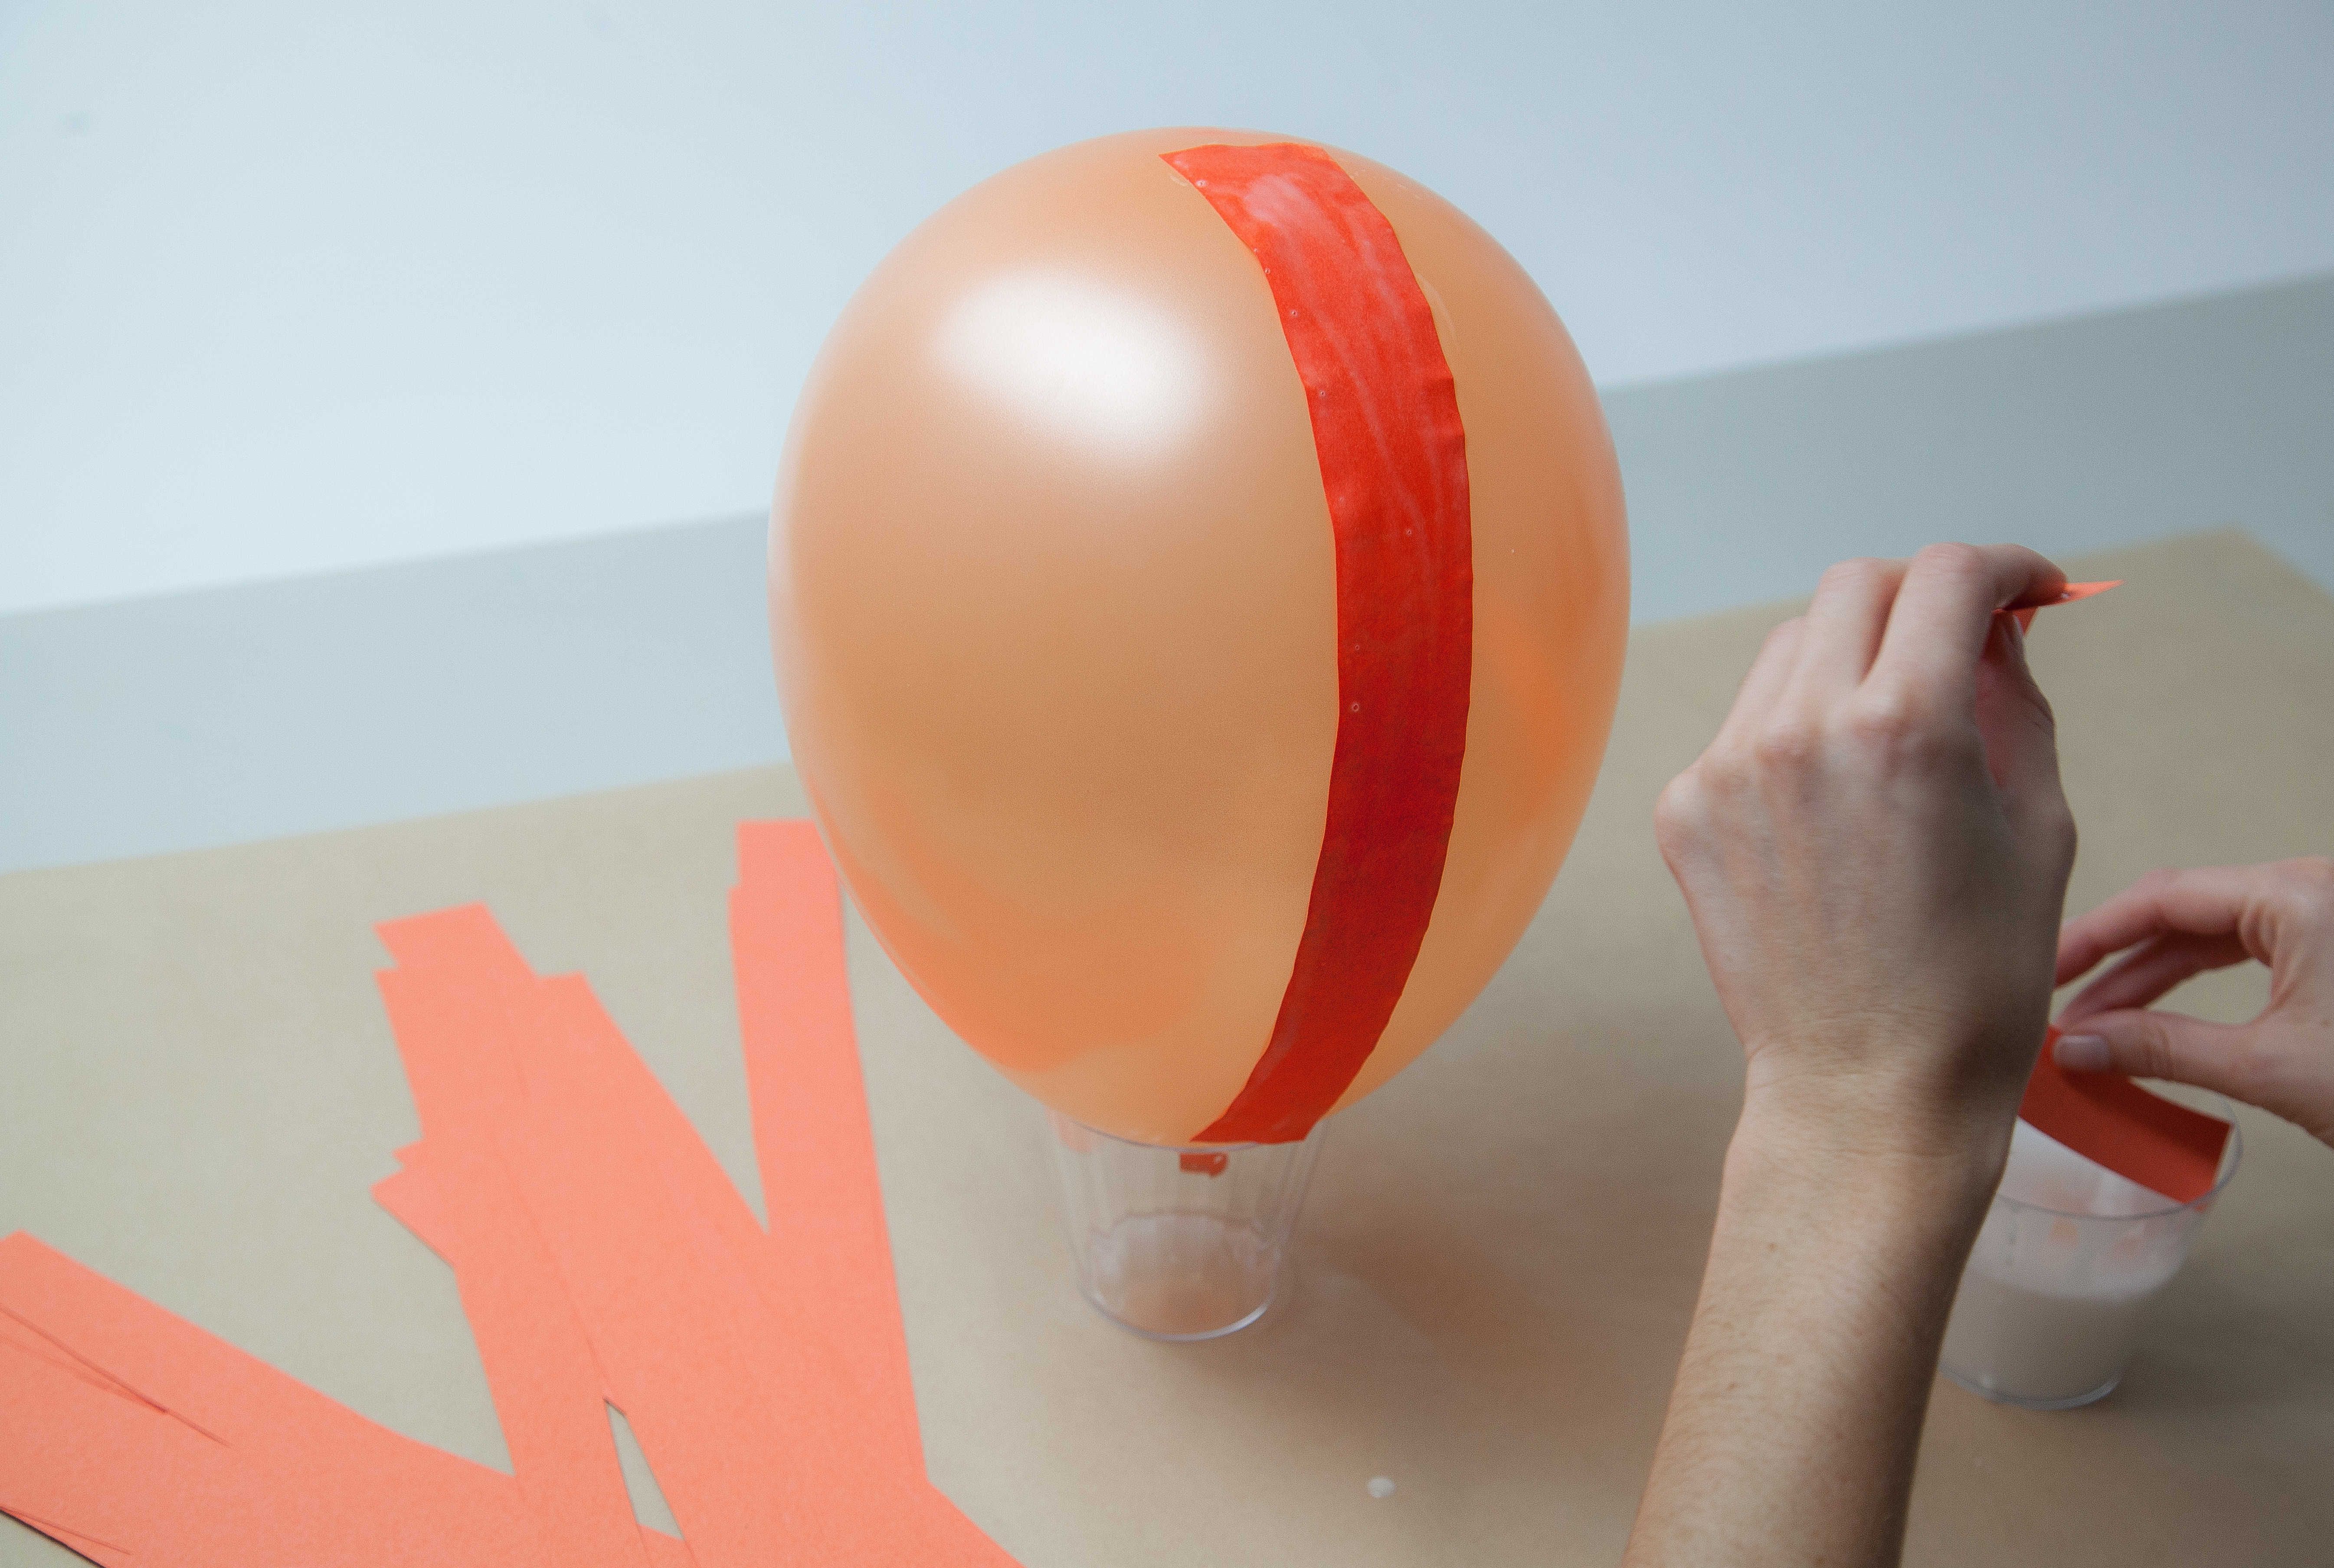
Step 3
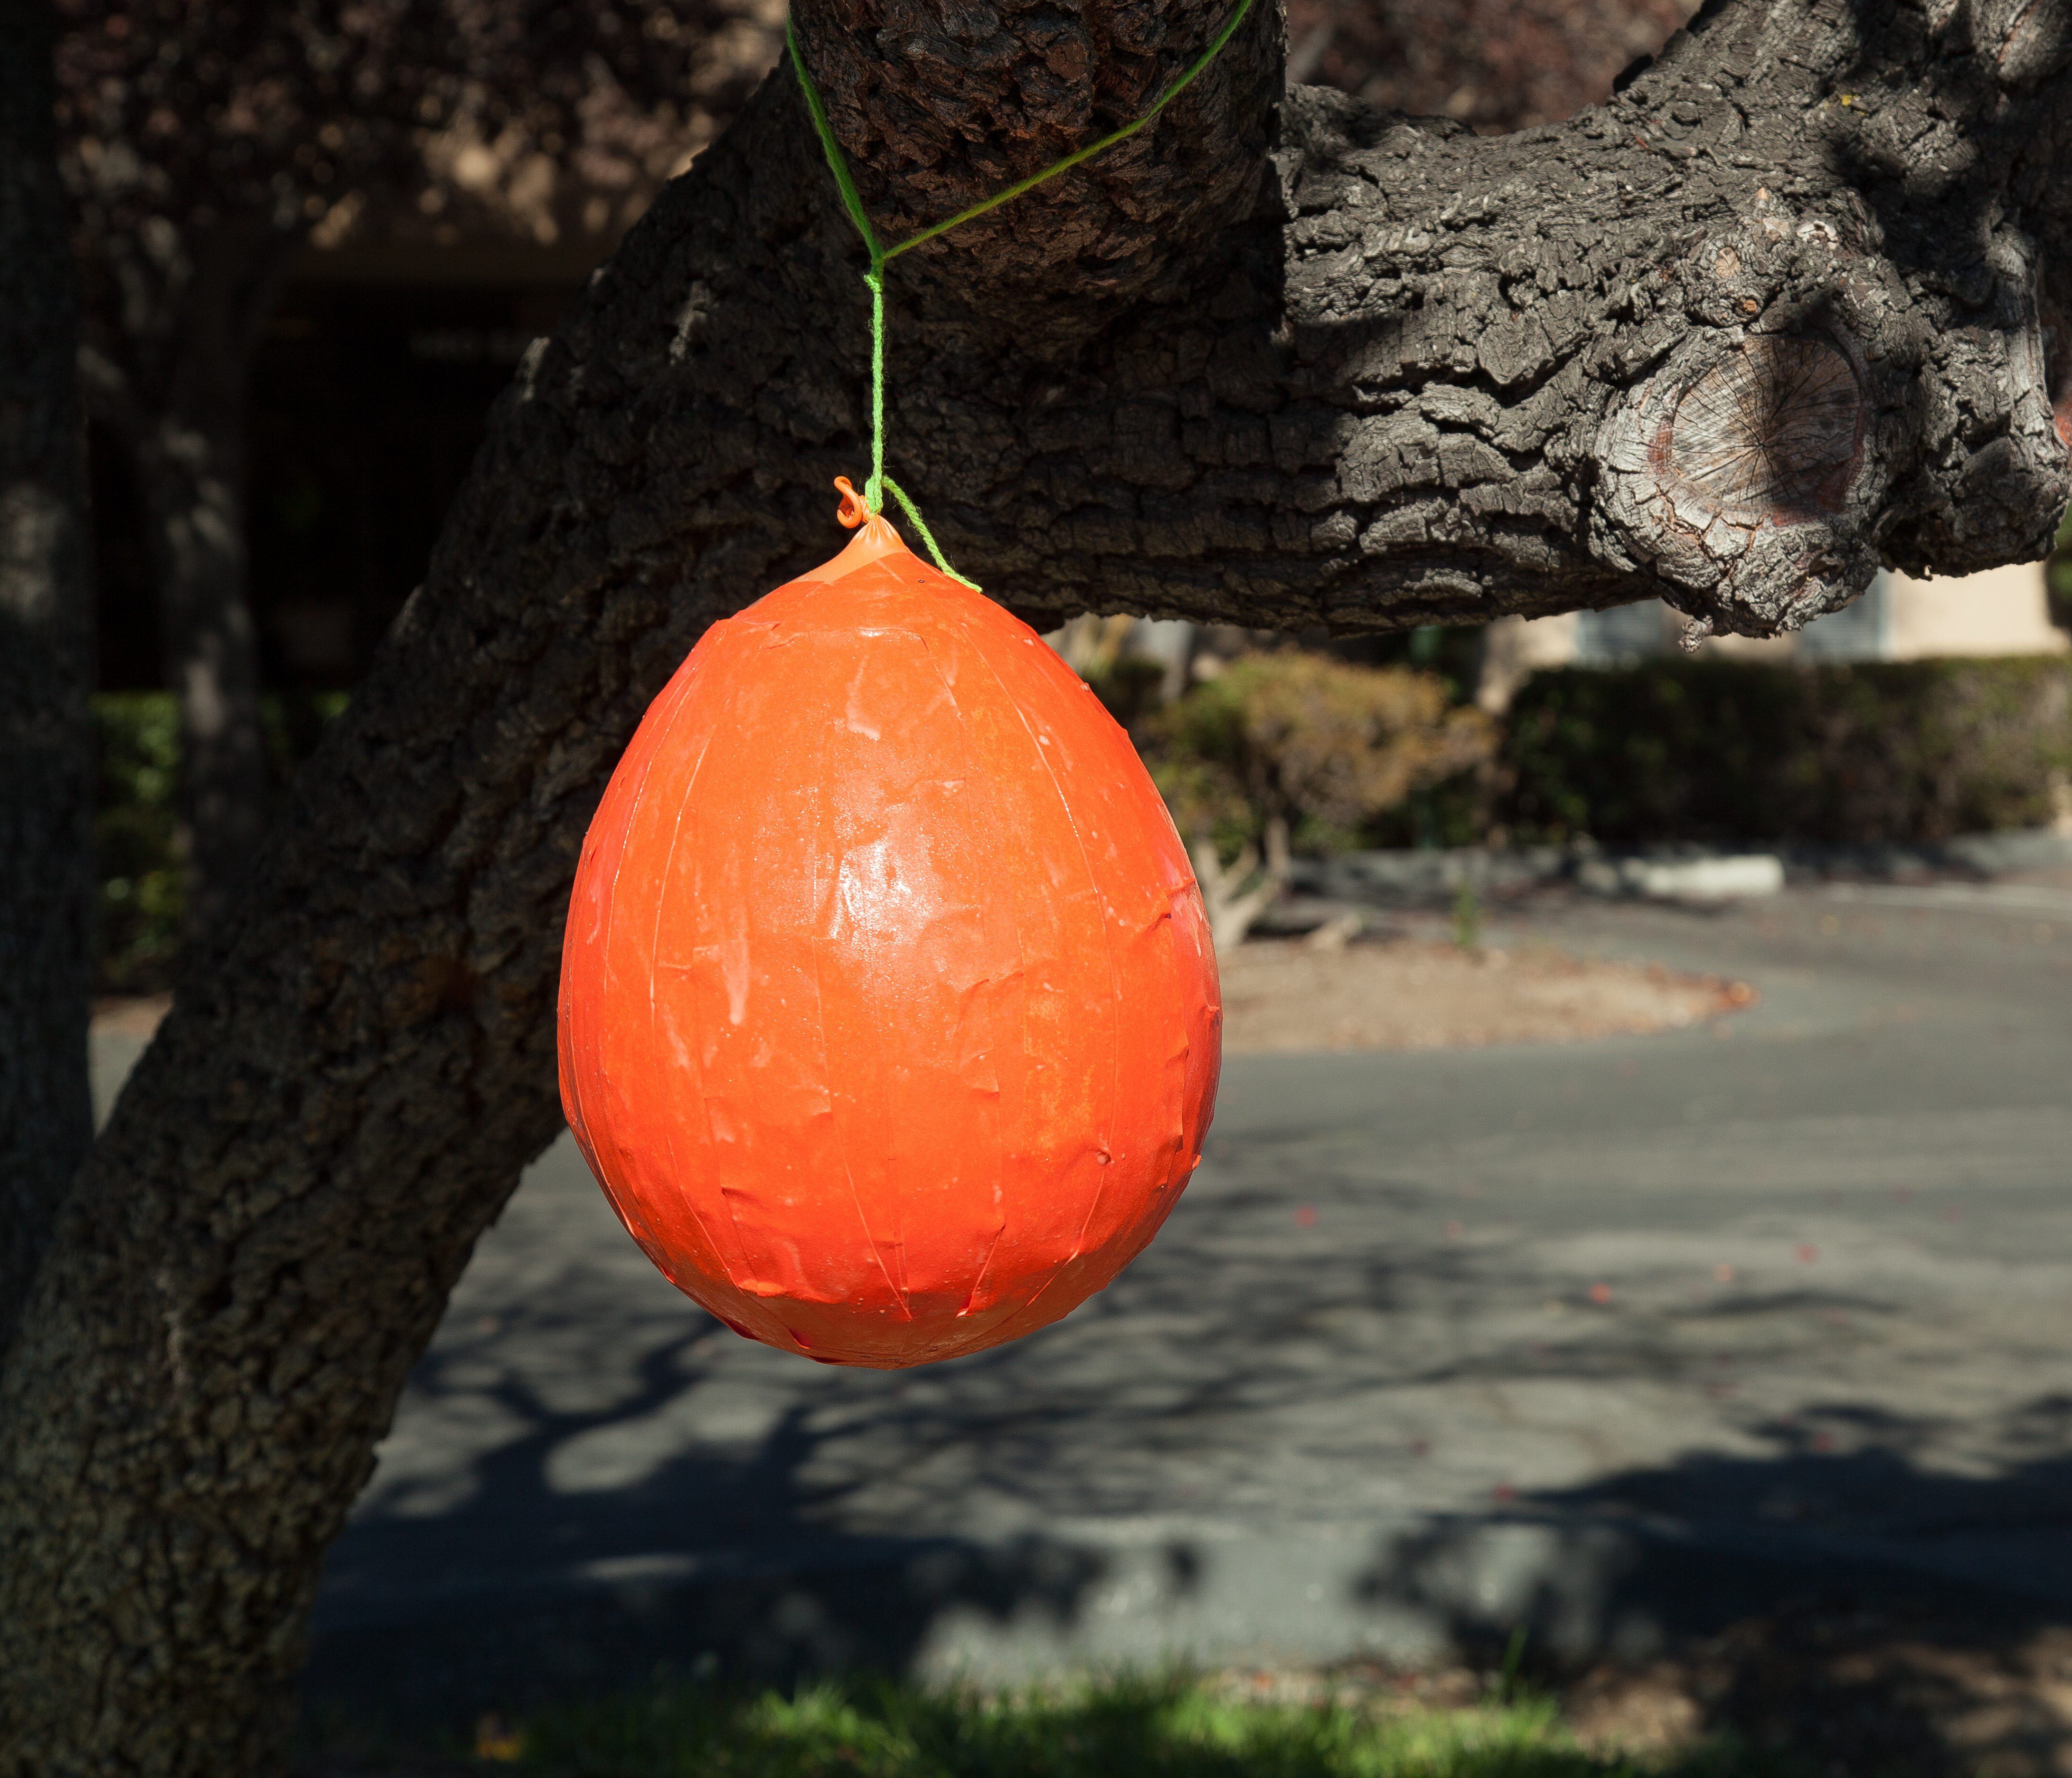
Once covered, let the paper dry completely. We used a bit of string to hang the pumpkin outside to dry.
Step 4
To make your balloon pumpkin stronger, add another layer of construction paper strips onto the balloon, and let dry.
Step 5
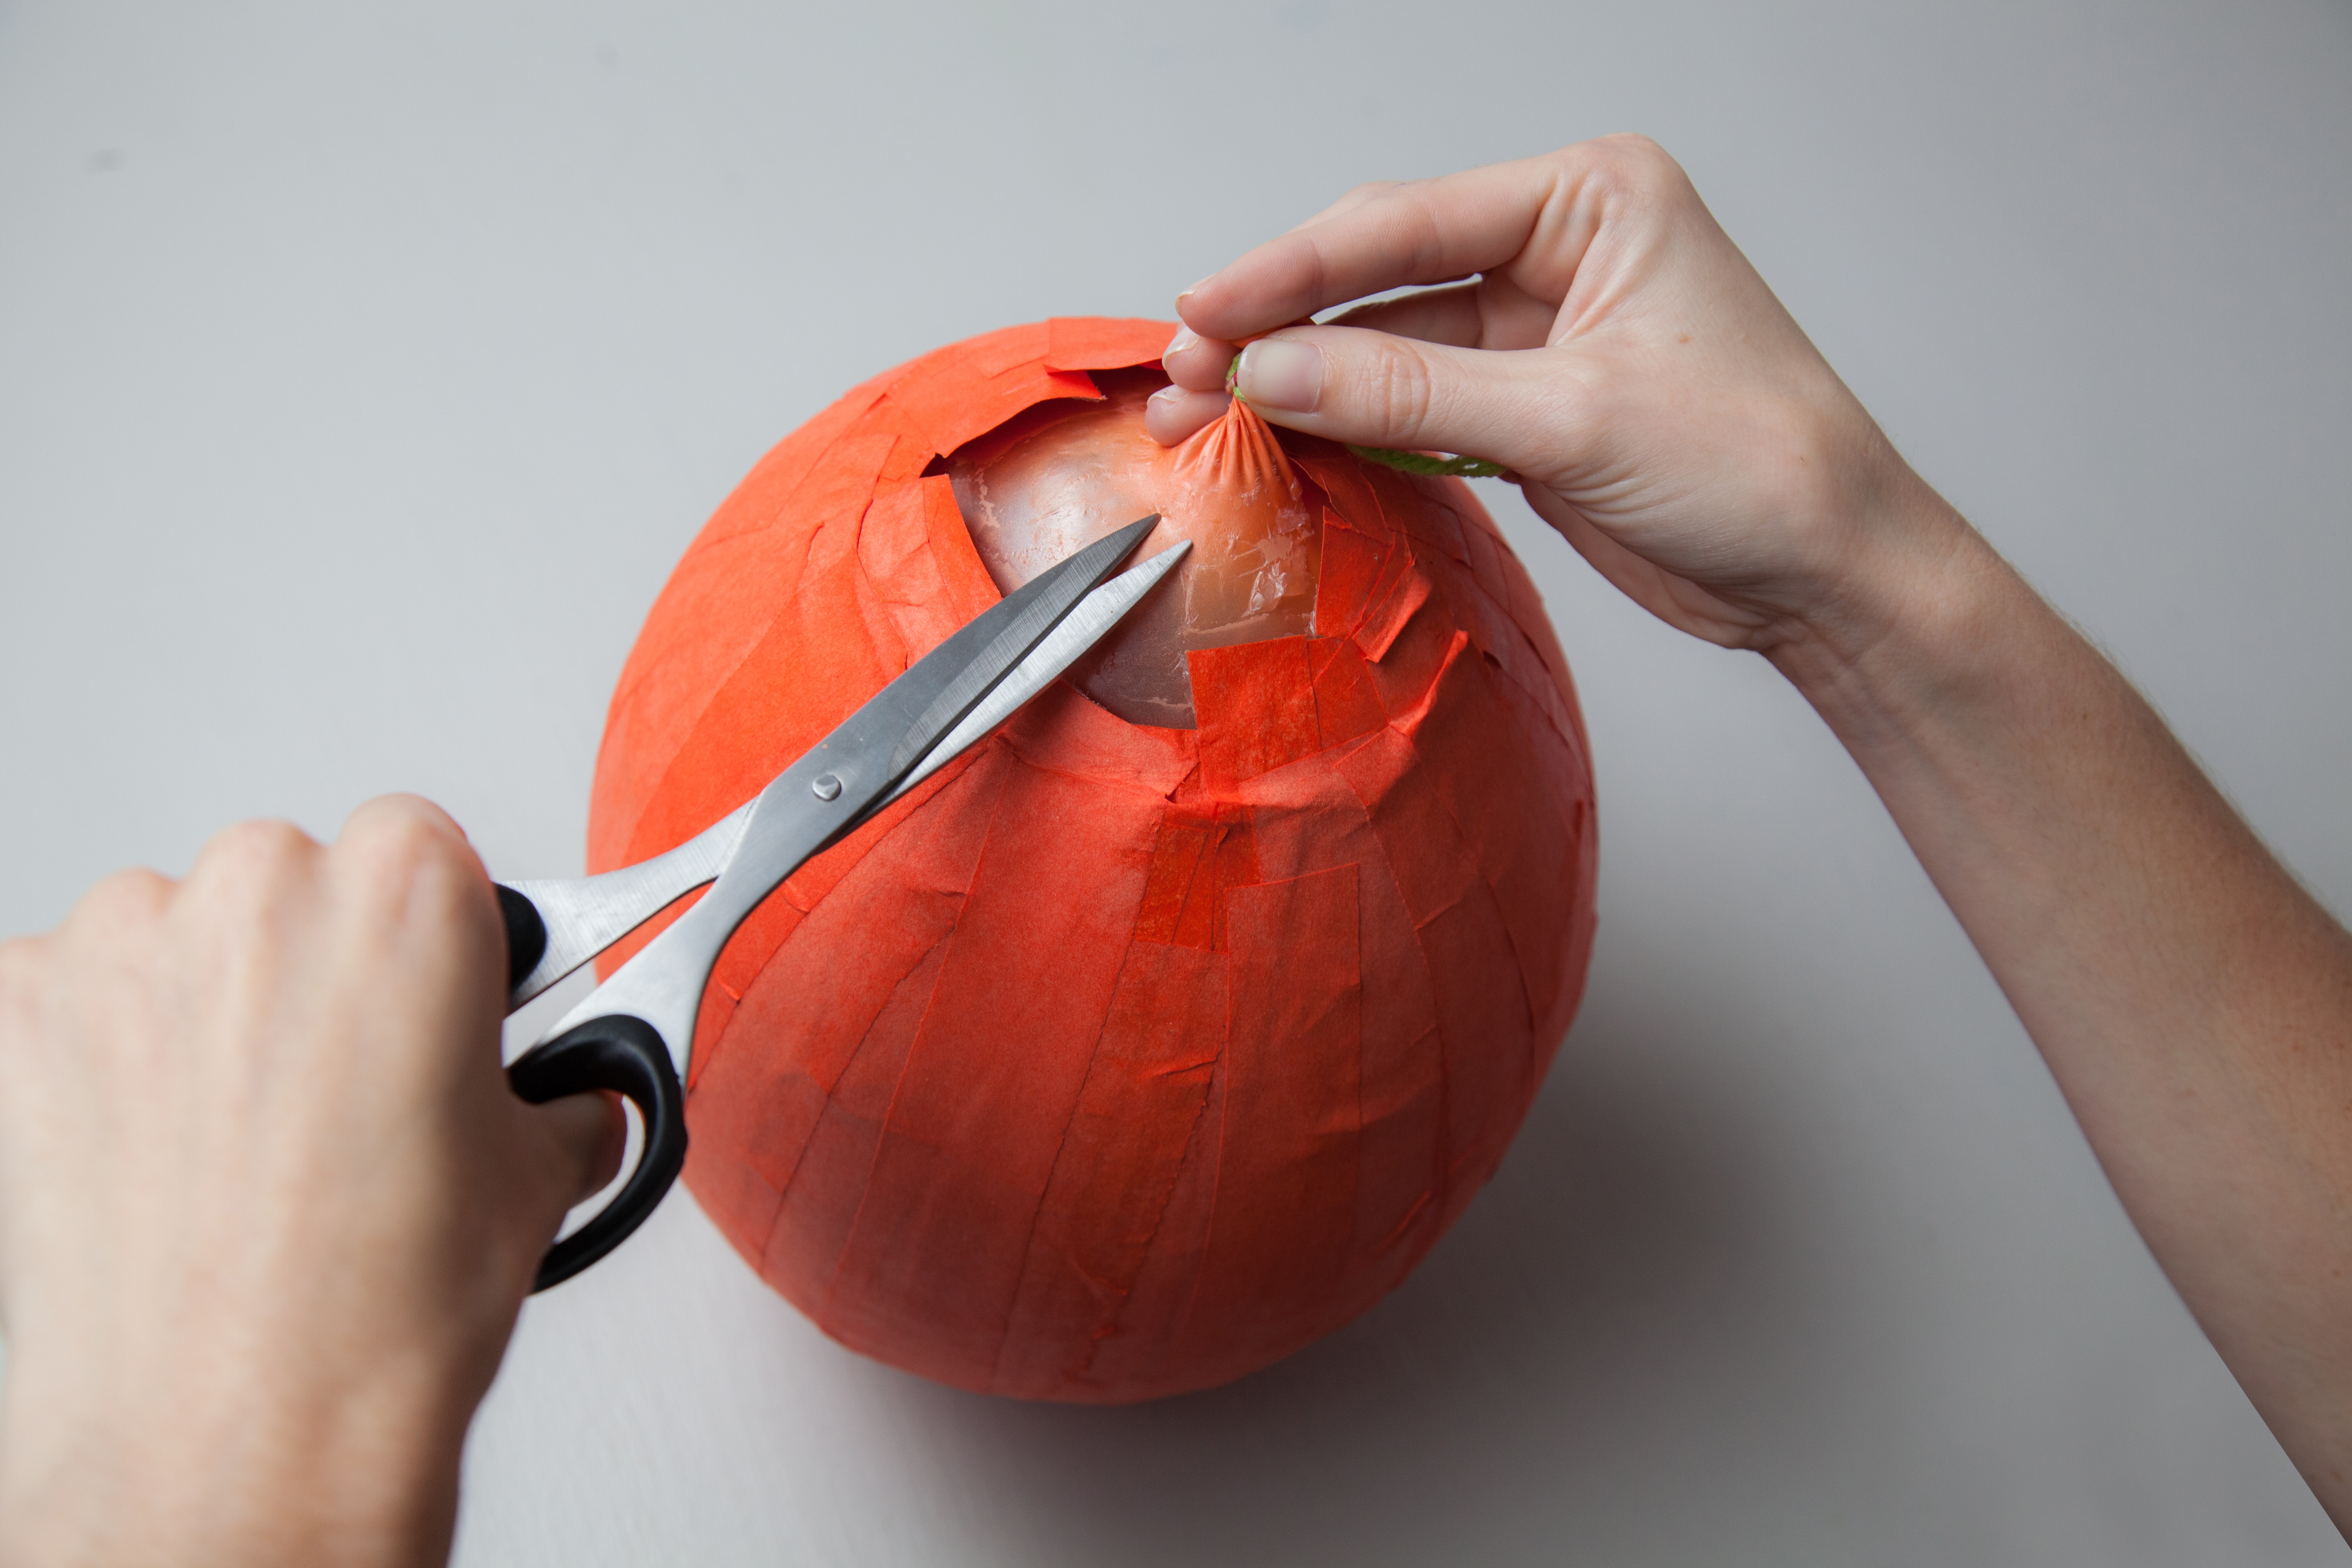
Then, we pop the balloon by gently poking a small hole through the paper mache and into the balloon. Remove the balloon.
Step 6
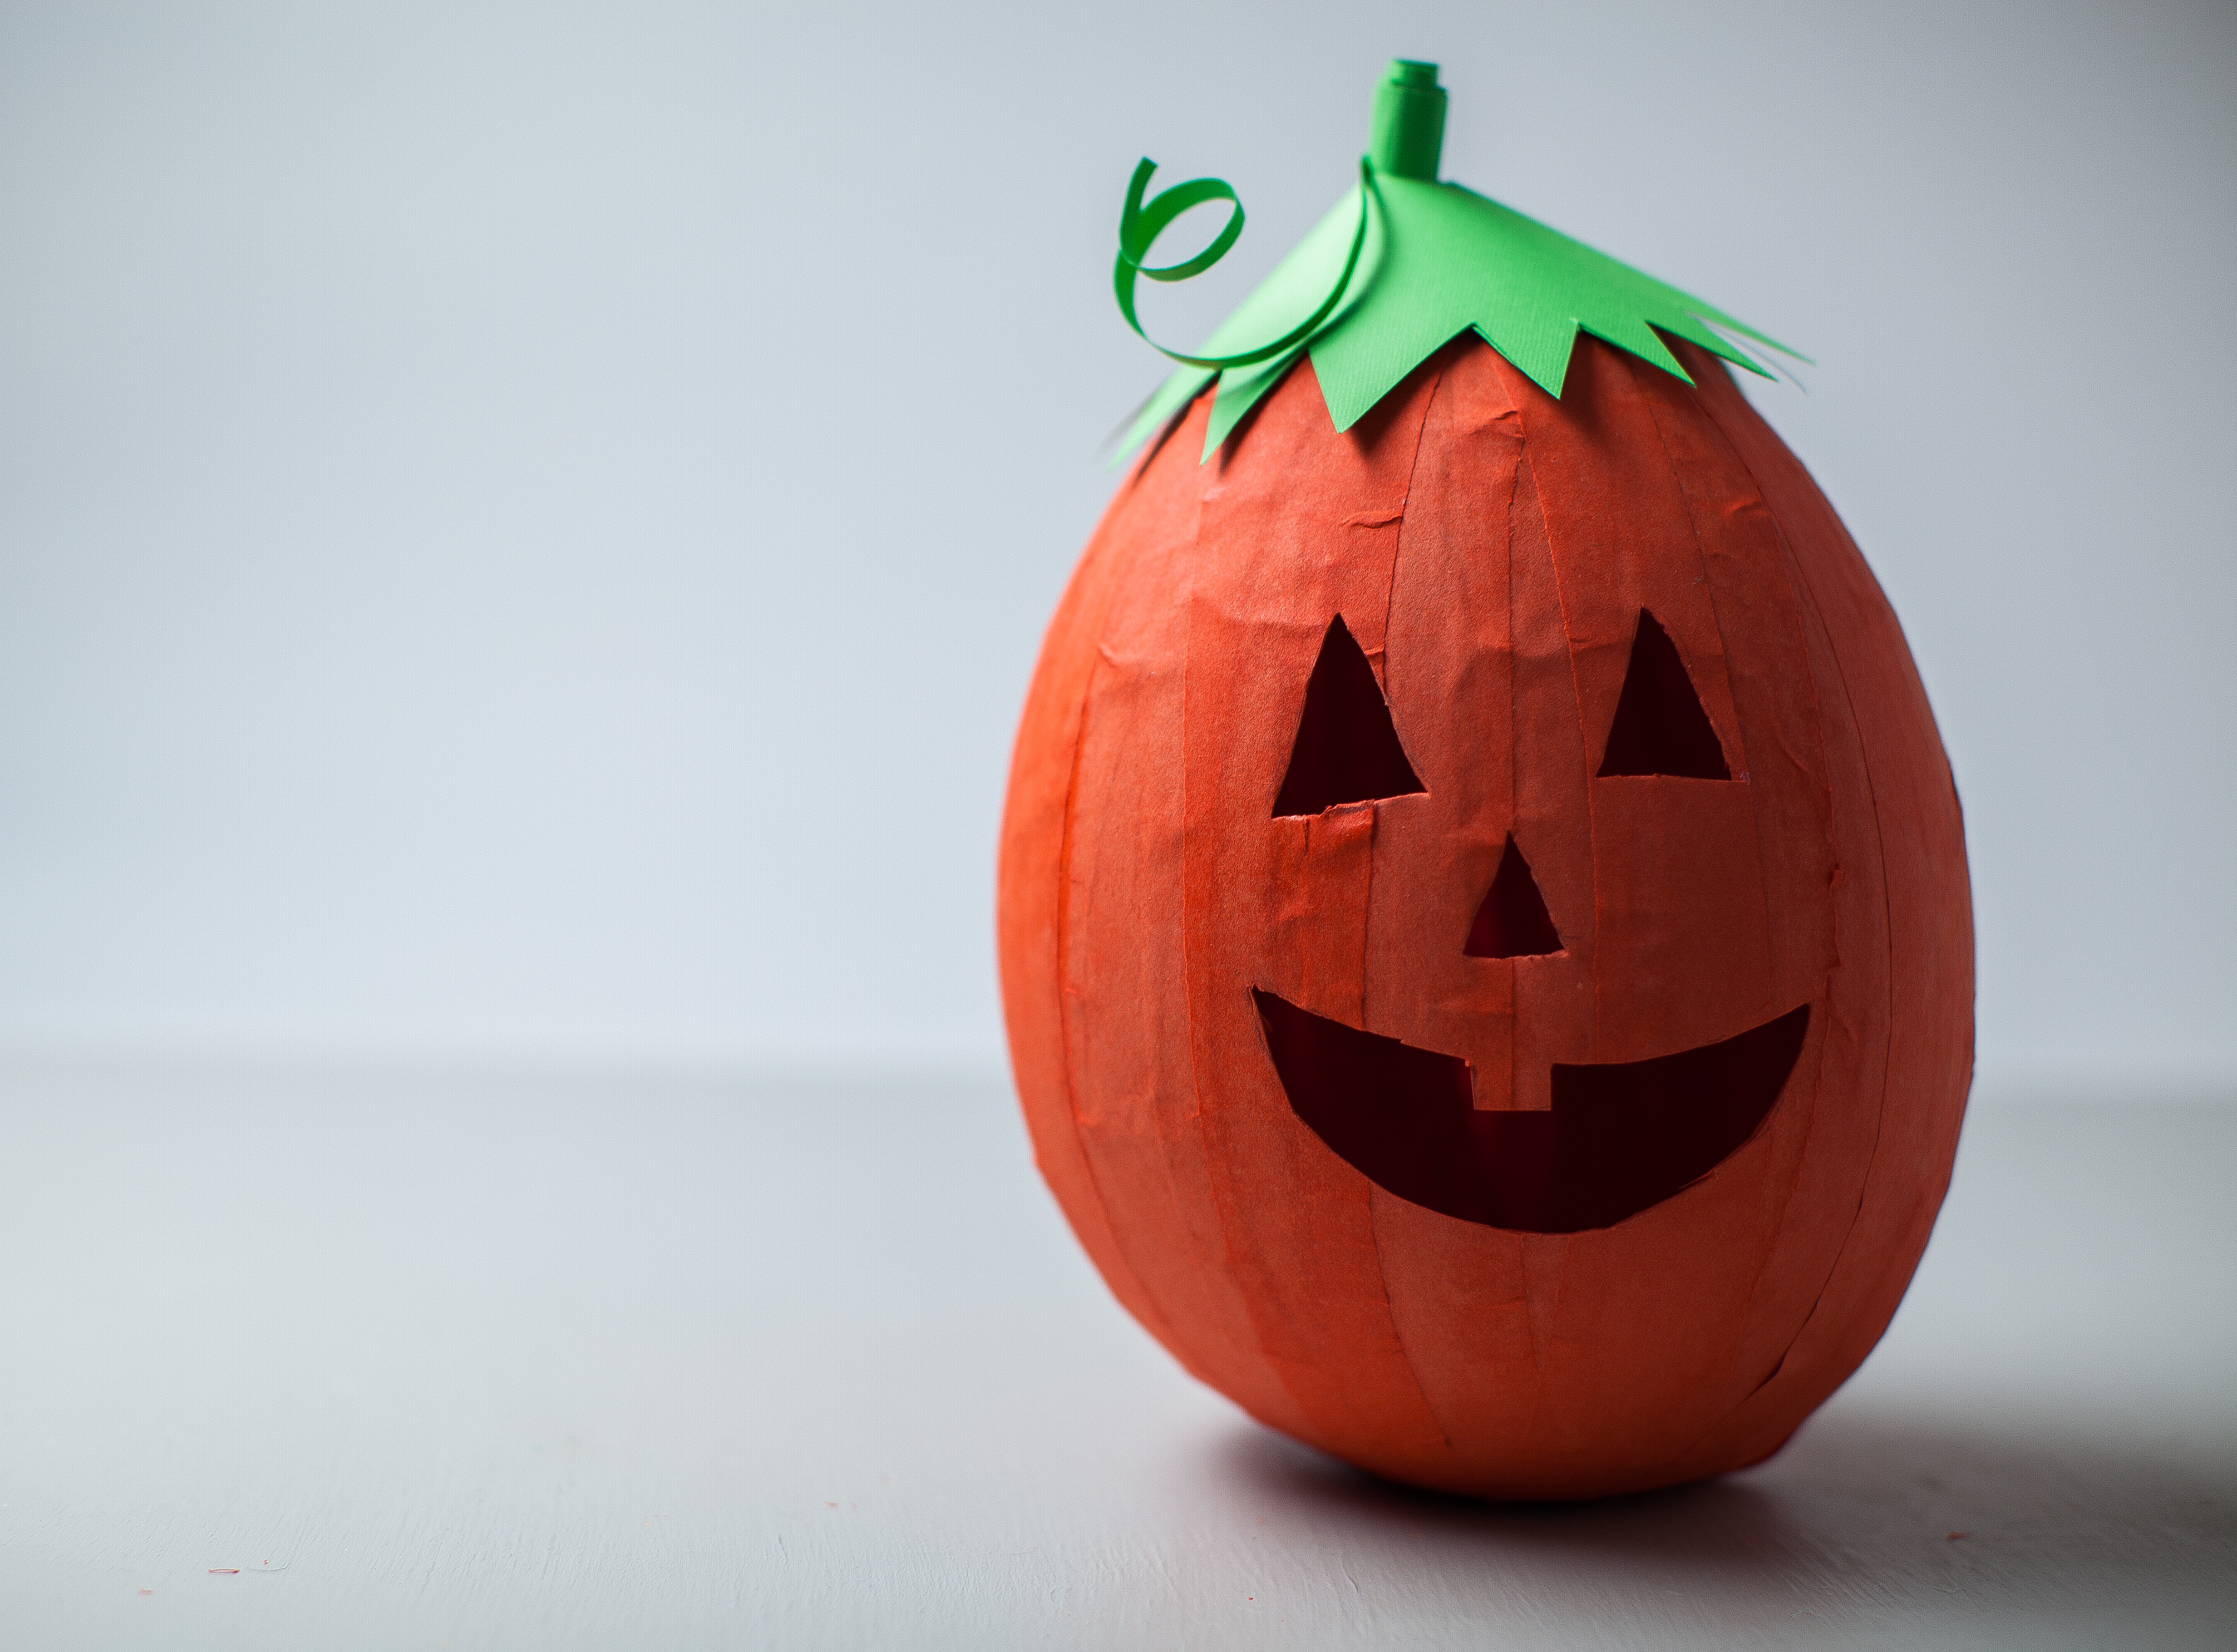
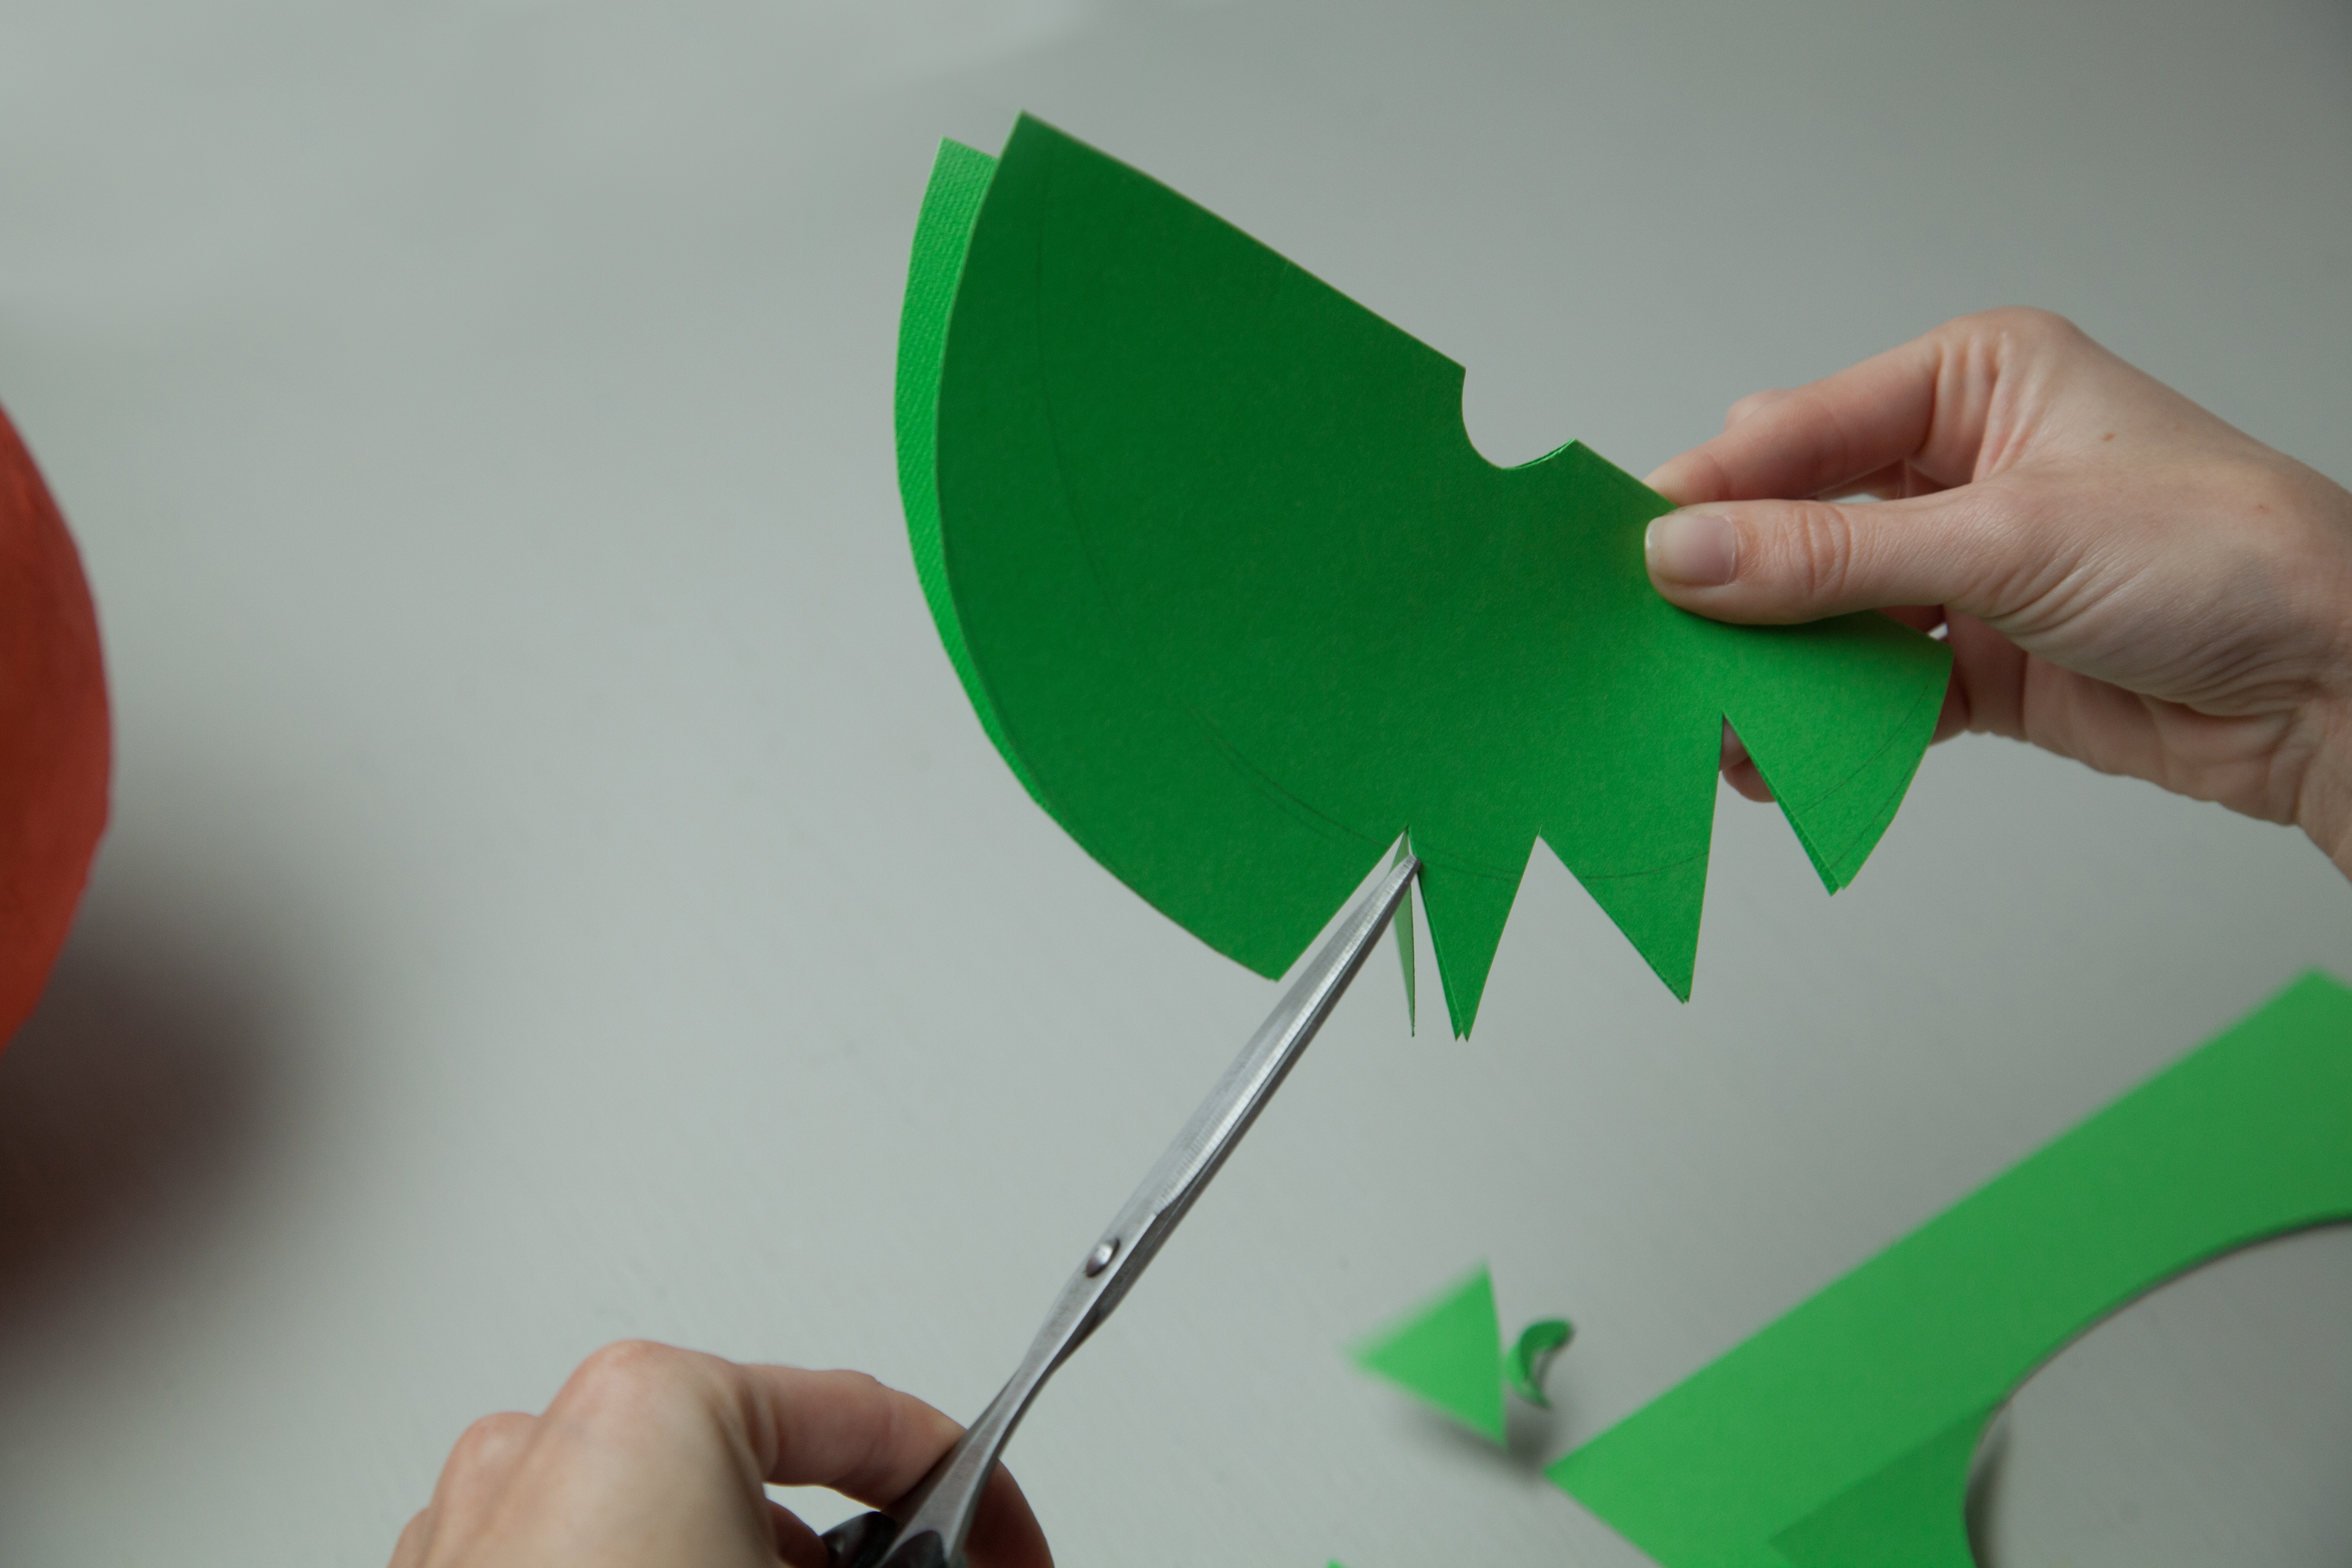
If you'd like, cut a lily pad shape out of your green paper to create stem top.
Step 7
Cut out details like pointed leaves, and roll a rectangular shape of paper into a stem.
Done!
(optional) With a grown up assistant, you can carve a pumpkin face into your pumpkin using a craft knife. Add a battery-operated tea light too for a glowing jack-o-lantern.It's the perfect bit of fall decor.