Step-by-step tutorial
Step 1
Let's make the paste first. (This is a grownup step.) Add one cup of flour and one cup of water in a pan, and blend the two well on medium-high heat. Add two more cups of water. When it starts to boil, shut off the heat and remove the pan from the heat. To prepare for easy clean-up, cover your workspace with newspaper.


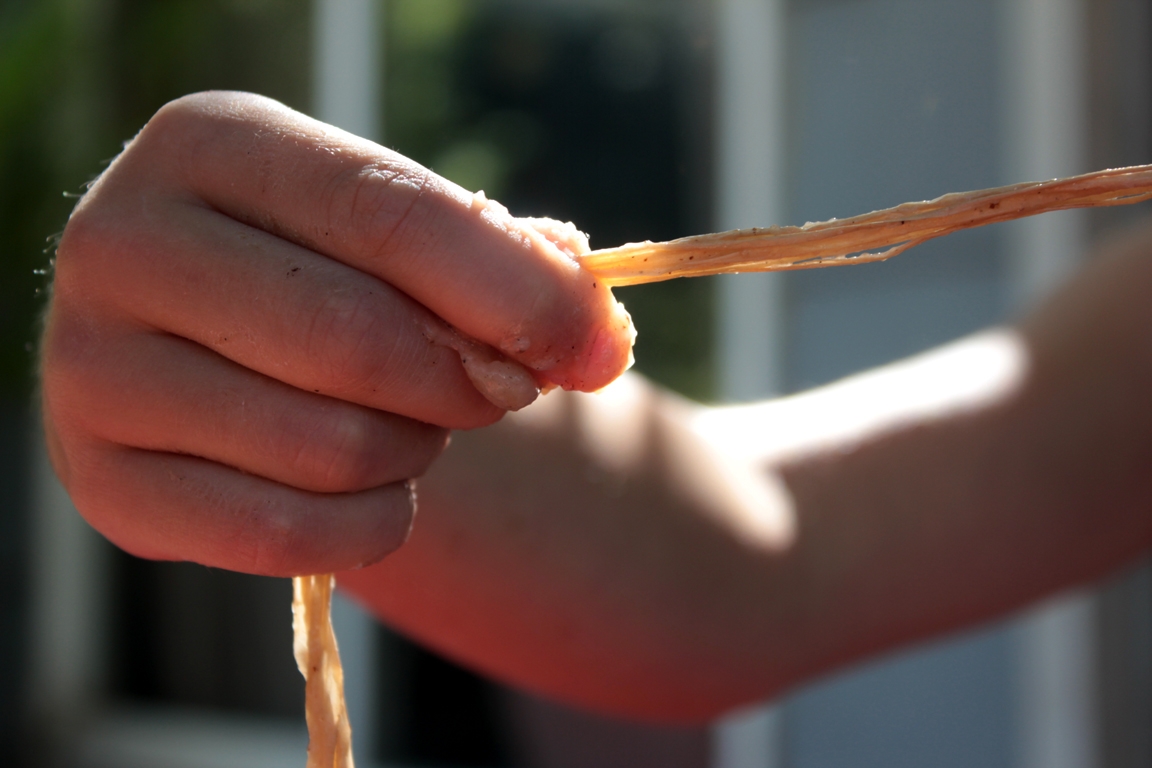
Step 2
Blow up a balloon to the desired size of your pumpkin. Younger children may want a small balloon, as it can be covered more quickly and easily. Find a bowl that will support the bottom of your balloon--having a steady holder makes work easier. Dip your medium in the paste, and squeeze off the excess with your fingers.
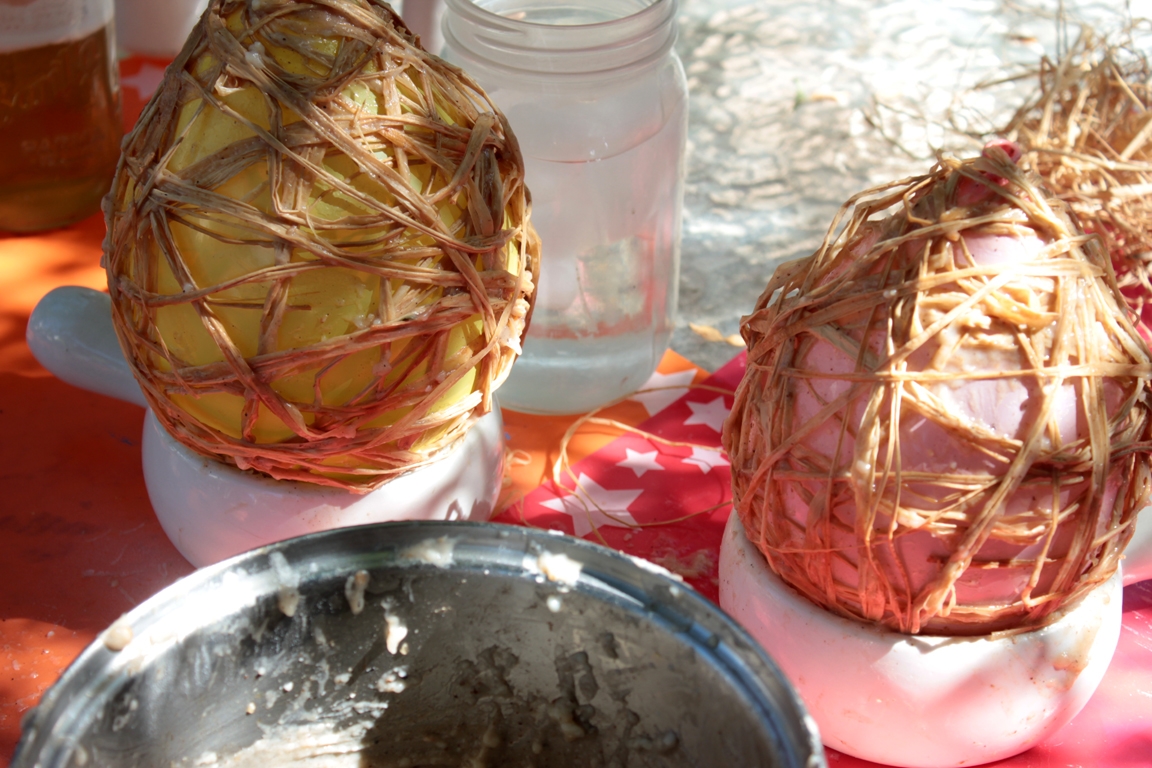
Step 3
Begin wrapping your pumpkin! There is no wrong way to do it: just wind it all over. Quick tip: Holding the balloon by the knot makes it pretty easy work.

Step 4
Let the balloon sit until the twine is firm. (You'll want them to sit properly... if it sits crooked, then just wet the bottom of the pumpkin with a bit of water, and smash it down a bit to flatten the bottom.) We left ours outside on the patio, and in the morning the balloons had deflated themselves! Should that not happen for you, then just pop or cut and remove the balloons.
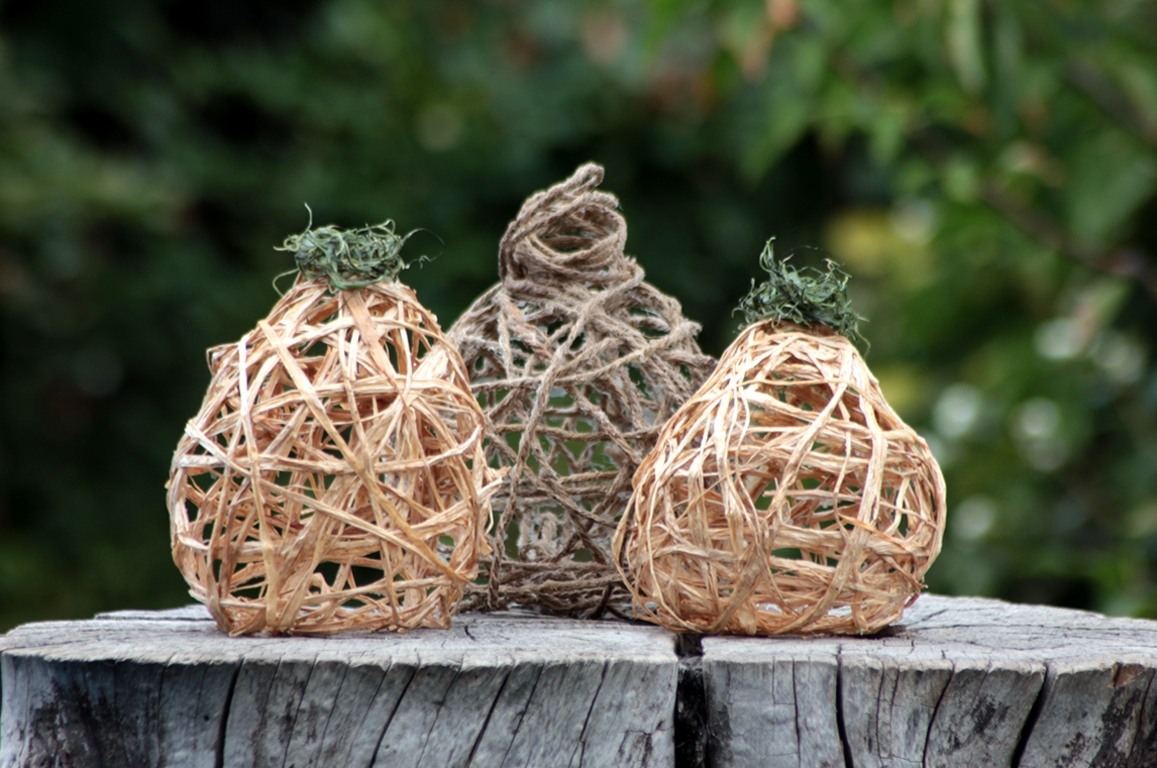
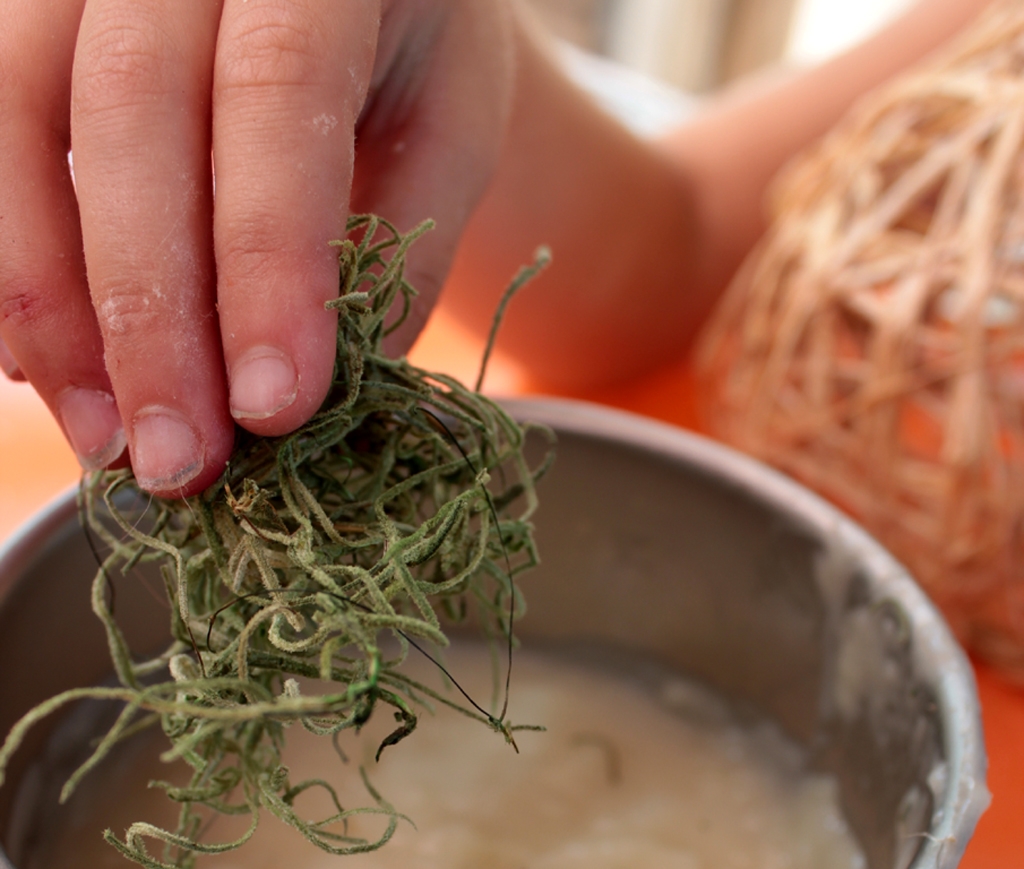
Step 5
For the stem, we dipped a bit of dried Spanish moss into our paste, wiped off the excess paste, wrapped the moss around three little fingers, and just stuck the moss on top of our dried pumpkins. You could certainly just opt to tie some raffia into a knot and place it on top for the stem. Let it sit....
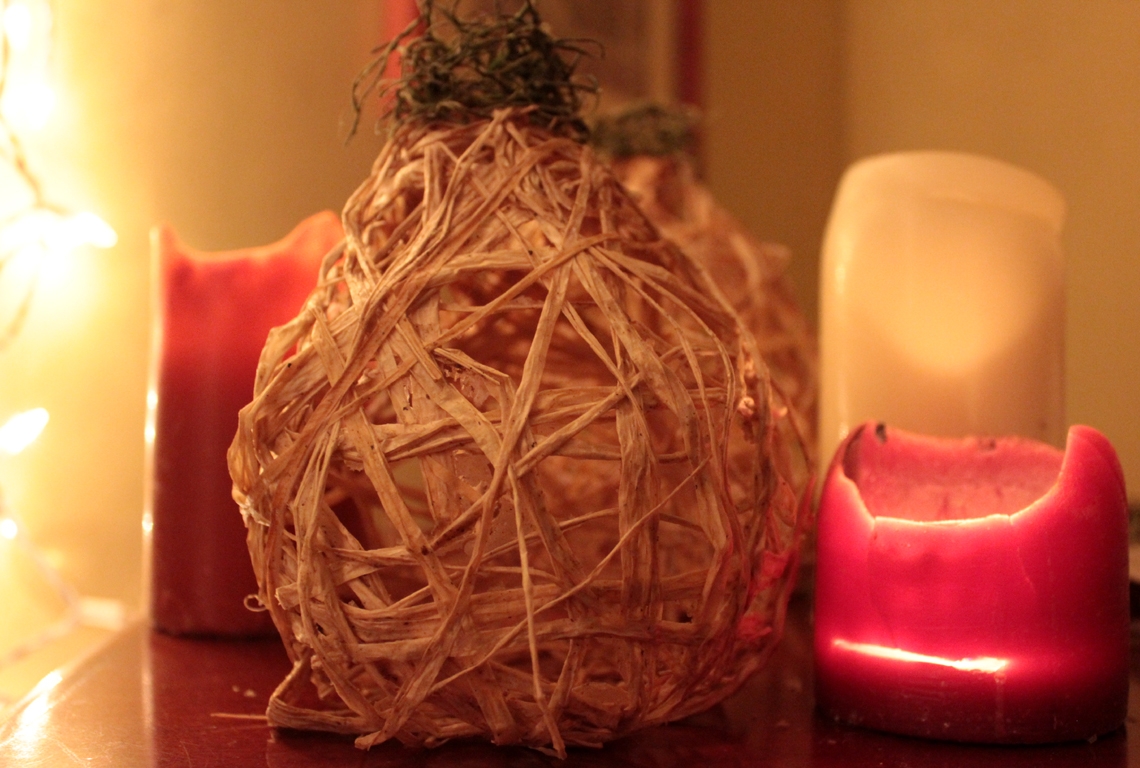
Done!
...and there you have it! A lovely addition to your living room or Thanksgiving table. Happy Autumn!