Step-by-step tutorial
Learn more

There are a lot of different kinds of launchers: cannons, slingshots, catapults. And while they may look different, they all get their power the same way! And rubber bands are a great way to demonstrate this. Ask your child to stretch out one of the rubber bands by holding one side with their left hand and pushing out the other side with their right pointer finger. Make sure no one is around, and then tell your child to release their left hand so that the rubber band flings forward. Now, you can explain that two different types of energy are used to make a rubber band fly. When the rubber band is stretched out, but not moving yet, potential energy is building up. When the rubber band is let go, all that potential energy makes the rubber band move — fast. That's kinetic energy!
Step 1
Gather your materials!


Step 2
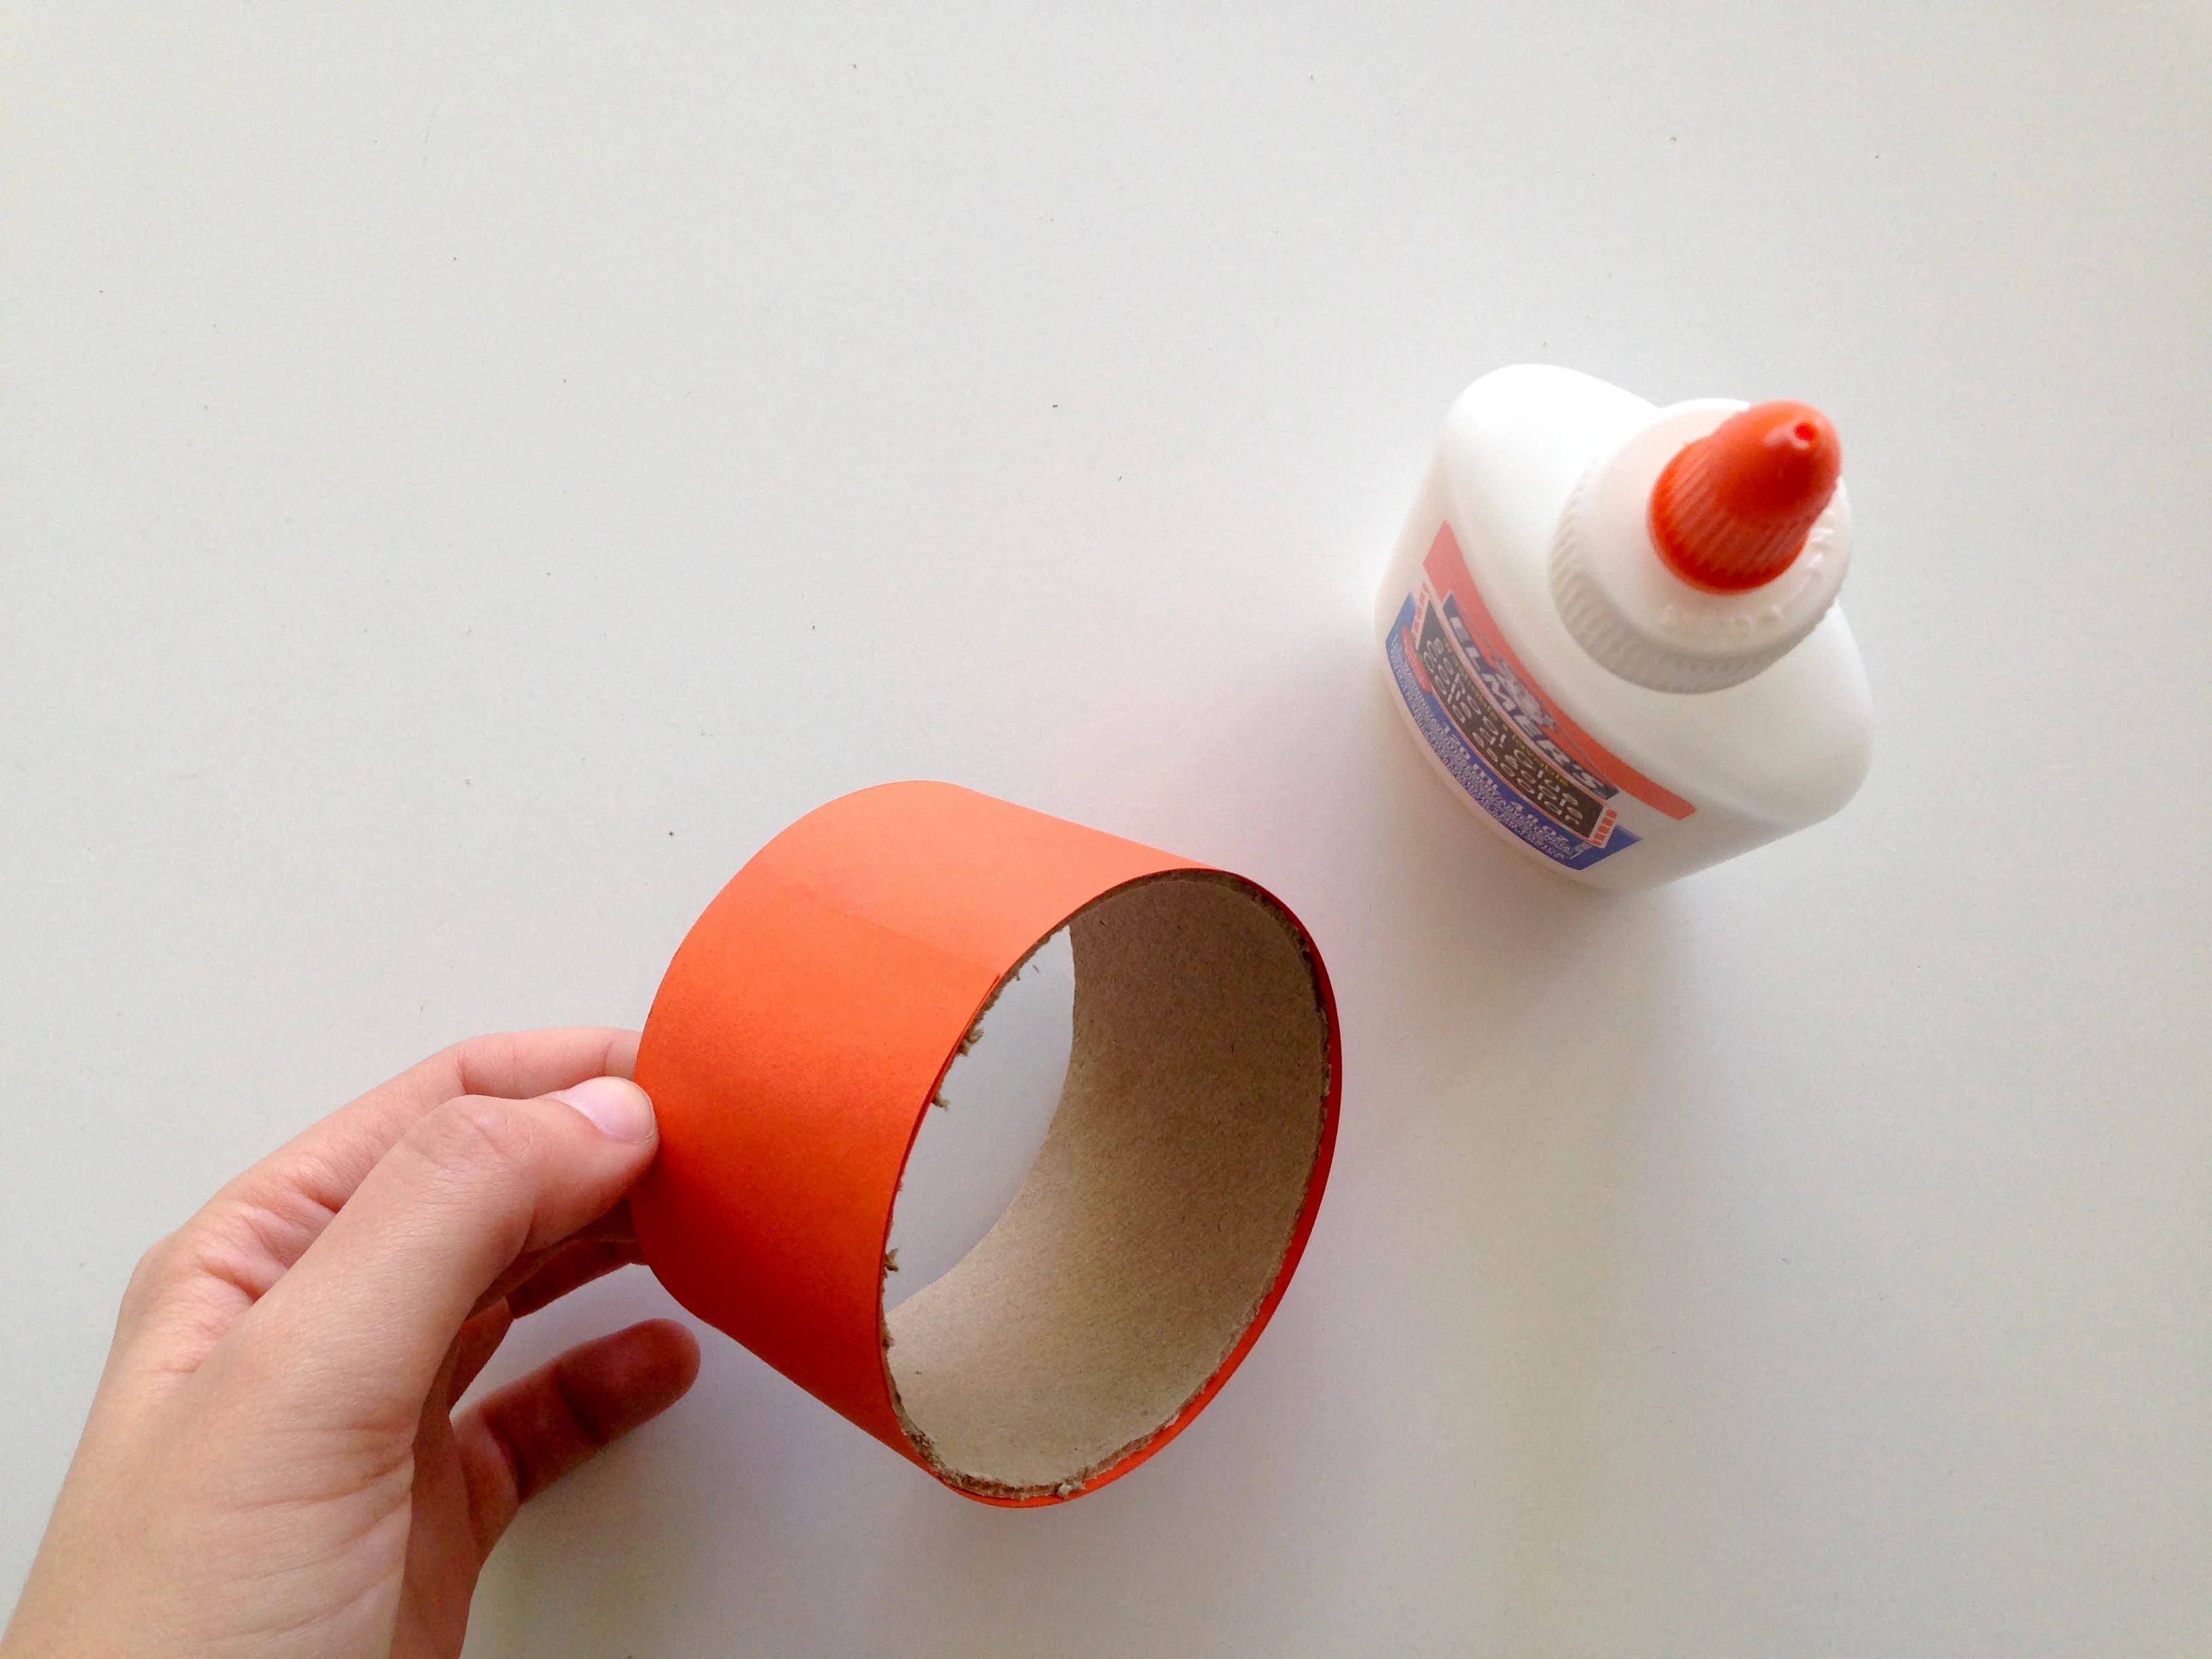
Cut the construction paper to fit the tube. Then, wrap it around the cardboard tube and glue it down.
Step 3
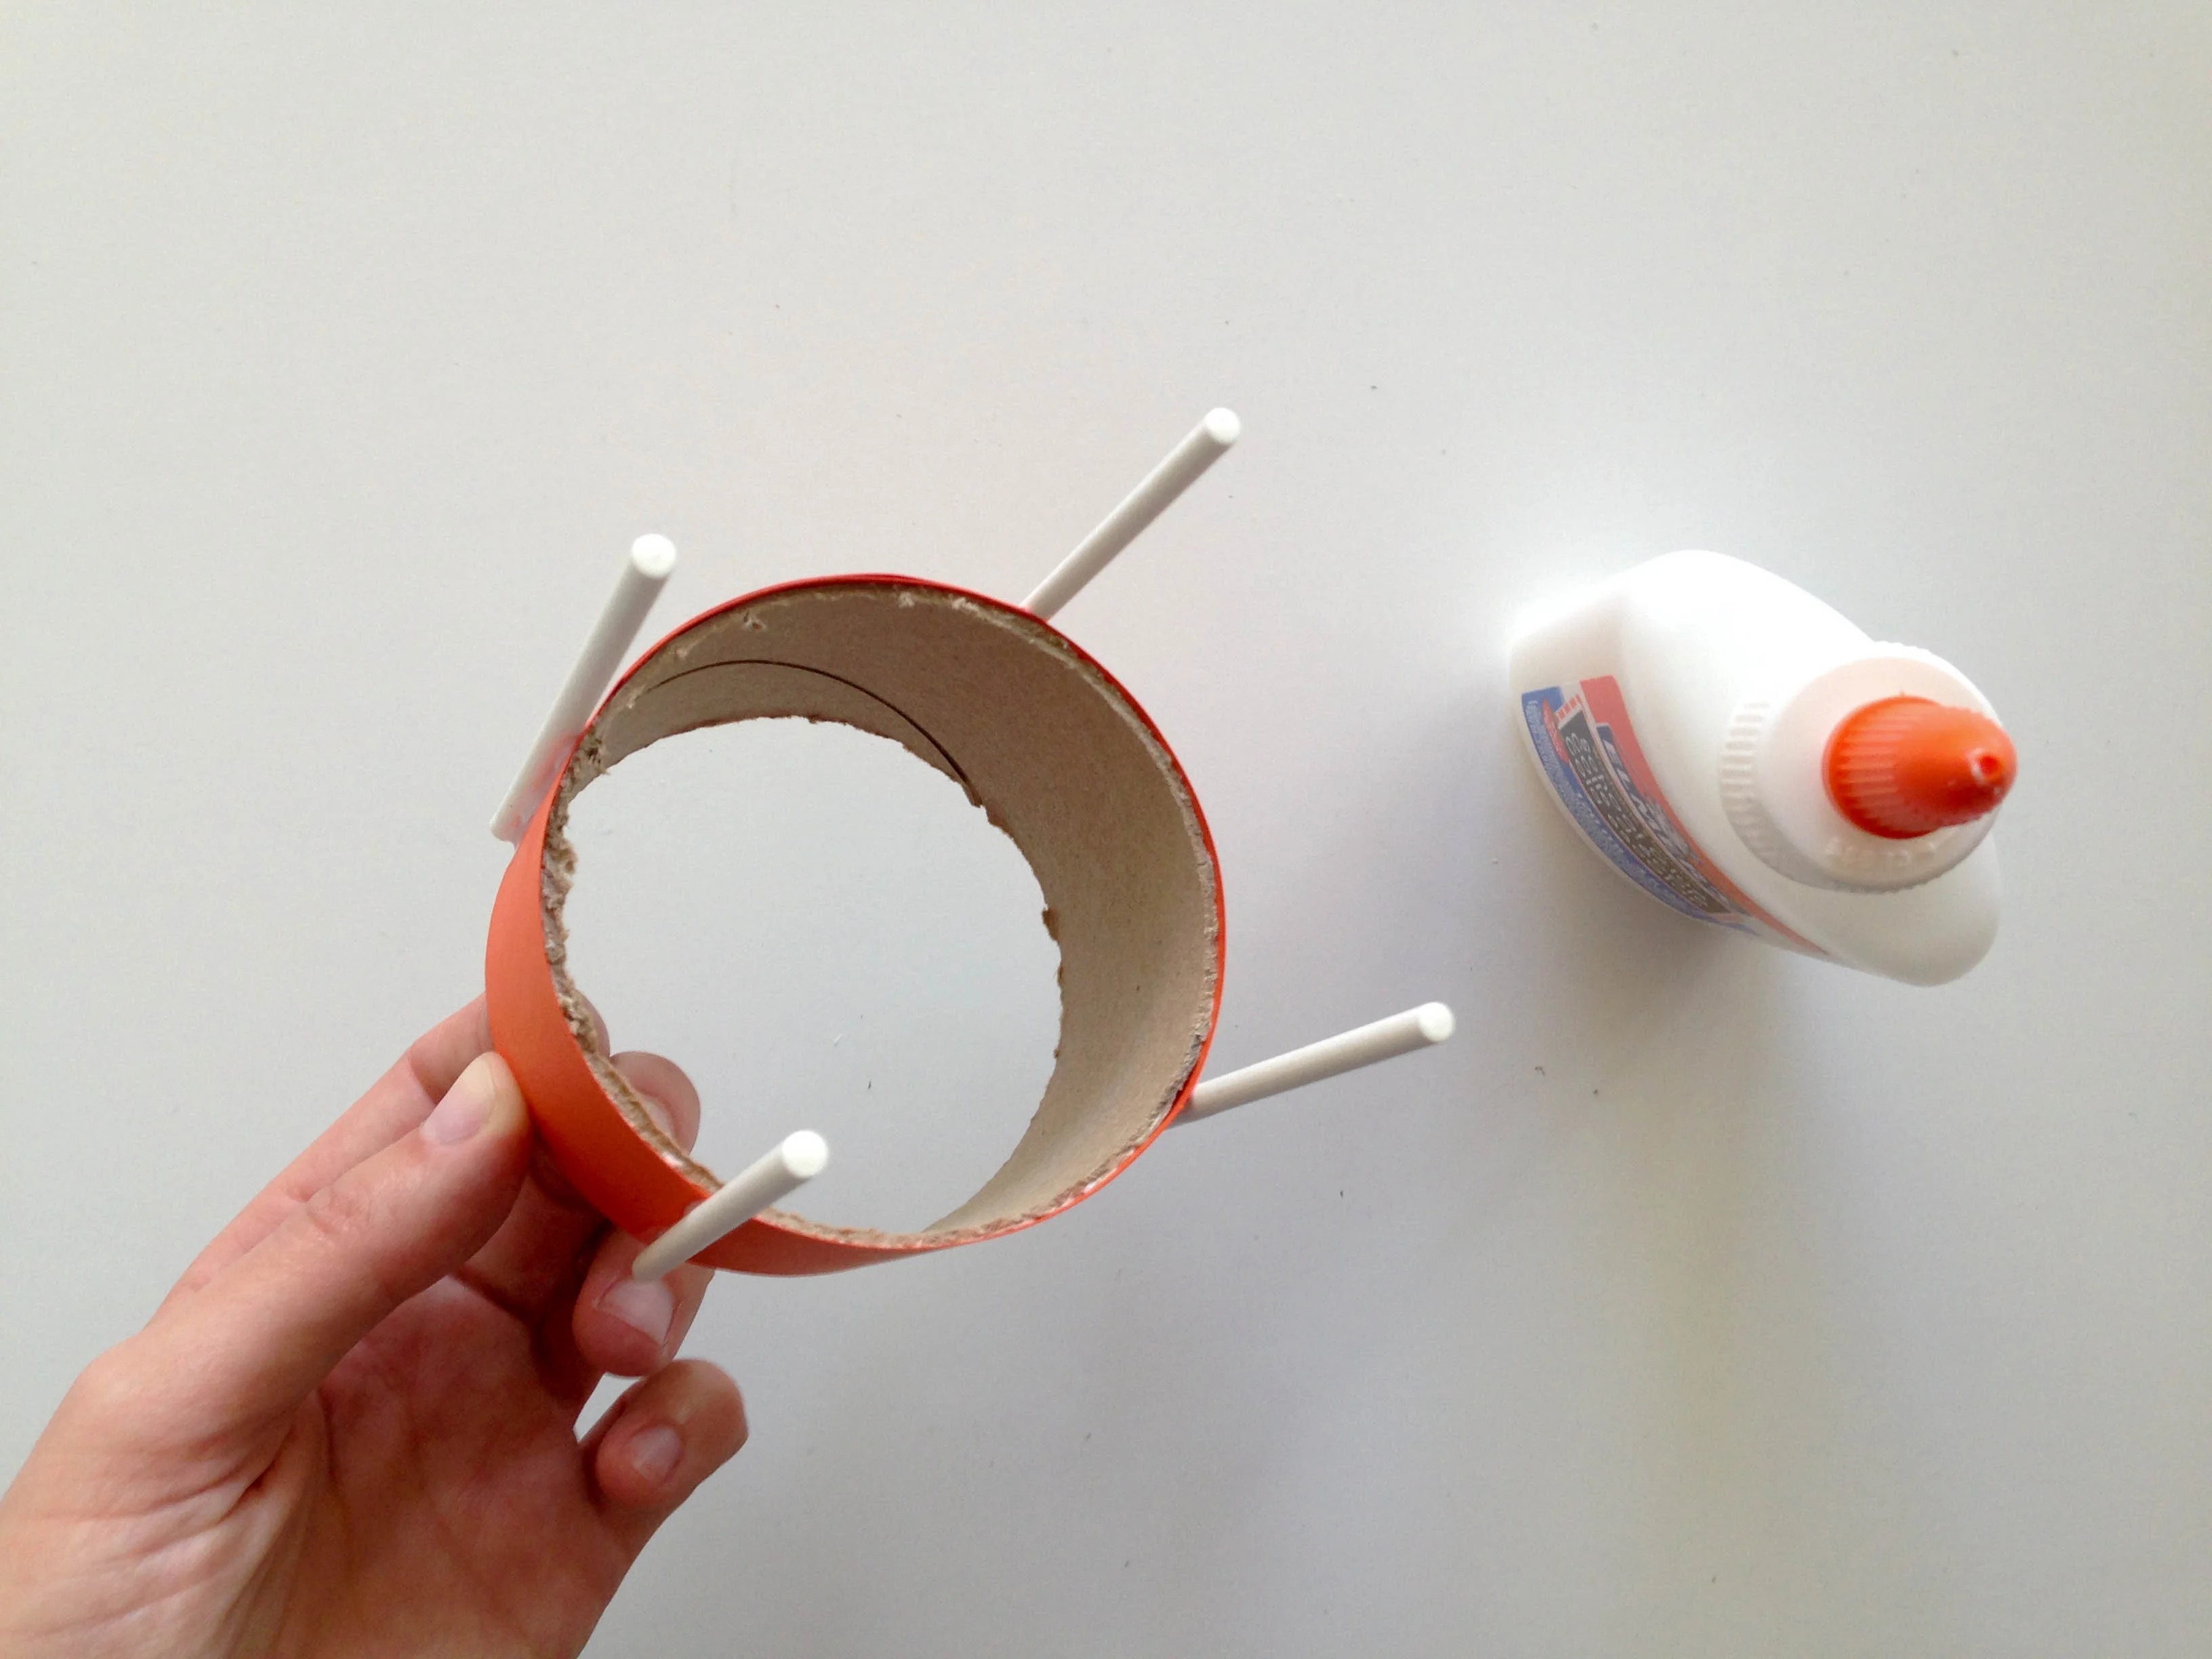
Glue the lollipop sticks around the outside of the tube, creating a square. Let the glue dry completely for approximately 1 to 2 hours before beginning the next step.
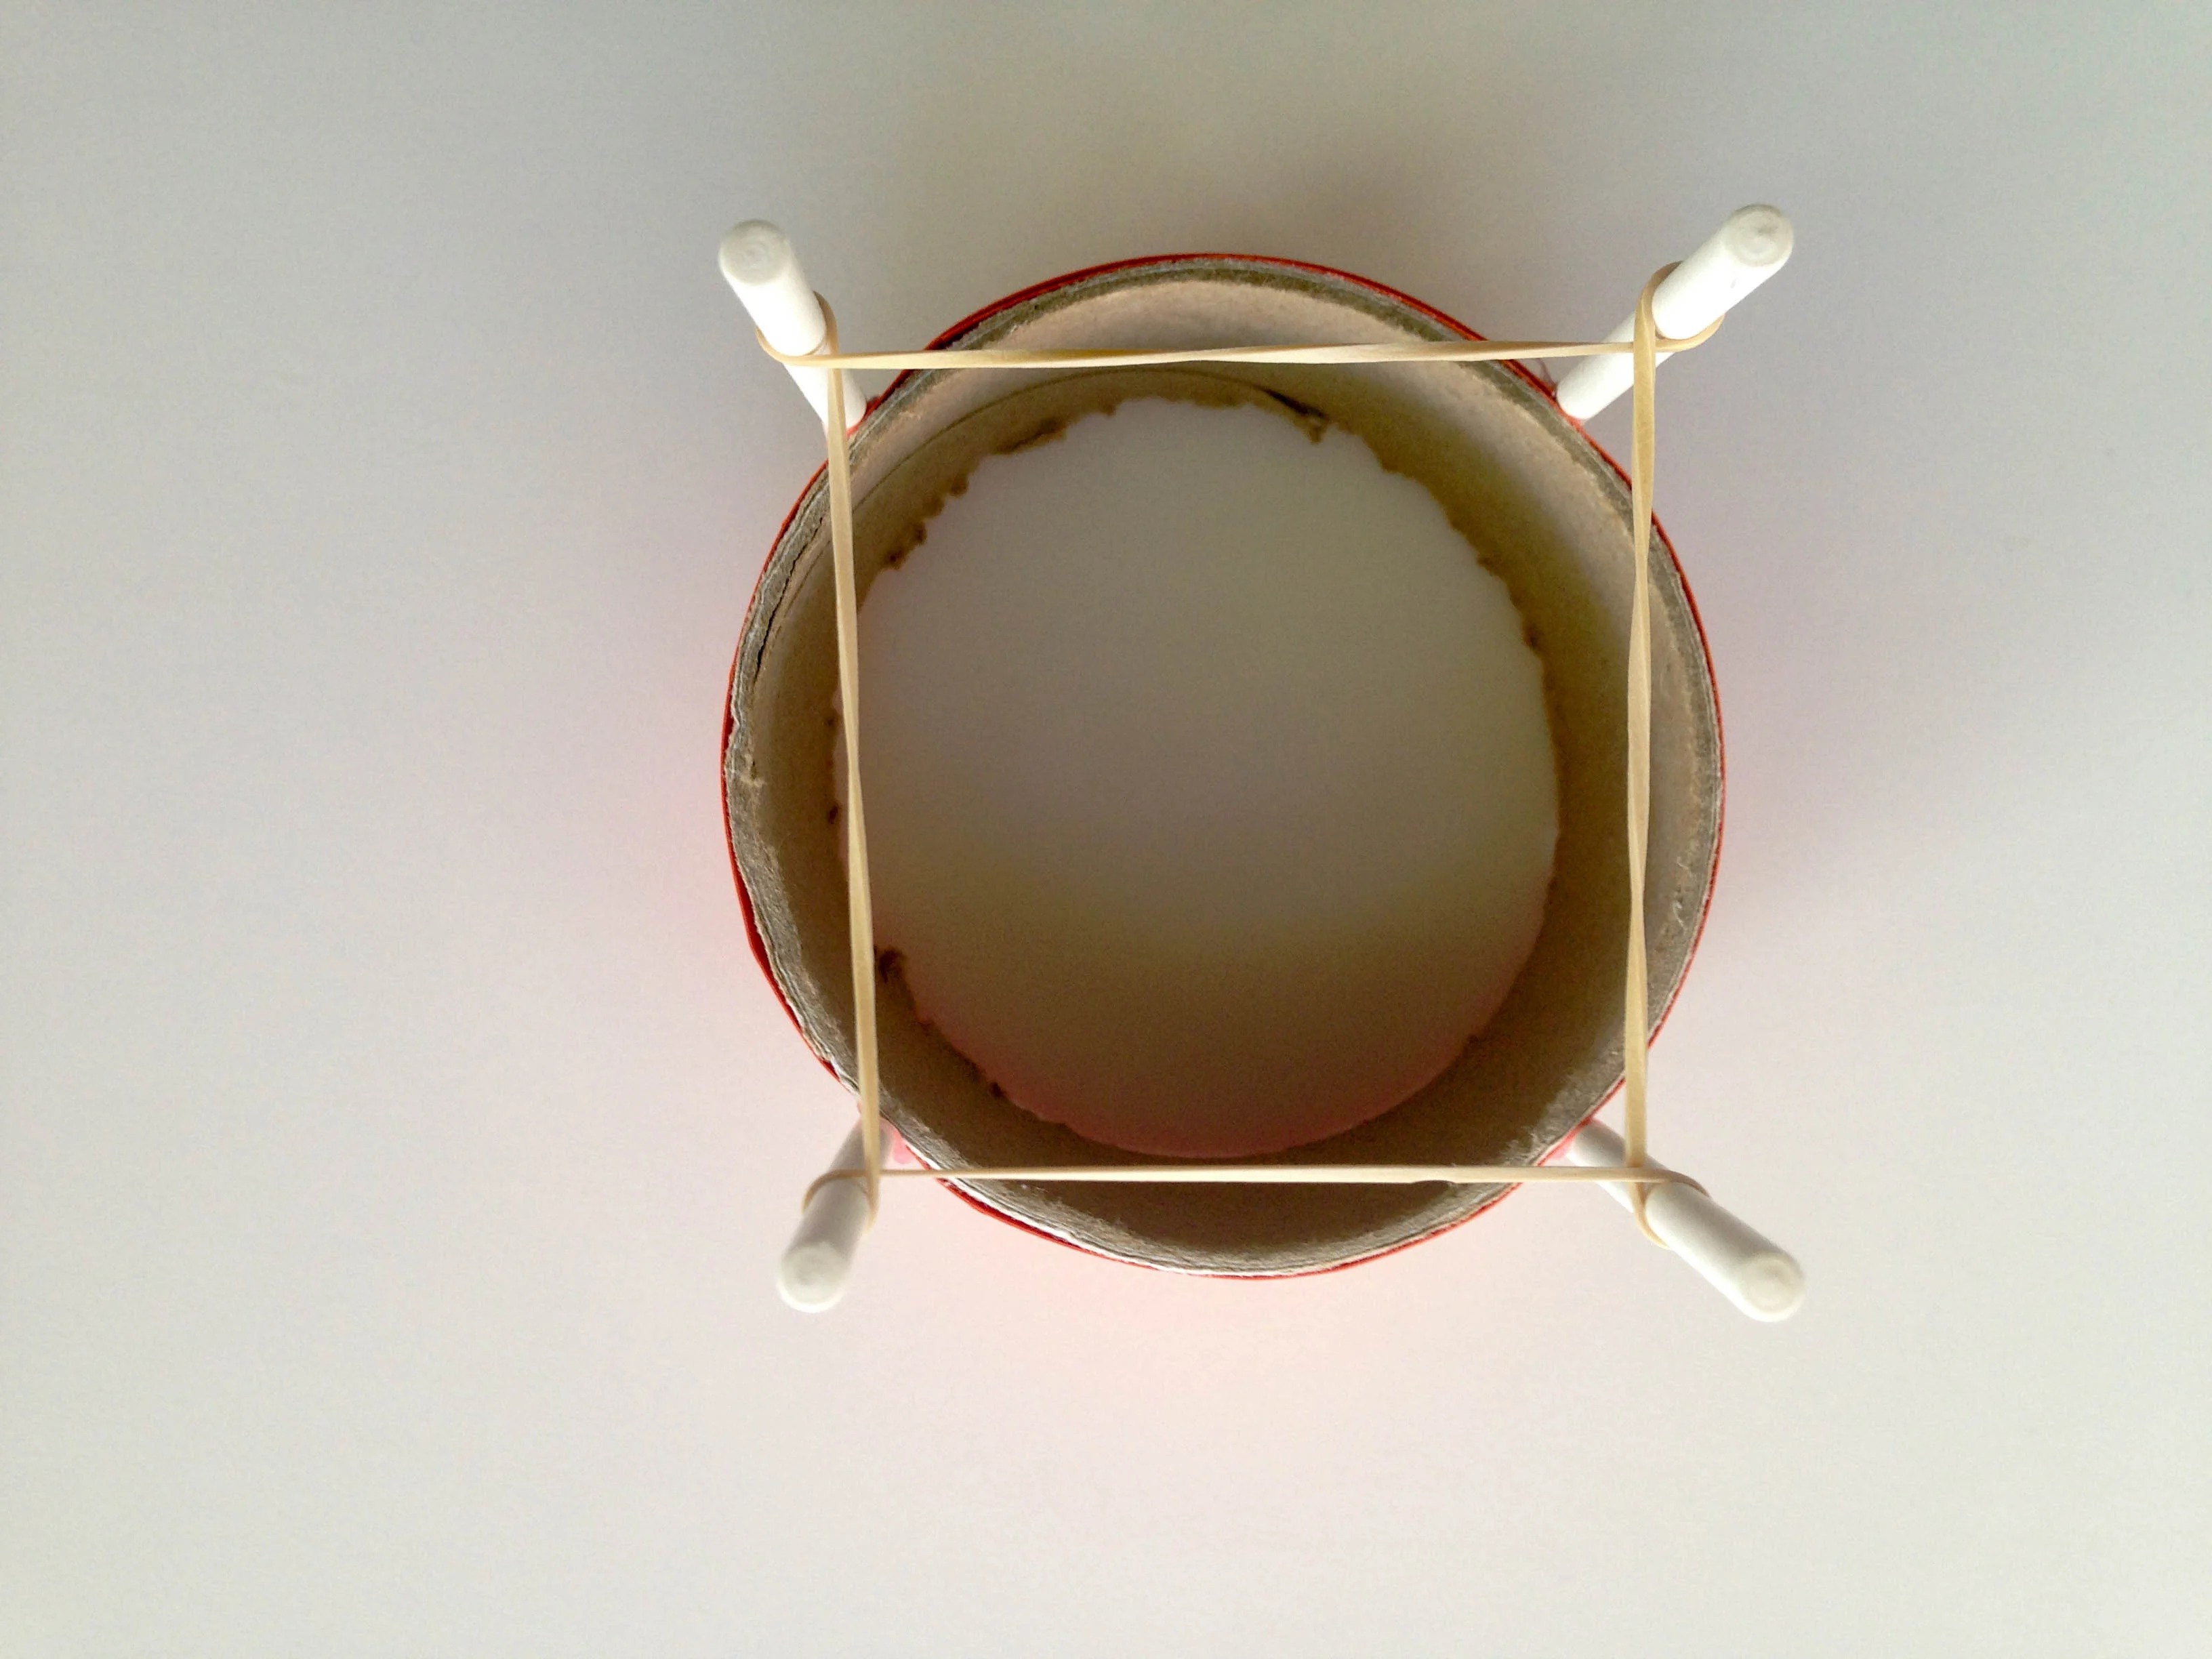
Step 4
Stretch one rubber band around all four posts. Then, twist each corner of the rubberband and re-stretch it around each post.
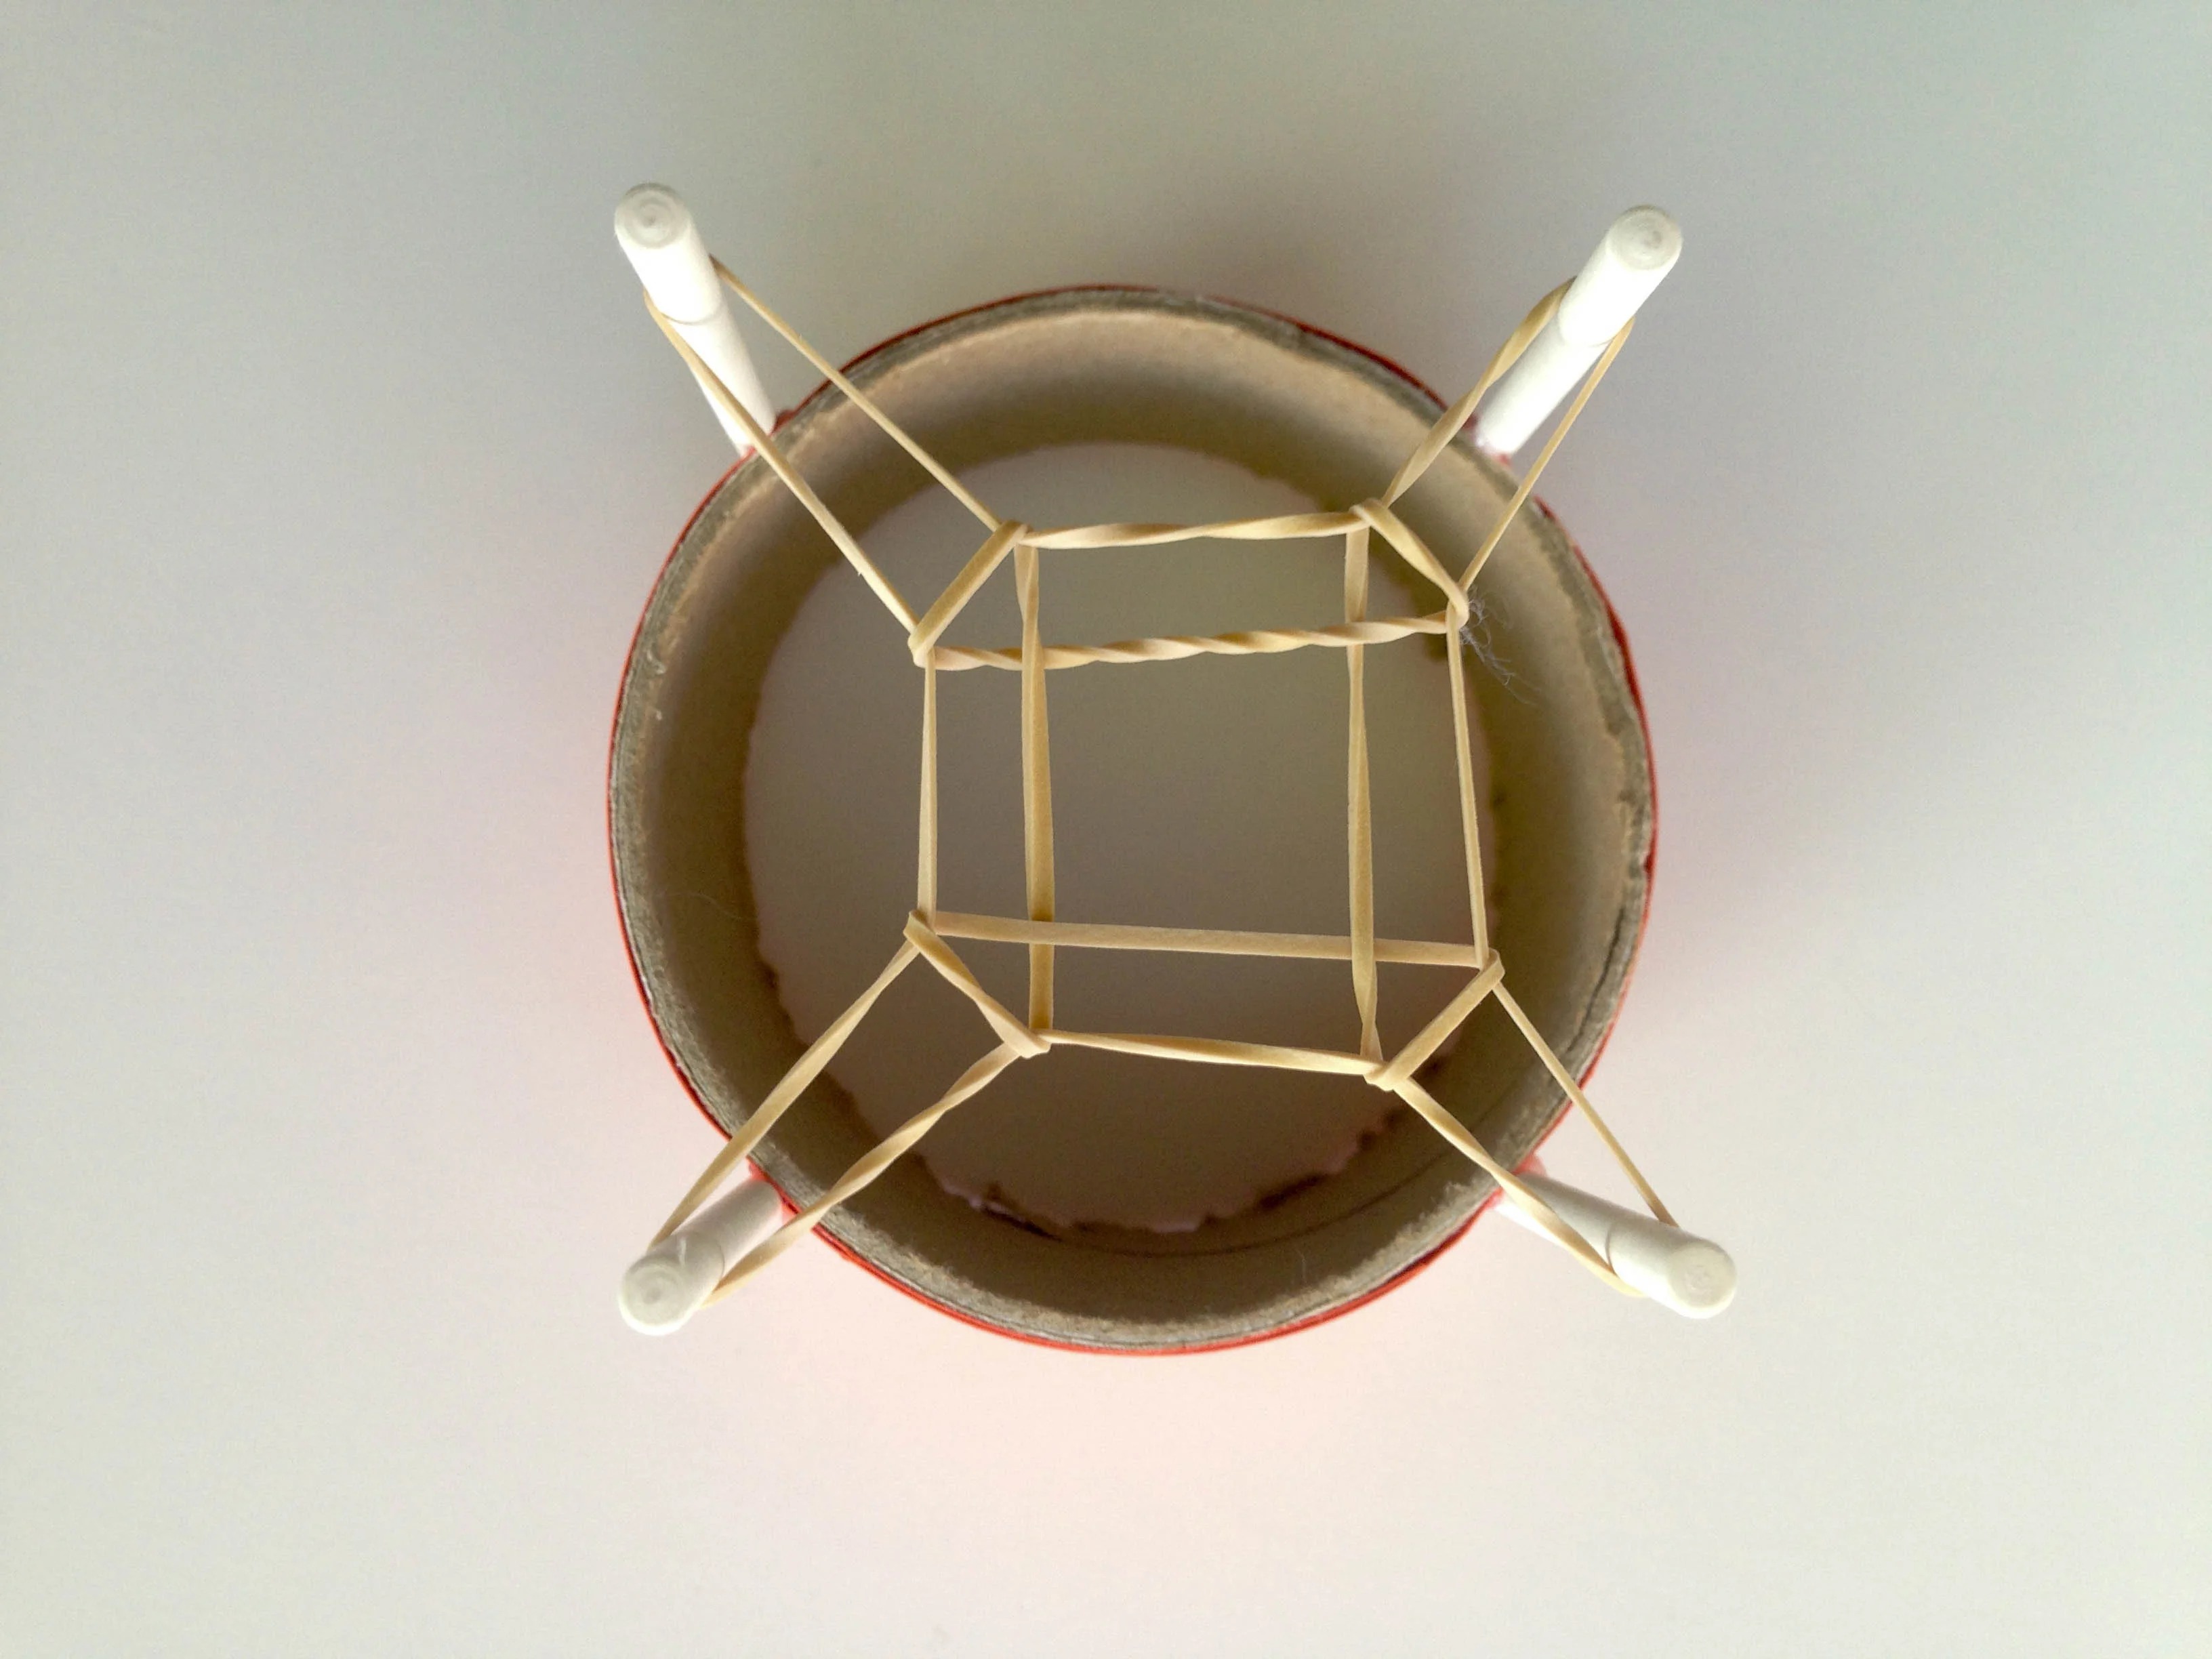
Step 5
Push down the first rubber band. Then, stretch a second rubber band around all four posts.

Step 6
Stretch the first rubber band up and over the second on each post.
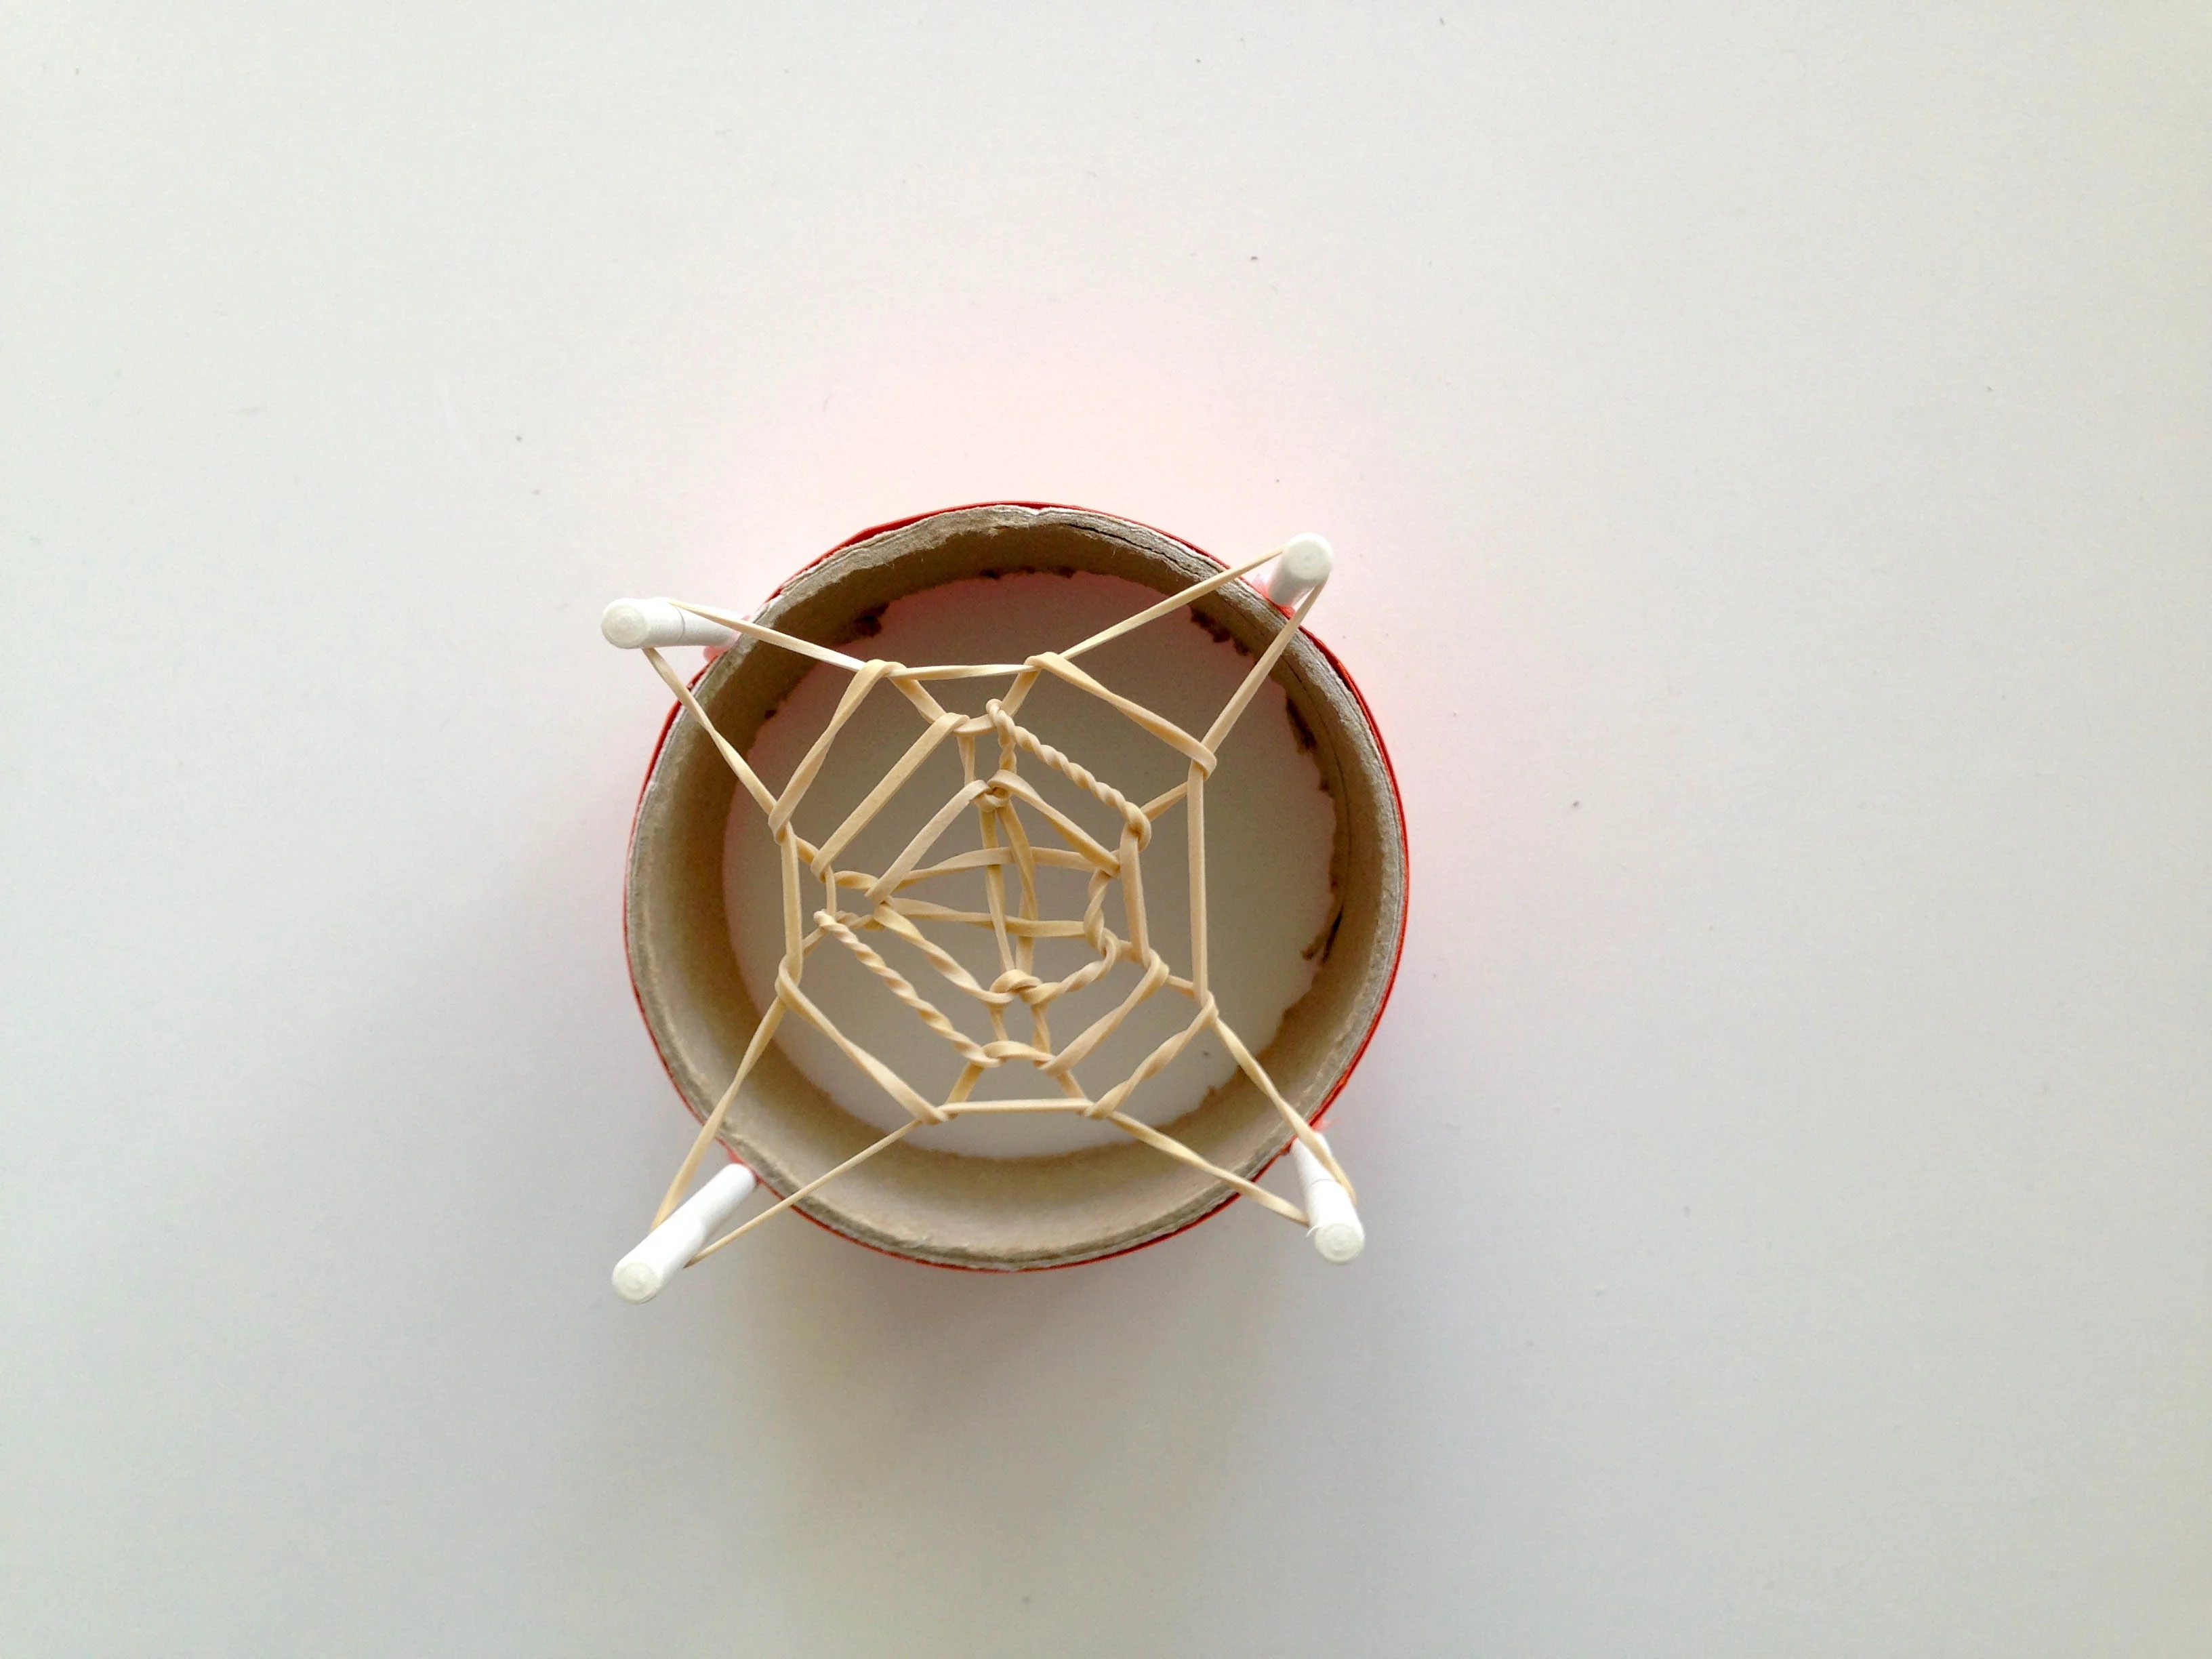
Step 7
Repeat steps 5 and 6 two more times.
Step 8
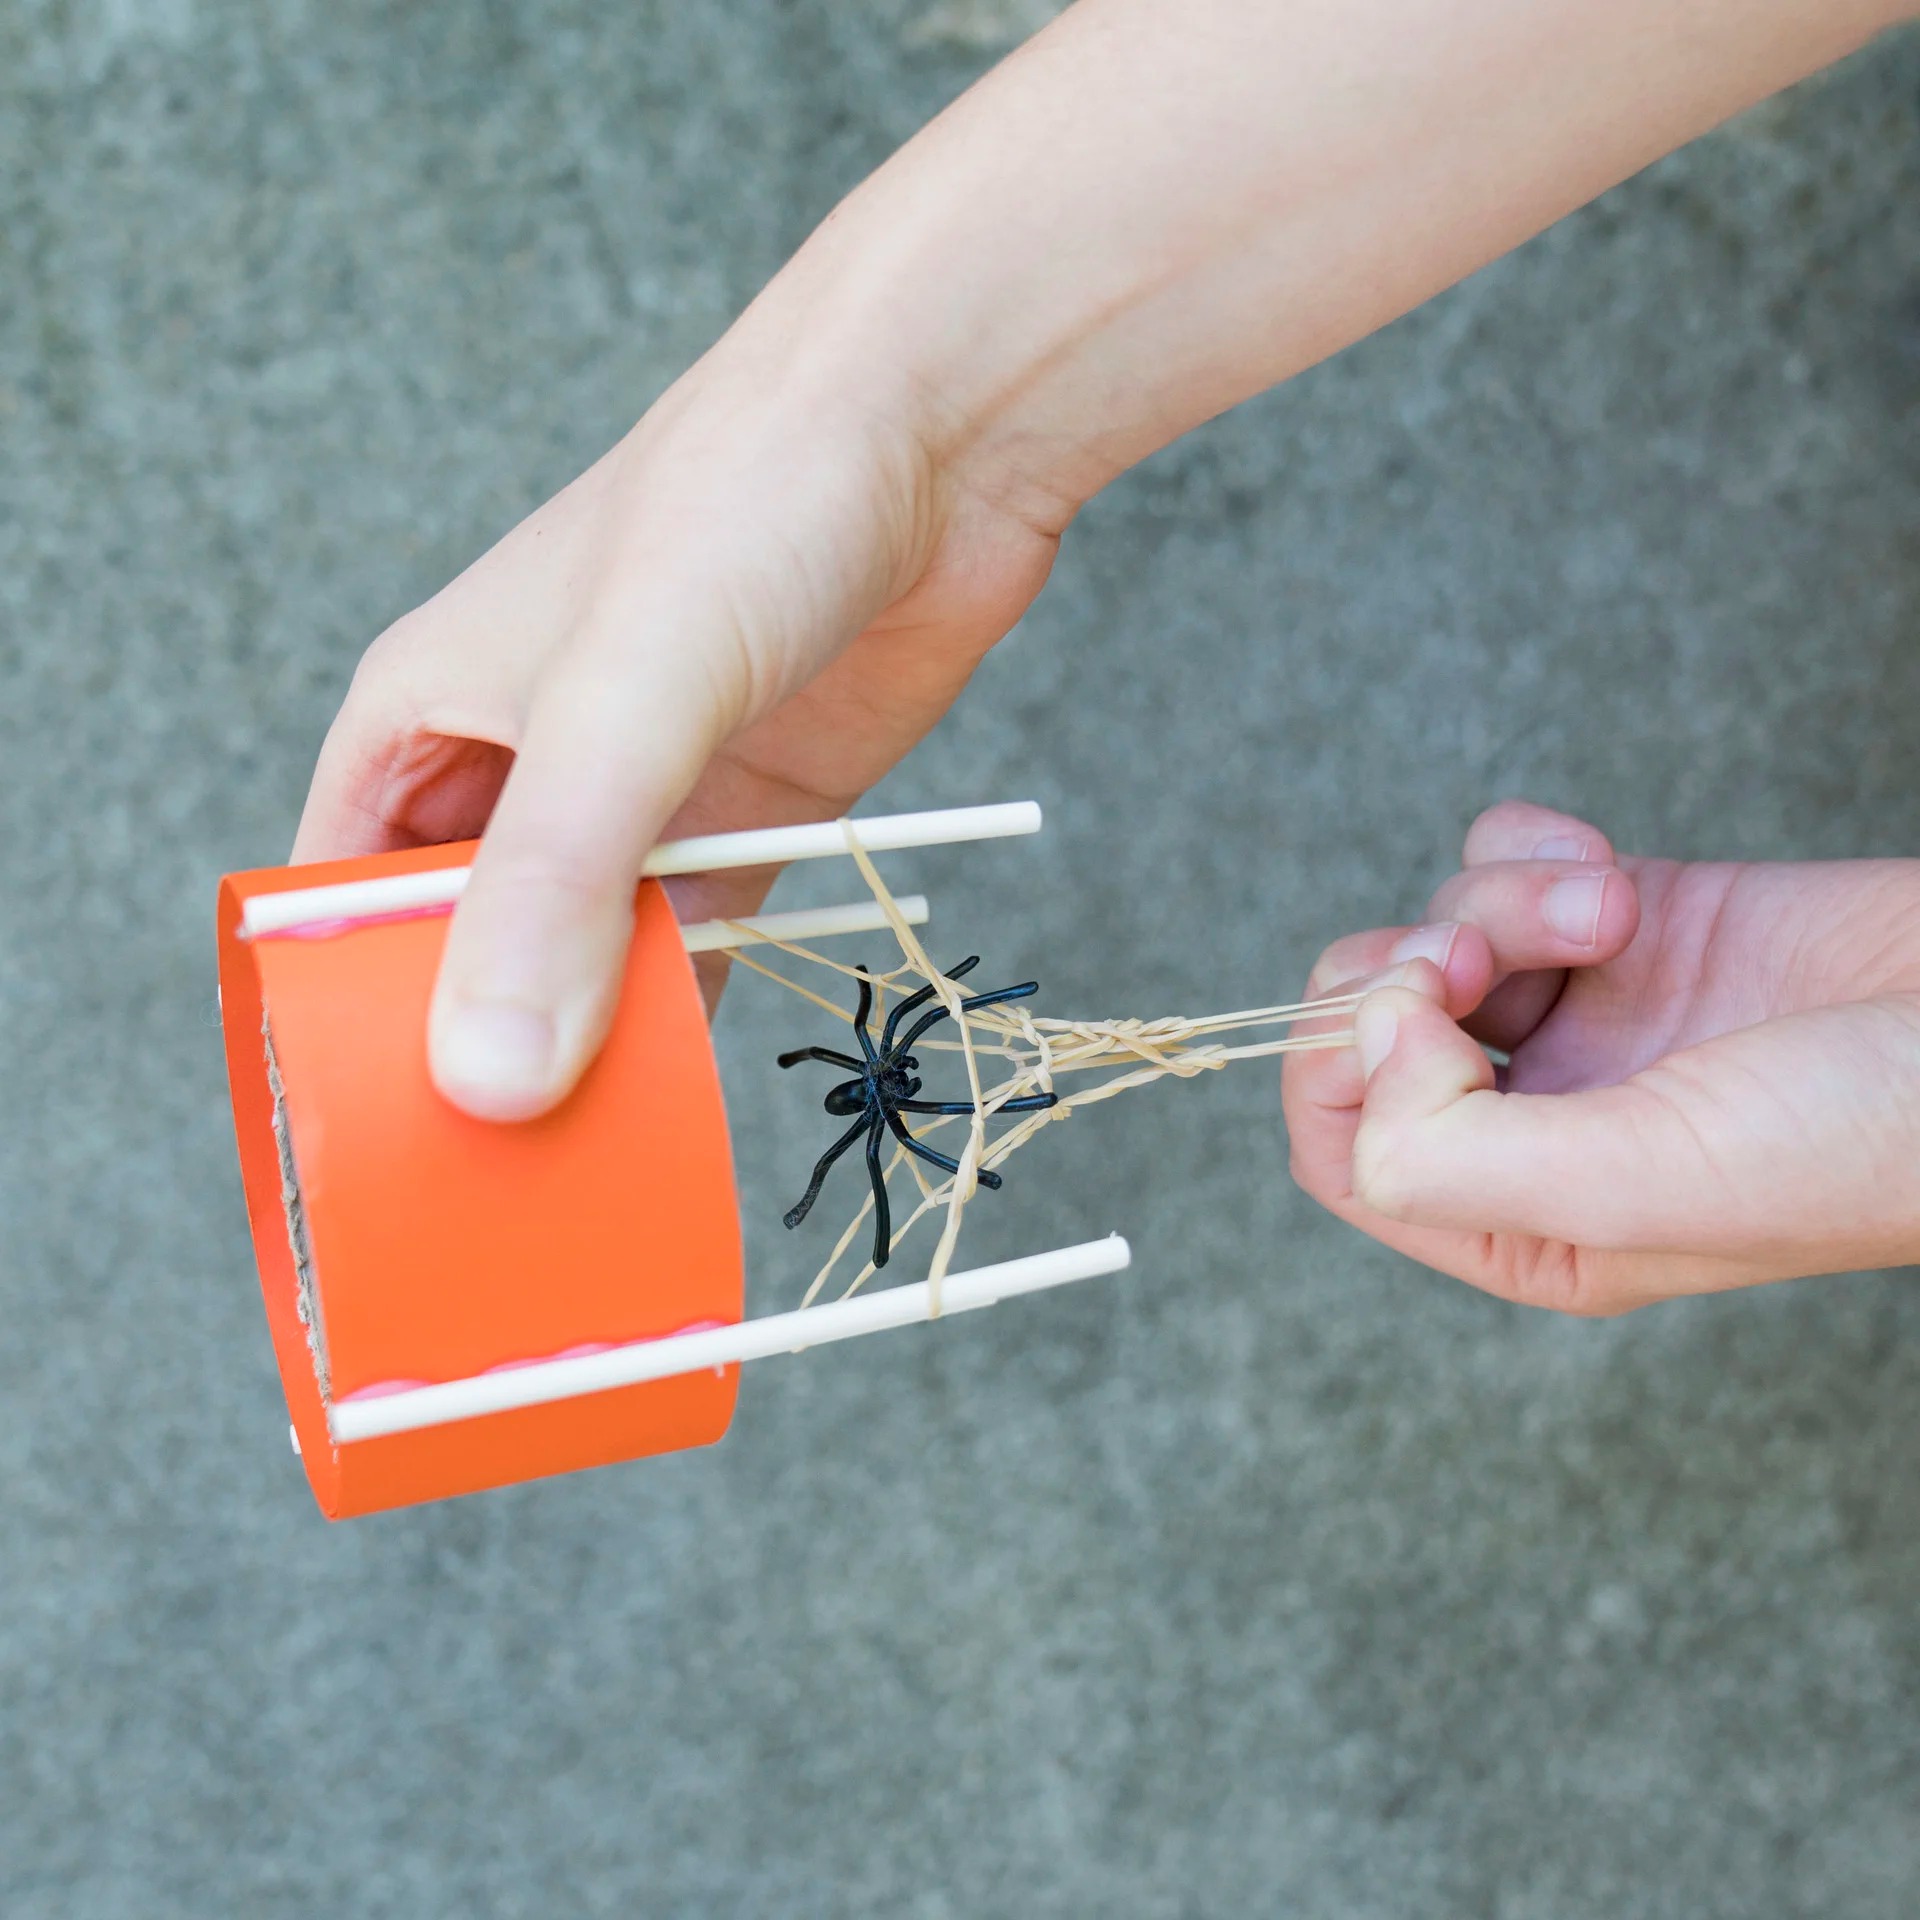
Place a spider in the rubber band web.
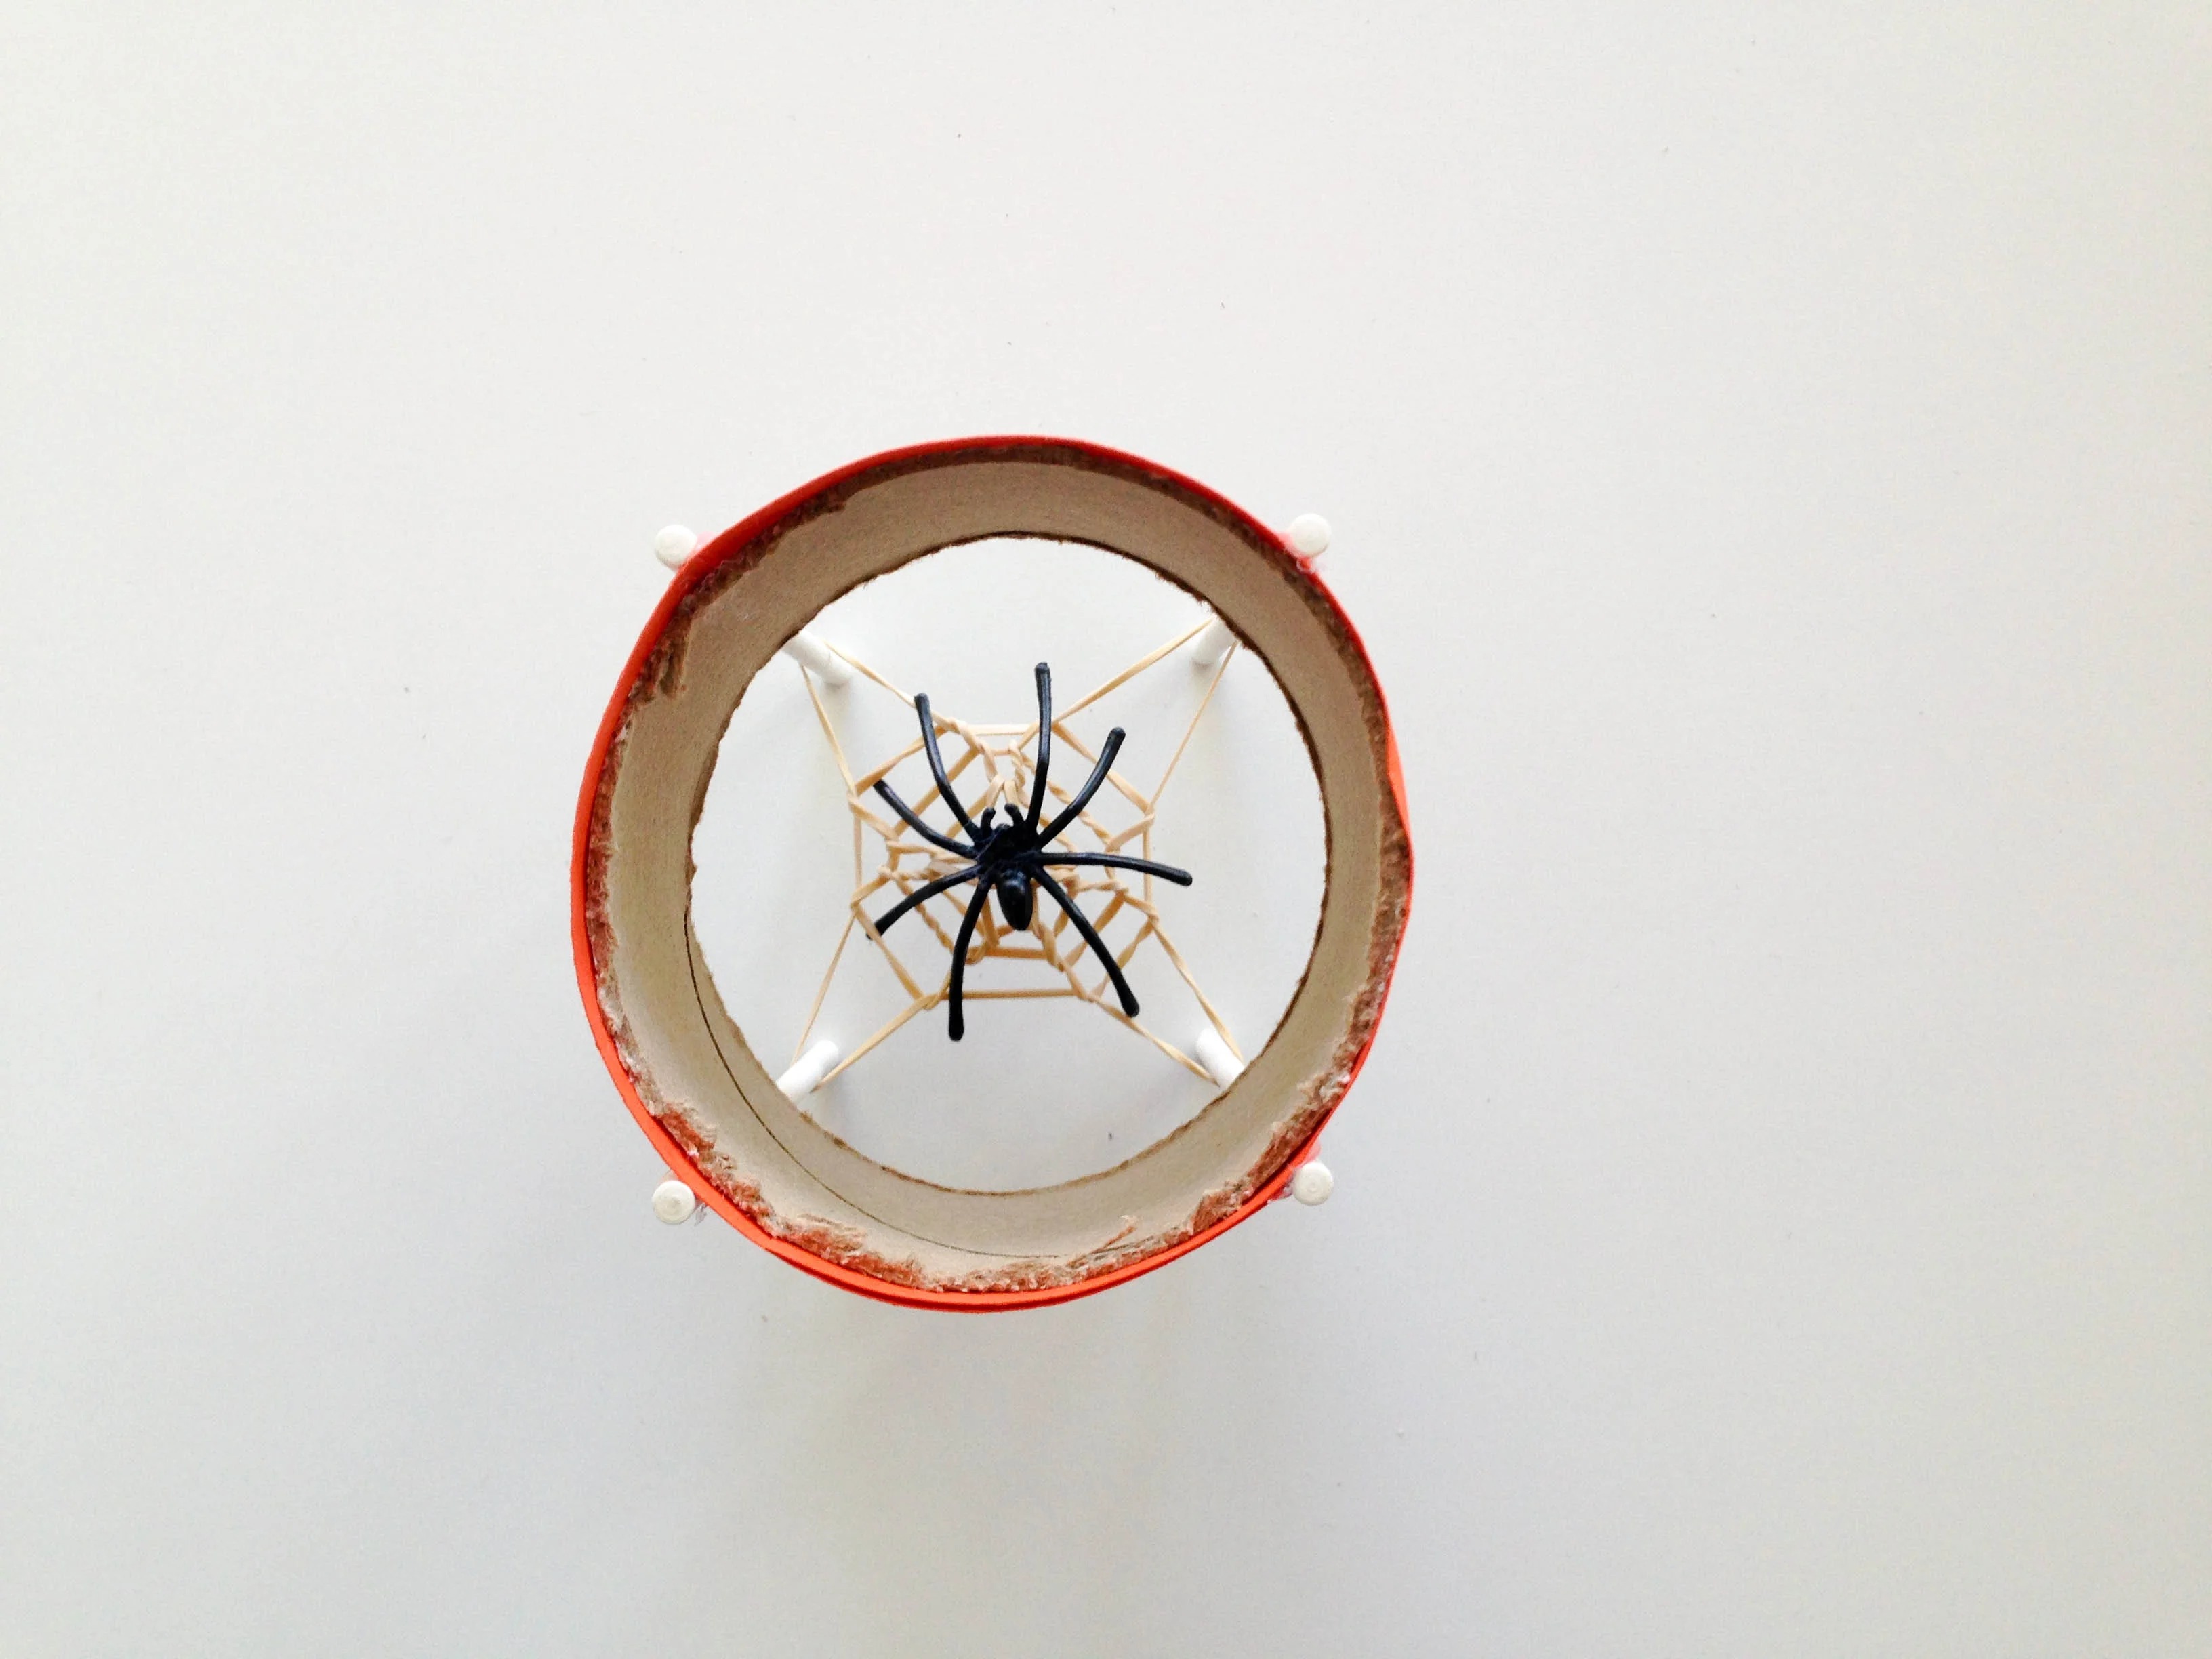
Done!
Pull back on the web and point the launcher in the direction you want to shoot the spider. Then, let go!