Step-by-step tutorial
Step 1
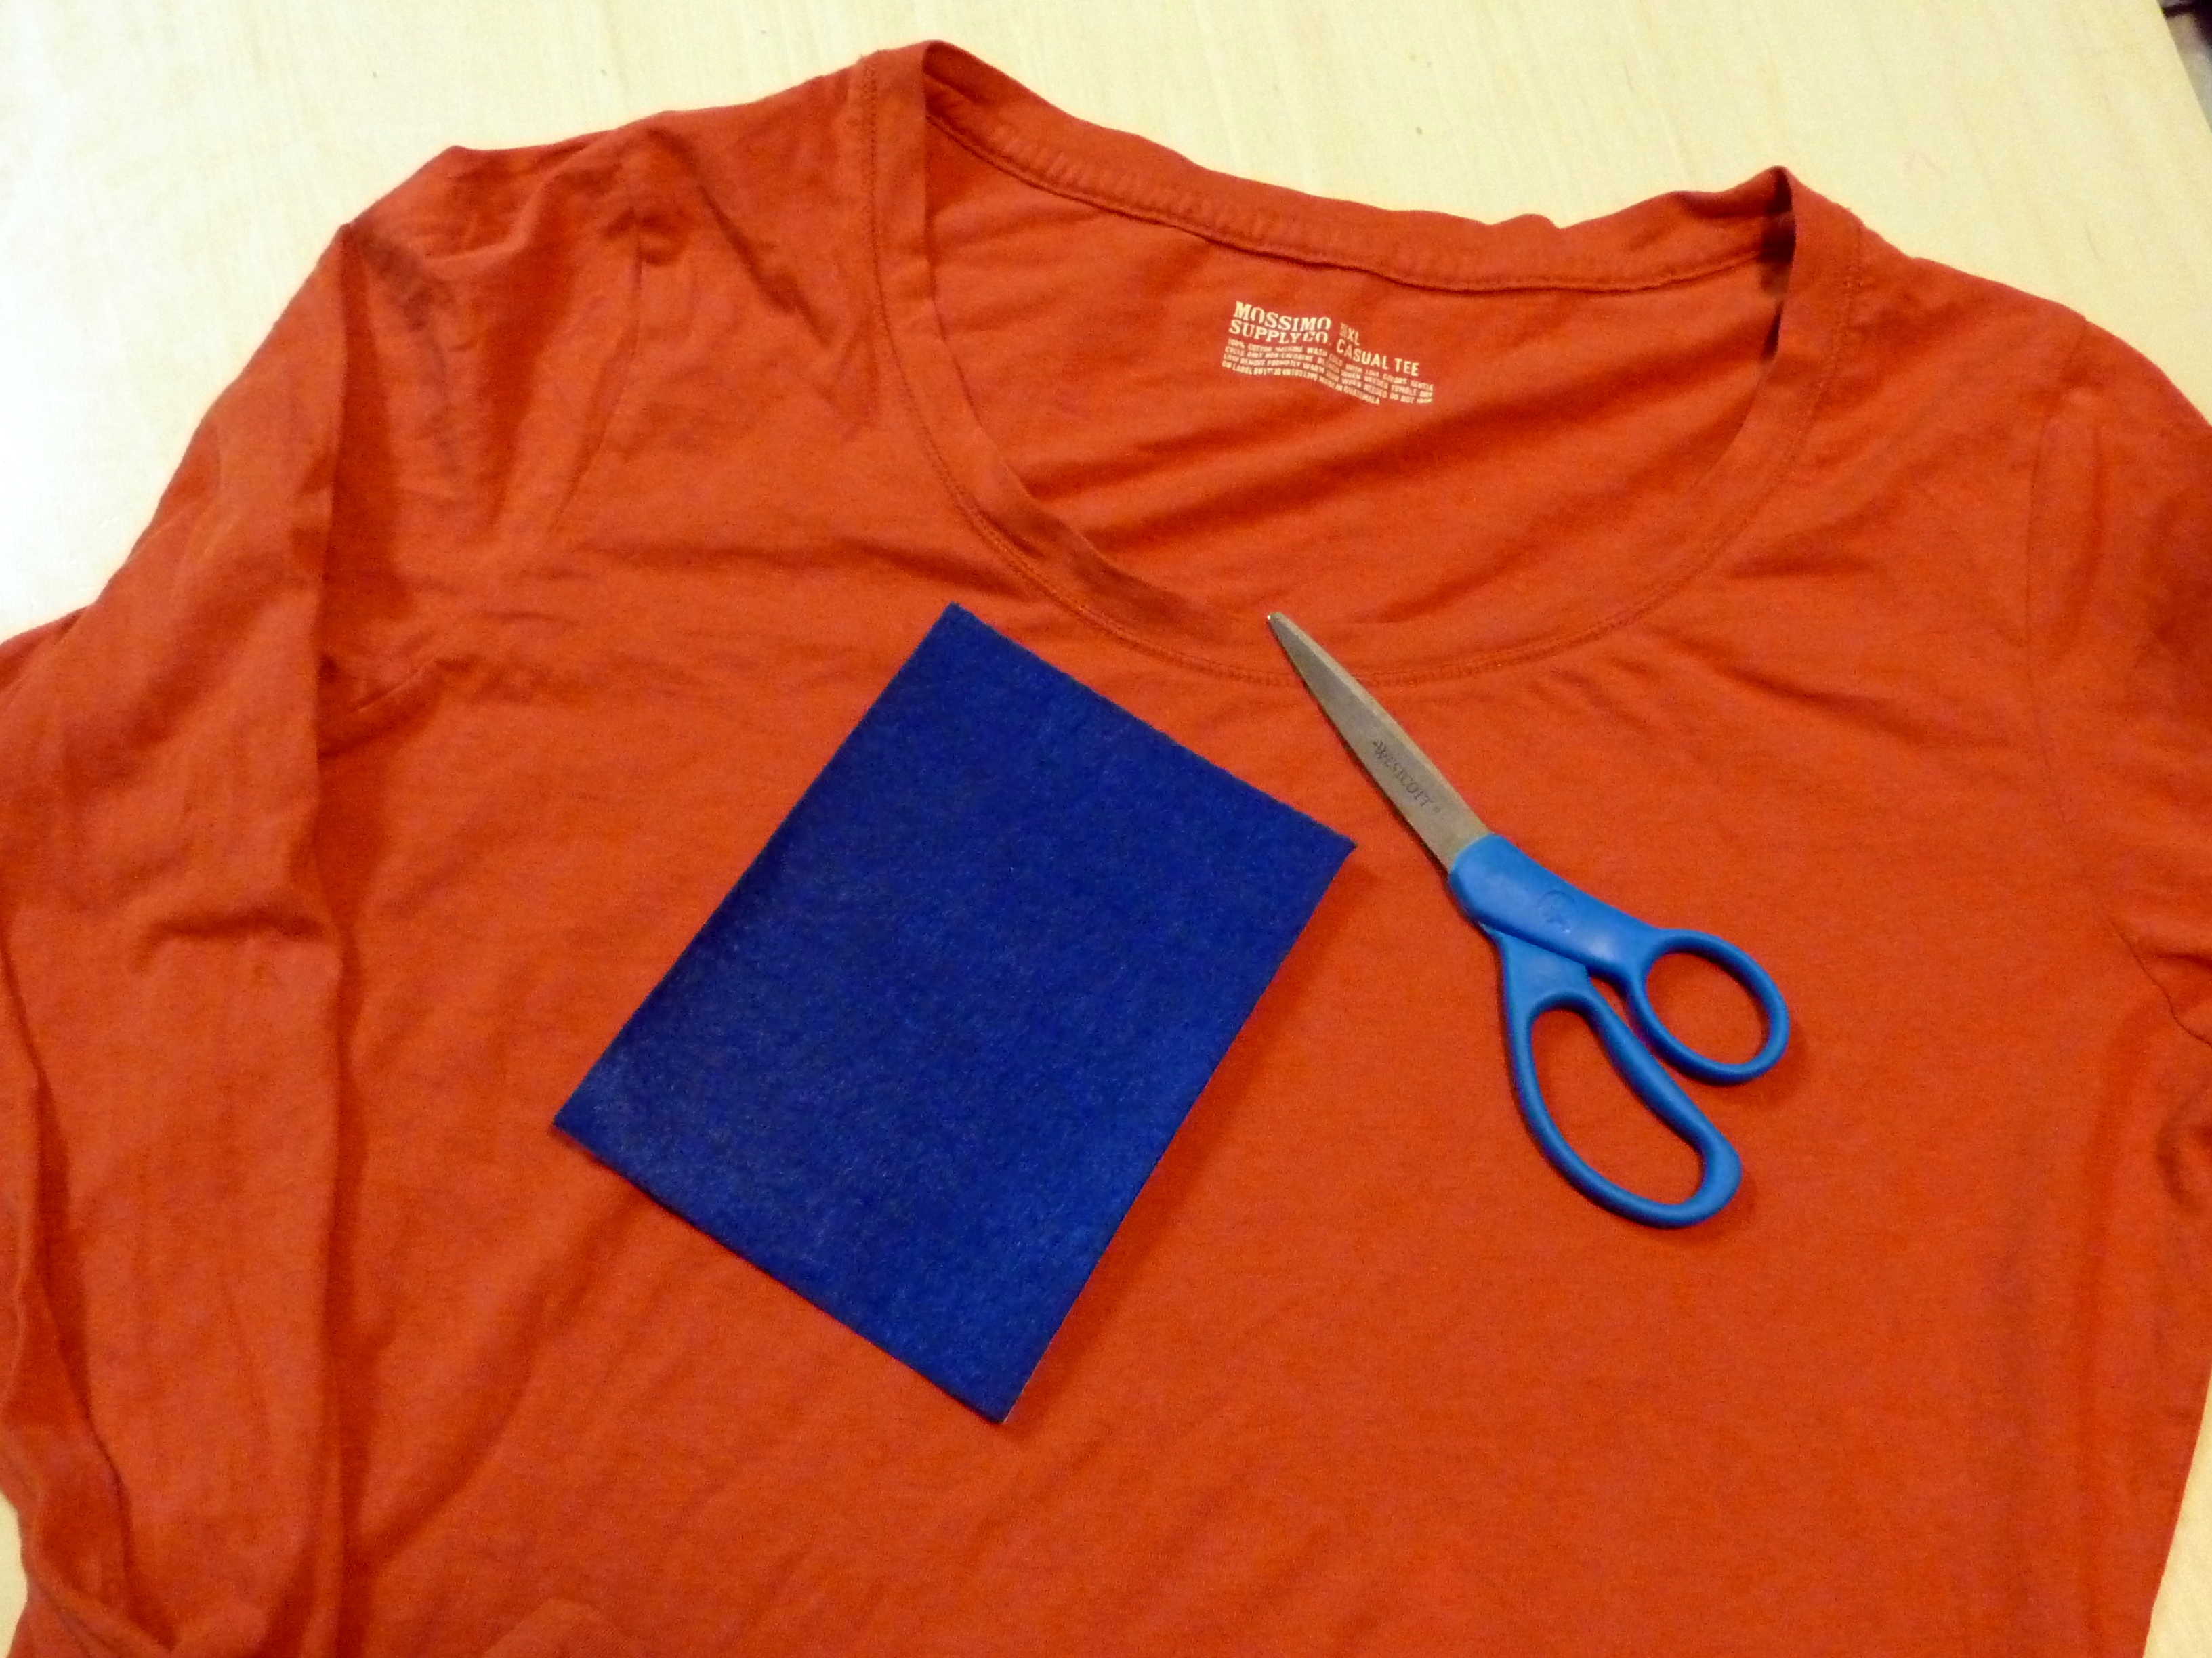
We lucked out and I found this orange t-shirt in my closet, but any solid color would work. You can also find really soft, well-loved t-shirts at the thrift store.

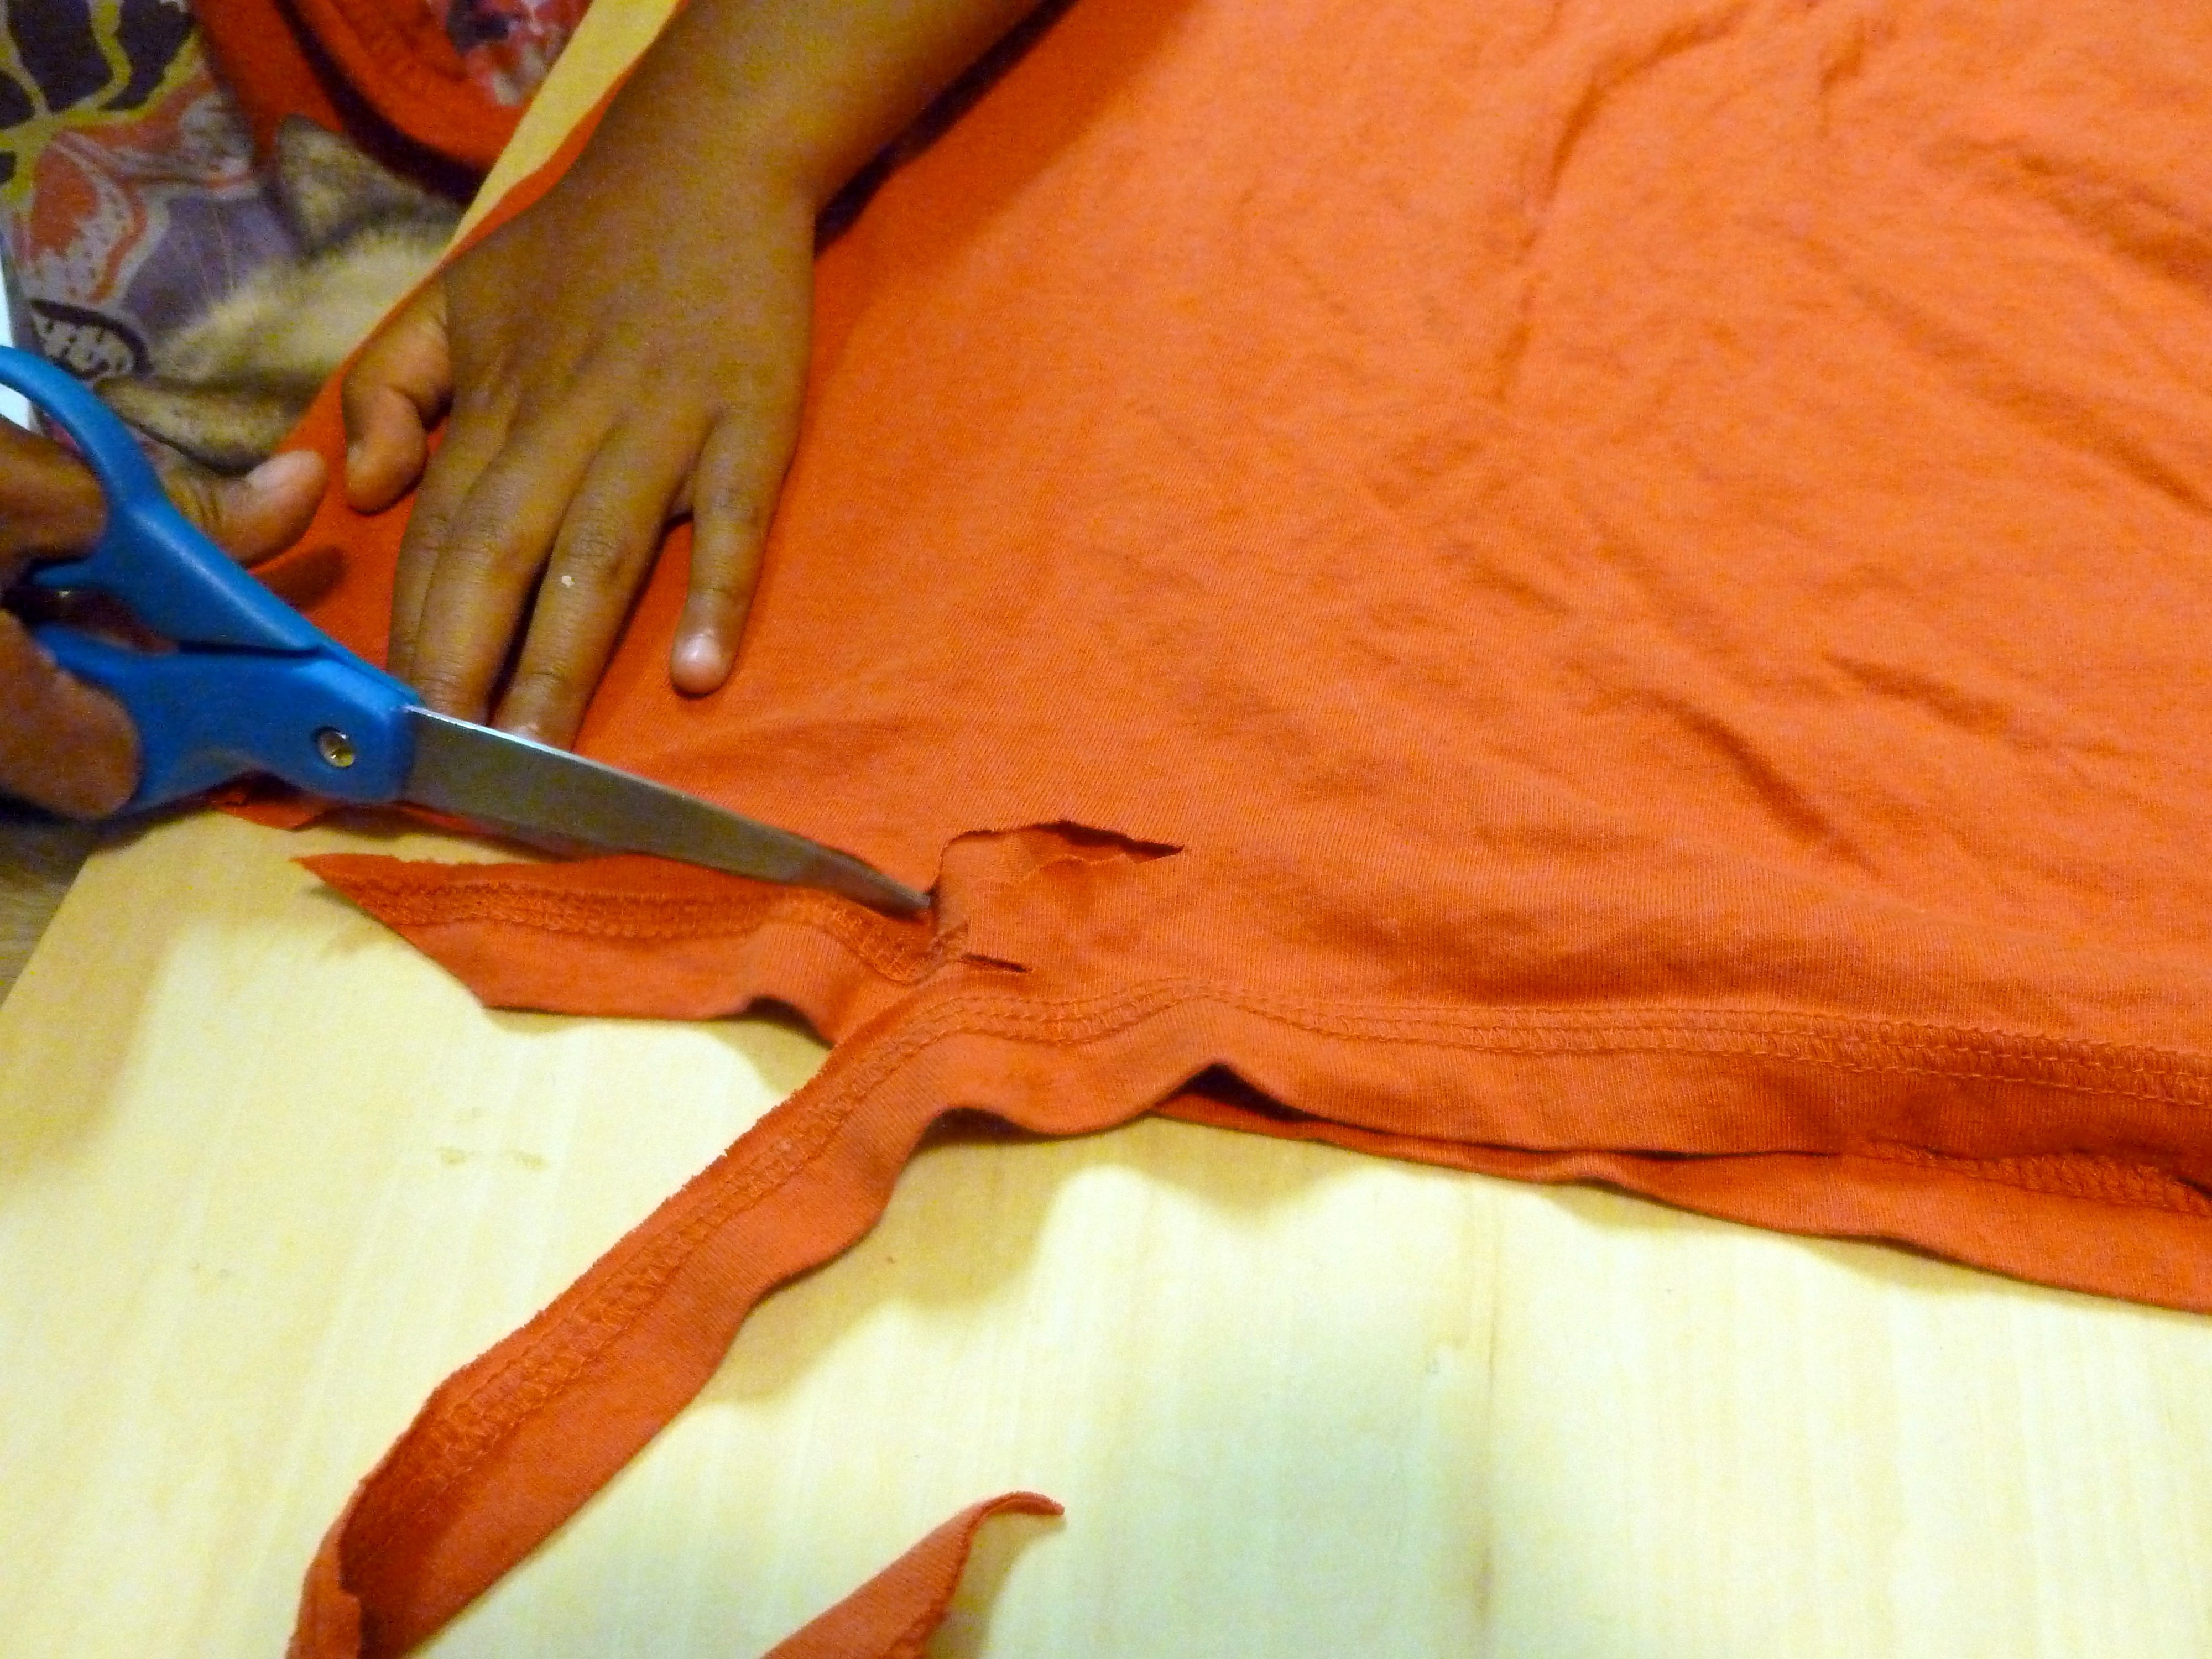
Step 2
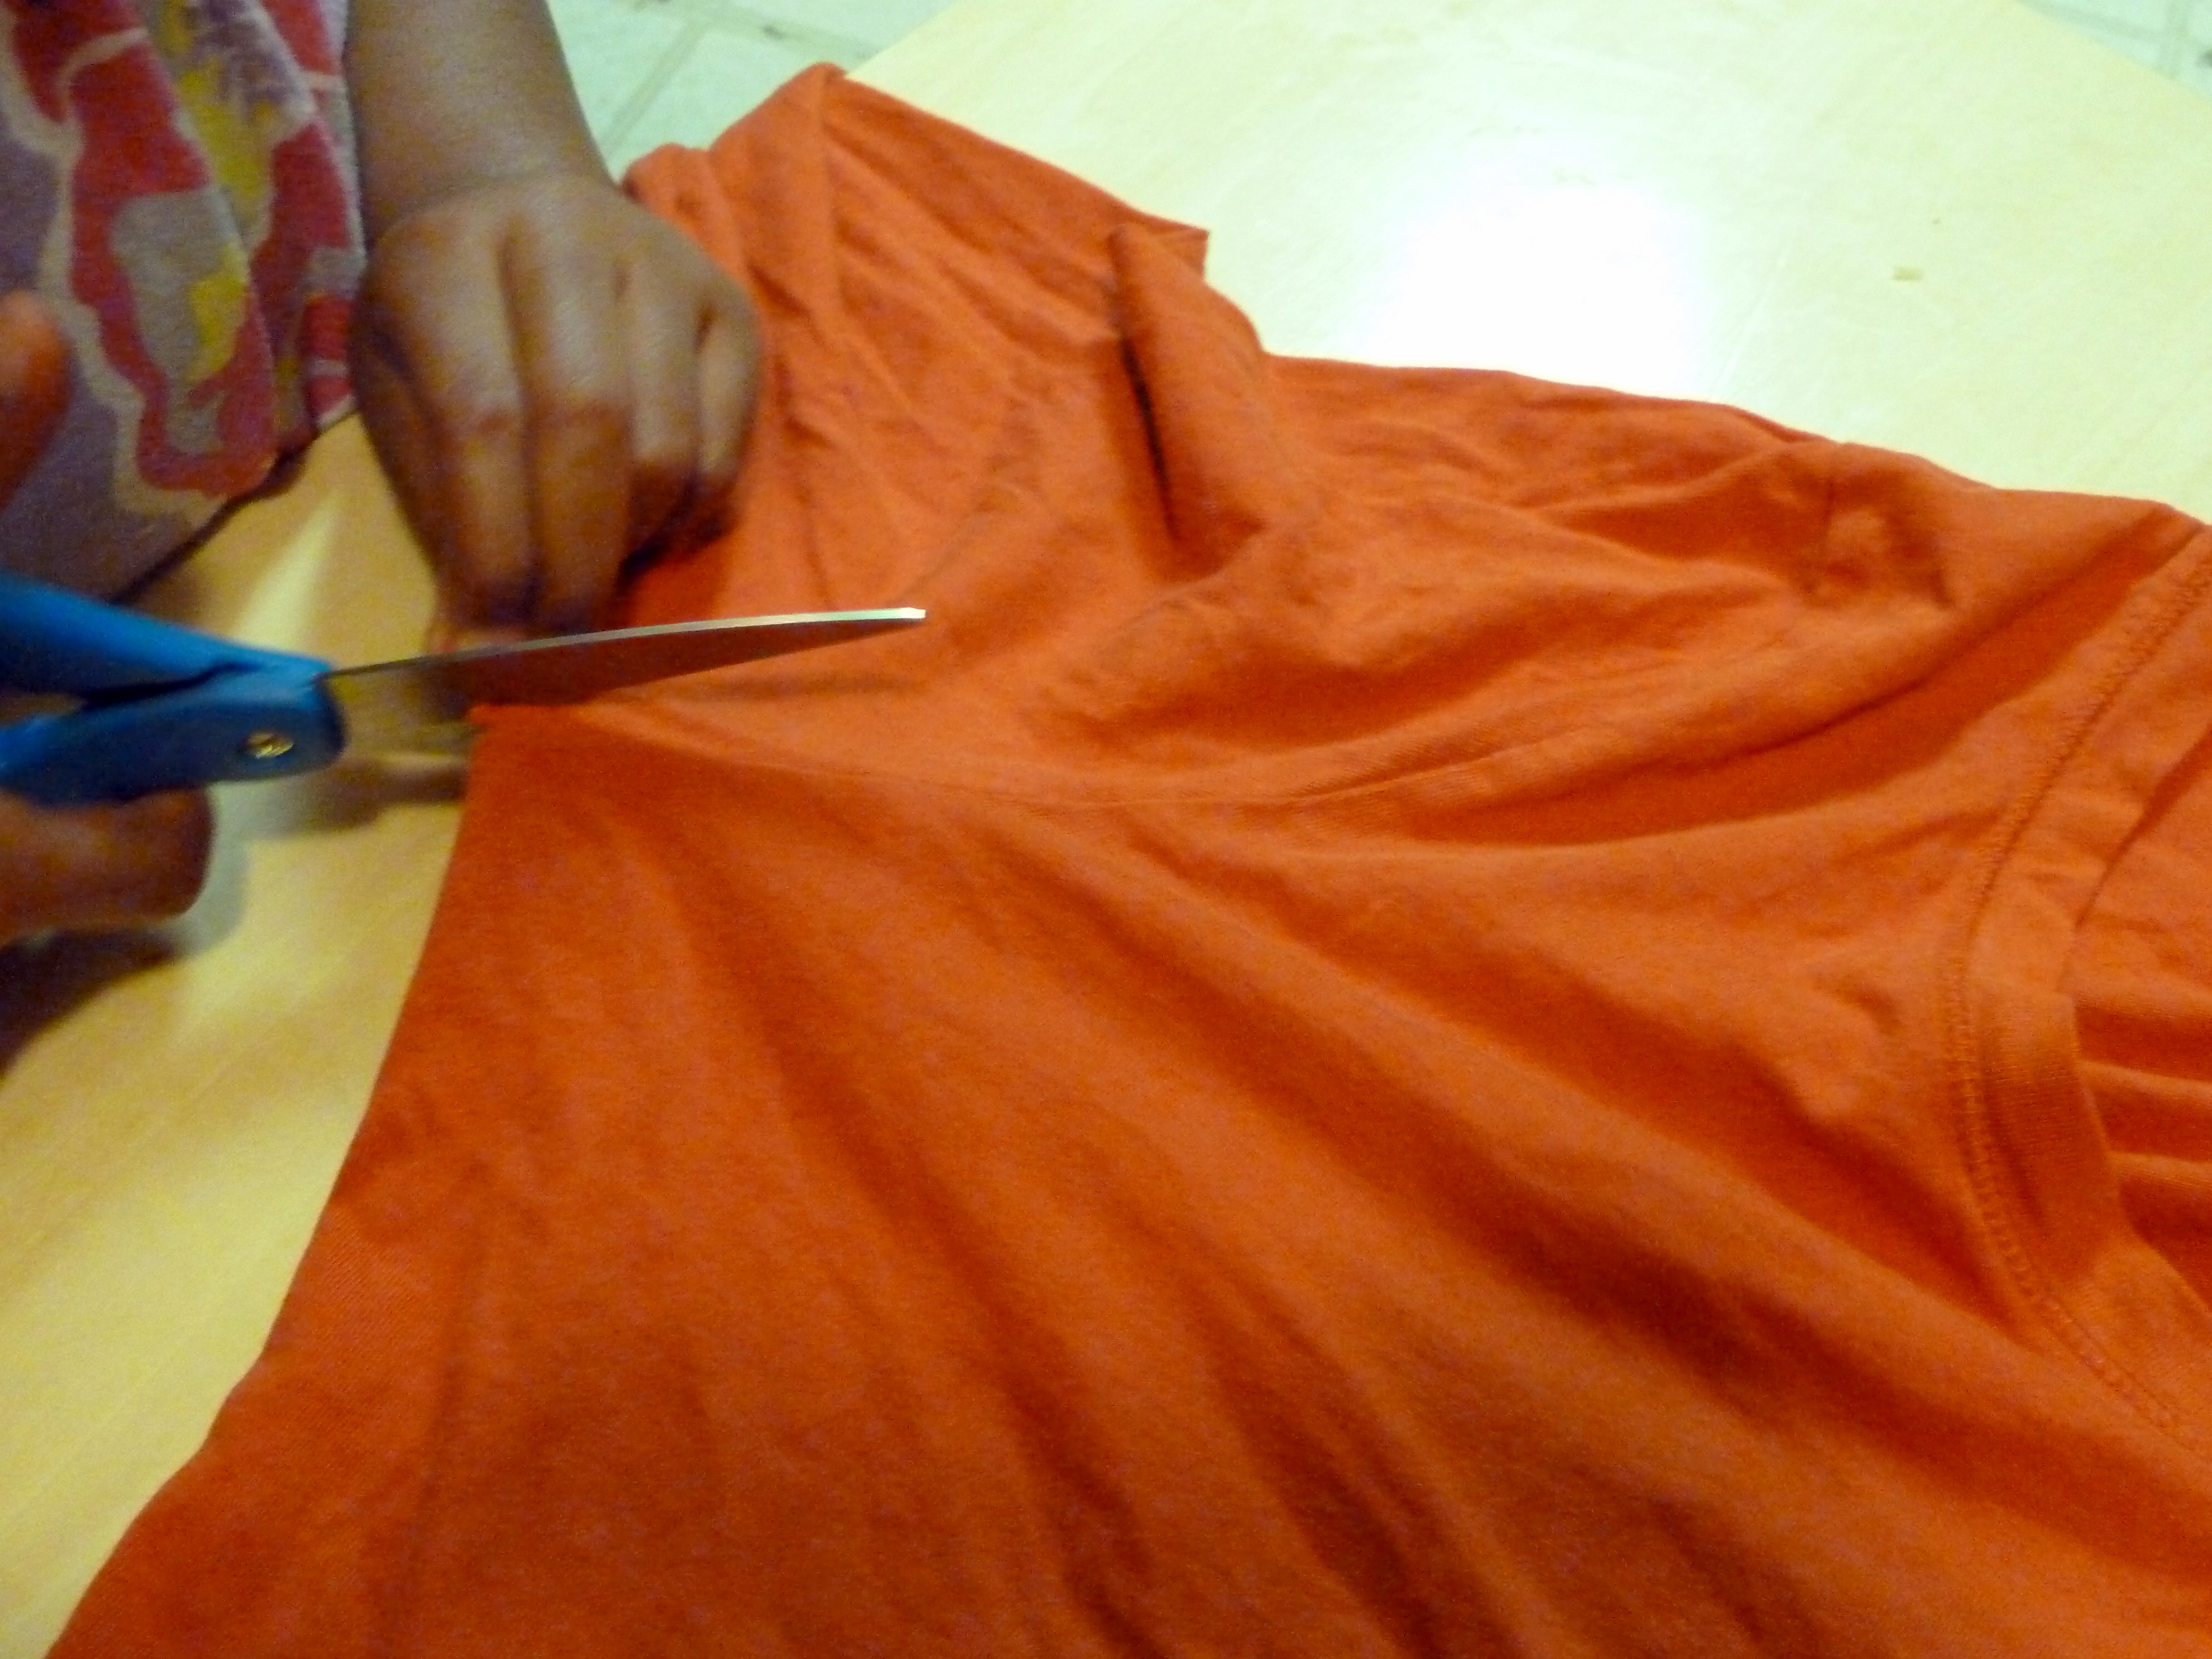
Start by cutting off the sleeves, just outside the seam (where the sleeve is sewn to the body of the shirt). Make sure you're using a sharp pair of scissors. My daughter loves this part because she has permission to cut up clothes.
Step 3
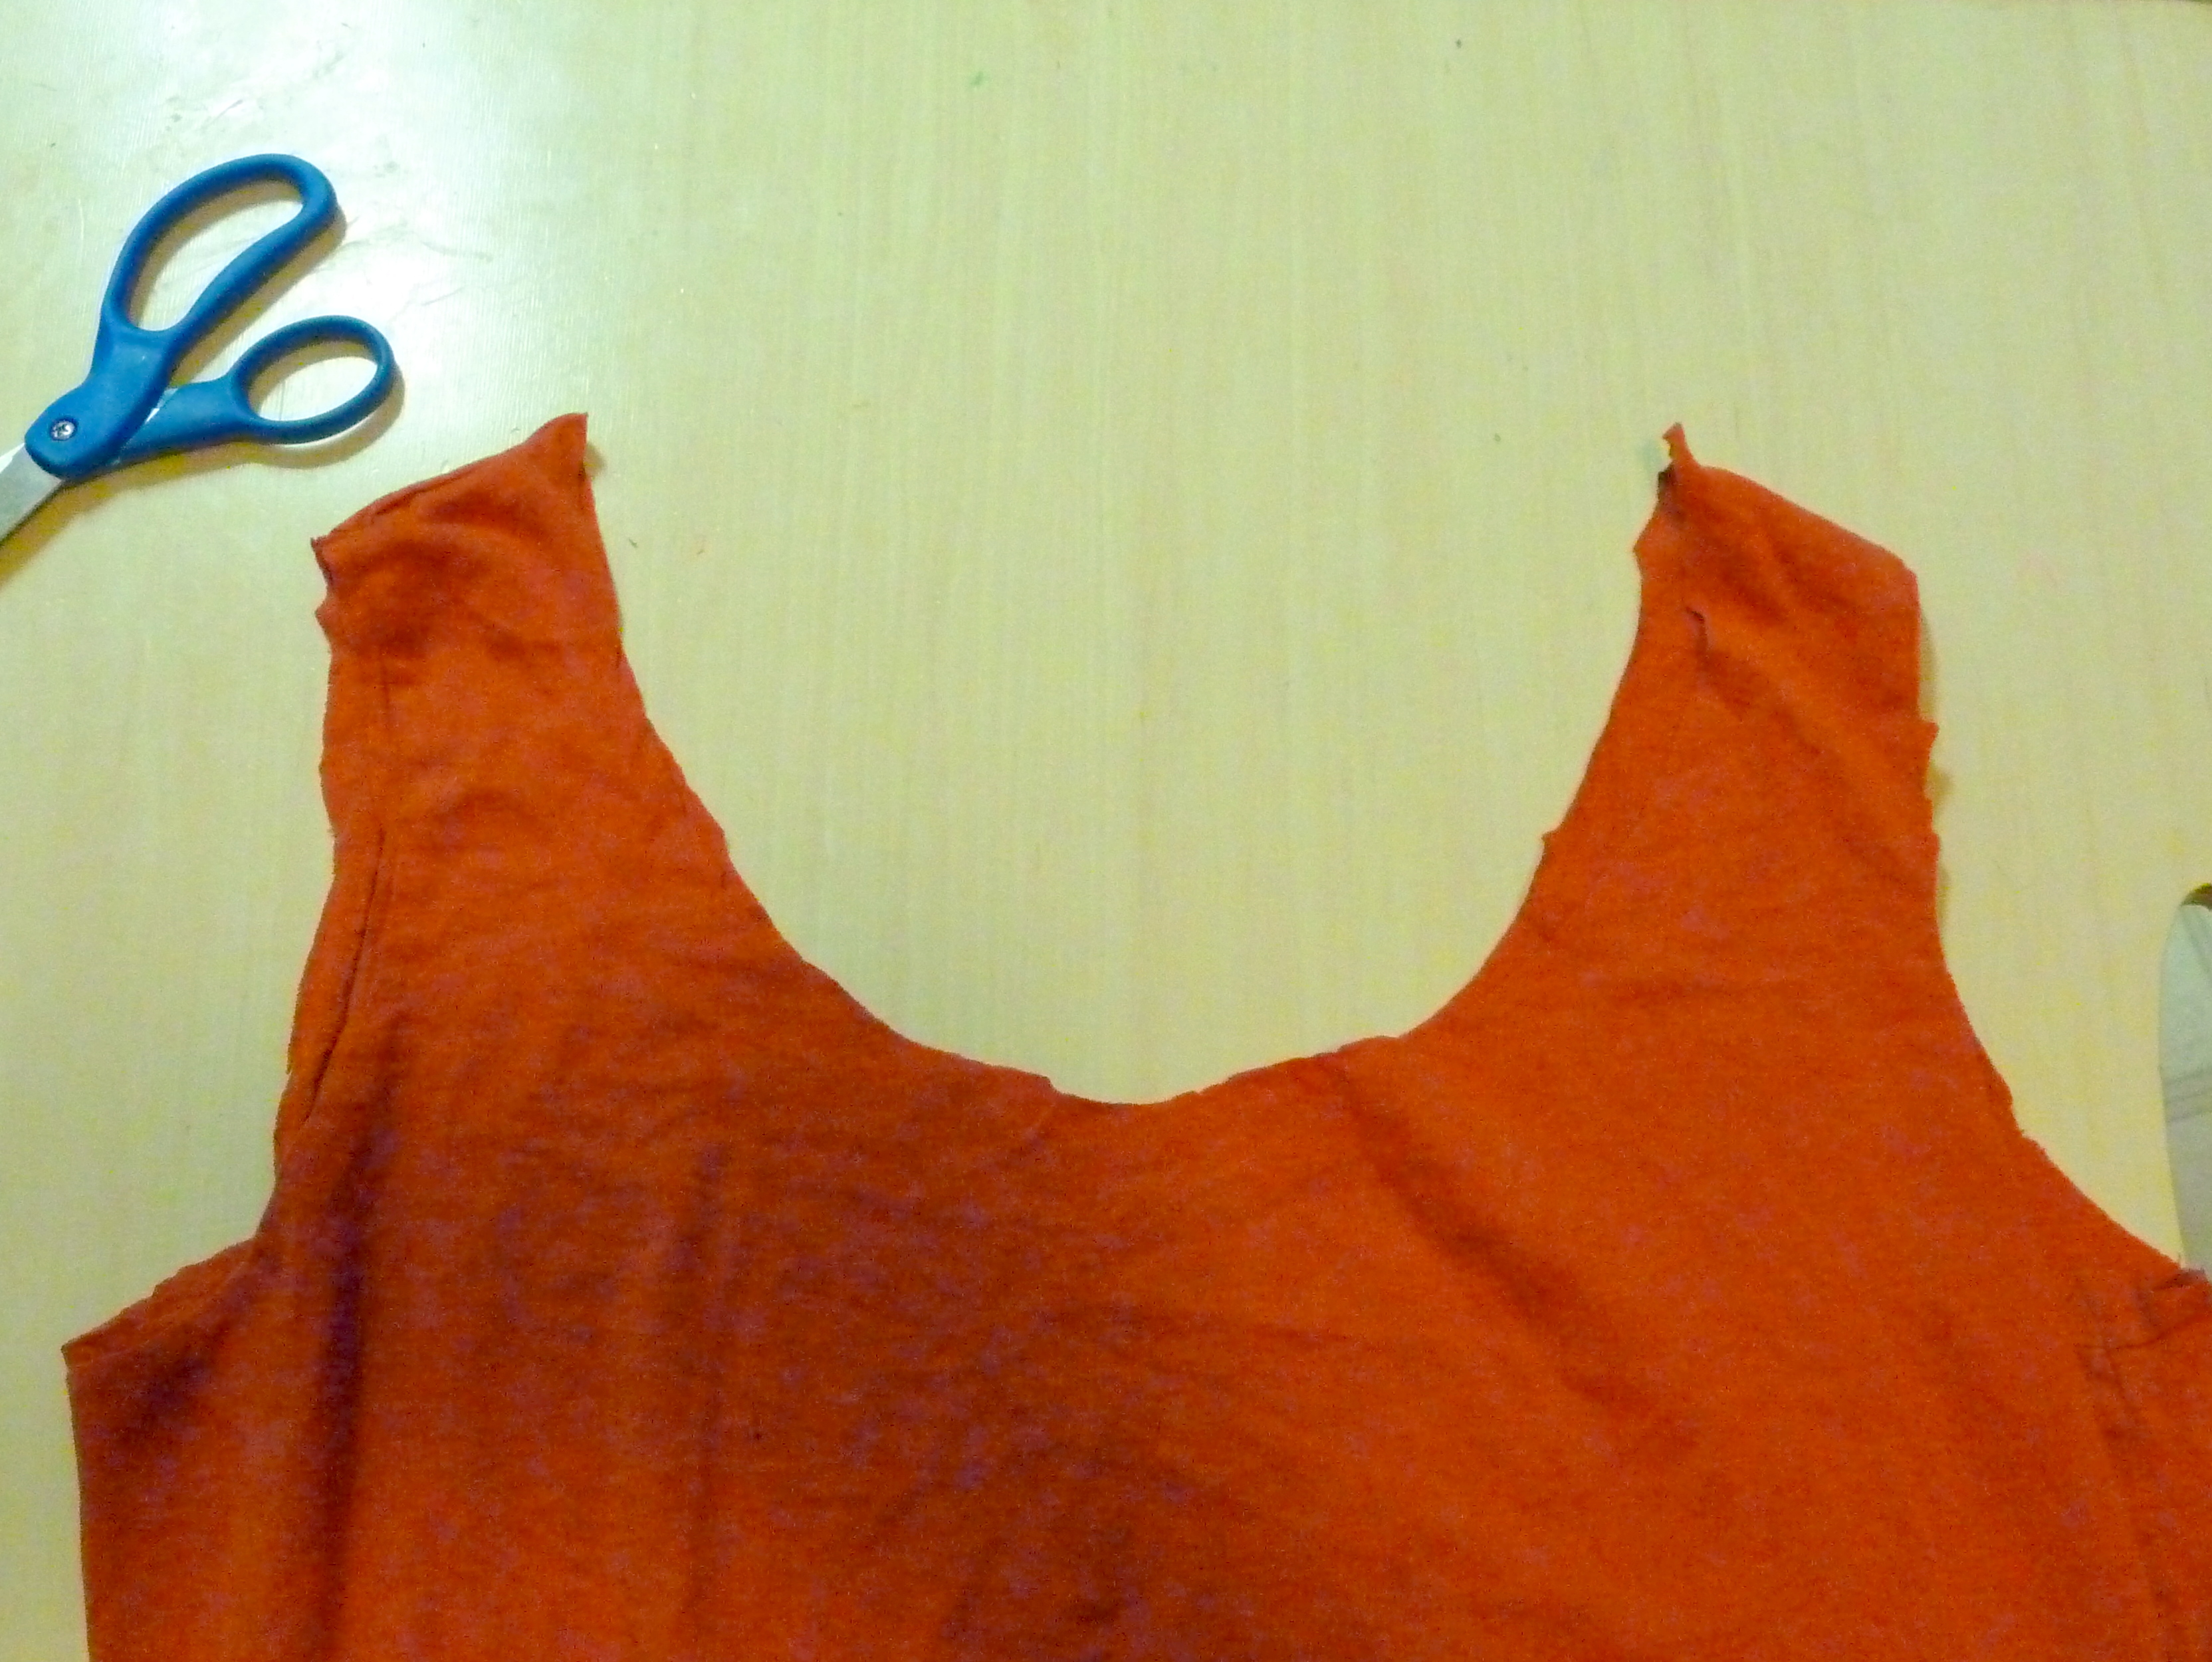
Create a wider opening for the bag by cutting off the neck binding. T-shirt fabric doesn't fray, so don't stress about jagged edges, etc. Discard the sleeves and neck pieces.
Step 4
Cut off the bottom of the t-shirt, just above the stitching. Hang on to this part. We're going to use it later.
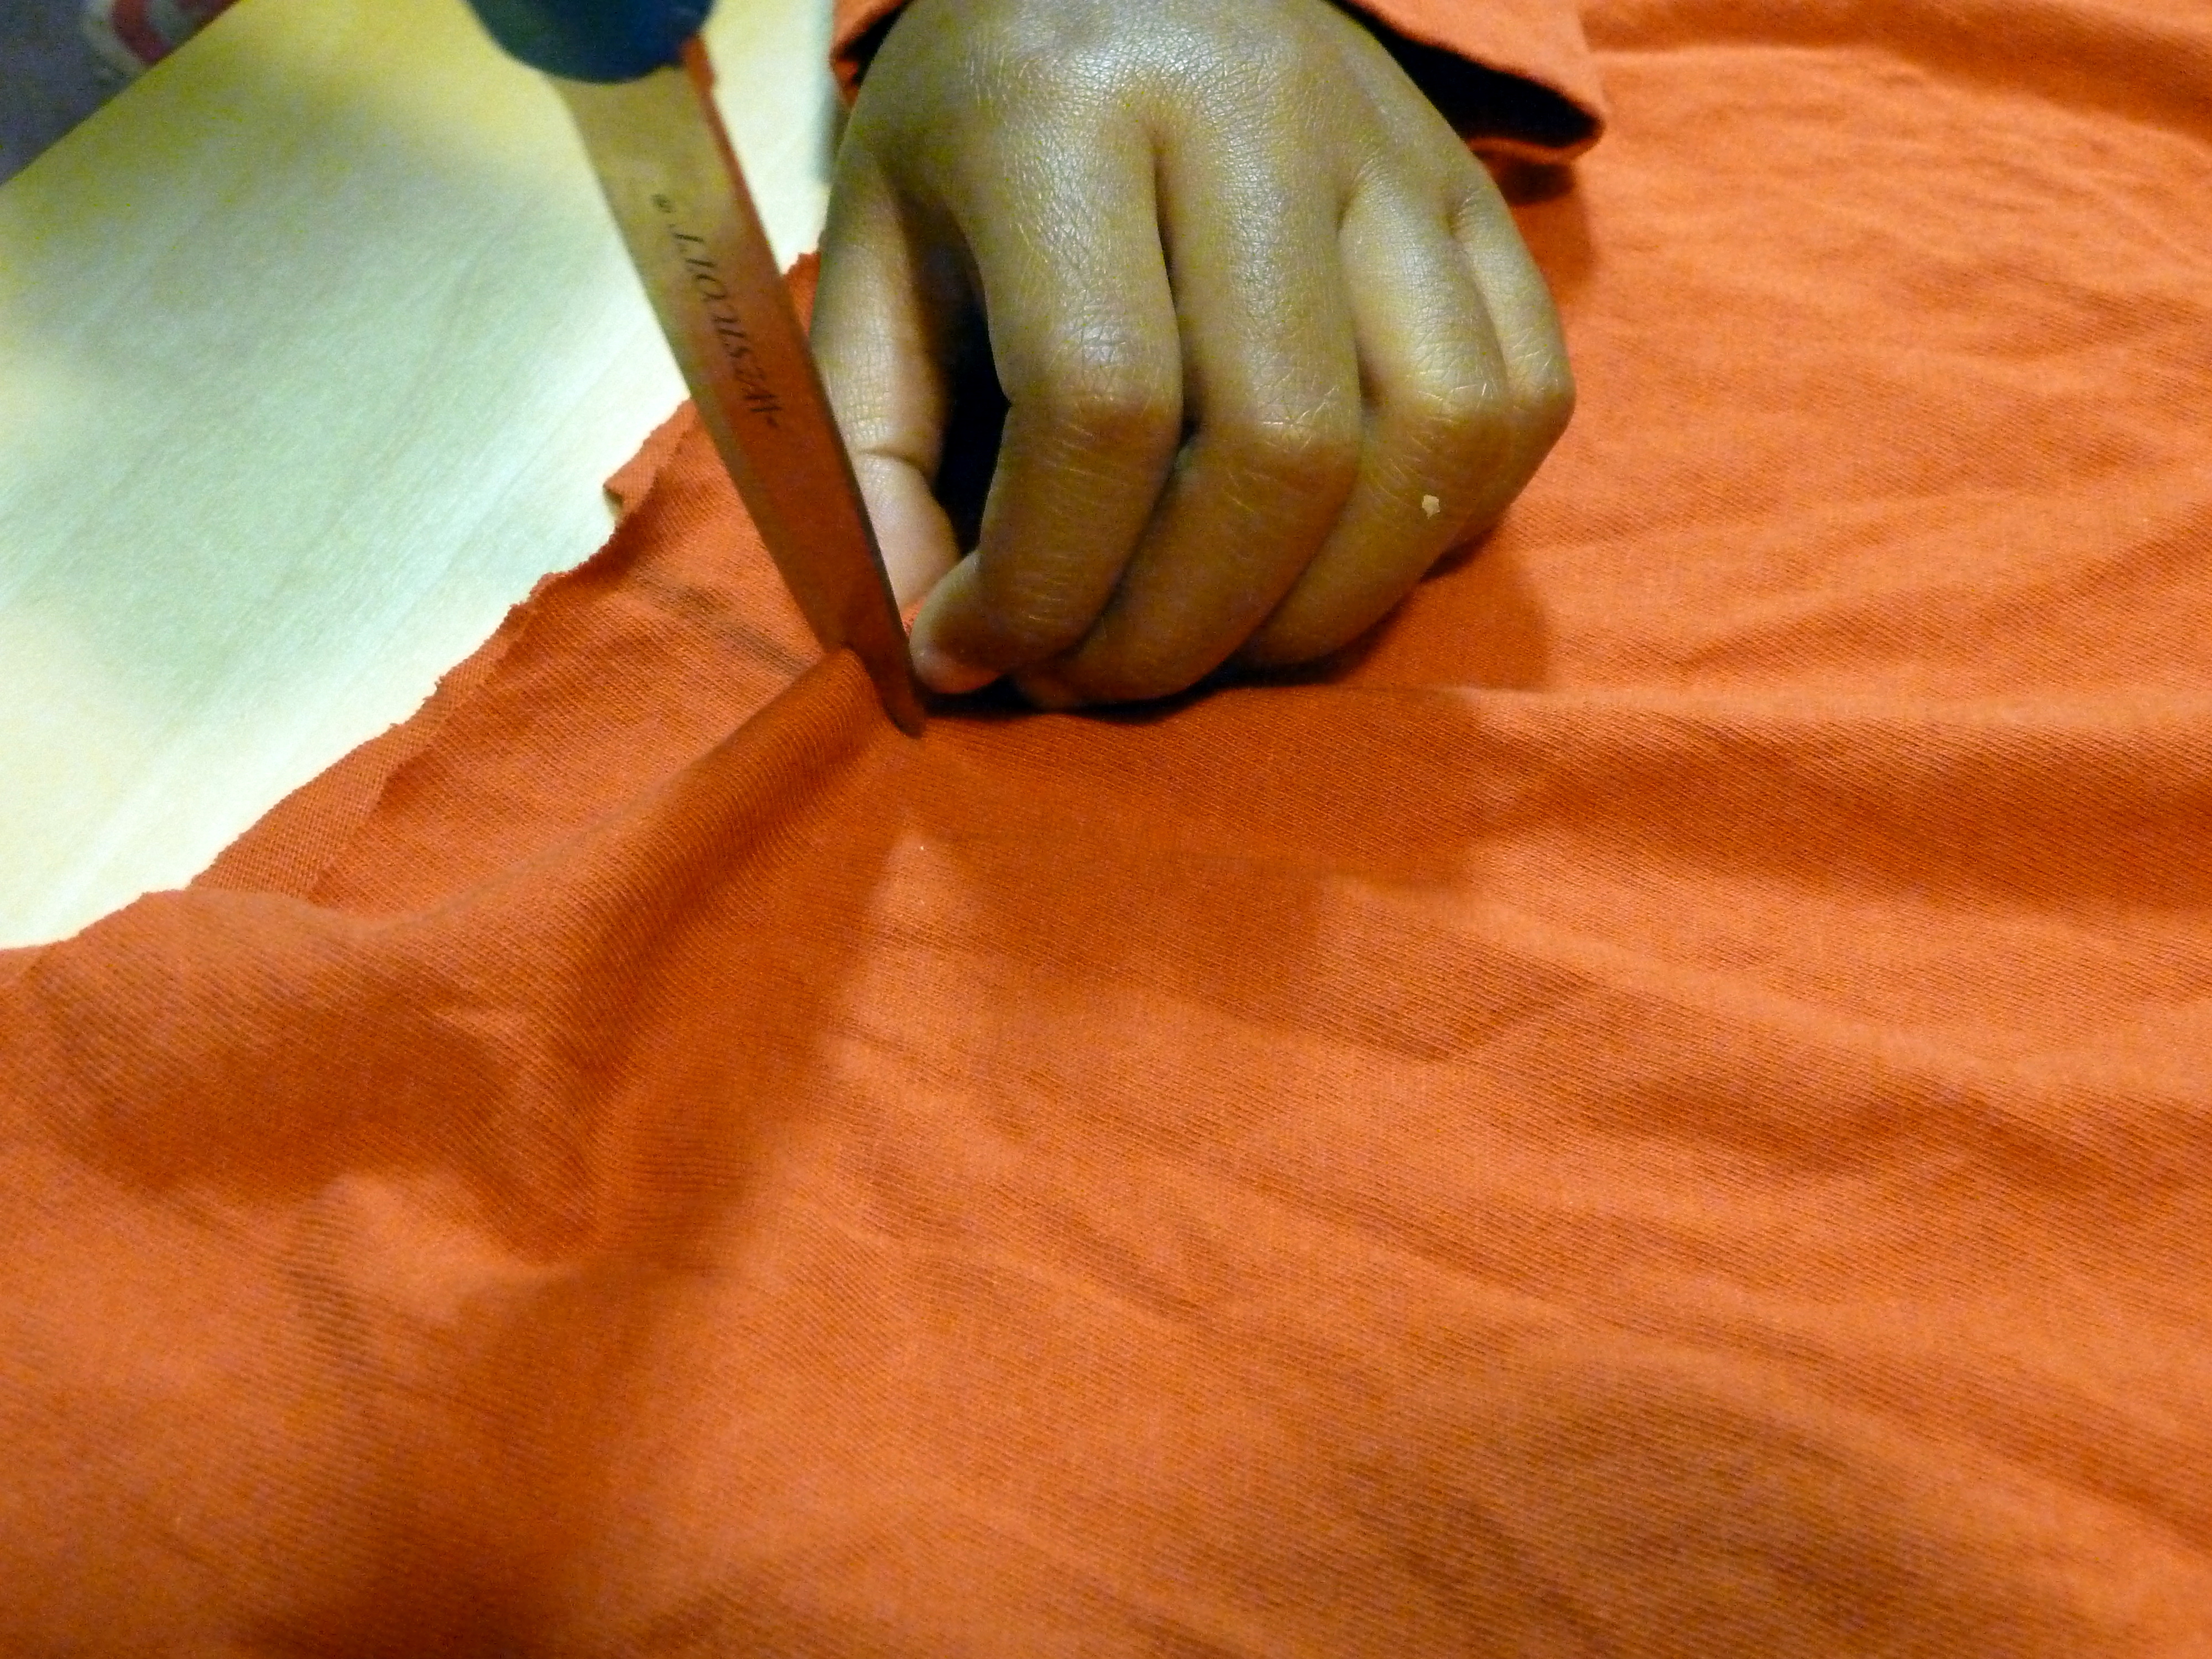
Step 5
About 2 inches above the new hem (bottom) of the shirt, cut 1" vertical slits across. First pinch the shirt, making sure you grab both layers, then snip. Try to keep the slits no more than 2 inches apart.
Step 6
Work on your fine motor skills by threading the hem you previously cut off through the slits, going up and down. (You're basically creating a drawstring.)

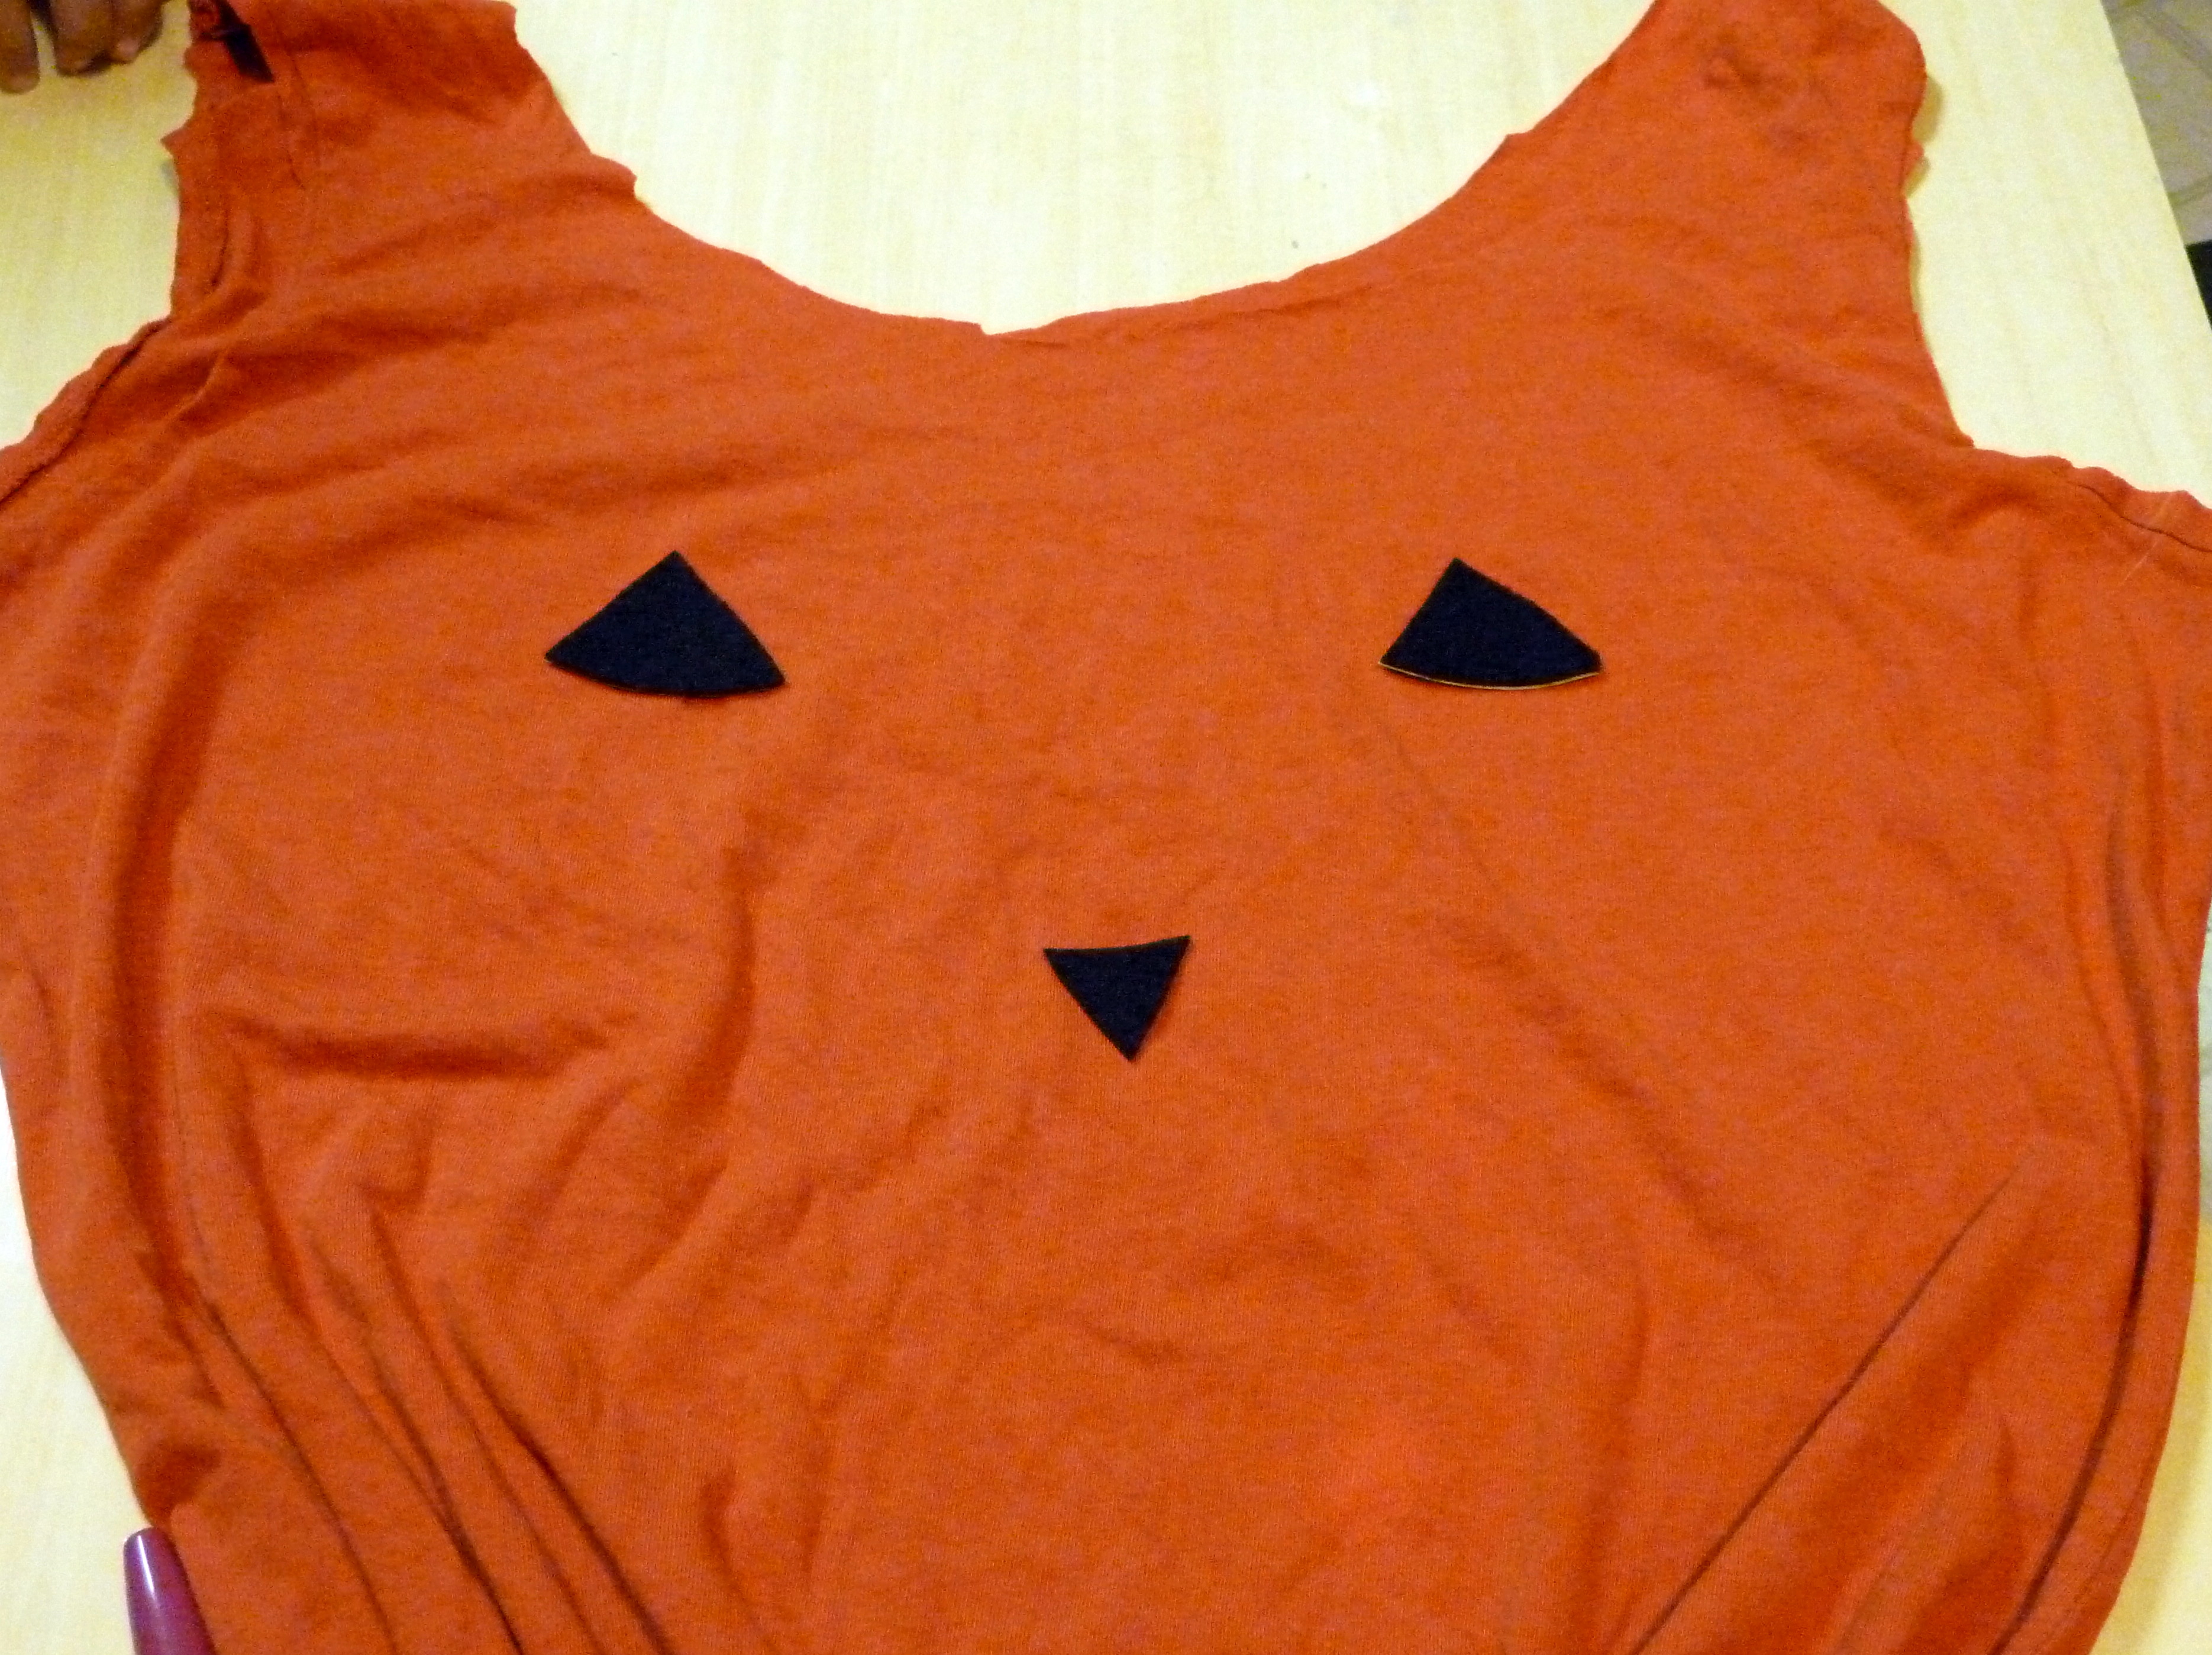
Step 7
Cut sticky felt into shapes and attach them to the bag. We planned out the placement directly on the shirt before we pulled off the backing to stick the felt on the shirt. My daughter decided on a jack-o-lantern face for her bag.
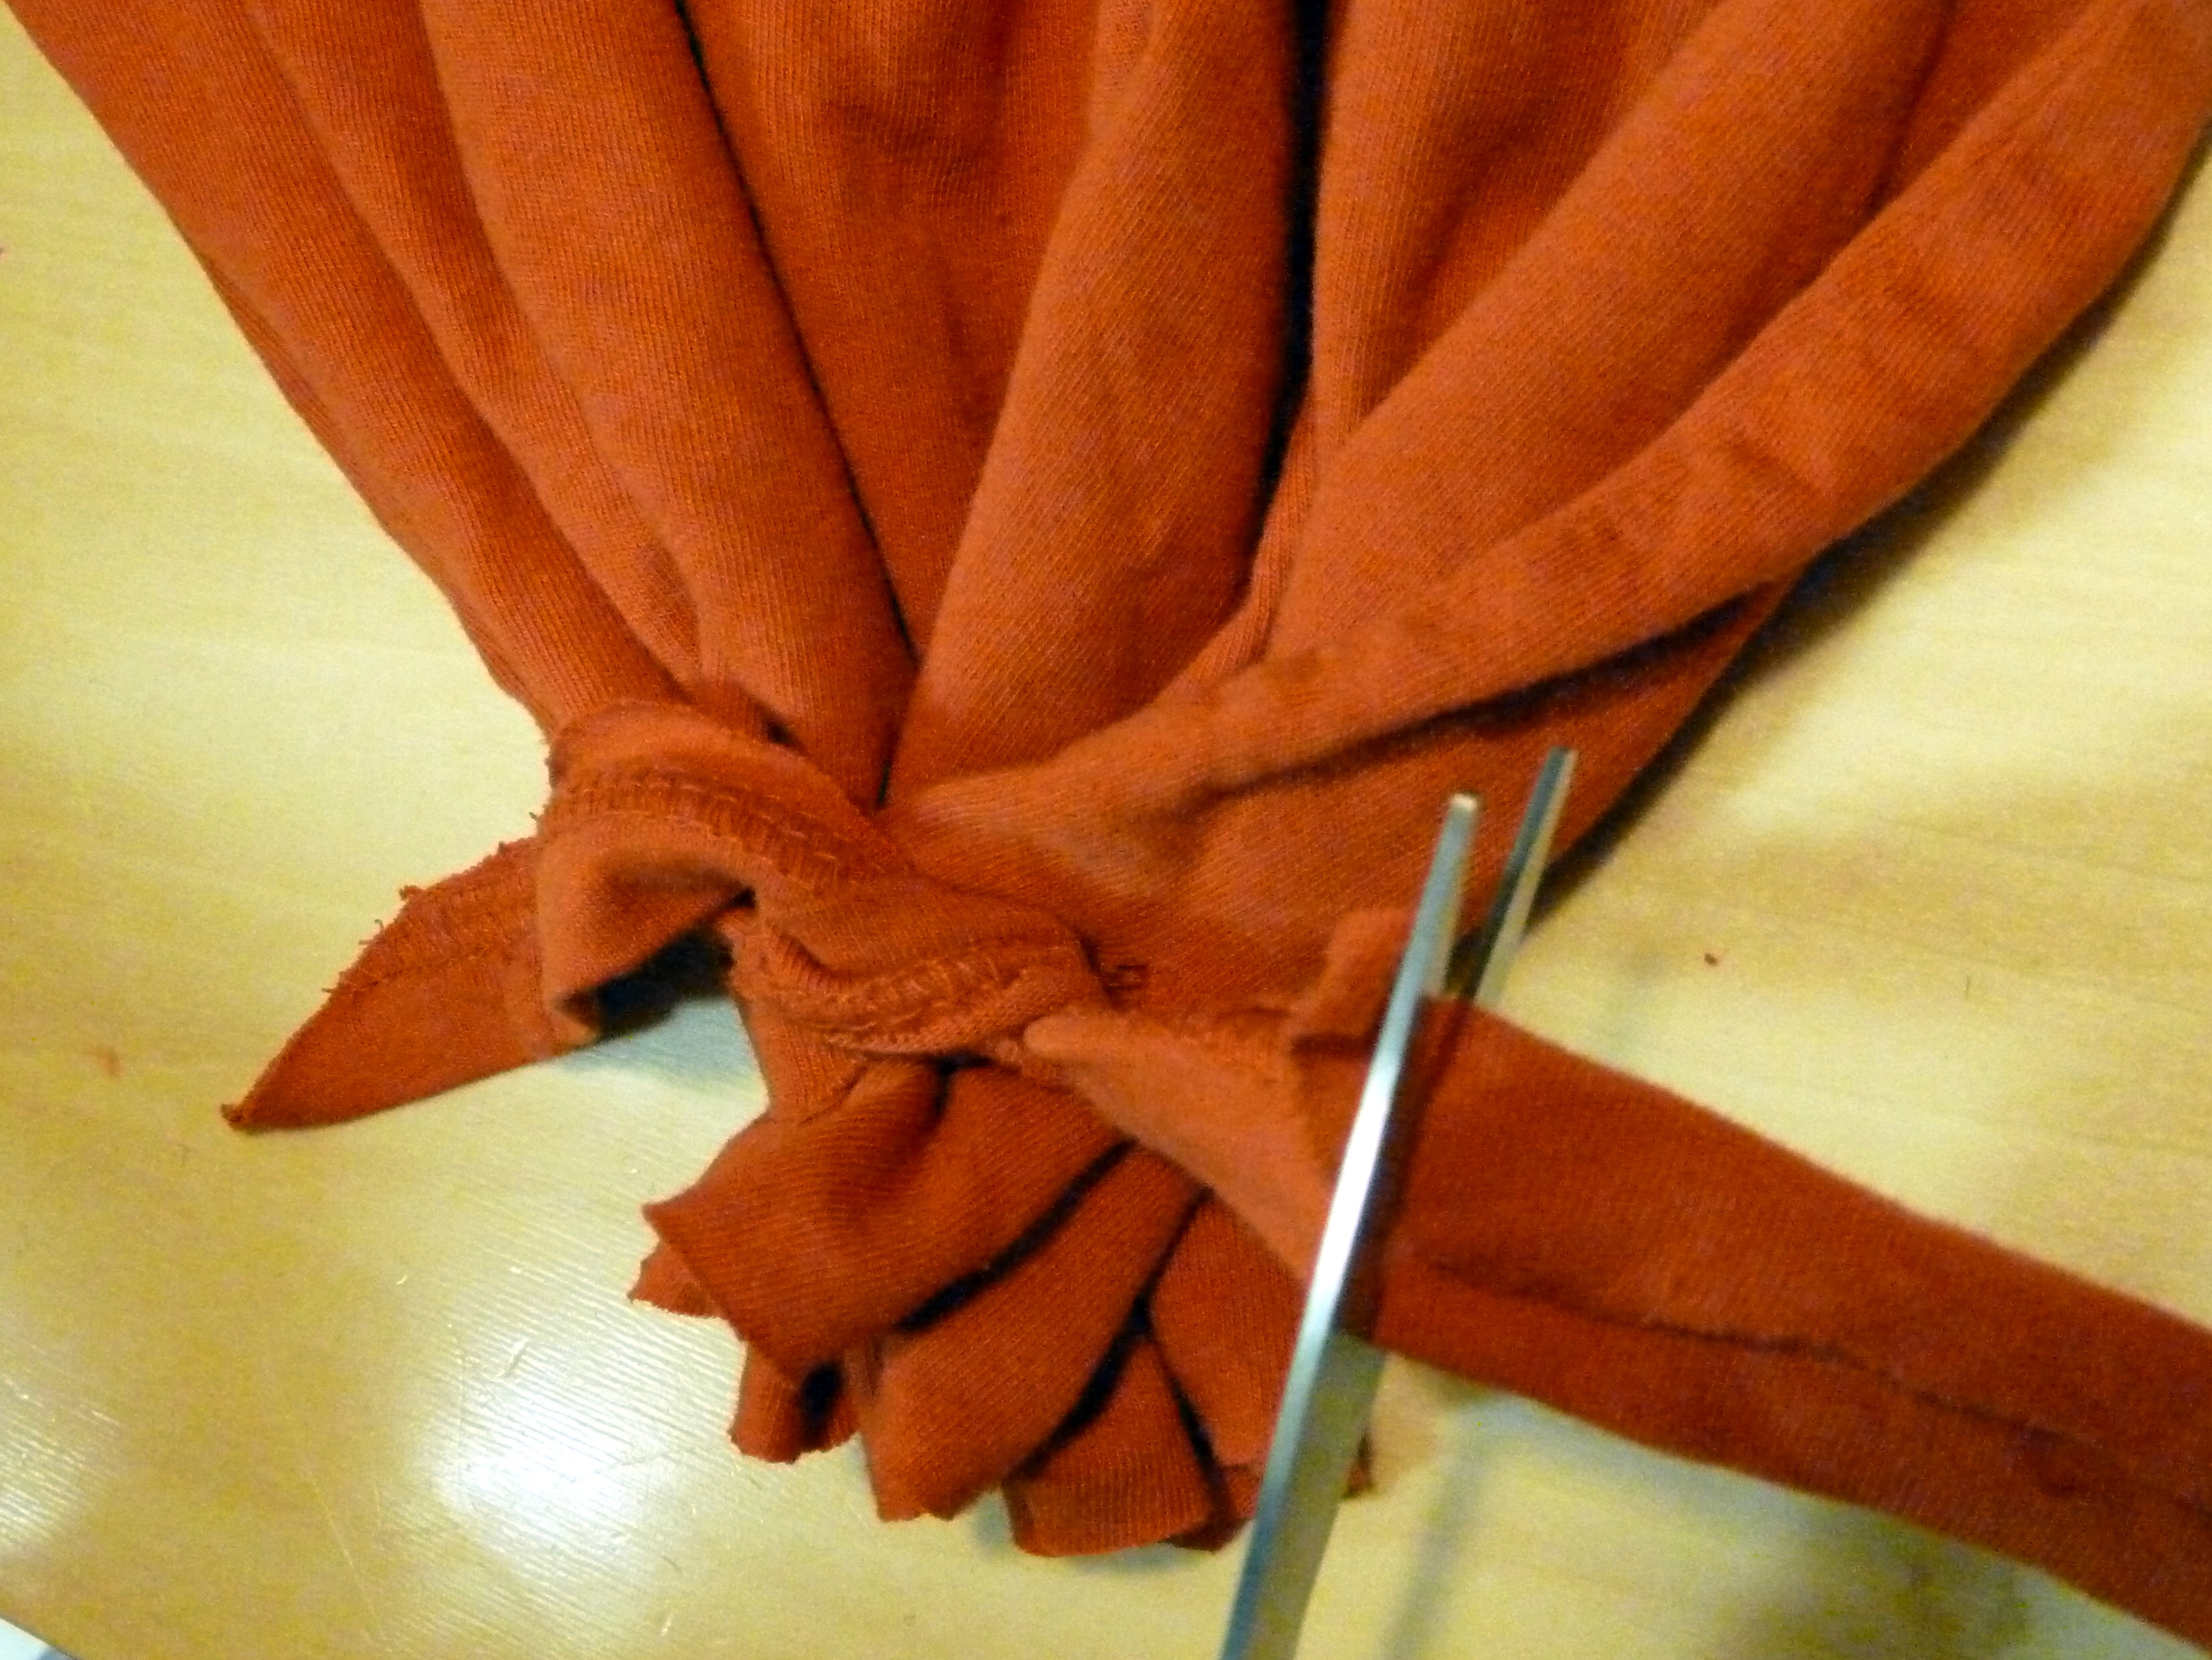
Done!
Pull the bottom closed using the drawstring you inserted. Tie the ends together and double knot. Cut off the excess fabric. The shoulders of the shirt are now the handle and the neck is the opening. Ta-day! A brand new upcycled trick-or-treat bag!