Step-by-step tutorial
Warning
Borax (sodium tetraborate) is a naturally-occurring mineral salt commonly used as a laundry booster or cleaner. As with any other cleaning product, it should be kept away from children not under direct supervision of an adult. Do not allow children to ingest Borax. If consumed, contact a poison control center immediately. Wash hands after play, as prolonged skin exposure may cause irritation.
Step 1
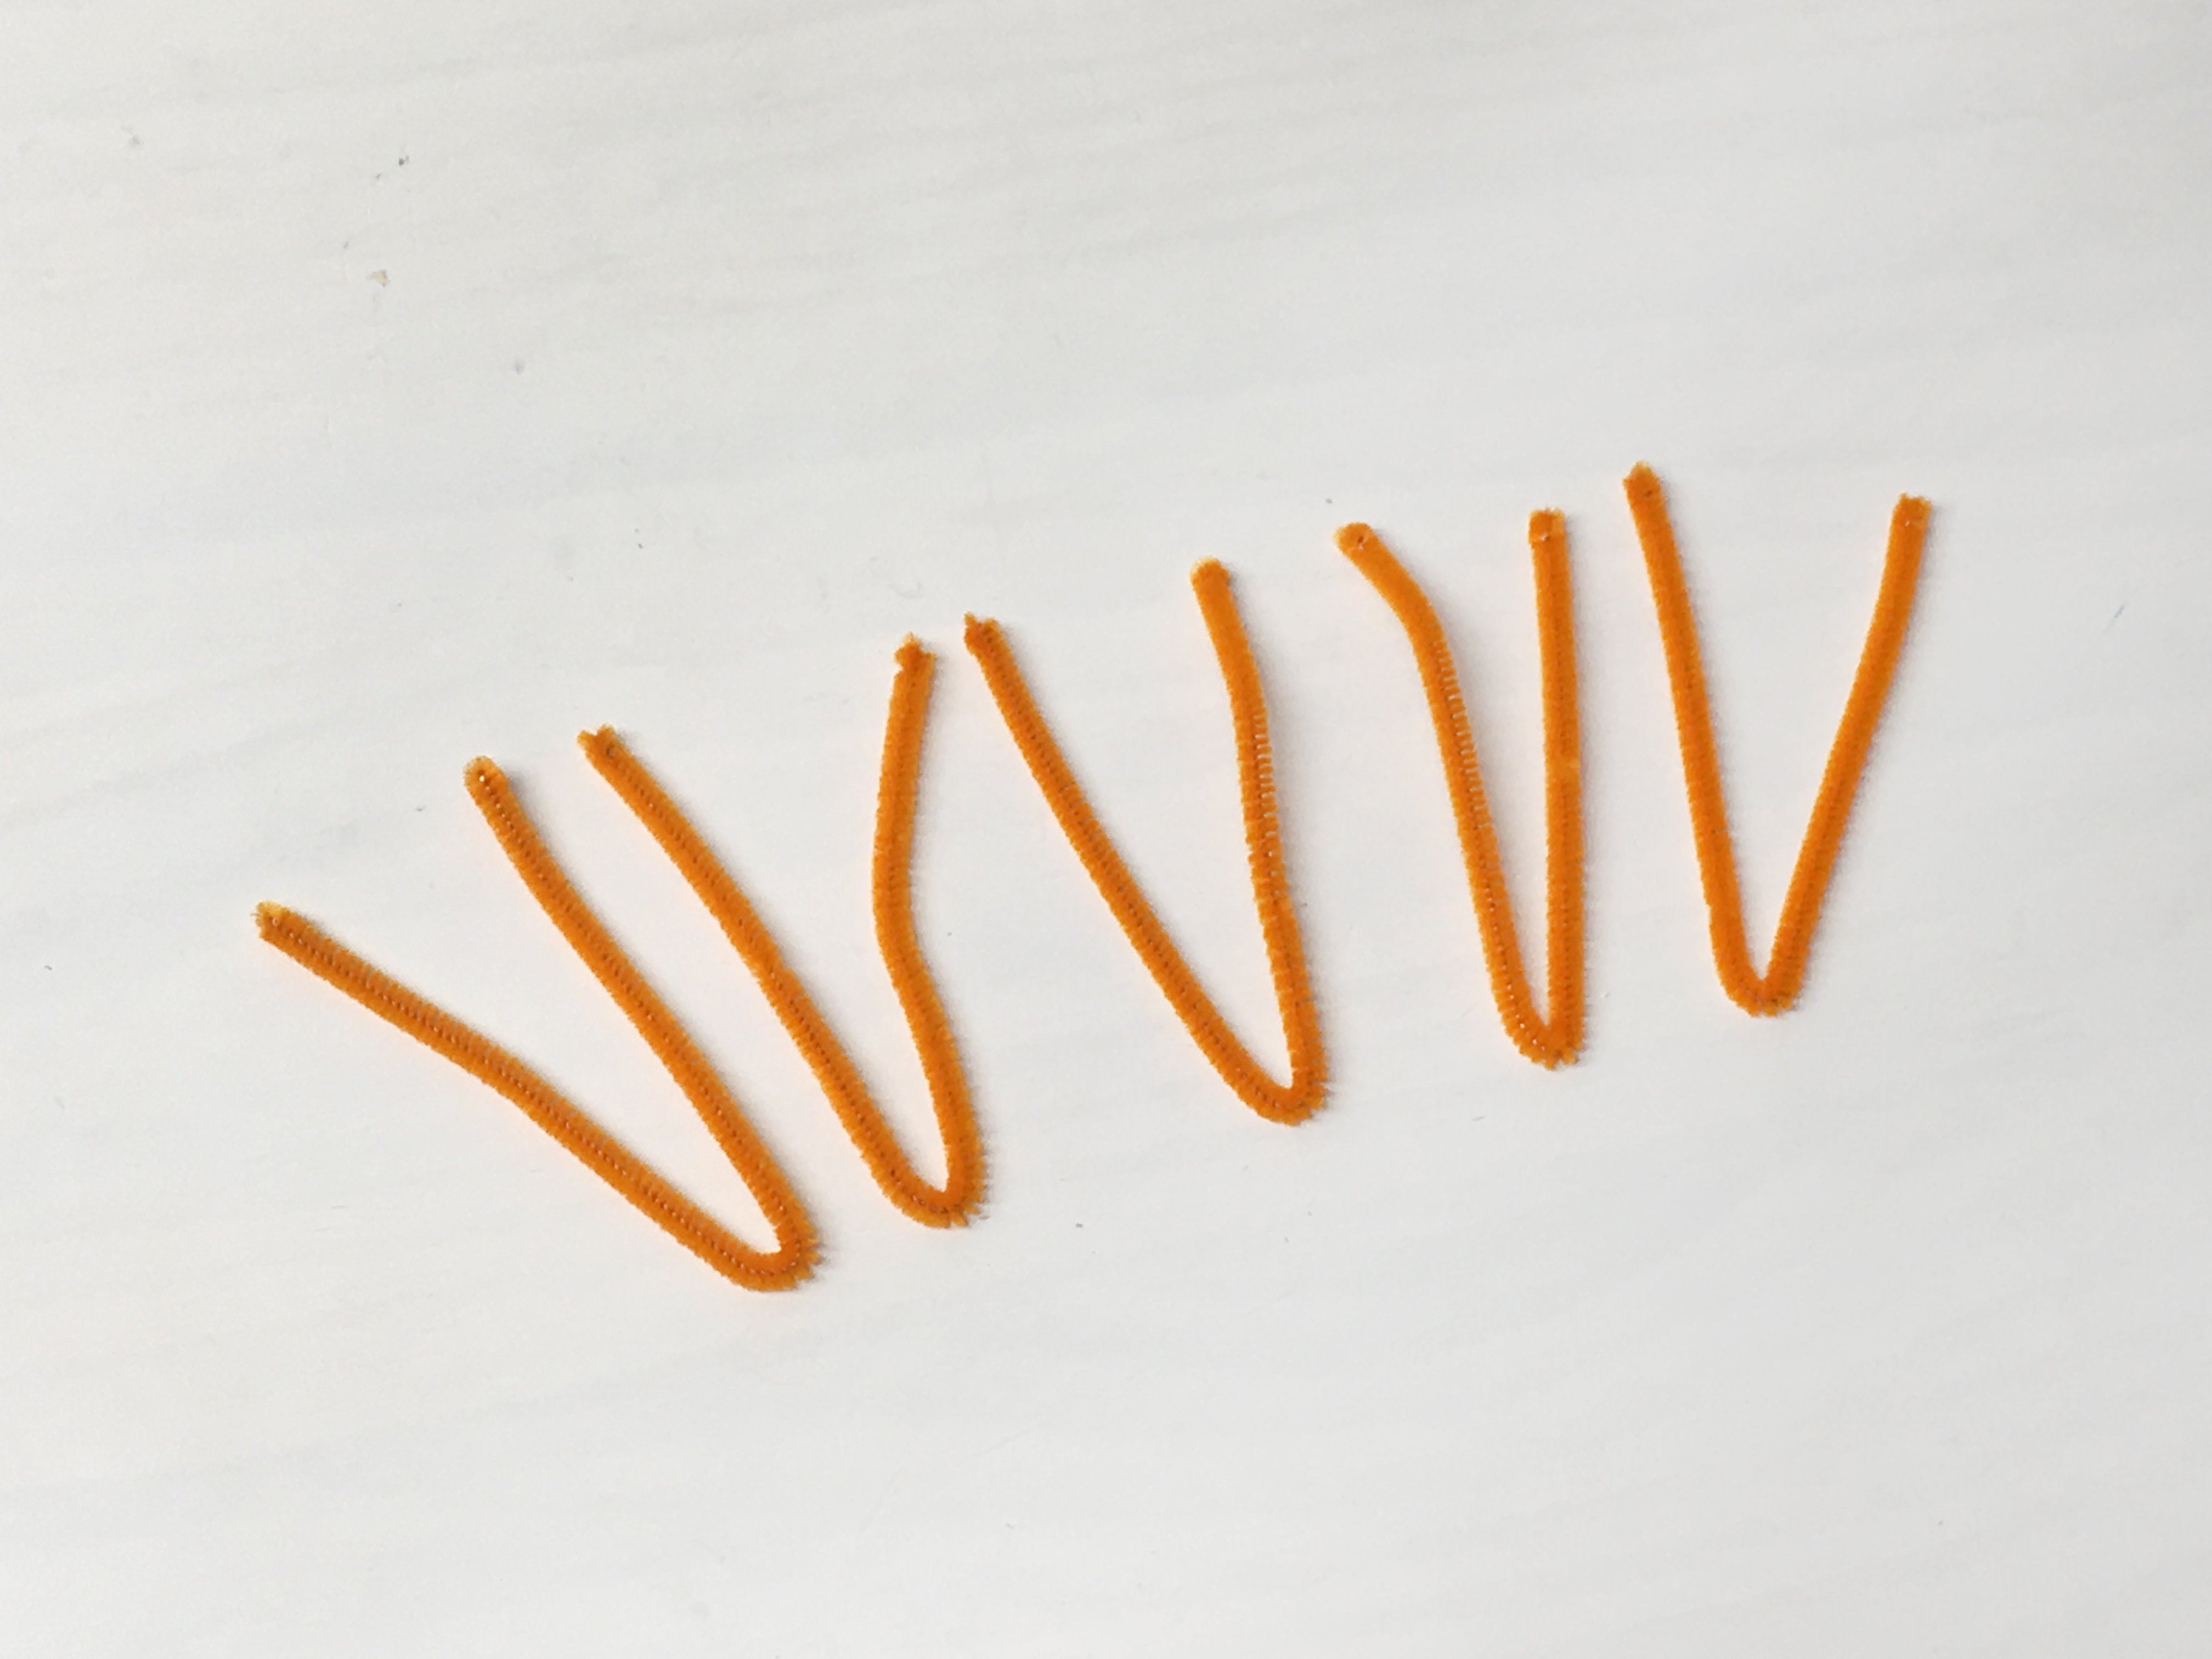
We started off making pumpkins and bats for our Halloween crystals, but if you have your own ornaments already made, skip to Step 15!
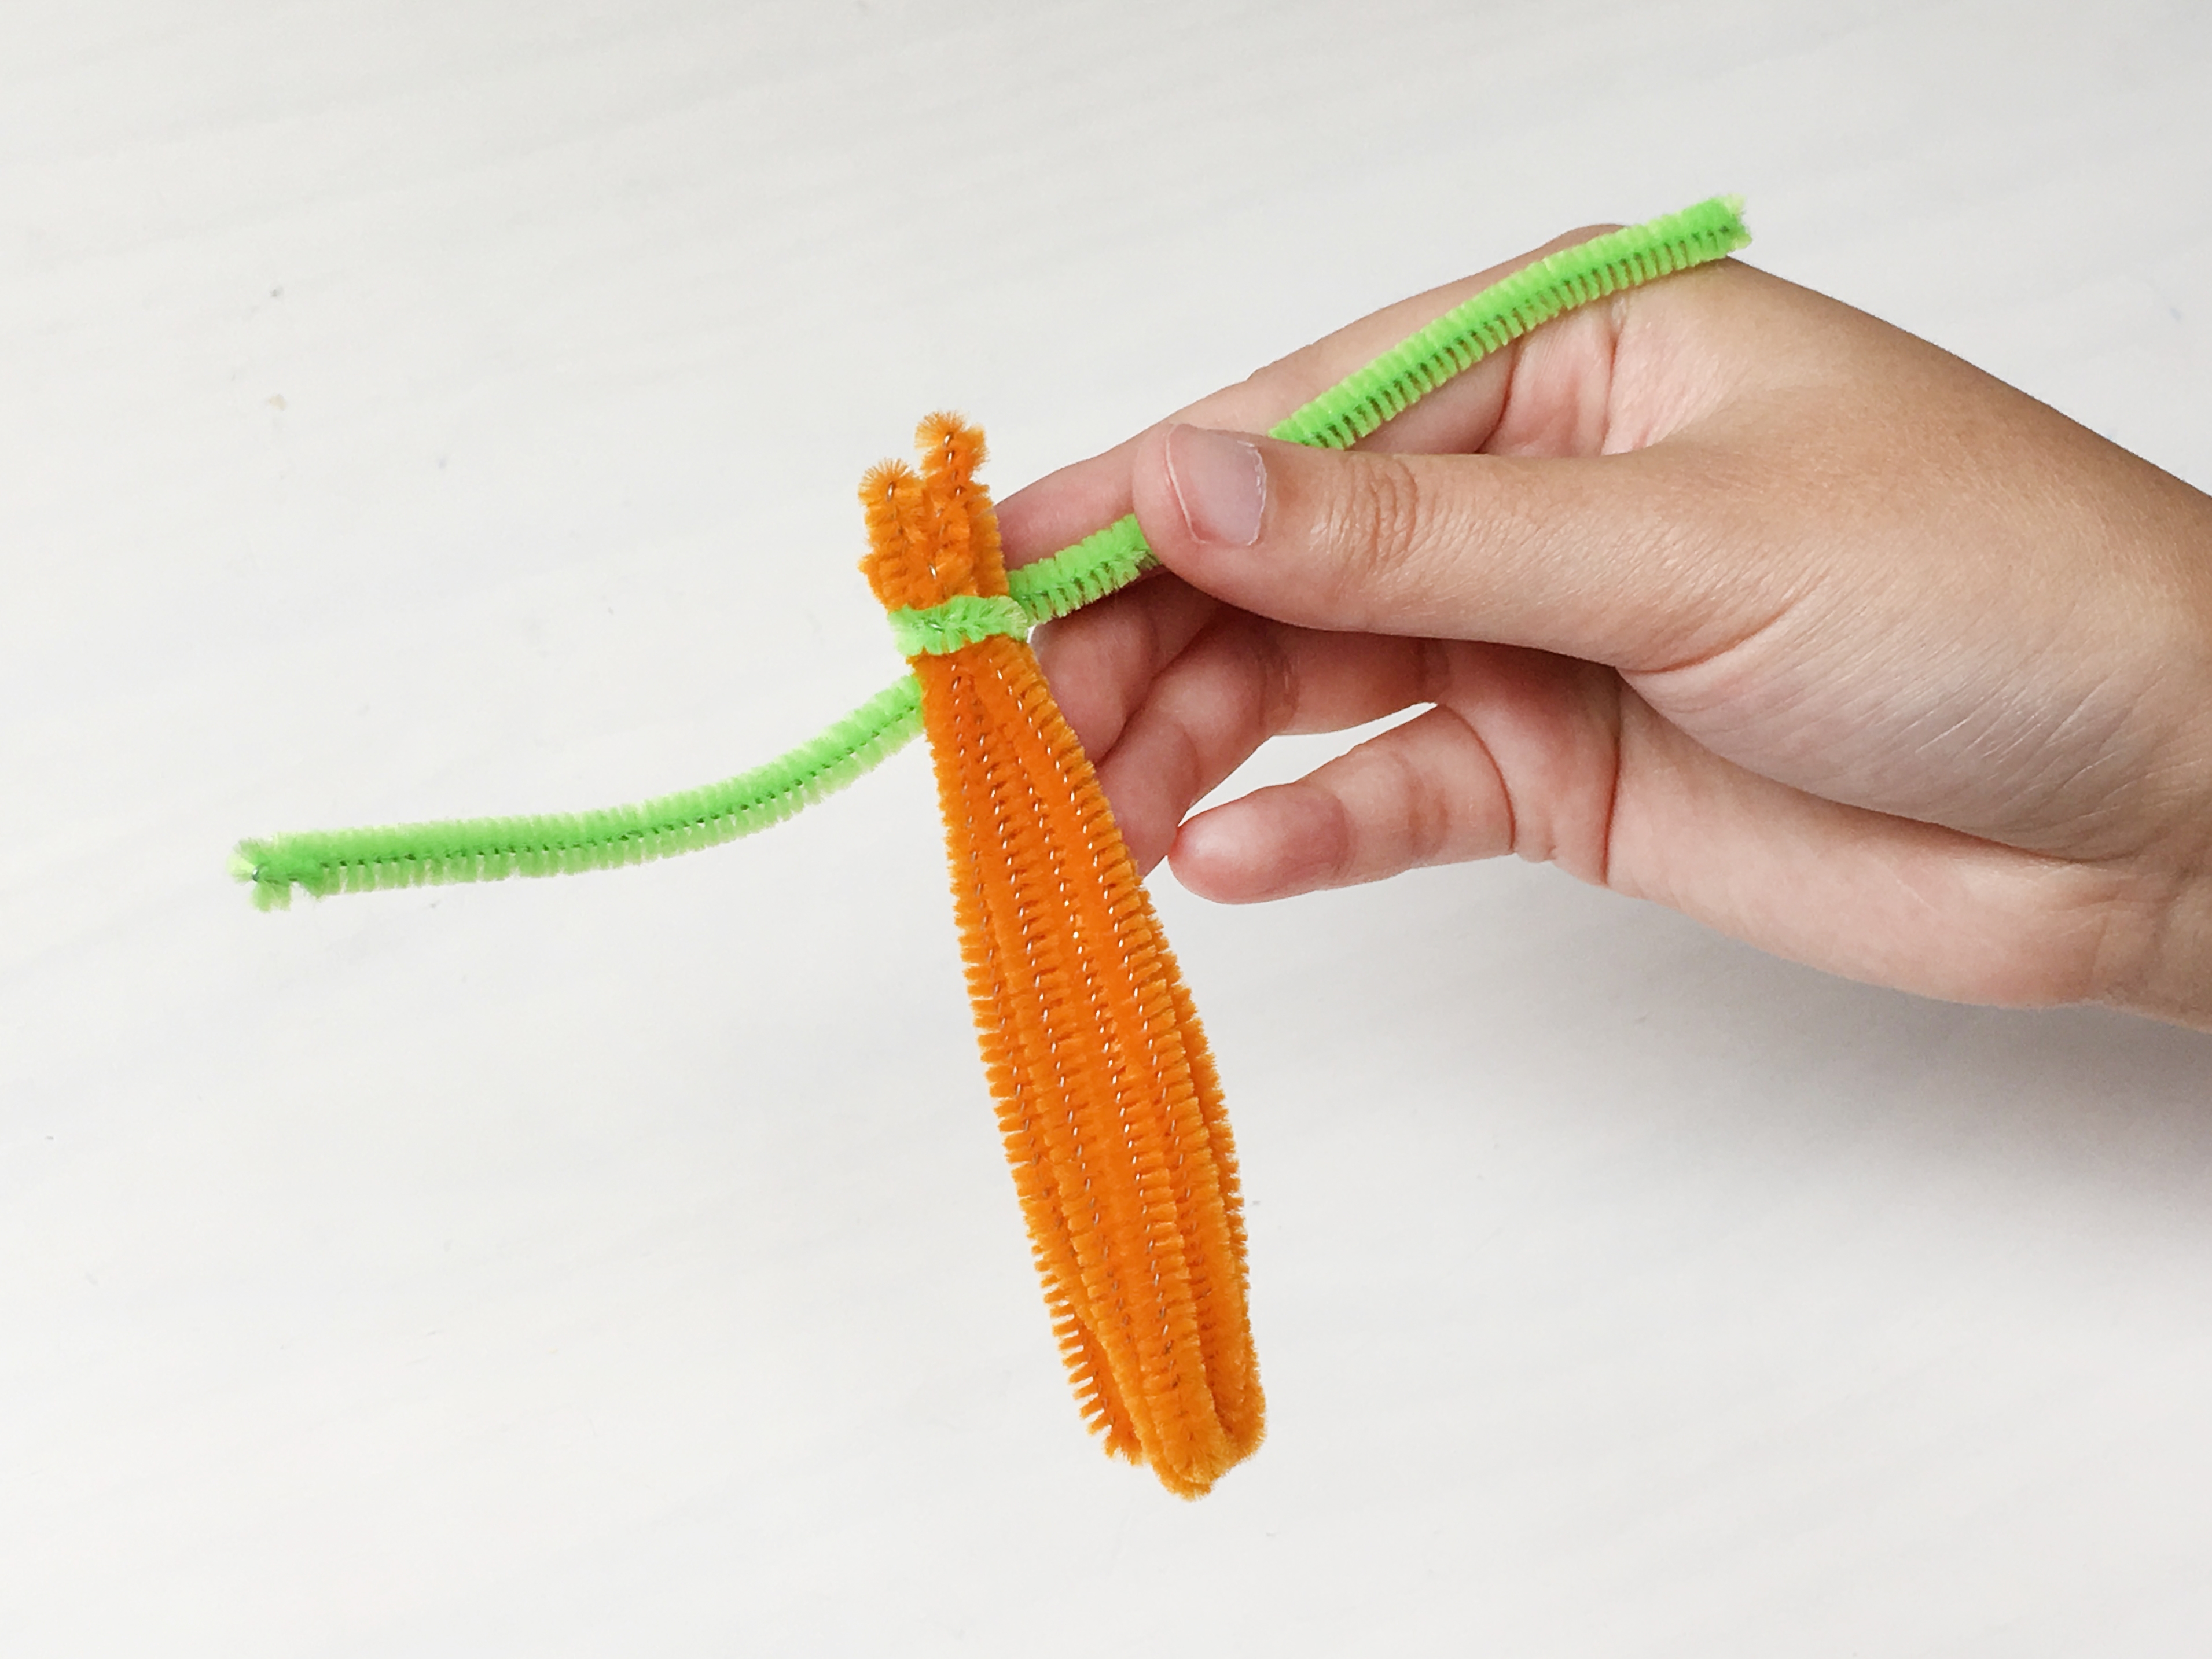
To make a pumpkin, start by folding five pipe cleaners in half.
Step 2
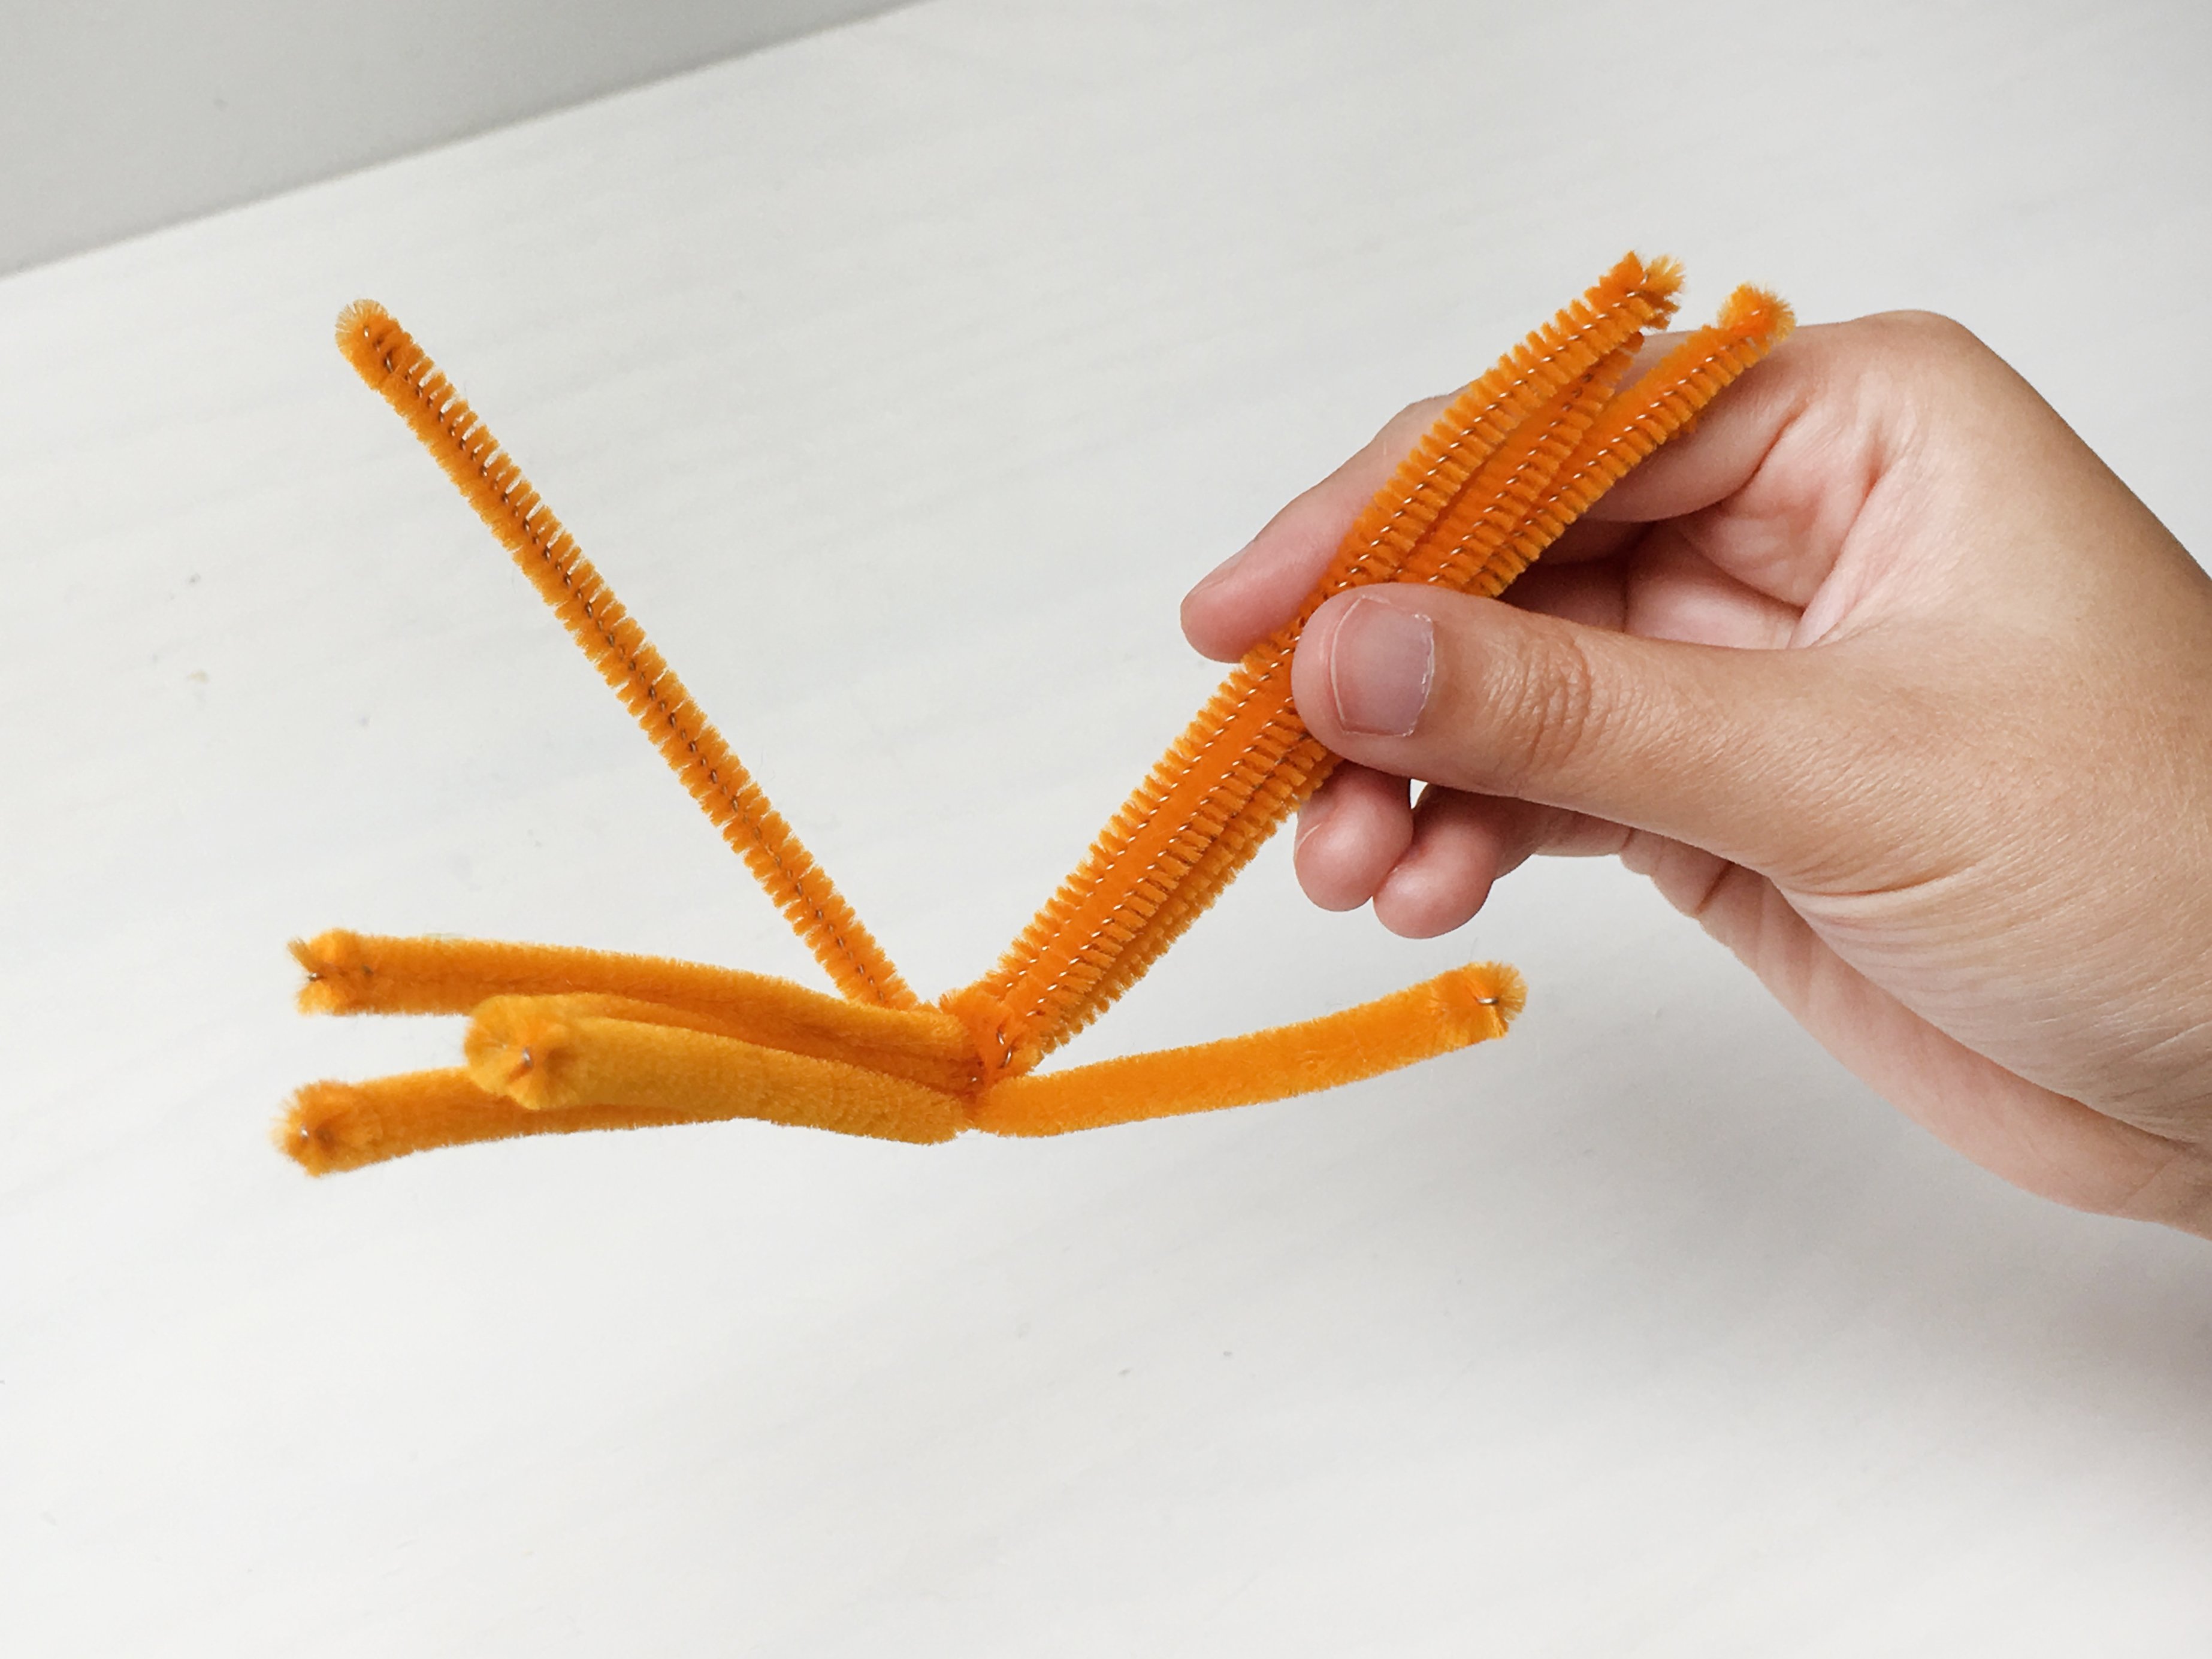
Stack four pipe cleaners together, and orient the fifth pipe cleaner below the stack.

Step 3
With one twist, secure the fifth pipe cleaner at the center of the other four pipe cleaners.
Step 4
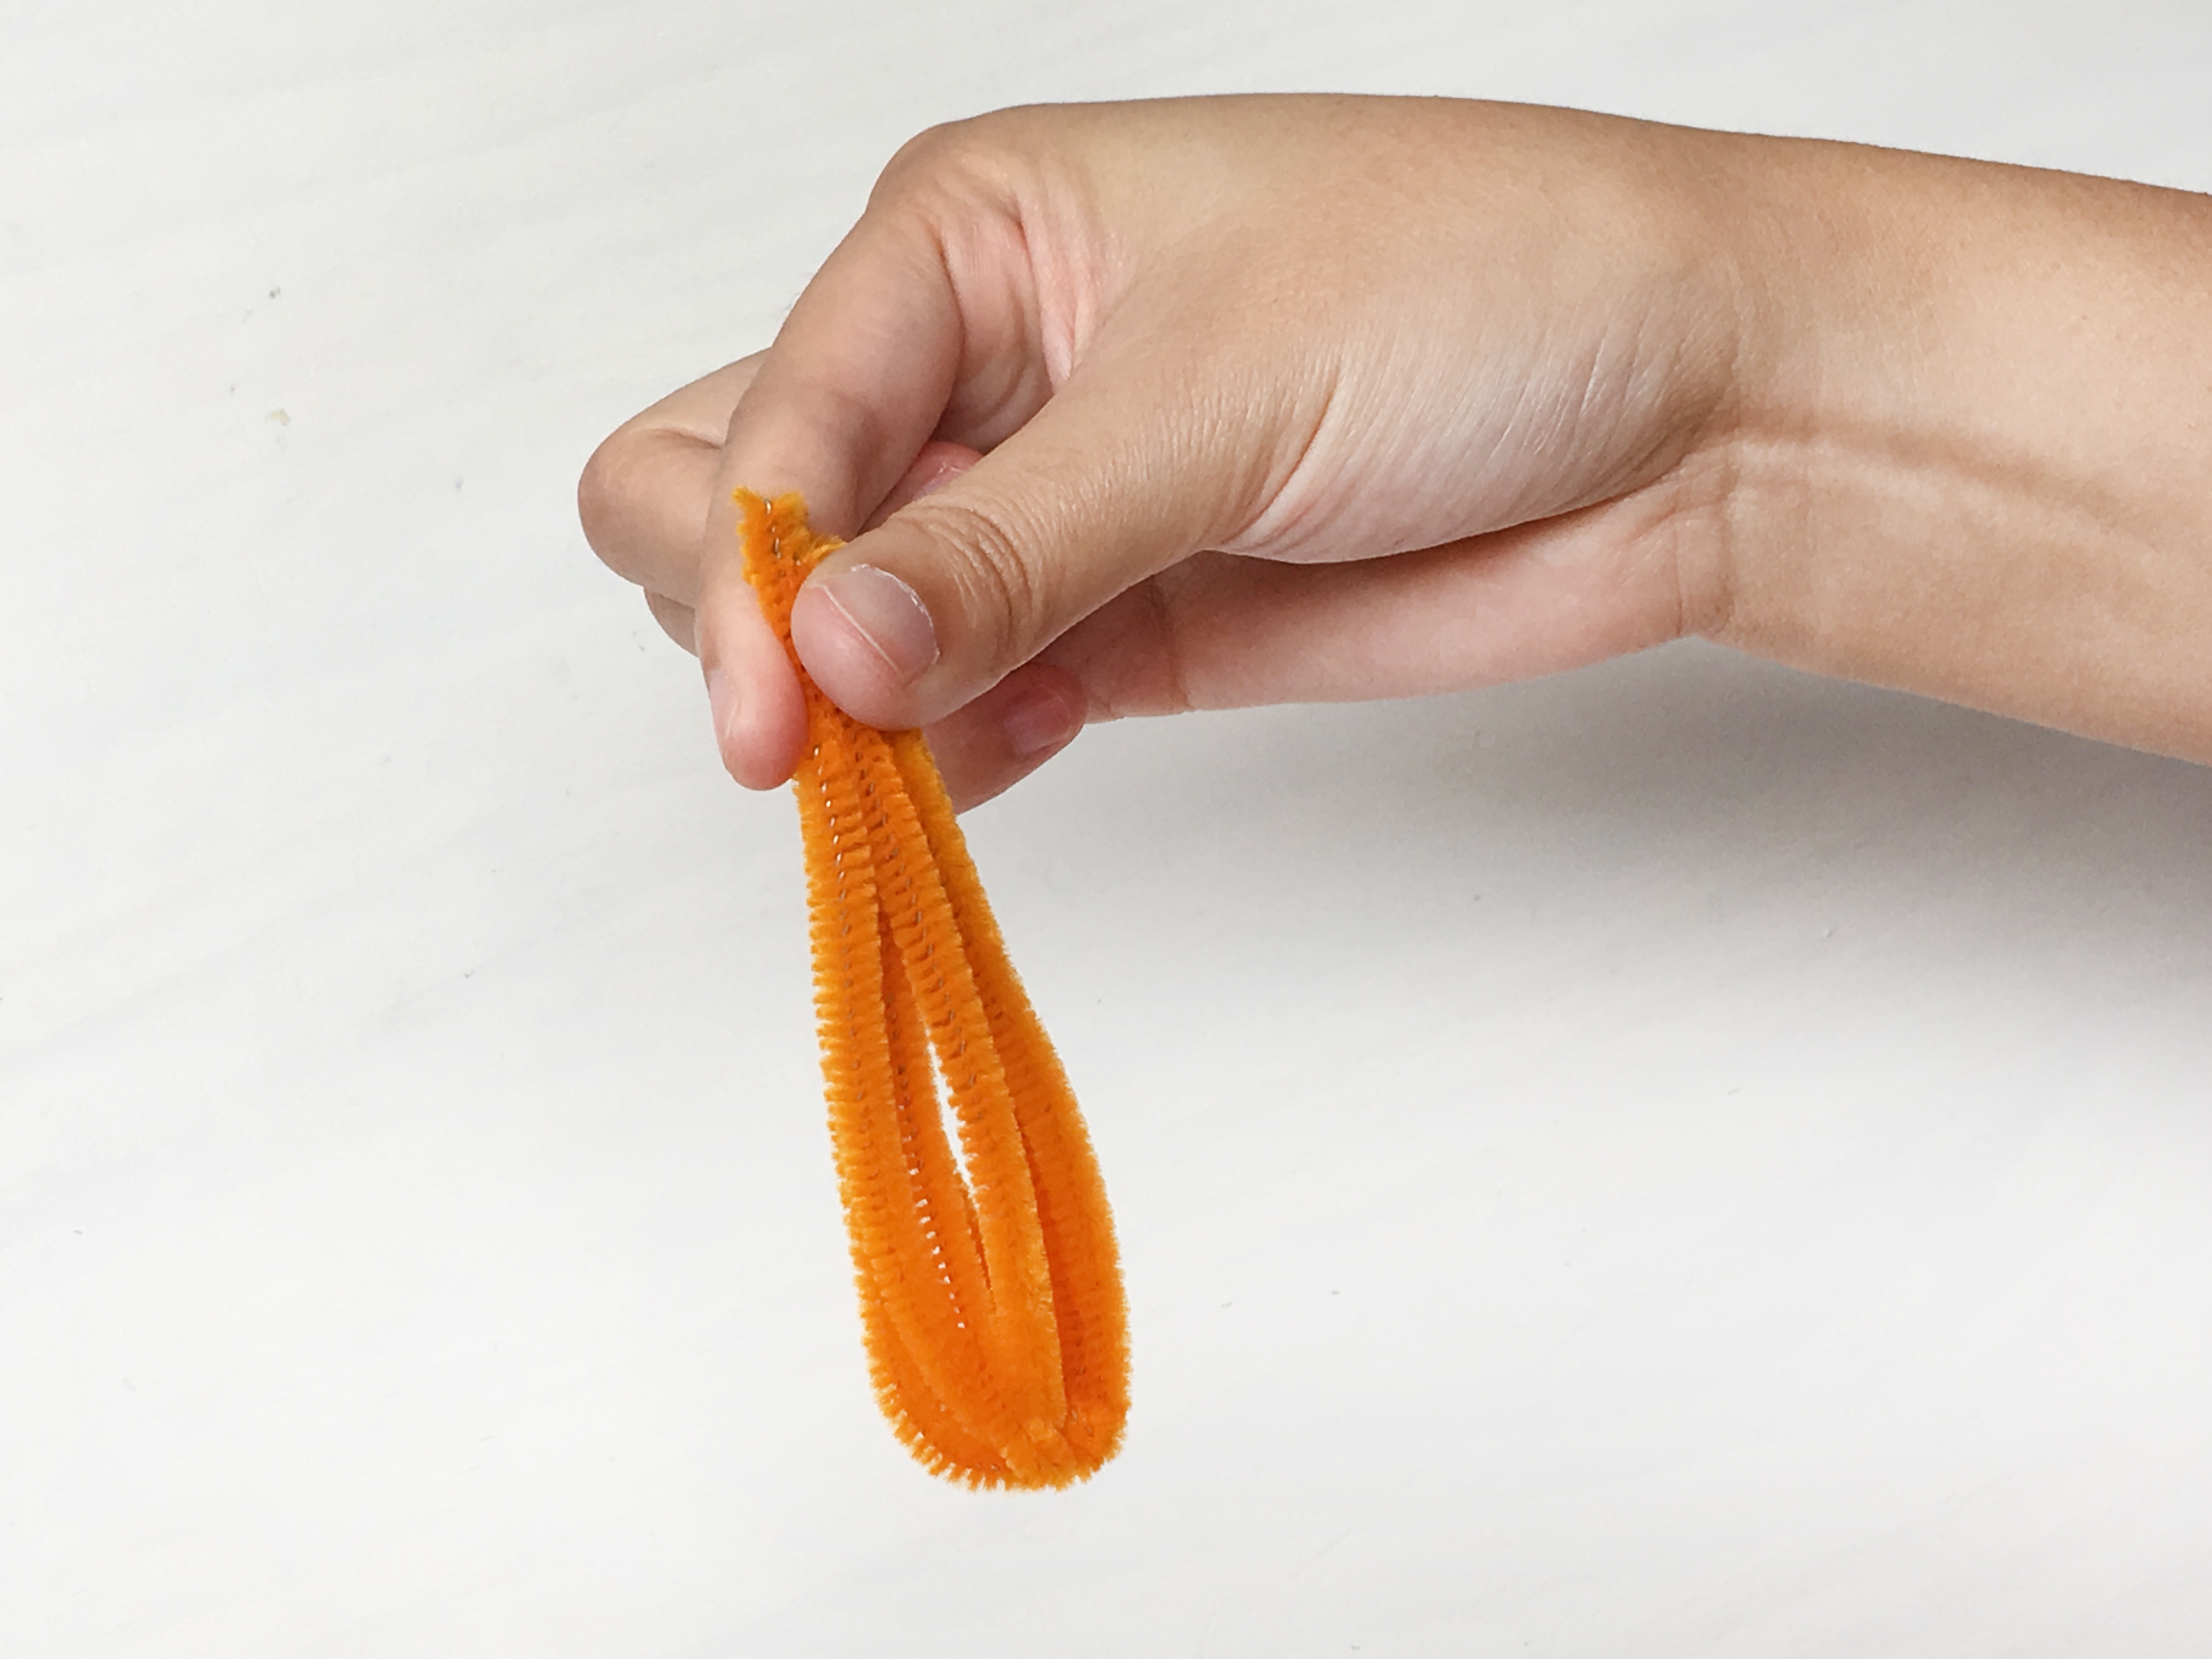
Pinch the ends of the pipe cleaners.
Step 5
Take a new pipe cleaner and wrap it twice around the top of the bundle.
Step 6
Twist the pipe cleaners to make pumpkin vines!
Step 7
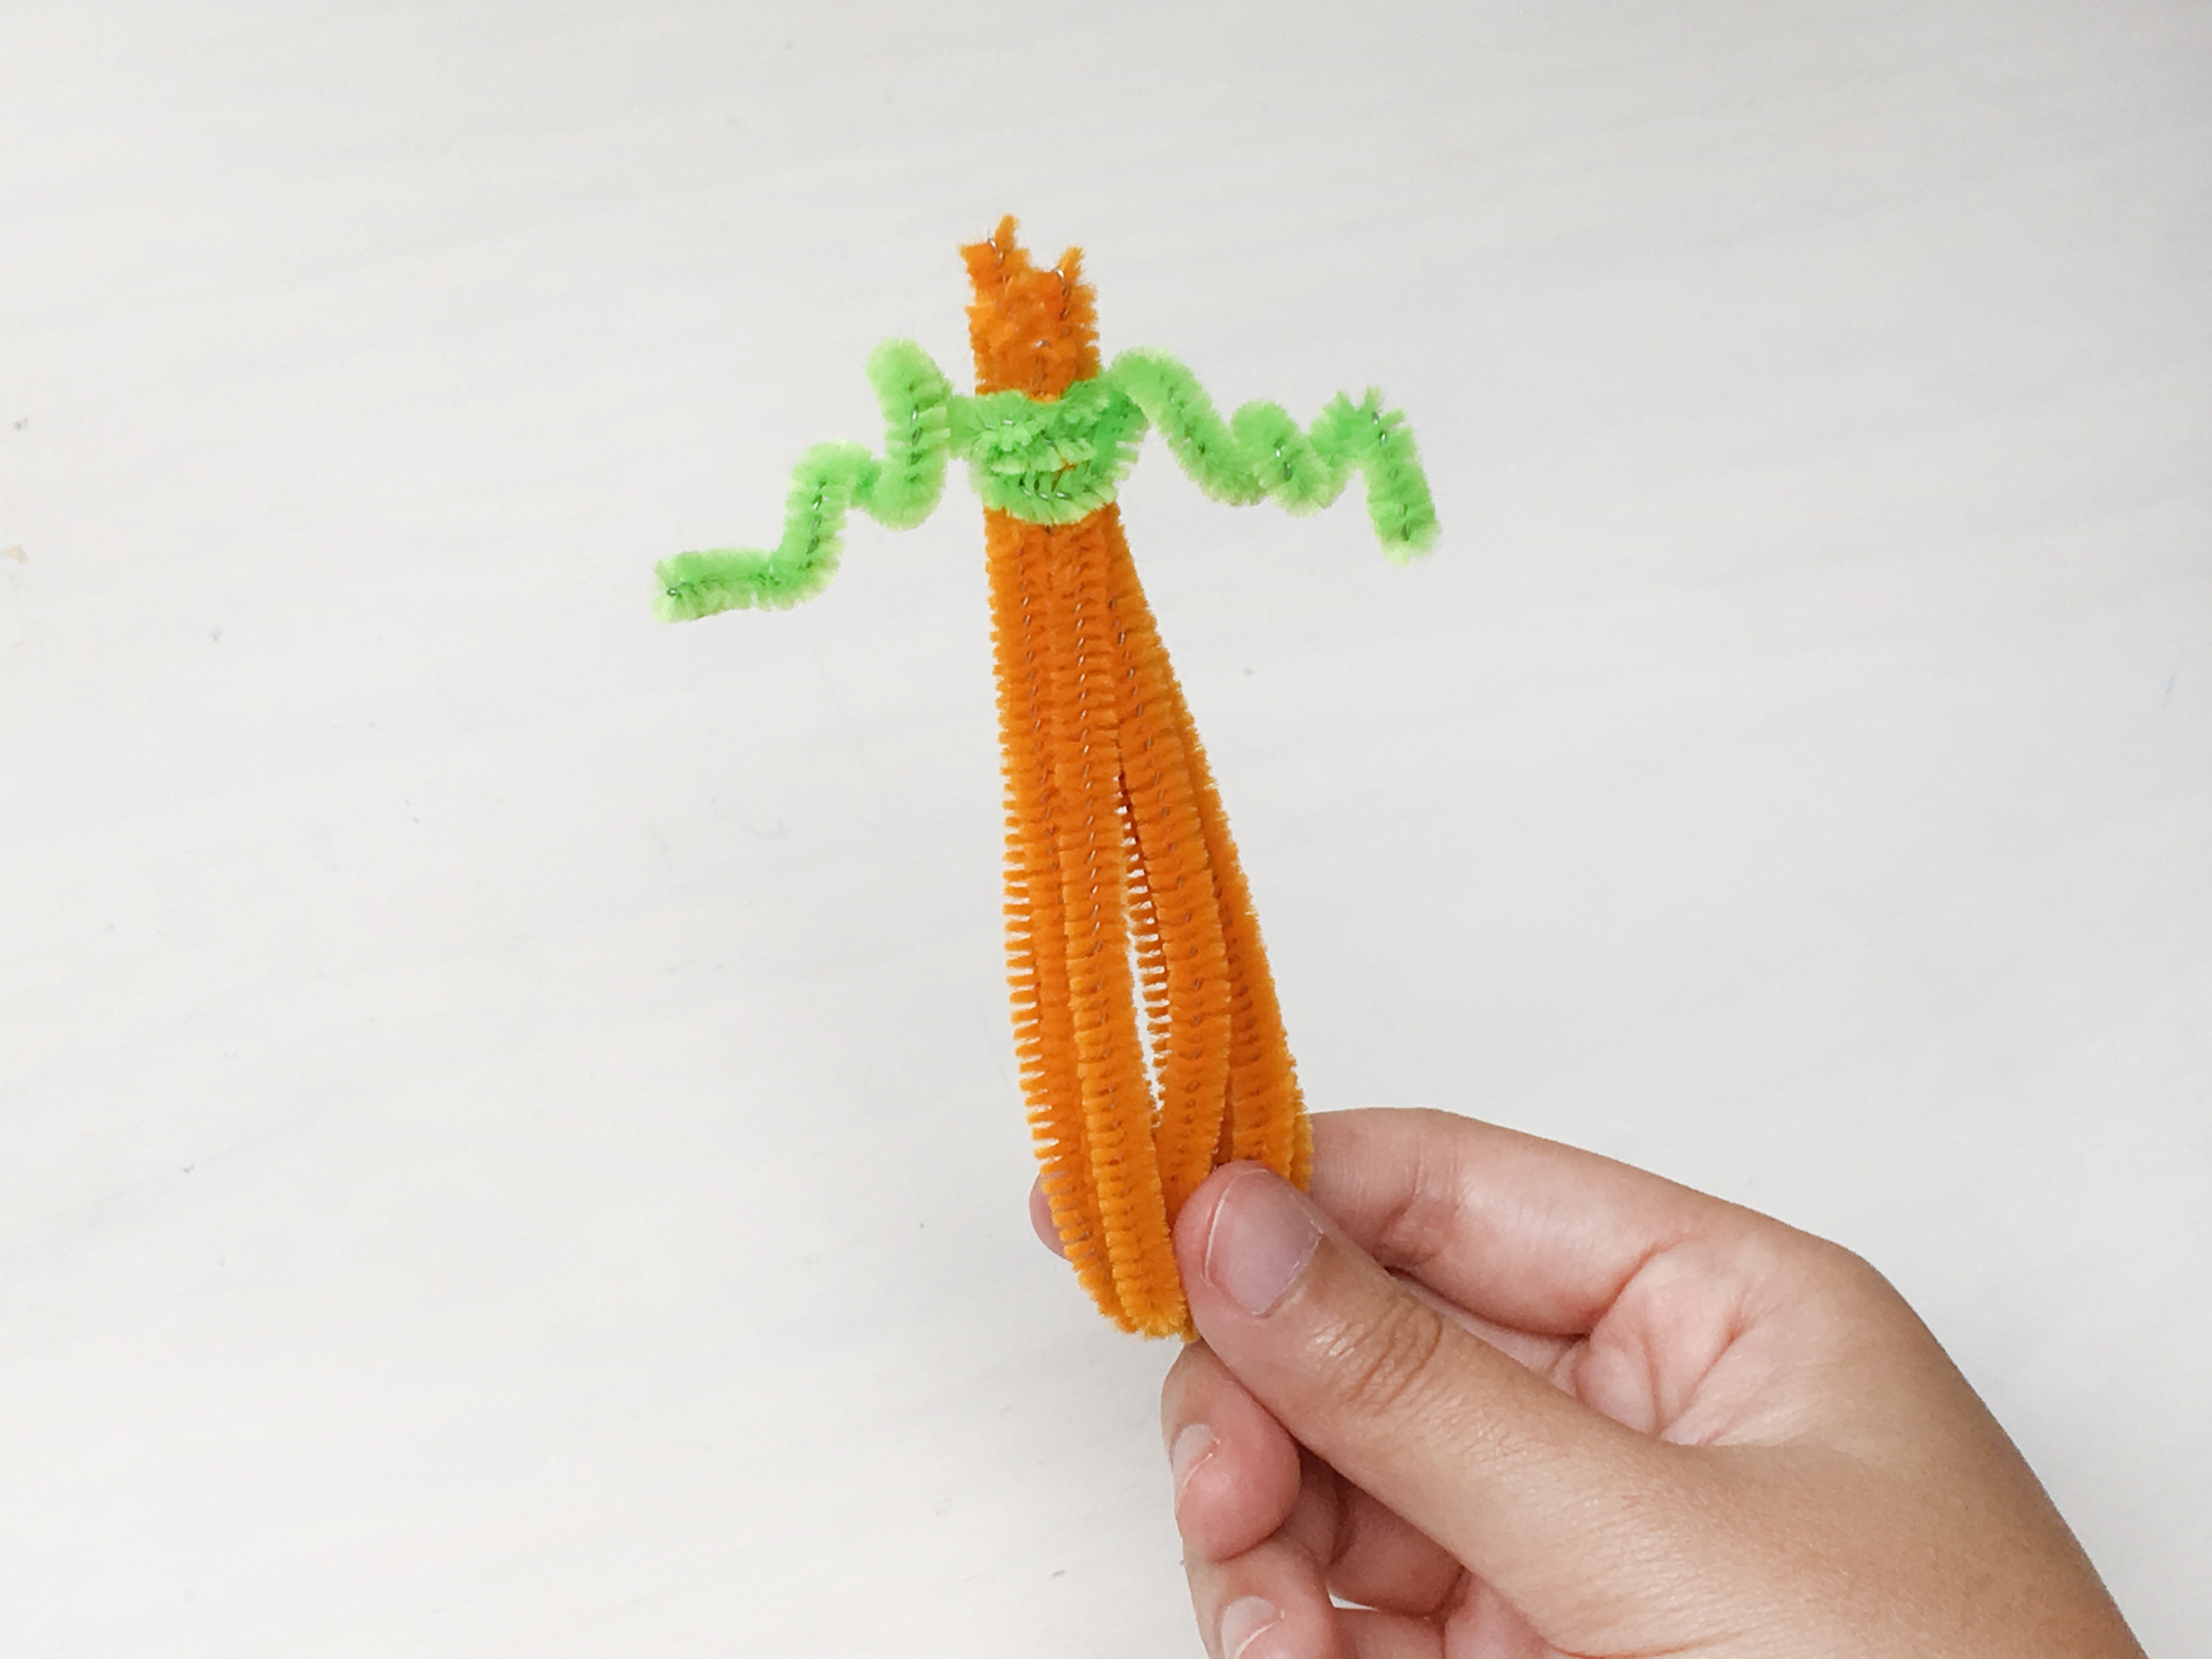
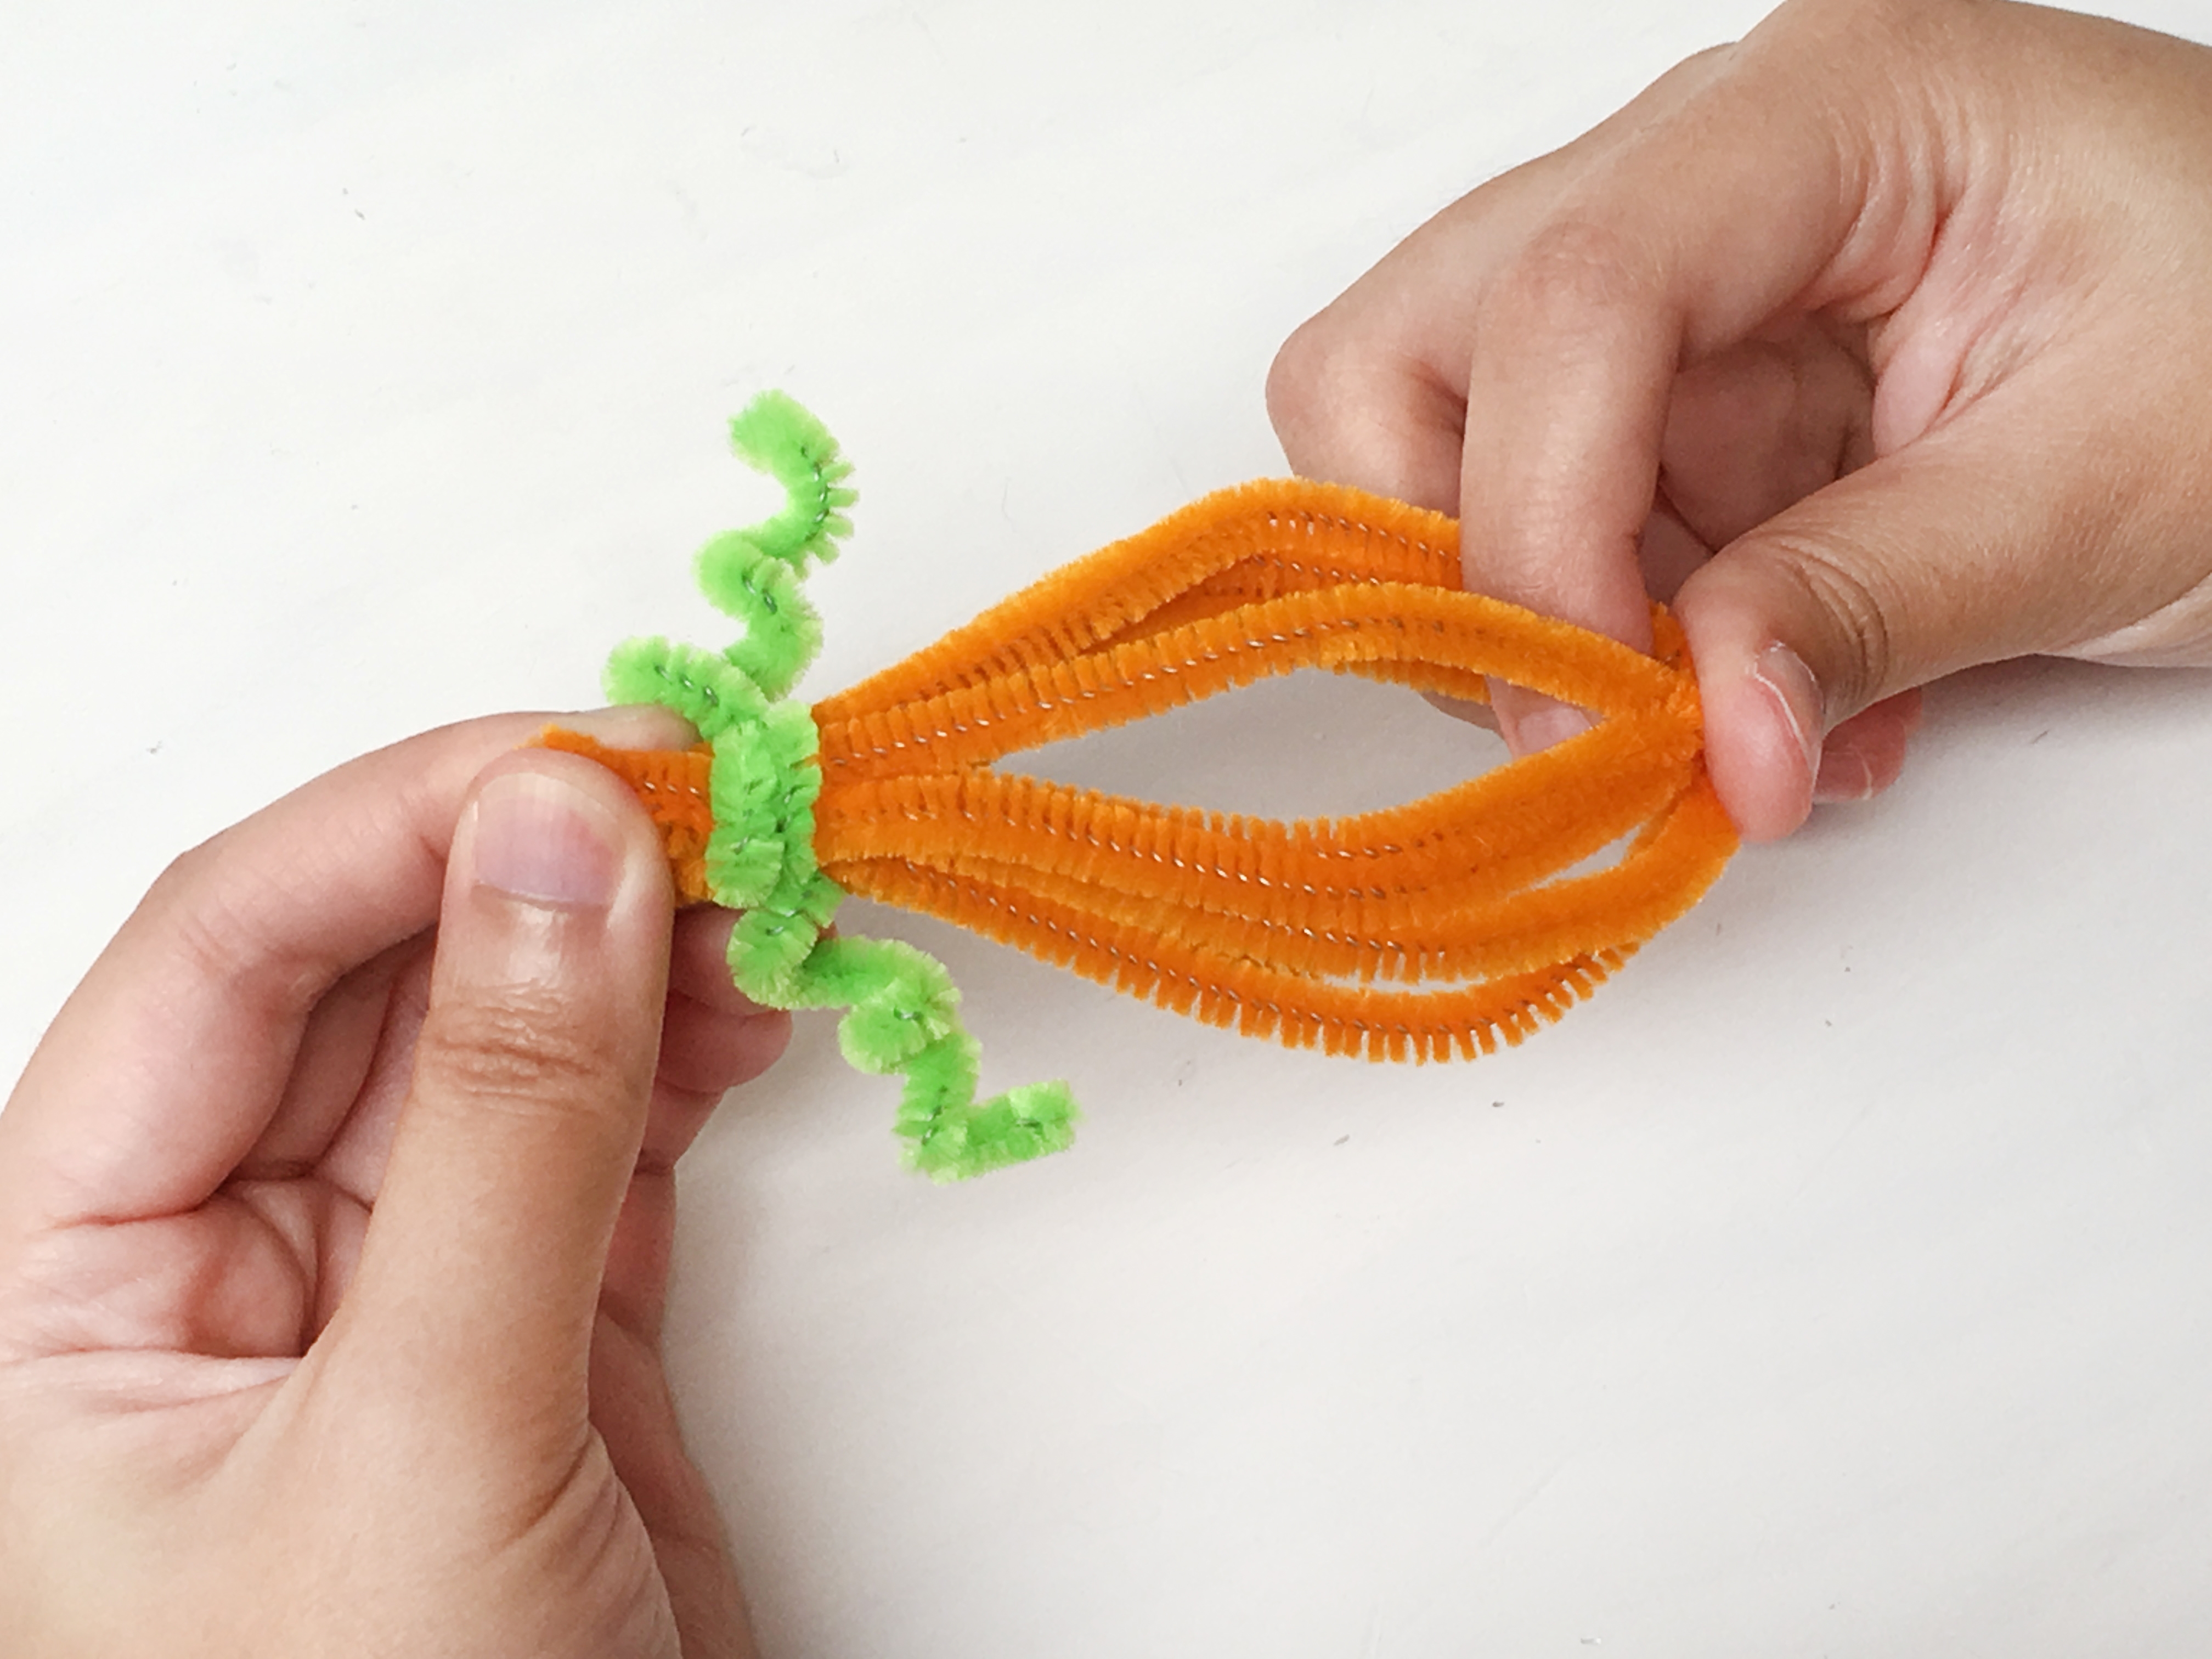
Using both hands, push the top and the bottom of the pumpkin towards each other to "puff" up the pumpkin.
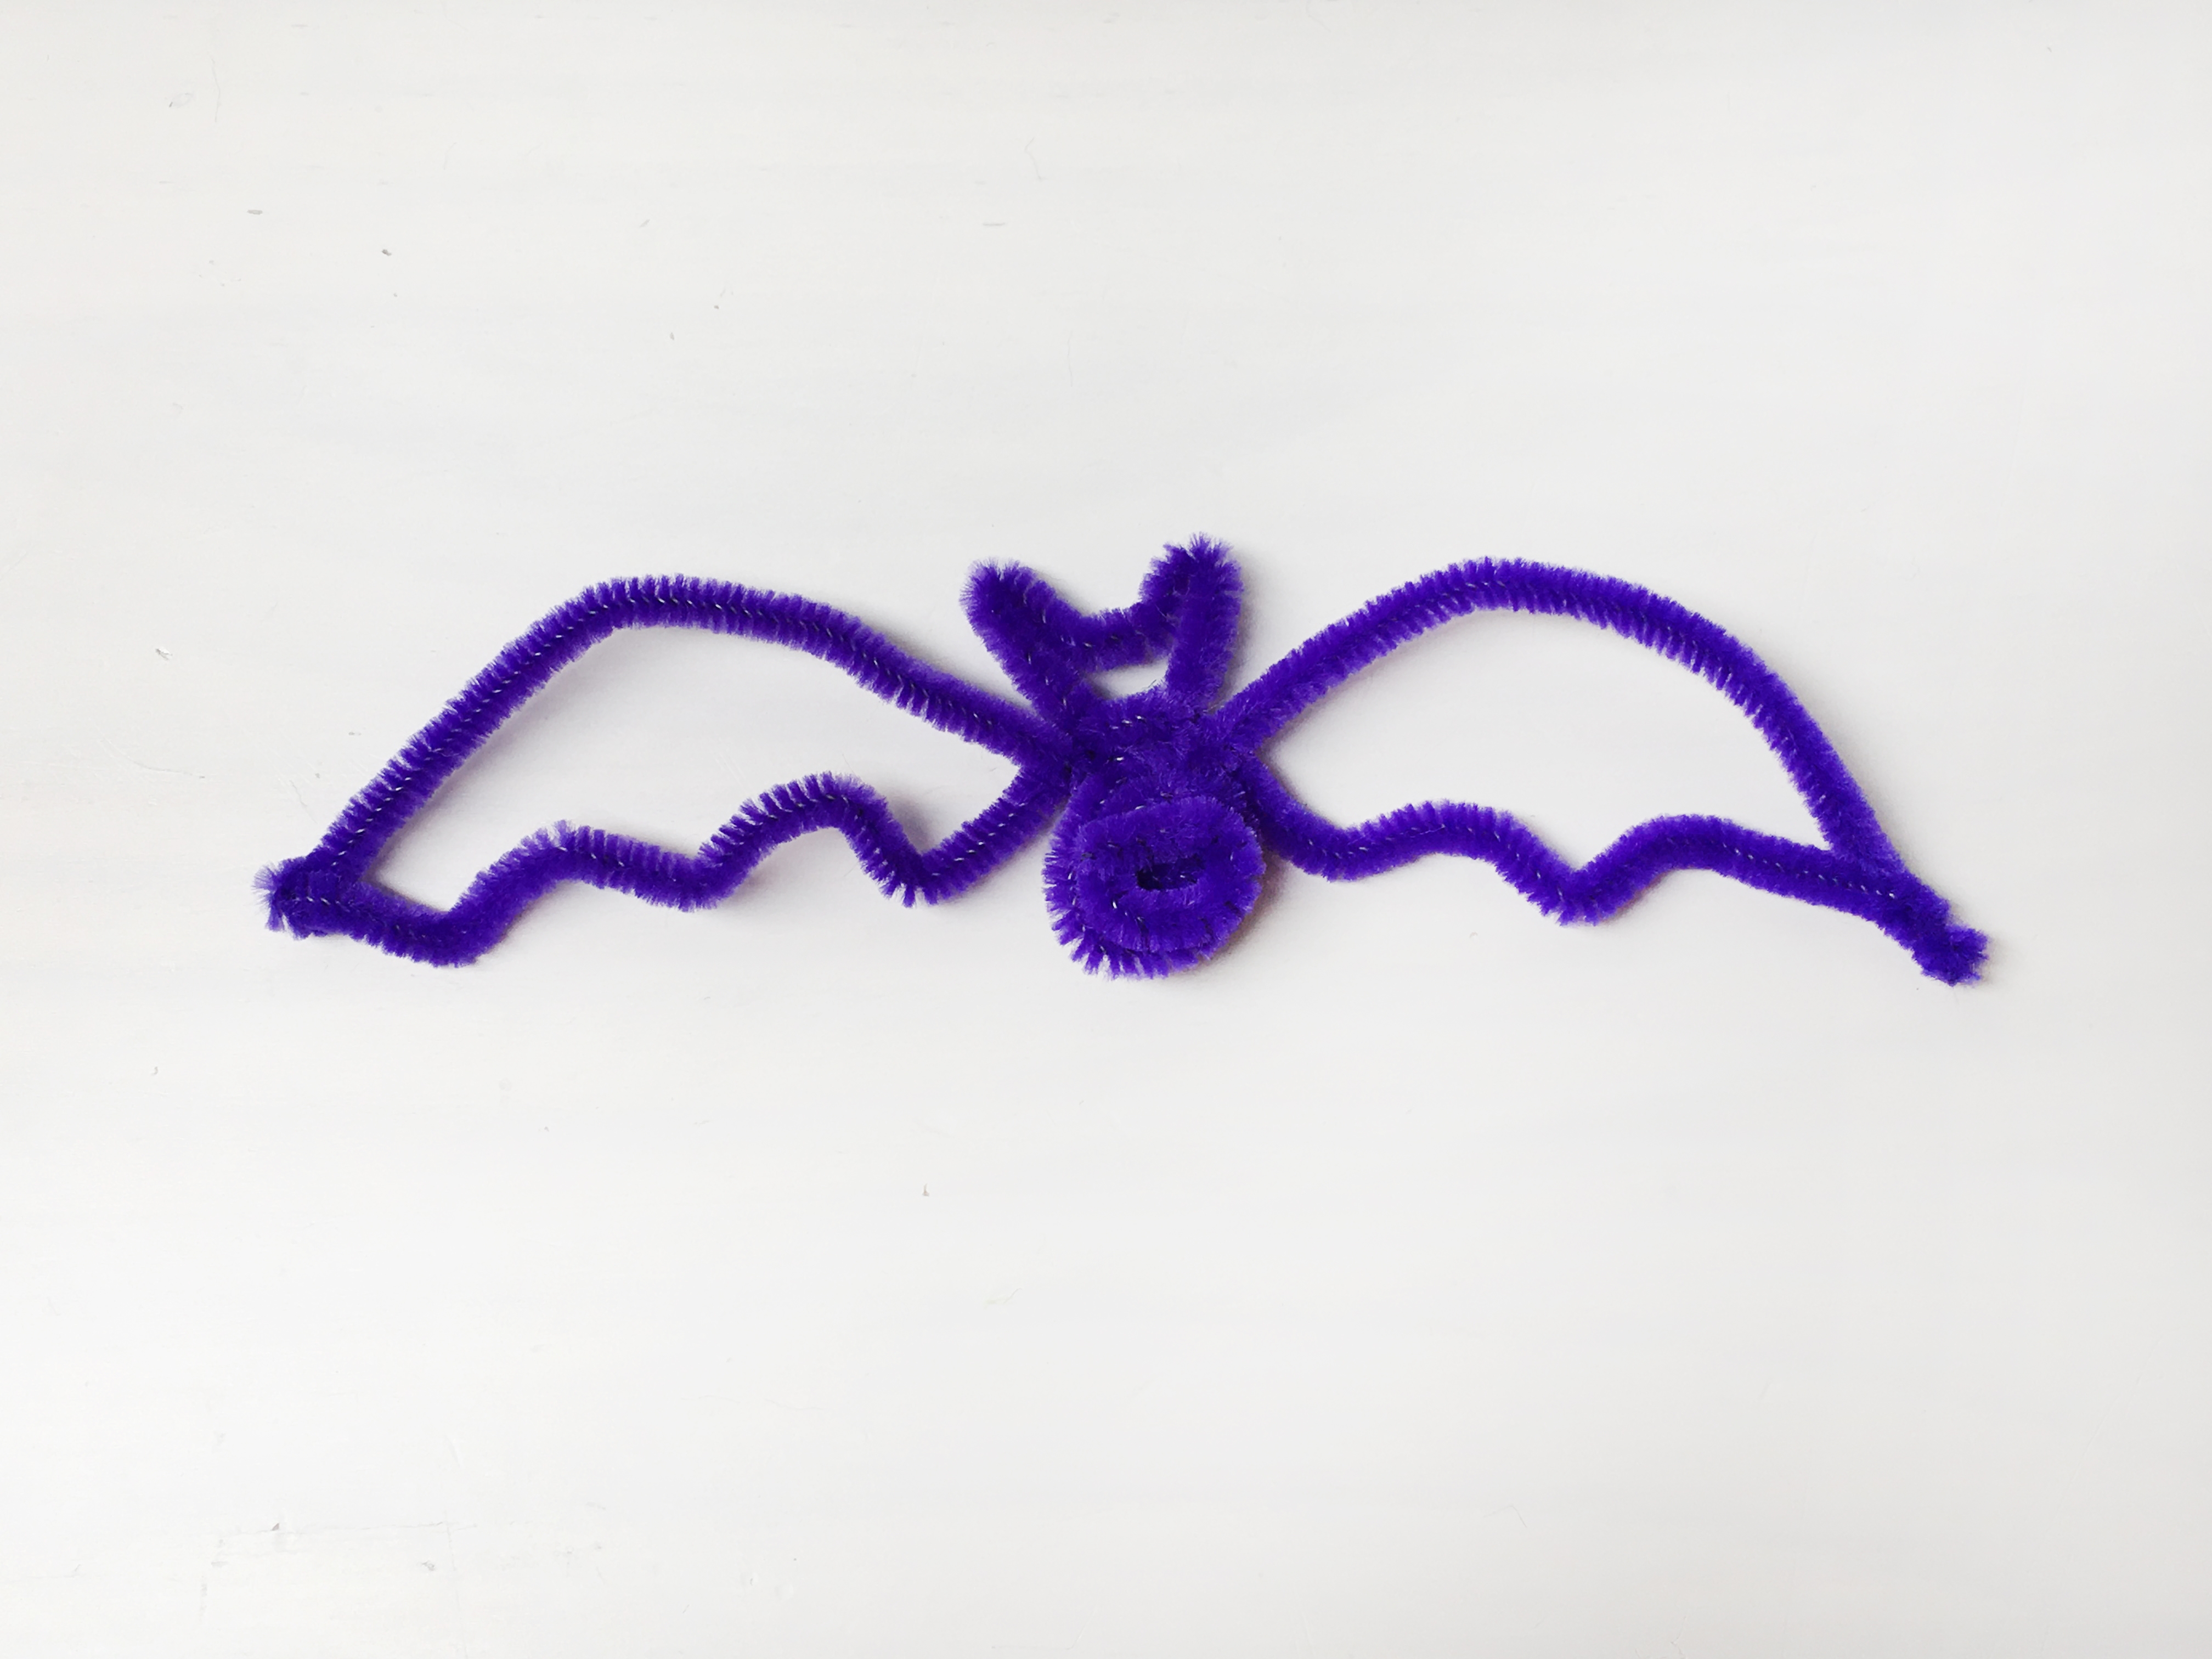
Step 8
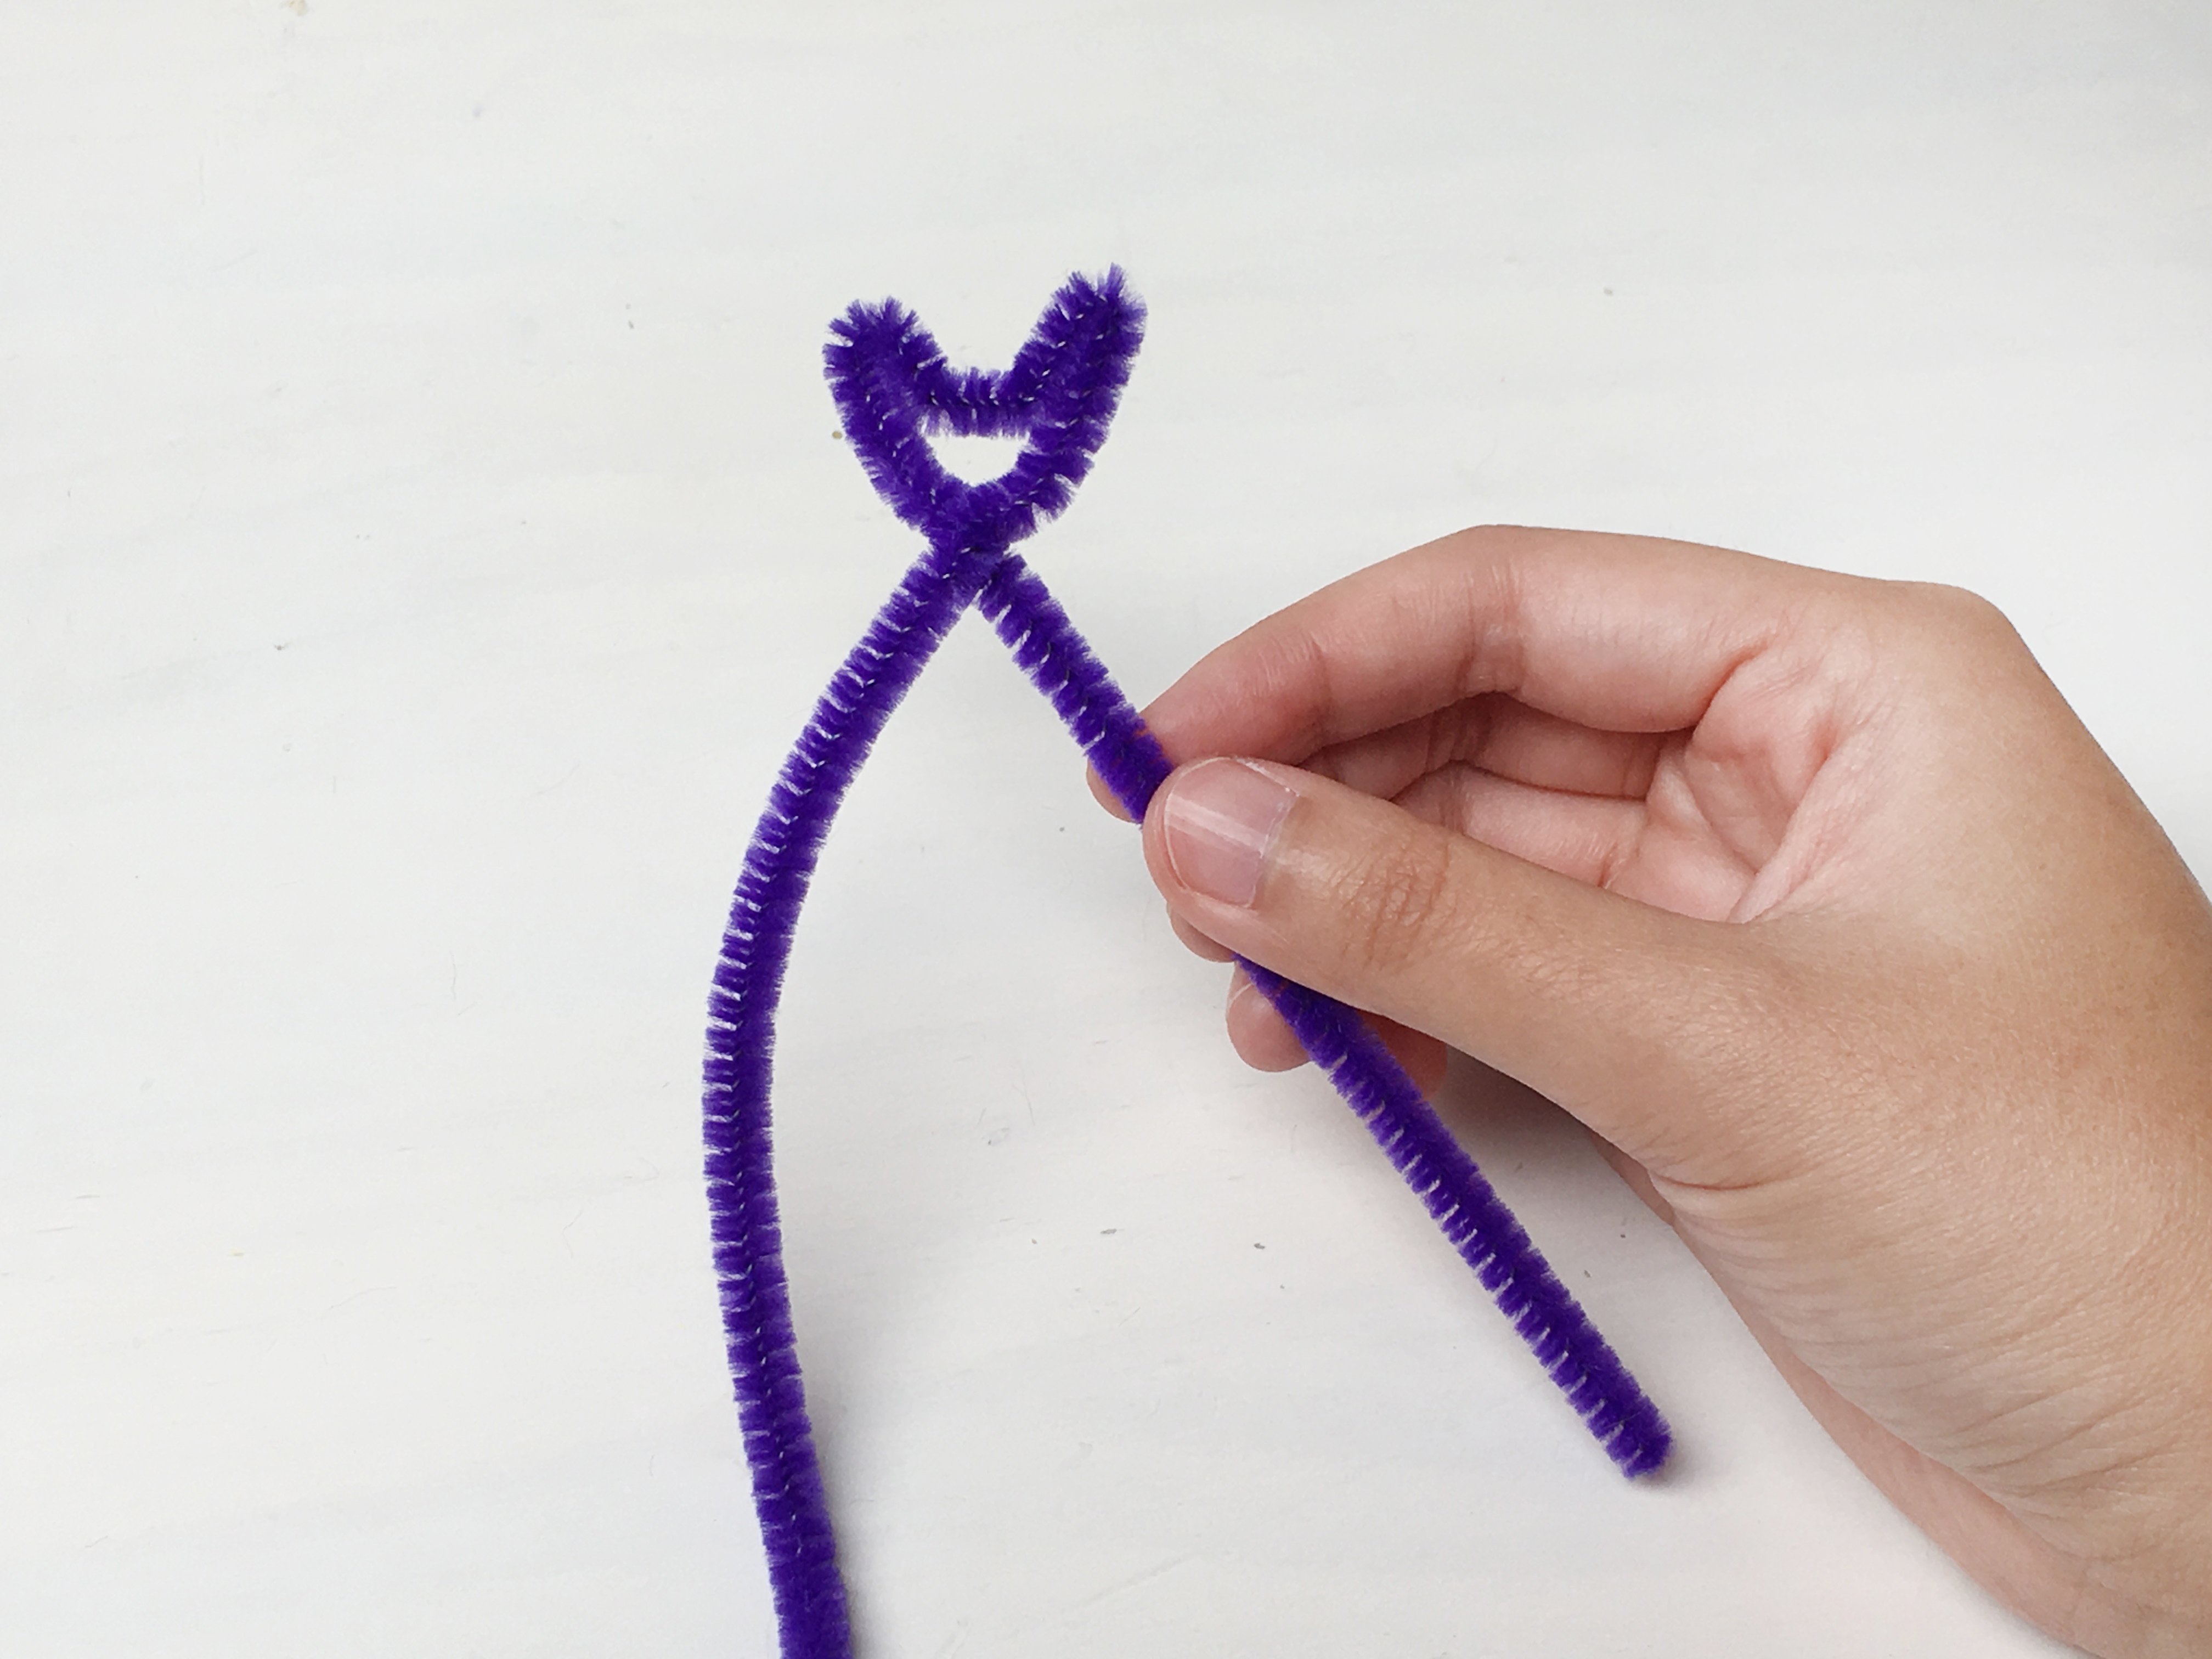
To make a bat, start at the center of a pipe cleaner. Shape the pipe cleaner into bat ears, and twist the pipe cleaner a little below the ears to make the head.
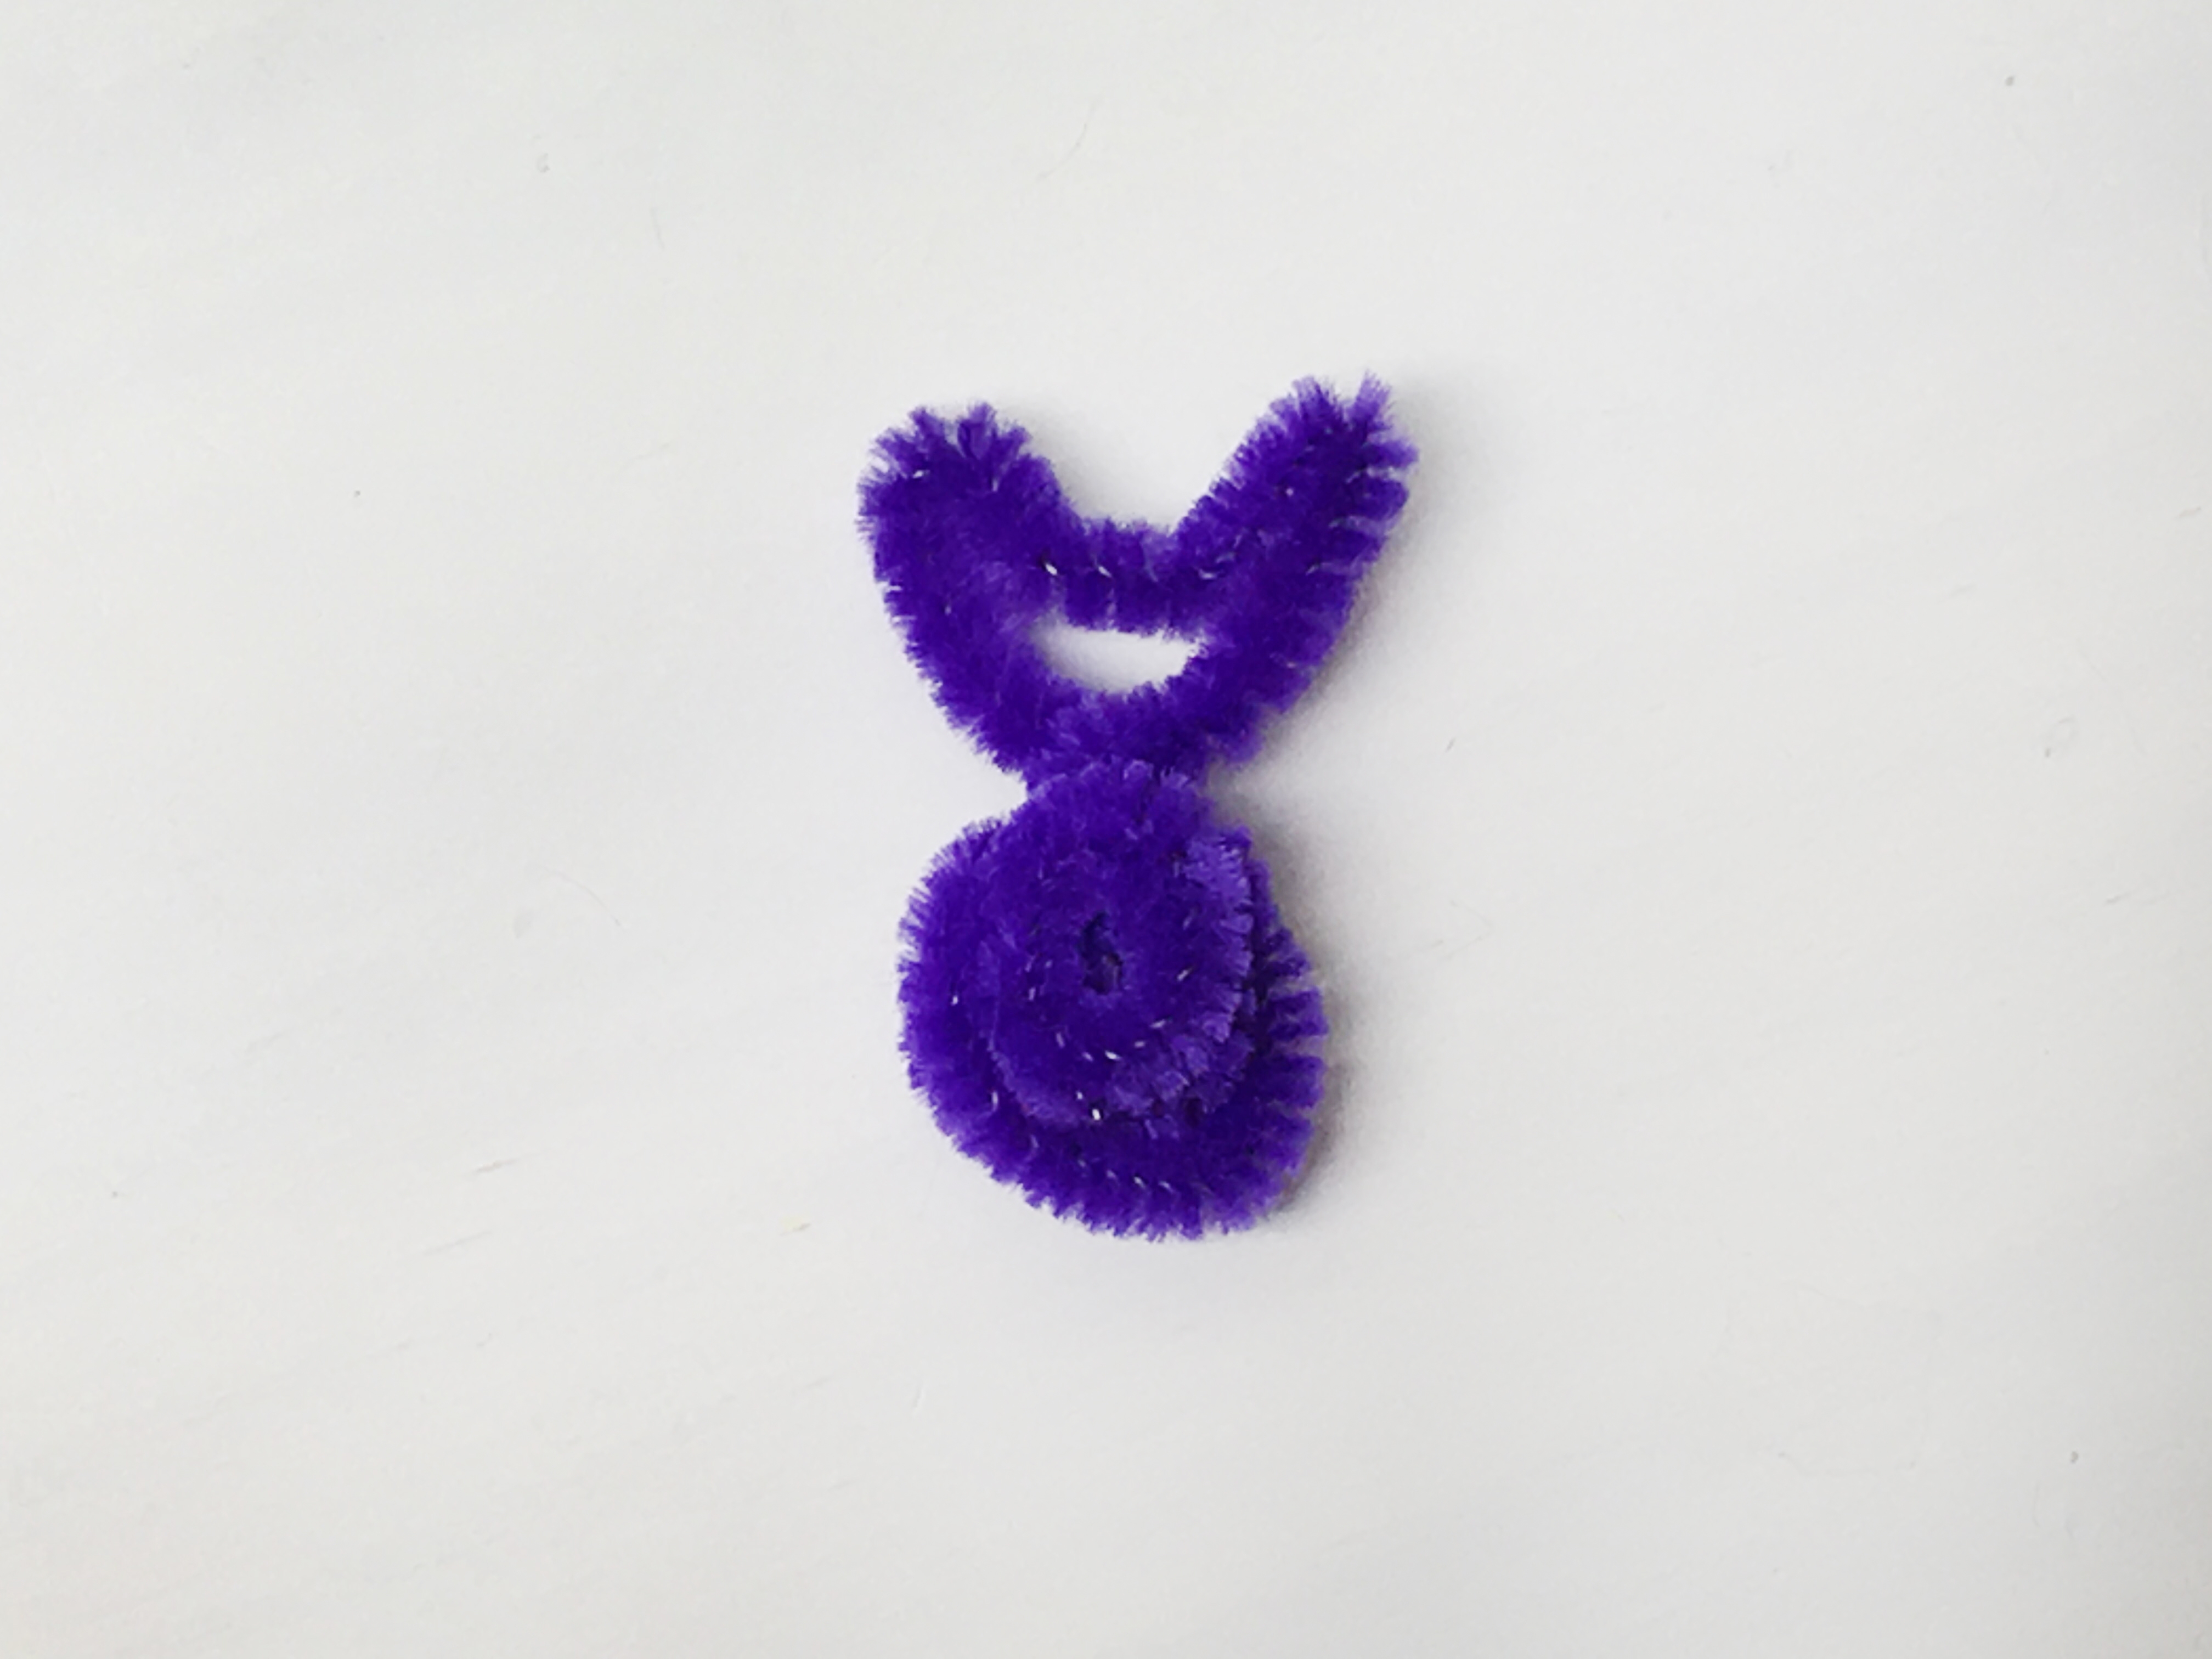
Step 9
Twist one side of the pipe cleaner that sticks out to make a full circle.
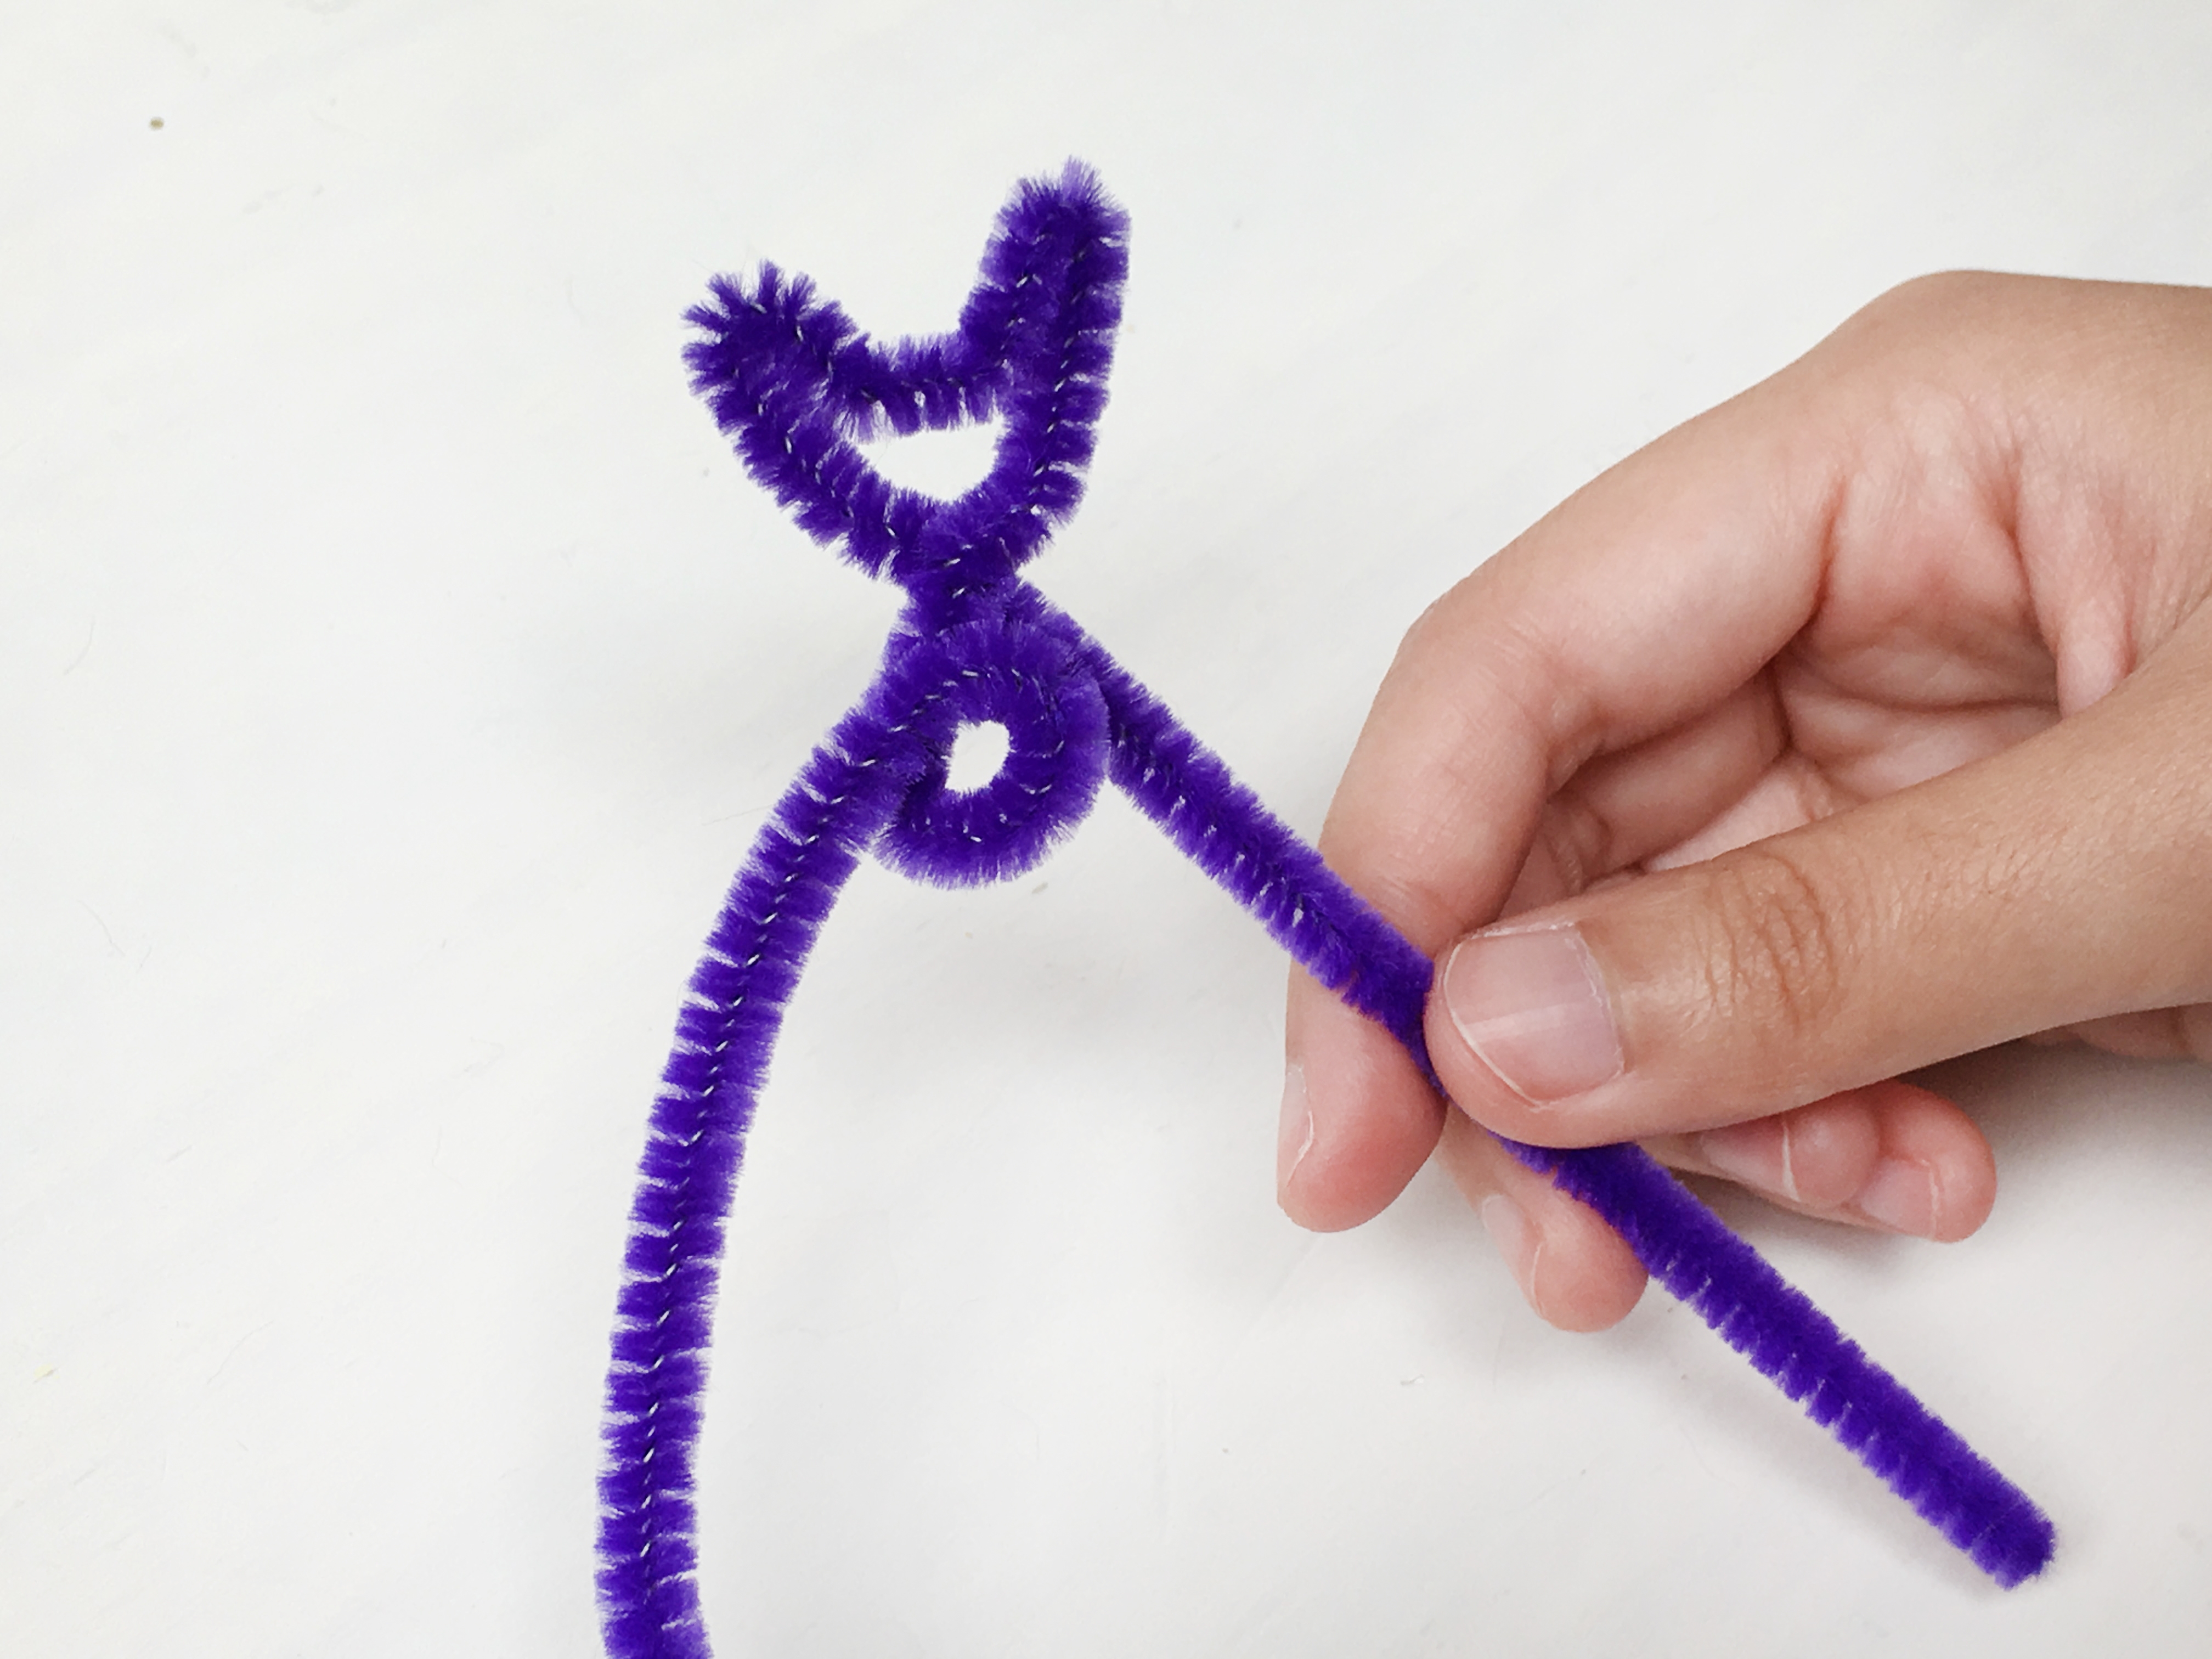
Step 10
Twist the other side into a circle to finish off the body!
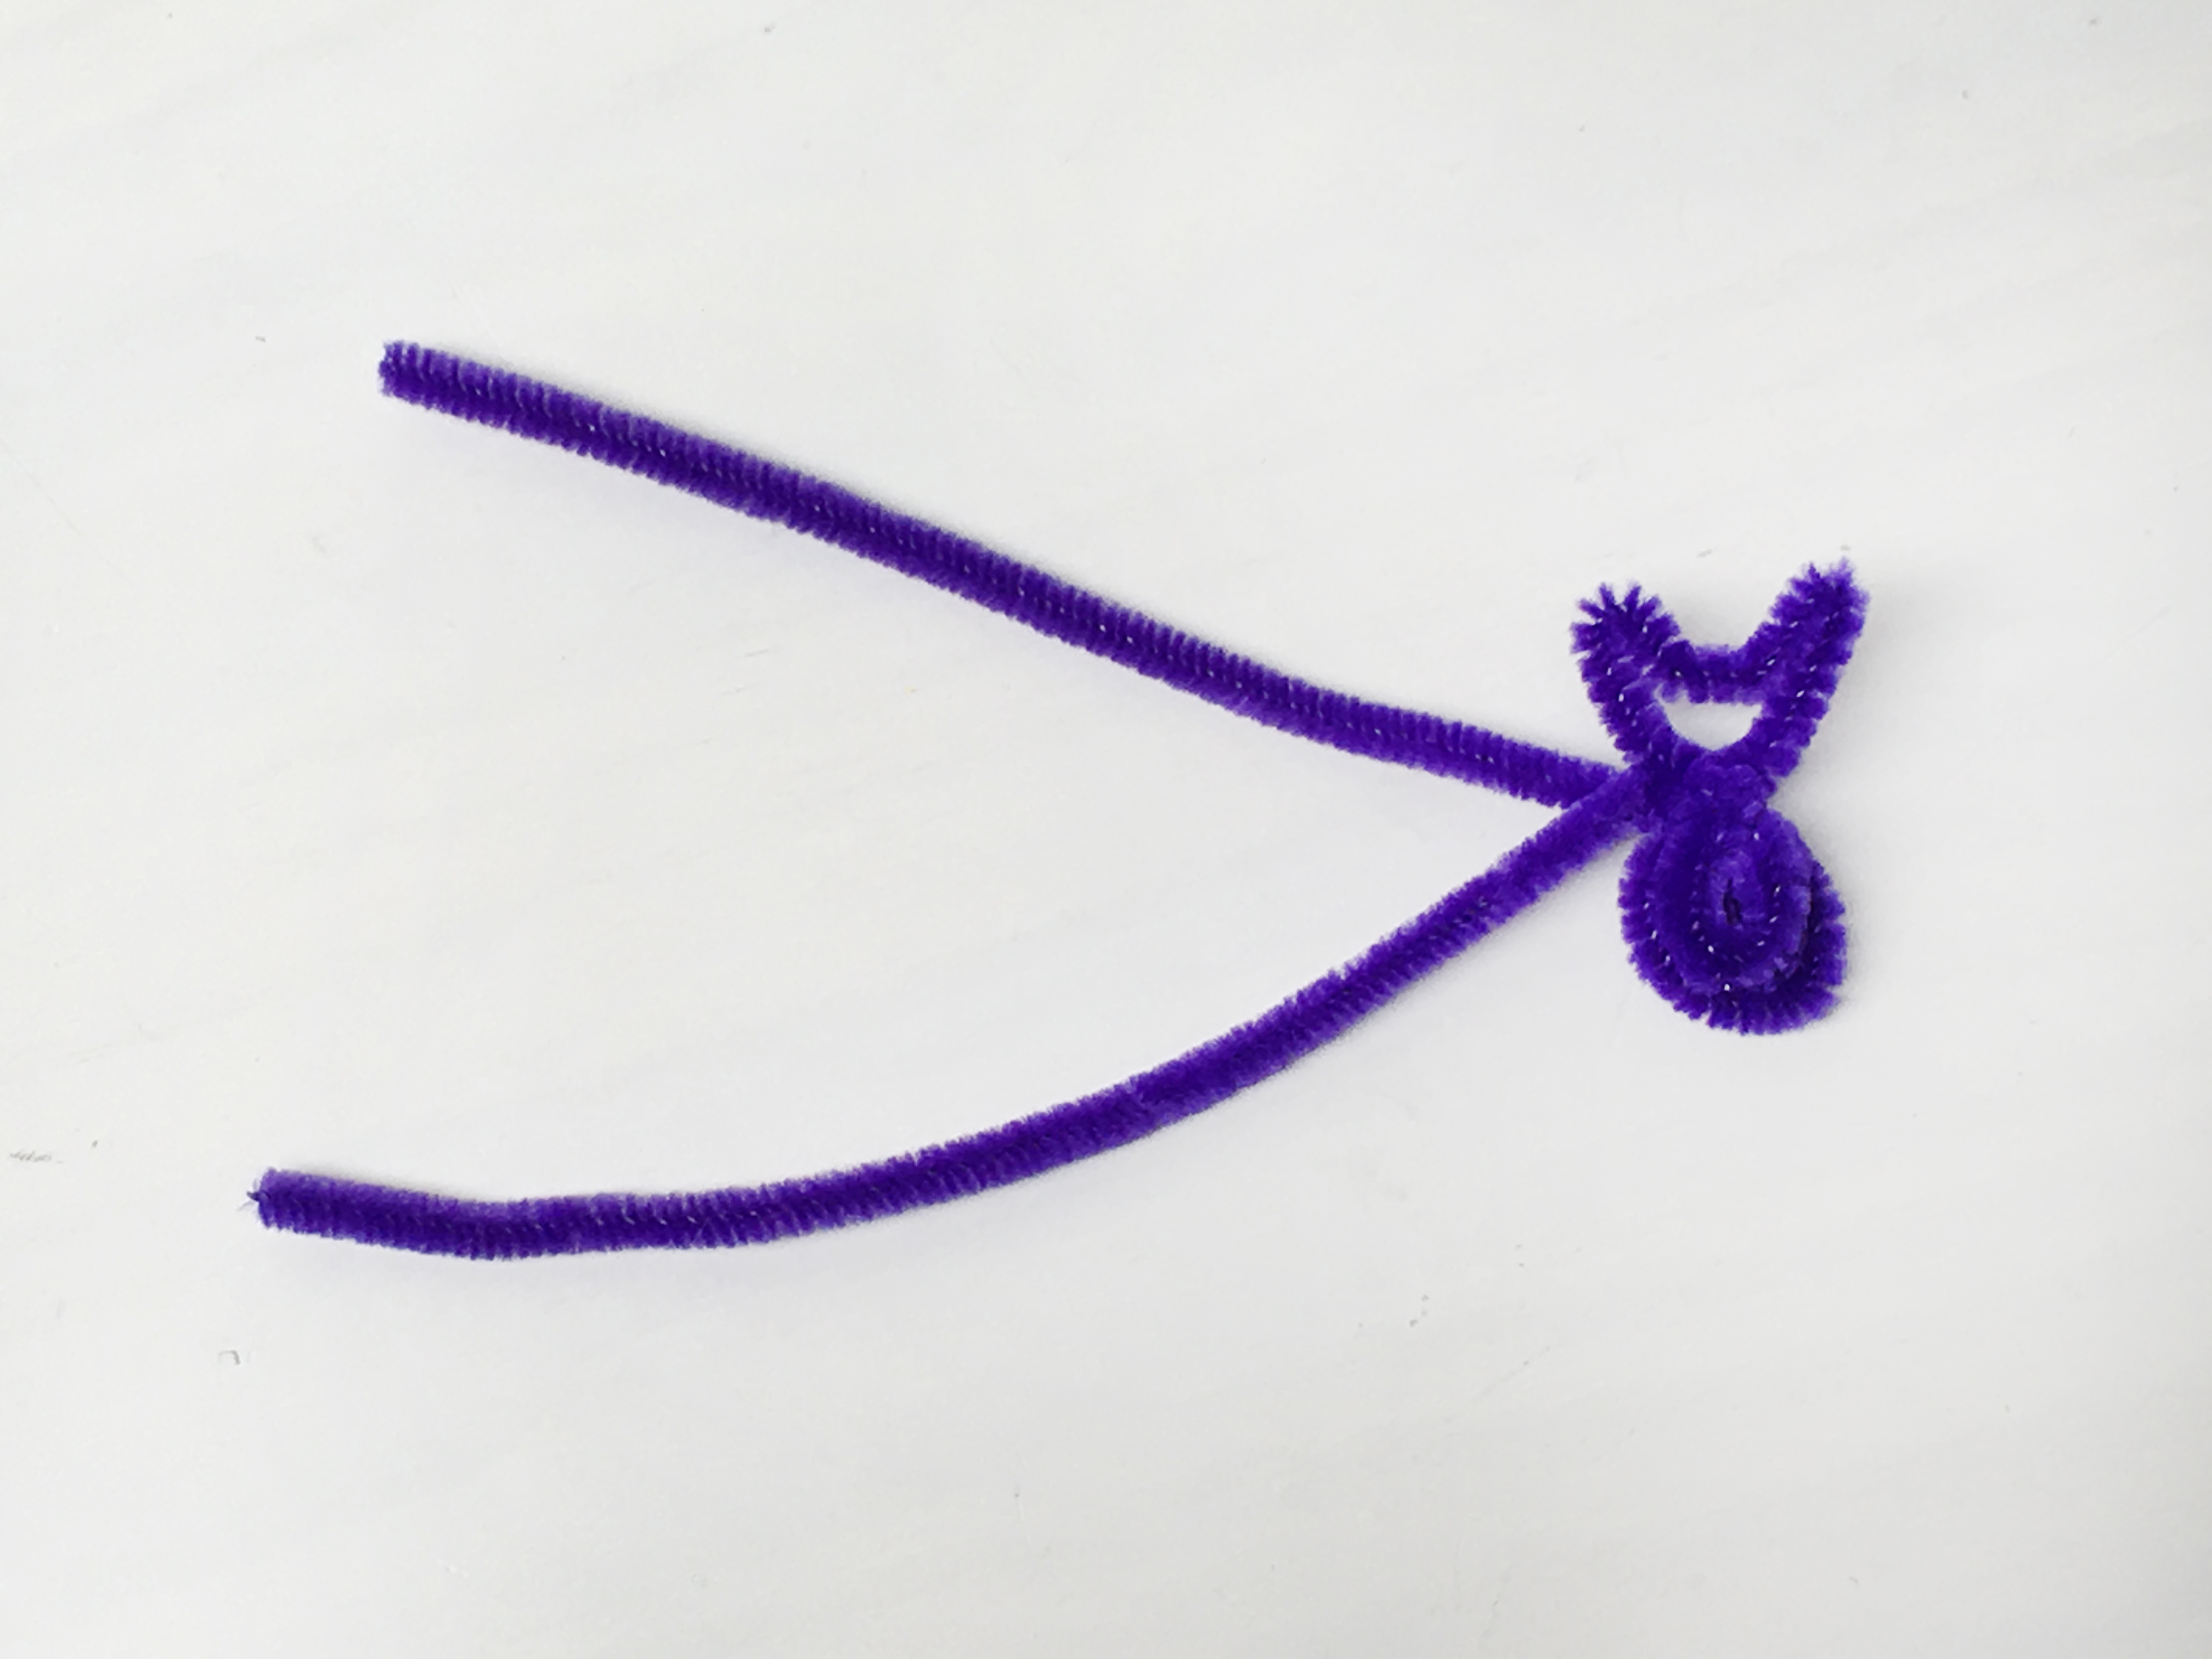
Step 11
Take a new pipe cleaner and fold it in half around the "neck" of the bat. Twist the pipe cleaner to secure it on the bat.
Step 12
Shape your pipe cleaner into wings and twist the ends closed. Cut off extra parts you don't need with your cutting pliers.
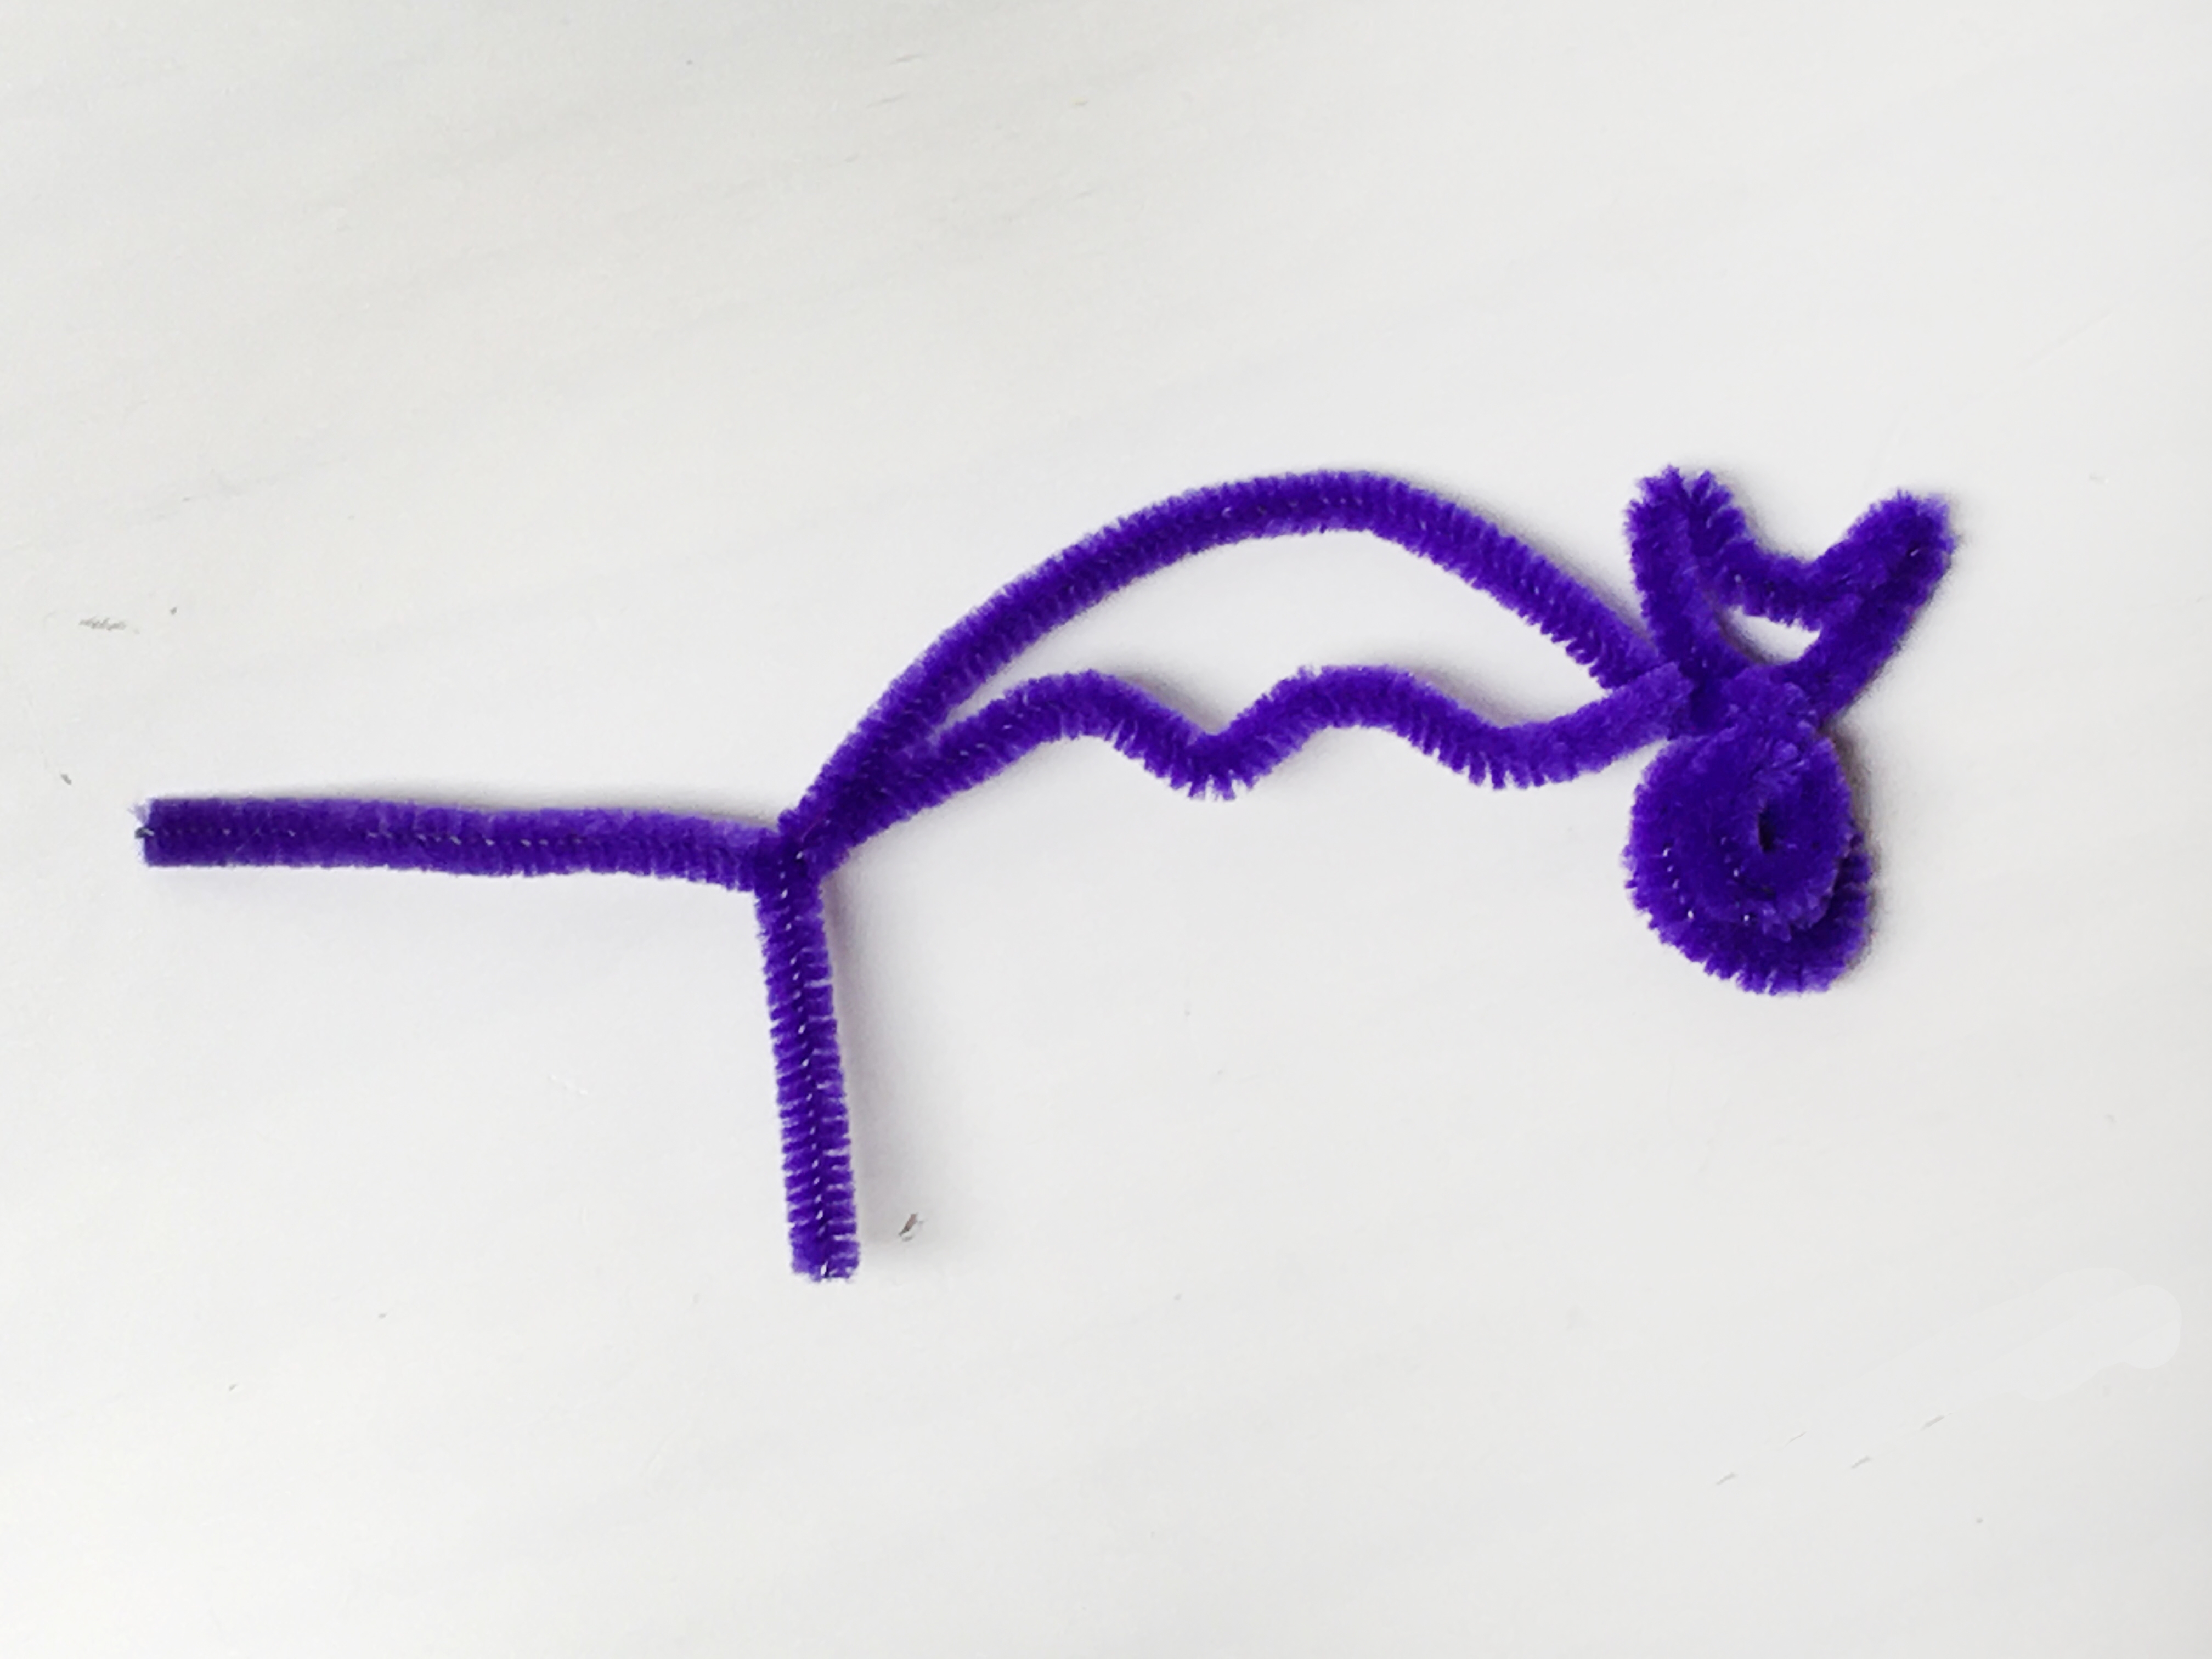
Step 13
Repeat Step 12!
Step 14
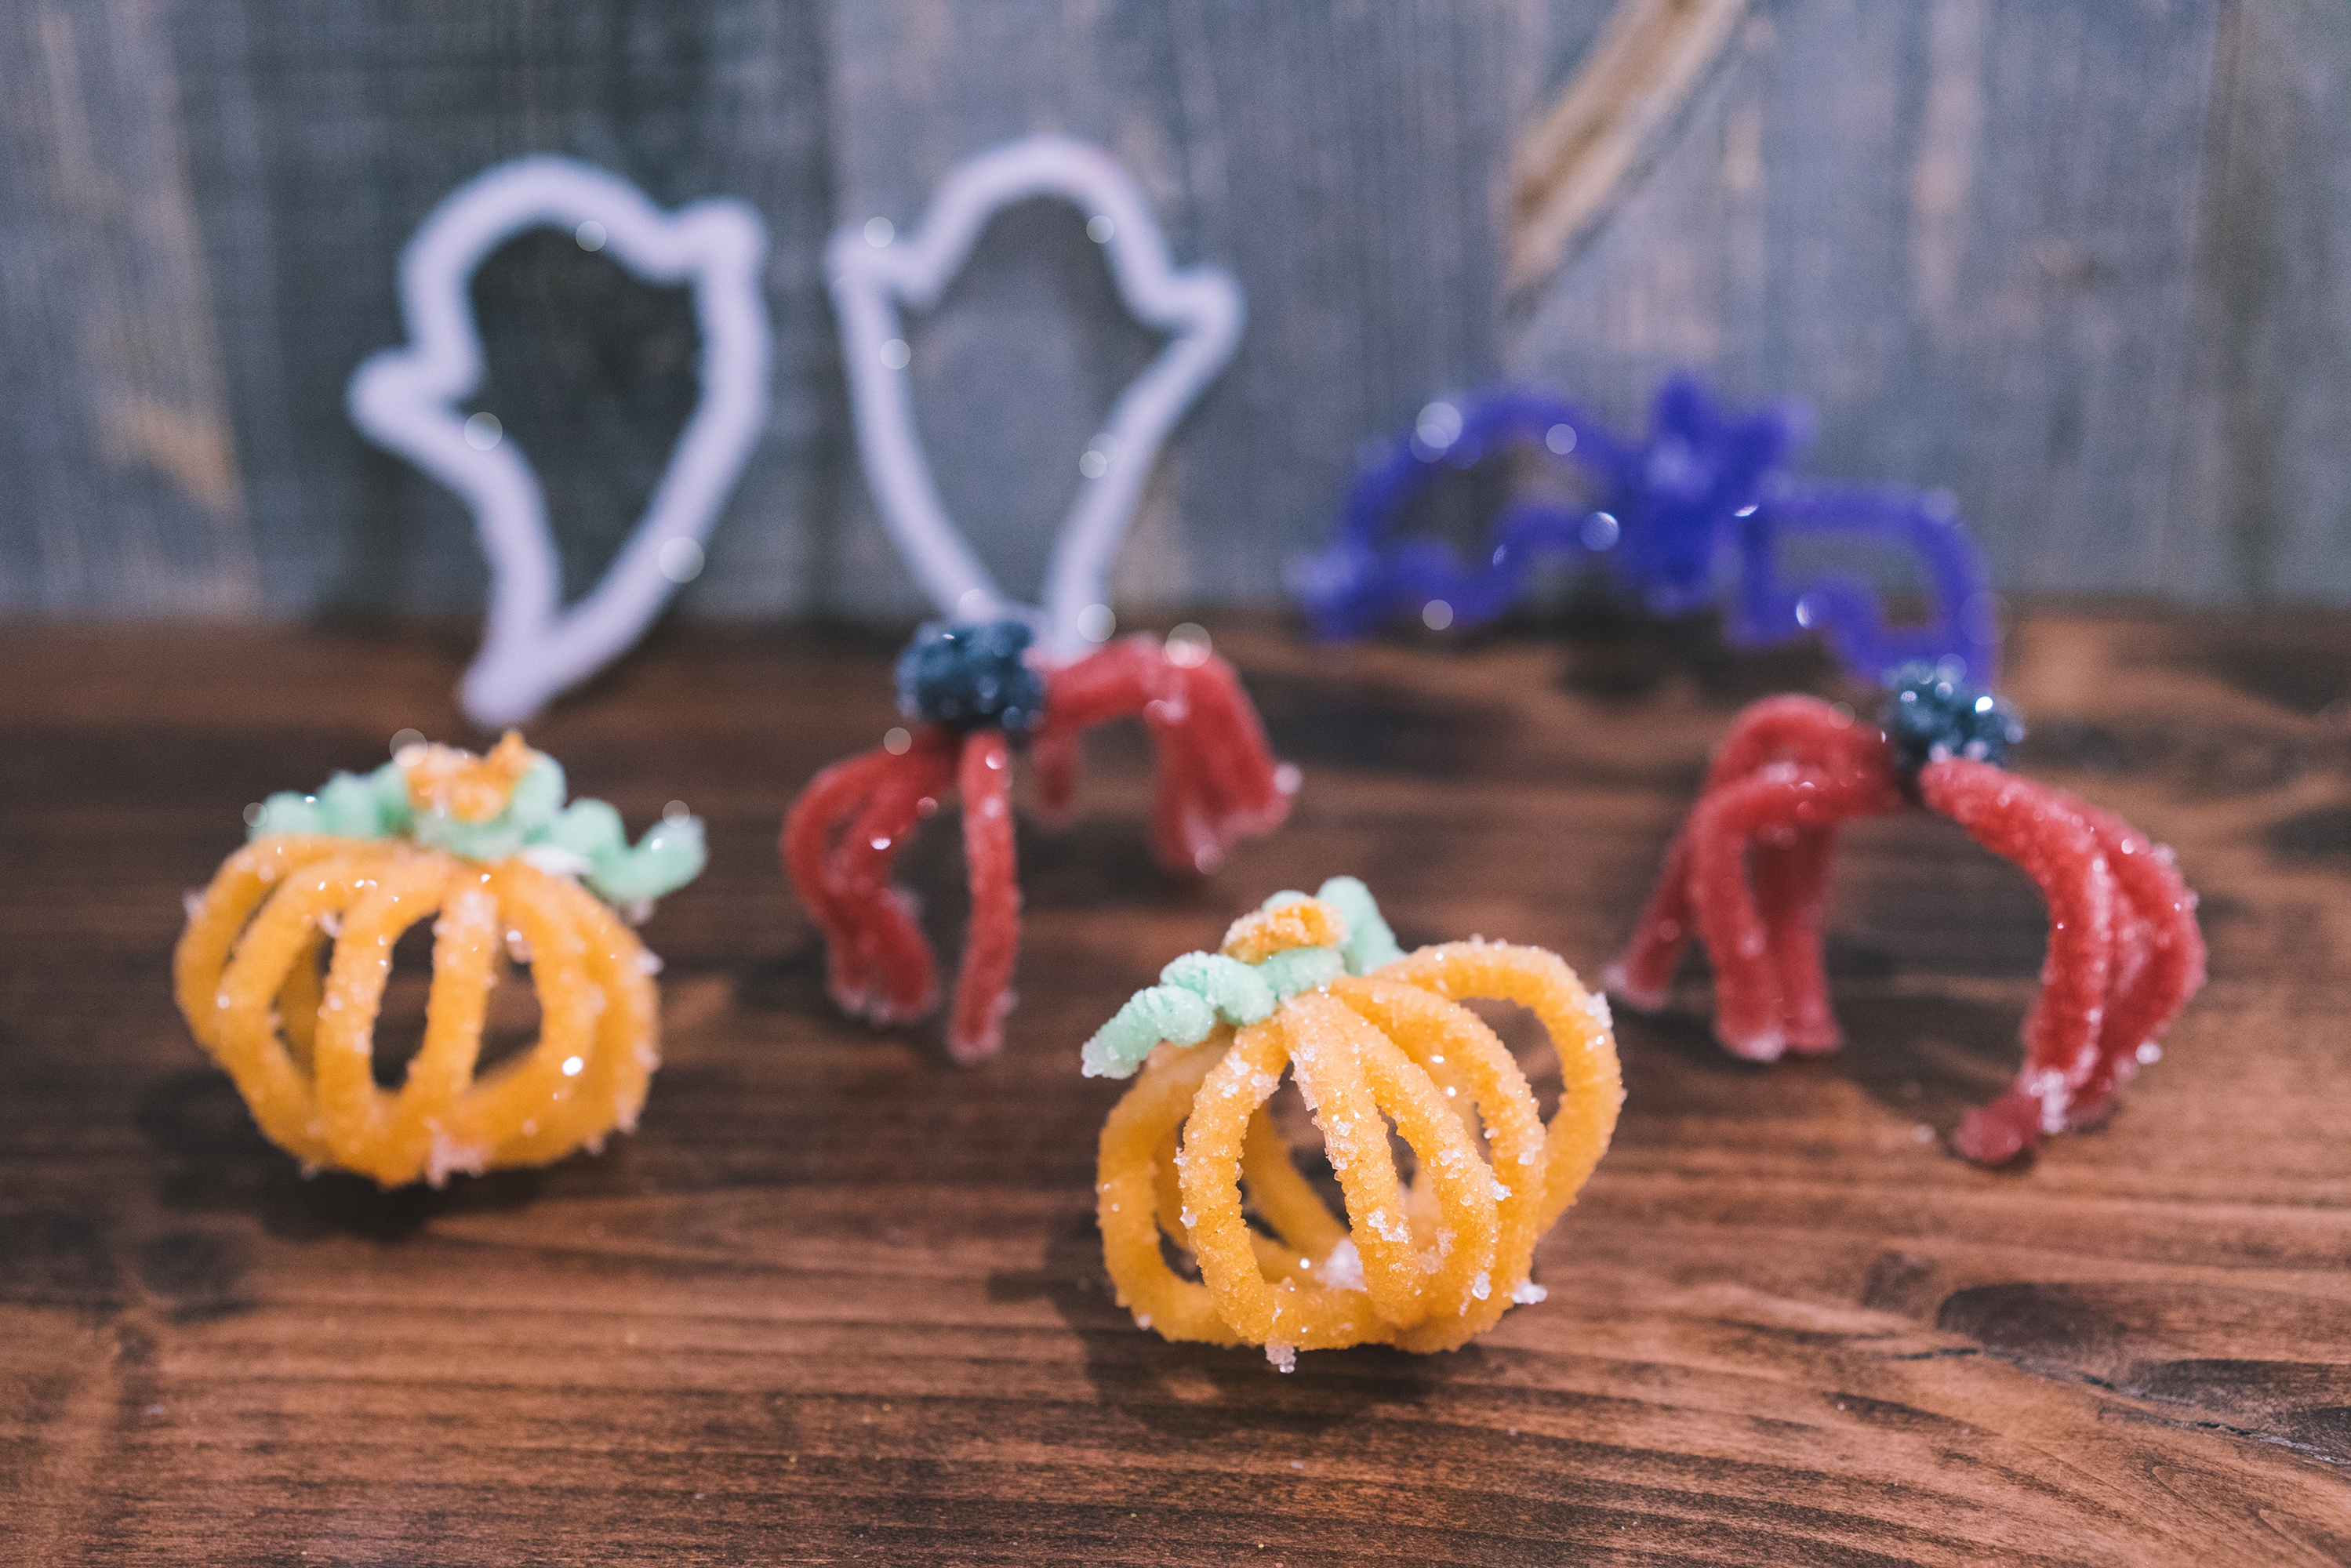
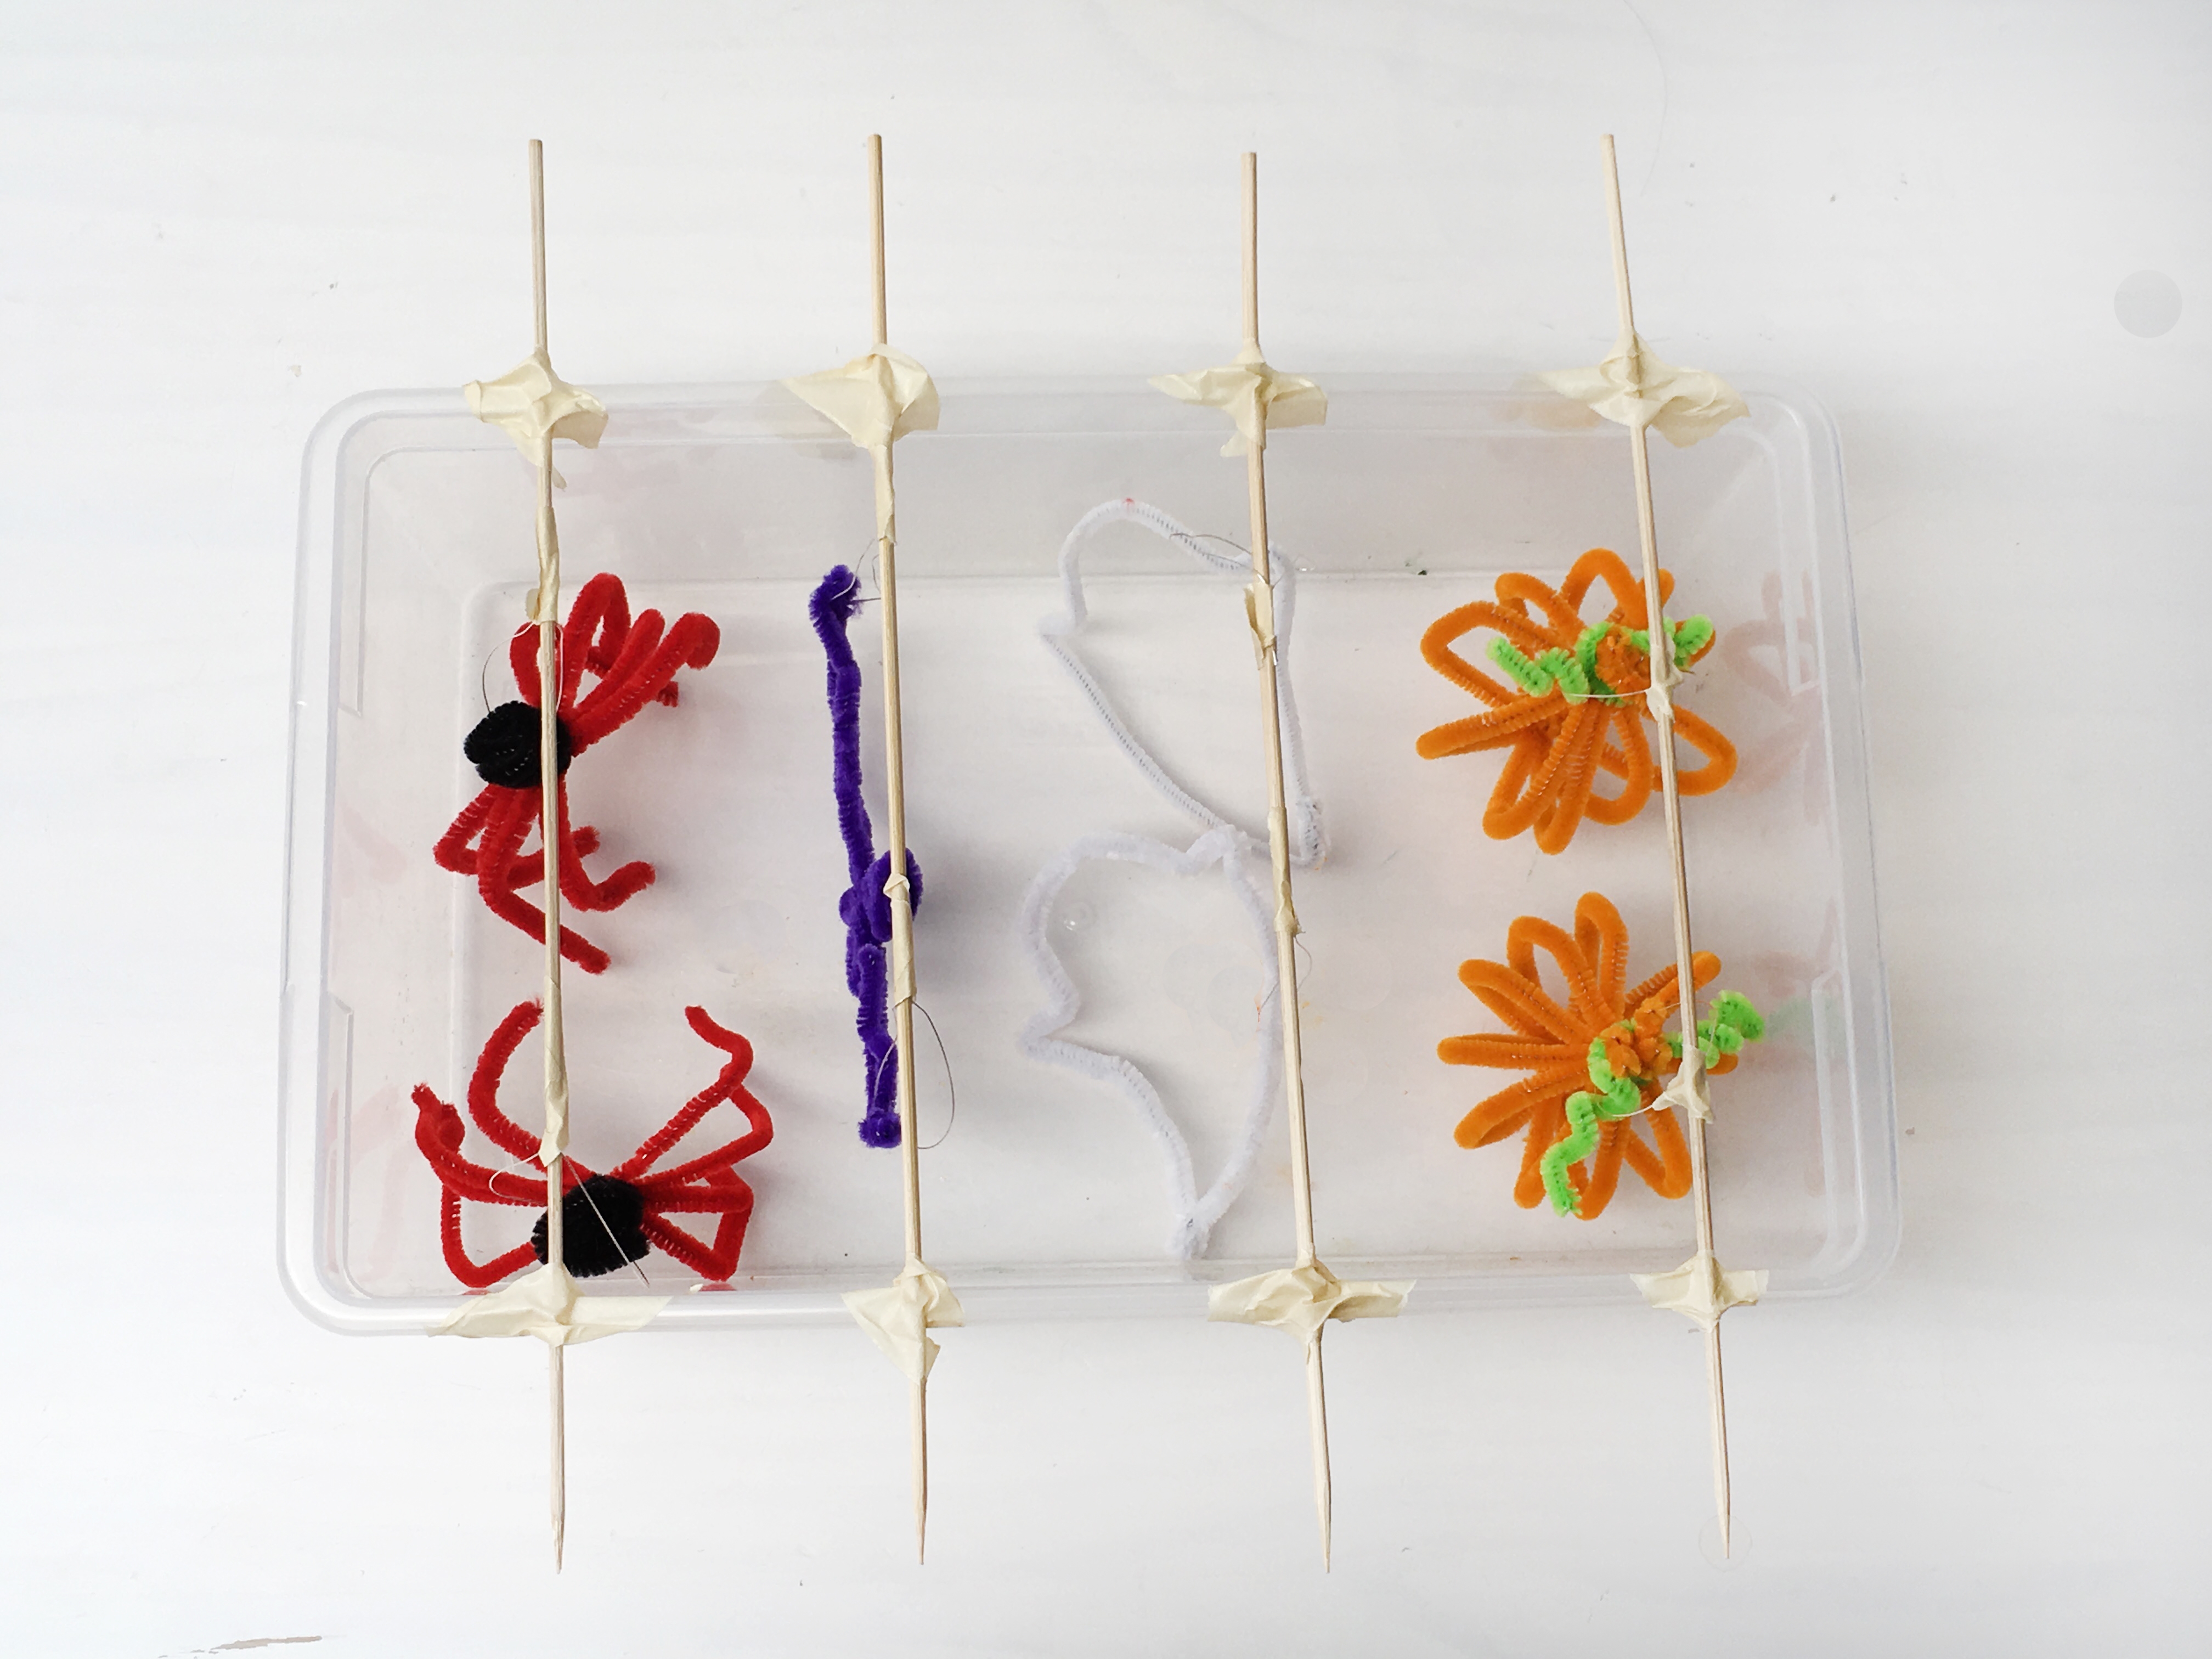
We made a pumpkin, bat, spider, and ghost! What kinds of Halloween decor will you make? Be creative with your pipe cleaners!

Step 15
Take your large container and set up your crystallizing station by taping skewers or chopsticks at the edge of the container.
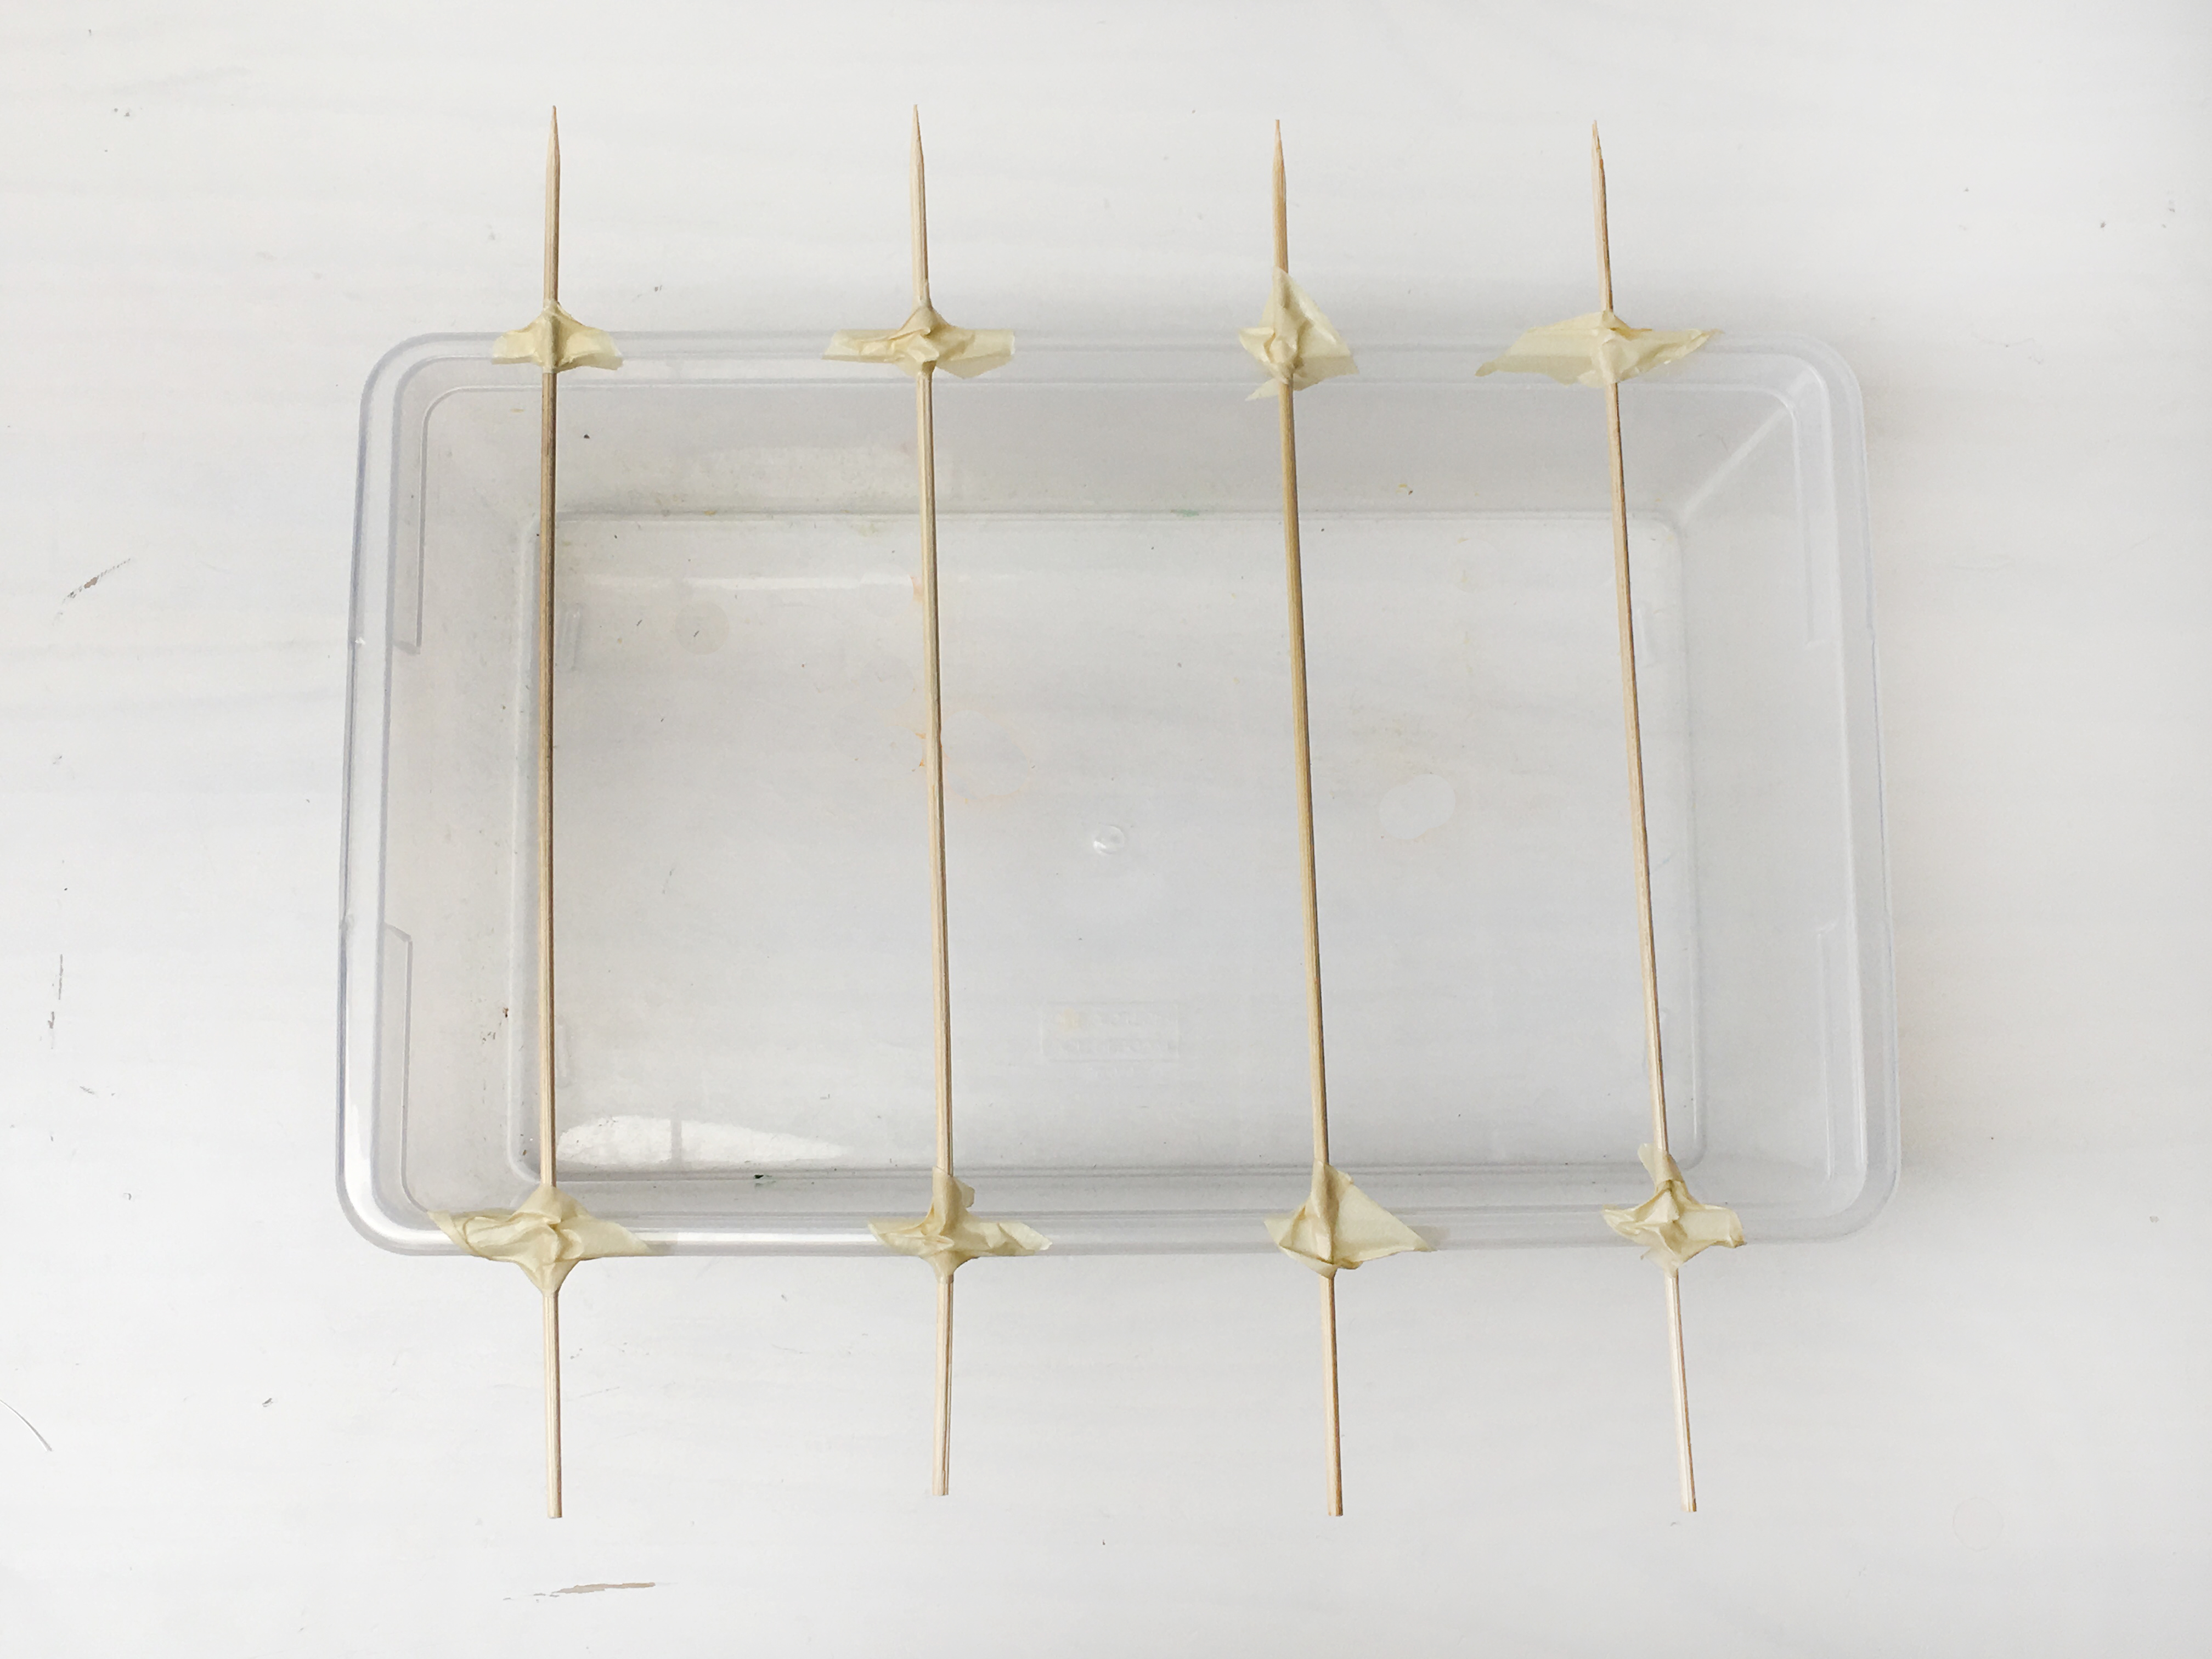
Tip
Make sure there is enough space in between the skewers or chopsticks. When you hang your ornaments, it's best if the ornaments in one row don't touch the ones in the neighboring row.
Step 16
Use thin wire or string to suspend your ornaments on the skewers or chopsticks. Make sure there is enough space between the ornaments, so they don't touch each other or the container!

Tip
We taped the wire to make sure they stayed in place.
Step 17
Once you have your crystallizing station set up, prepare your borax and hot water solution.
Step 18
To make your solution, mix 3 tablespoons of borax with 1 cup of hot water.
You can microwave several cups of water (1 cup at a time) and pour it in a large bowl. For faster results, you can boil a huge pot of water. Then, mix the borax into the water until it dissolves. Pour your solution into the large container with your ornaments!
Set your container aside, and let your solution sit for 24+ hours.
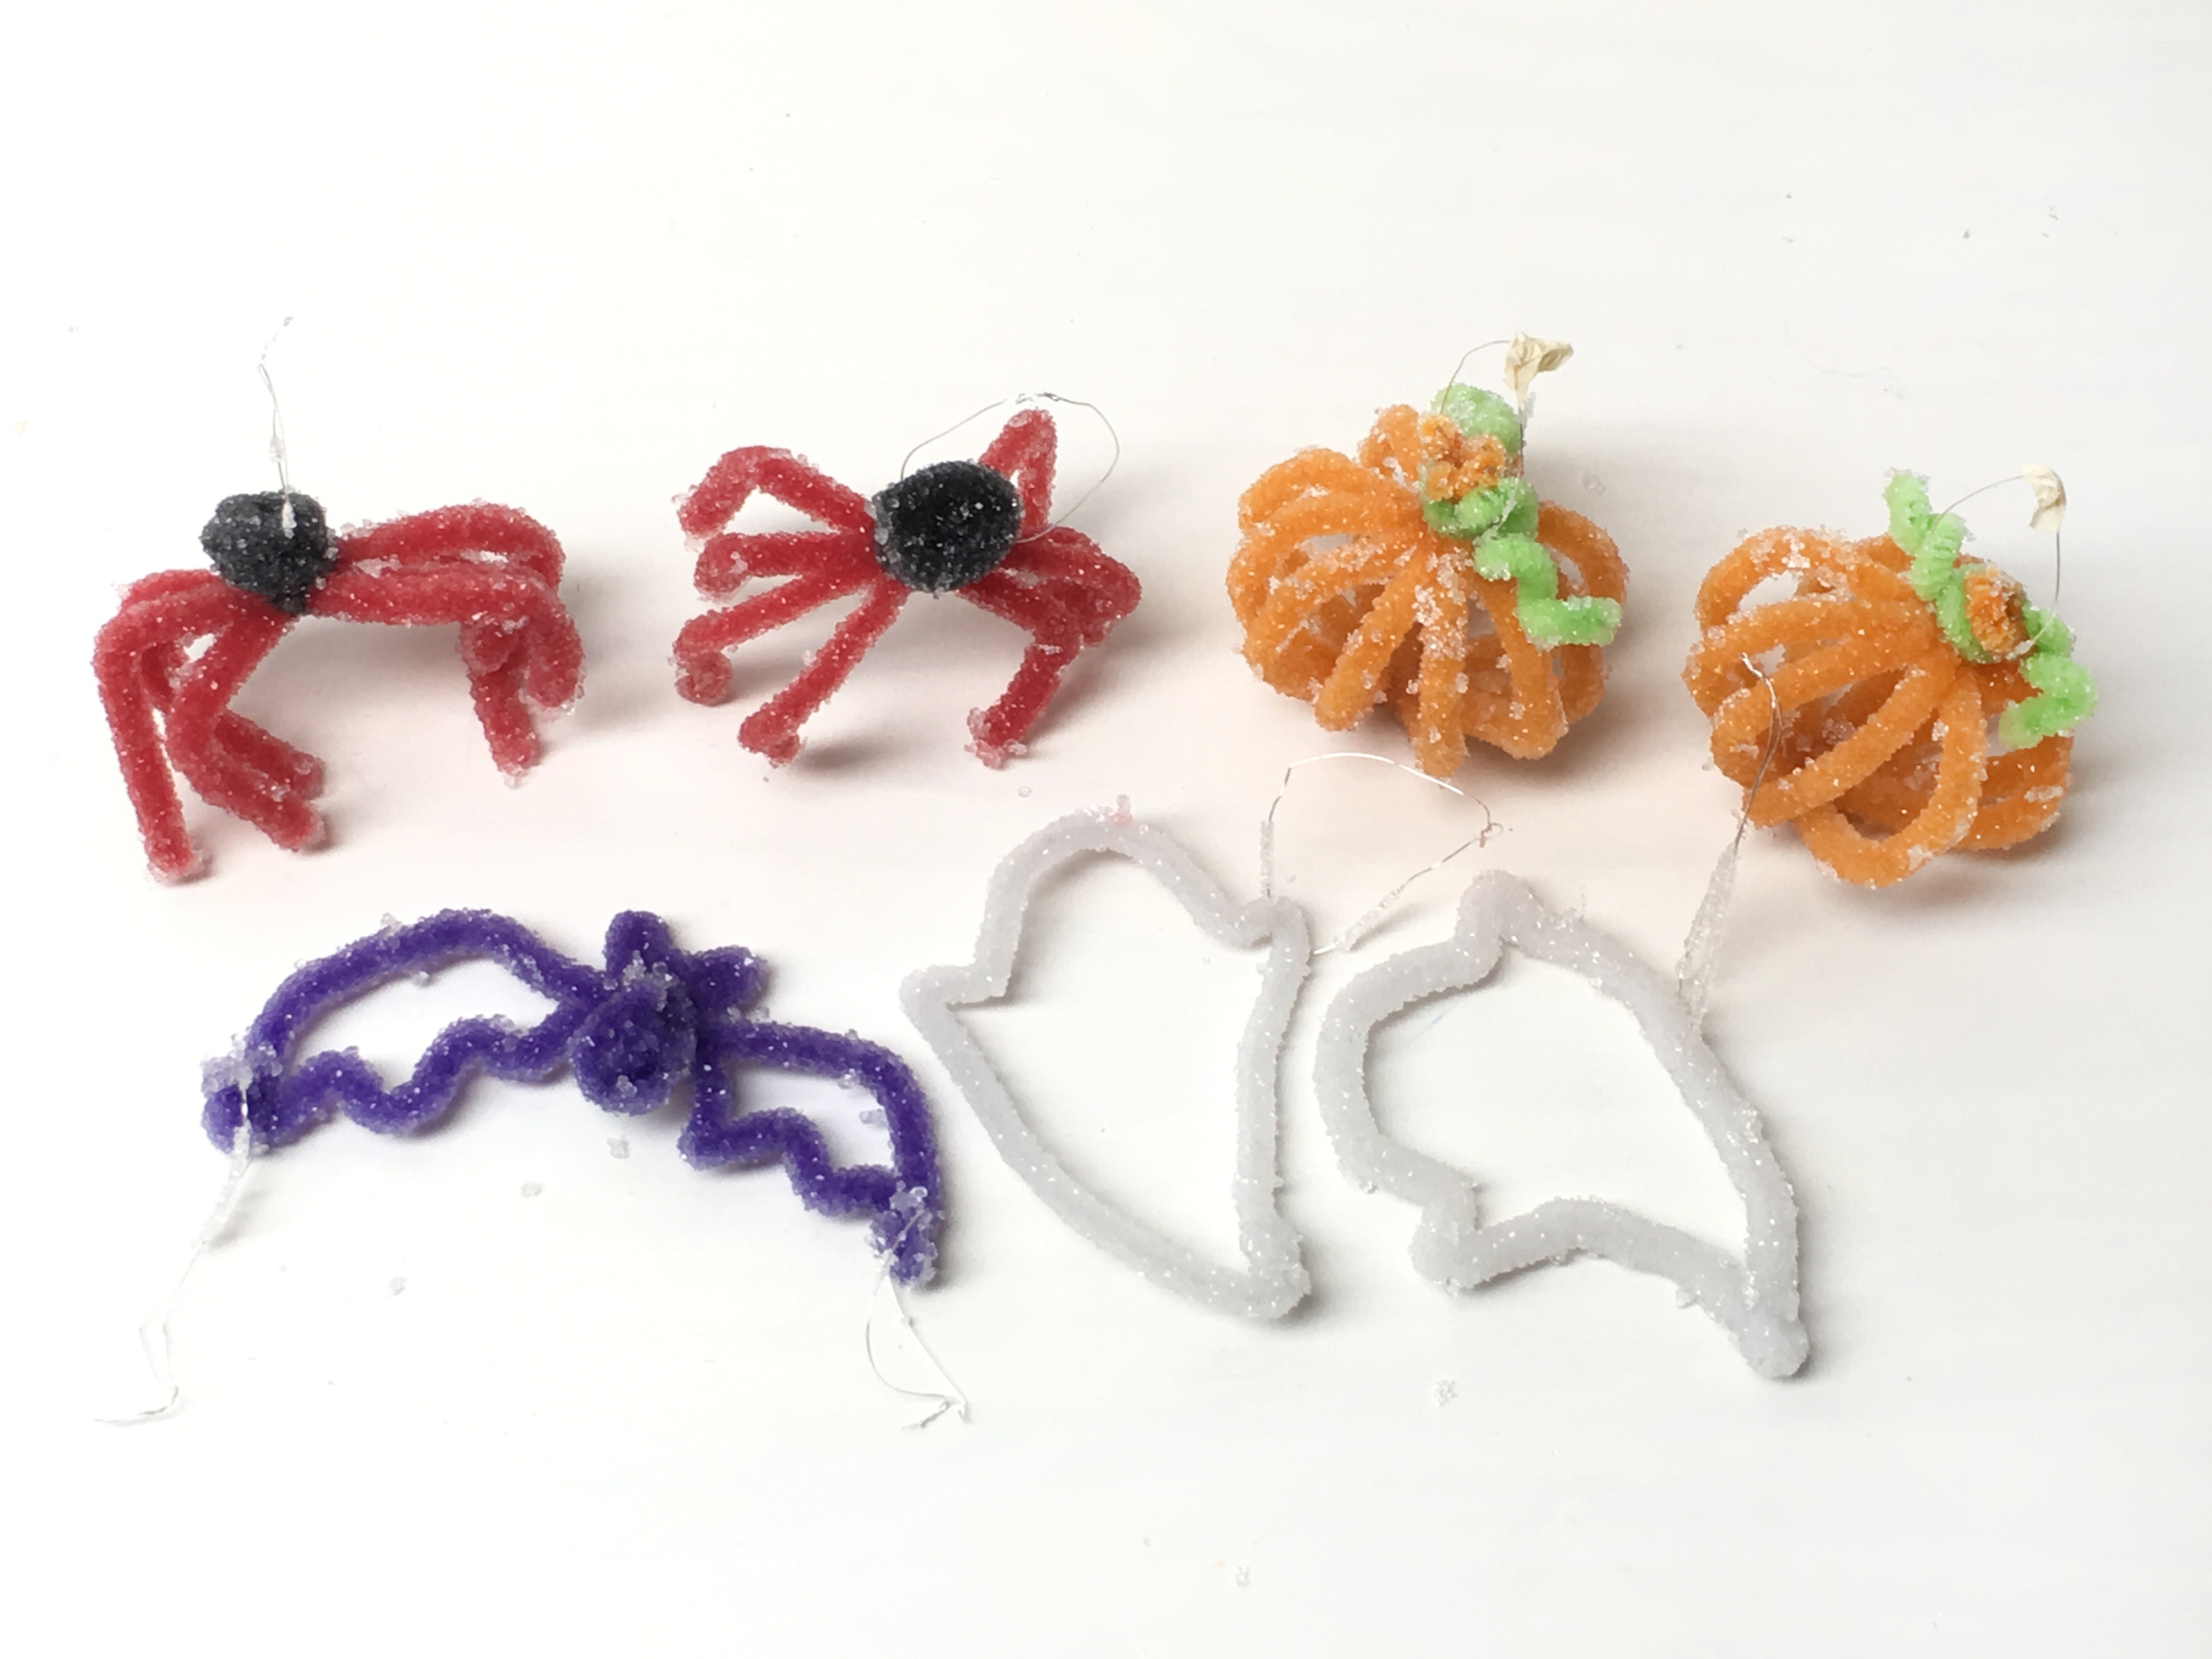
Step 19
You will start to see crystals forming after a few hours, but don't take your ornaments out just yet! Let your solution sit for a good 24 hours before you take the ornaments out!
Learn more

What's going on?
In this project, you saw borax form crystals on a pipe cleaner. (The borax you started with was crystals as well, but the crystals you grew are much larger.)
When you mixed the solution with hot water, the borax crystals dissolved into the water. When you finished mixing, the water held as much borax as it could. However, hot water can hold more borax than cold water can, so as the water cools, there's less room for the borax. Plus, over time the water will evaporate or escape from the cup into the air. The borax doesn't evaporate, so the water in the cup has even less room to hold onto the borax.
Eventually, there's so little room left that the borax starts to un-mix from the water and land on the pipe cleaner. The borax grows together to form the crystals you saw. This is called crystallization.


