Tree of Gratitude

Every Thanksgiving holiday, we have a family tradition where each of us writes down what we are thankful for. Typically, we just jot them down on some post-it notes and read them out loud, but this year, we wanted to create a centerpiece of gratitude. This tree is a simple but elegant way to display what we are are thankful for. Going forward, the tree will be a part of our holiday tradition.

  1. Ages: 5 - 16

  2. 30 minutes - 1 hour

  3. Messy

Tags:

Materials you'll need

Step-by-step tutorial

  • Step 1

    Branches
    Collect some branches from the outdoors. Using your brush, paint them with white acrylic paint and let them dry.

    Photo reference of how to complete step 1

  • Step 2

    Mason Jar
    Fill your jar with whatever items you would like - we found these sequined balls and thought they would be a great festive addition! Finish the top of your mason jar with yarn or string.
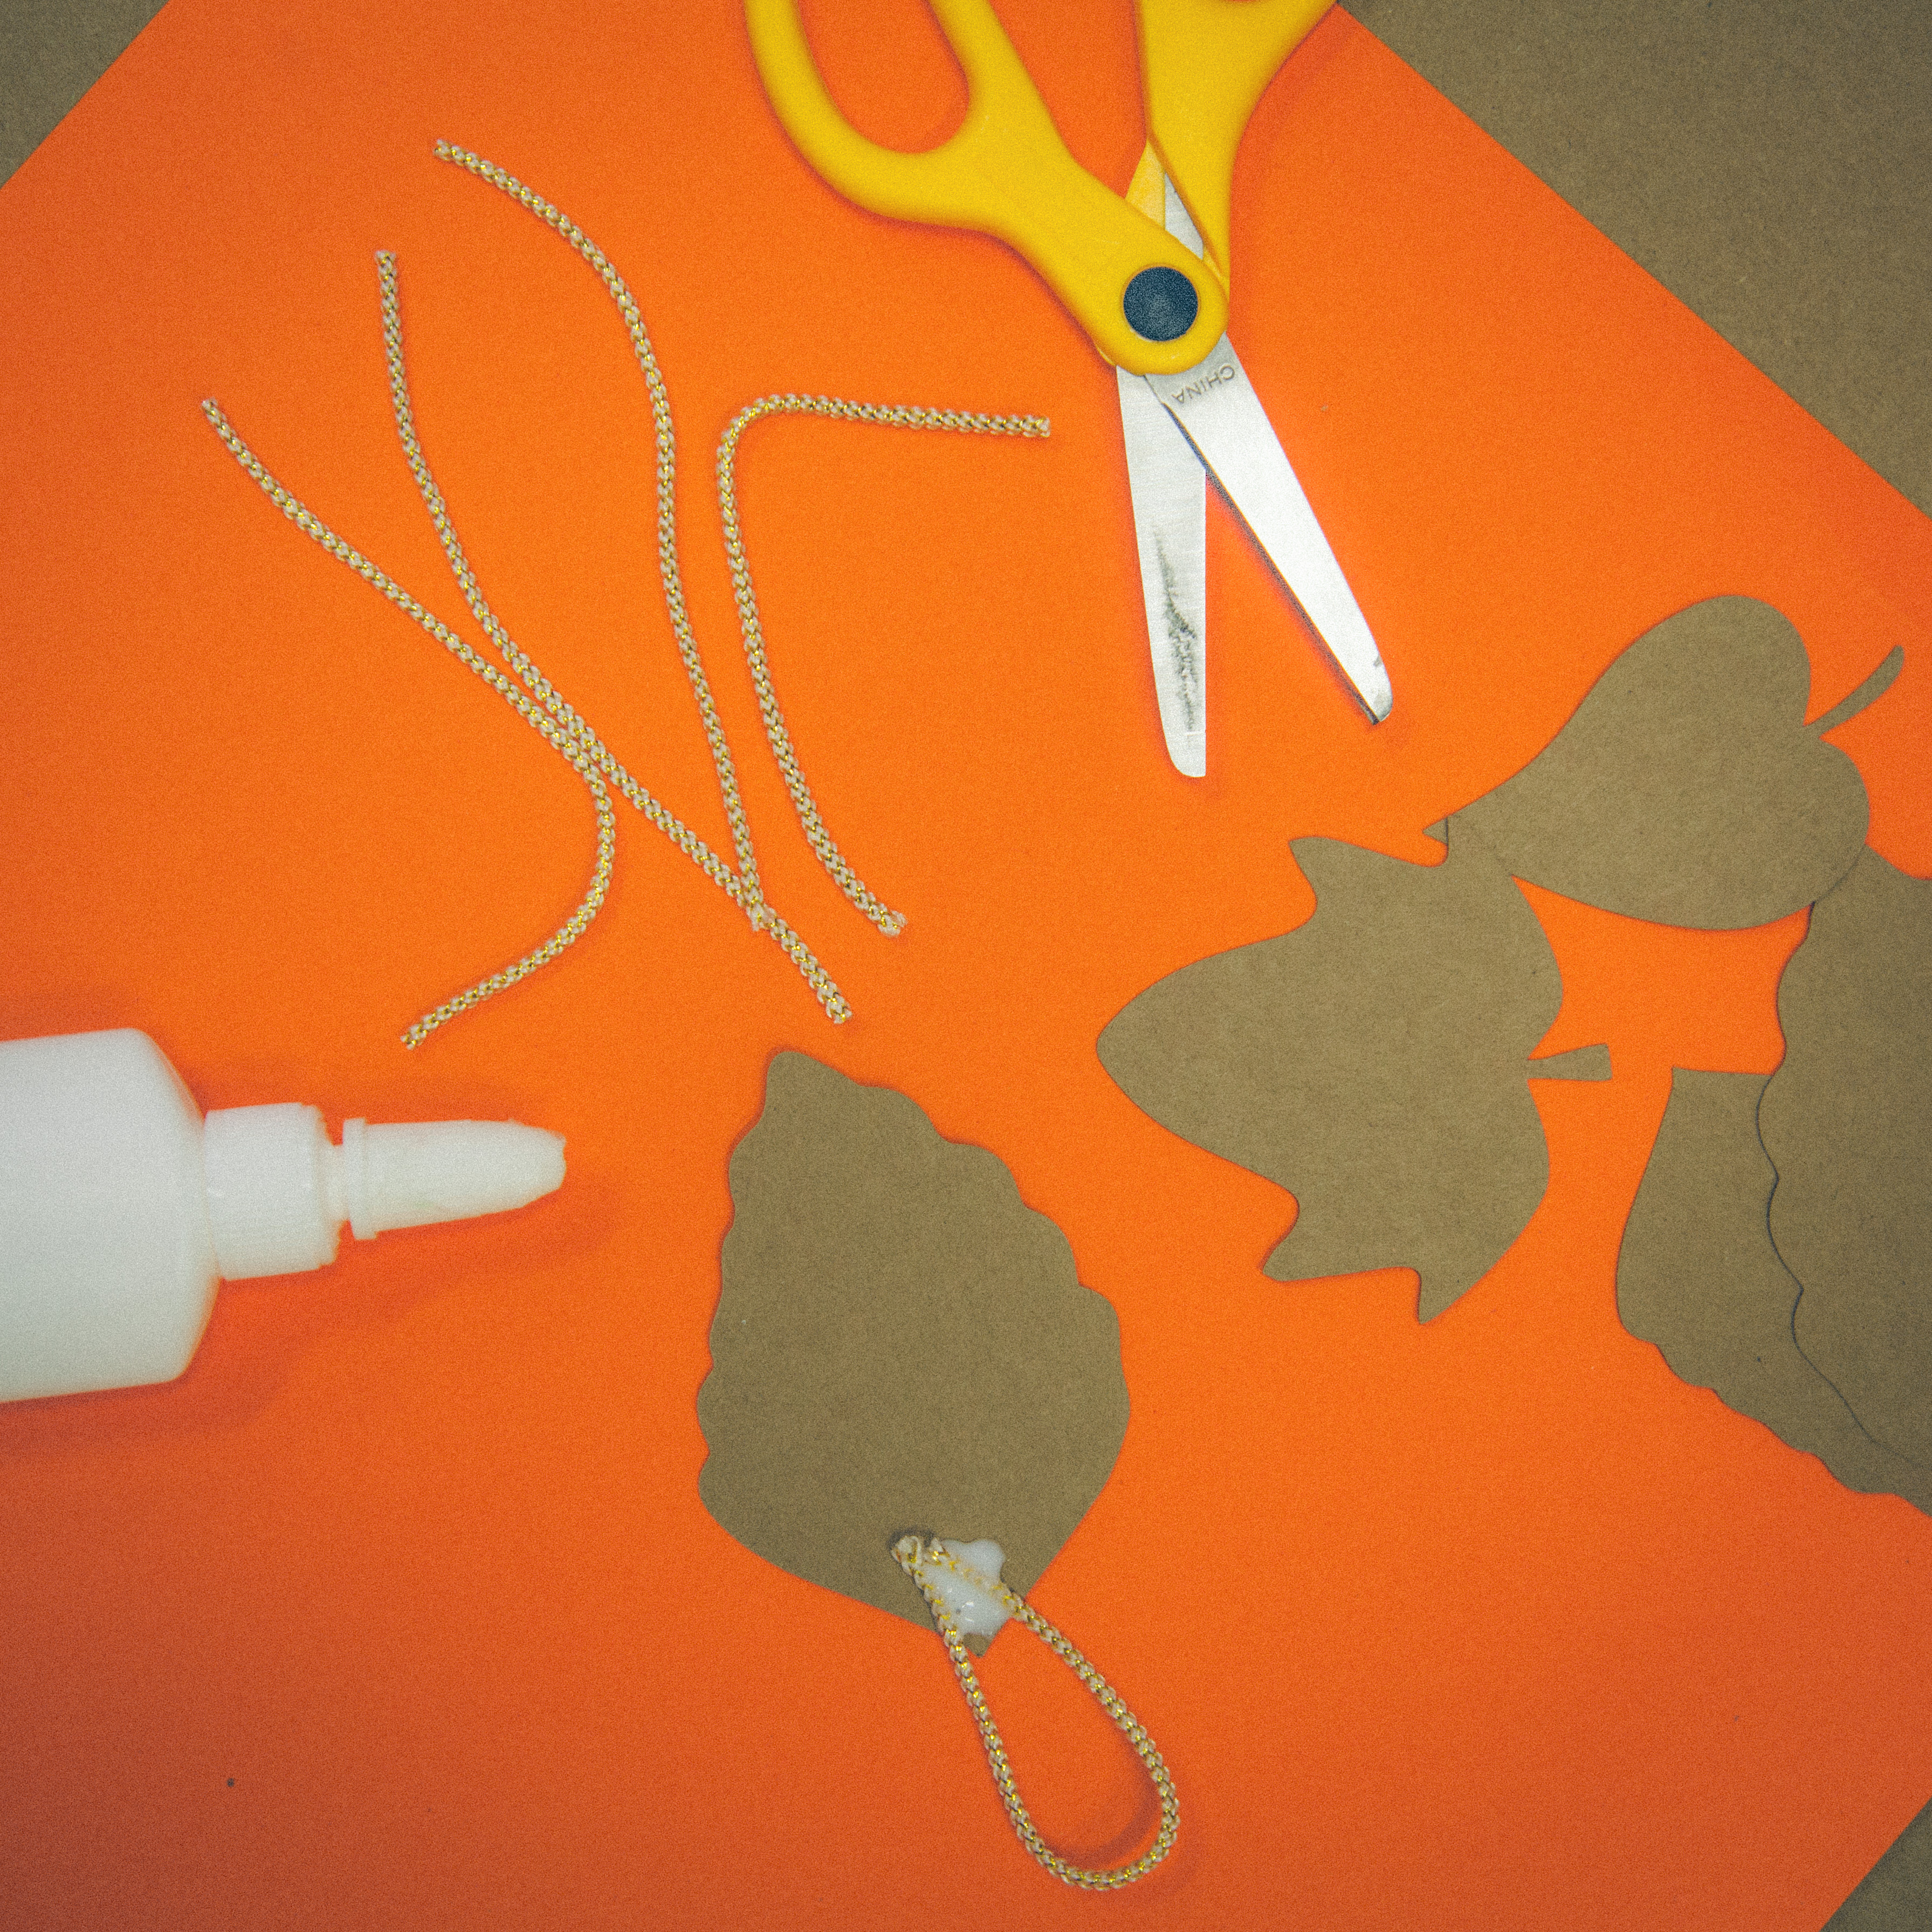
    Photo reference of how to complete step 2

  • Step 3

    Leaves
    Using your scissors, cut out leaf shapes from your paper. Cut small strips of string and glue them to the back of the leaves. Or, punch holes in the leaves and thread the string through the holes. Write down what you are thankful for on each leaf.

    Photo reference of how to complete step 3

  • Final result!

    Display!
    You are now ready to display this tree of gratitude! Use it as a centerpiece for your Thanksgiving table.

    Photo reference of how to complete step 4

You might also like

Top categoriesBurst graphic

Share what you made & tag us at!

;