Step-by-step tutorial
Step 1
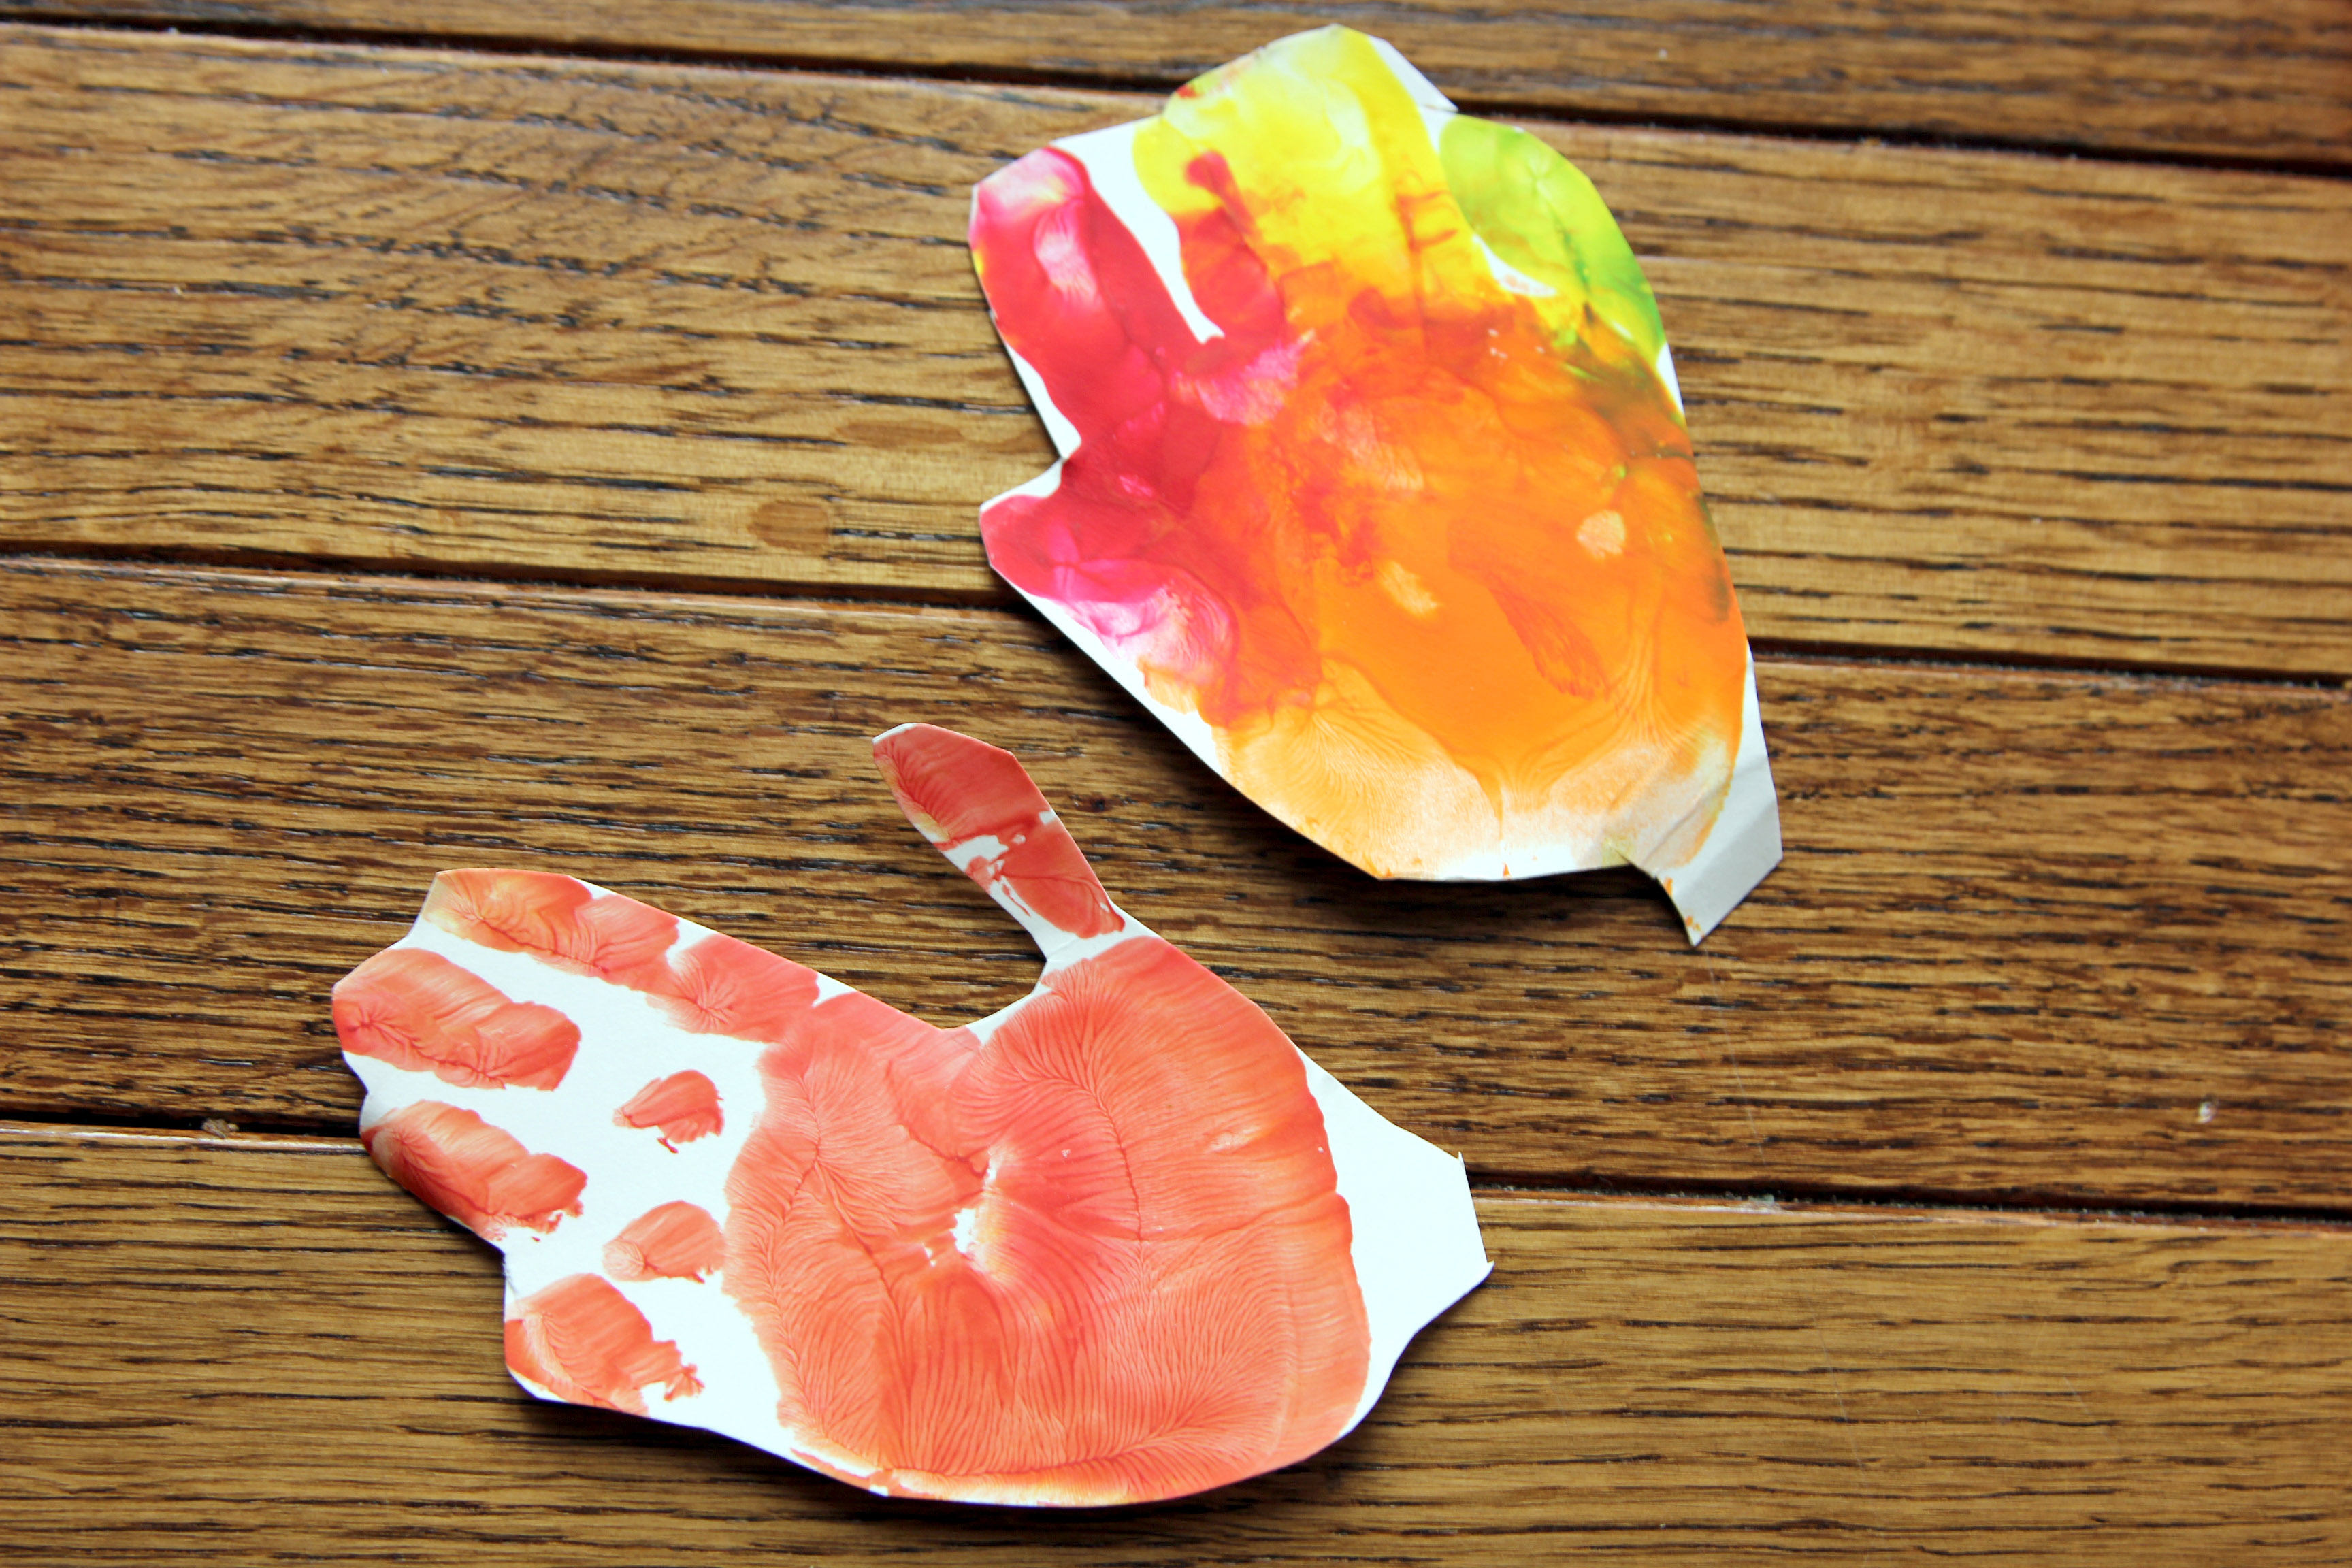
Start by squirting finger paints onto a paper plate. V. had a lot of fun with this task. She loved squirting each tube of paint onto the plate and then swirling her hands in the mixture to blend the colors together.She then gleefully stamped her hands all over the two poster boards. (The more prints, the better!)


Step 2
We let the boards dry completely, and then I cut out each print, making sure to also cut out a little tab at the base of each print. (V.'s not quite old enough for scissors yet--but of course this is a step that slightly older kids can do on their own.) The tabs will make it easier to insert the paper into the embroidery hoop.
Step 3
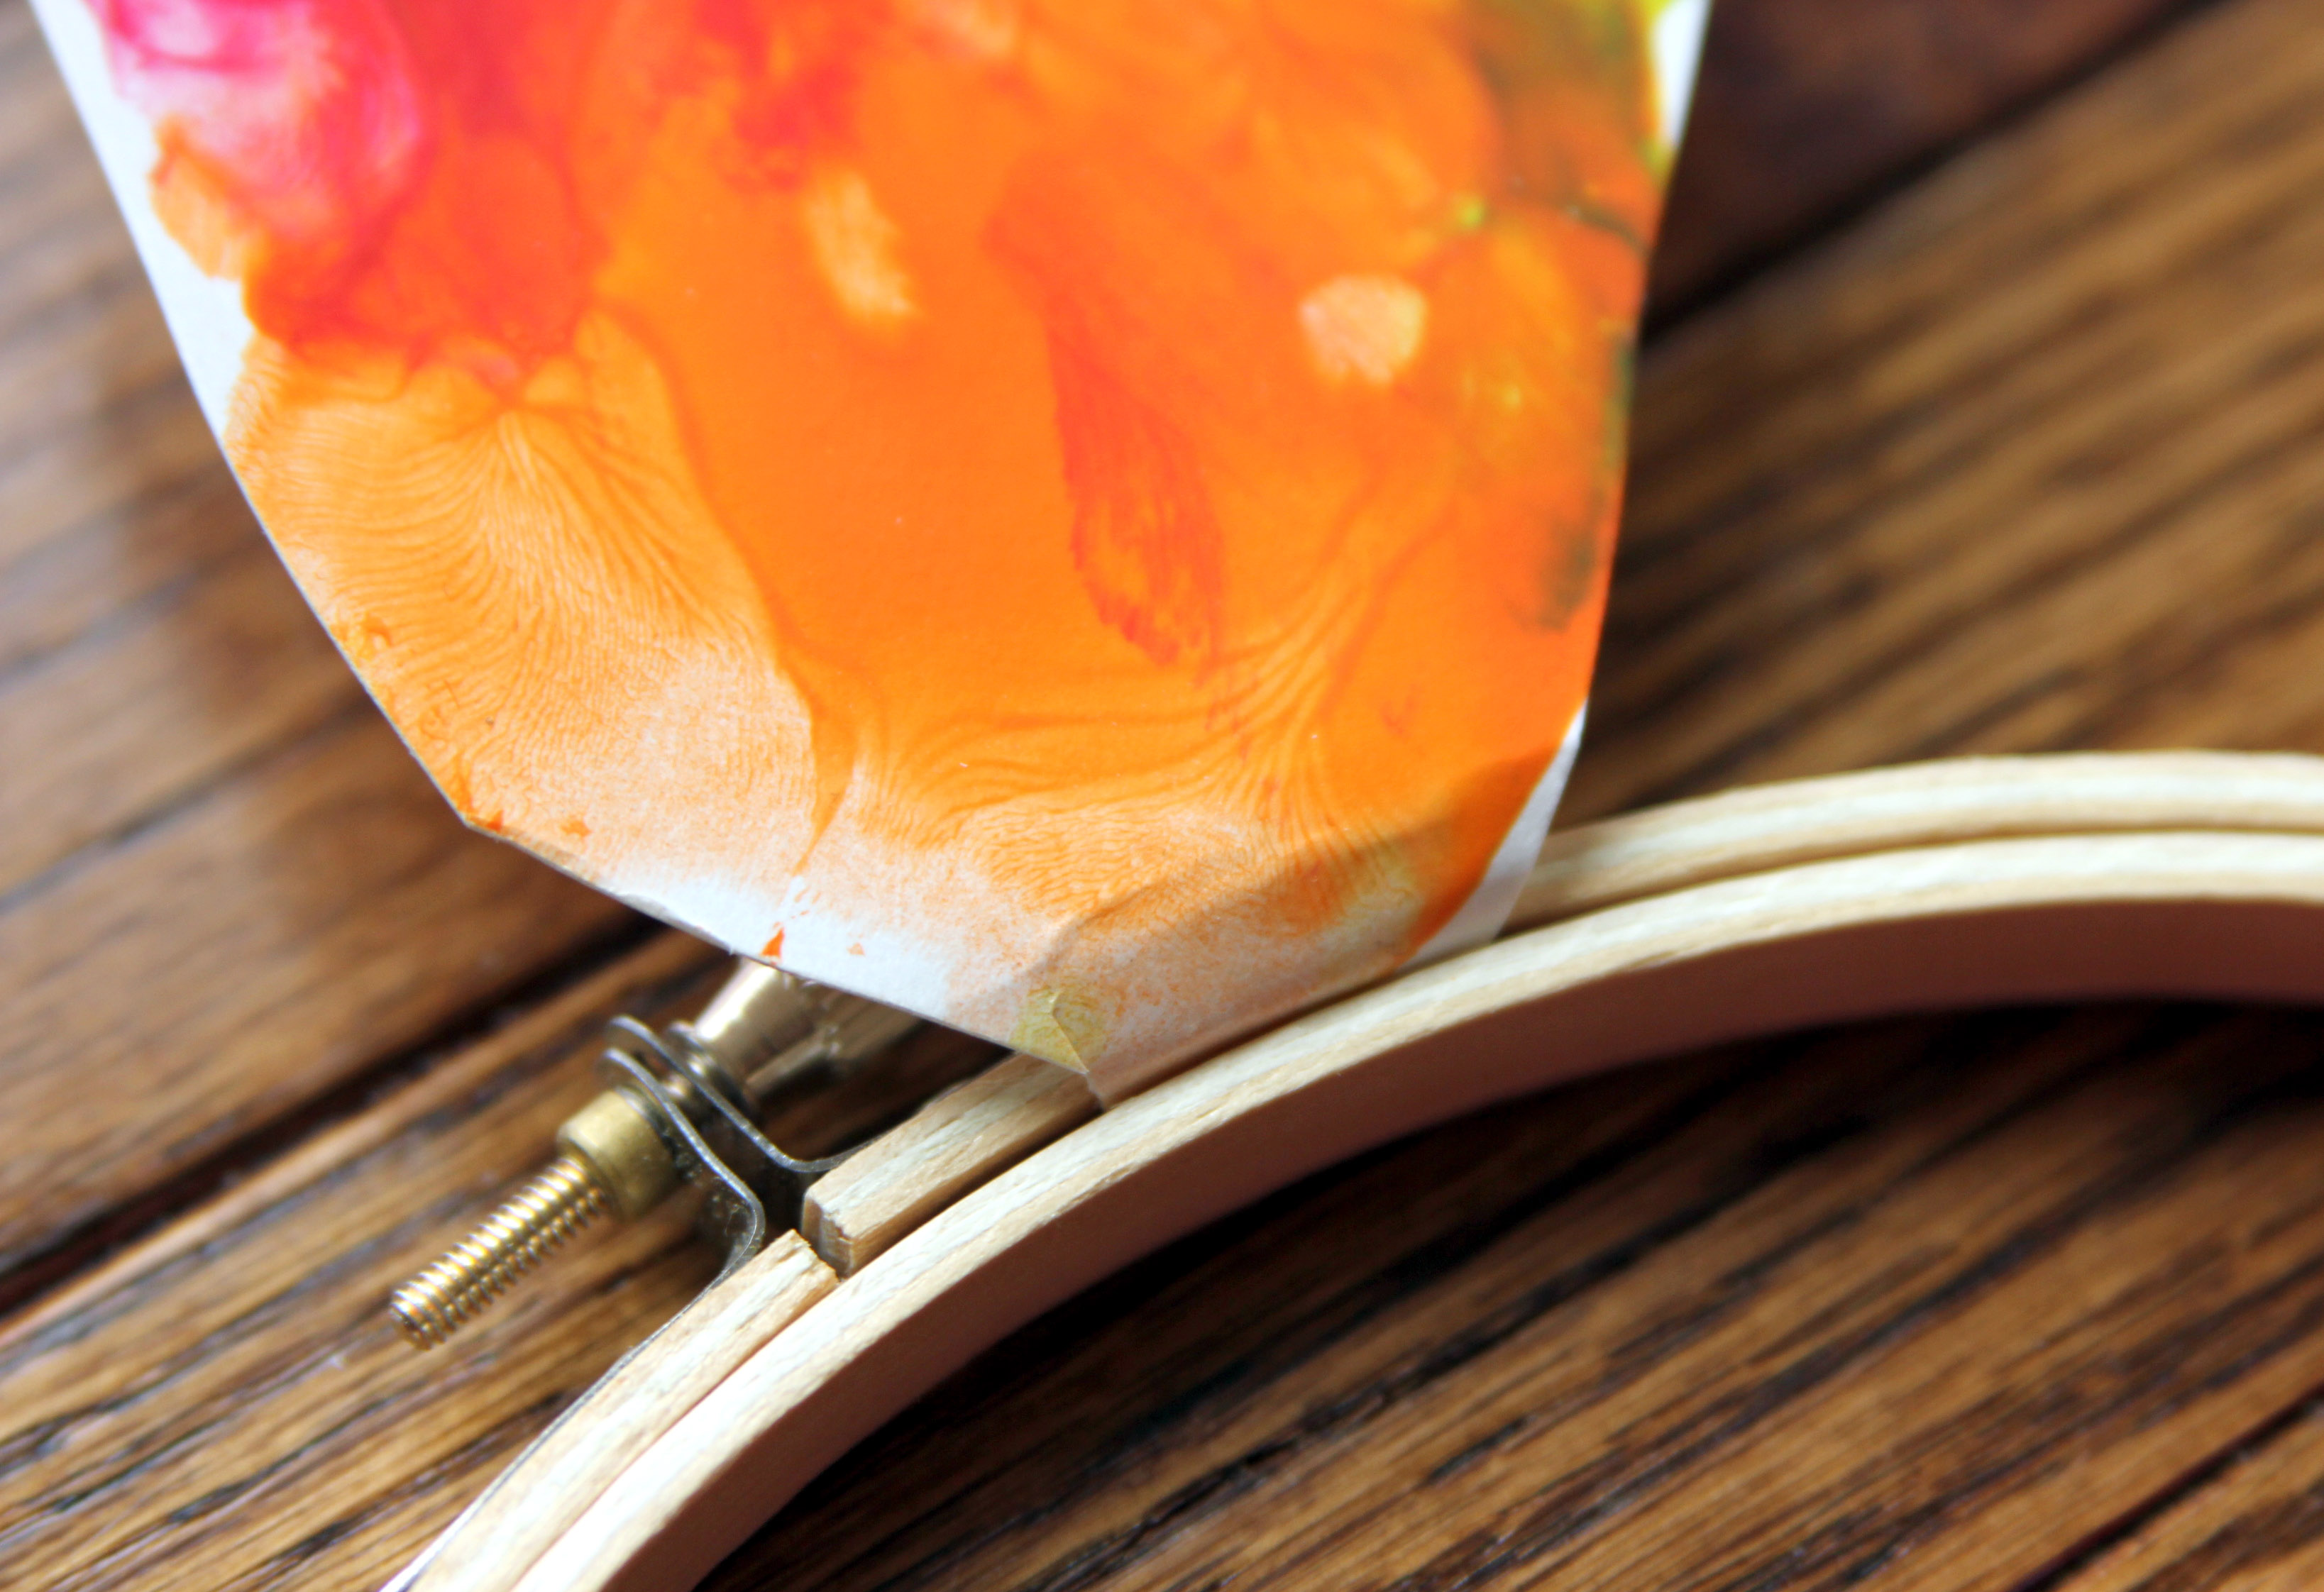
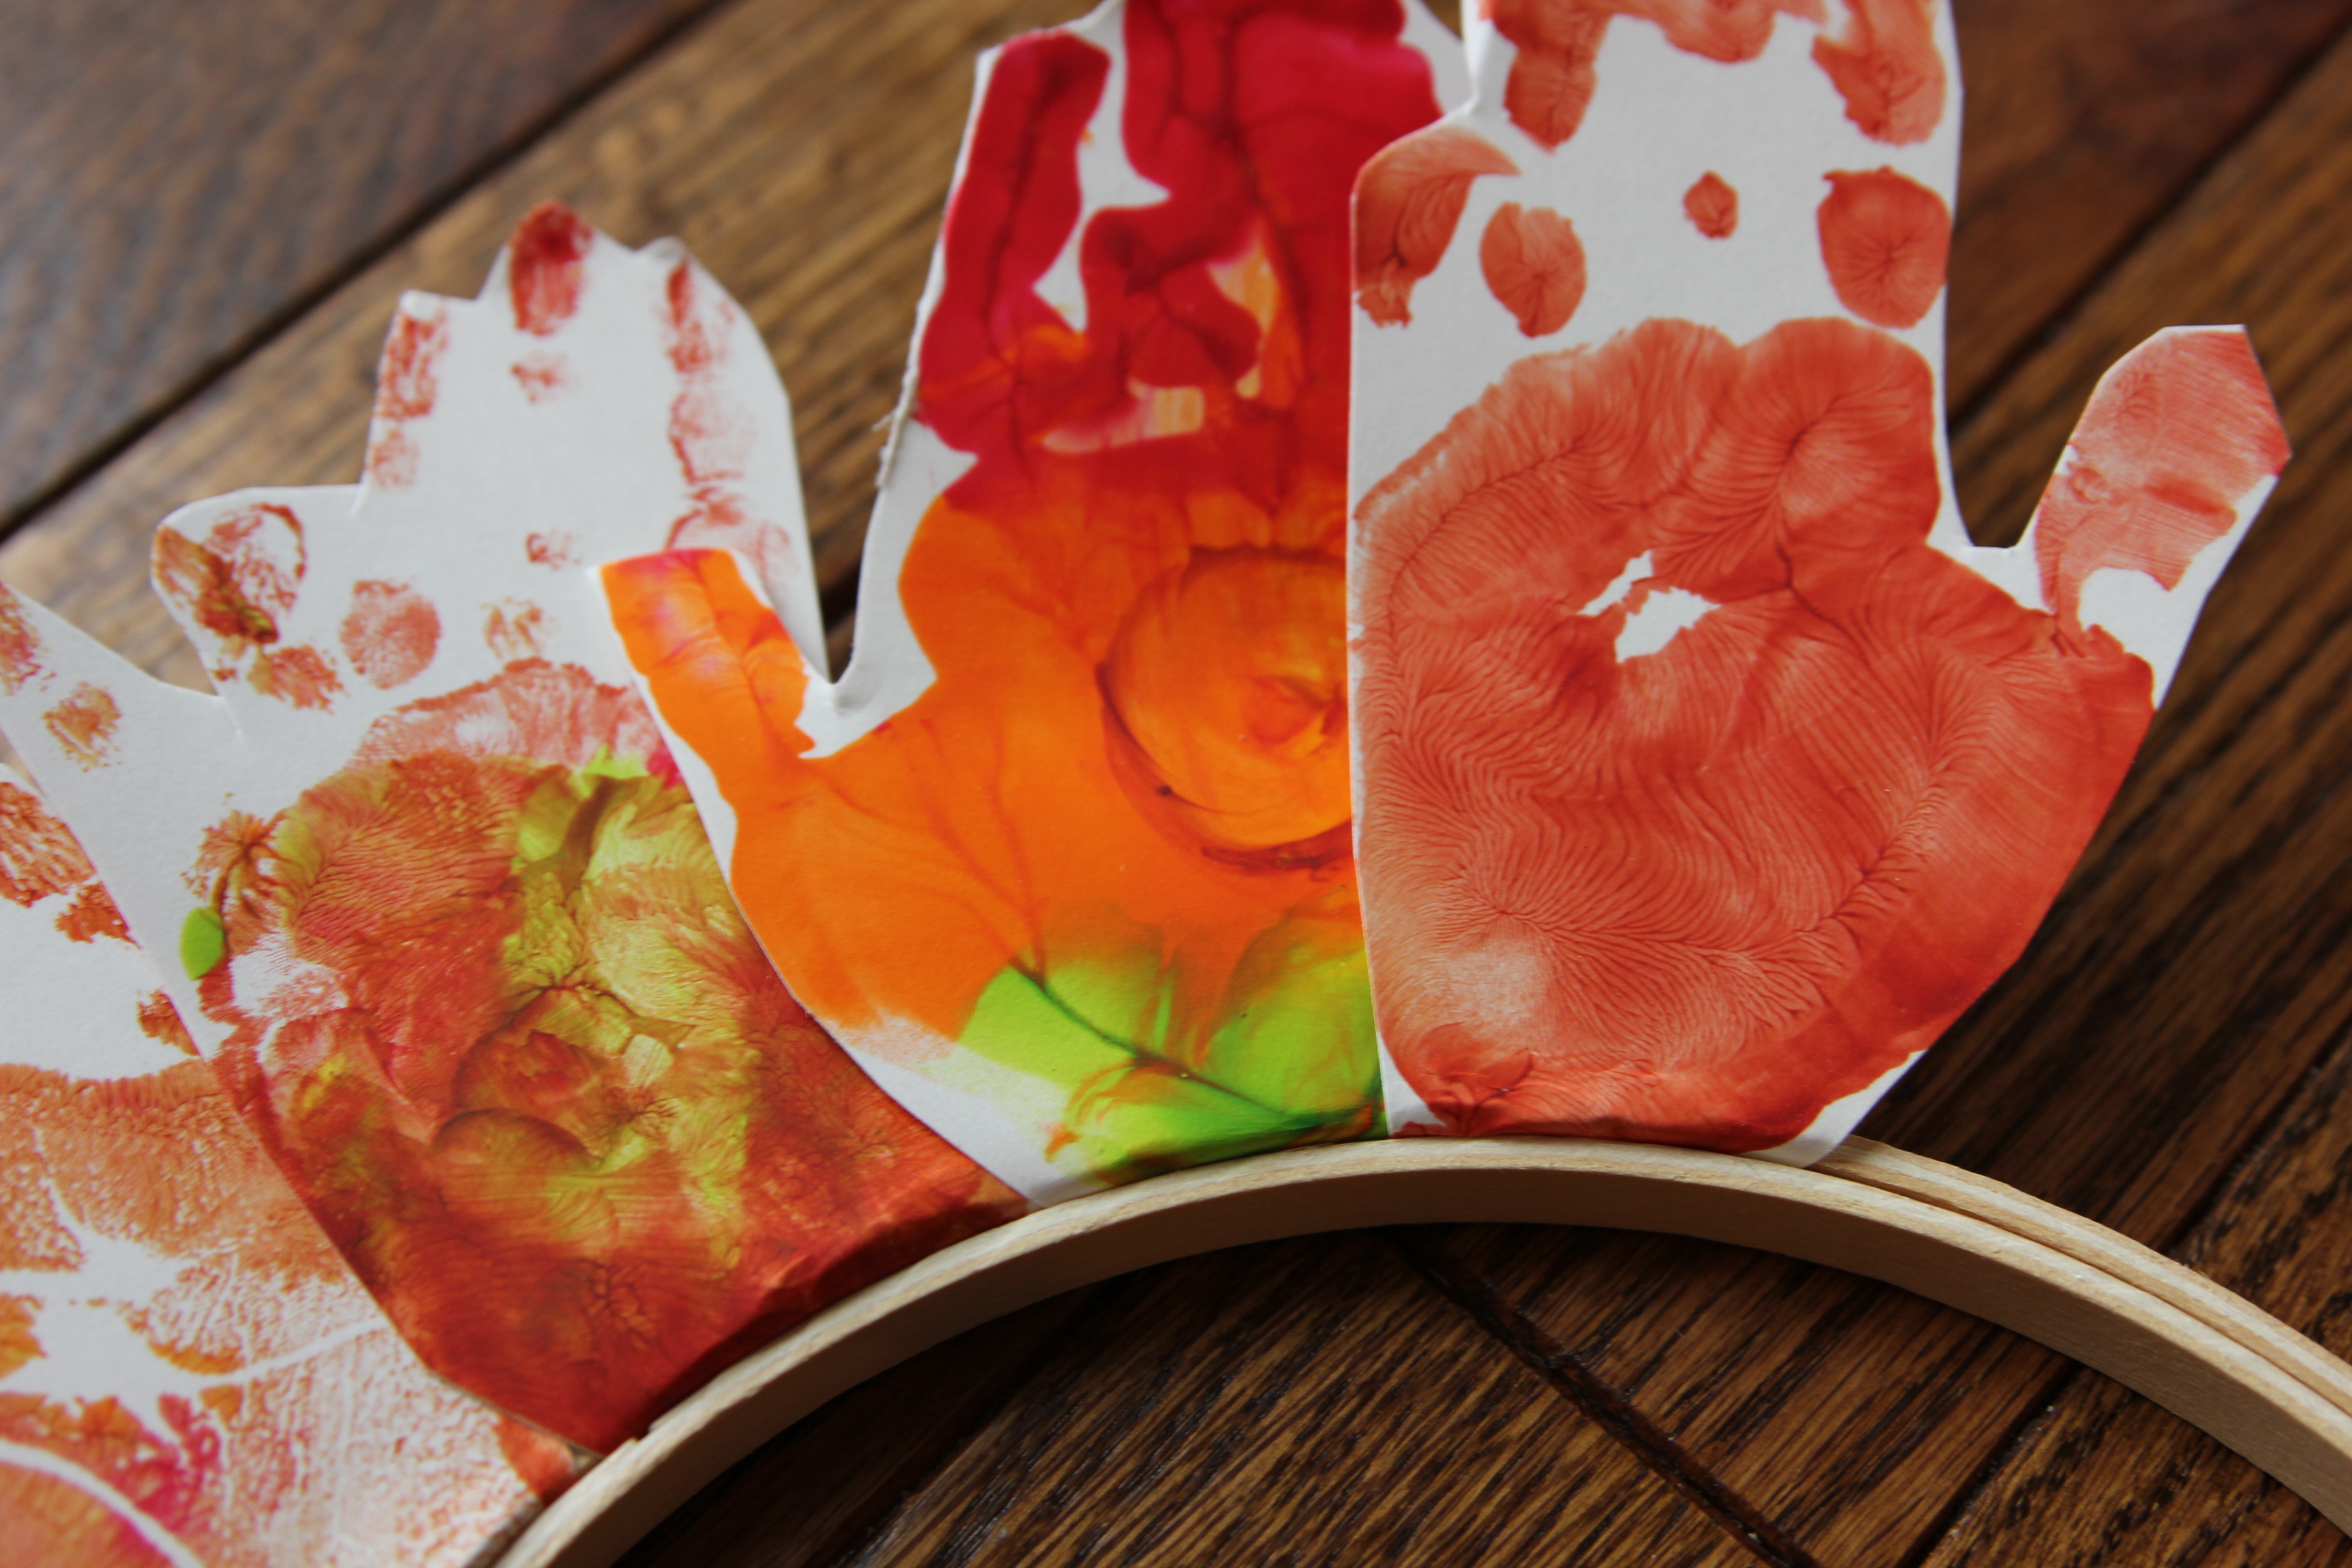
Next, we gathered the hand print cut outs and inserted them one by one into the embroidery hoop between the two rings. (I used the adjustment clasp at the top to make the hoop looser then tighter.) I found the best way to put the prints in was to lay the hoop on the floor while inserting them. V put in several prints...but she eventually lost interest, so I put the remainder in. (Older kiddos will probably have longer attention spans though!)
Step 4
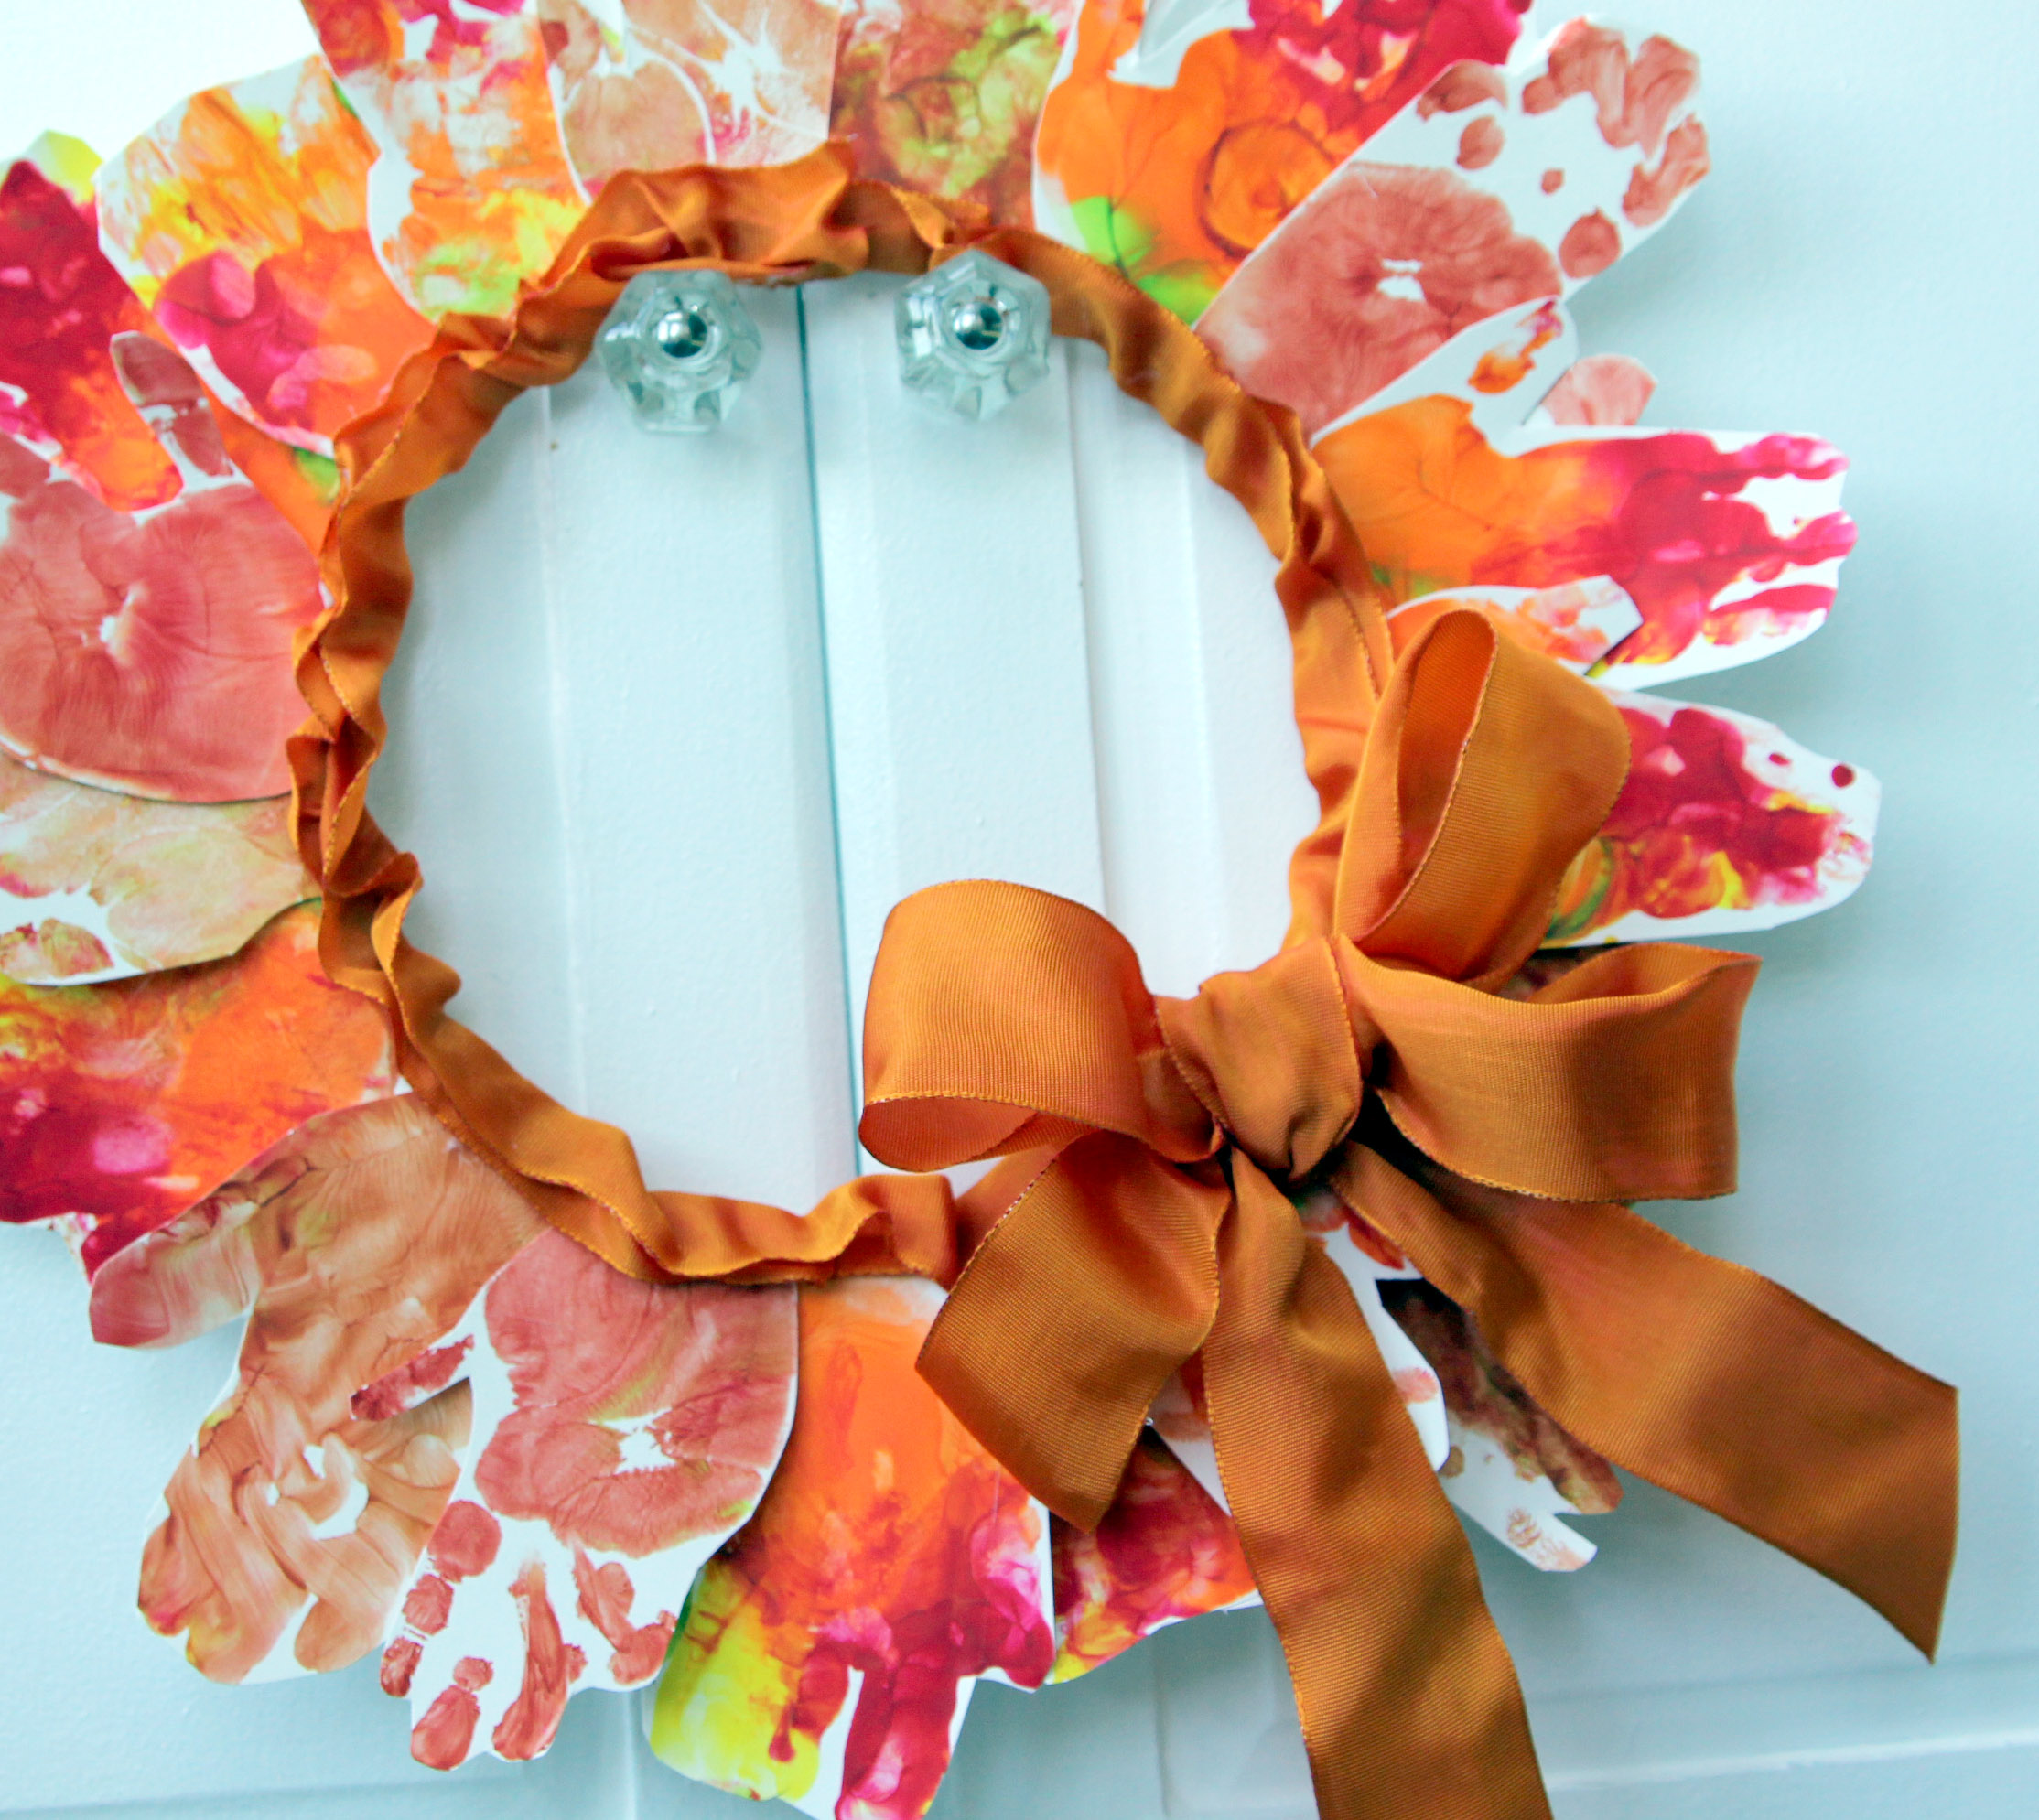
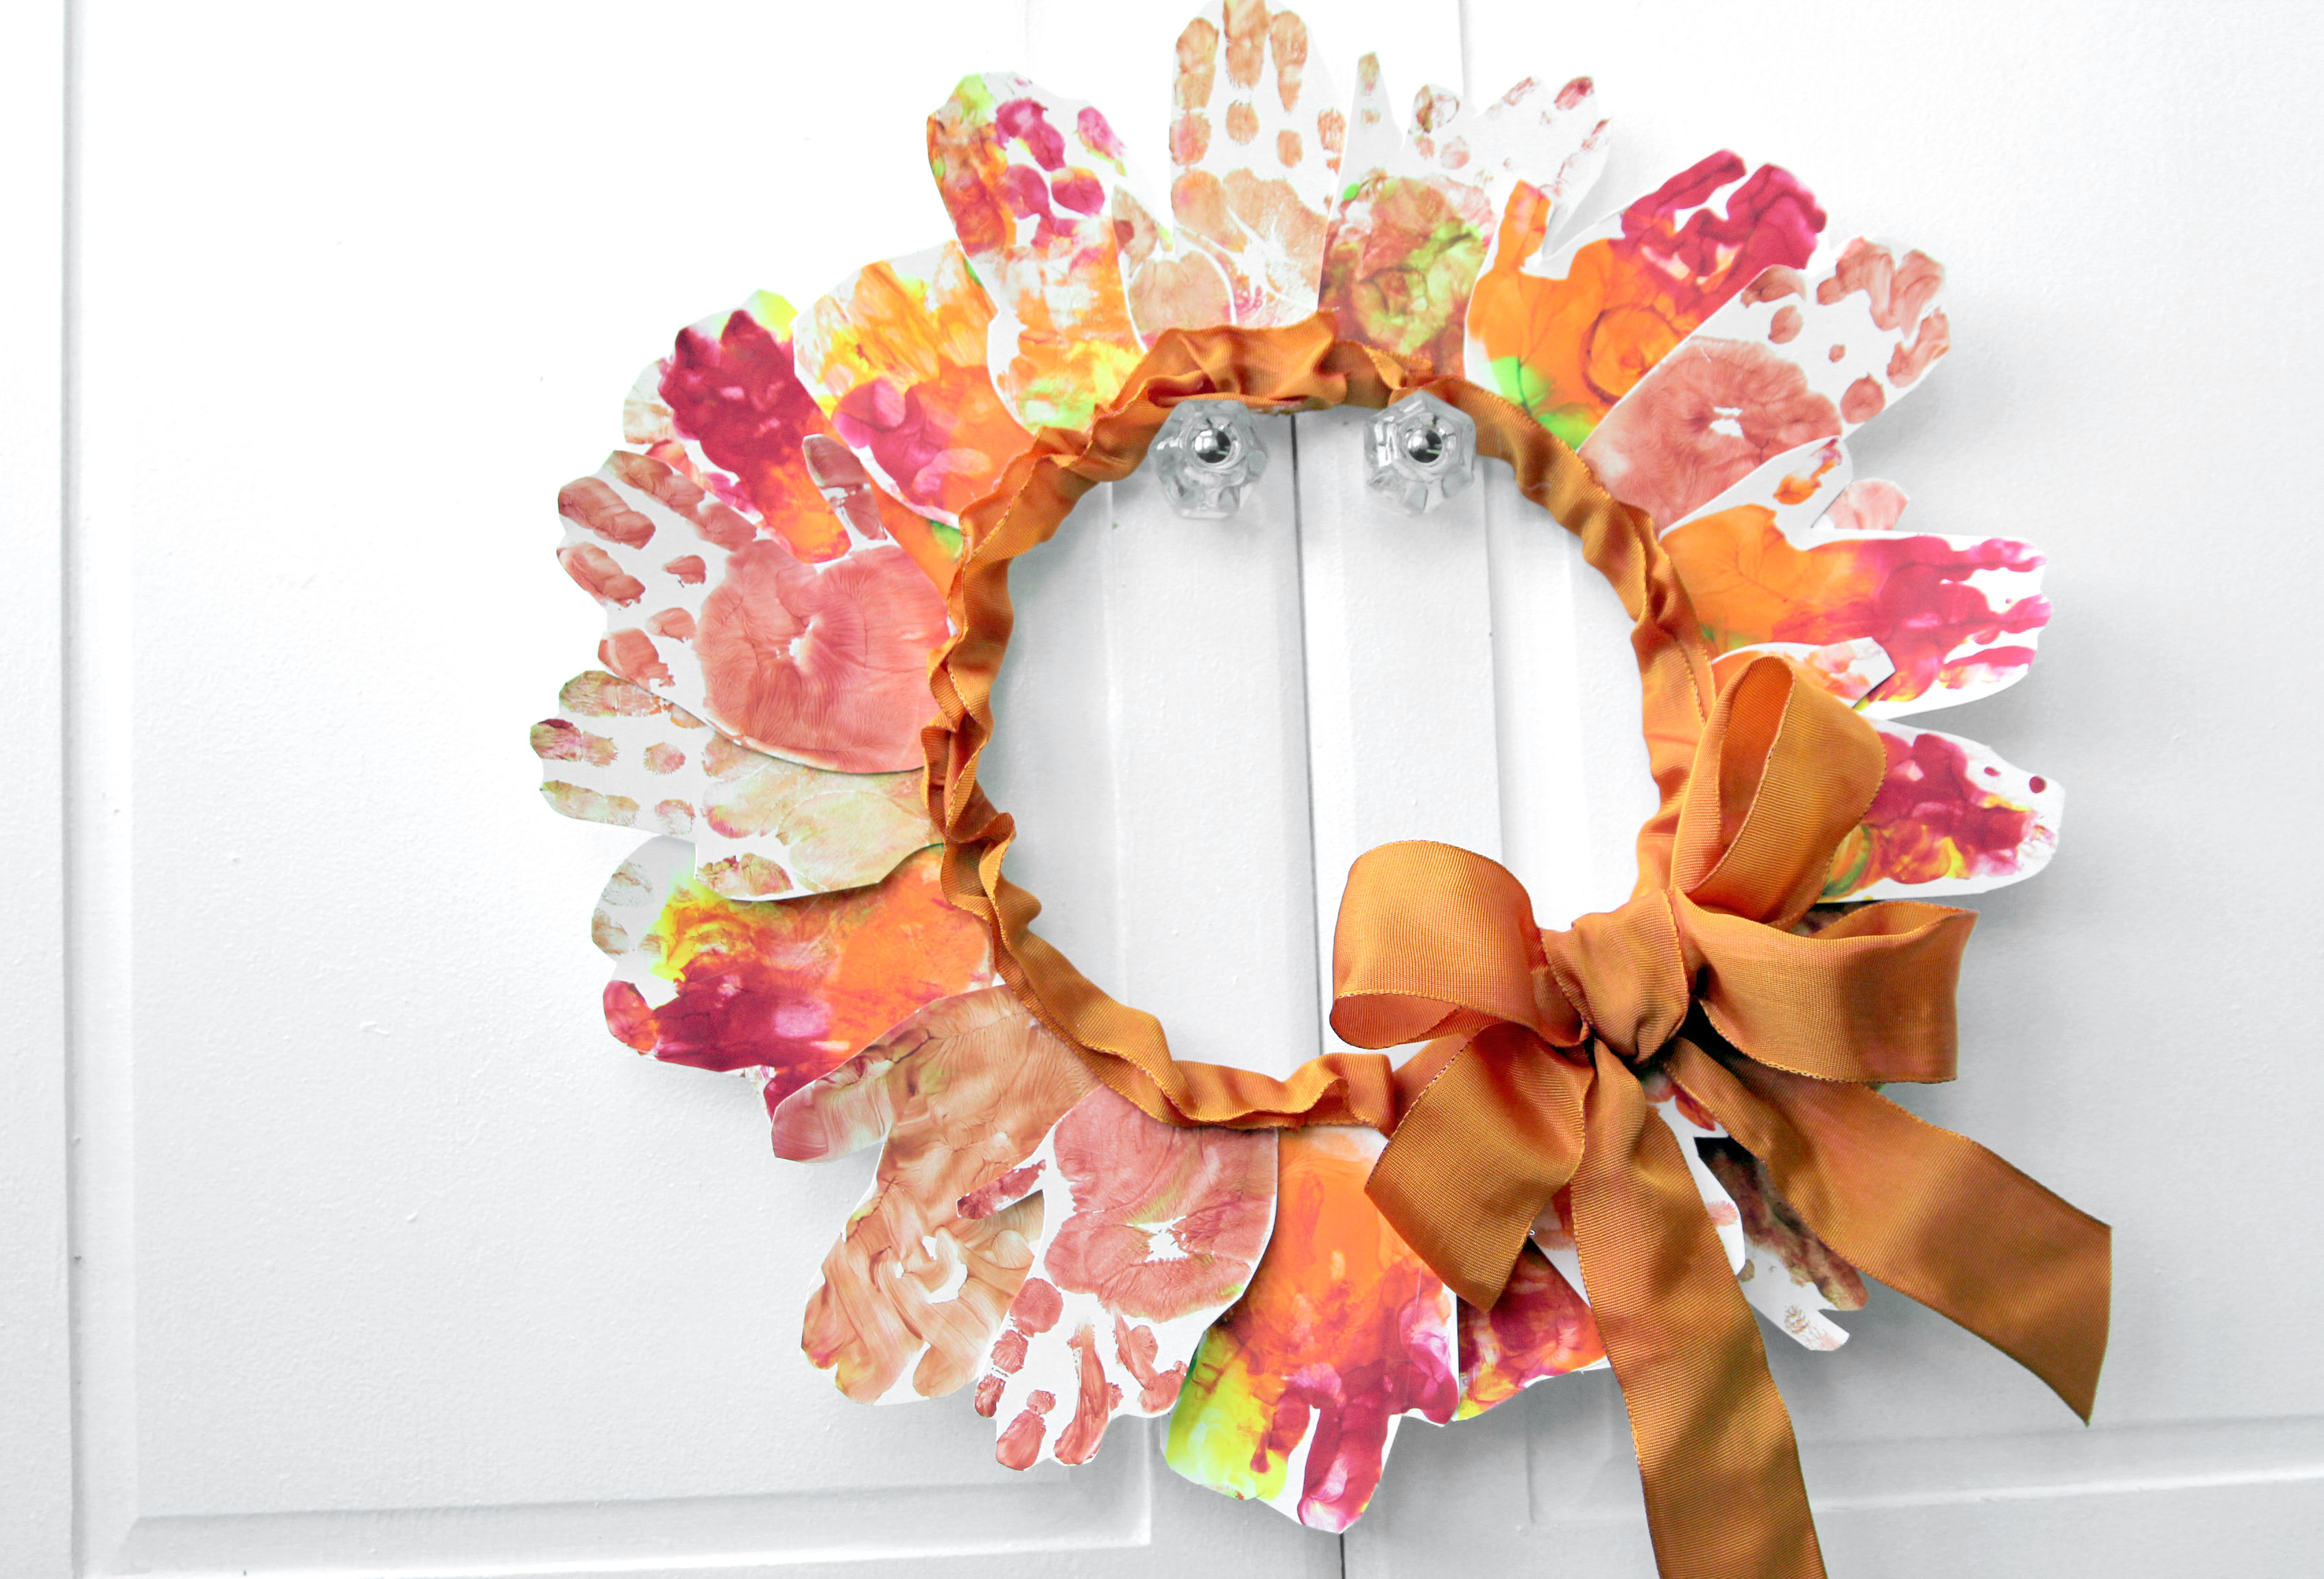
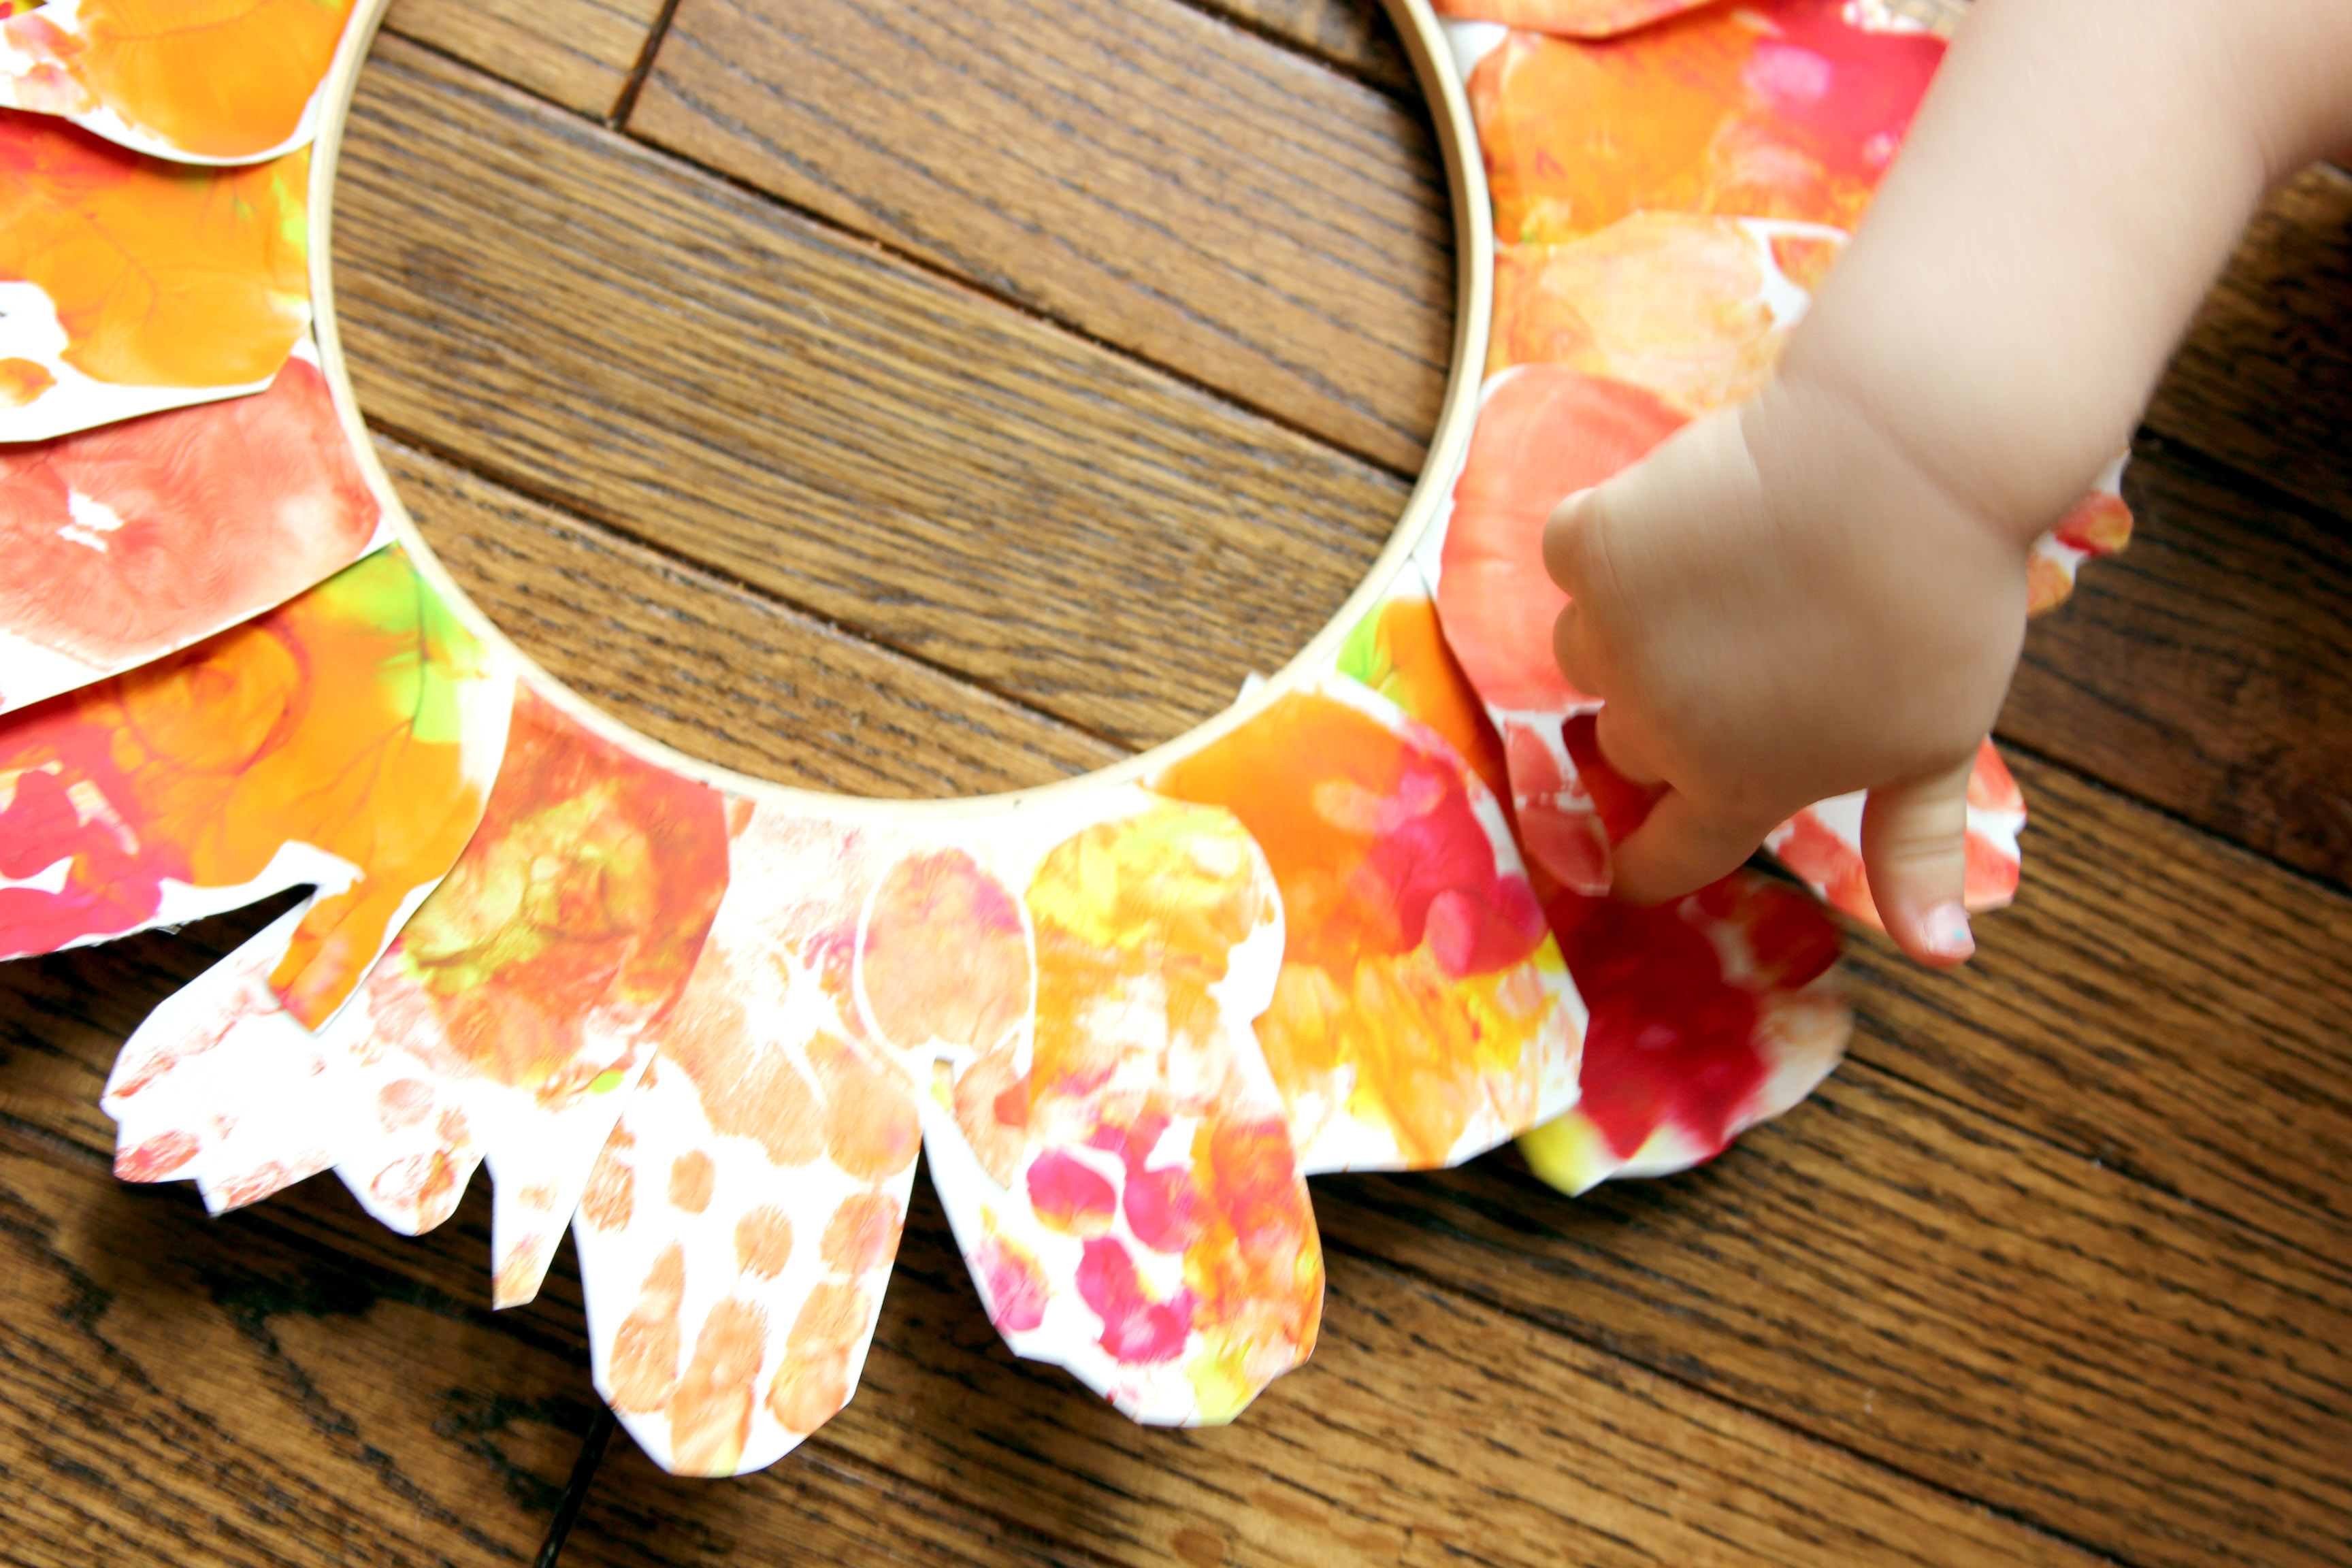
We went all the way around the hoop layering the colors sporadically, not symmetrically, one on top of the next, to create a colorful wreath. This is a great part for your child to help you with because they will automatically pick a random shape or color, not purposely trying to match it up.
Step 5
V. and I went around the wreath and counted the hand prints. (Some mommy math: 19 prints = one fantastic-looking wreath!)
Step 6
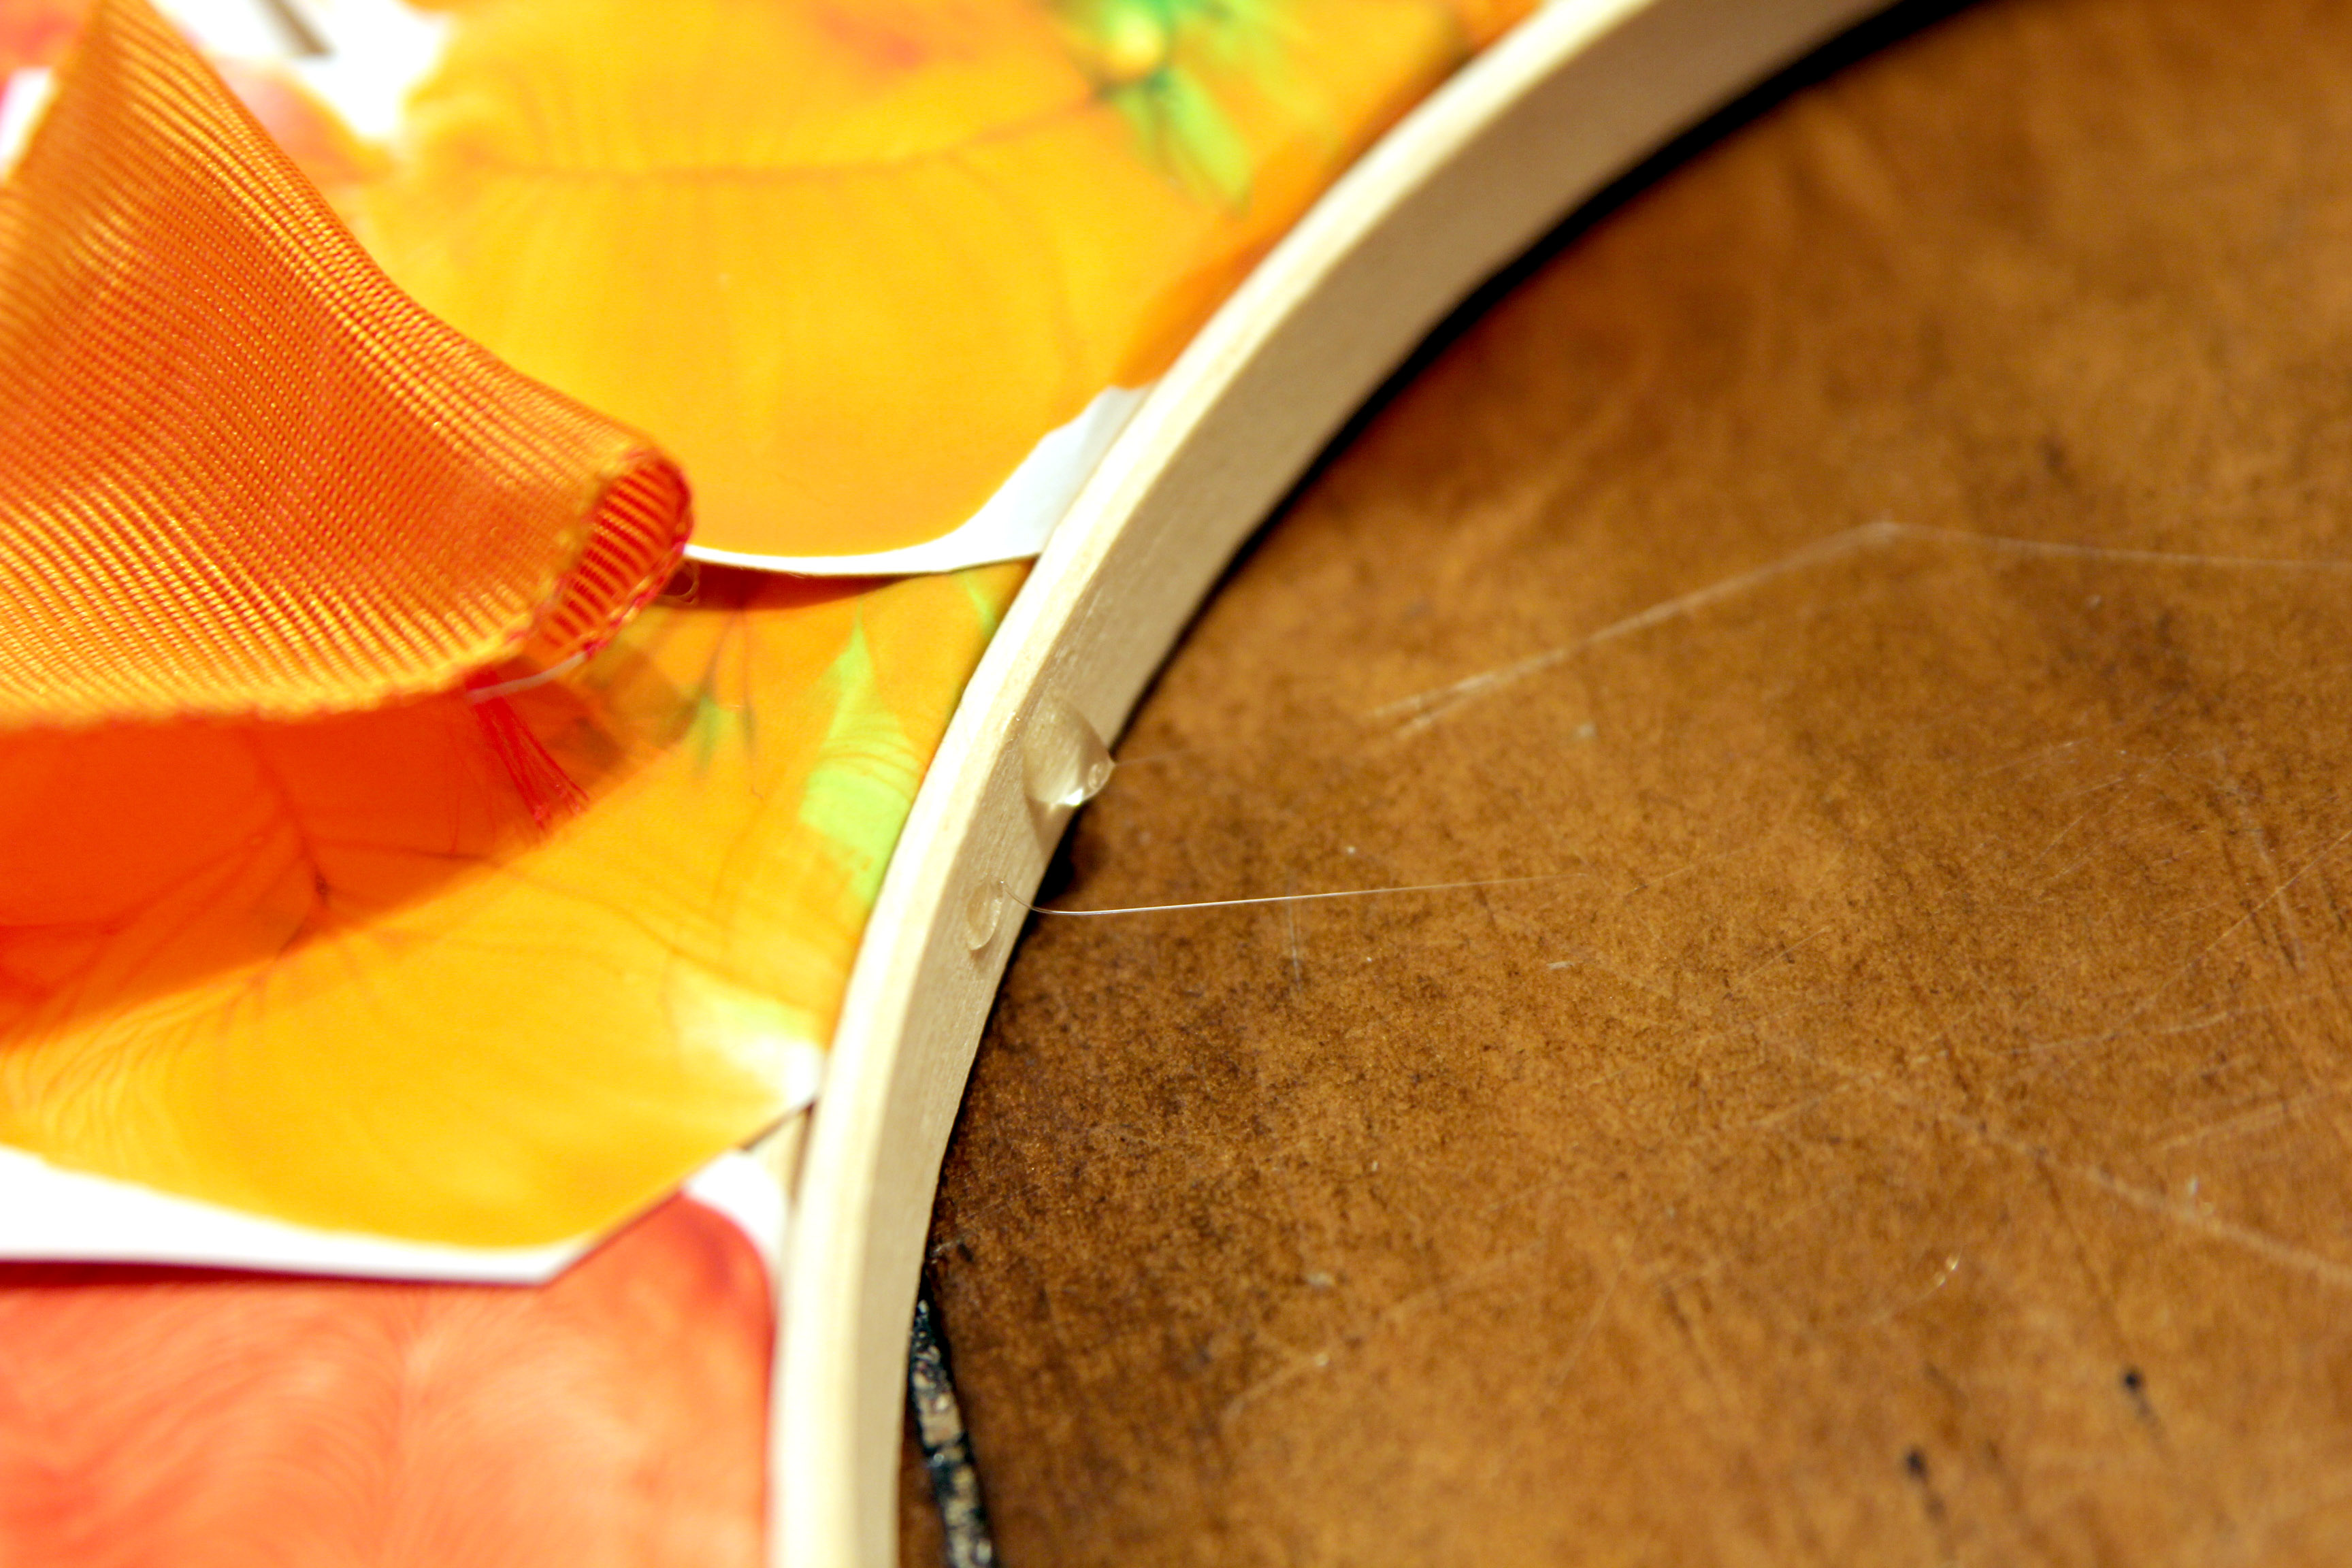
This next part is a grownup step because it involves a hot glue gun: V. picked a spot in the inside center of the hoop to start gluing the ribbon down...
Step 7
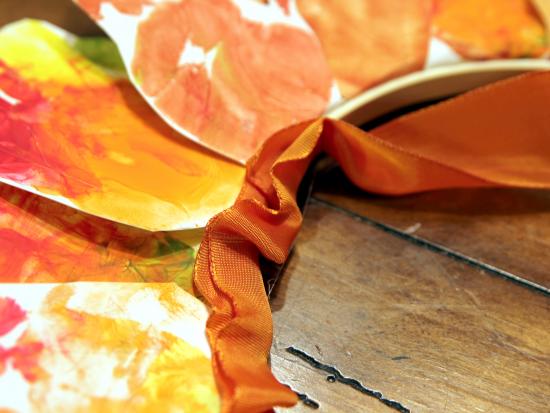
...and then (with V. watching from a safe distance) I added hot glue all the way around the inside of the hoop. I folded the ribbon in half, with the folded end glued down, and the outer ribbon edges facing up. (We used wired ribbon for this project because it could be easily molded and moved to adapt to our creation.)
Done!
I used the remainder of the ribbon to make a bow (older kids can make the bow on their own), and hot glued it onto our wreath. Then we hung up the wreath in our living room to add some fun fall flavor to our house. (Since the wreath is made of paper, it's best to leave it inside.)