Step-by-step tutorial
Step 1
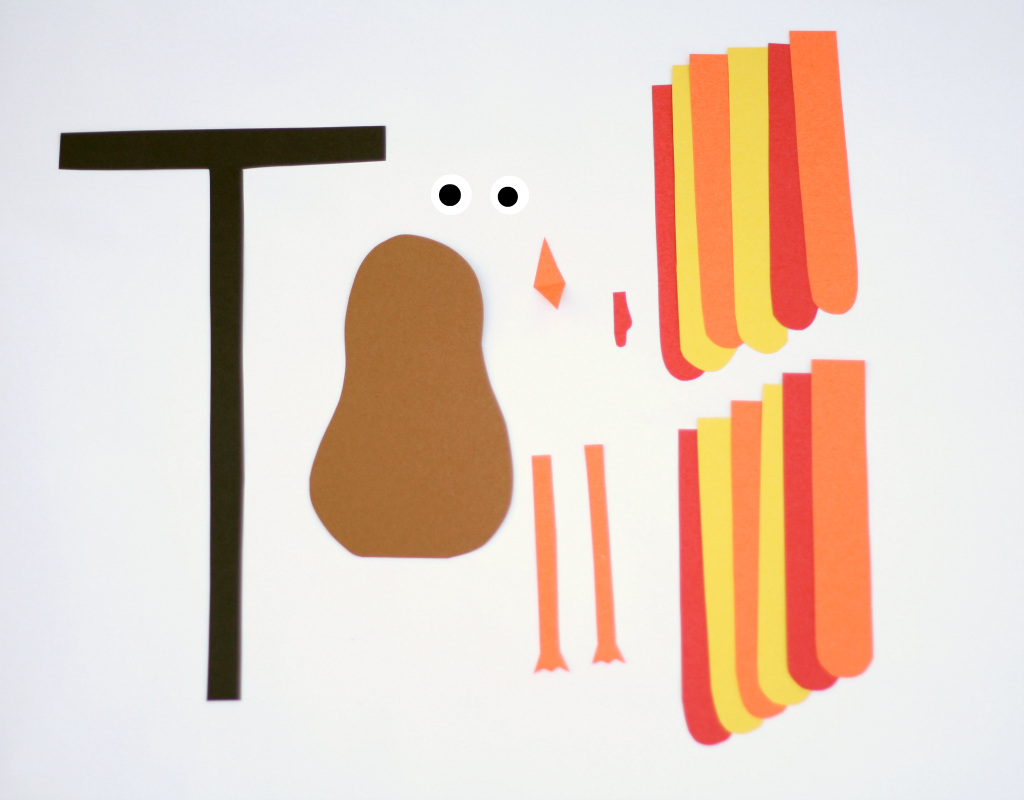
First things first. You'll need to gather some supplies. Don't let the list fool you though. It's much easier to prep everything than it might seem. From start to finish, it took me about 10 minutes to collect the supplies and cut all of the parts out of construction paper. Since my oldest son is almost 3, I prepped everything for him but if you are working with older kids, this would be a great chance to help them practice cutting with scissors.

Step 2
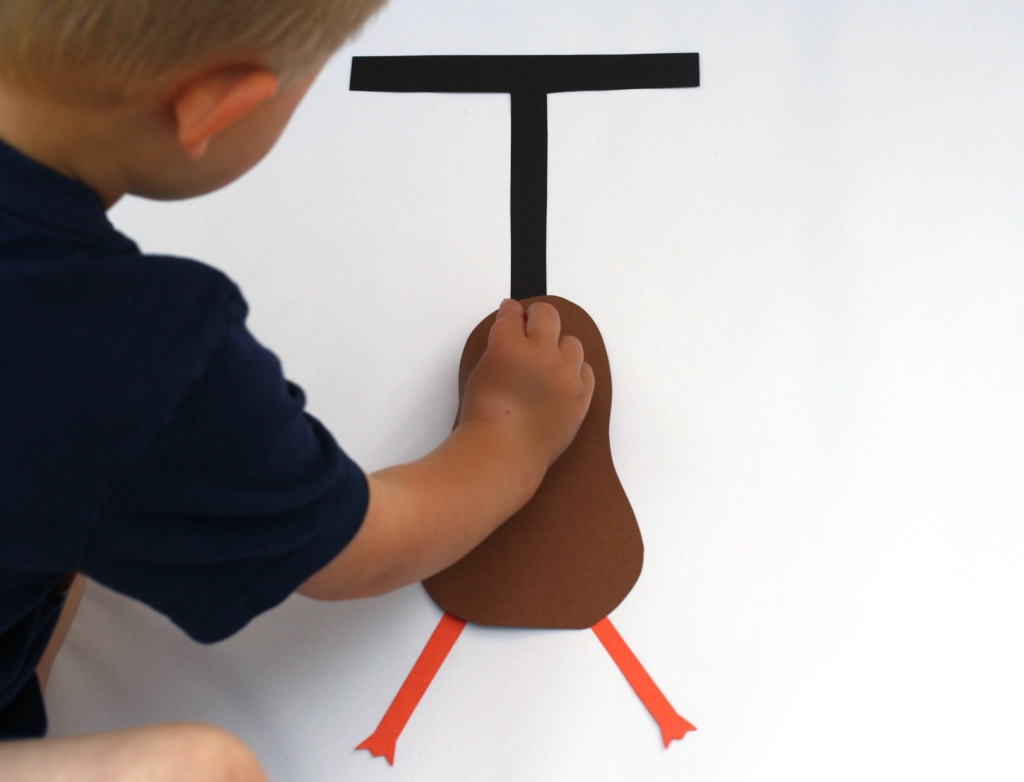
Now the fun begins. I laid down the letter {T} in front of my son and explained that it makes the sound /t/. We had fun brainstorming all kinds of words that start with that sound: turtle, Uncle Todd, toes... Then I added one more word to the list: TURKEY! With an excited smile on his face, my son began building the famous Thanksgiving mascot on top of the letter {T}. I followed behind each of his steps gluing down the turkey parts.
Step 3
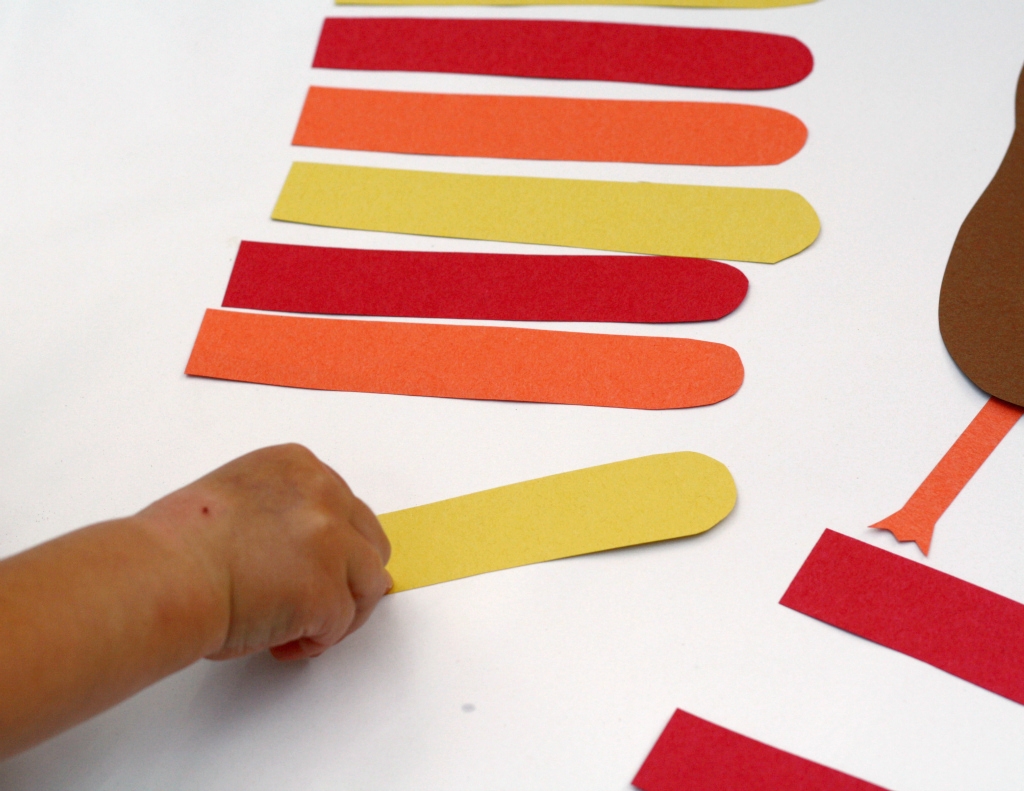
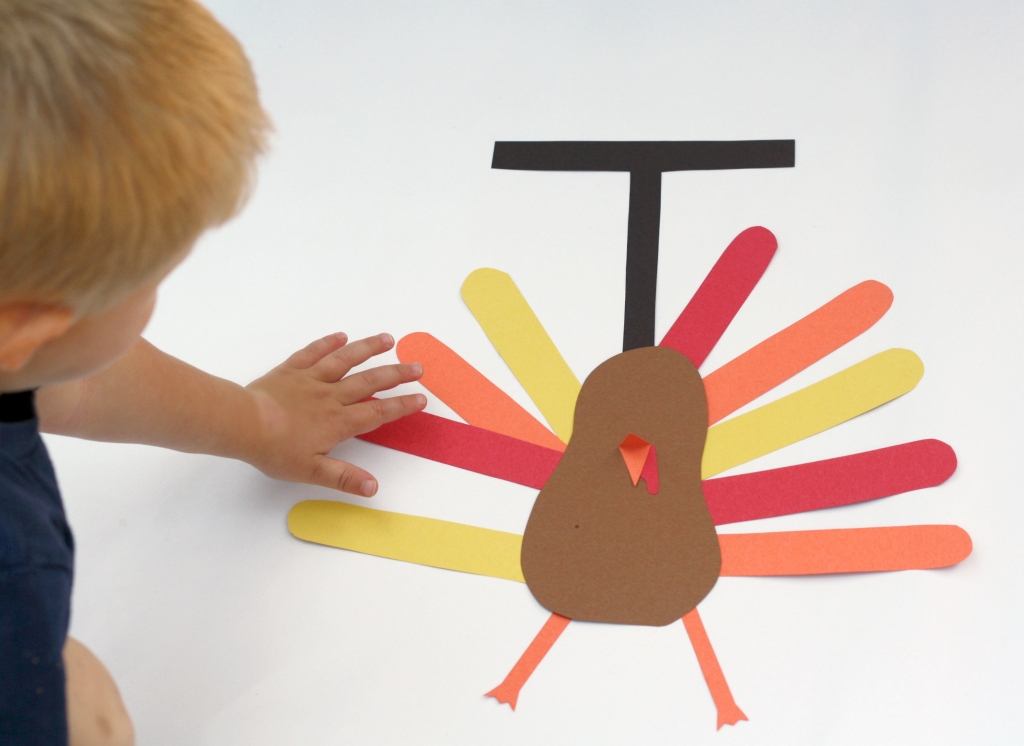
With the turkey's body, legs, wattle, and beak in place, we were ready to add the colorful feathers. This was a great chance to sneak in a little patterning practice so I helped my son lay the feathers down in red - orange - yellow order.
Step 4
Then he slid the feathers underneath the turkey body. As you can see, our pattern fell apart at this point but we decided that having a bright and colorful turkey was more important than keeping the pattern in the correct order. (My 3-year-old always does a wonderful job of reminding me not to sweat the small stuff.)
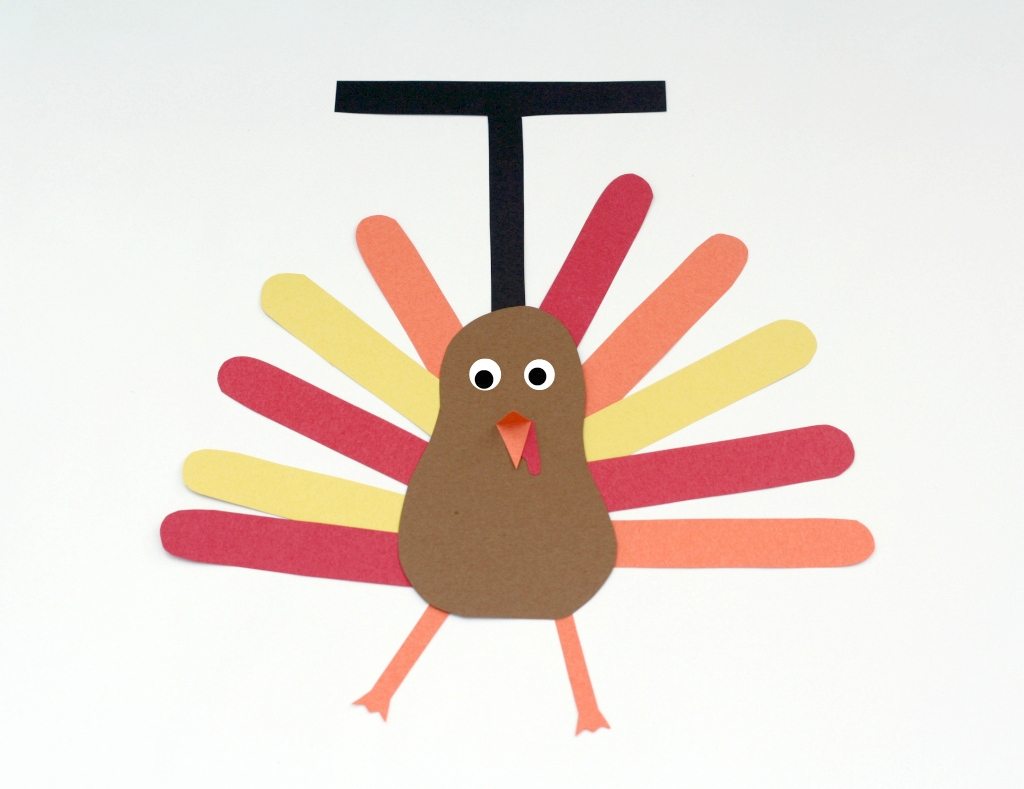
Done!
And voila! Our T is for Turkey was complete.