Step-by-step tutorial
Step 1
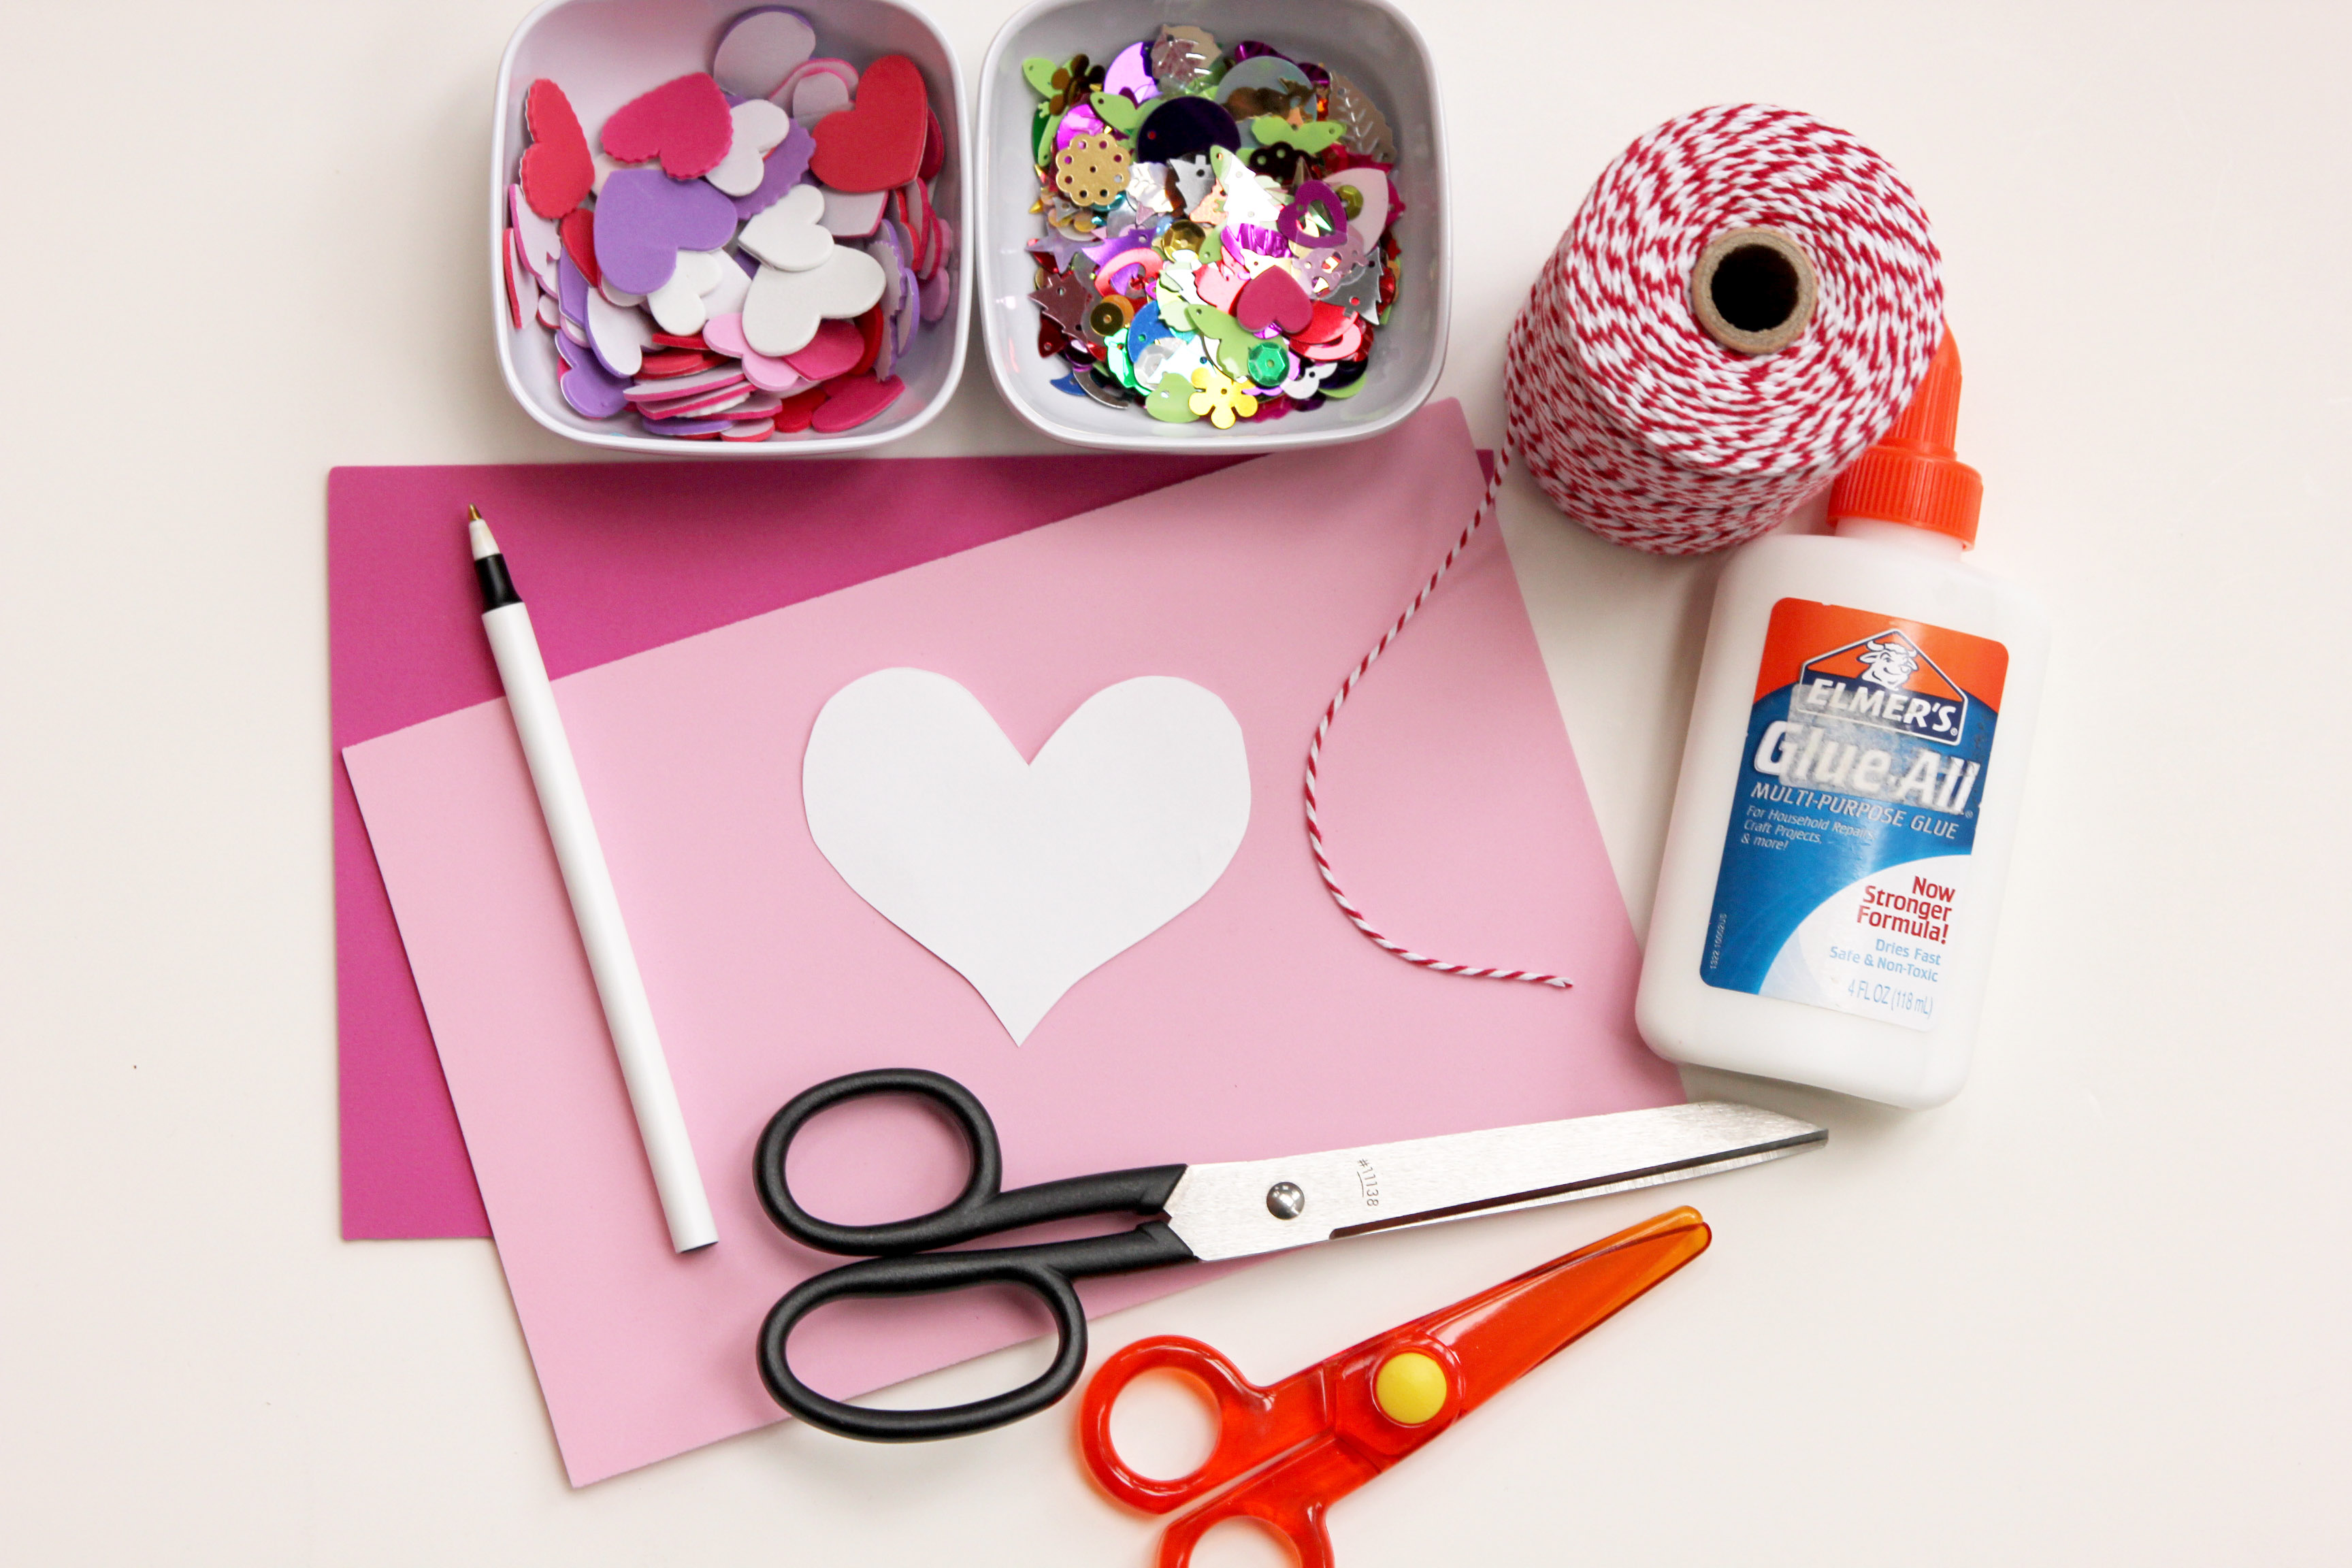
Start by gathering your supplies. I used both kid scissors and adult scissors in this activity, because we both did some cutting.

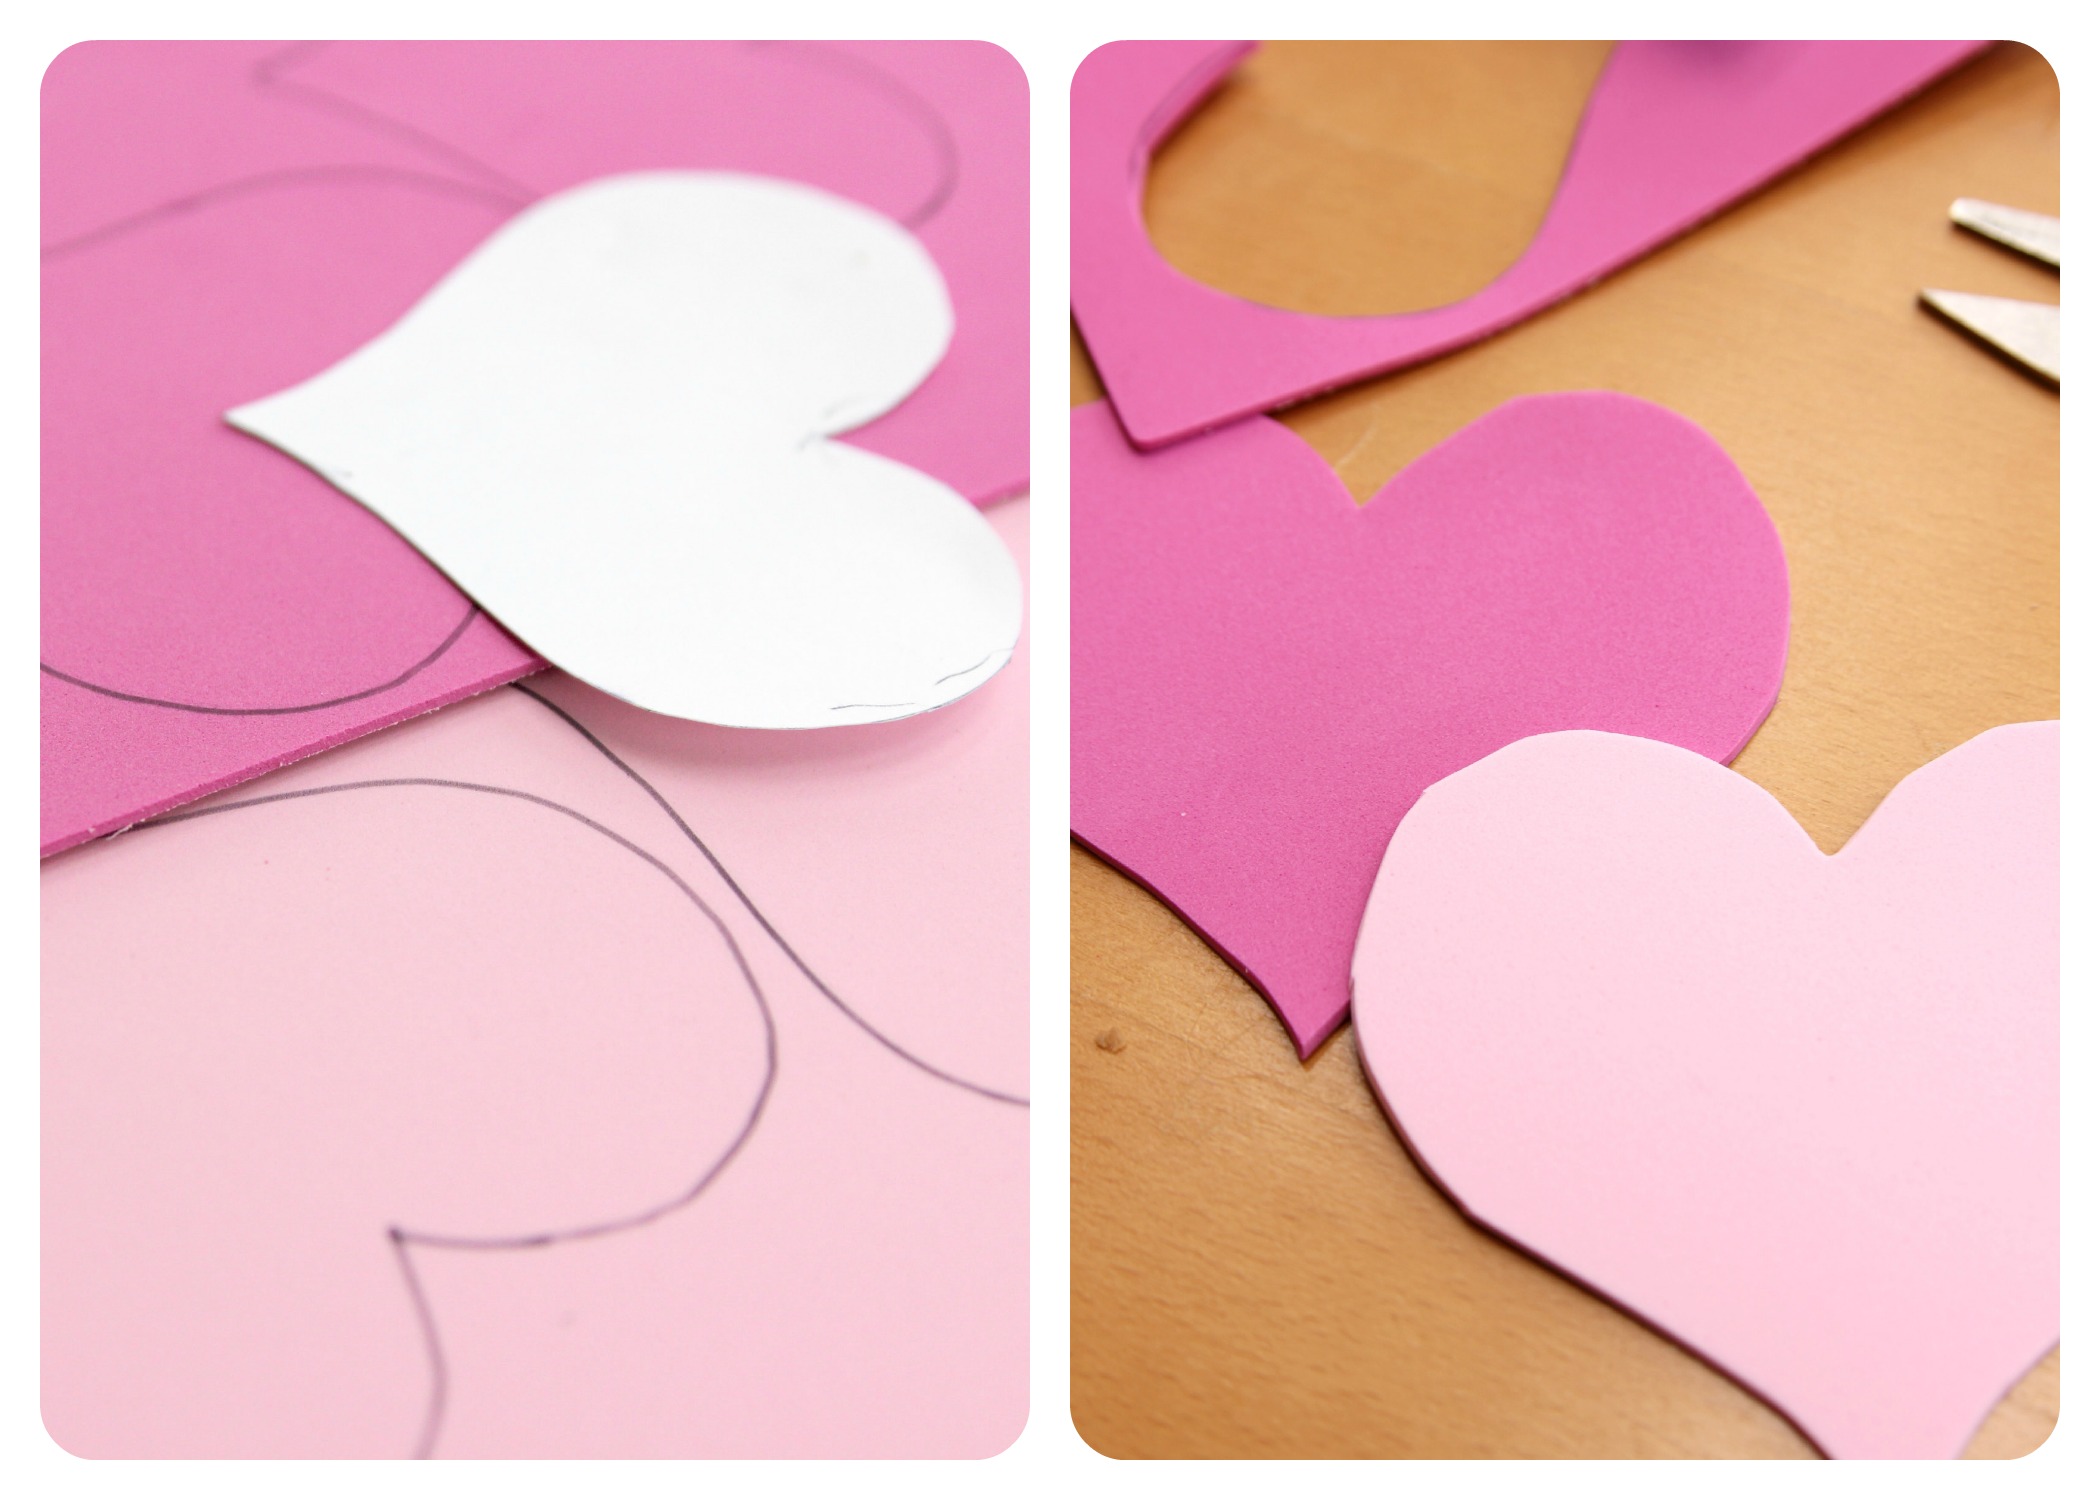
Step 2
Start by tracing out your heart stencil on the foam sheets for as many collages as you would like to make. Next cut out your hearts. V just started using scissors, so she cut them out and I trimmed them up.
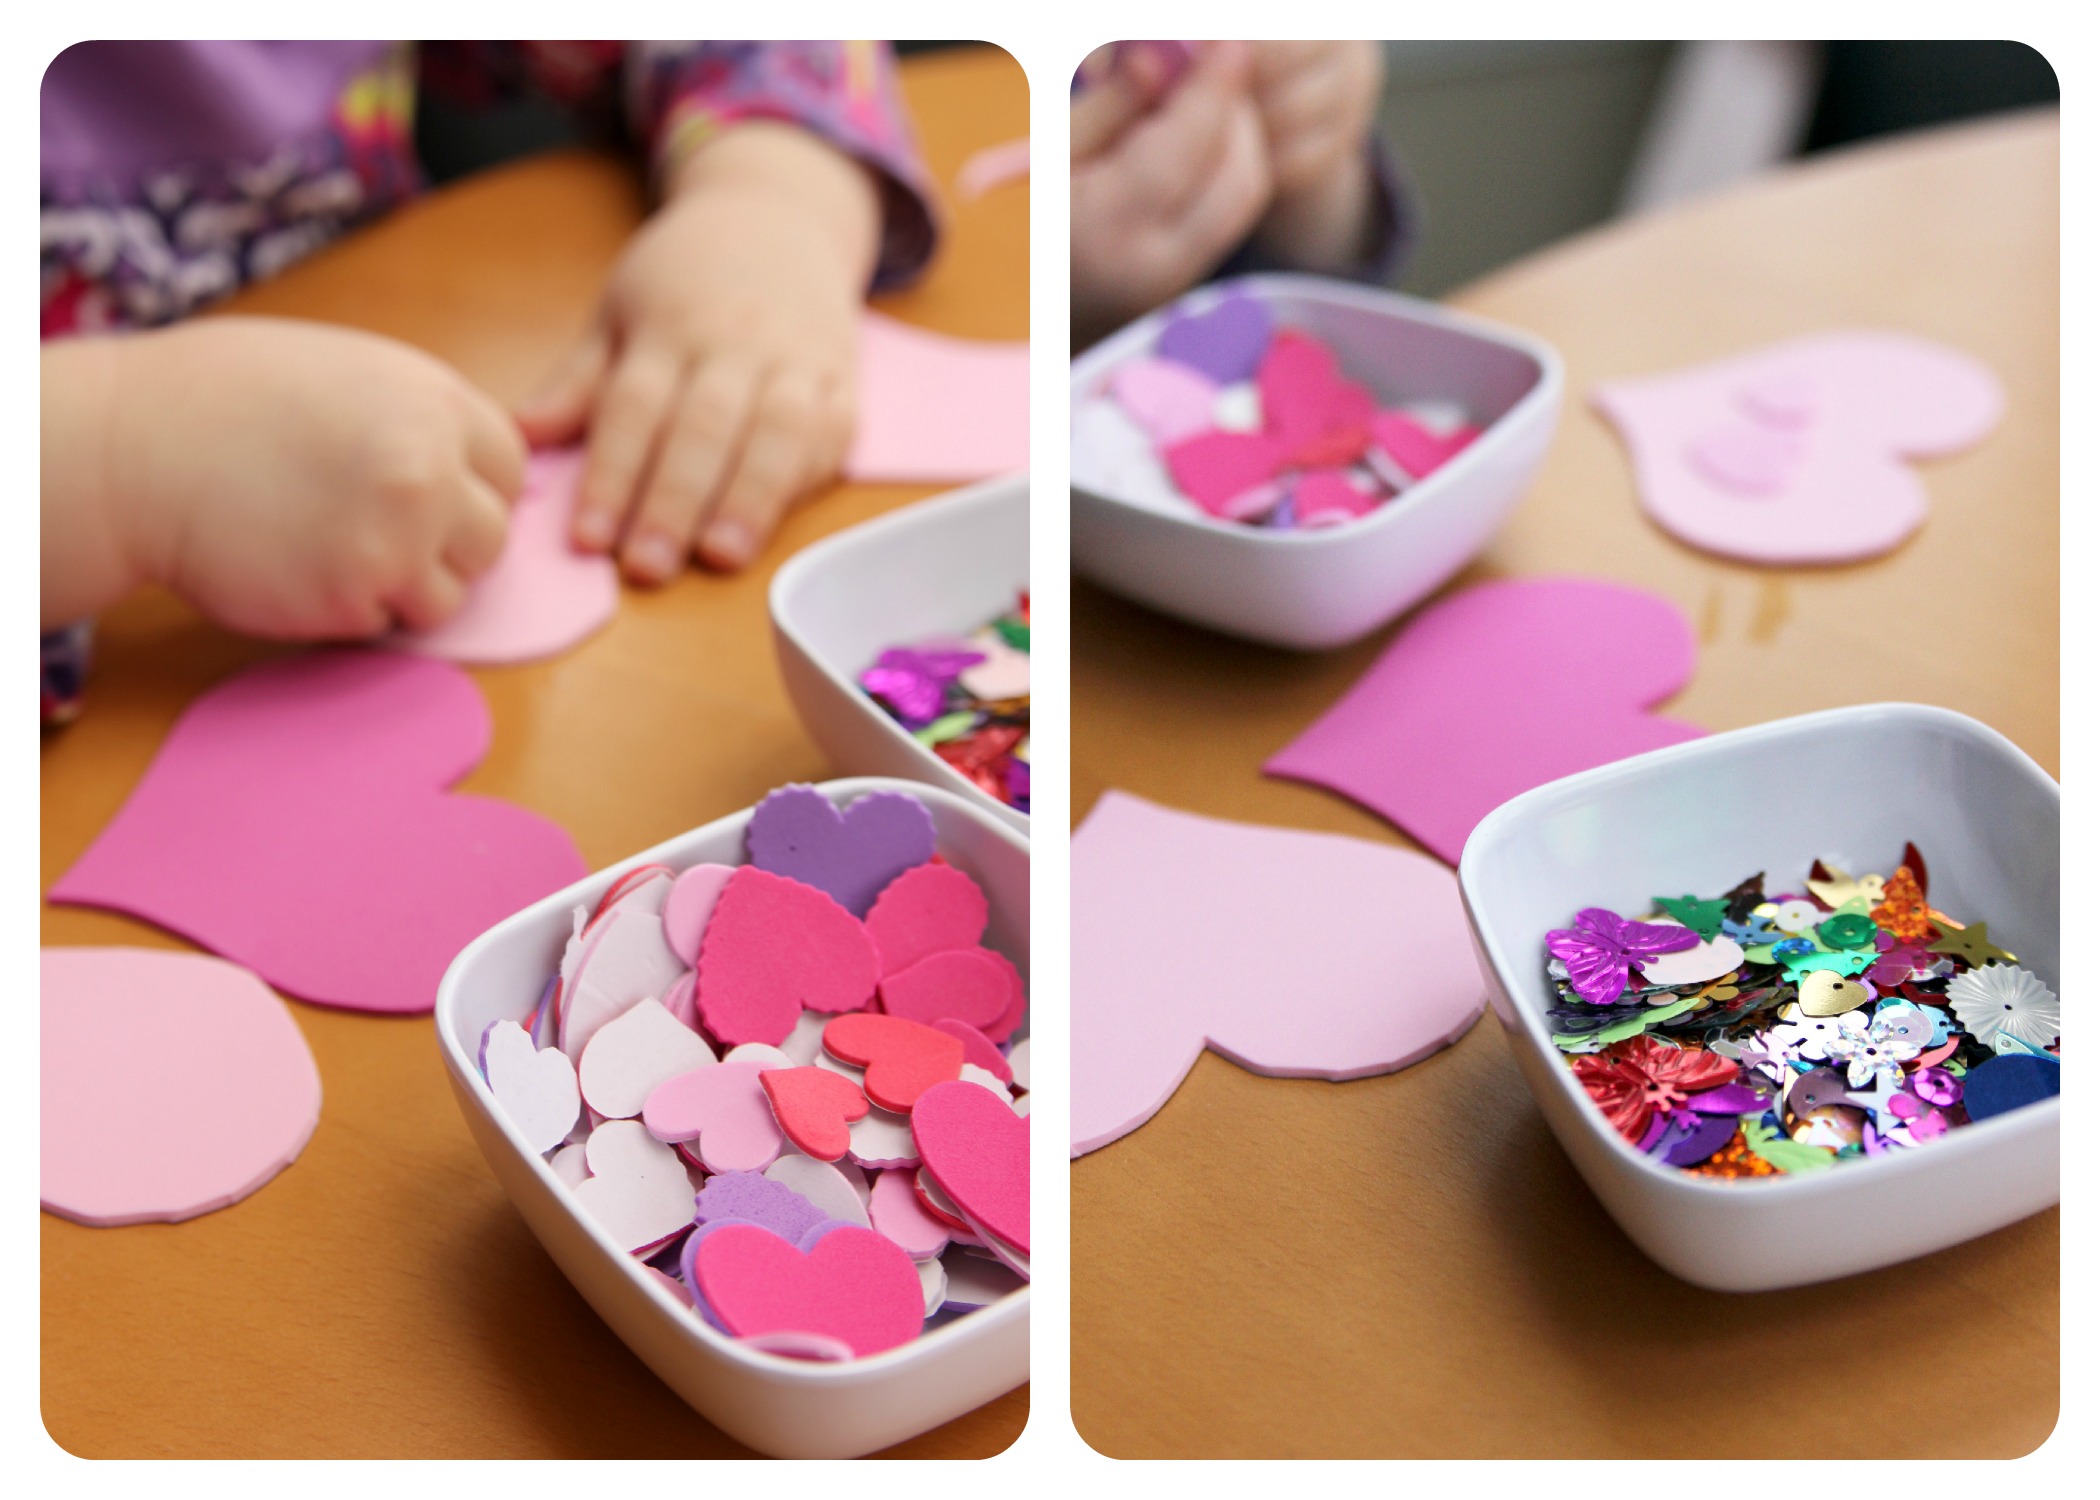
Step 3
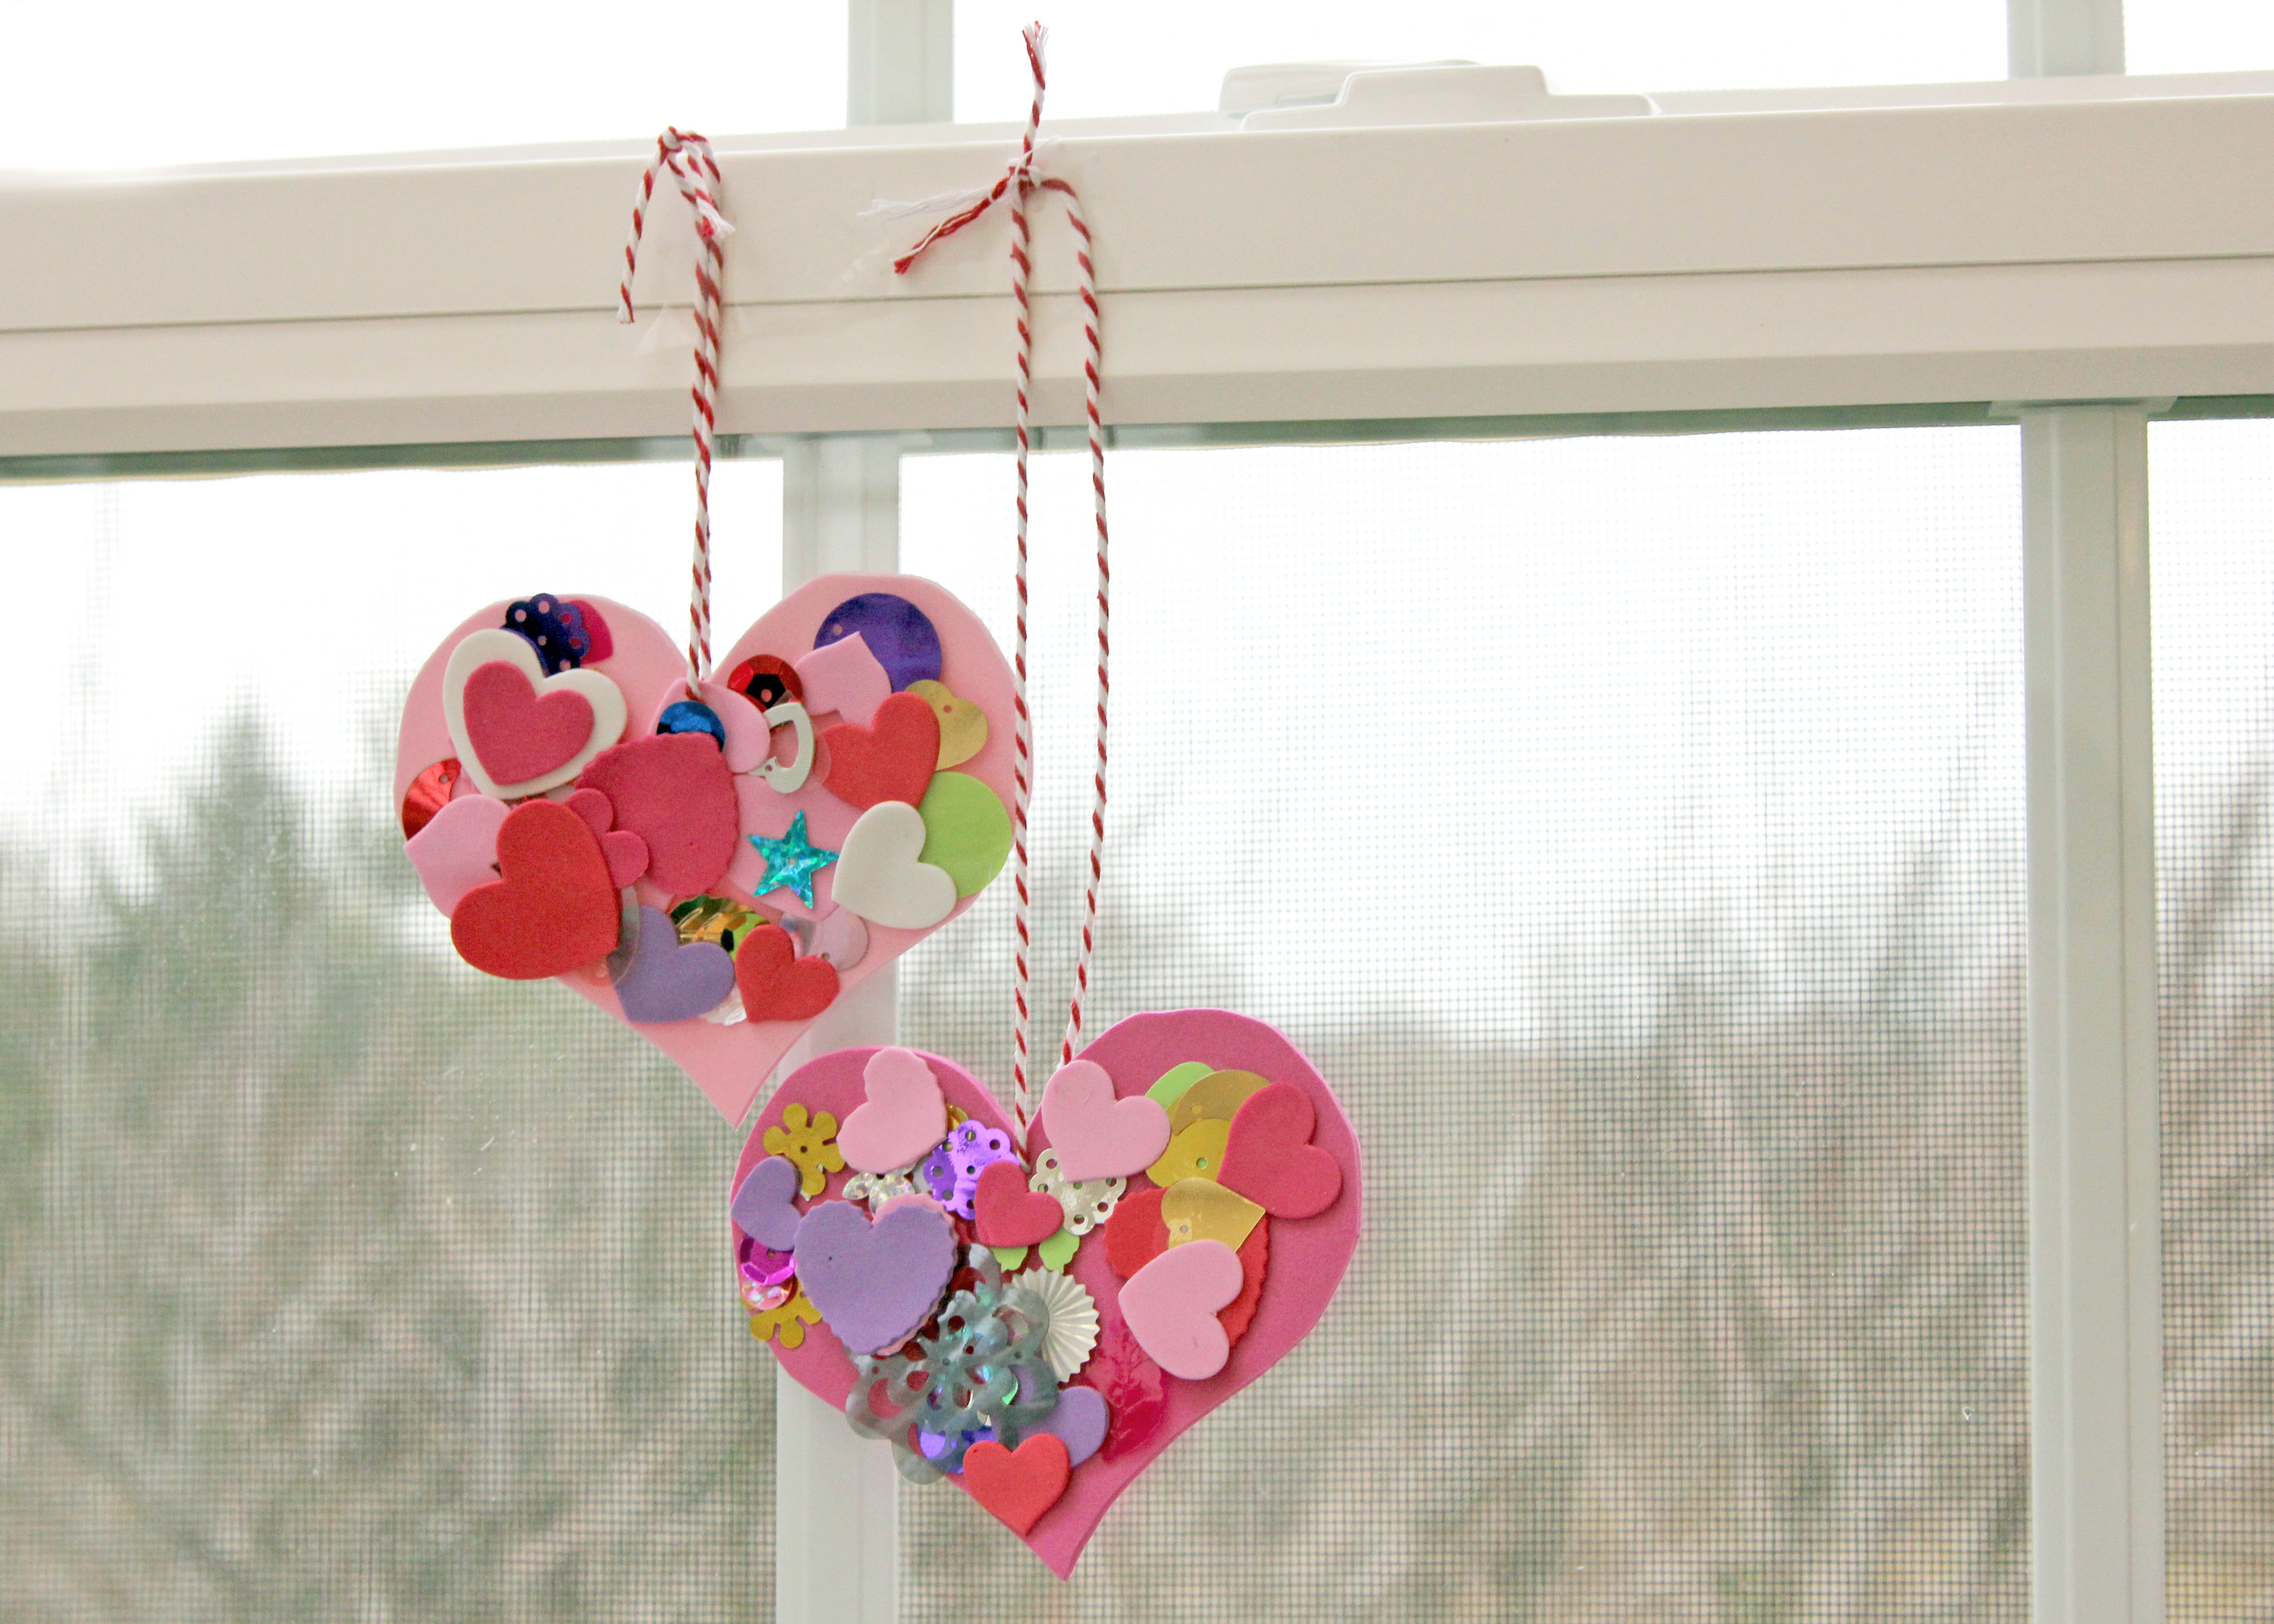
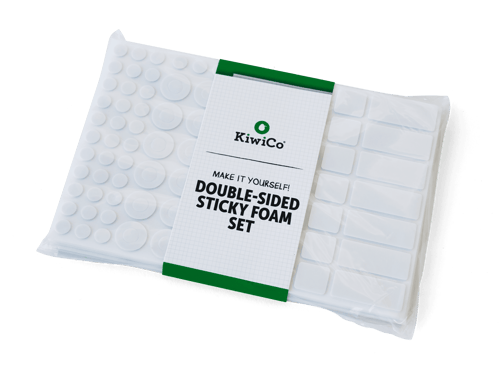
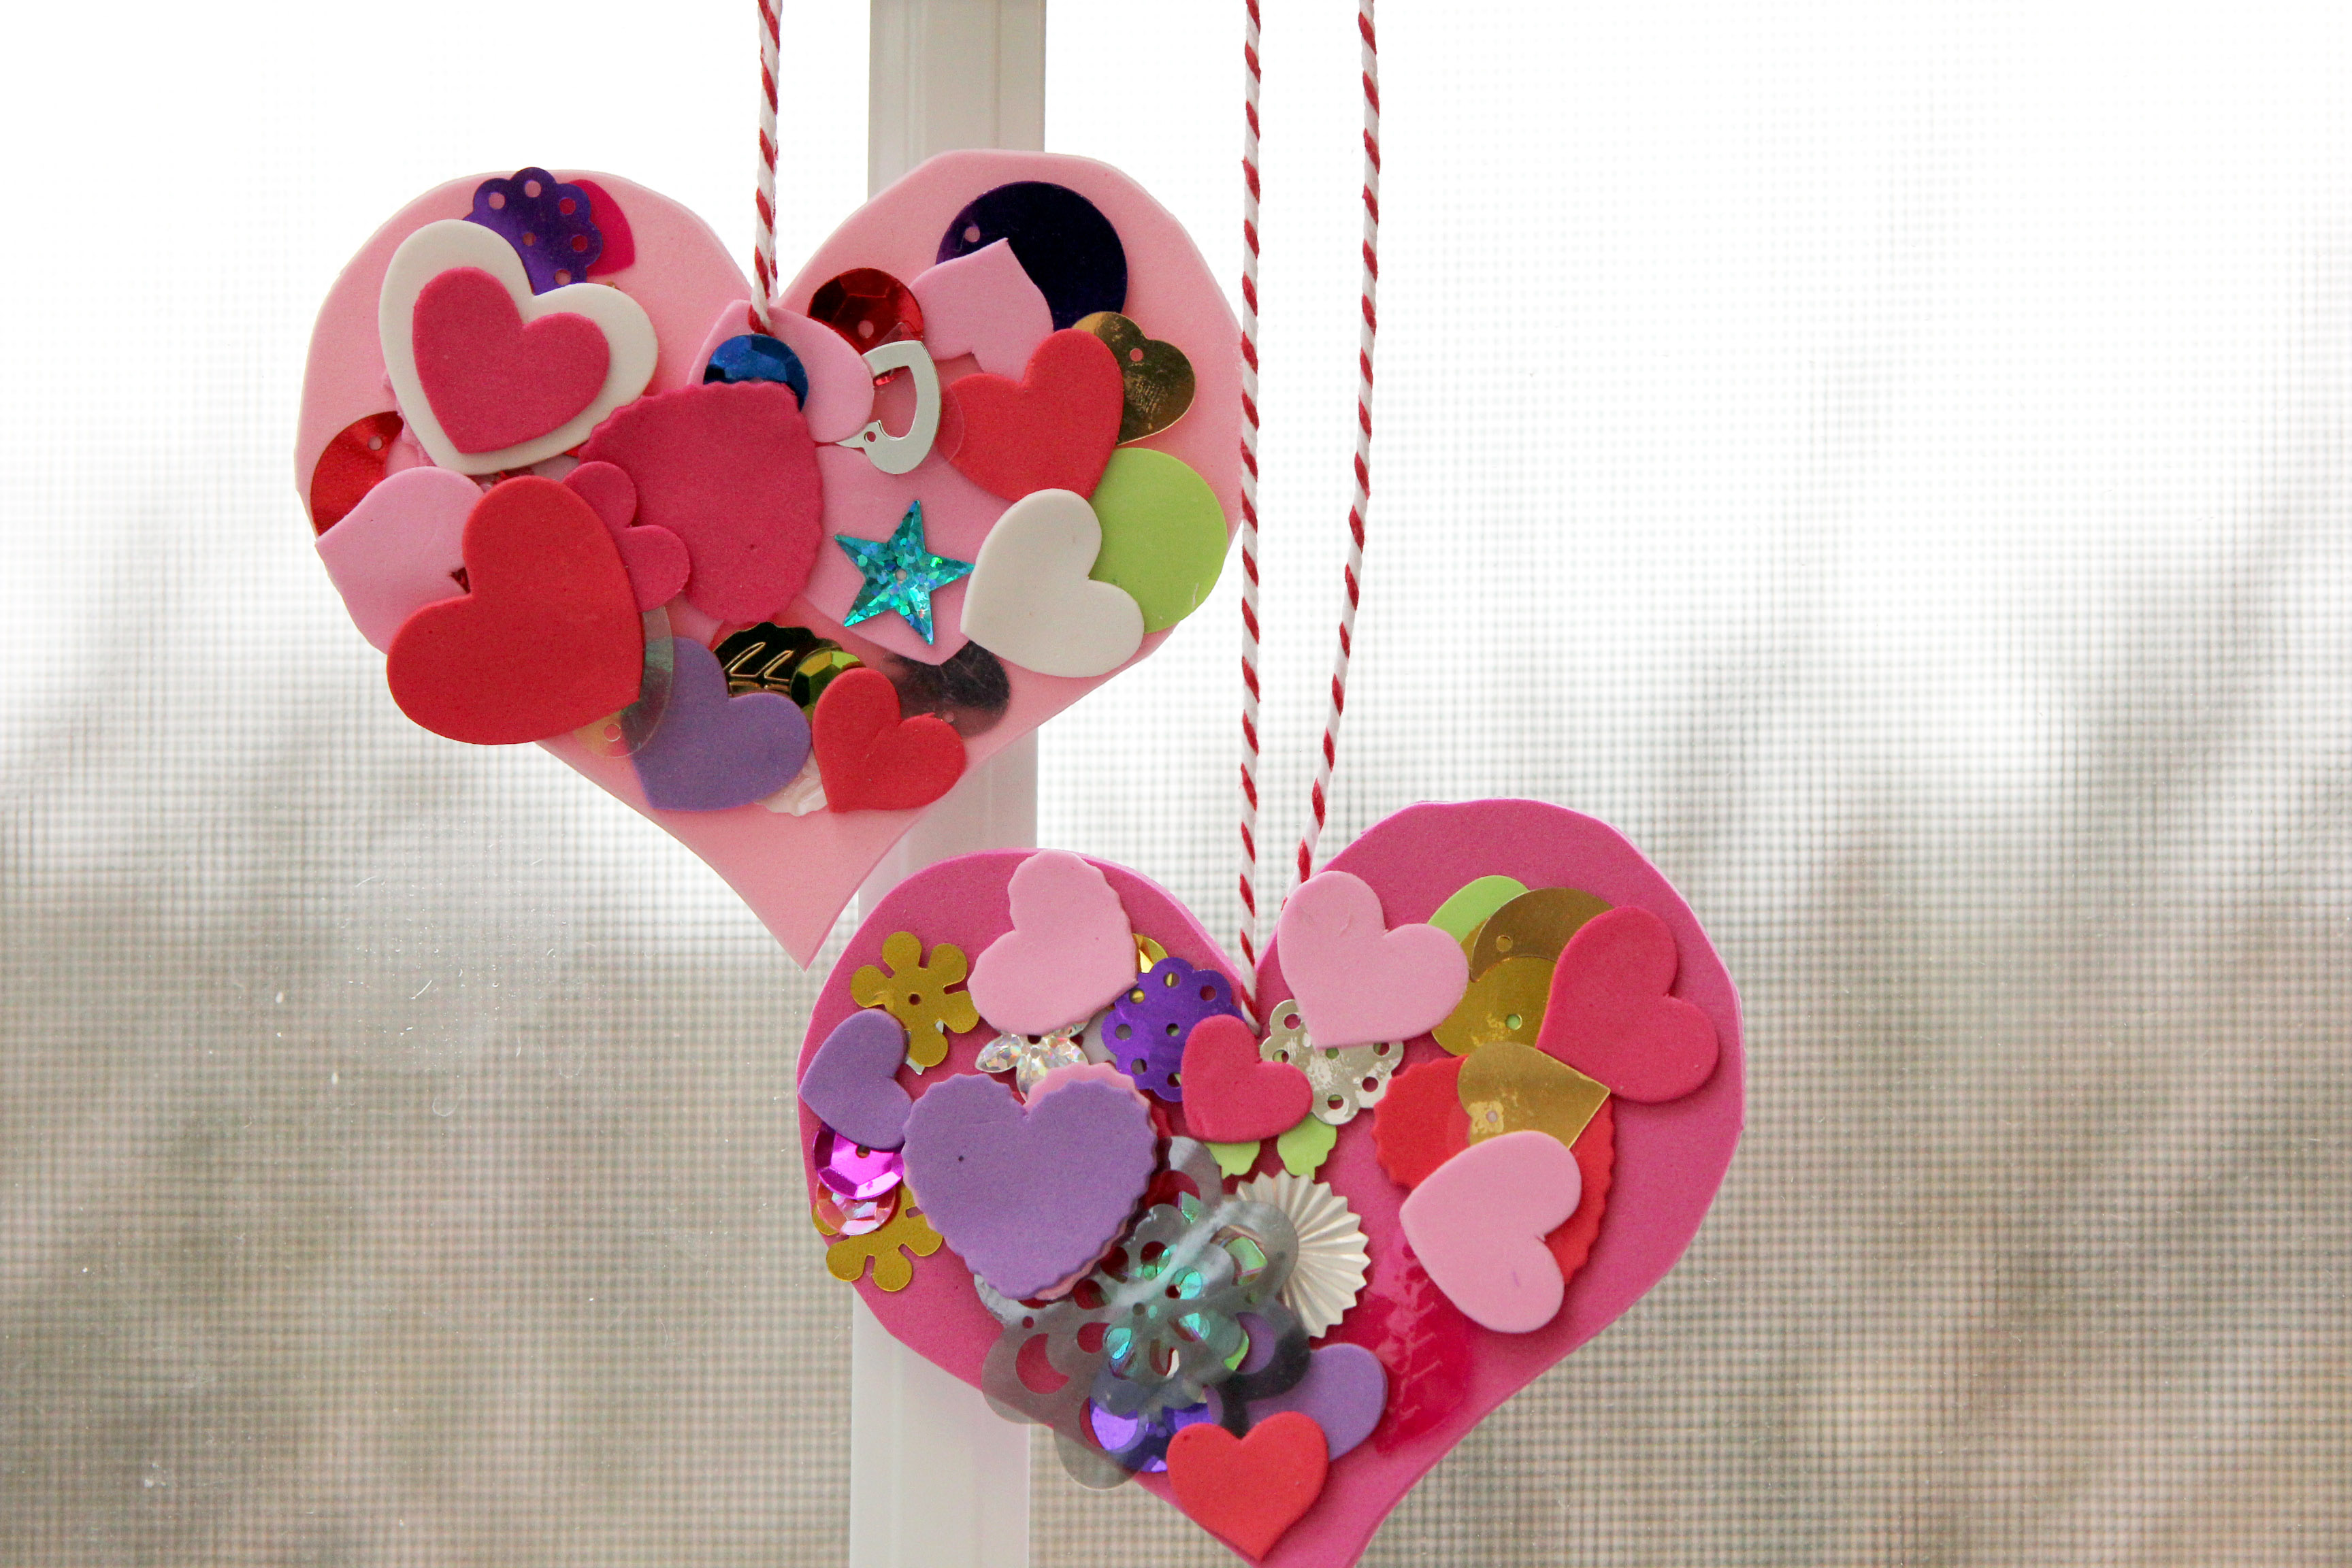
Have your child start gluing and sticking the sequins and foam stickers on the cut out heart shapes. They can be overlapped or put side by side. Have fun with it. That's the beauty of collages -- anything goes!
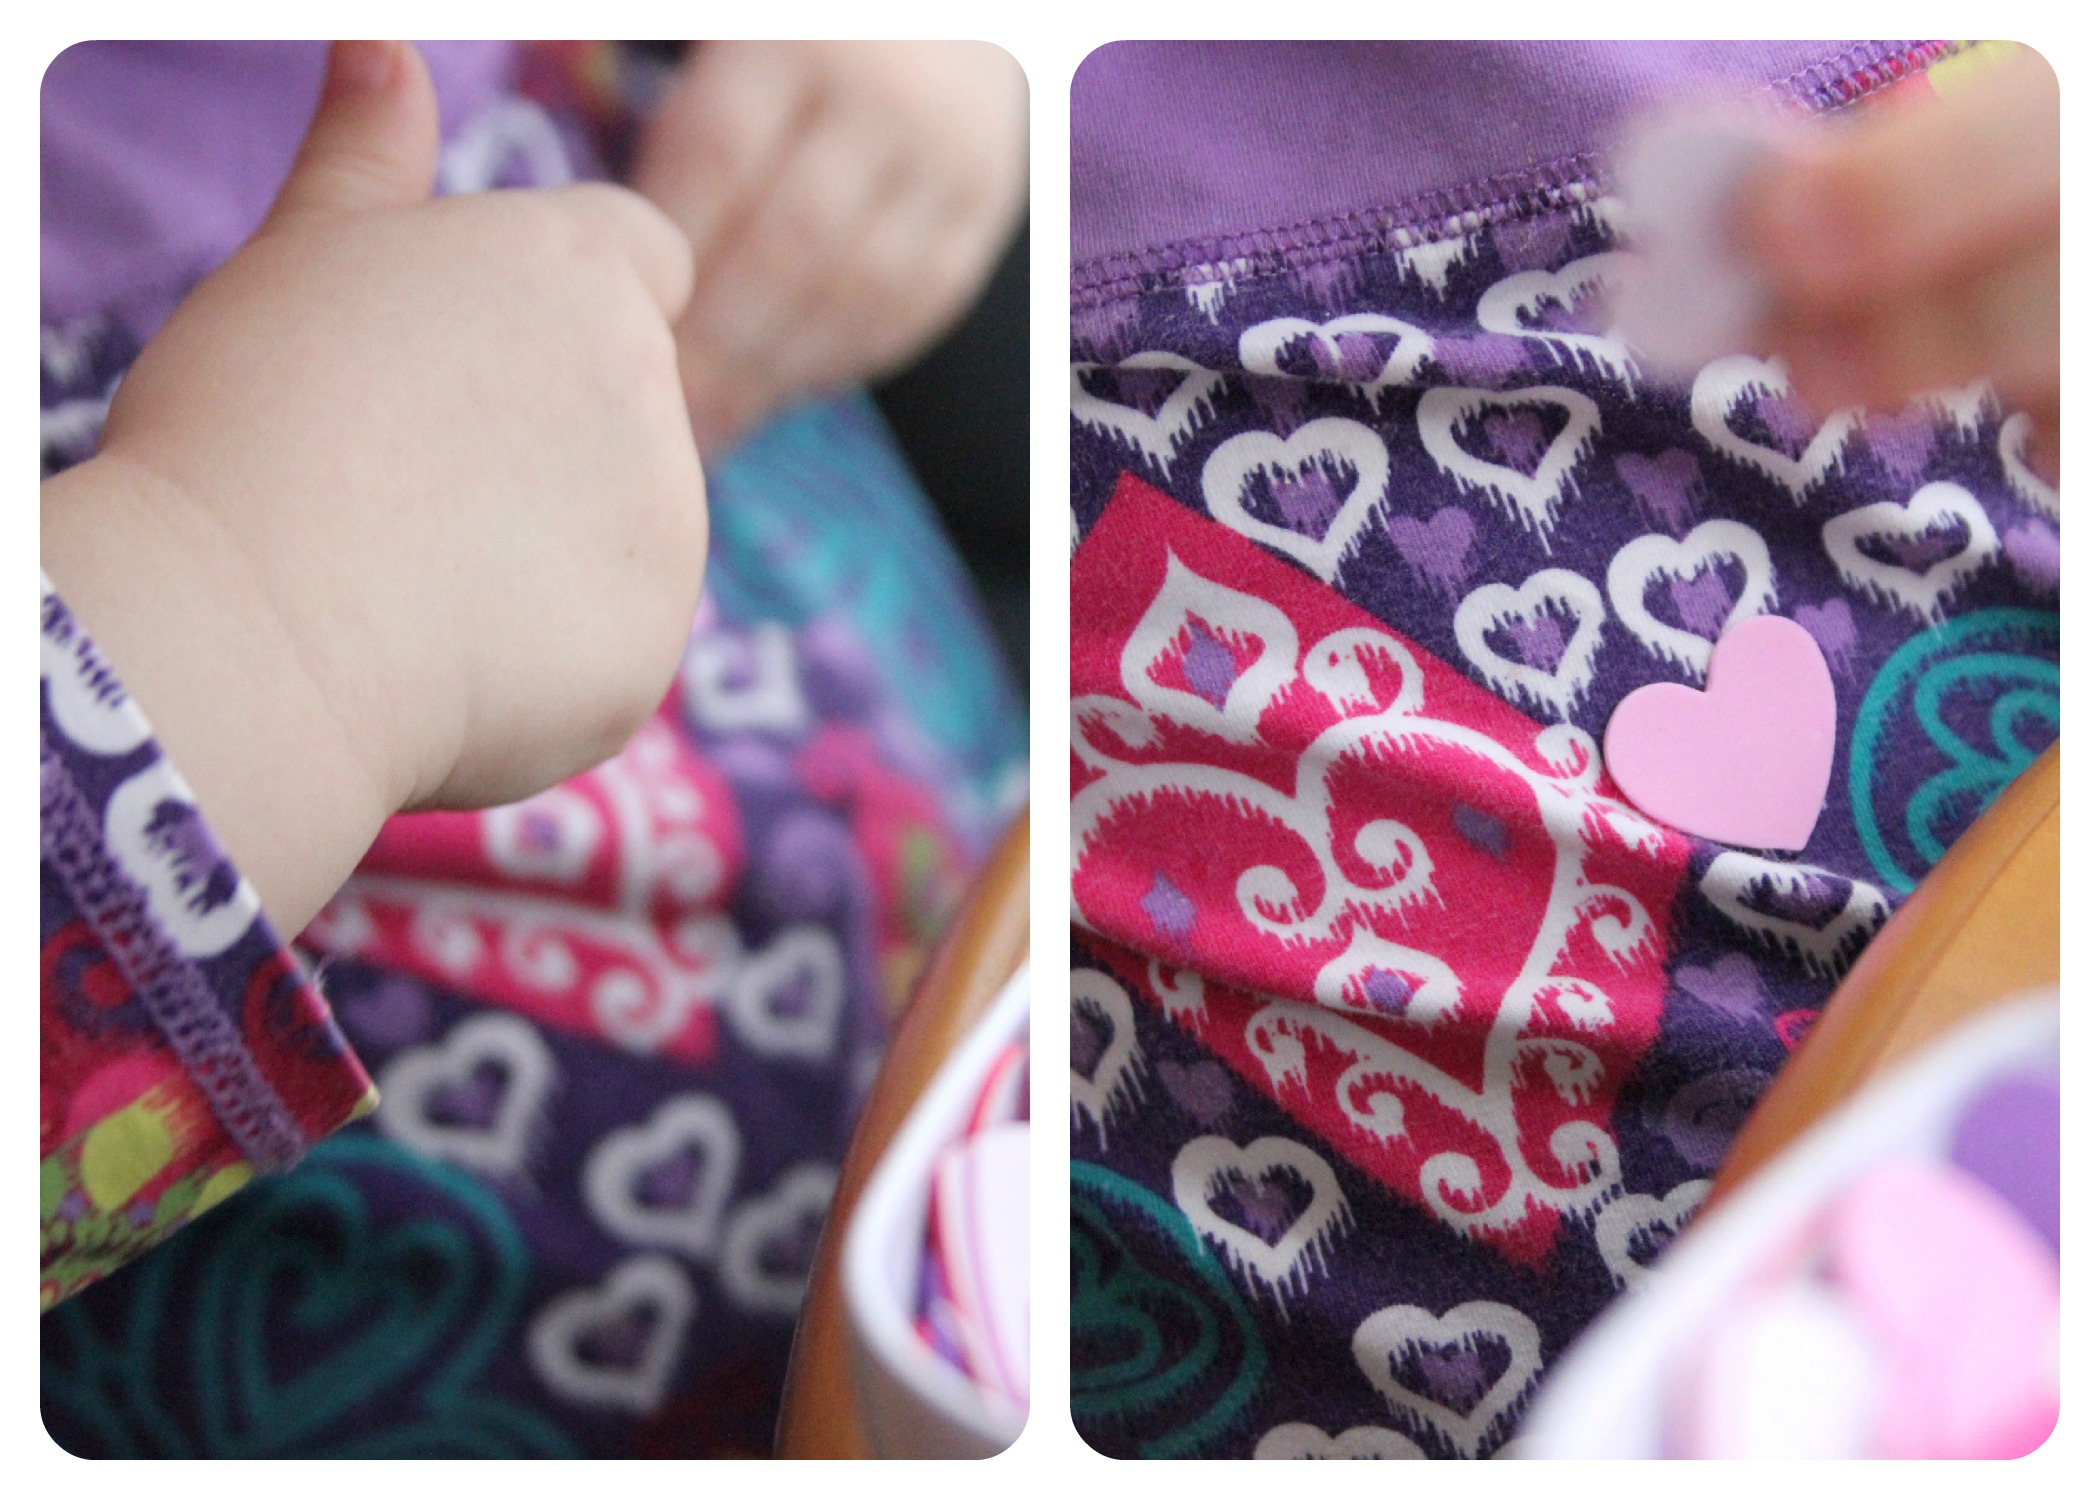
Step 4
Allow your collages to dry. Depending on how many layers are involved in your collages, drying time will vary. While you are waiting, feel free to decorate your shirt to pass the time!
Step 5
Once your collage is dry, mark a spot near the top signifying where you would like to hang it. Push your pen tip through the spot, making a hole in the foam. Next, thread your twine through the hole.
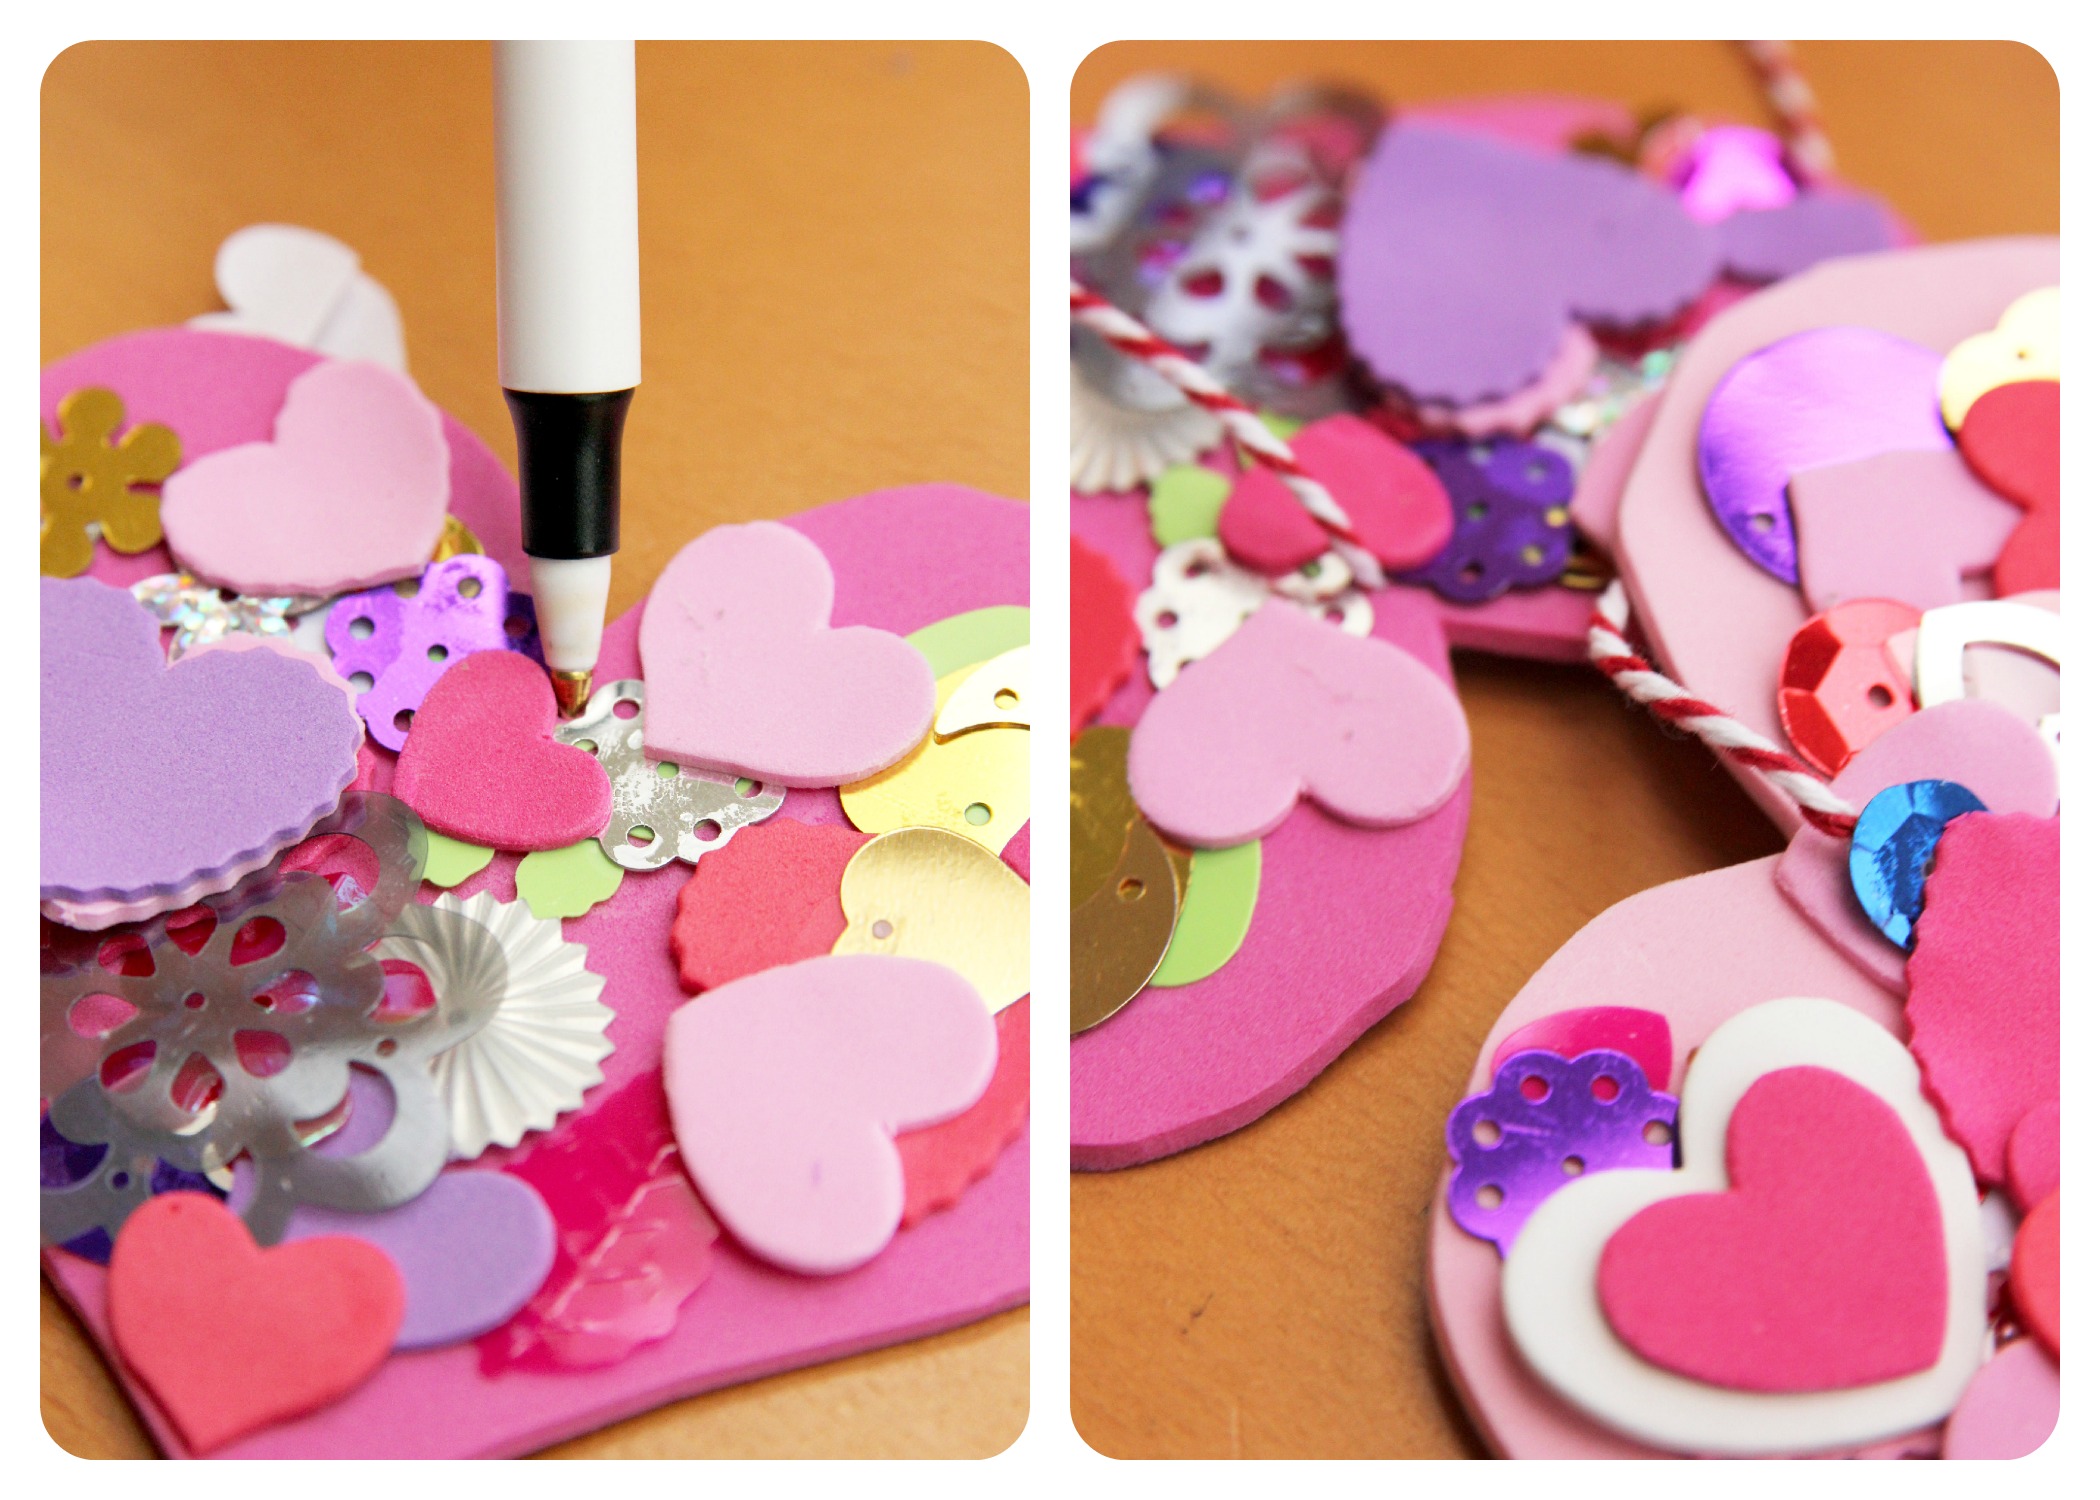
Done!
Finish off your collage by creating a loop and knotting it closed. Hang your pretty little heart collage for all to see!