Step-by-step tutorial
Step 1
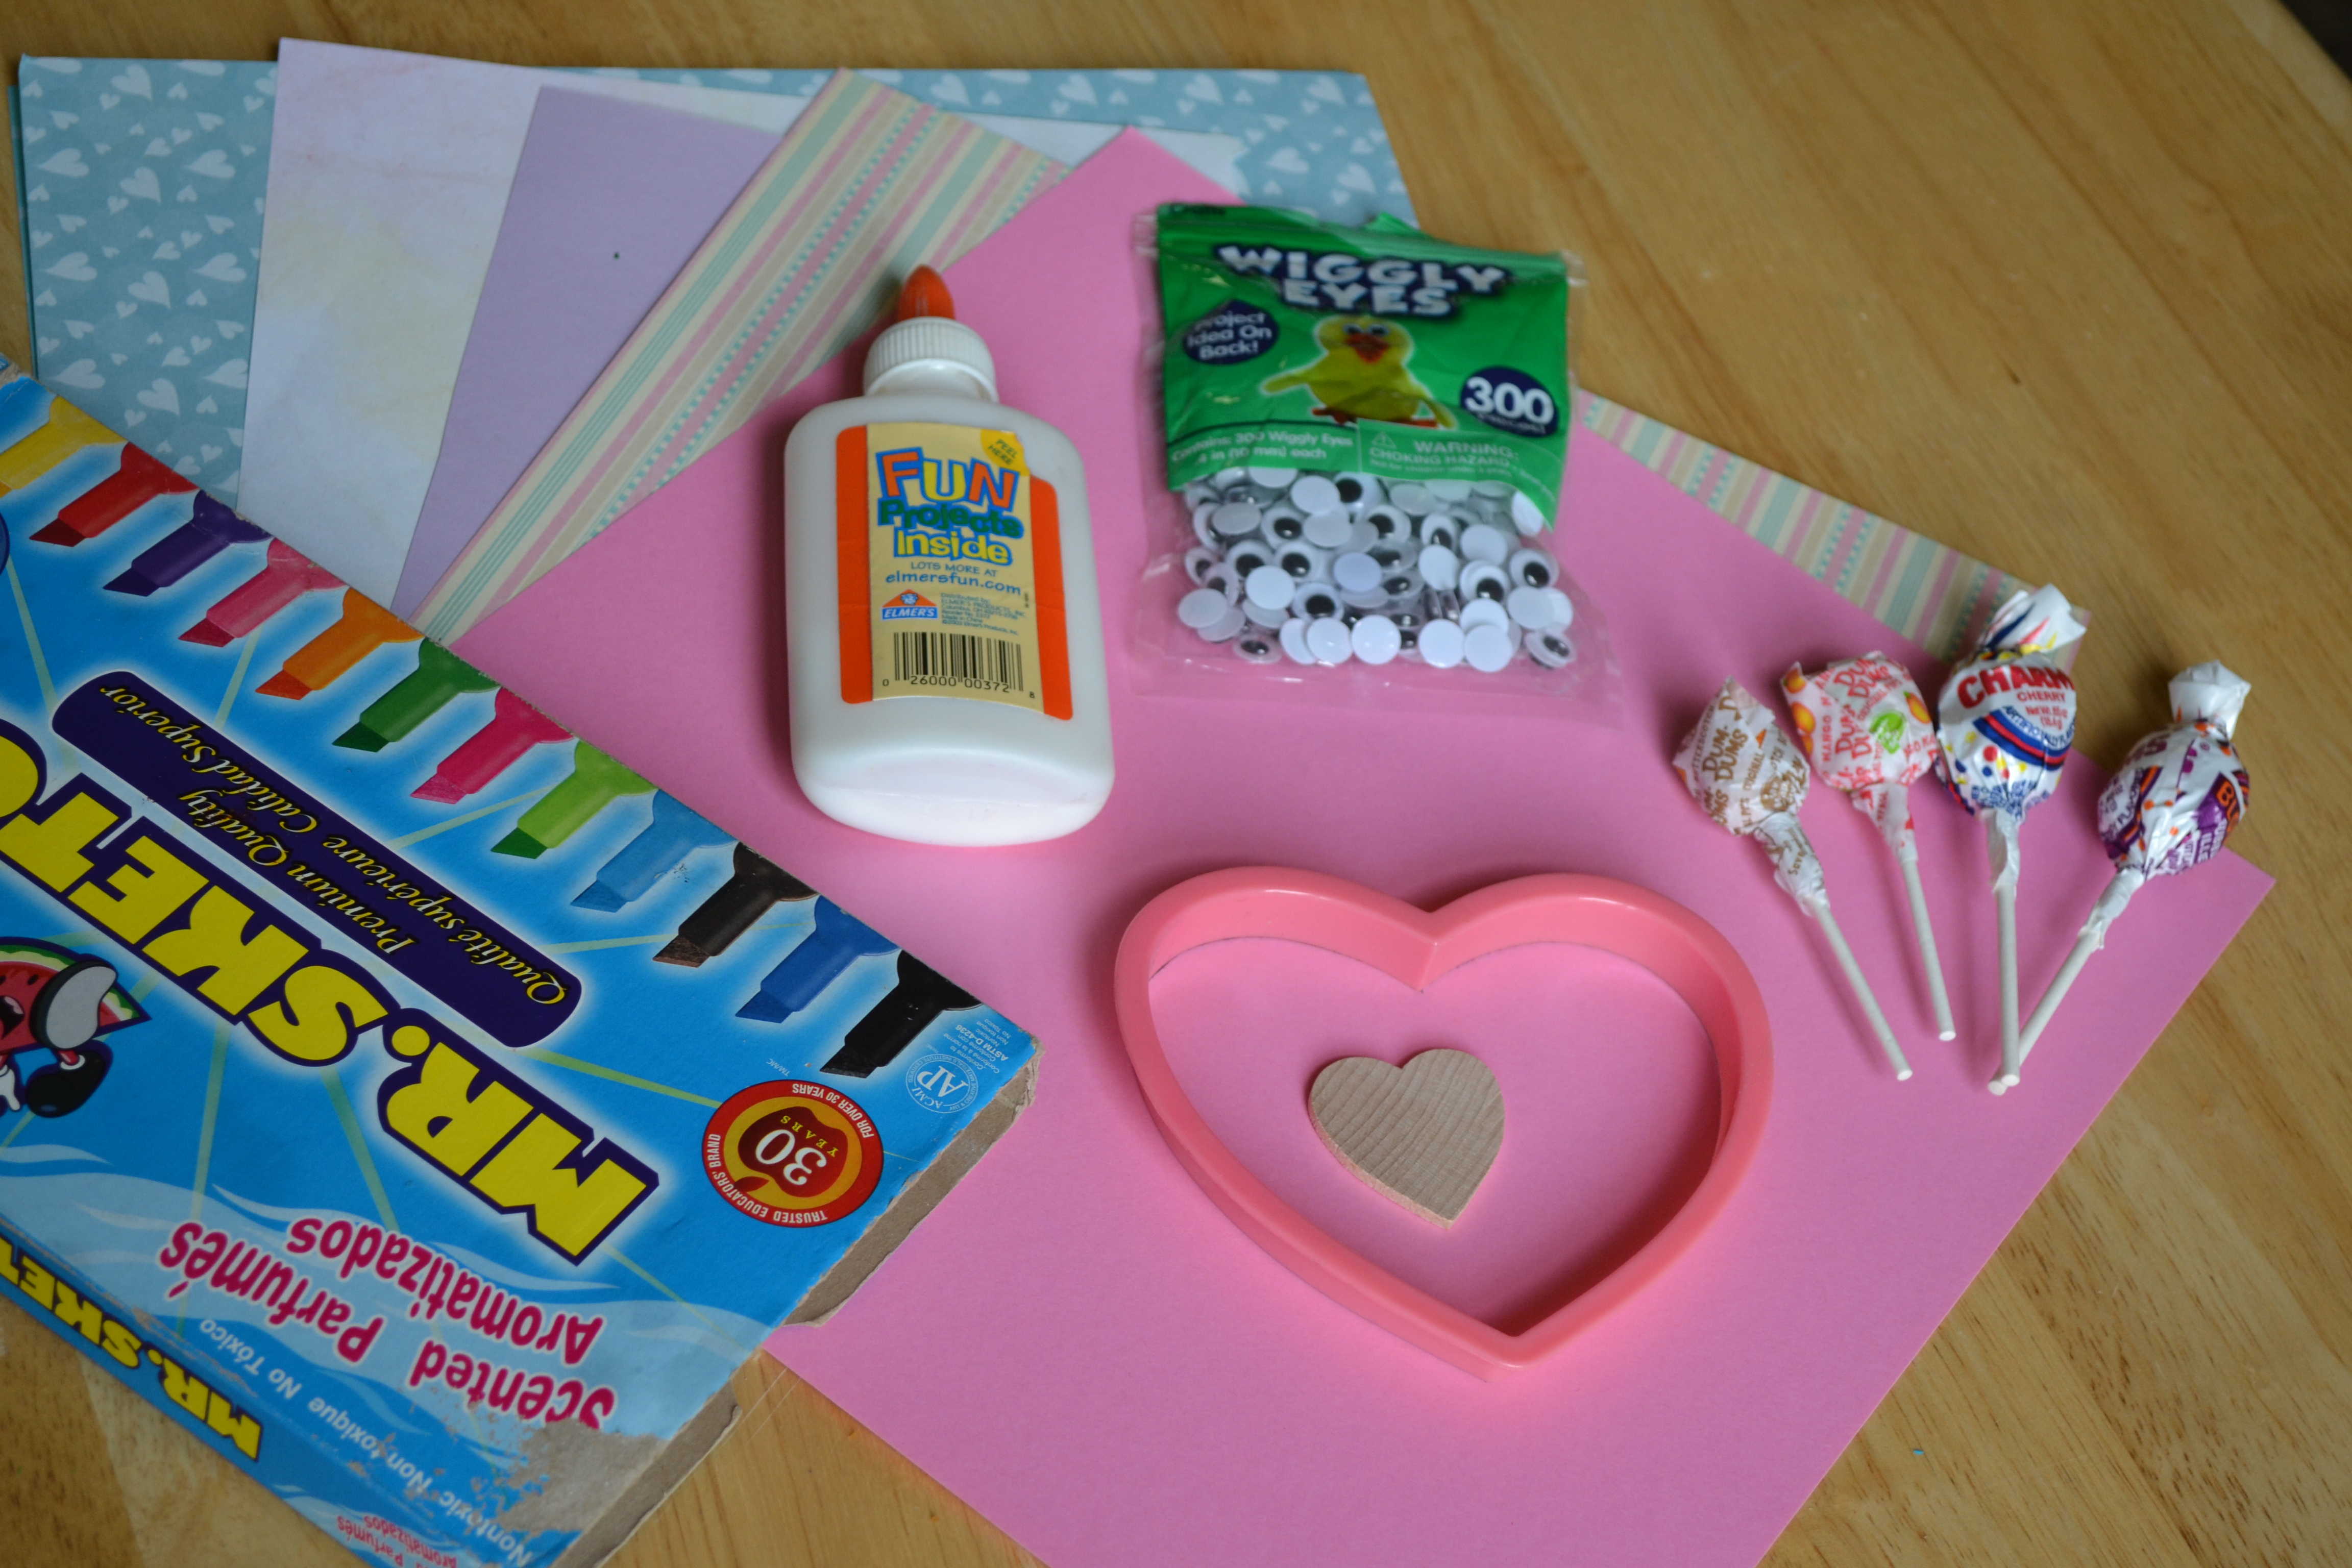
Gather all materials. We used some heart scrapbook paper for Valentine's Day in addition to some pink, purple, and pastel colors. We also found that the small Dum Dum lollipops worked best for this.

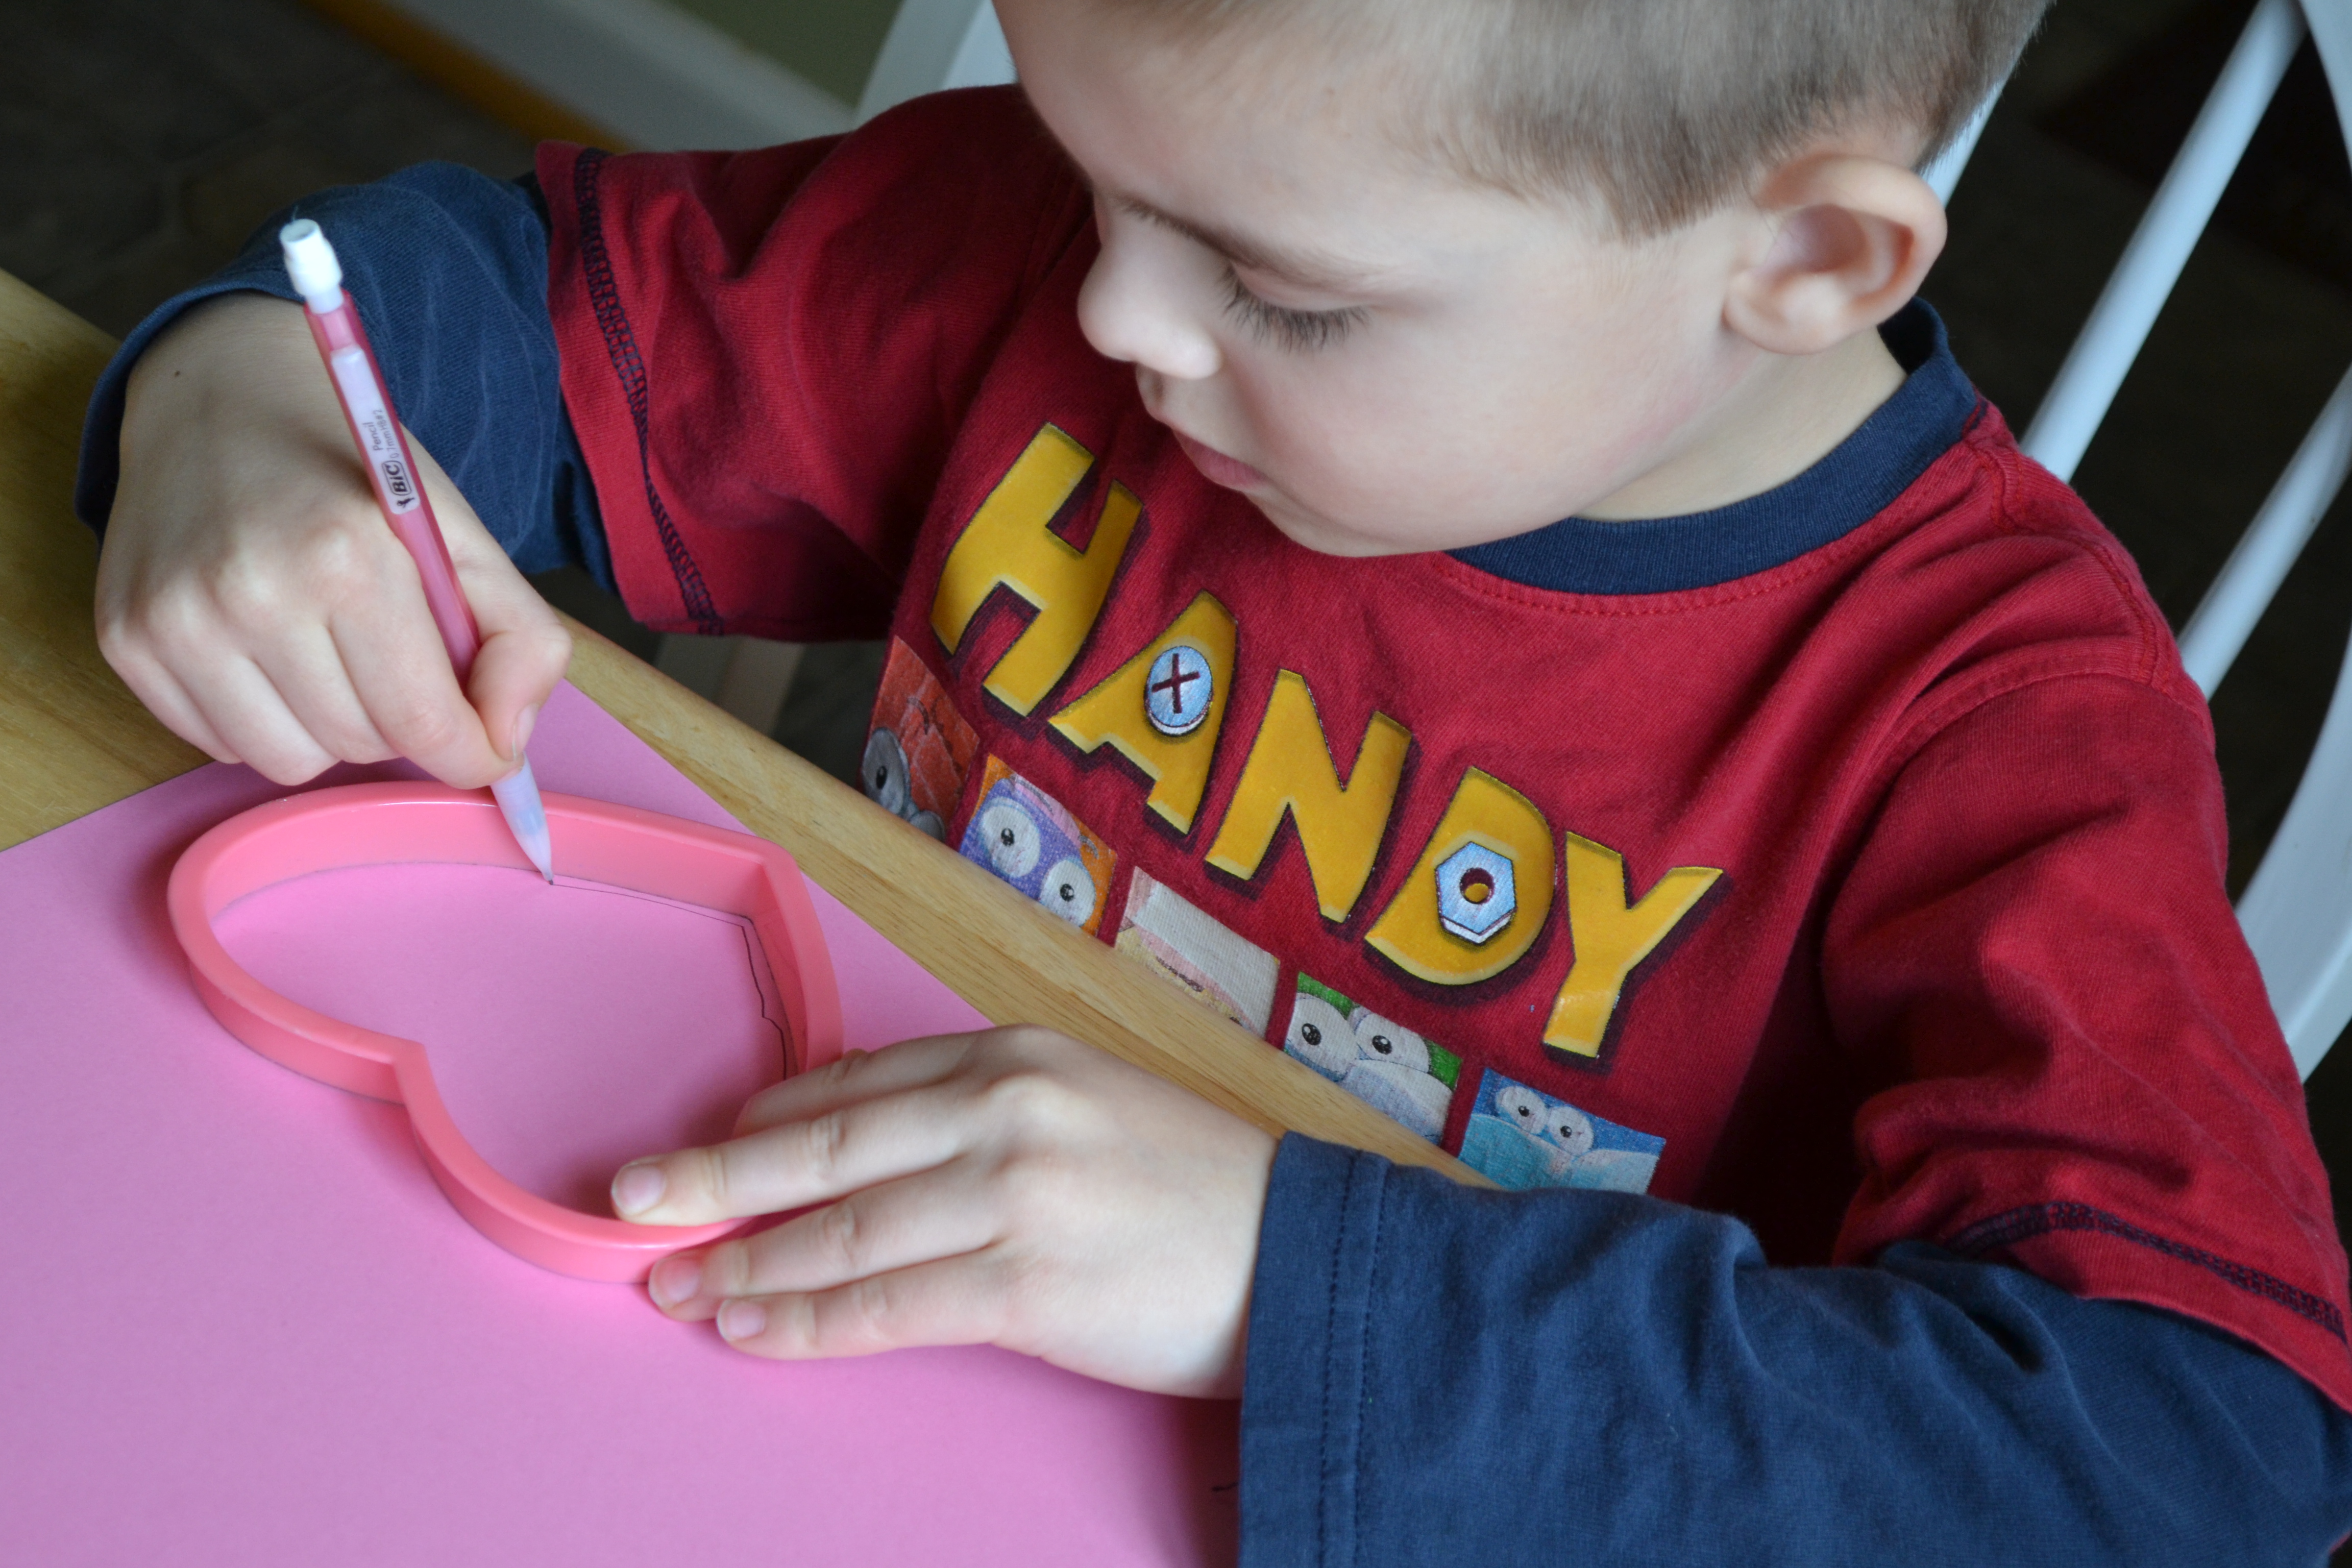
Step 2
Using a large heart shaped cookie cutter and a small wooden heart, my son traced one large heart for the mouse body and two small hearts for the ears for each valentine. Tracing is great fine motor skill practice for younger kids and a great pre-writing activity!
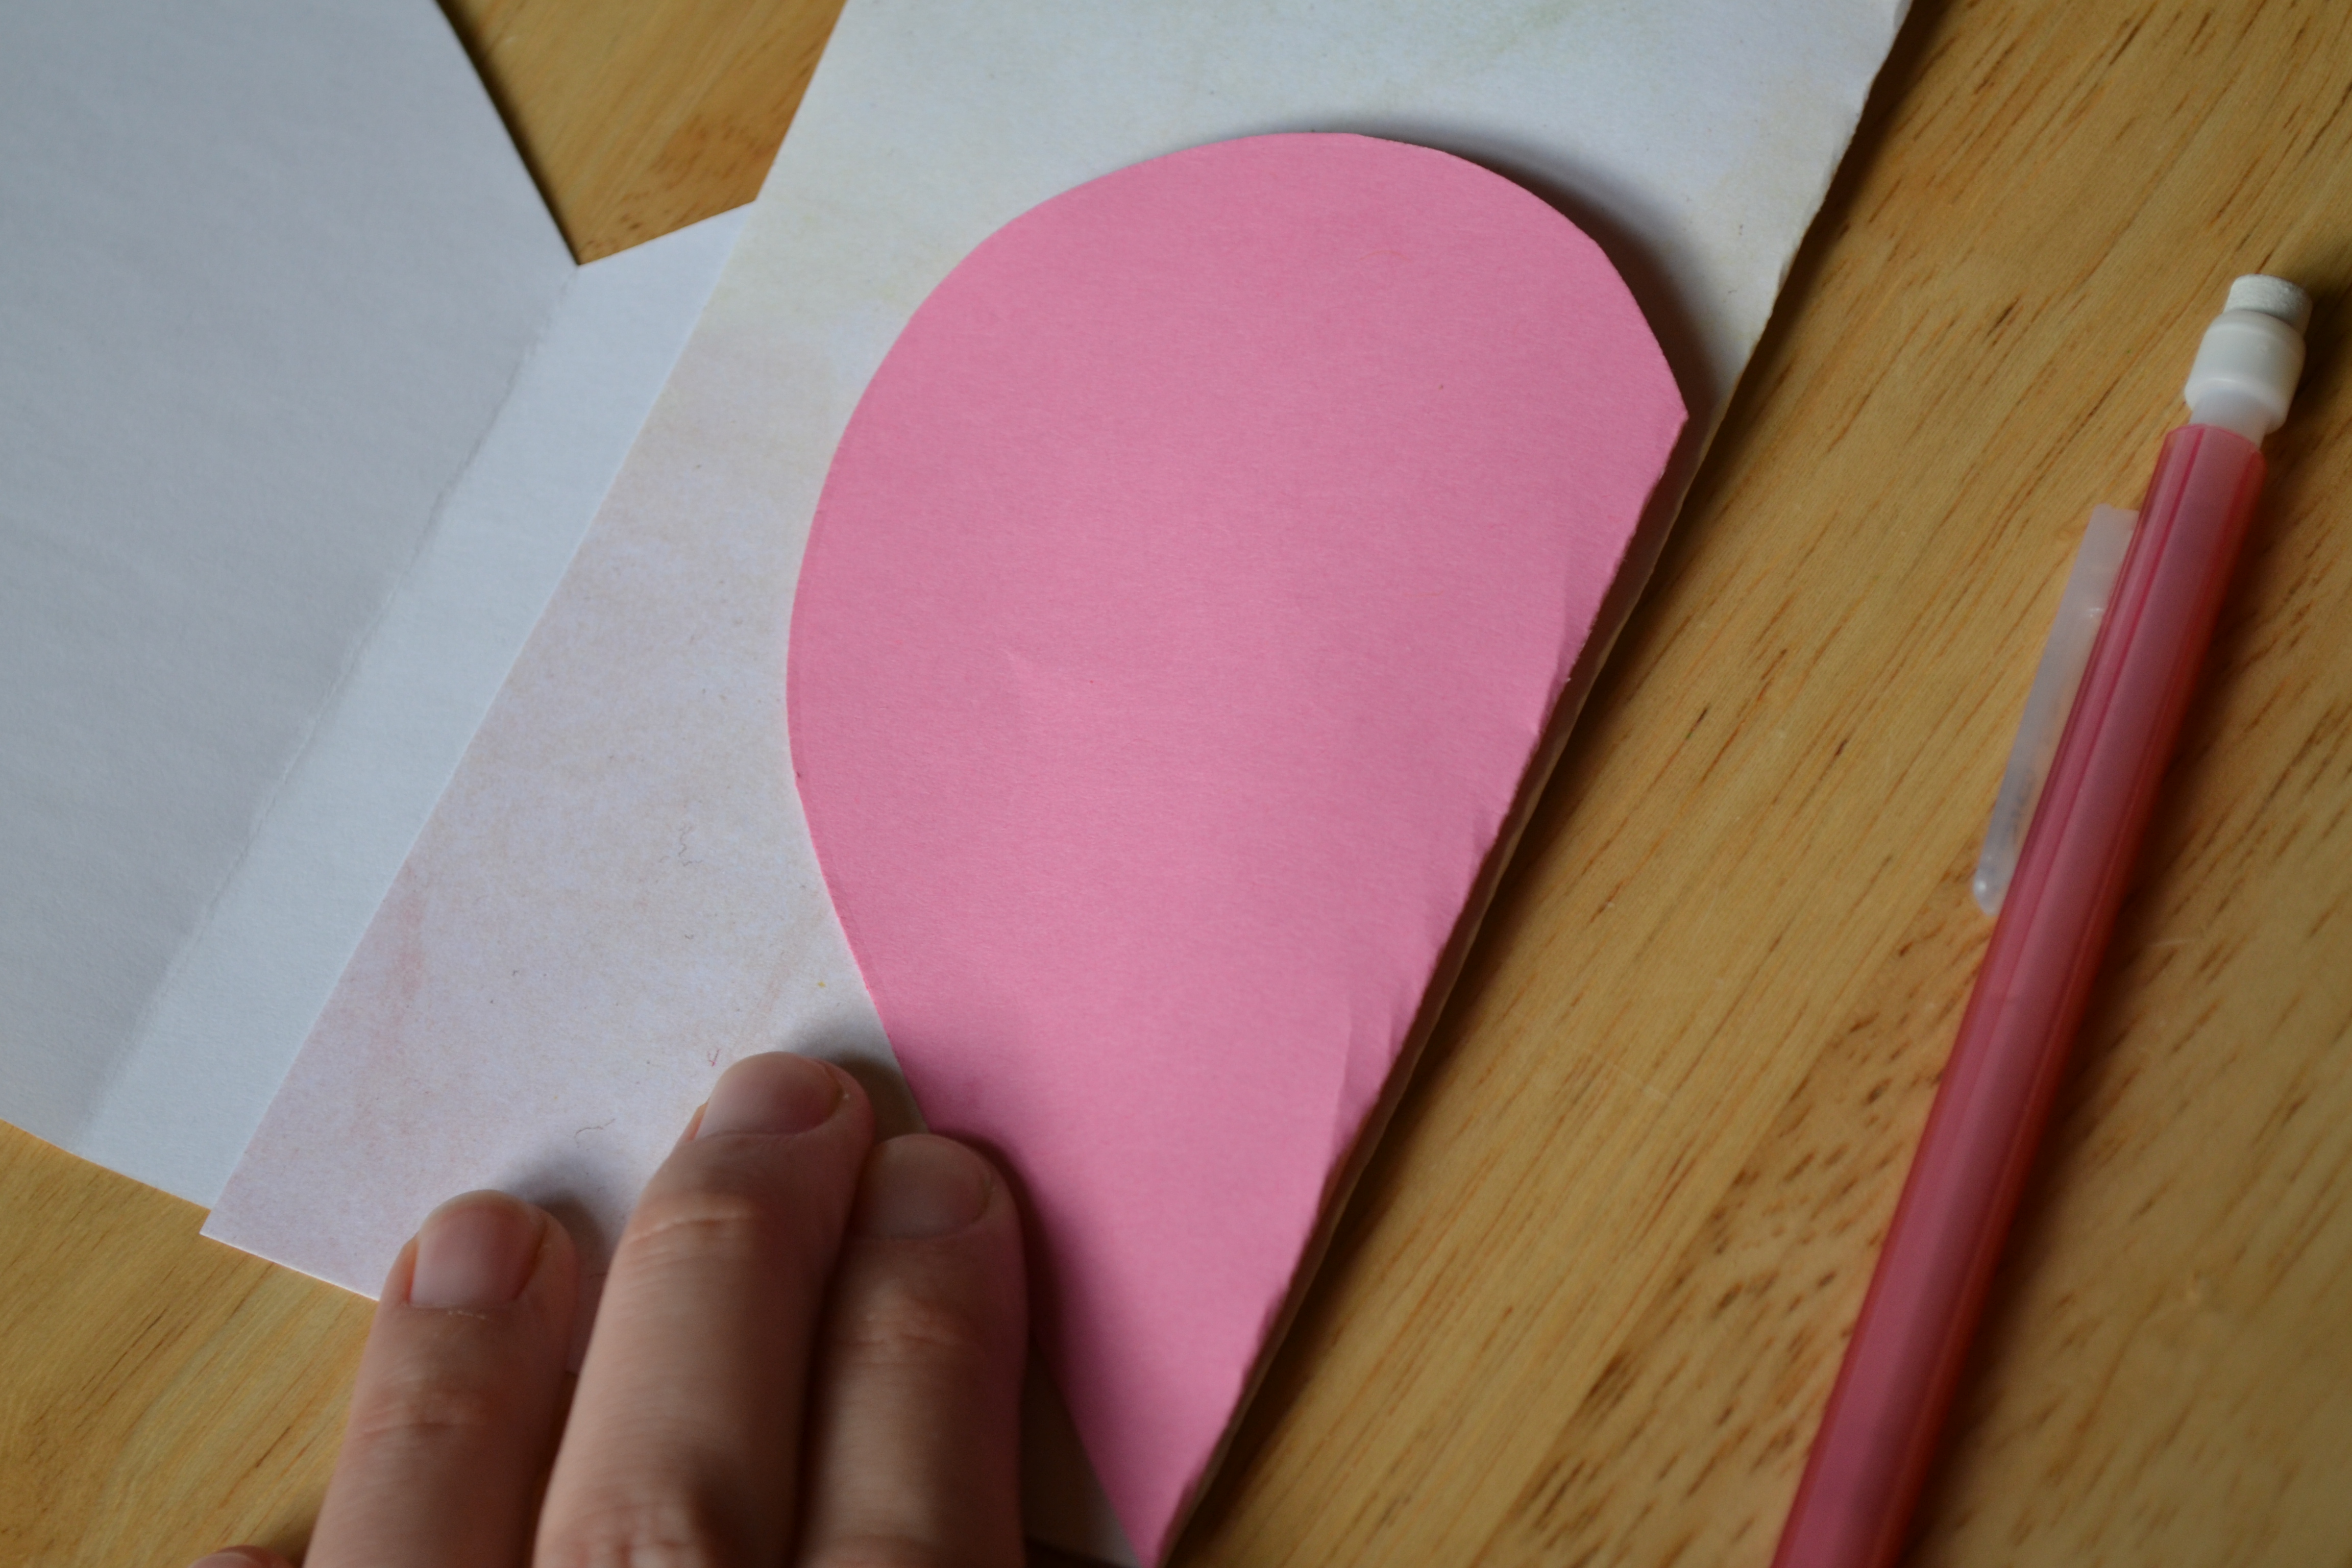
Step 3
Without a heart stencil, I found that I could freehand large and small hearts by folding the paper in half and drawing half a heart along the folded edge. I made a few of these for templates for the older kids to use.
Step 4
Once all the hearts were traced, we carefully cut out each of the hearts and matched up which patterns and colors we wanted for each mouse.

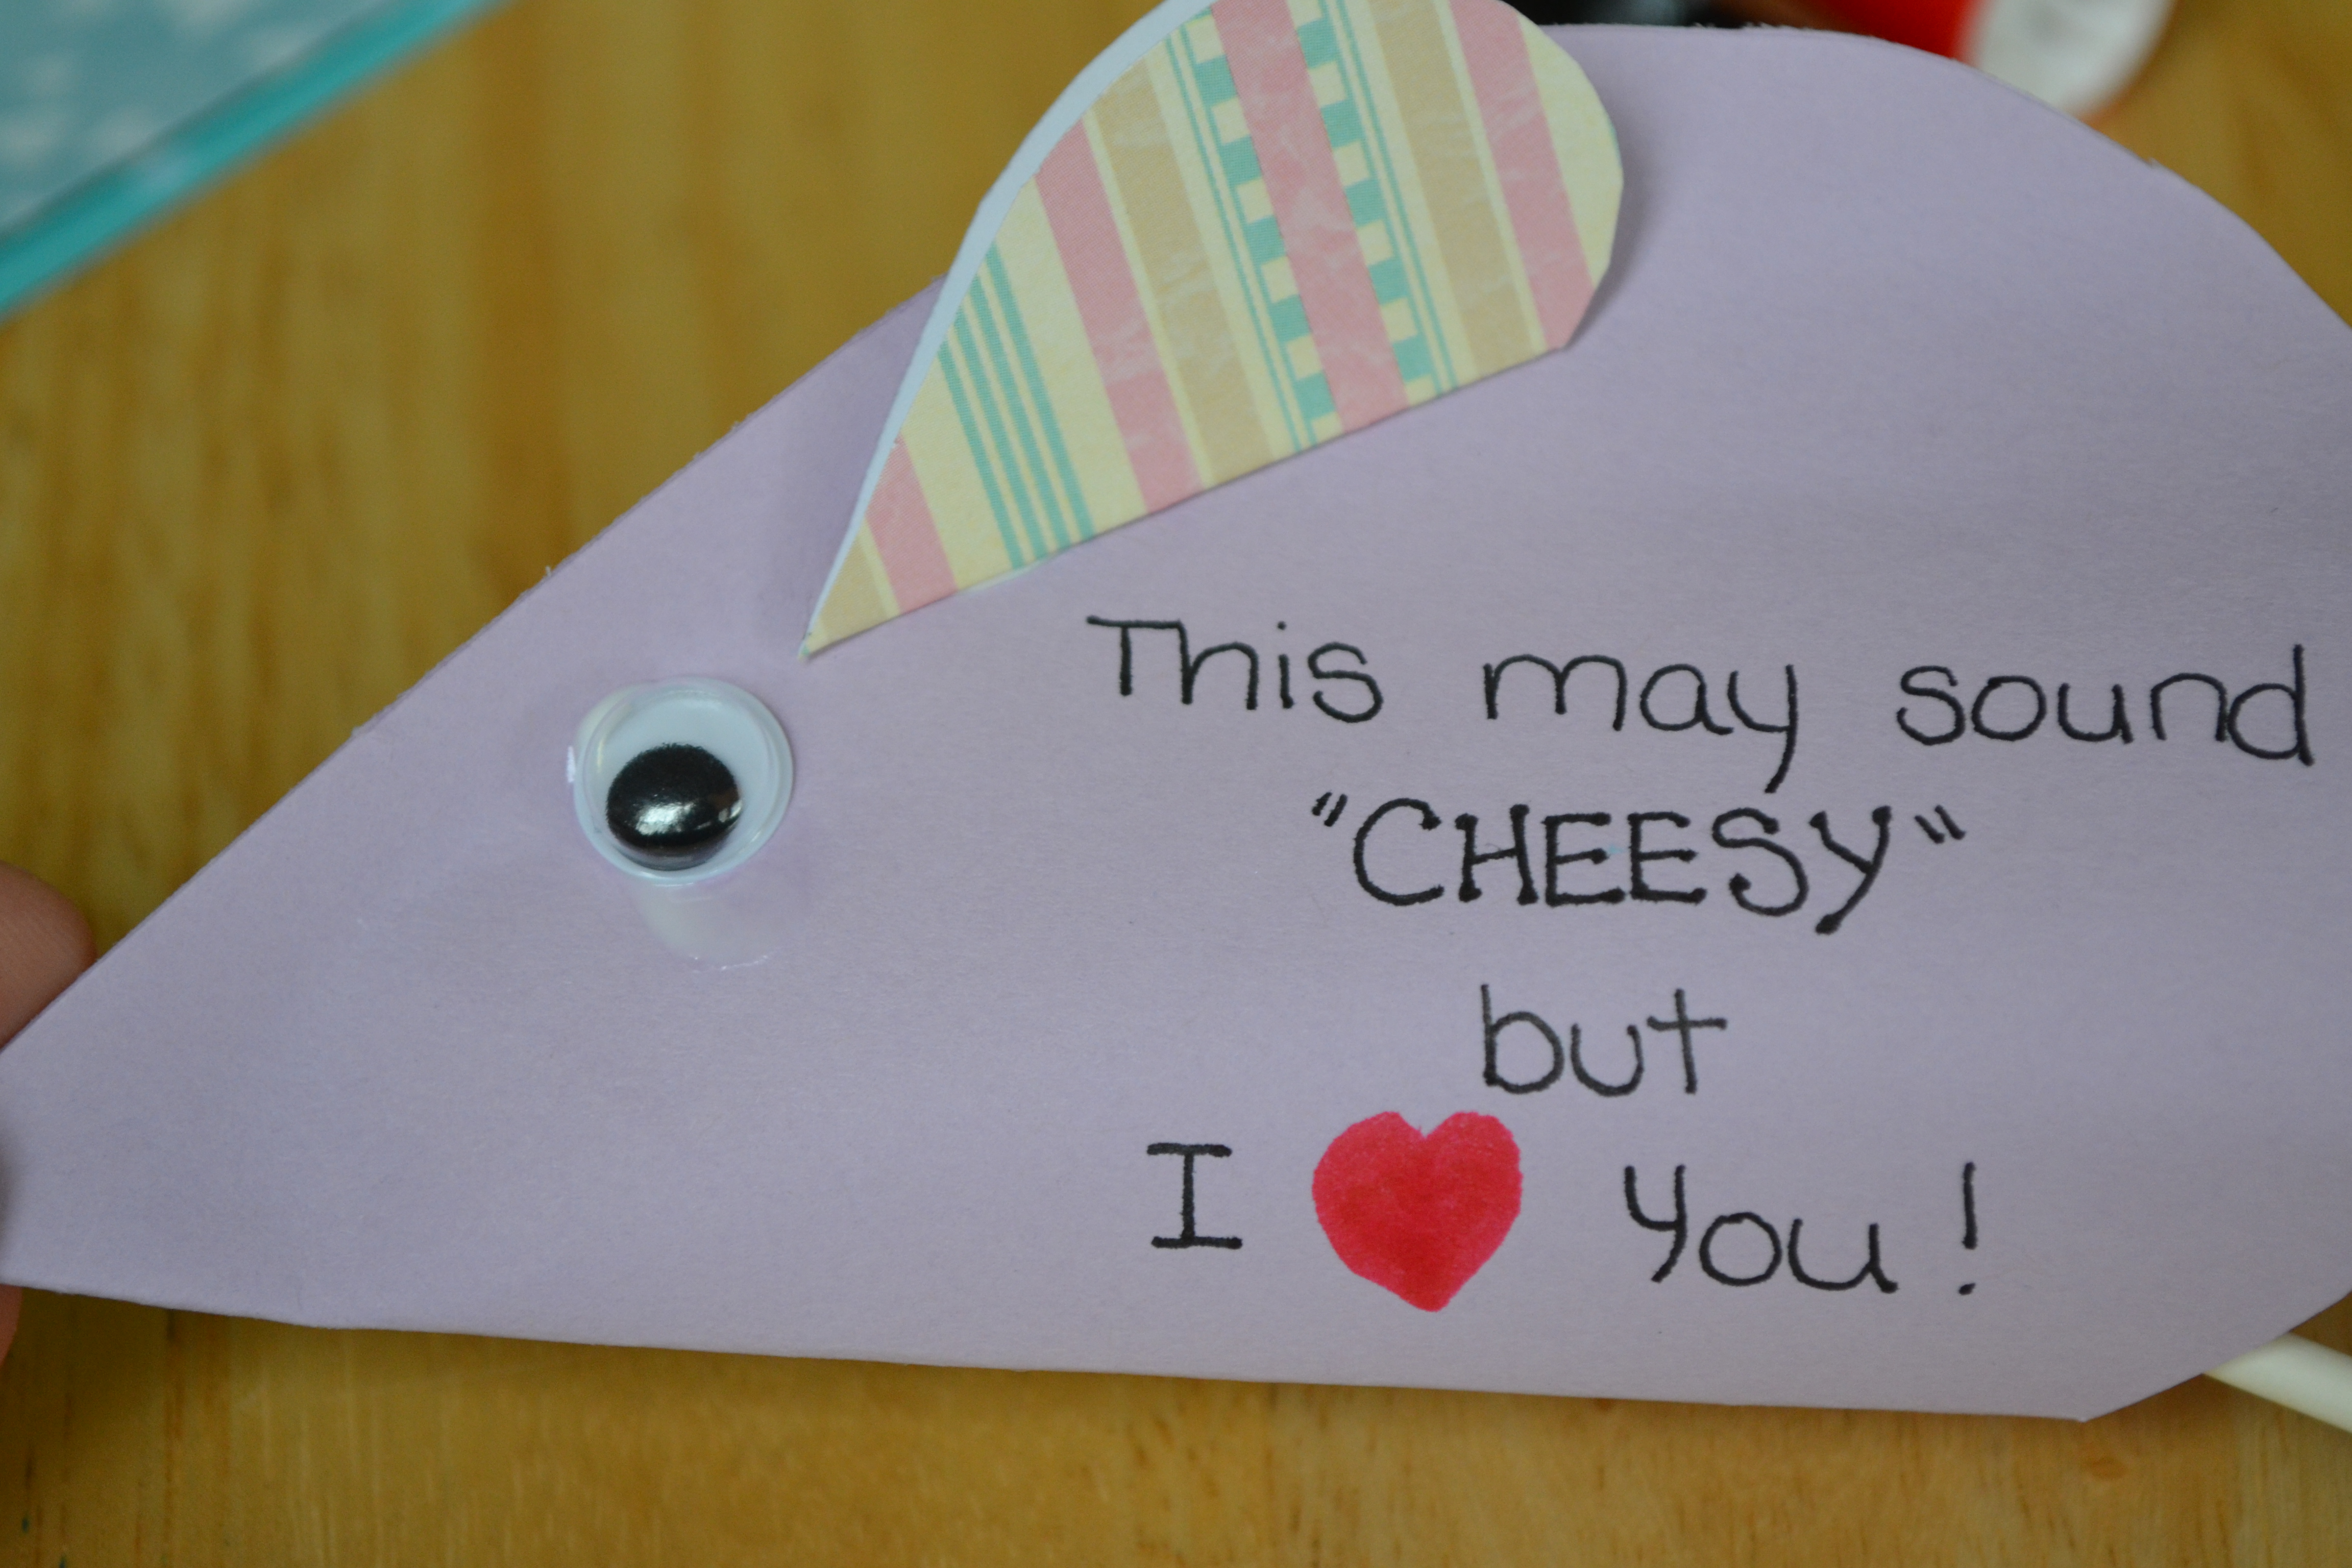
Step 5
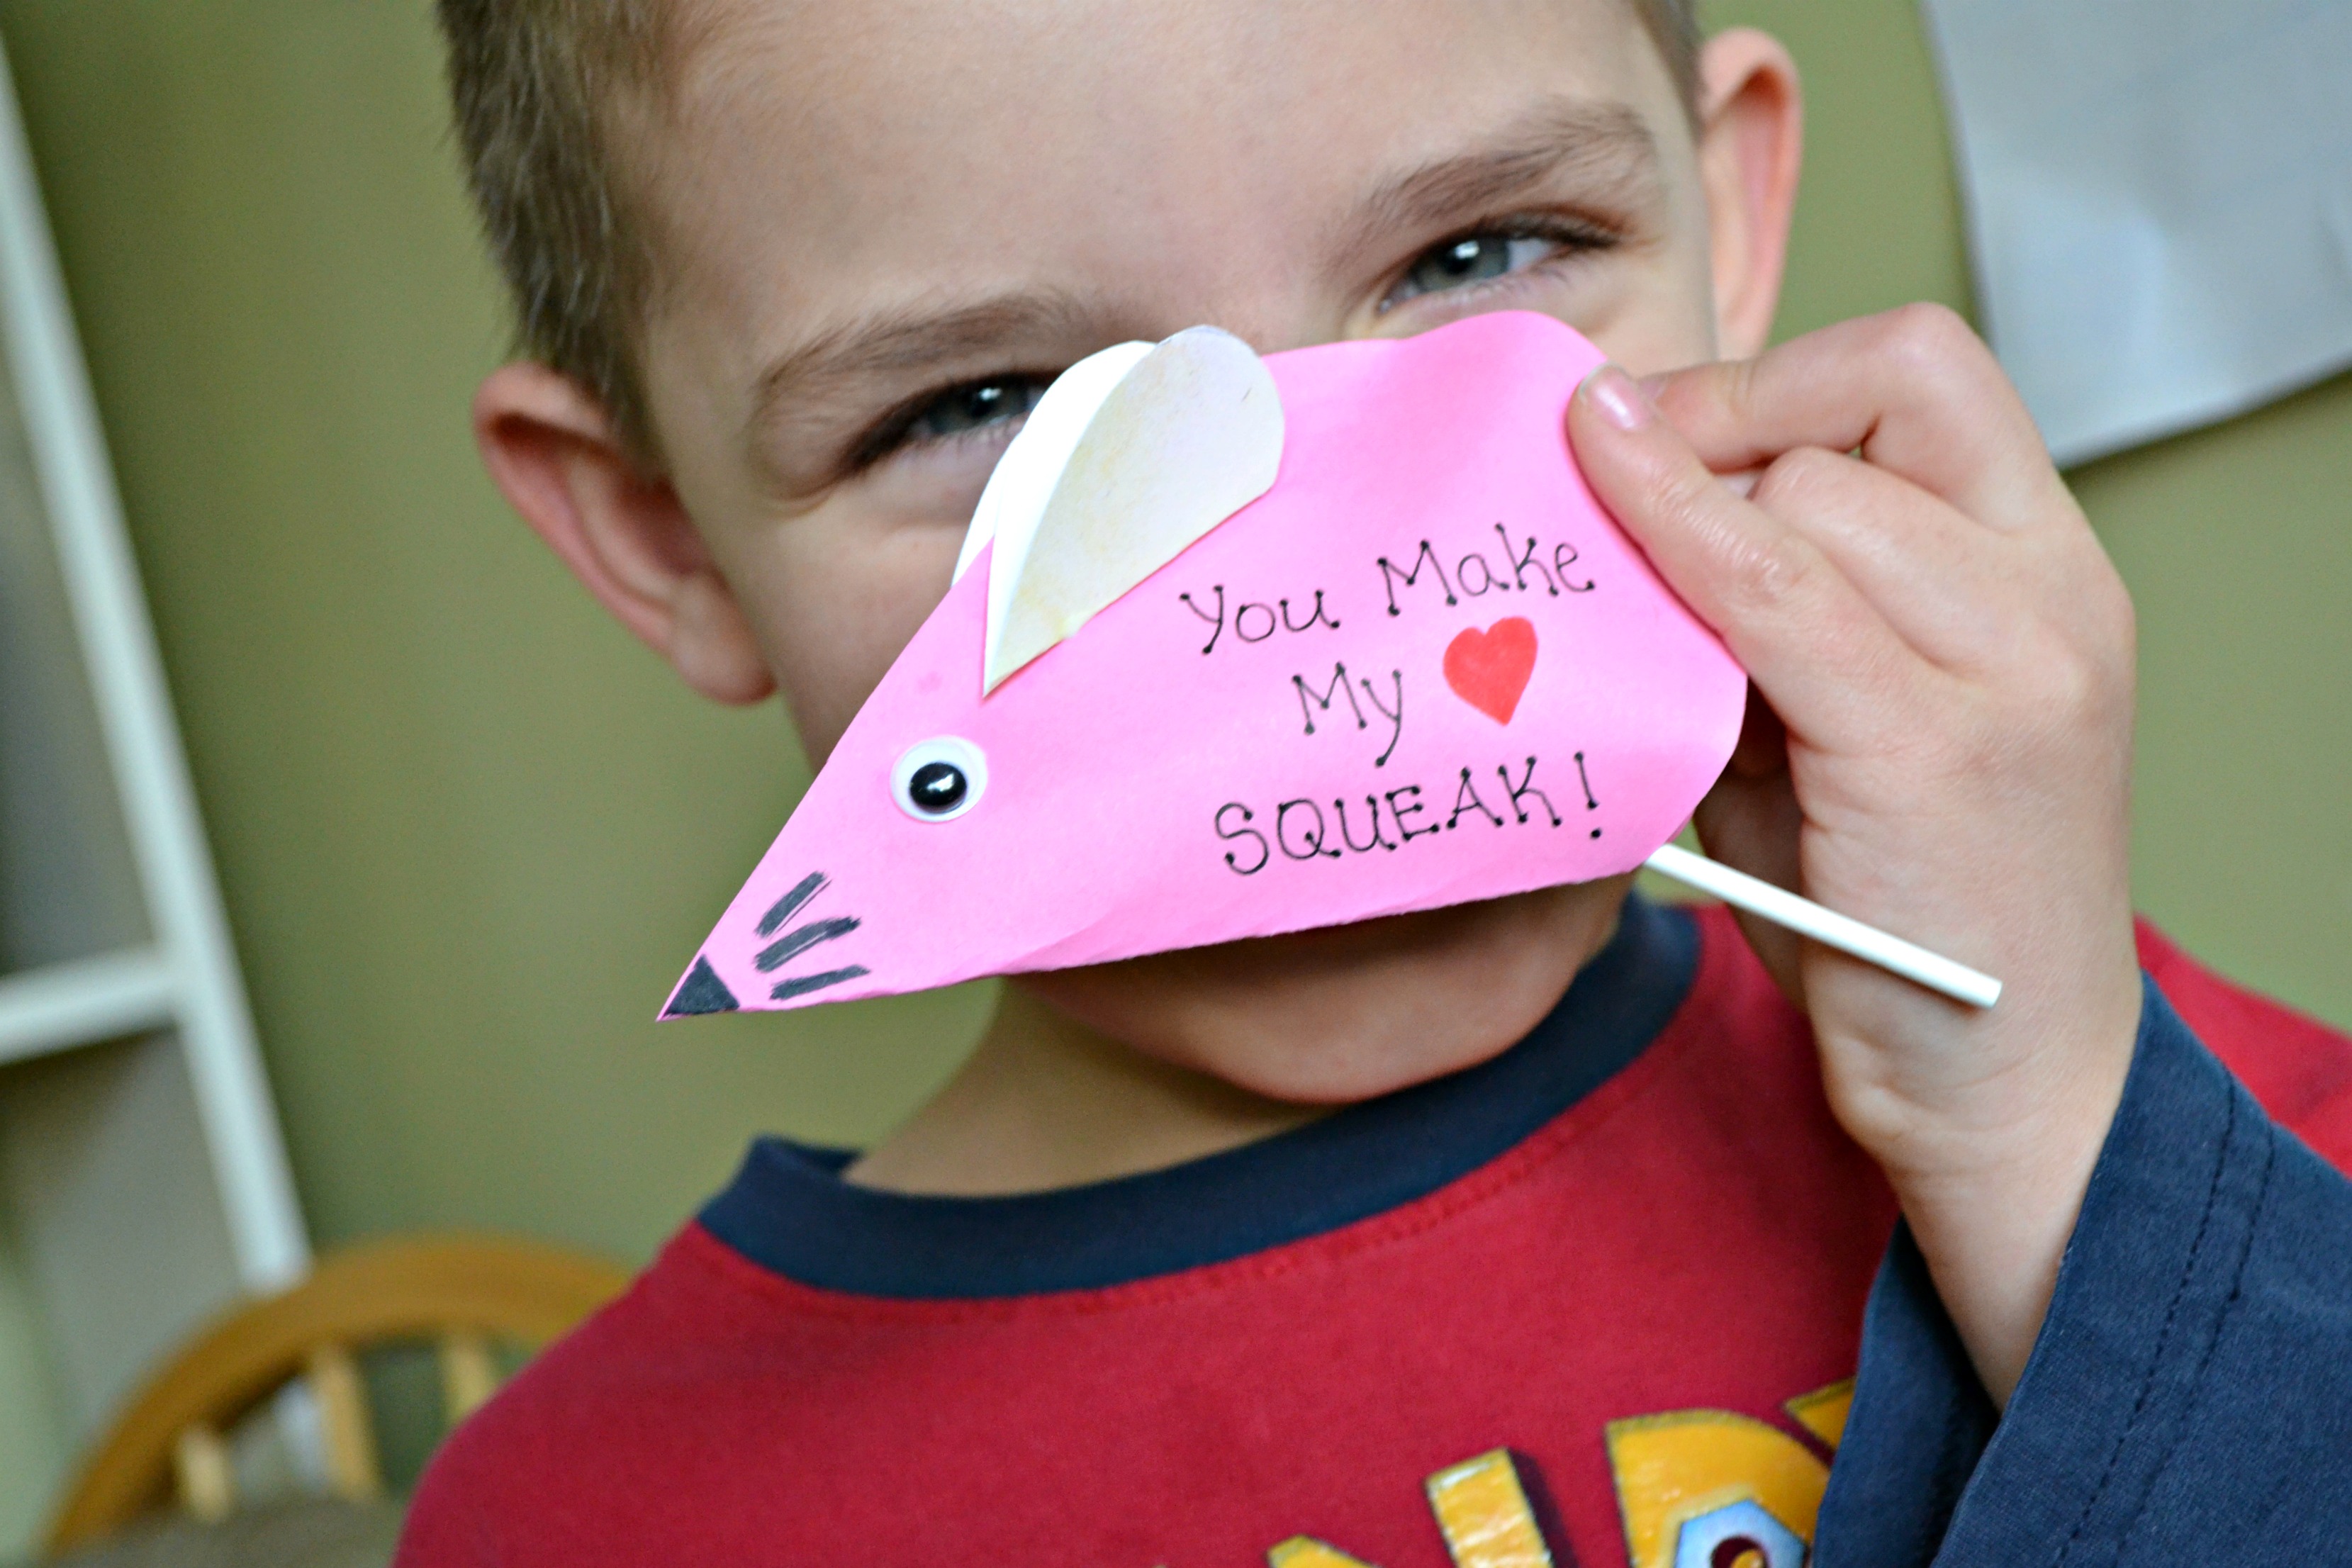
The kids helped me fold each of the large hearts in half and we wrote "mouse" themed valentine messages on one side of the heart. We included things like "You make my heart SQUEAK" and "It might sound 'cheesy' but I love you".

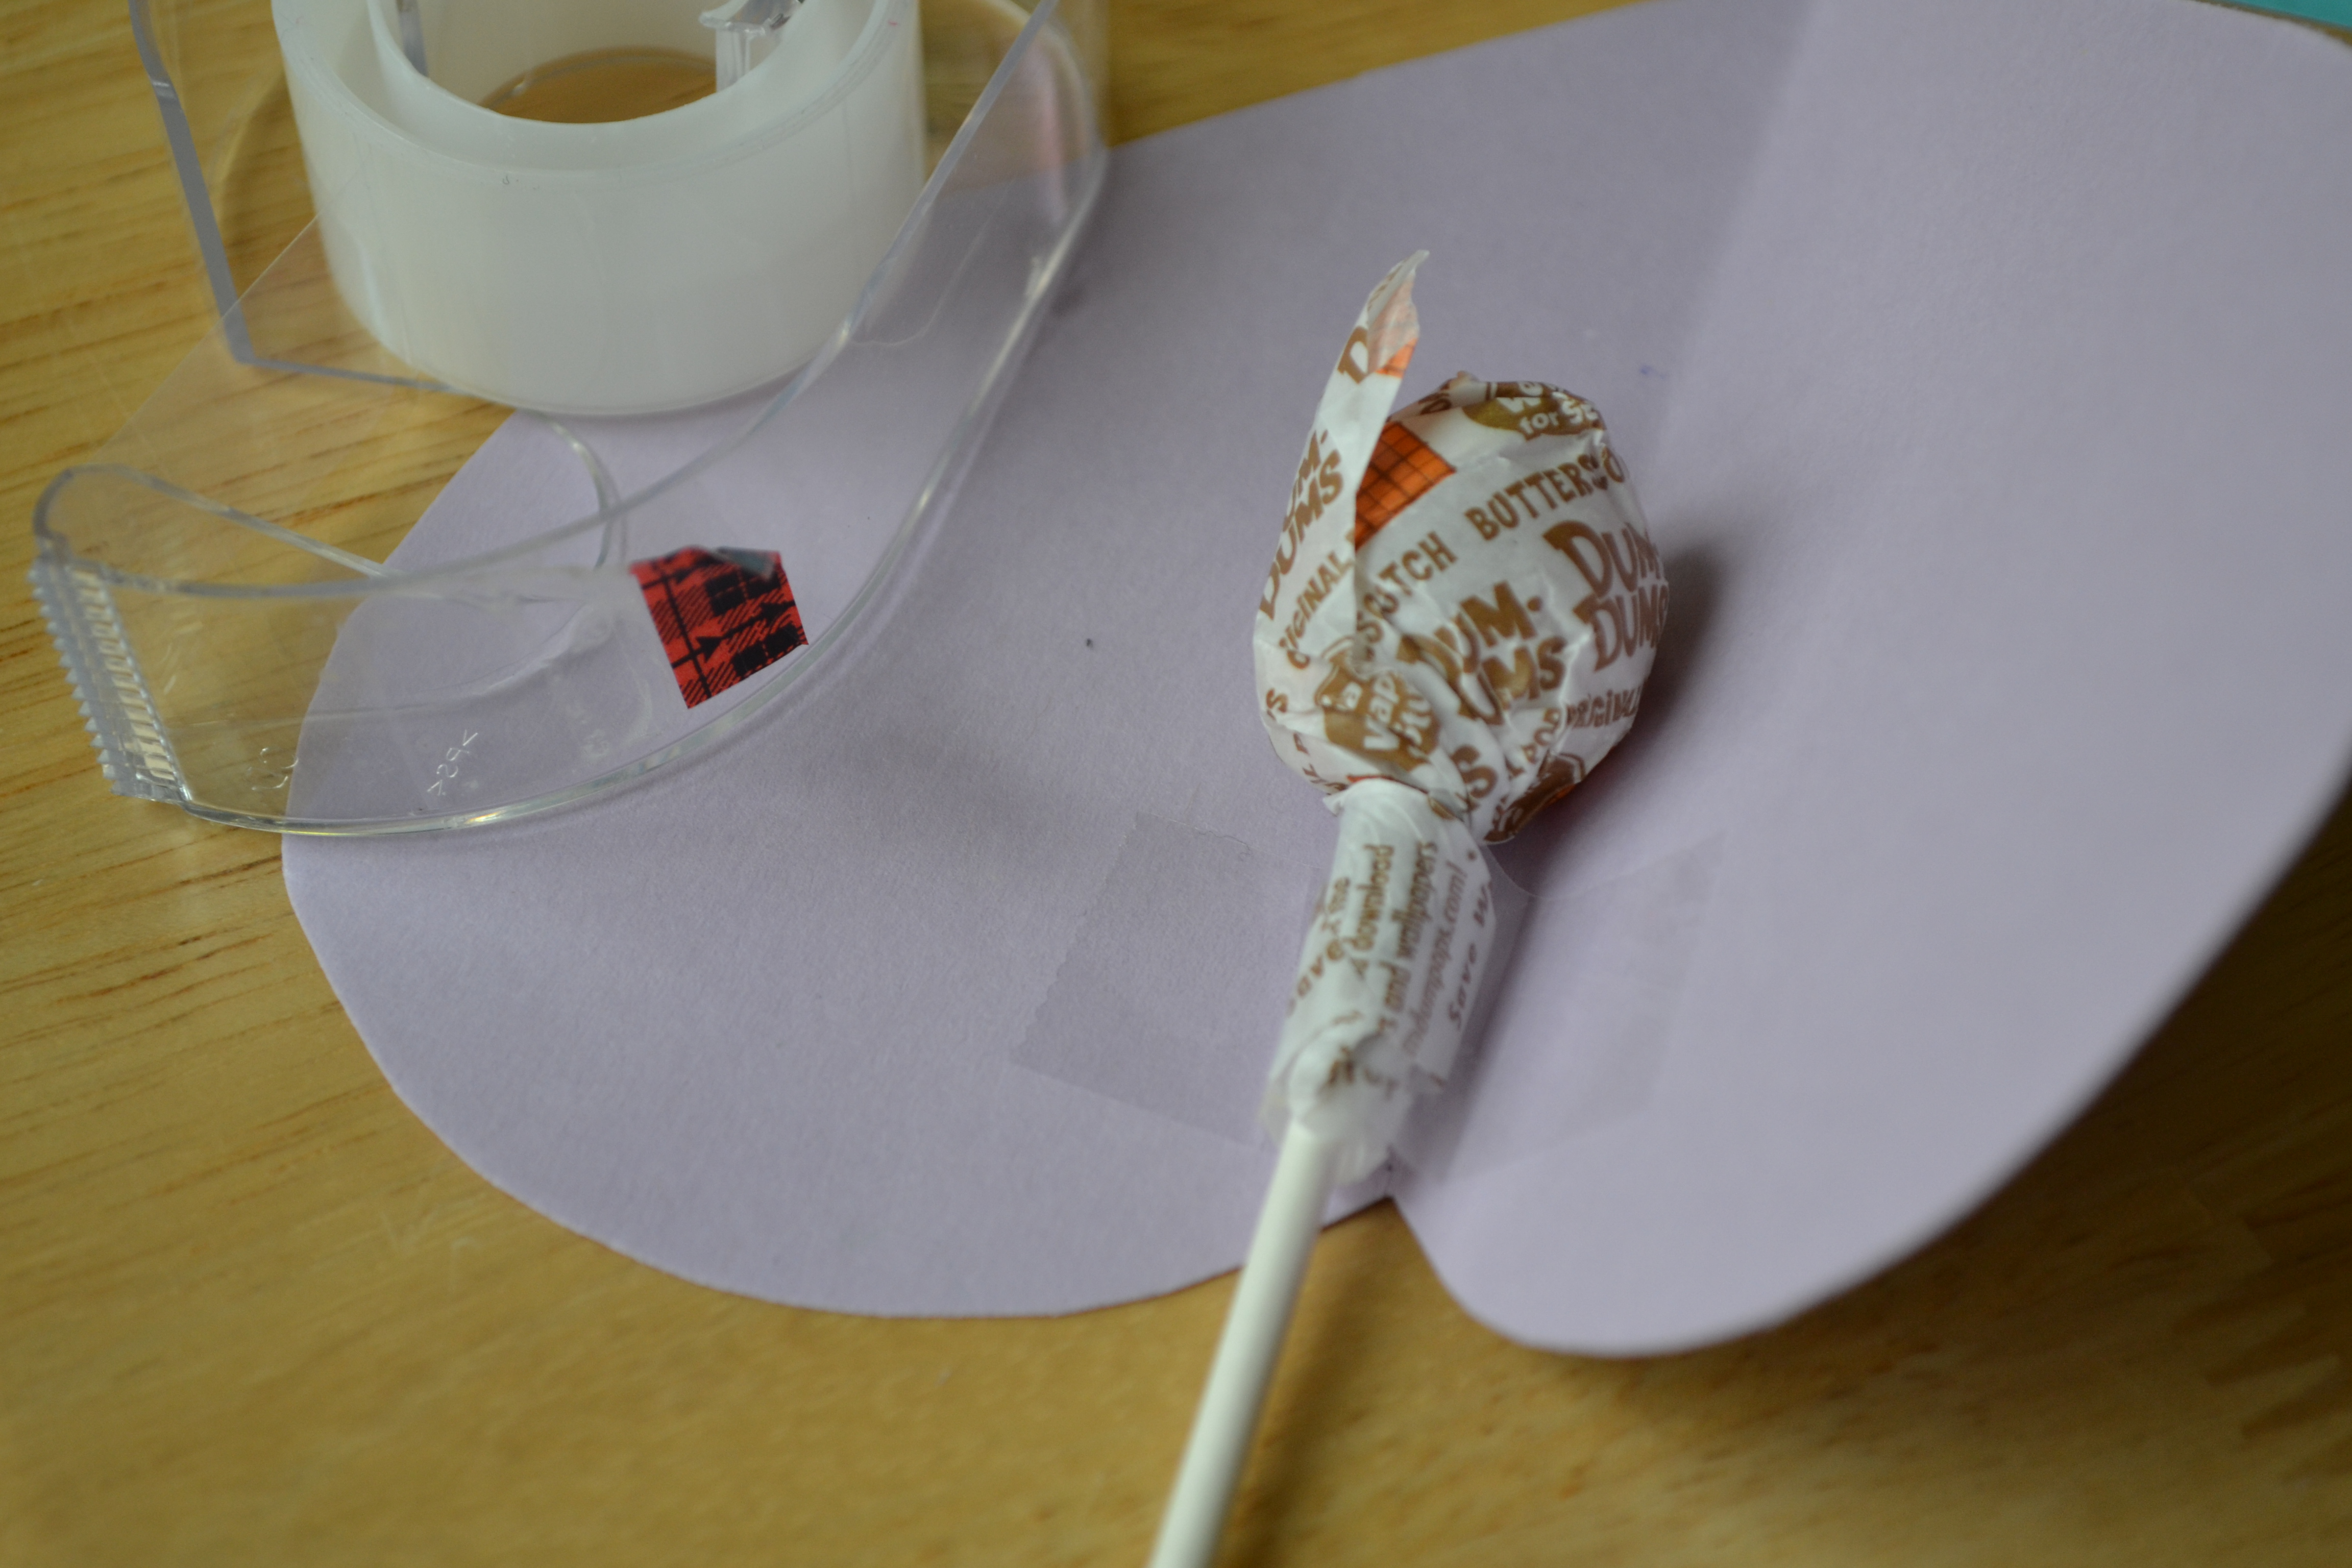
Step 6
Once all messages were written, we taped the lollipop inside the heart so that the stick would show from the rounded part of the heart when it was folded in half. They made such cute mice tails!
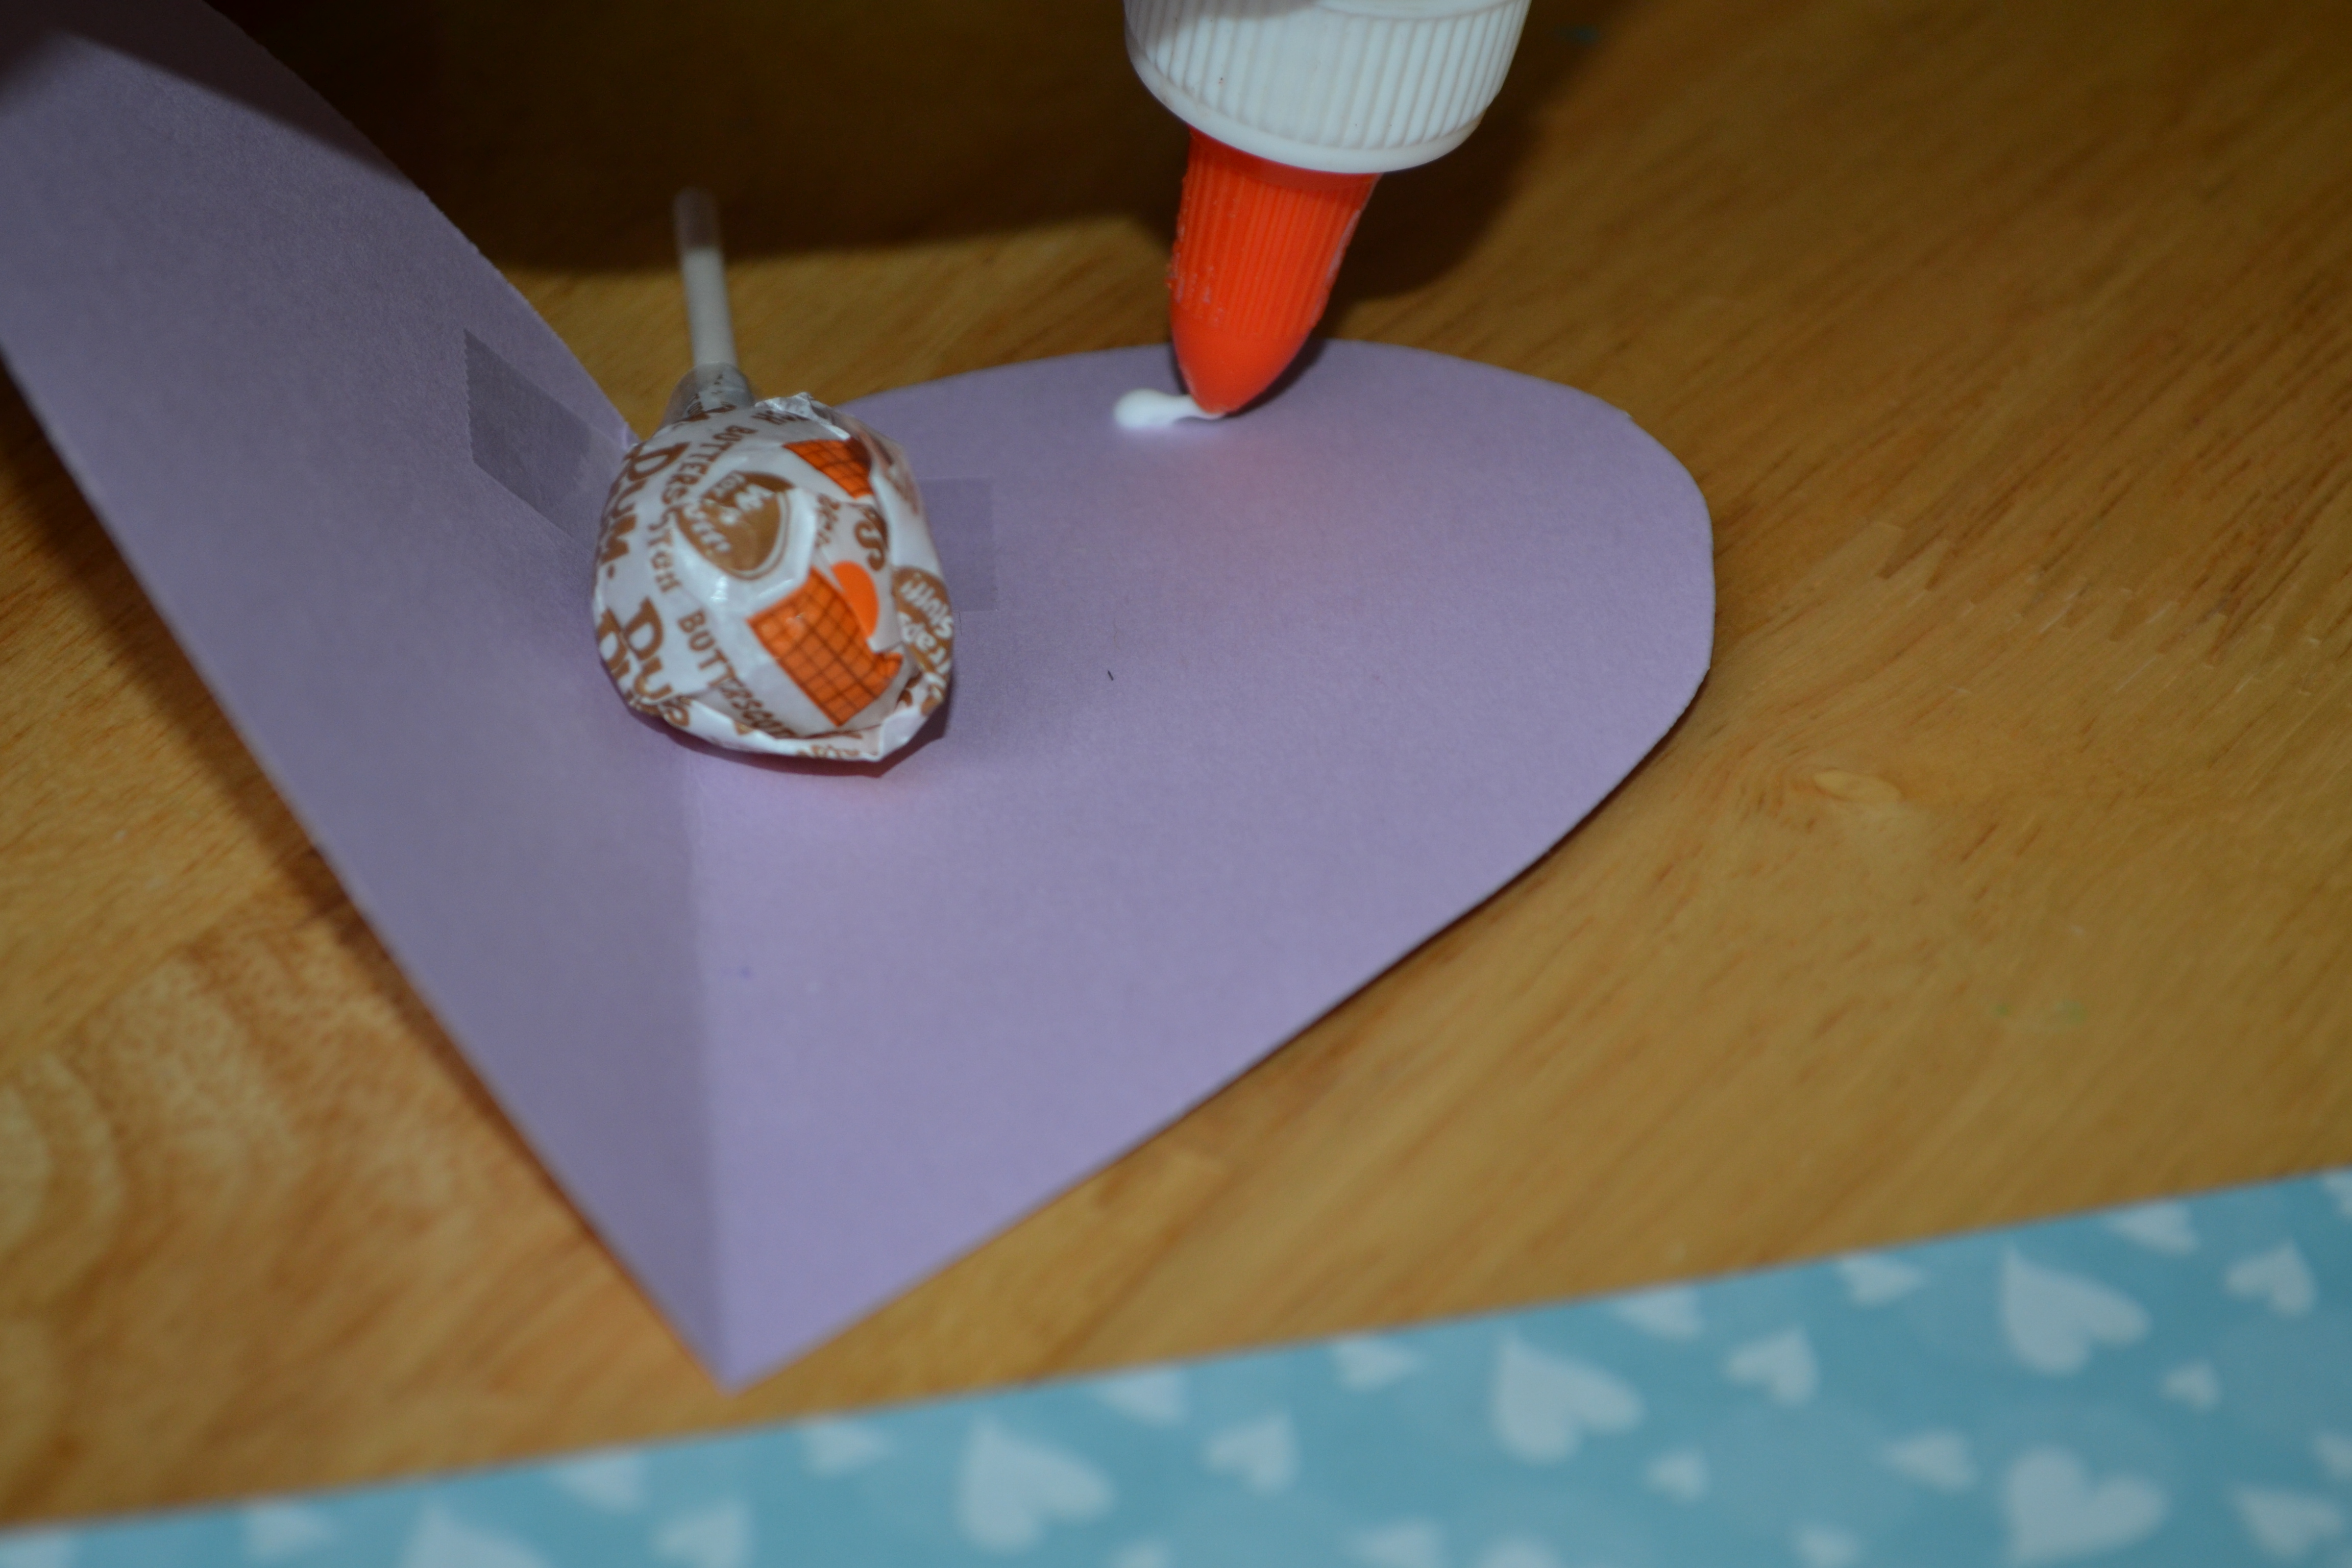
Step 7
Then, the kids put a line of glue along the edge of one side of the heart and wrapped the heart around the lollipop to form the mouse's body. They pinched the bottom part of the heart and held it closed where the nose of the mouse would be. We had to hold them closed for a count of 10 to make sure the hearts stayed closed.
Step 8
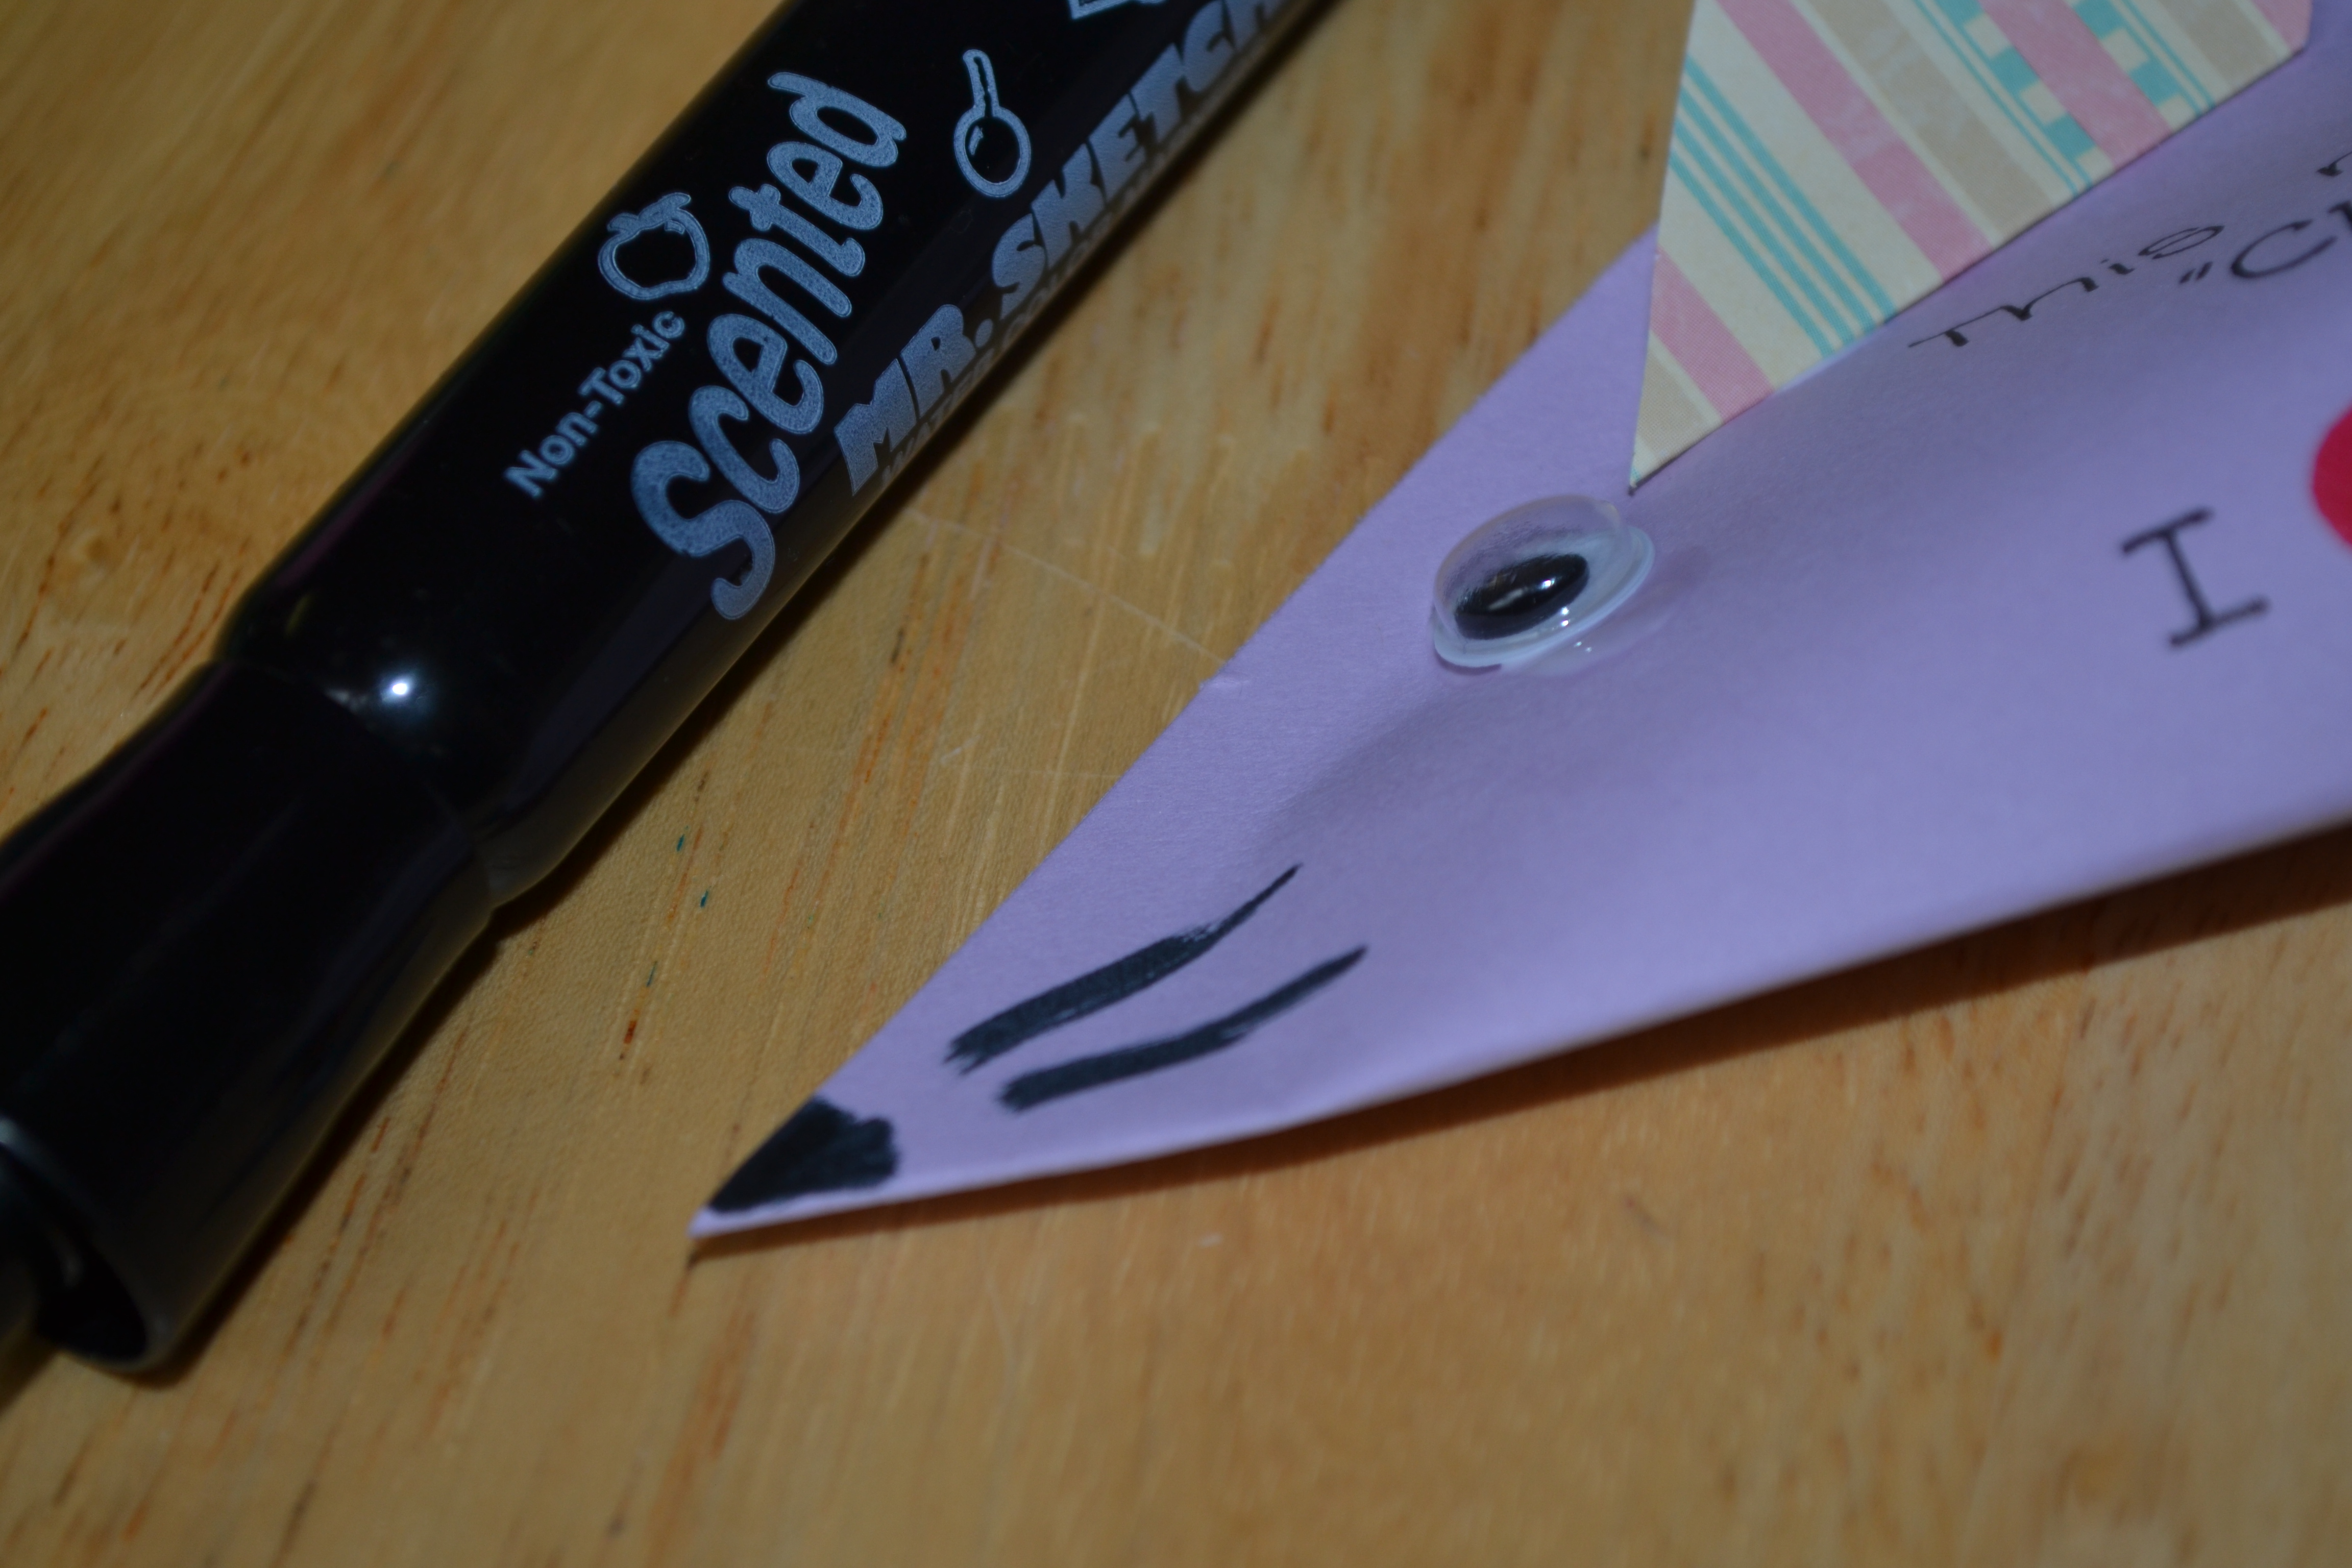
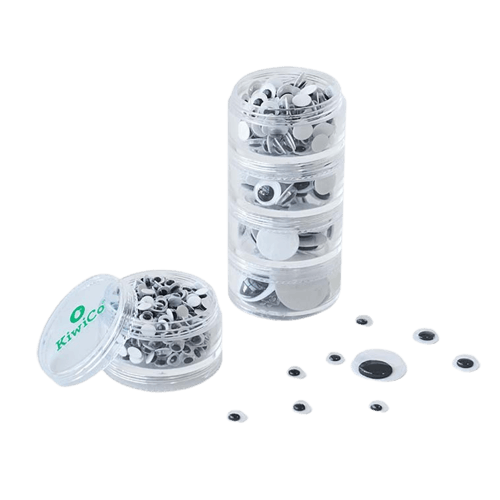
We folded each of the small hearts in half and glued one half of each heart to a different side of the mouse body so that the ears looked 3D. Then, the kids glued googly eyes to each side of the mouse.
Done!
We used a black marker to add a nose and whiskers to our mice. The kids were so excited with their little mice and gave them fun names. Now, they want to make one for all of the kids in their class!