Step-by-step tutorial
Step 1
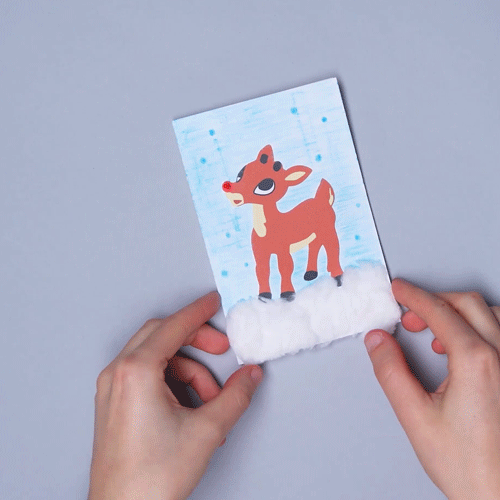
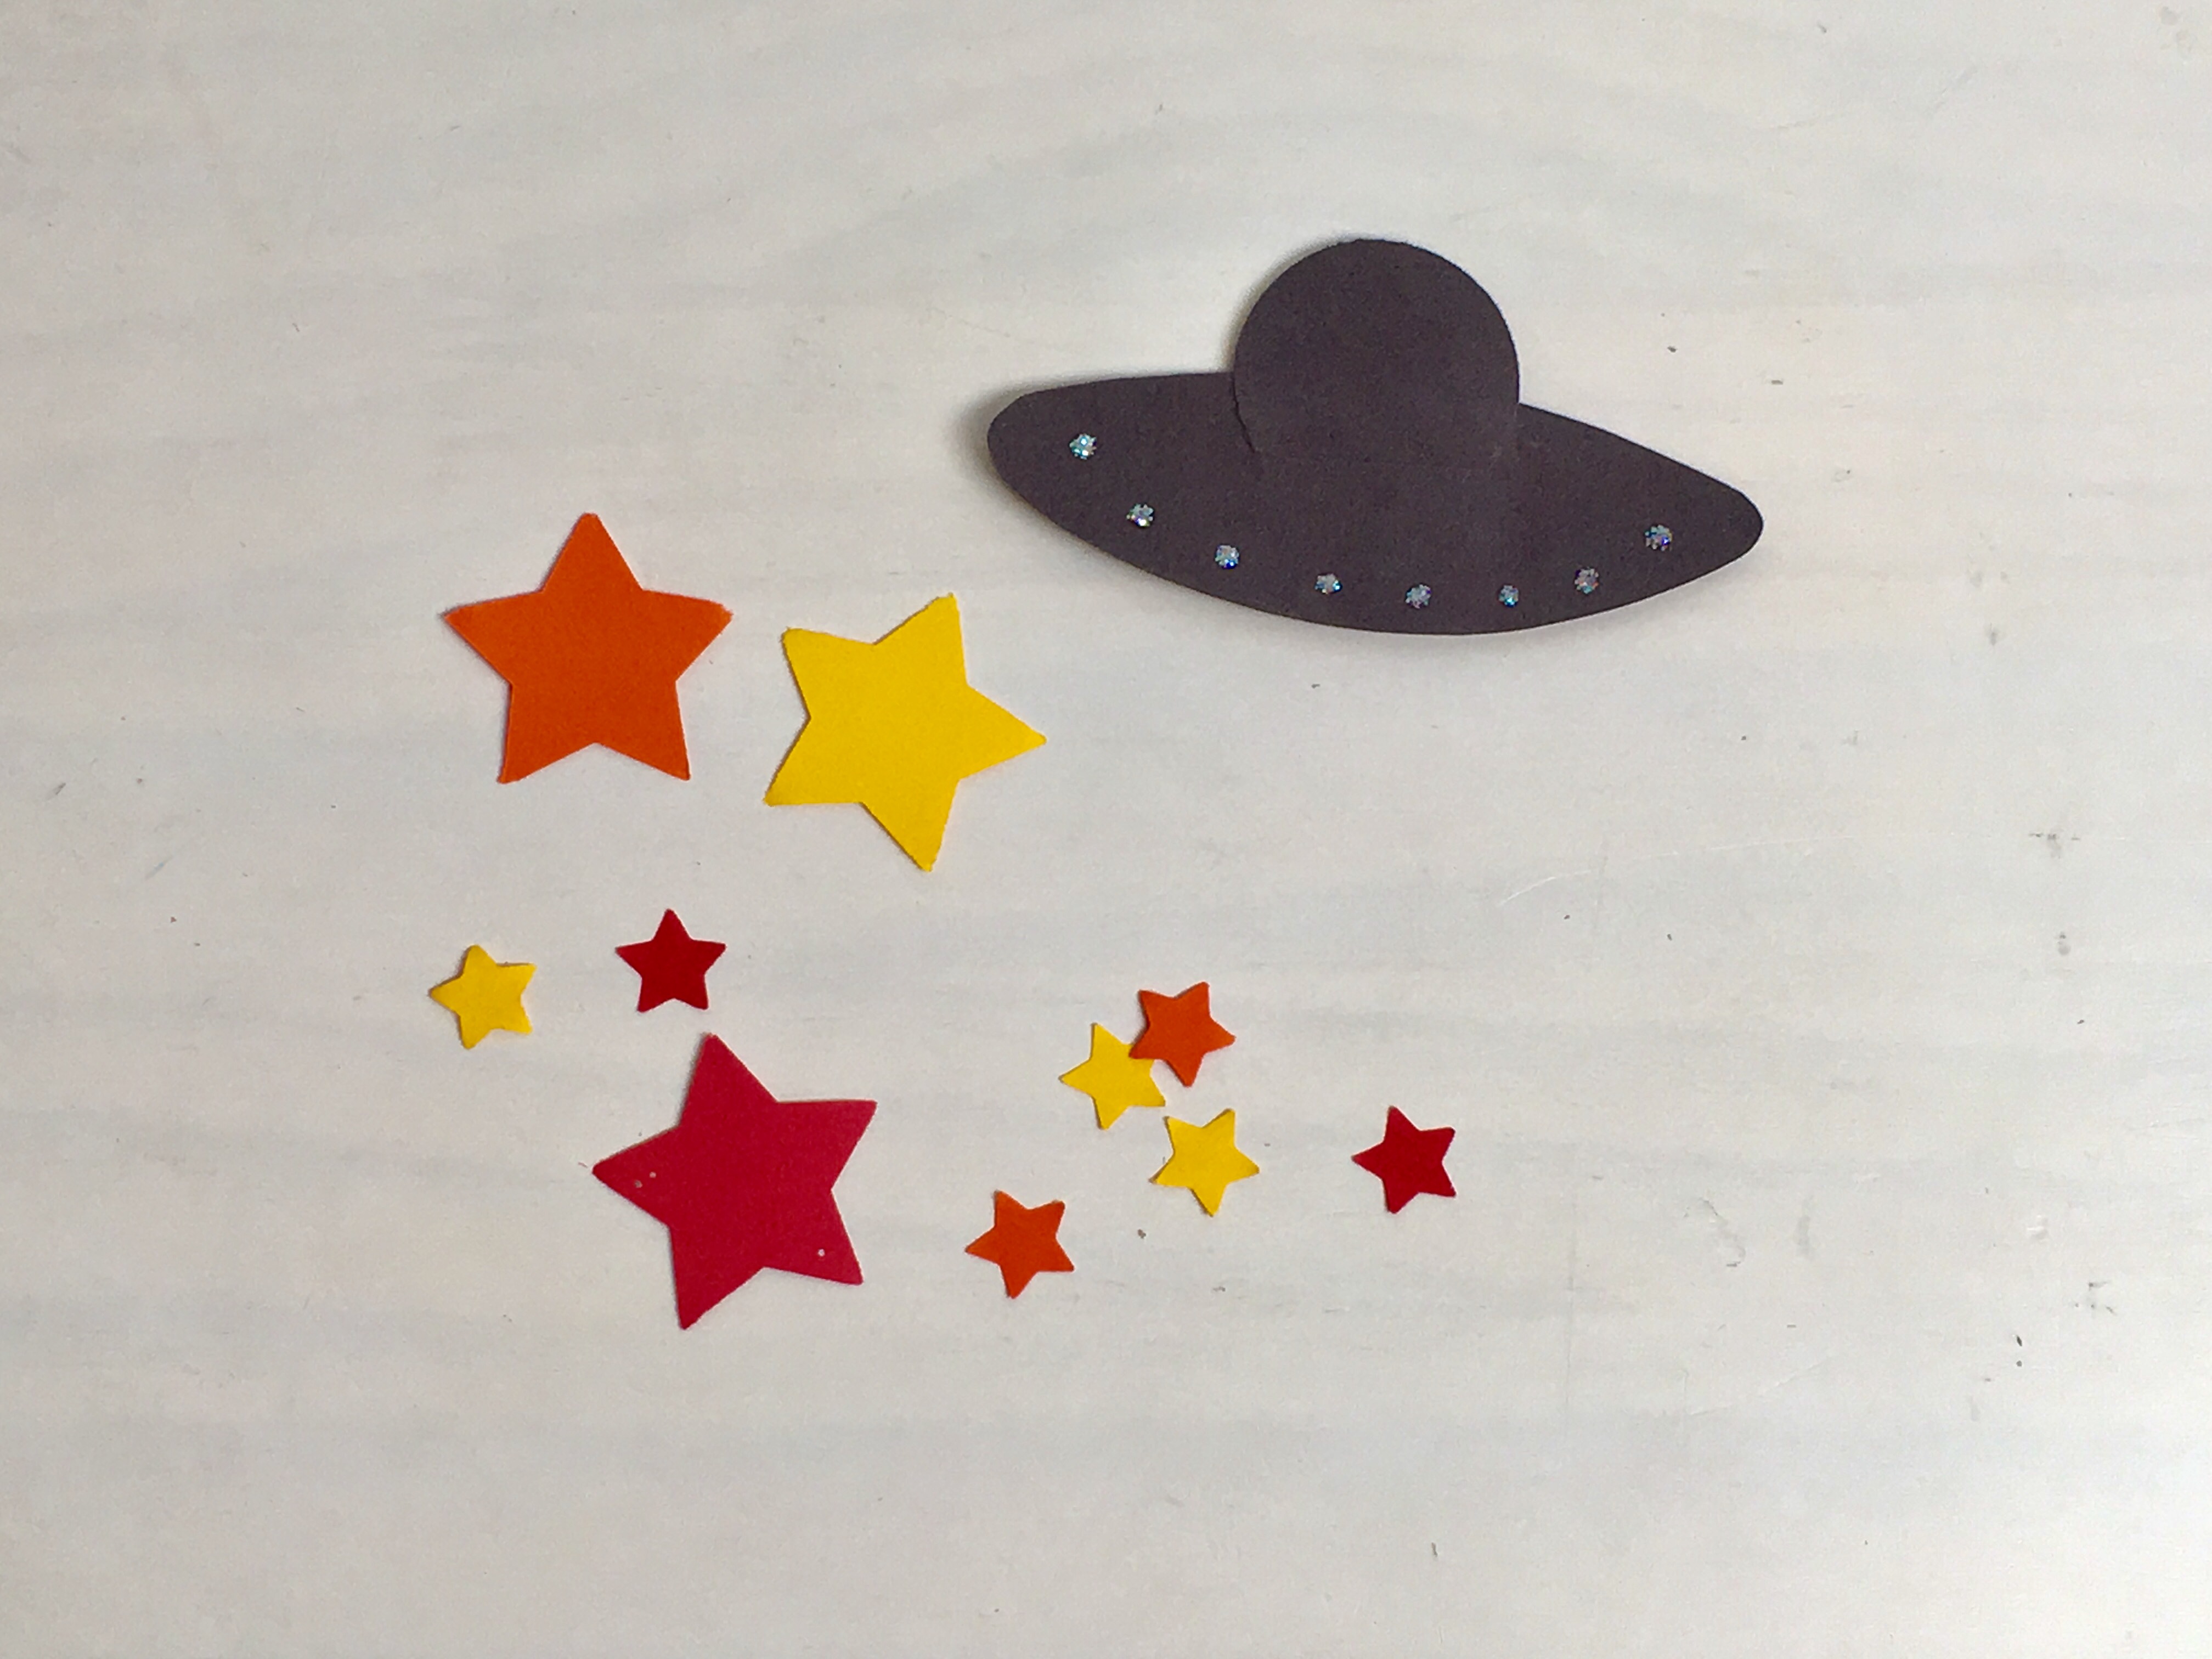
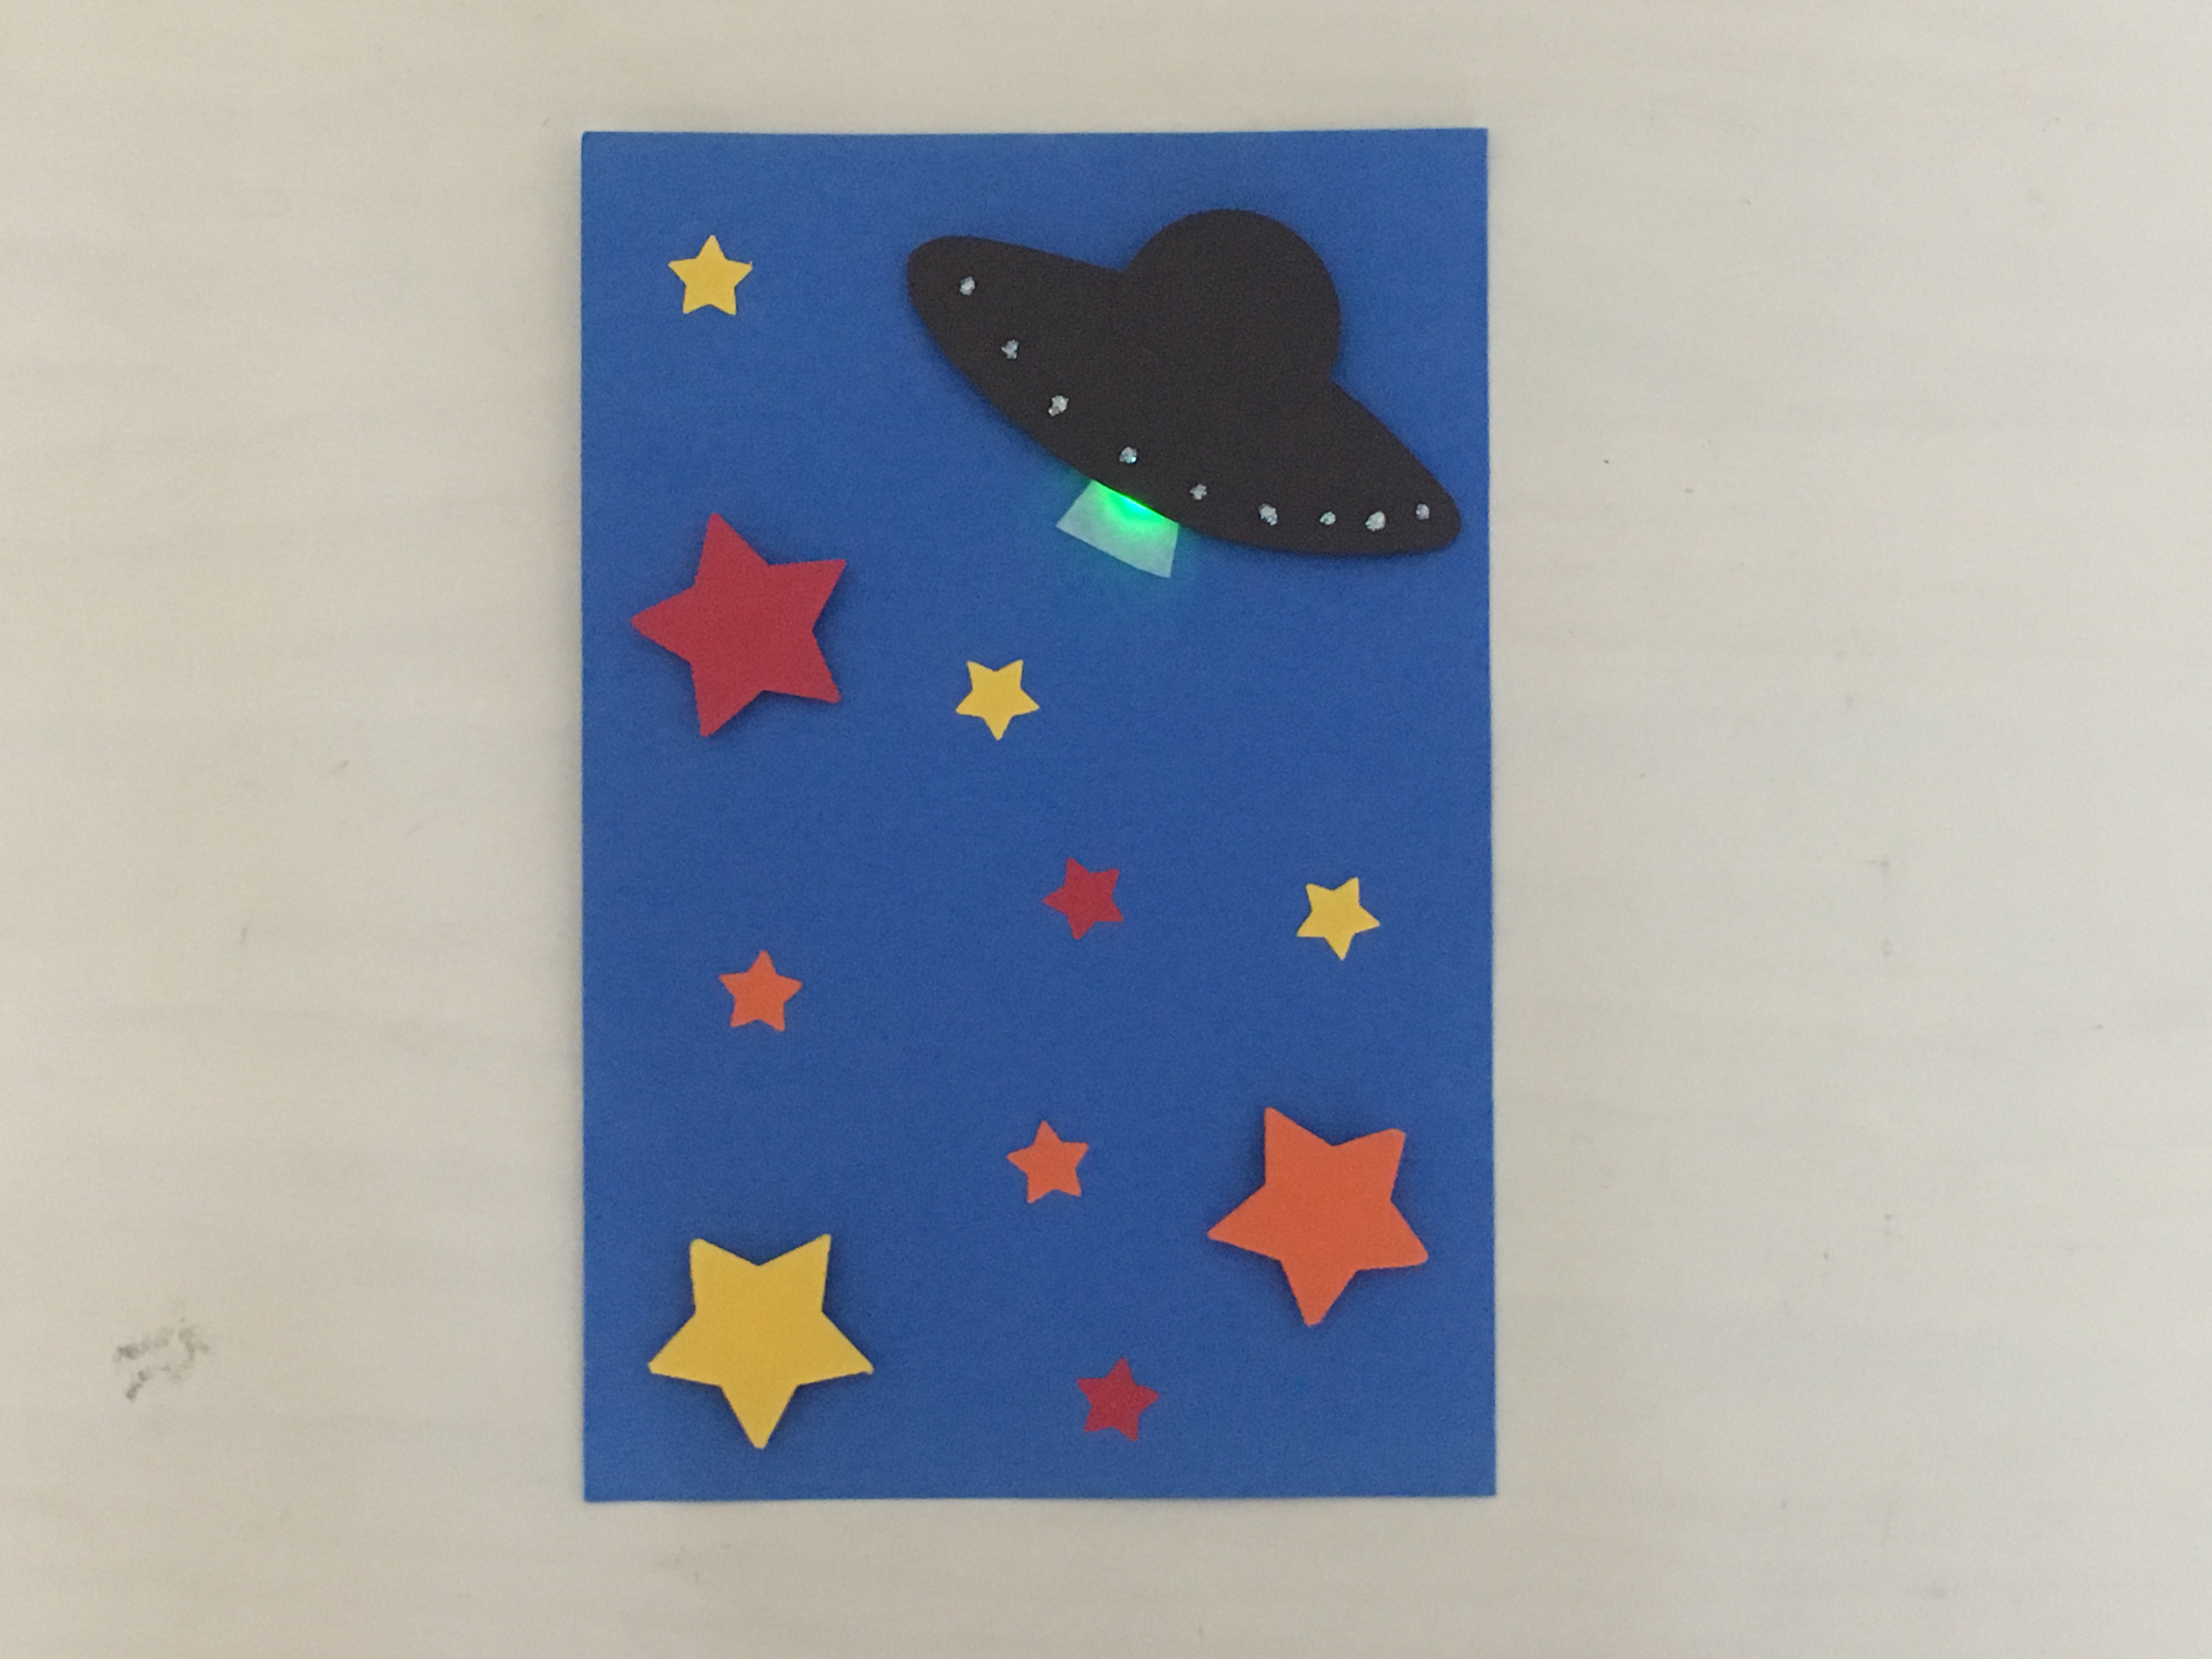
Decide how you want to decorate the front of your card and cut out paper shapes.
Looking for a gift? Checkout KiwiCo's Christmas gifts here.

Step 2
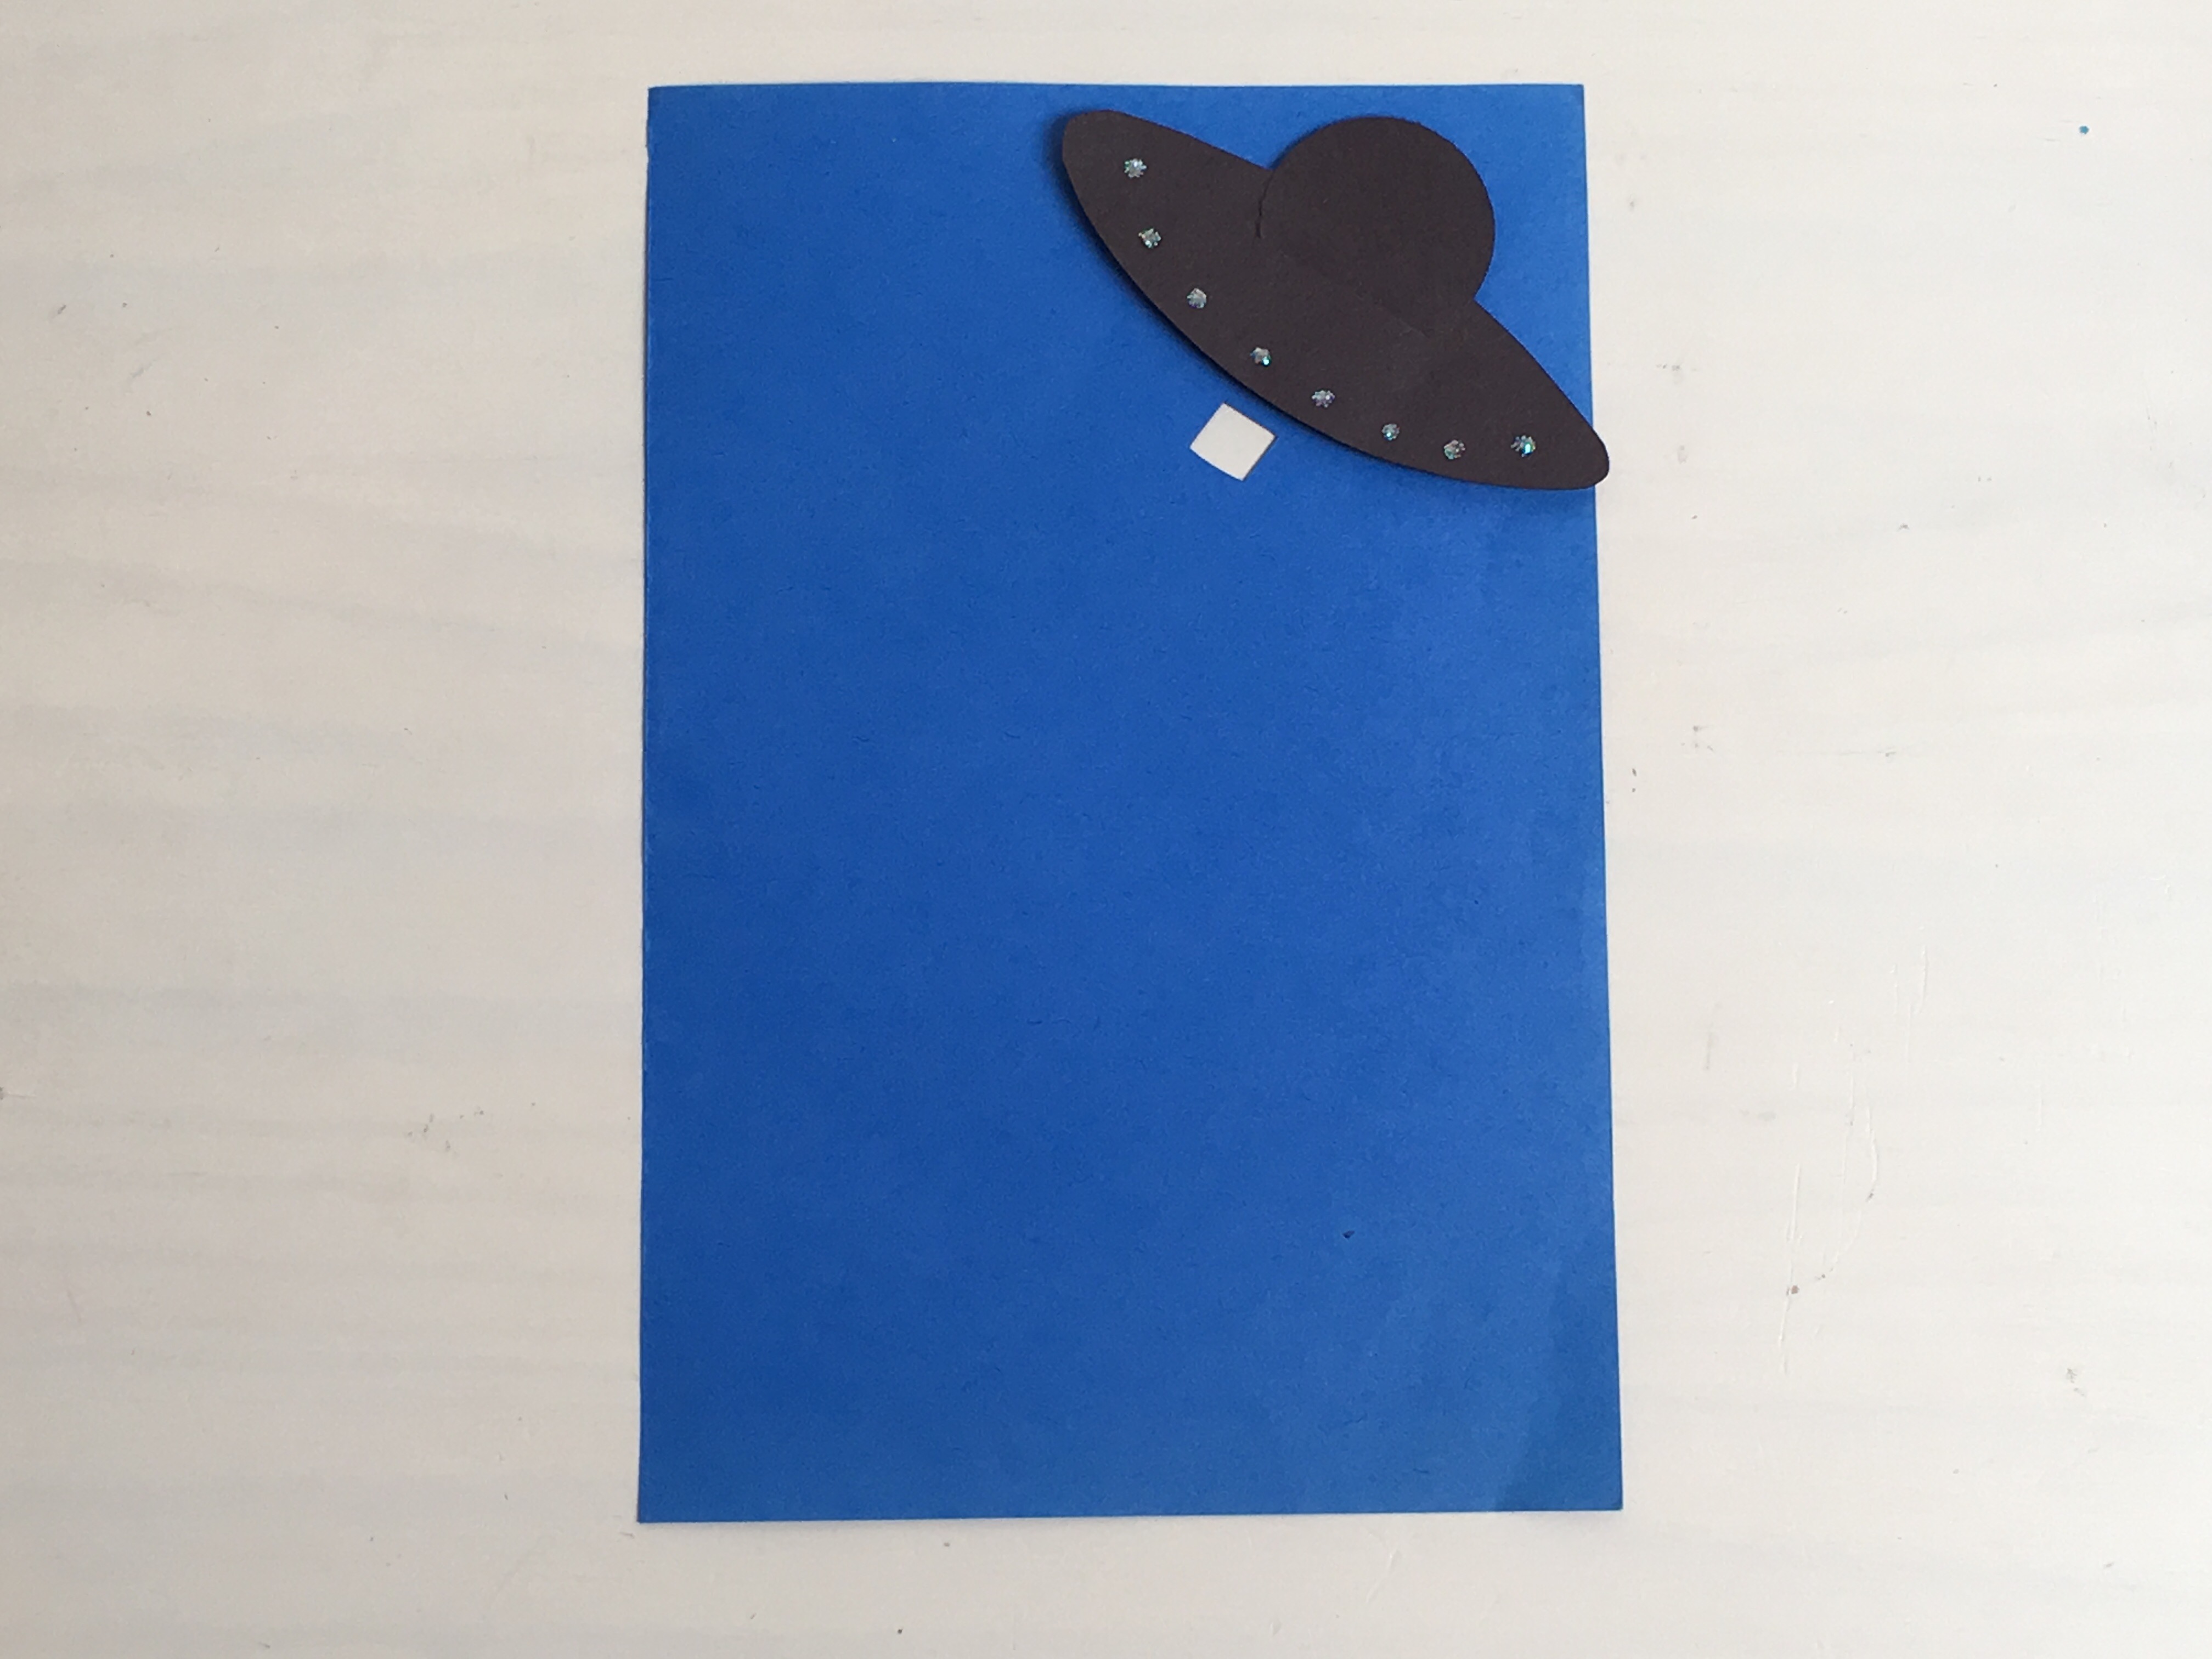
Plan where you will place the LEDs. In this example we will have an LED shine from the bottom of the UFO so we cut a hole in the paper there.
Step 3
Lay out your paper shapes and stick them down with a glue stick. We also used double sided sticky foam squares under some of the stars and the UFO for a 3D look. Feel free to decorate more with glitter, markers, and more!
We covered the hole with a piece of tissue paper. This is optional, but we wanted to go for a different lighting effect.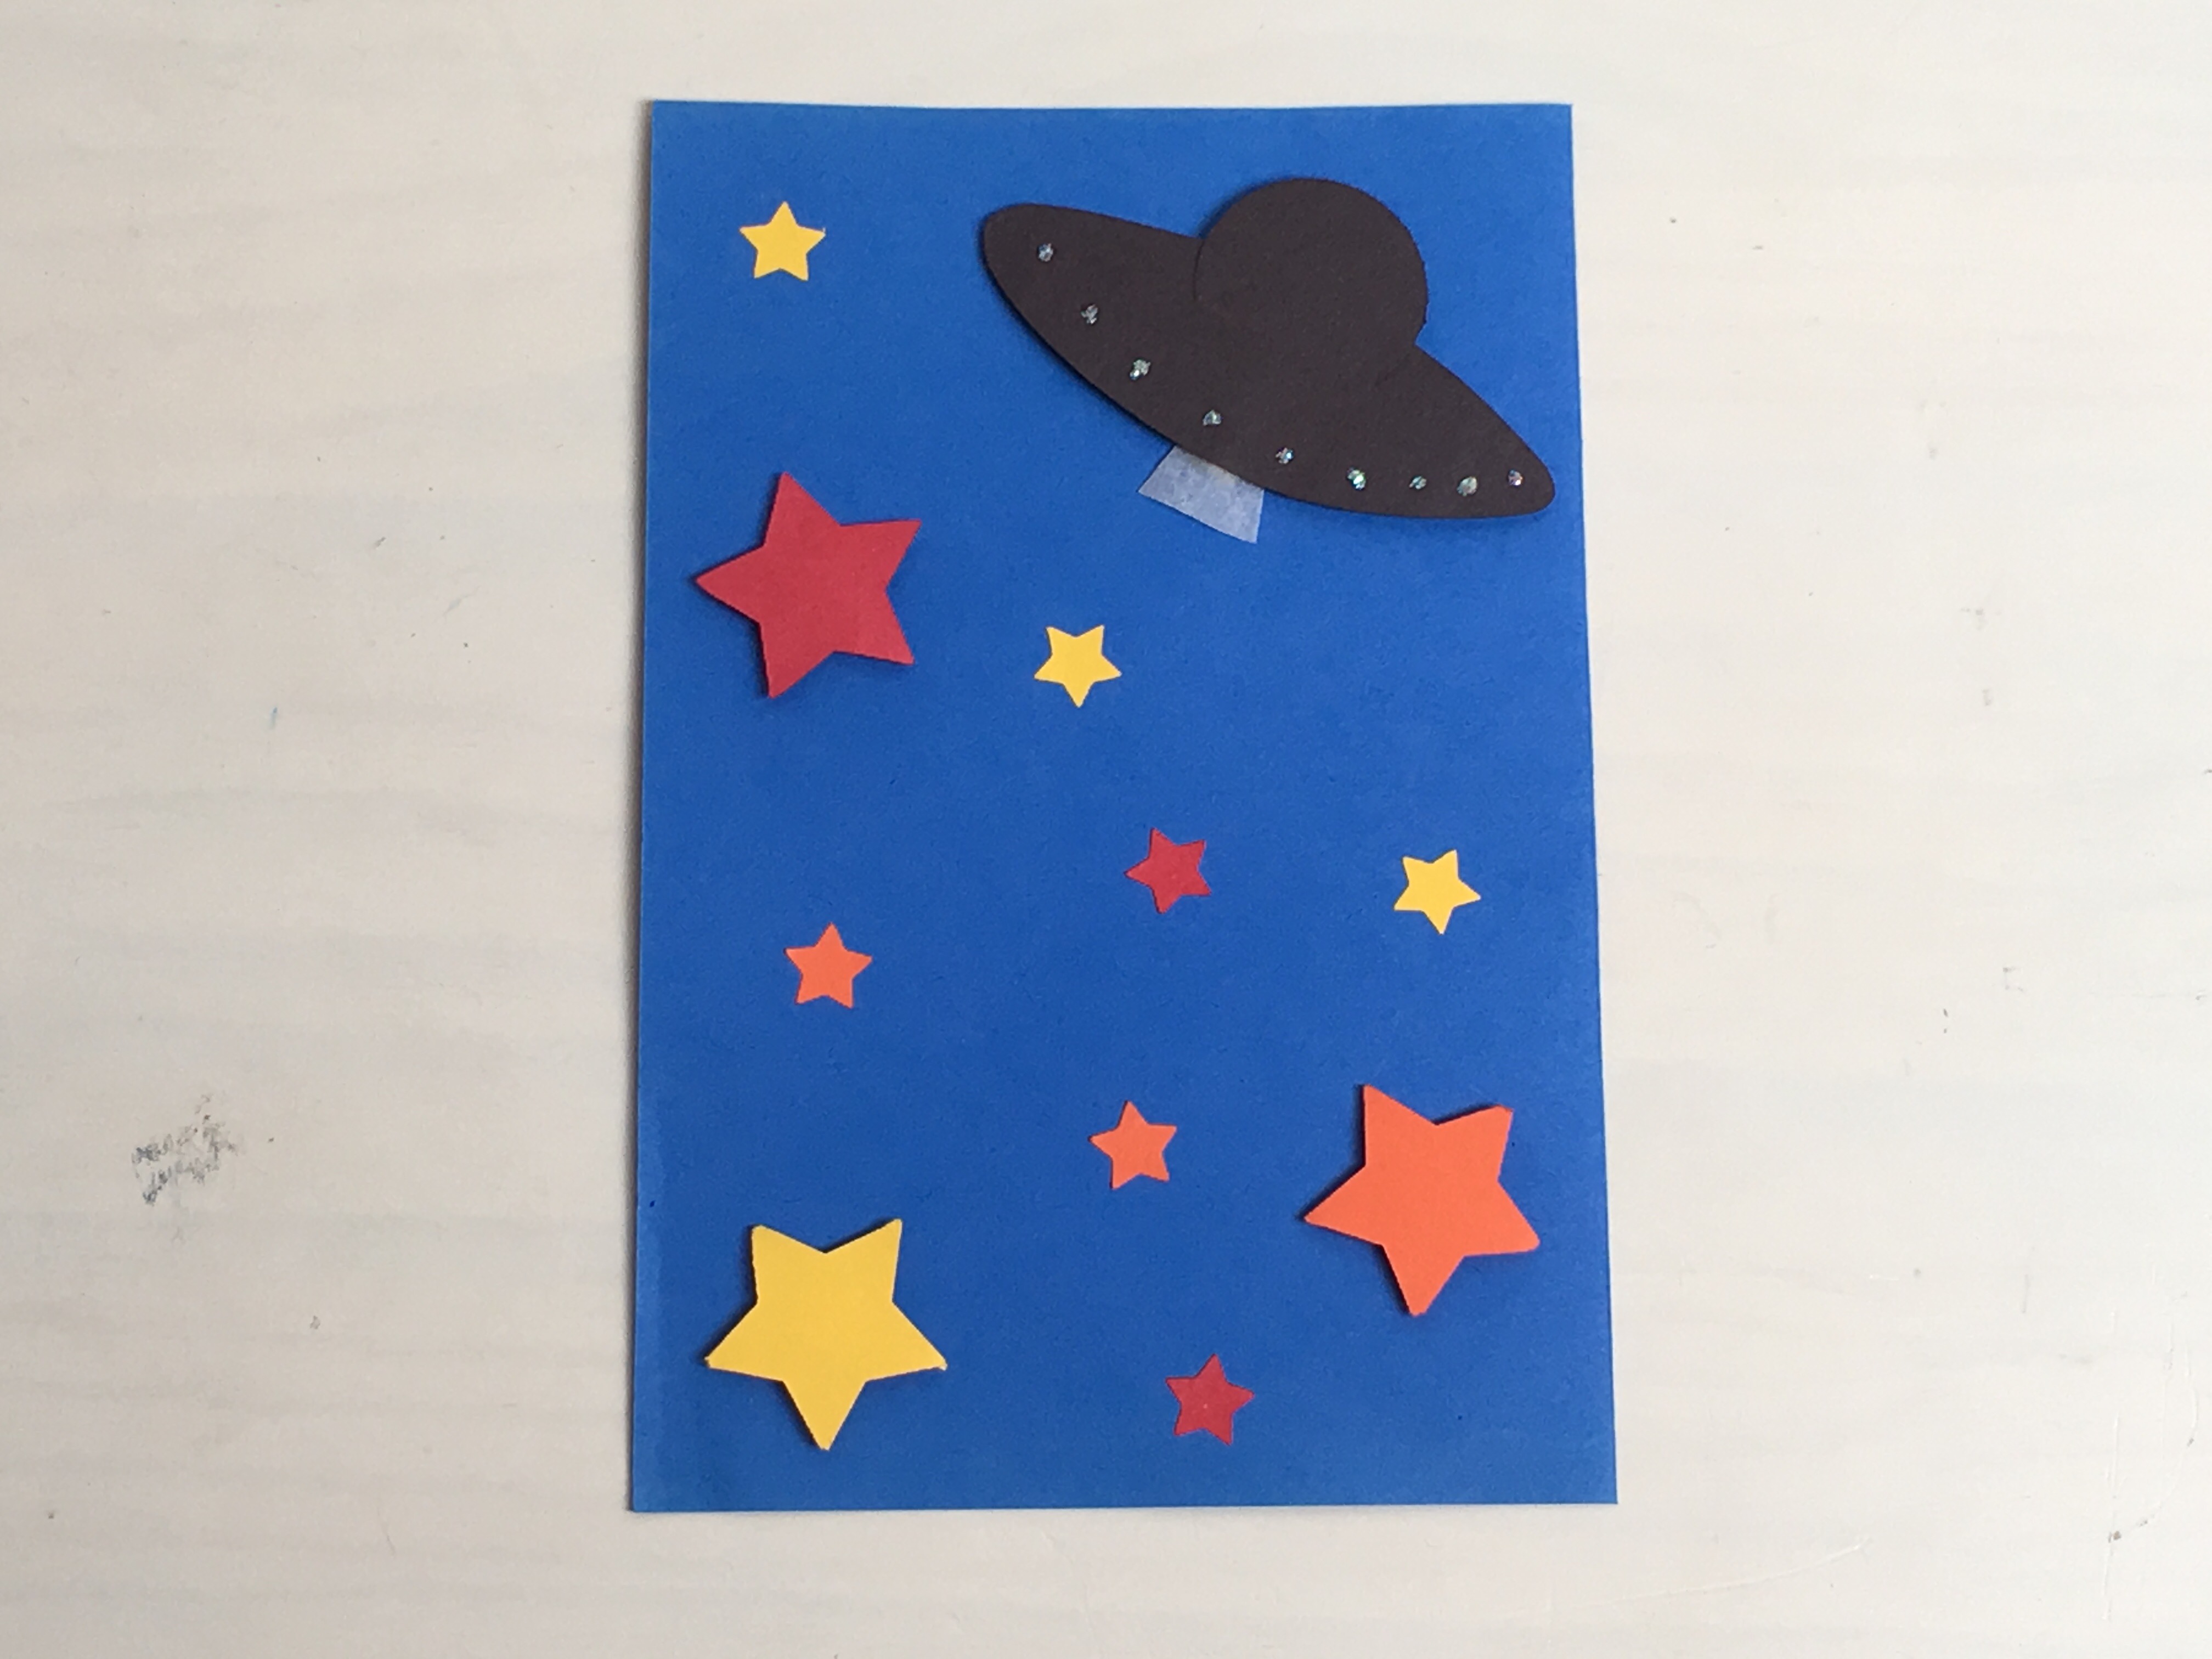
Step 4
Before you start making circuits, take a look at the examples as shown.
- The simple circuit is the most basic circuit to lighting up an LED. One foil strip connects one side of the battery to one wire of the LED. The second foil strip connects to the second wire of the LED and the second side of the battery to loop around the current.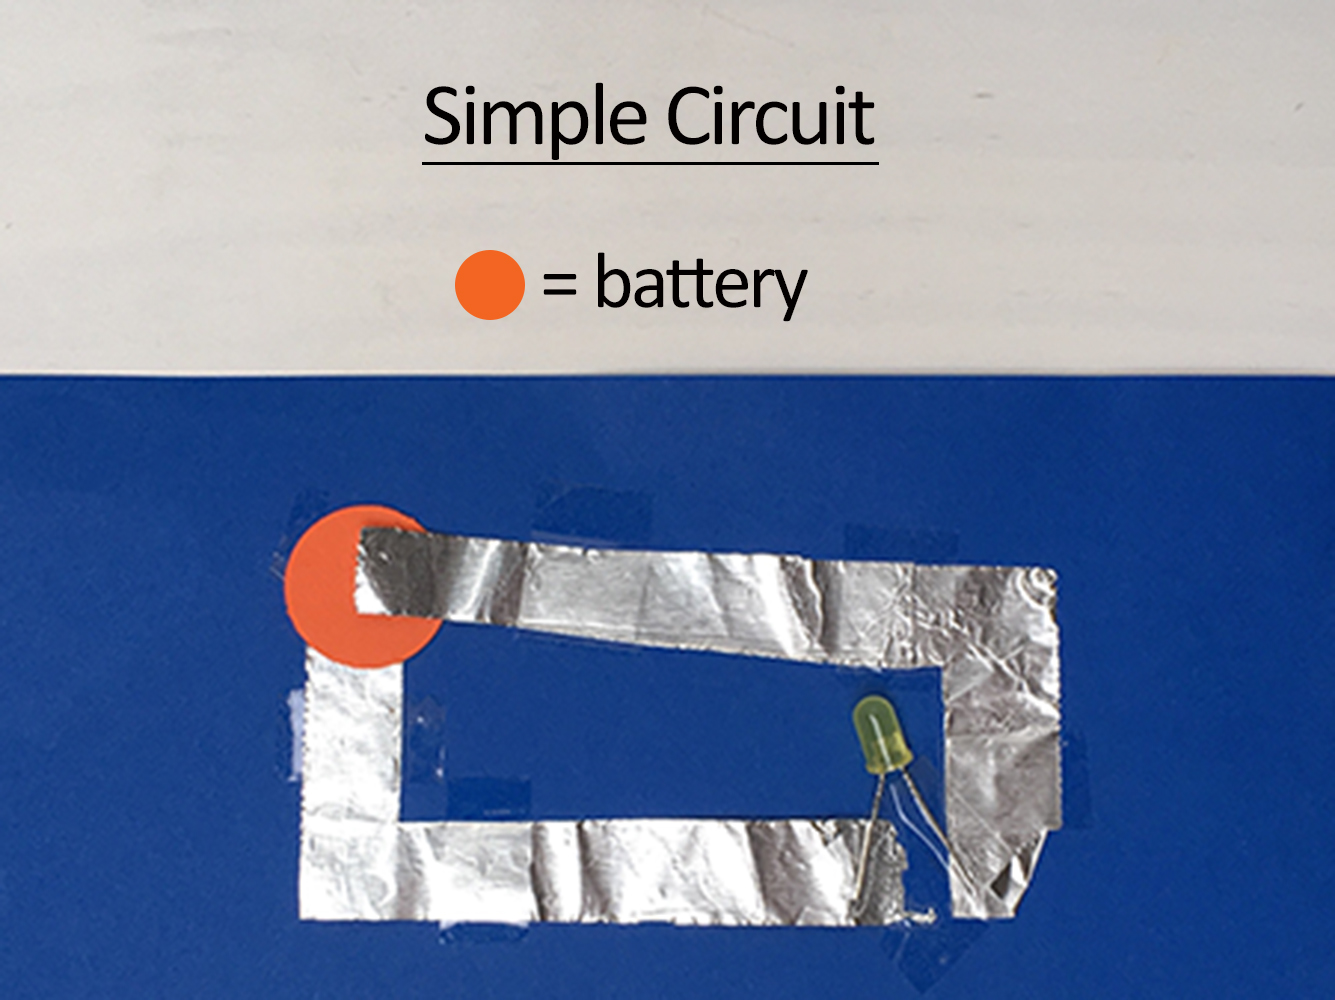
Step 5
- If you want to use more than one LED, make sure to use the parallel configuration. We recommend using no more than two LEDs for this configuration because the battery is not powerful enough to light the parallel circuit with more than two LEDs. Make sure that all the positive side (longer lead on a regular LED) are in the same orientation. In our parallel circuit example, the positive sides are pointed to the top.
- We don't recommend using the series configuration because the battery is not powerful enough to light the series circuit with two LEDs.
Note: In this step we used regular LEDs (they have the two wires!), and sewable LEDs (looks like an oval!). Any kind of LEDs work - just be sure the LED, as well as the battery have good contact with the foil and that there is no tape in between the parts and the foil.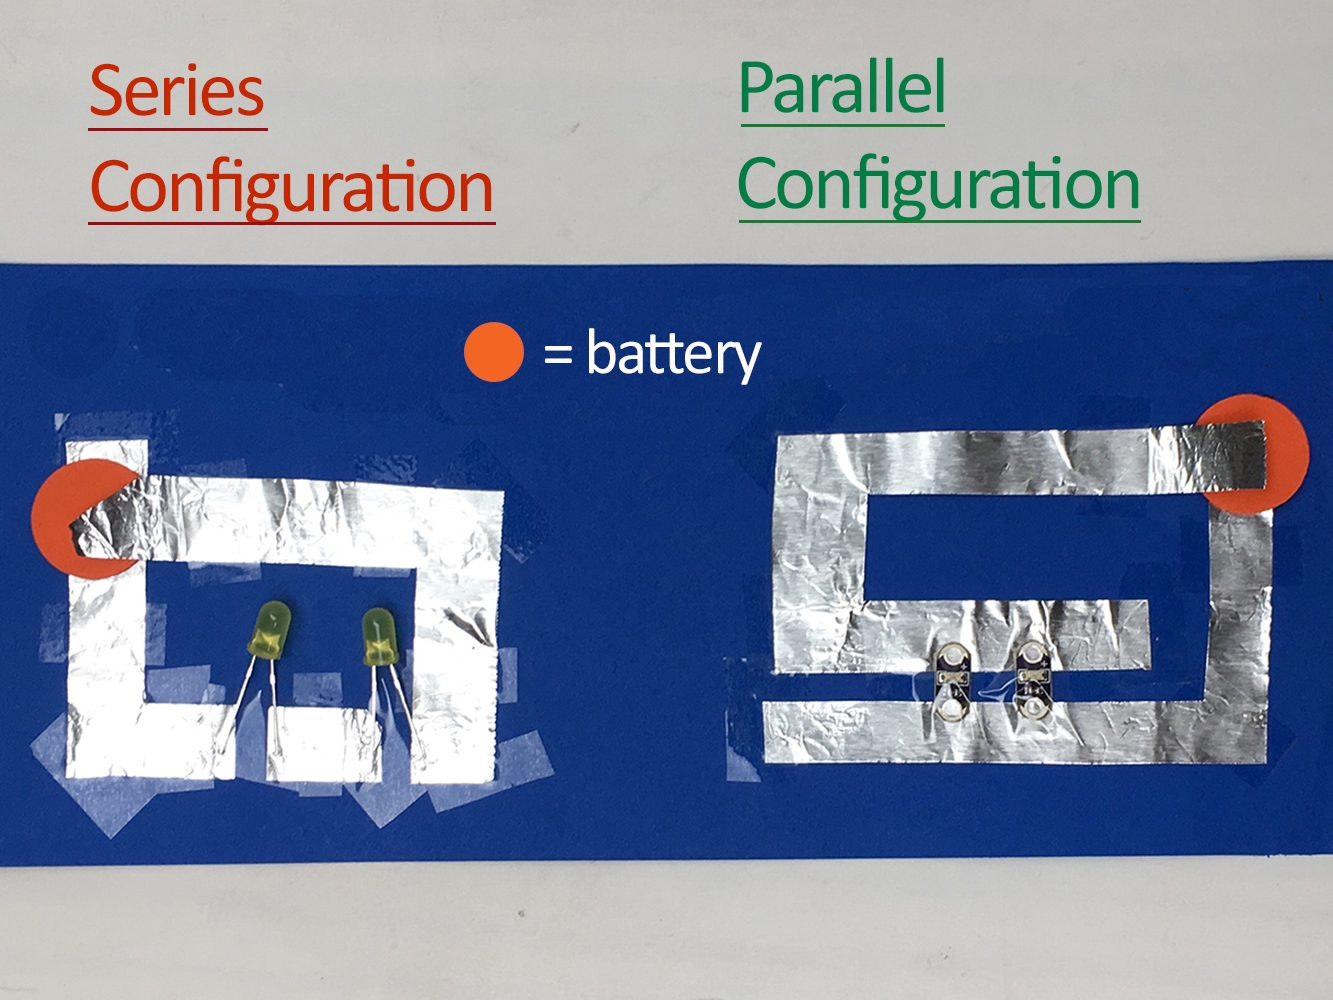
Step 6
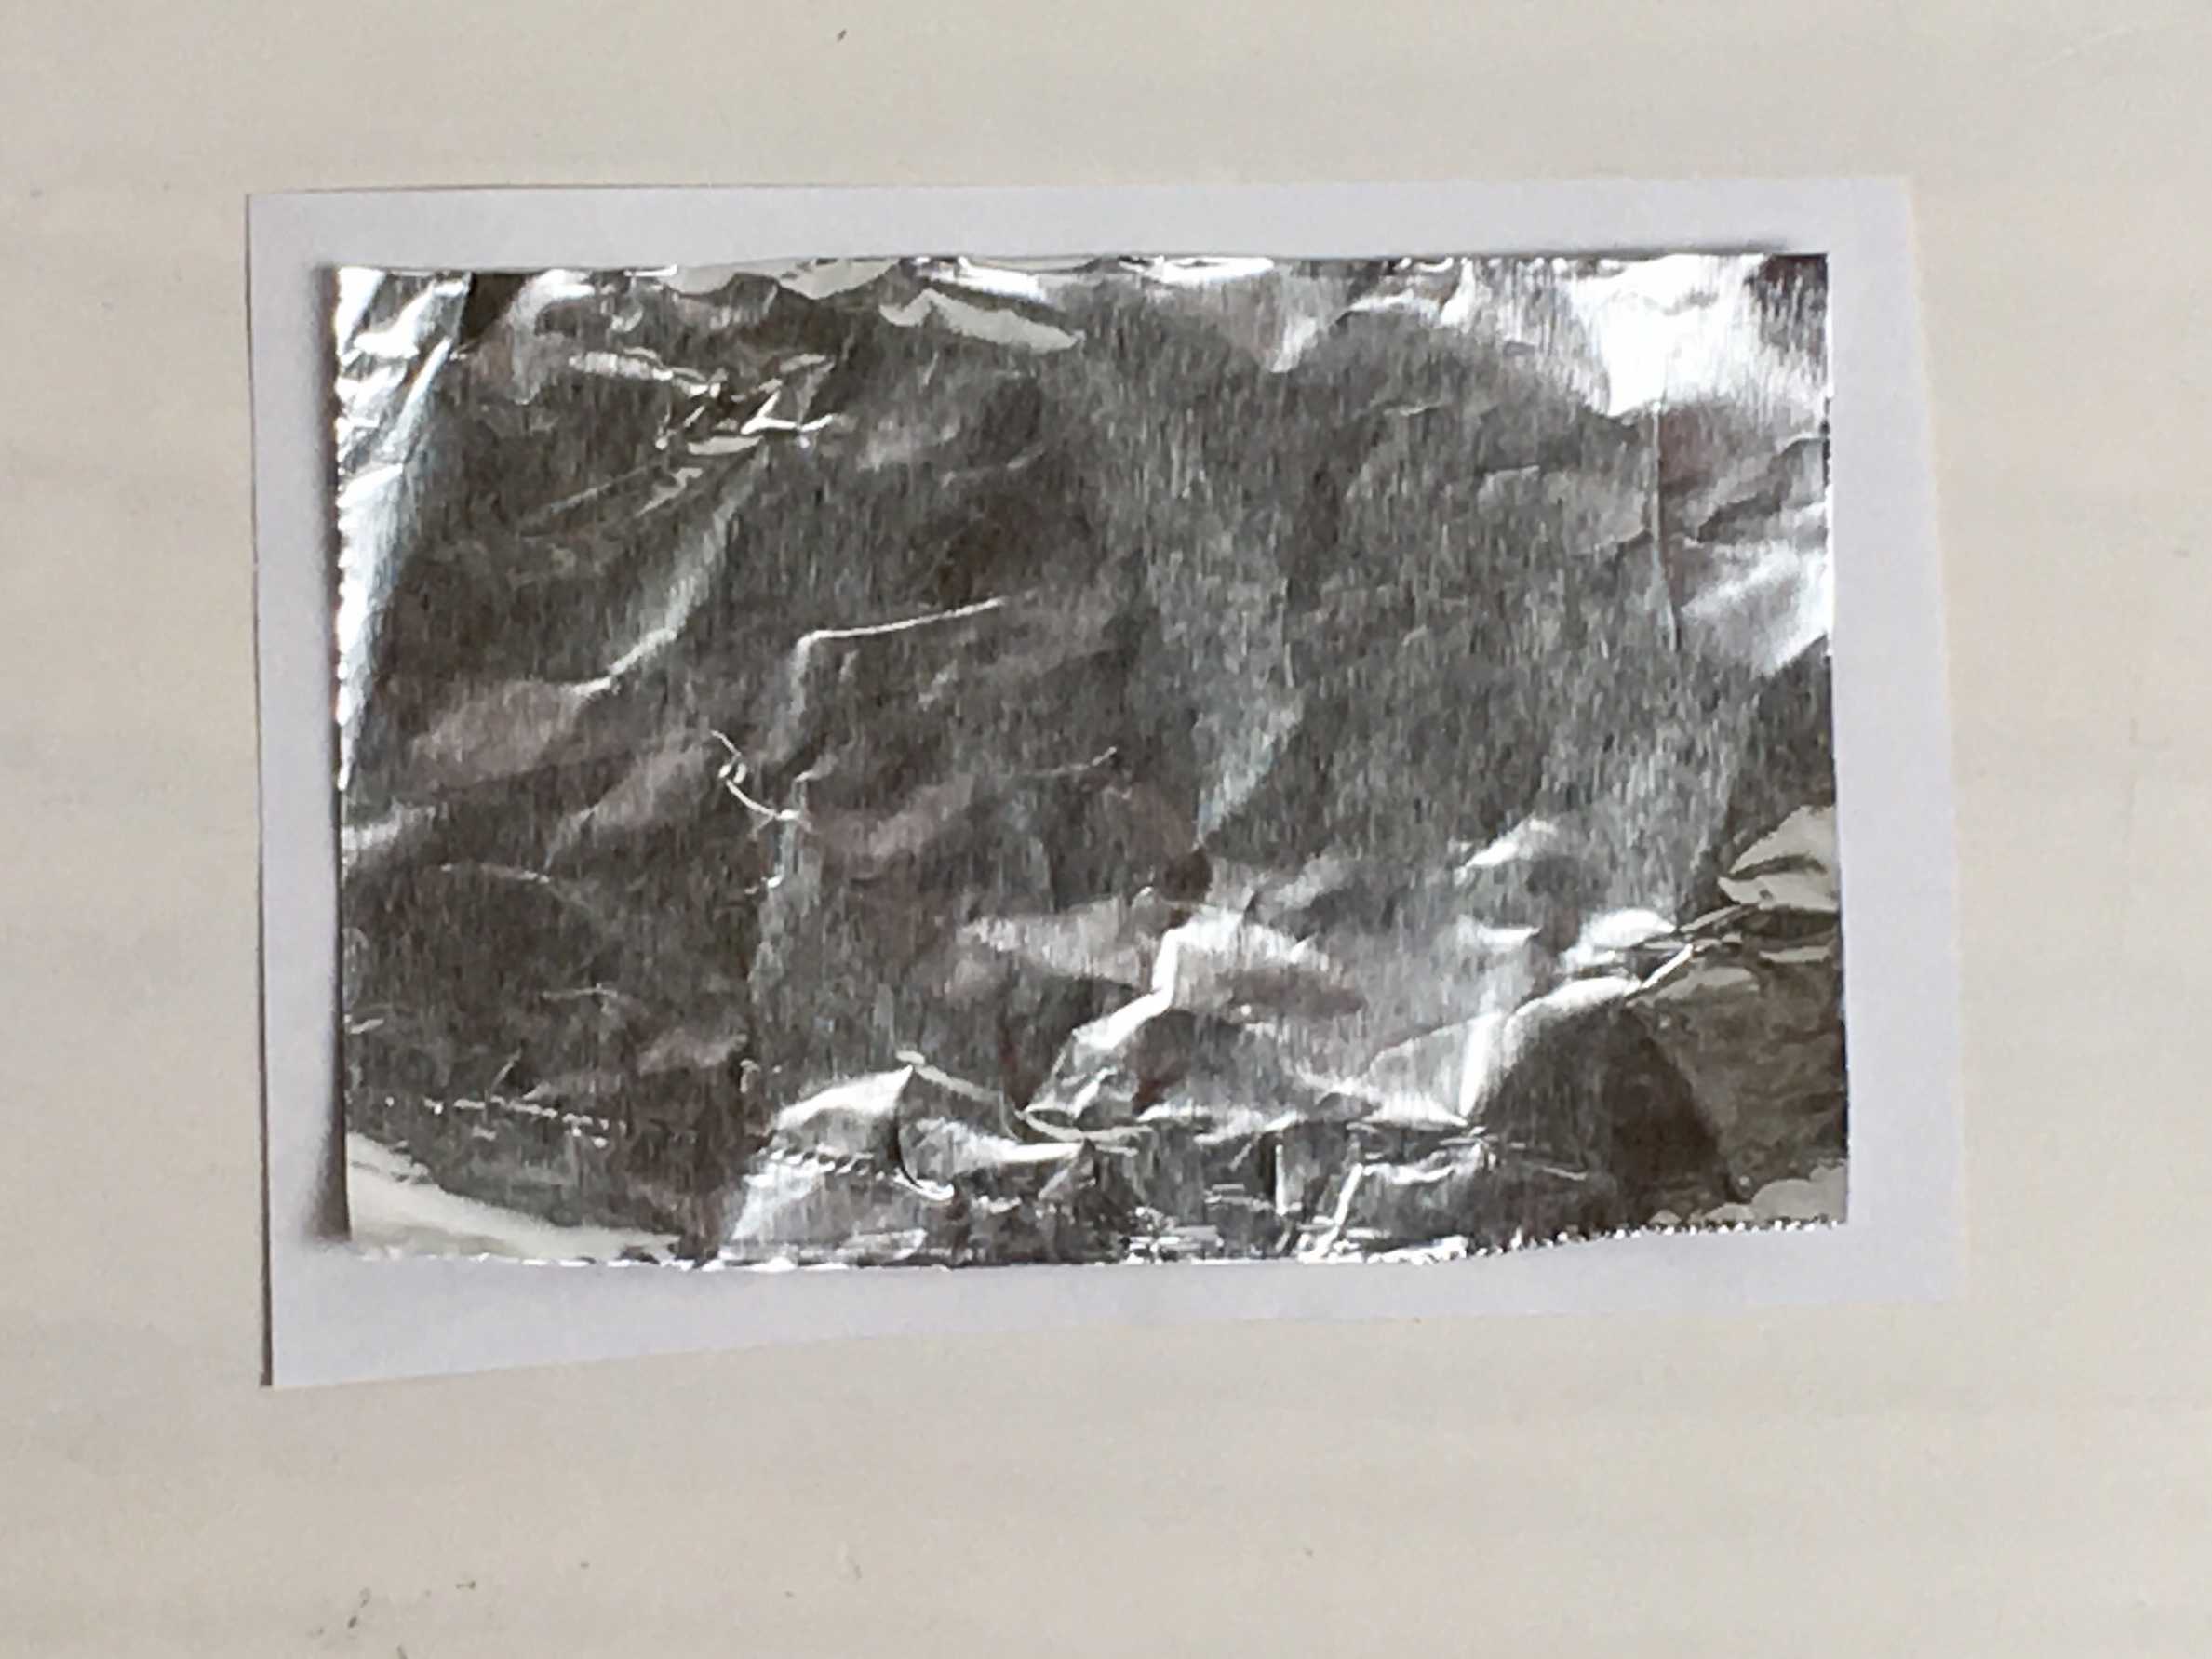
To build a circuit, glue some aluminum foil to a piece of paper. We used surface mount spray, but regular white glue or rubber cement should work too.
Step 7
Draw out a circuit with a colored sharpie. In our example, we used a blue marker to draw our circuit. Cut out a piece of foil to practice drawing a circuit!
Trace your battery, and LED(s) onto the foil with a black marker. It might be helpful to also draw a black line to visualize the path of the current.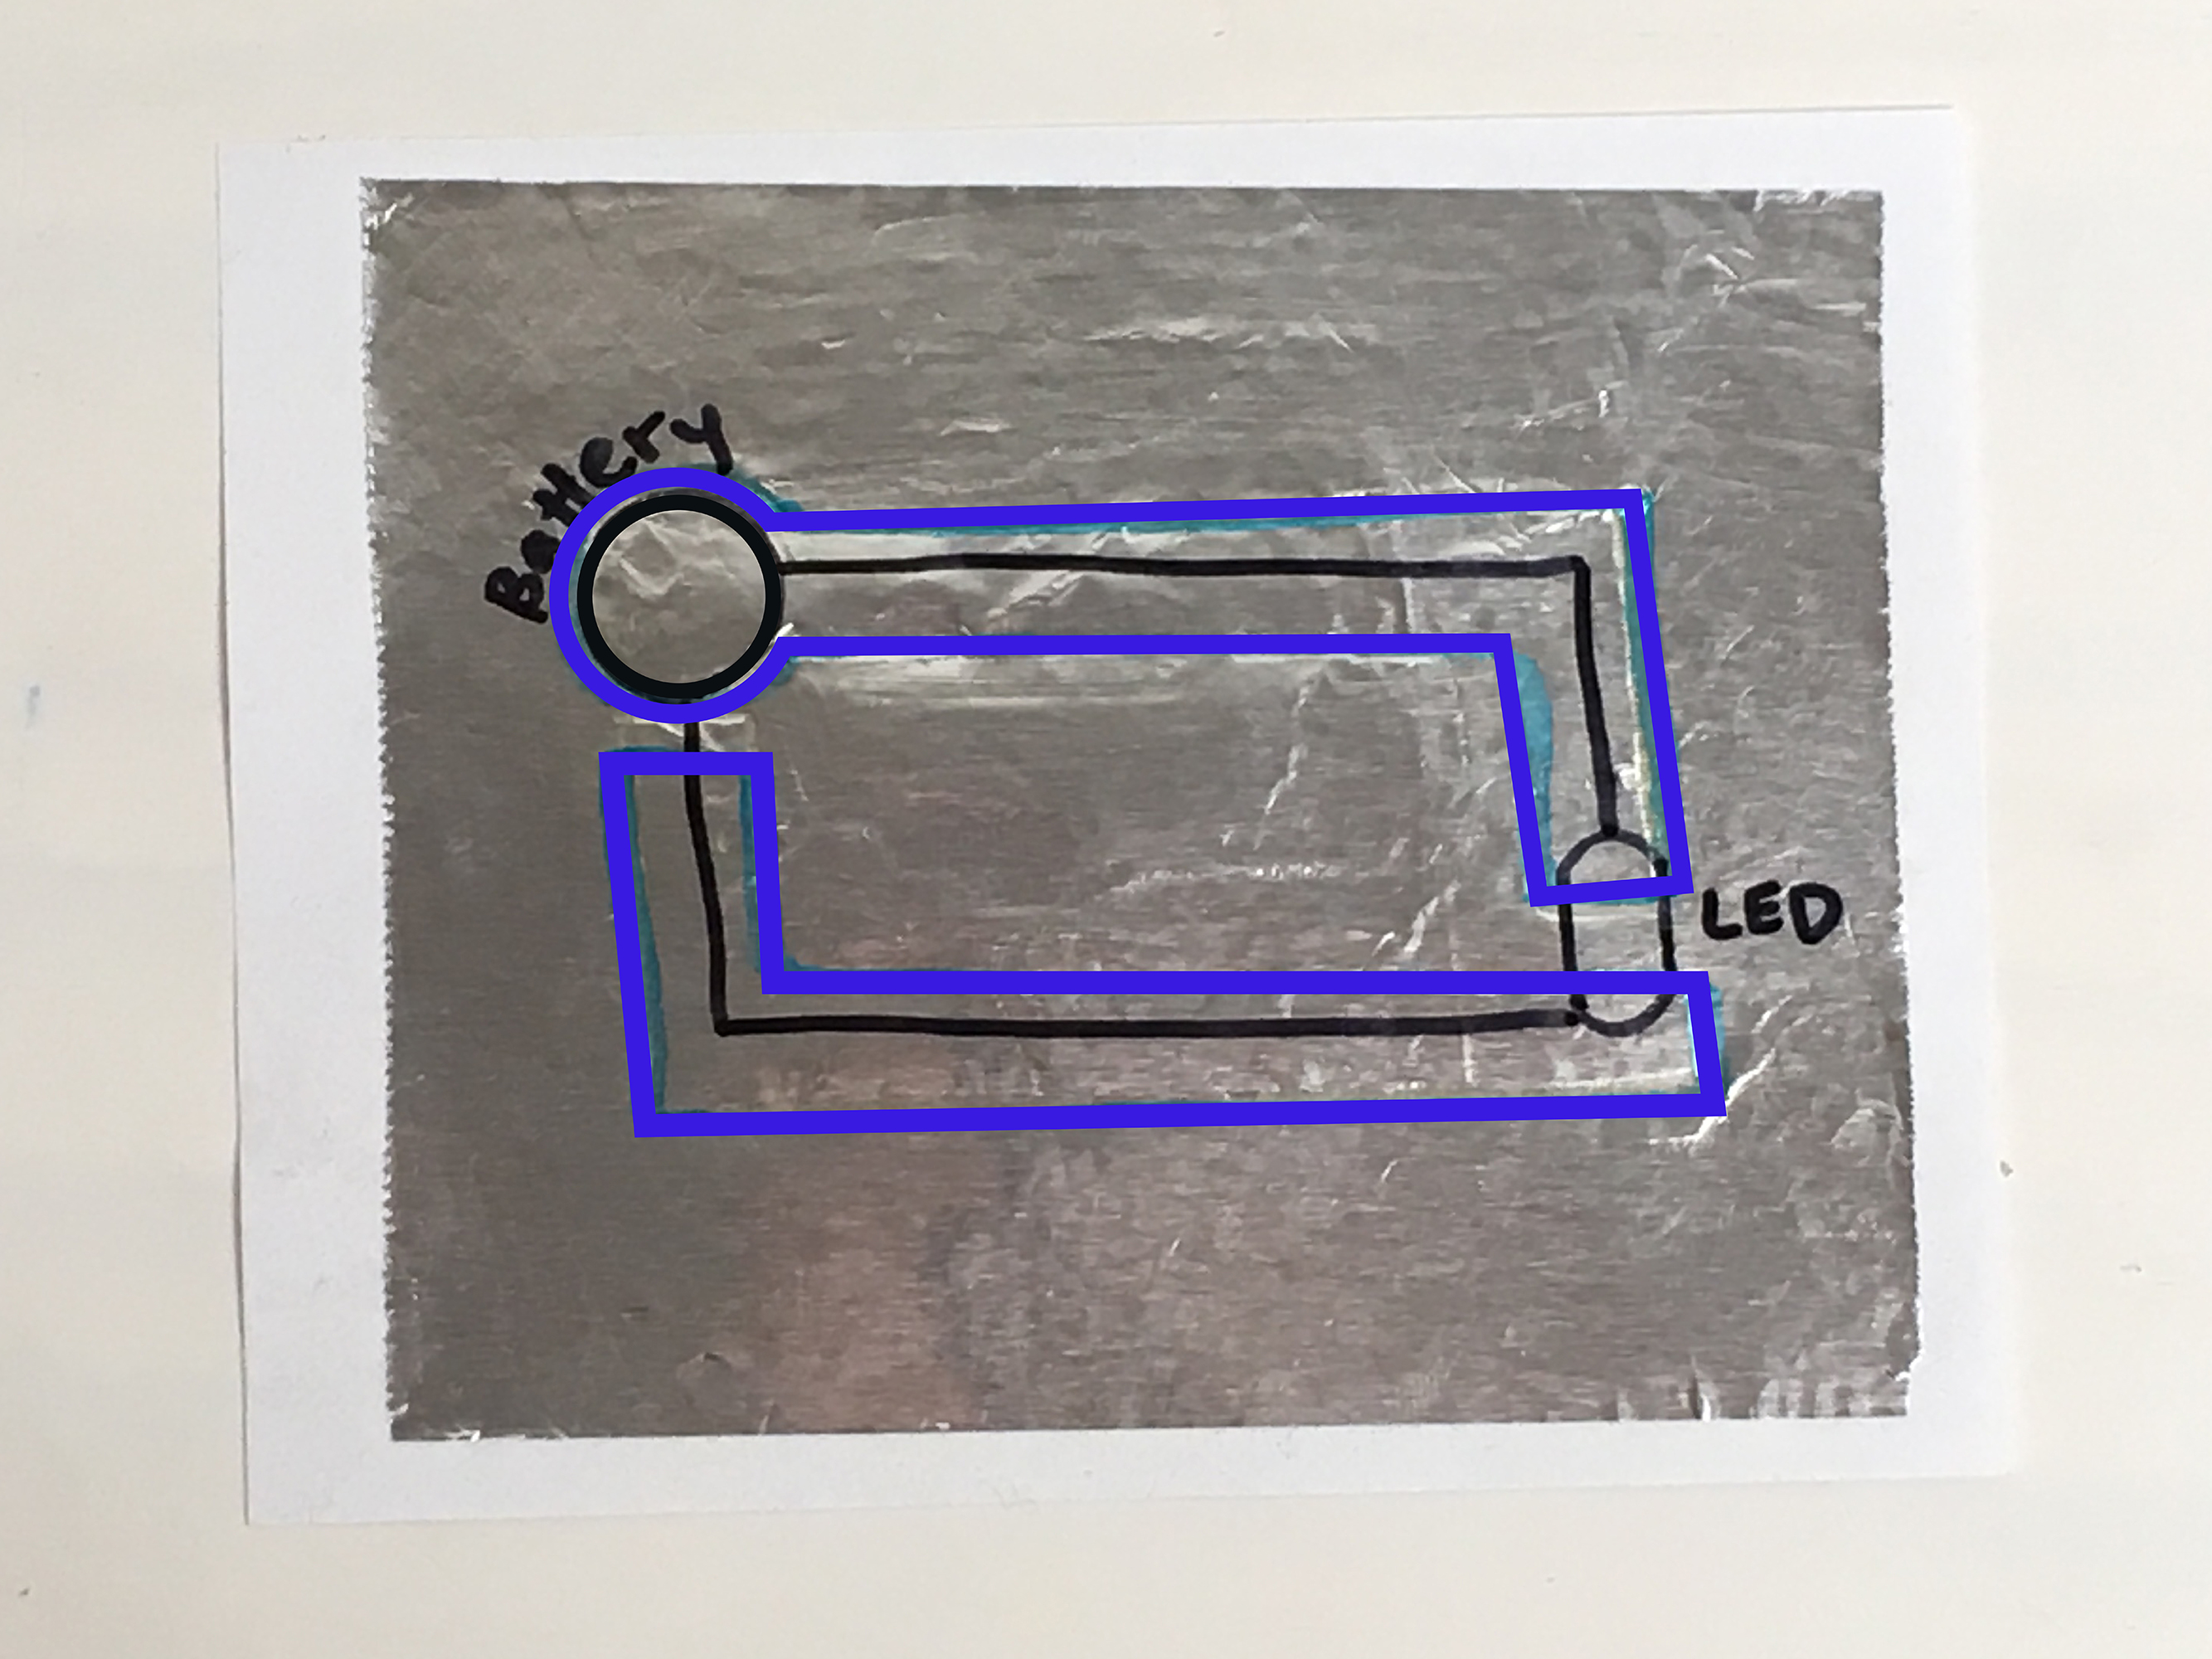
Step 8
Cut out the foil paths by following the colored lines. Use clear tape to tape the foil paths to the back of your card.
Next tape your LED and battery to the foil. Make sure the LED shines through a hole you've made. Notice the LED bridges a 1 mm gap in the foil paths and that the battery is only sitting on one of the foil paths.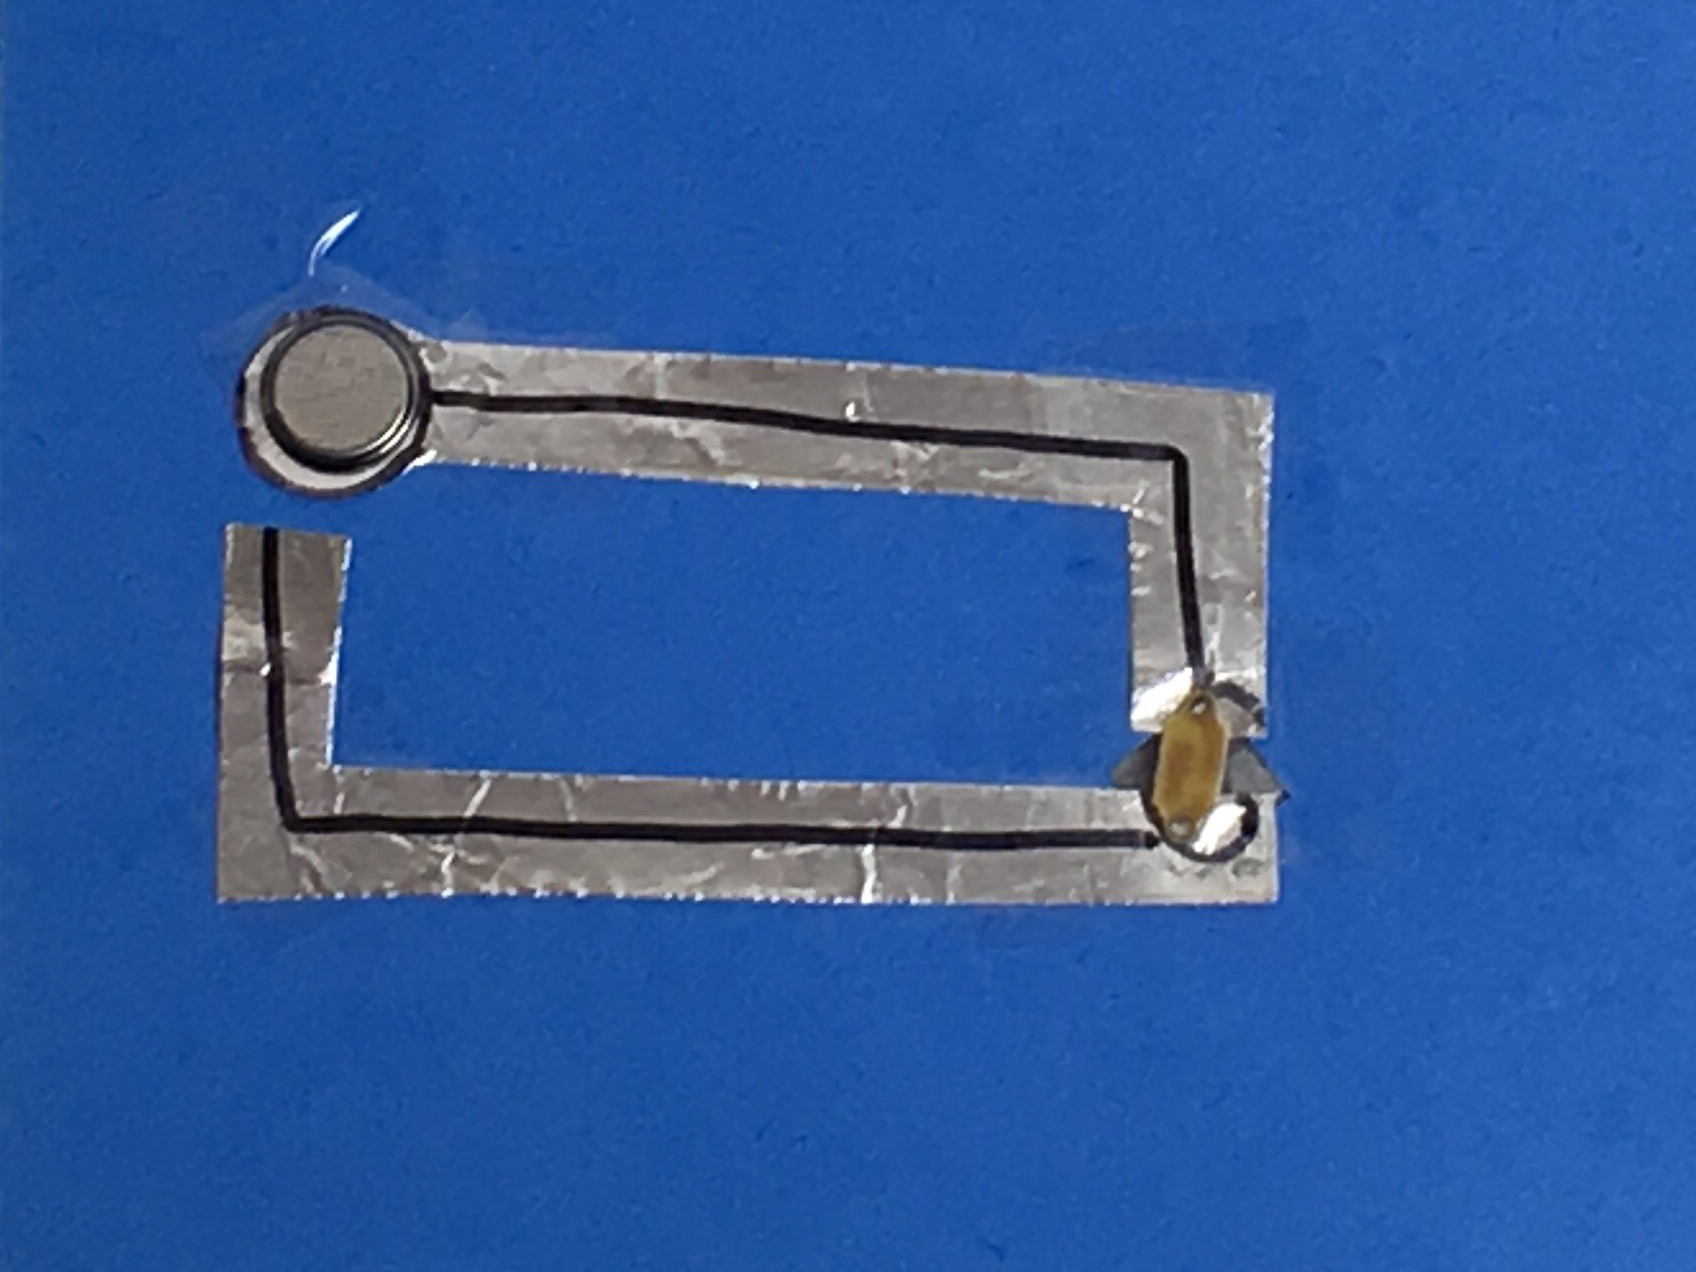
Step 9
Cut a small piece of rectangular foil with paper backing (from step 5).
This flap of foil is used to connect the second foil path to the top of the battery to complete the circuit.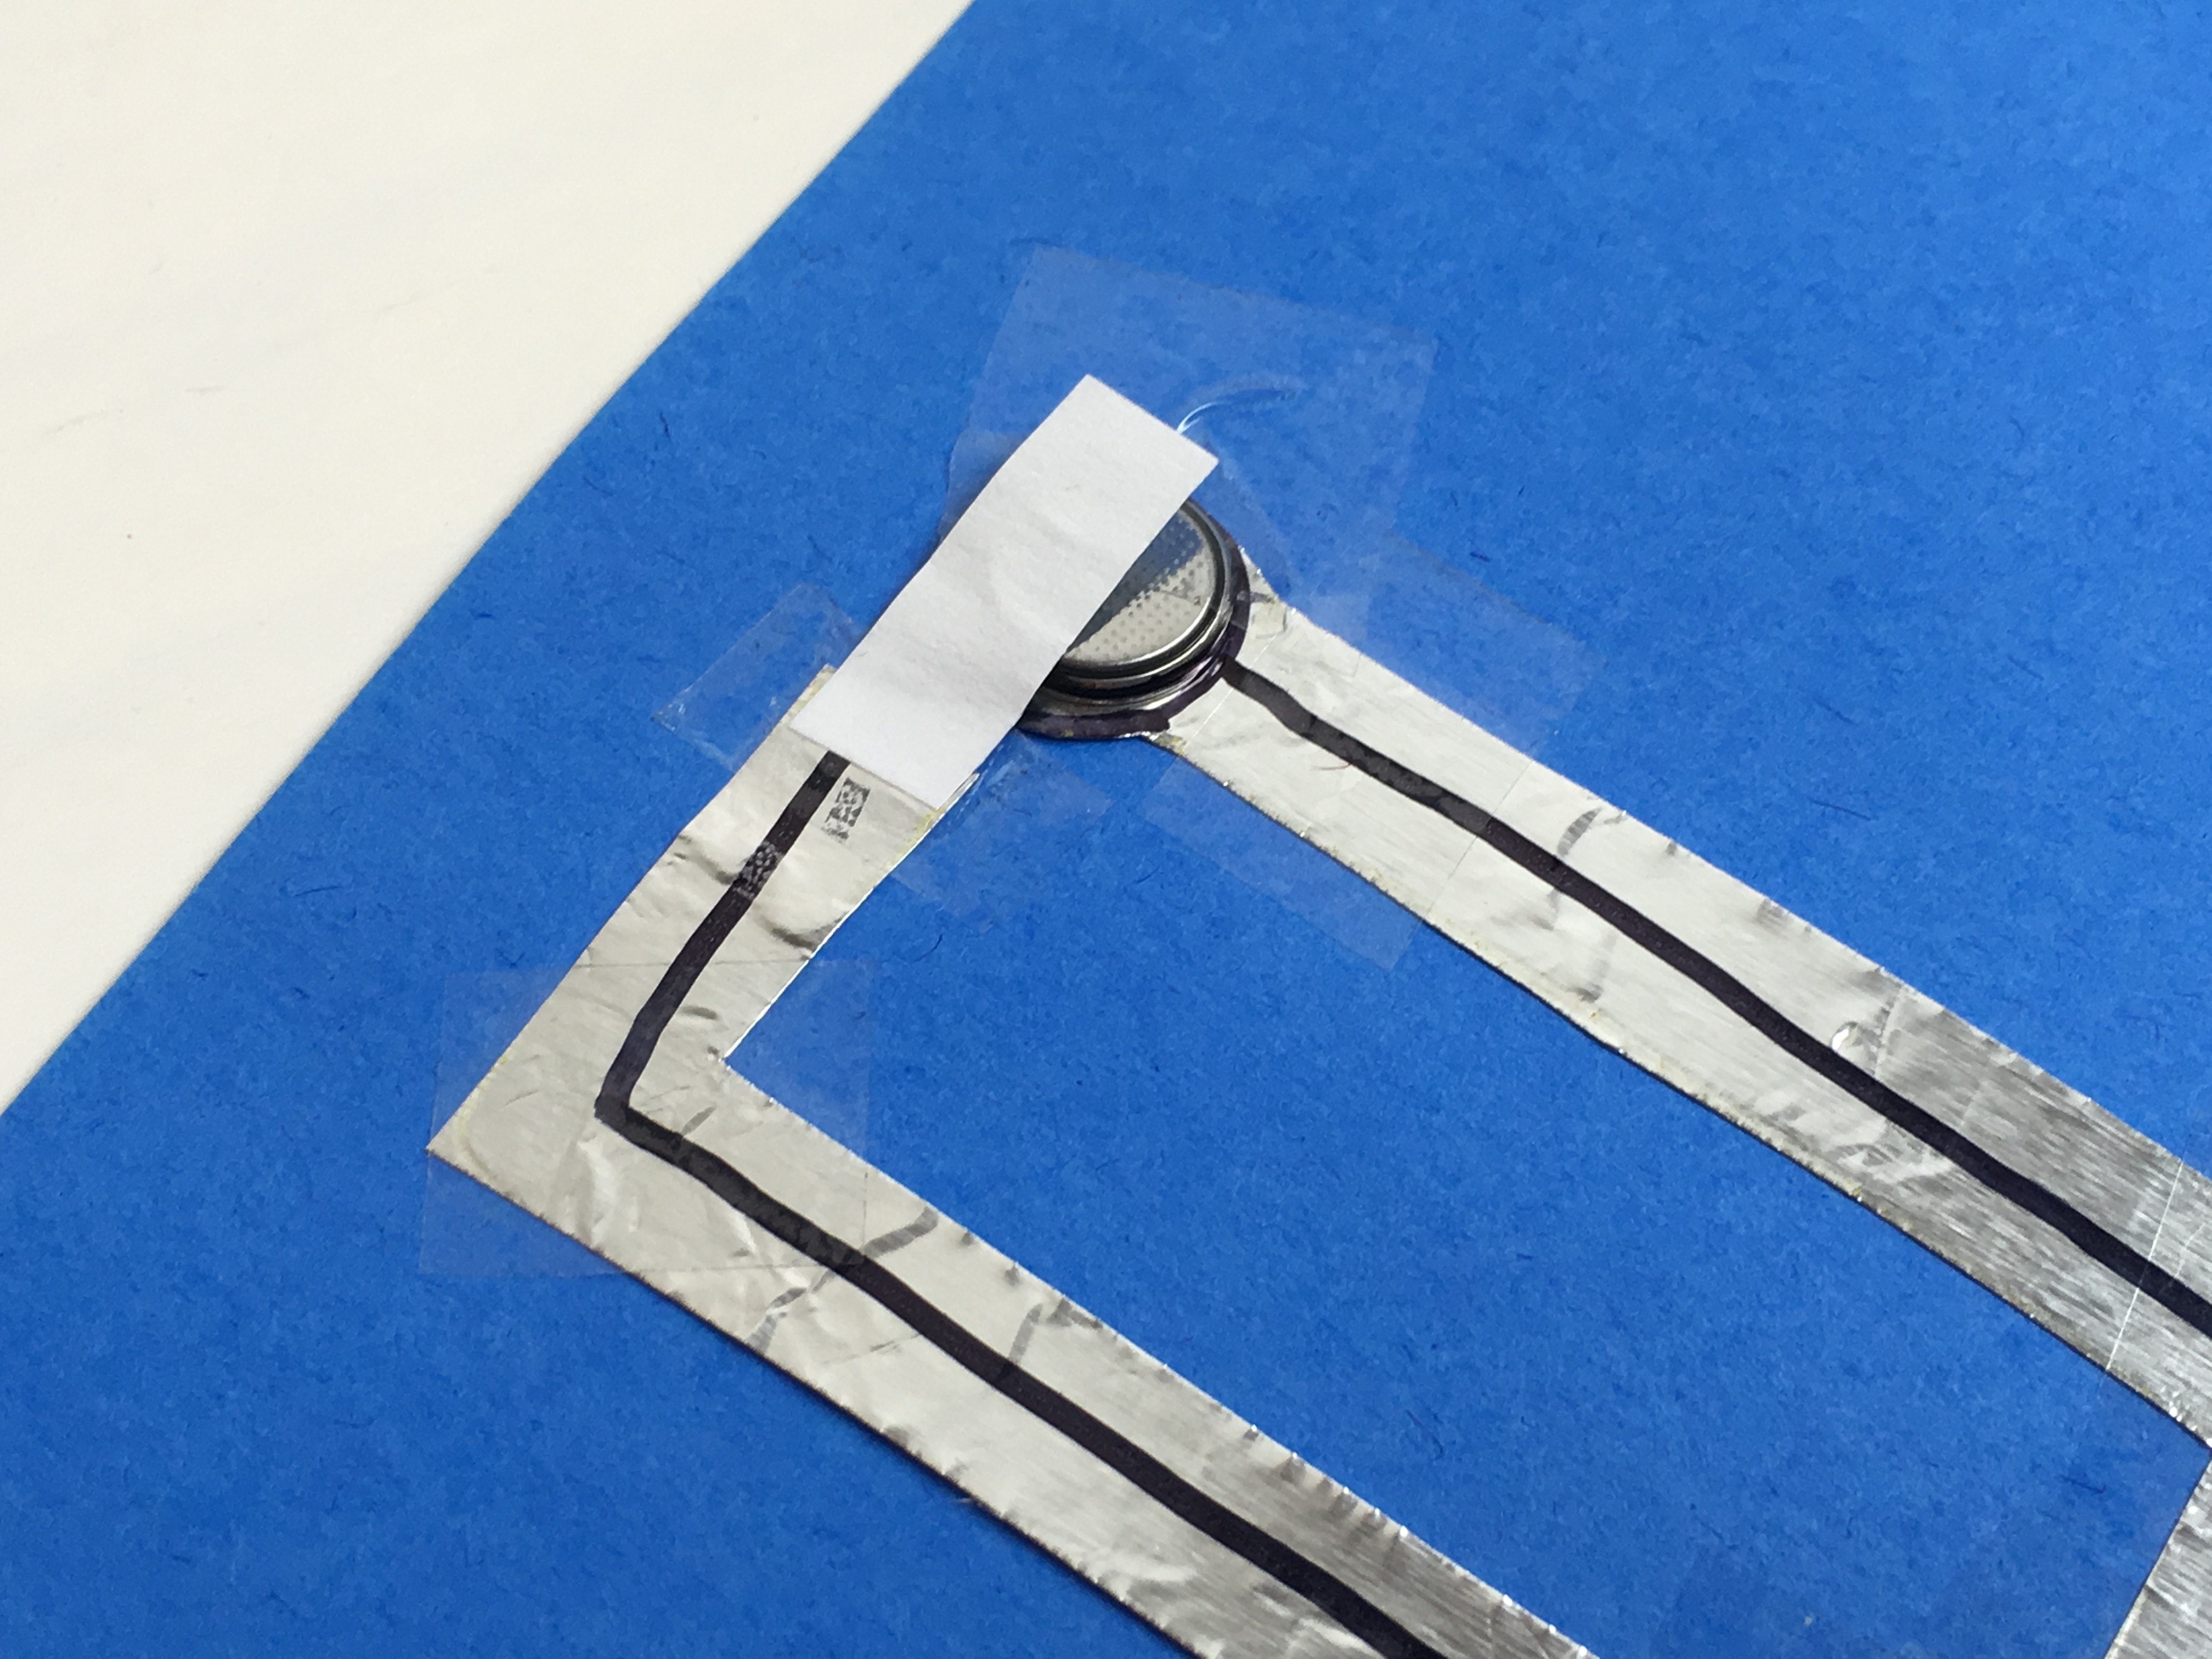
Step 10
Once the connections are made, your LED should light up. If it doesn't, make sure the connections are secure or try flipping the battery over.
Learn more

What's going on?
You made a circuit! Electricity flows through circuits as charged particles move from the battery through the LED and back to the other side of the battery forming a closed loop. This flow of electrons is called current. Certain materials like aluminum foil allow electricity to flow whereas other materials like wood and rubber do not.


