Step-by-step tutorial
Step 1
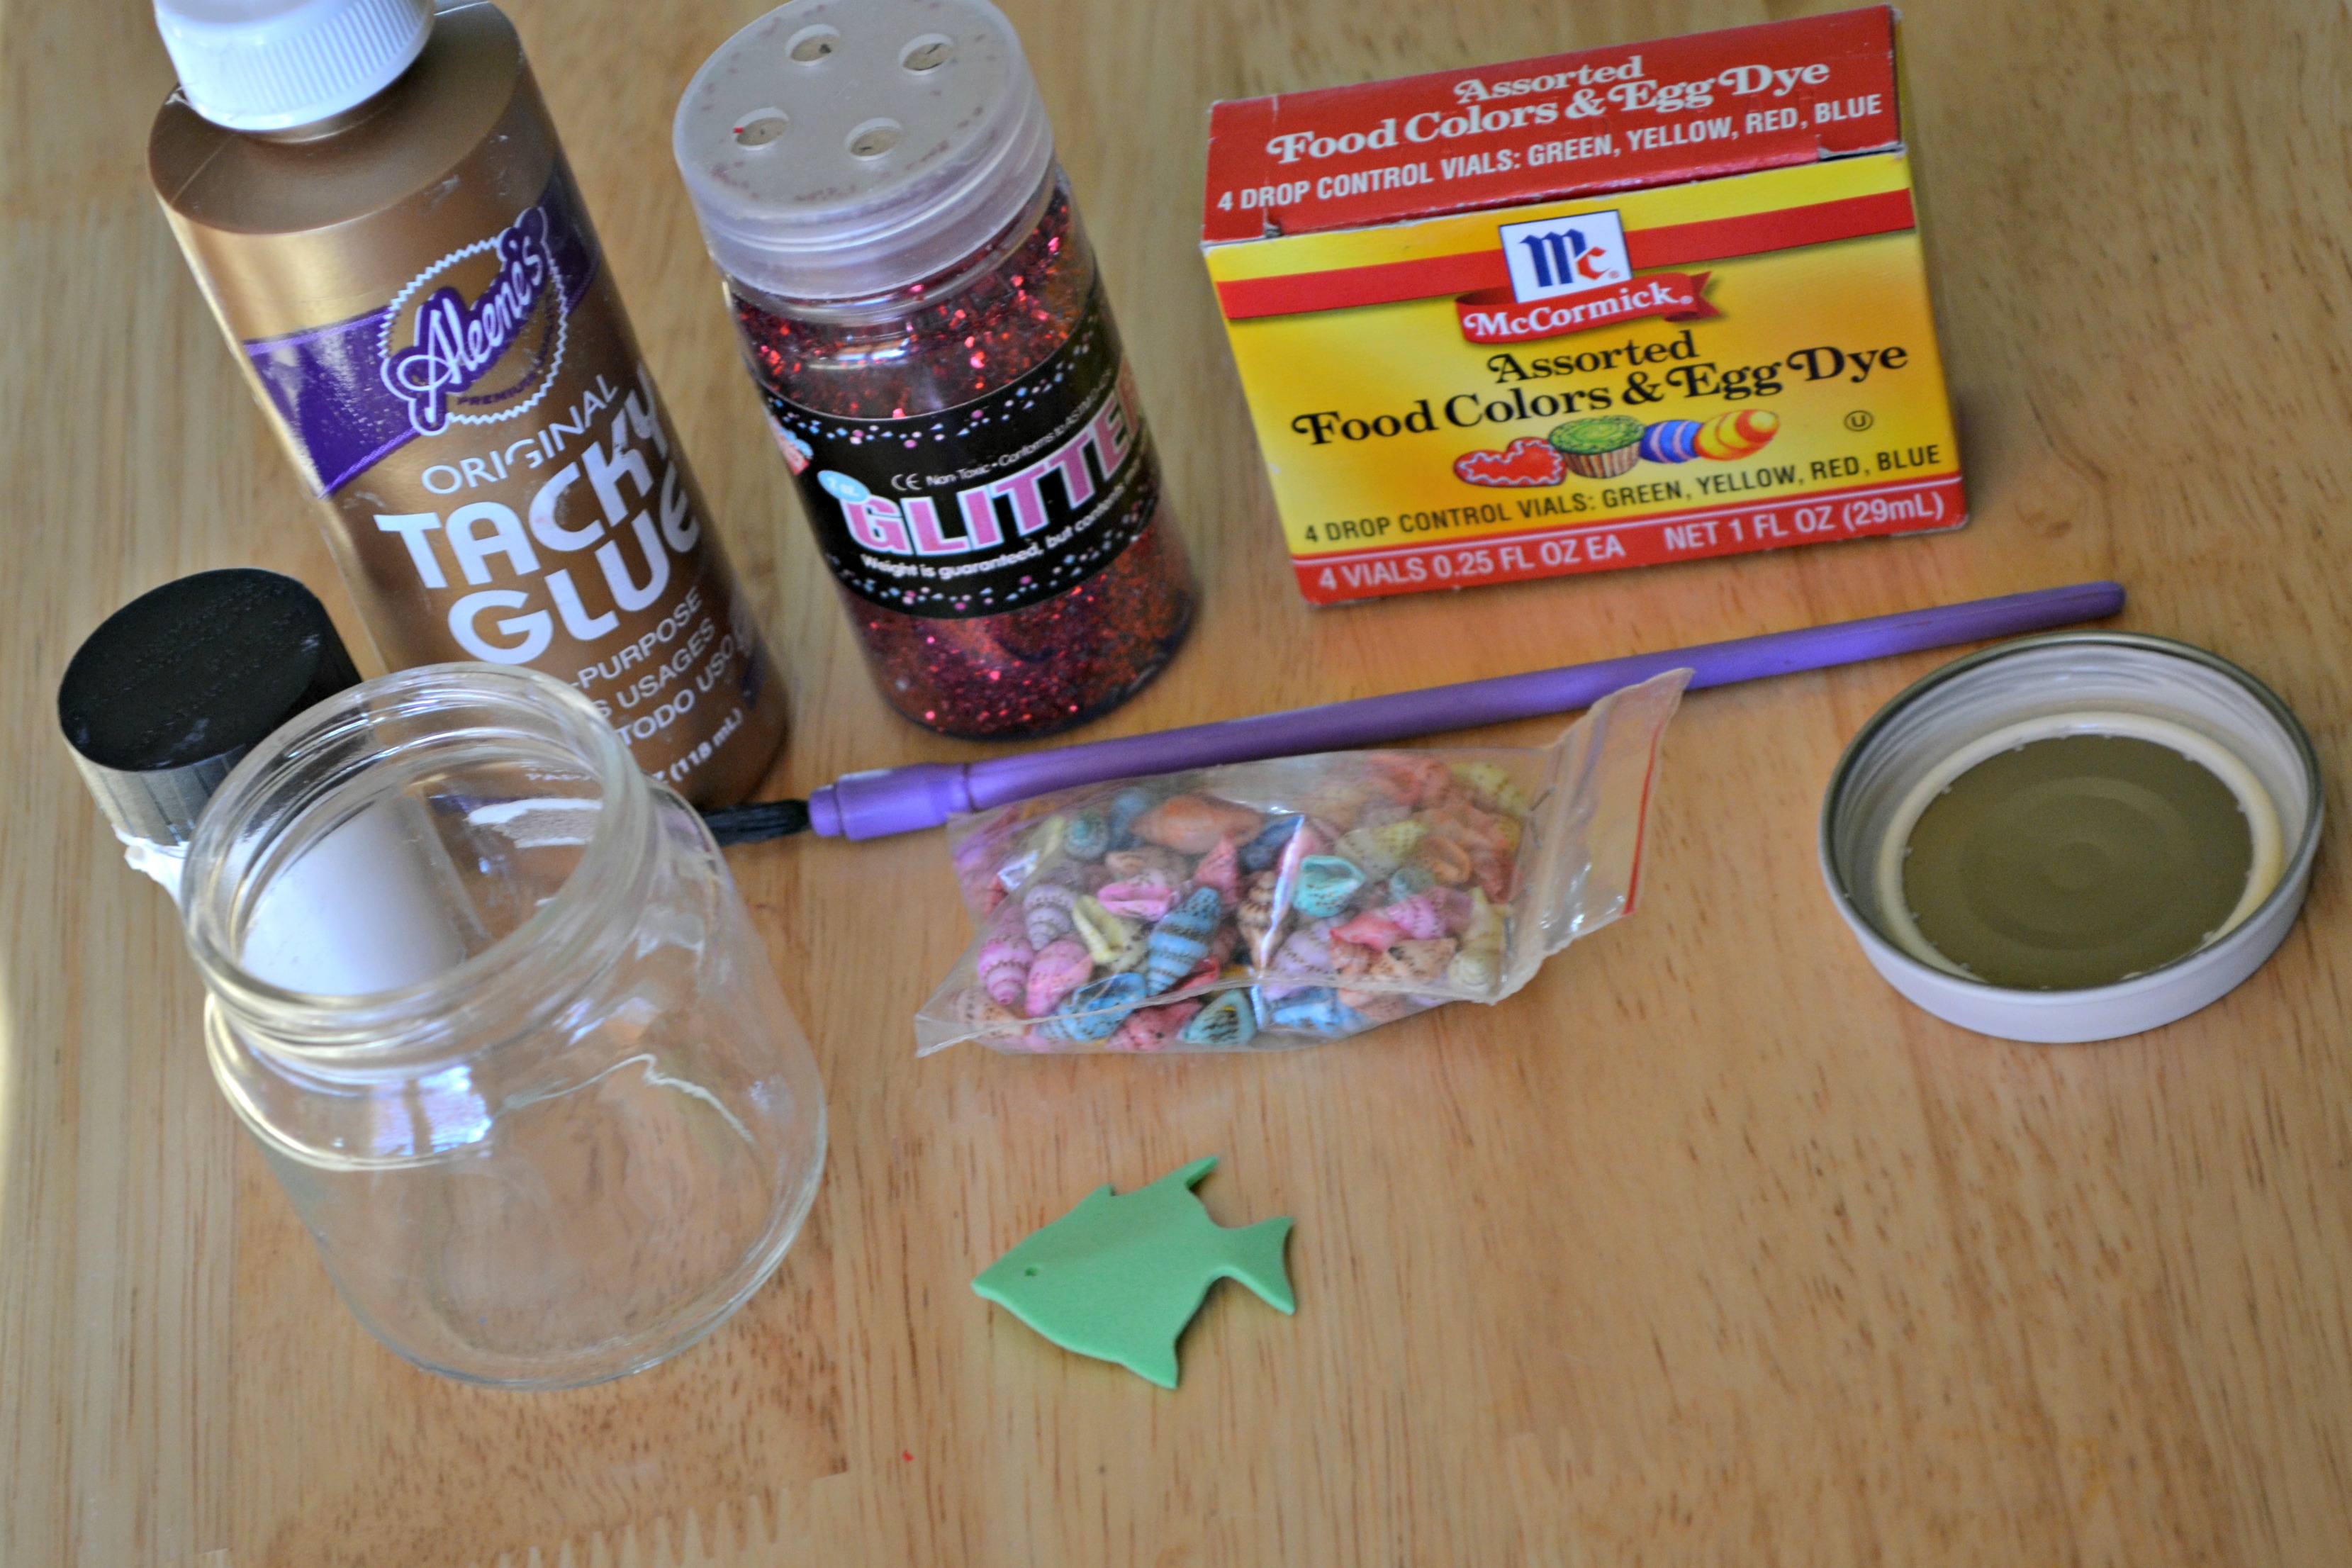
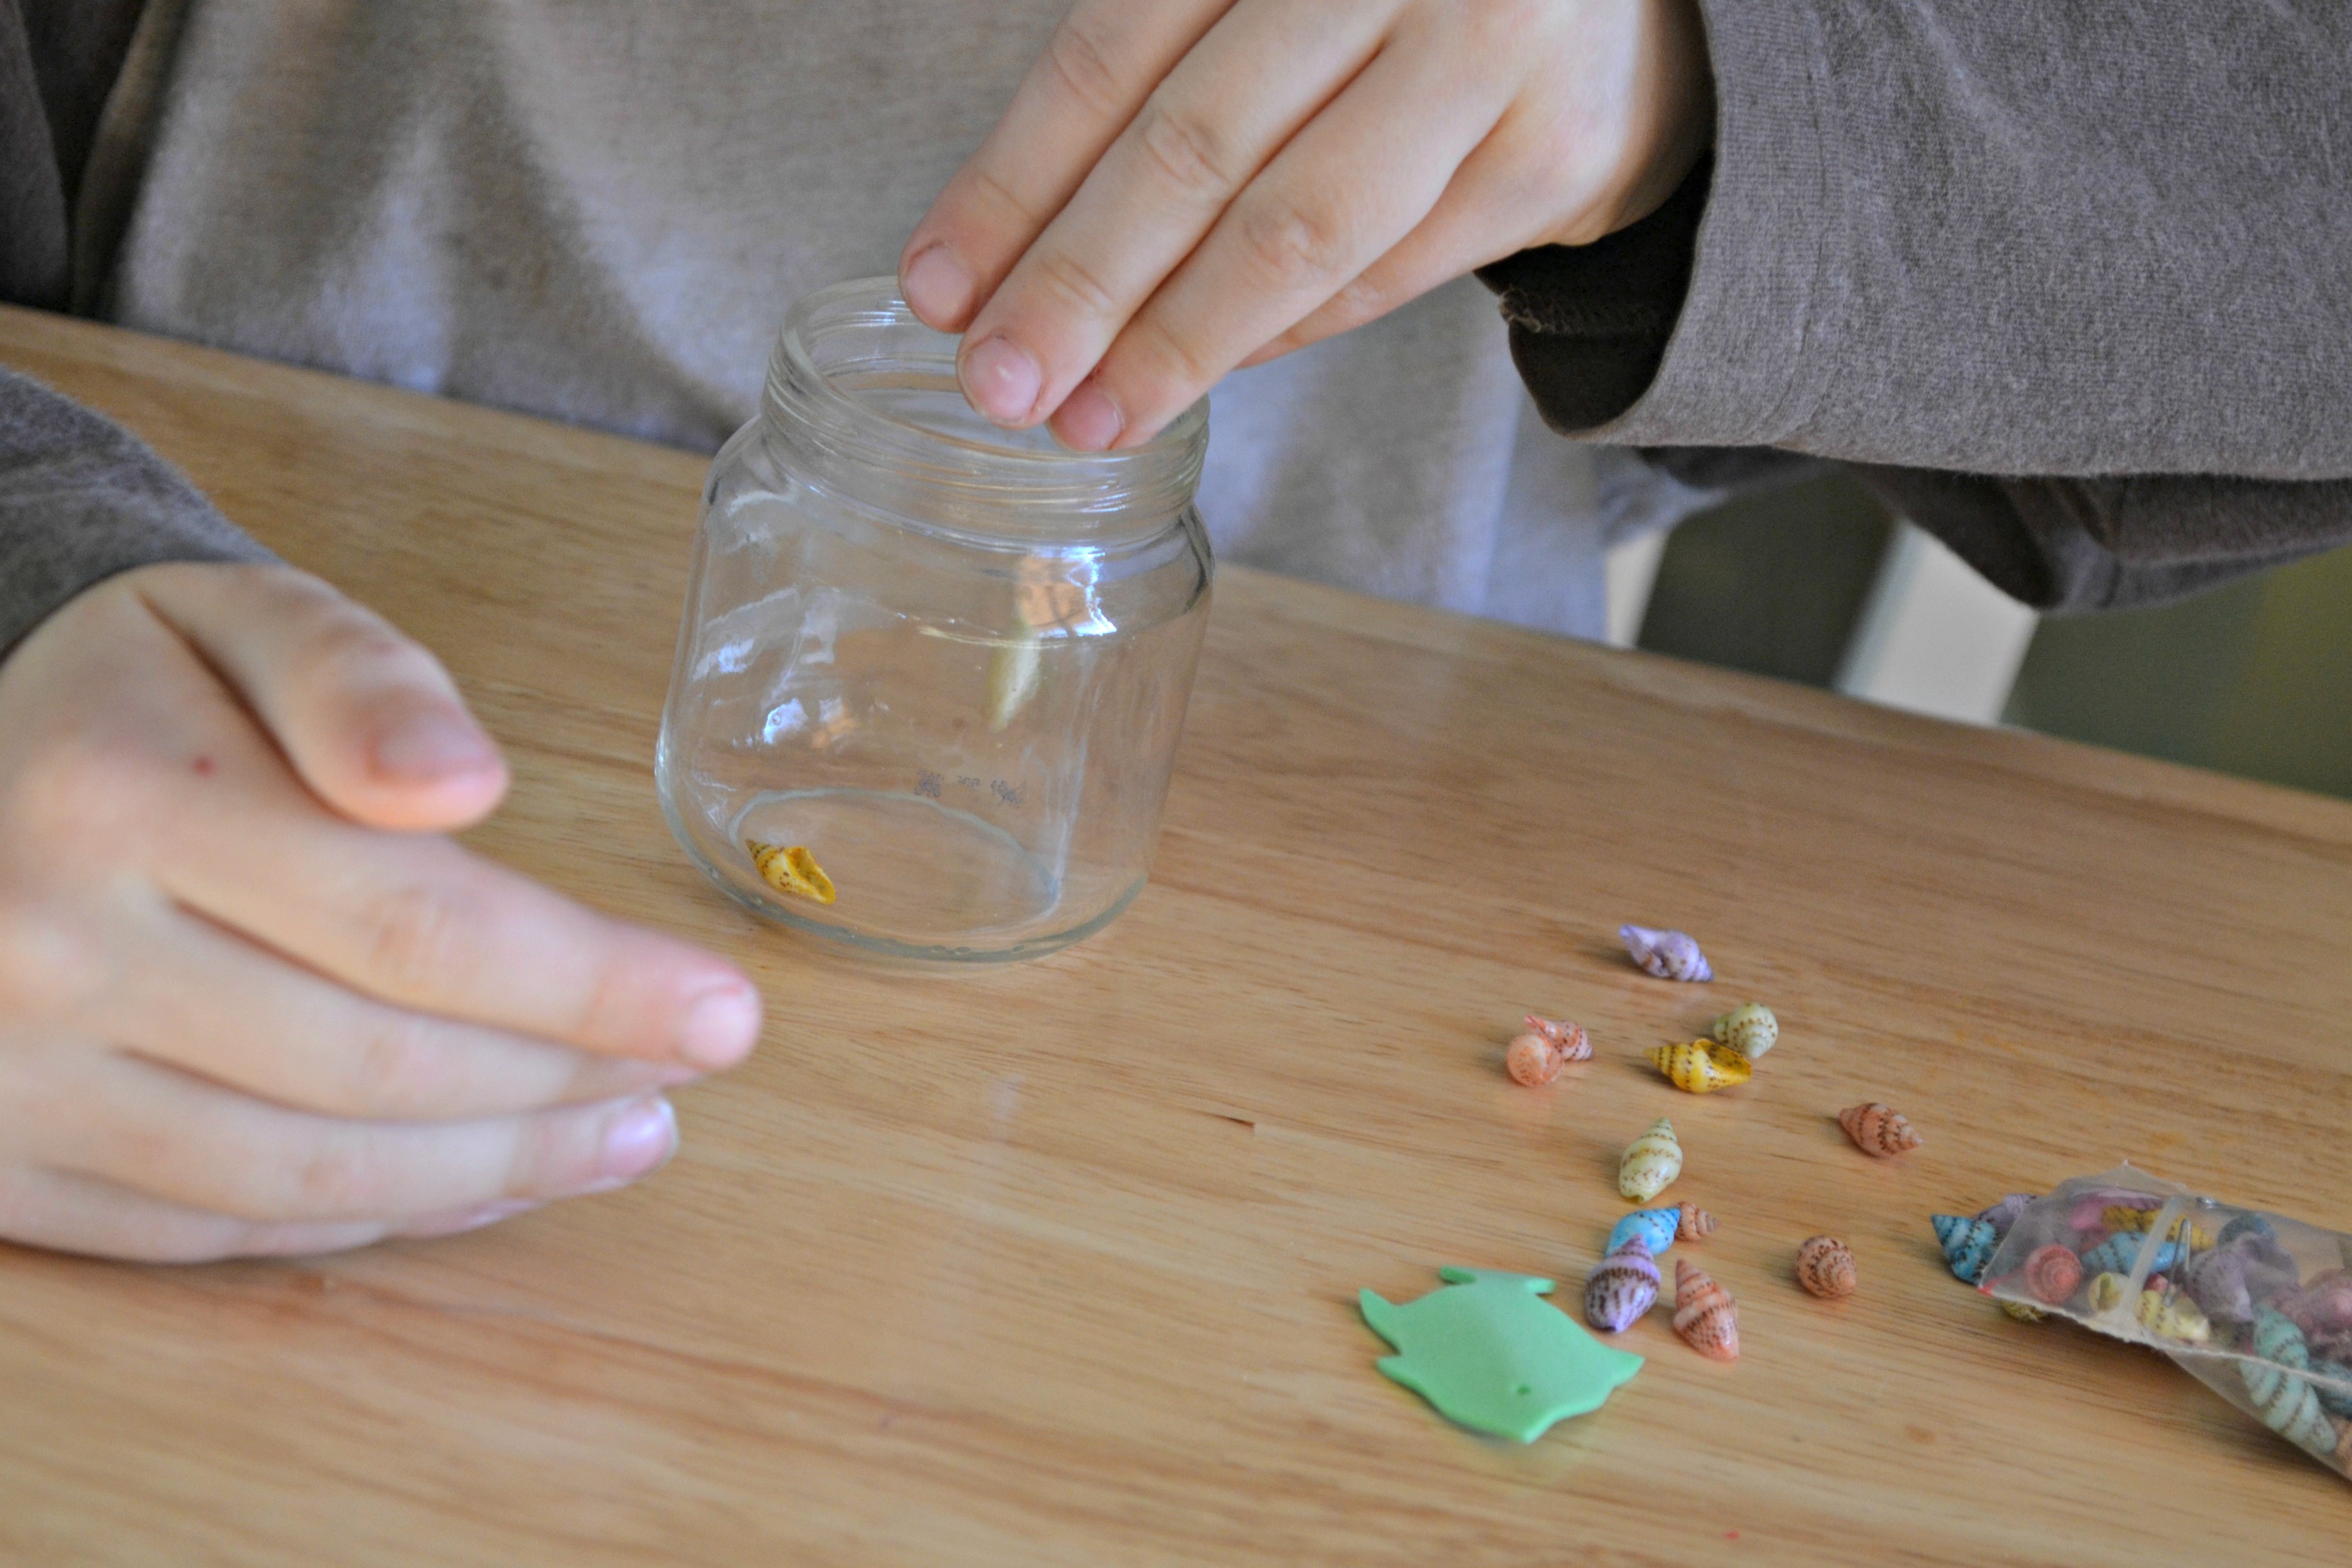
Gather all ingredients. We used some colorful shells that we had lying around, but you could also add aquarium rocks, glass gems, or other decorations to make your mini aquarium more interesting. We had to re-do our projects because we didn't wash our shells prior to using them and ended up with cloudy water. The second time, we soaked our shells overnight and then they worked perfectly.

Step 2
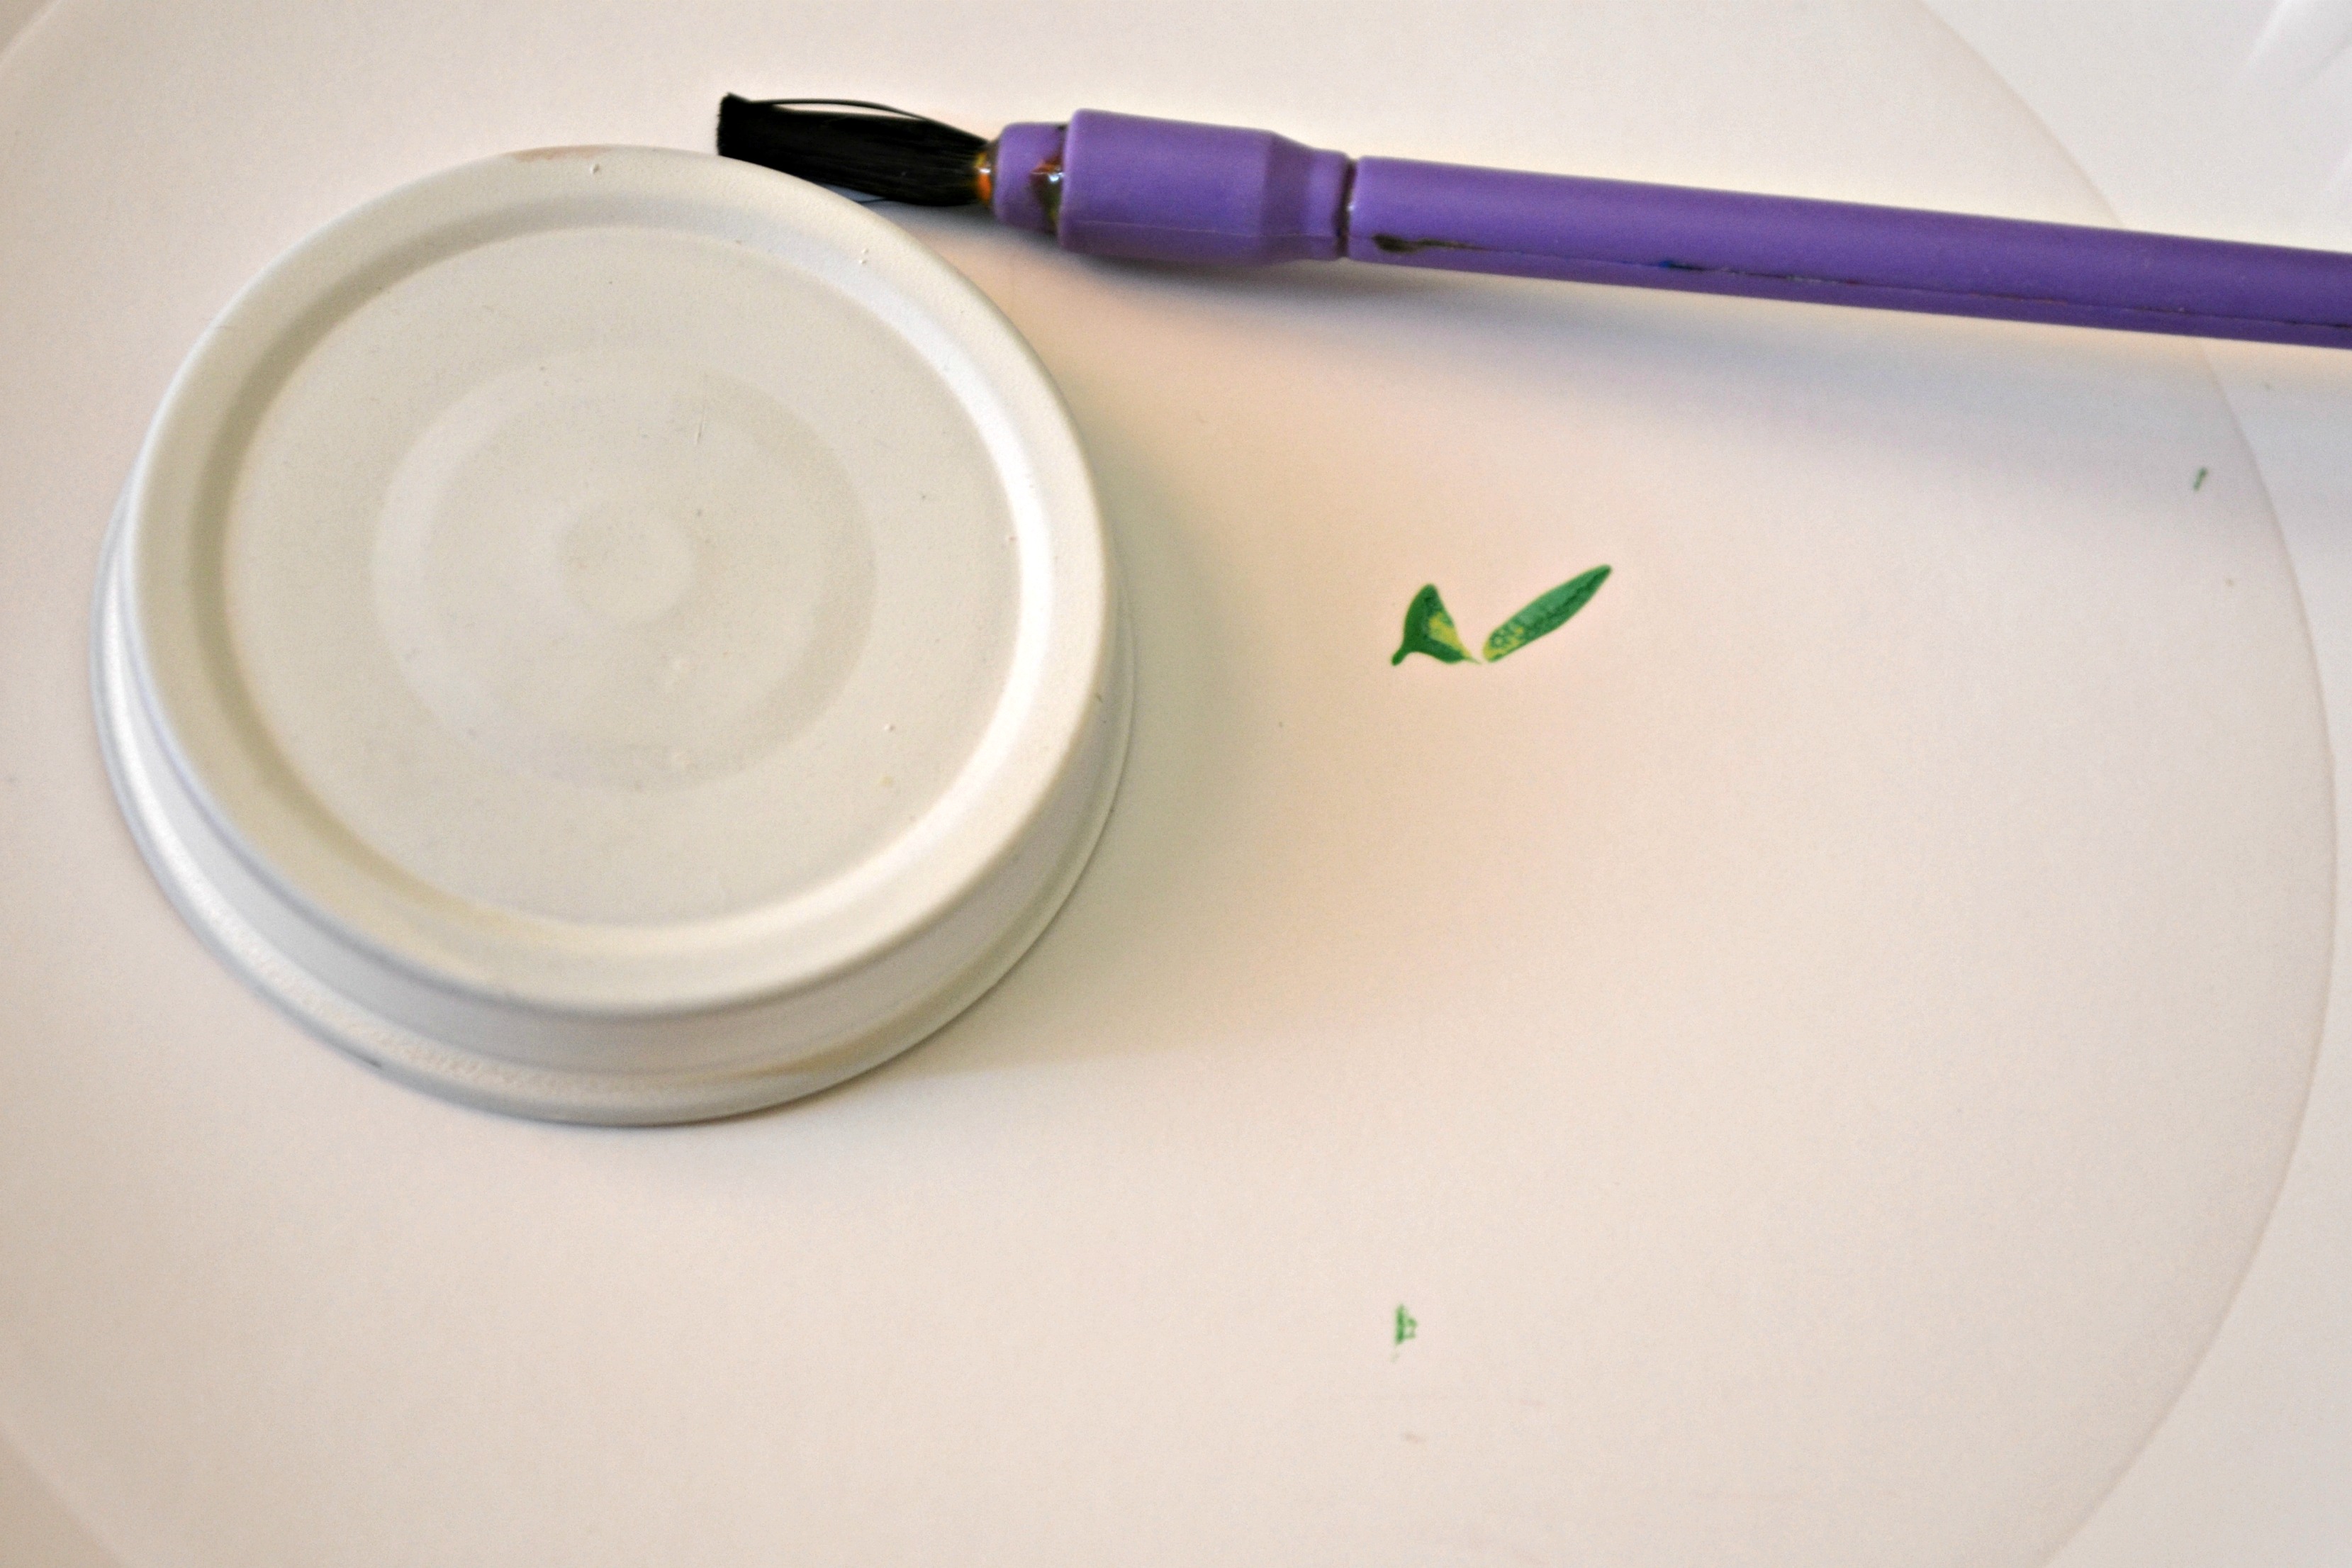
First, we painted the baby food jar lid. This part got a little messy and we had to be careful since we were using acrylic paints.
Step 3
While the lid was drying, we added our shells and aquarium rocks to the bottom of the baby food jar.
Step 4
Then, my son very carefully poured some water into the jar for his fish. Since the jars are so small, we had to be extra careful not to add to much water. I found it was helpful if I gave him a cup of water with just enough water to pour.

Step 5
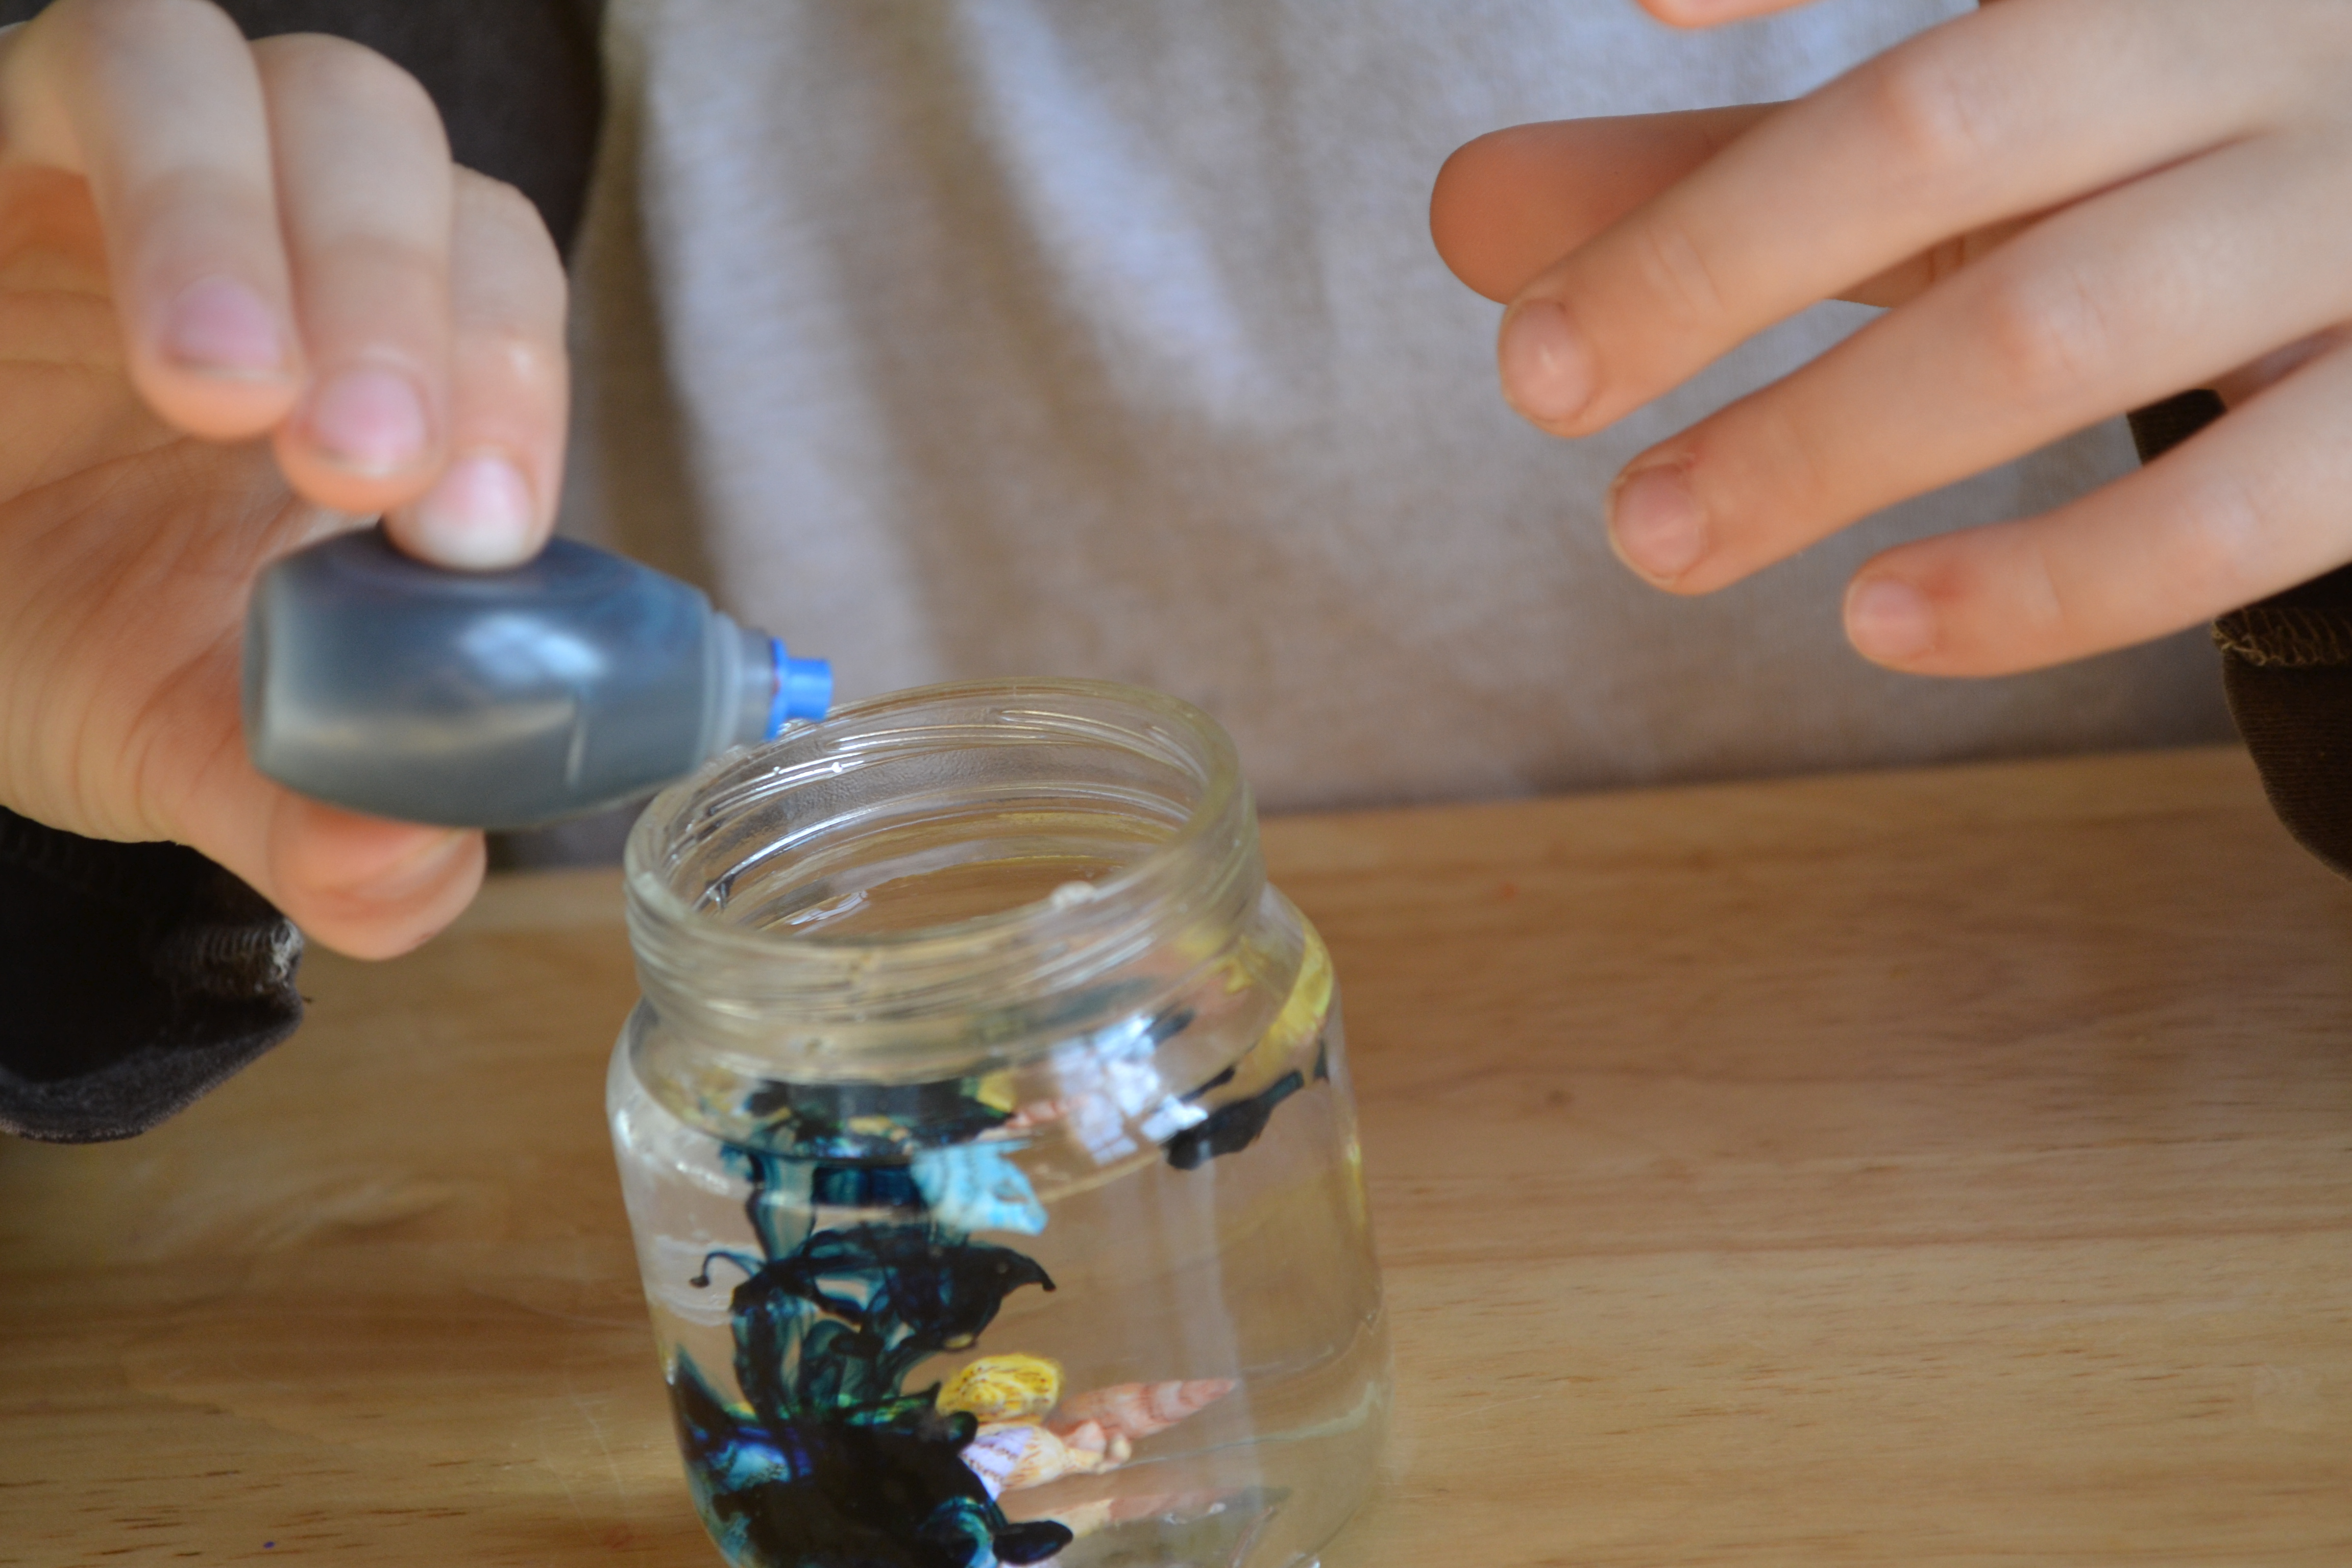
Once the water was in, we added 1 drop of blue food coloring. It was exciting for my son to watch the food coloring dissolve into the water. Our color ended up being a little darker than we wanted so I poured some out and he poured in some more clear water. I would recommend coloring your water in a separate cup first and then pouring it into the jar.
Step 6
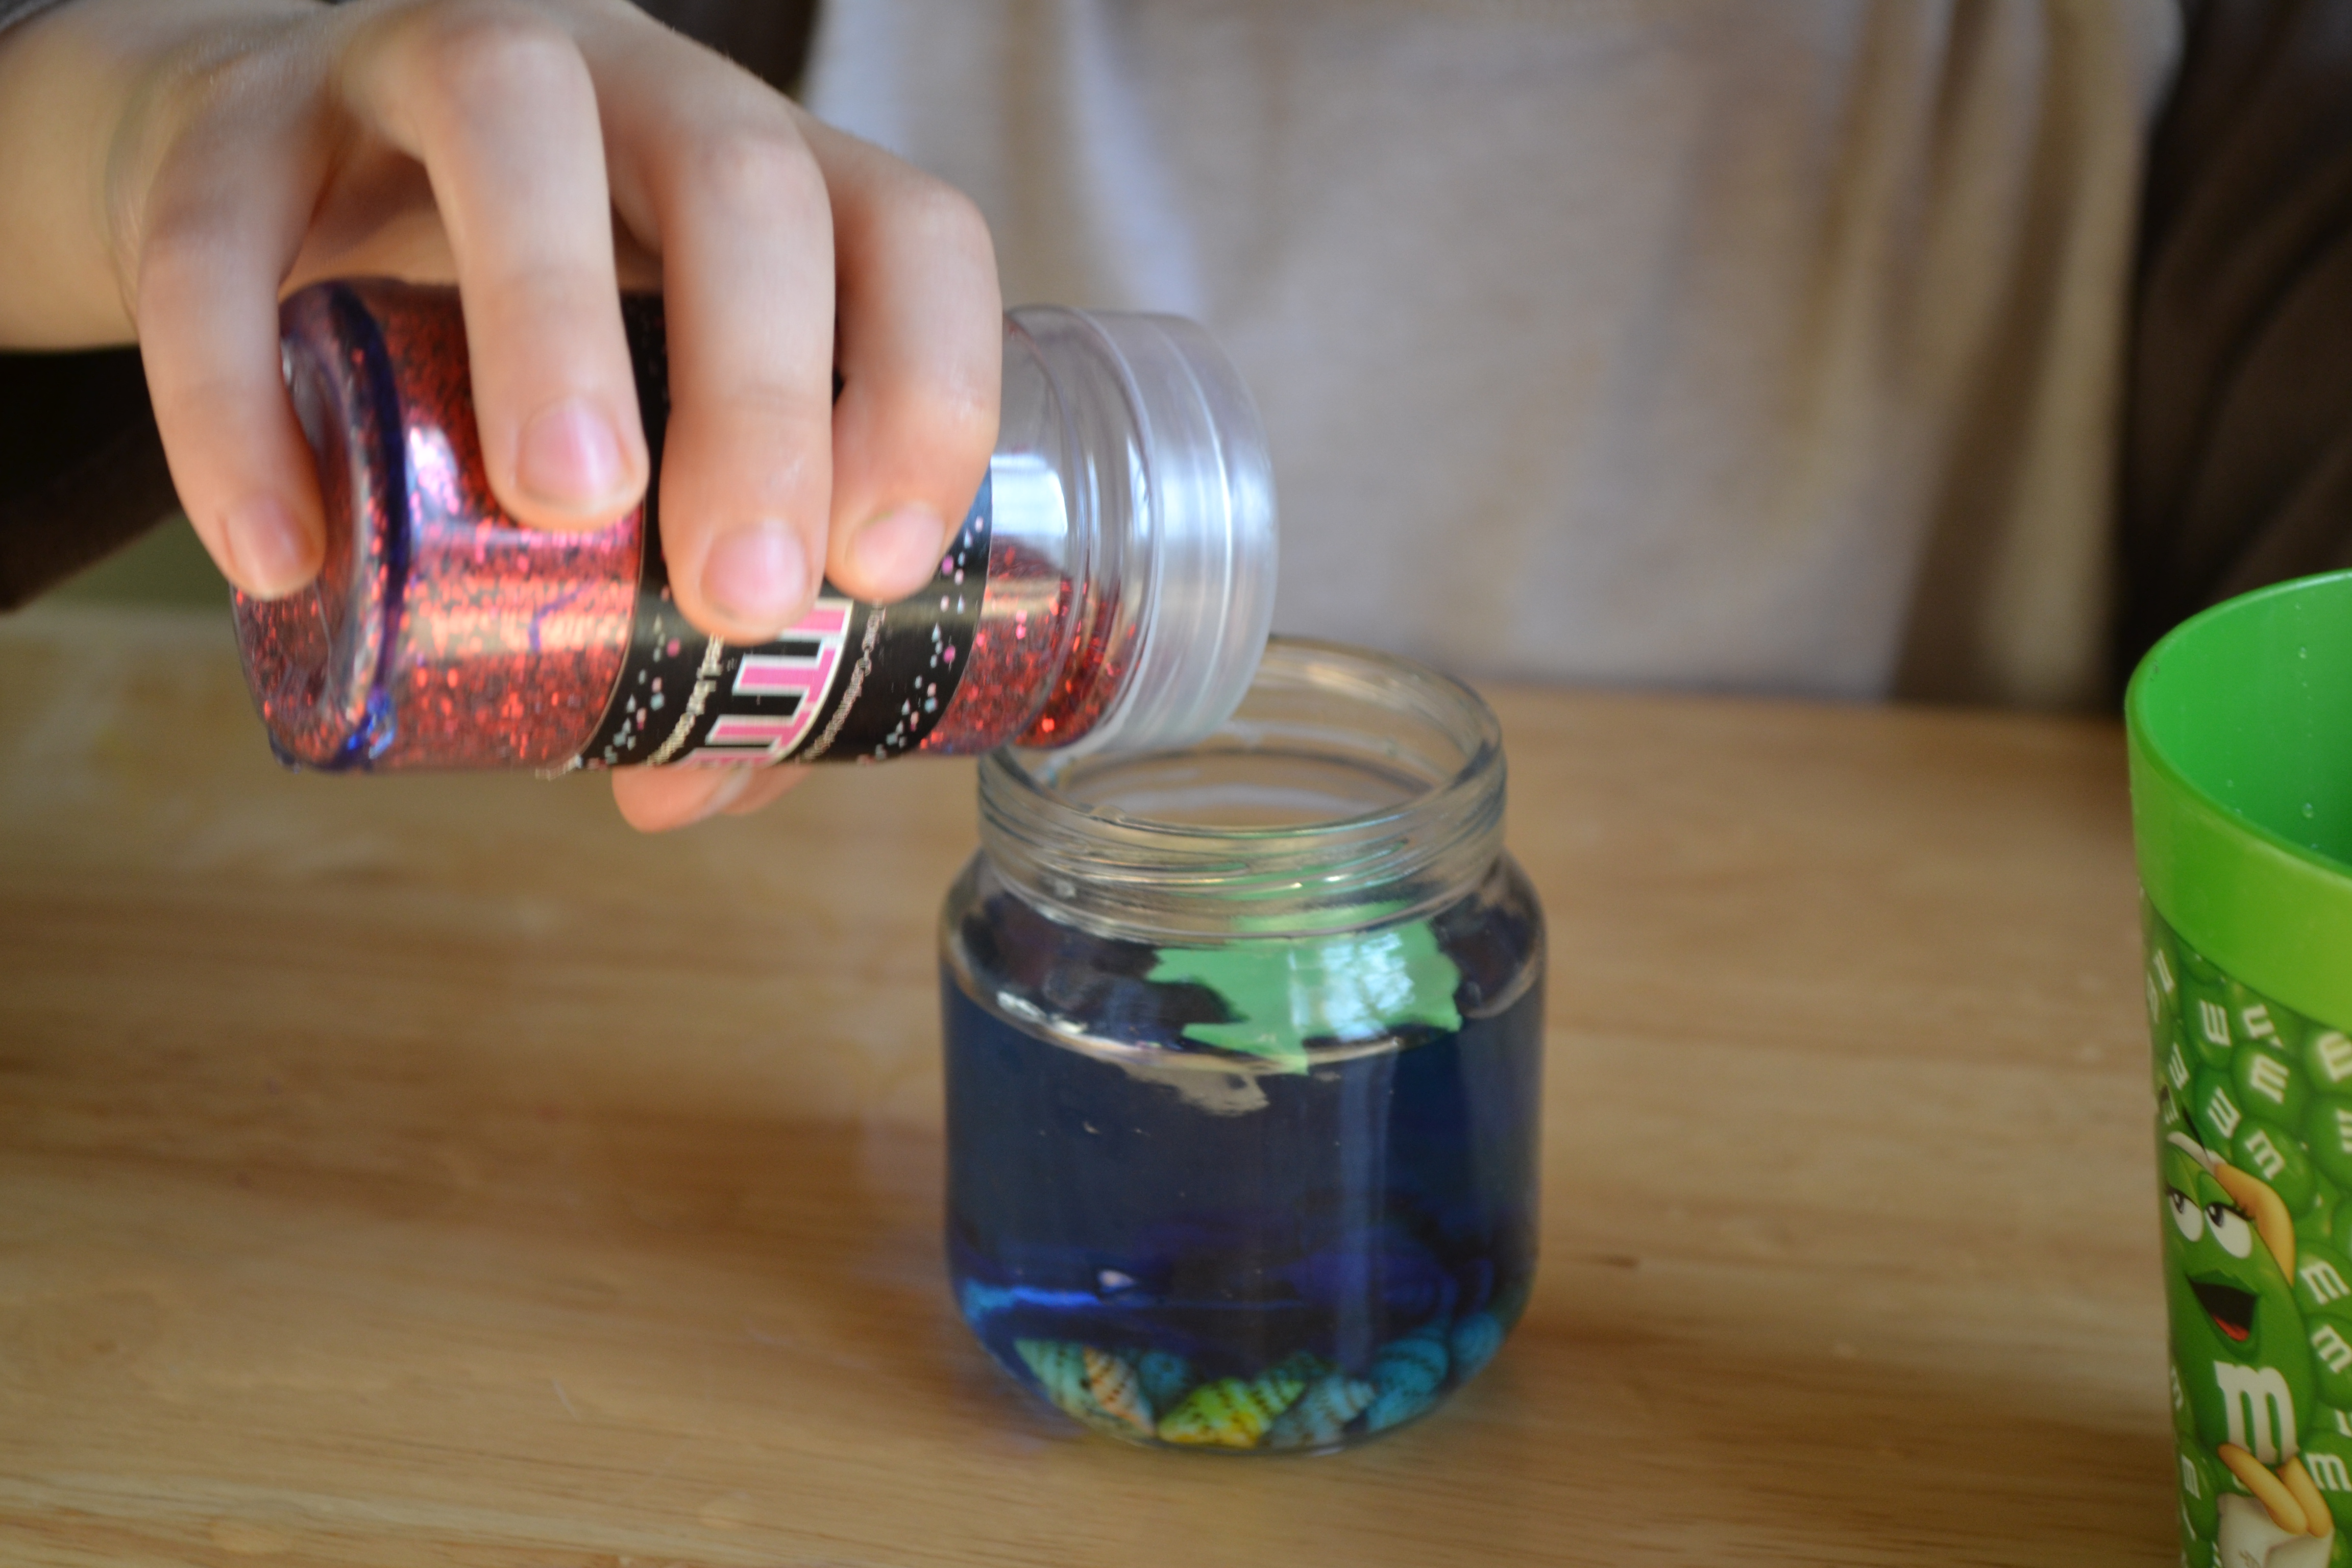
Finally, we added our fish to the jar. My son named his fish Fred. He was very concerned that once we put the lid on, Fred wouldn't have any food. So, we pulled out the glitter and gave Fred a few shakes of "food".
Step 7
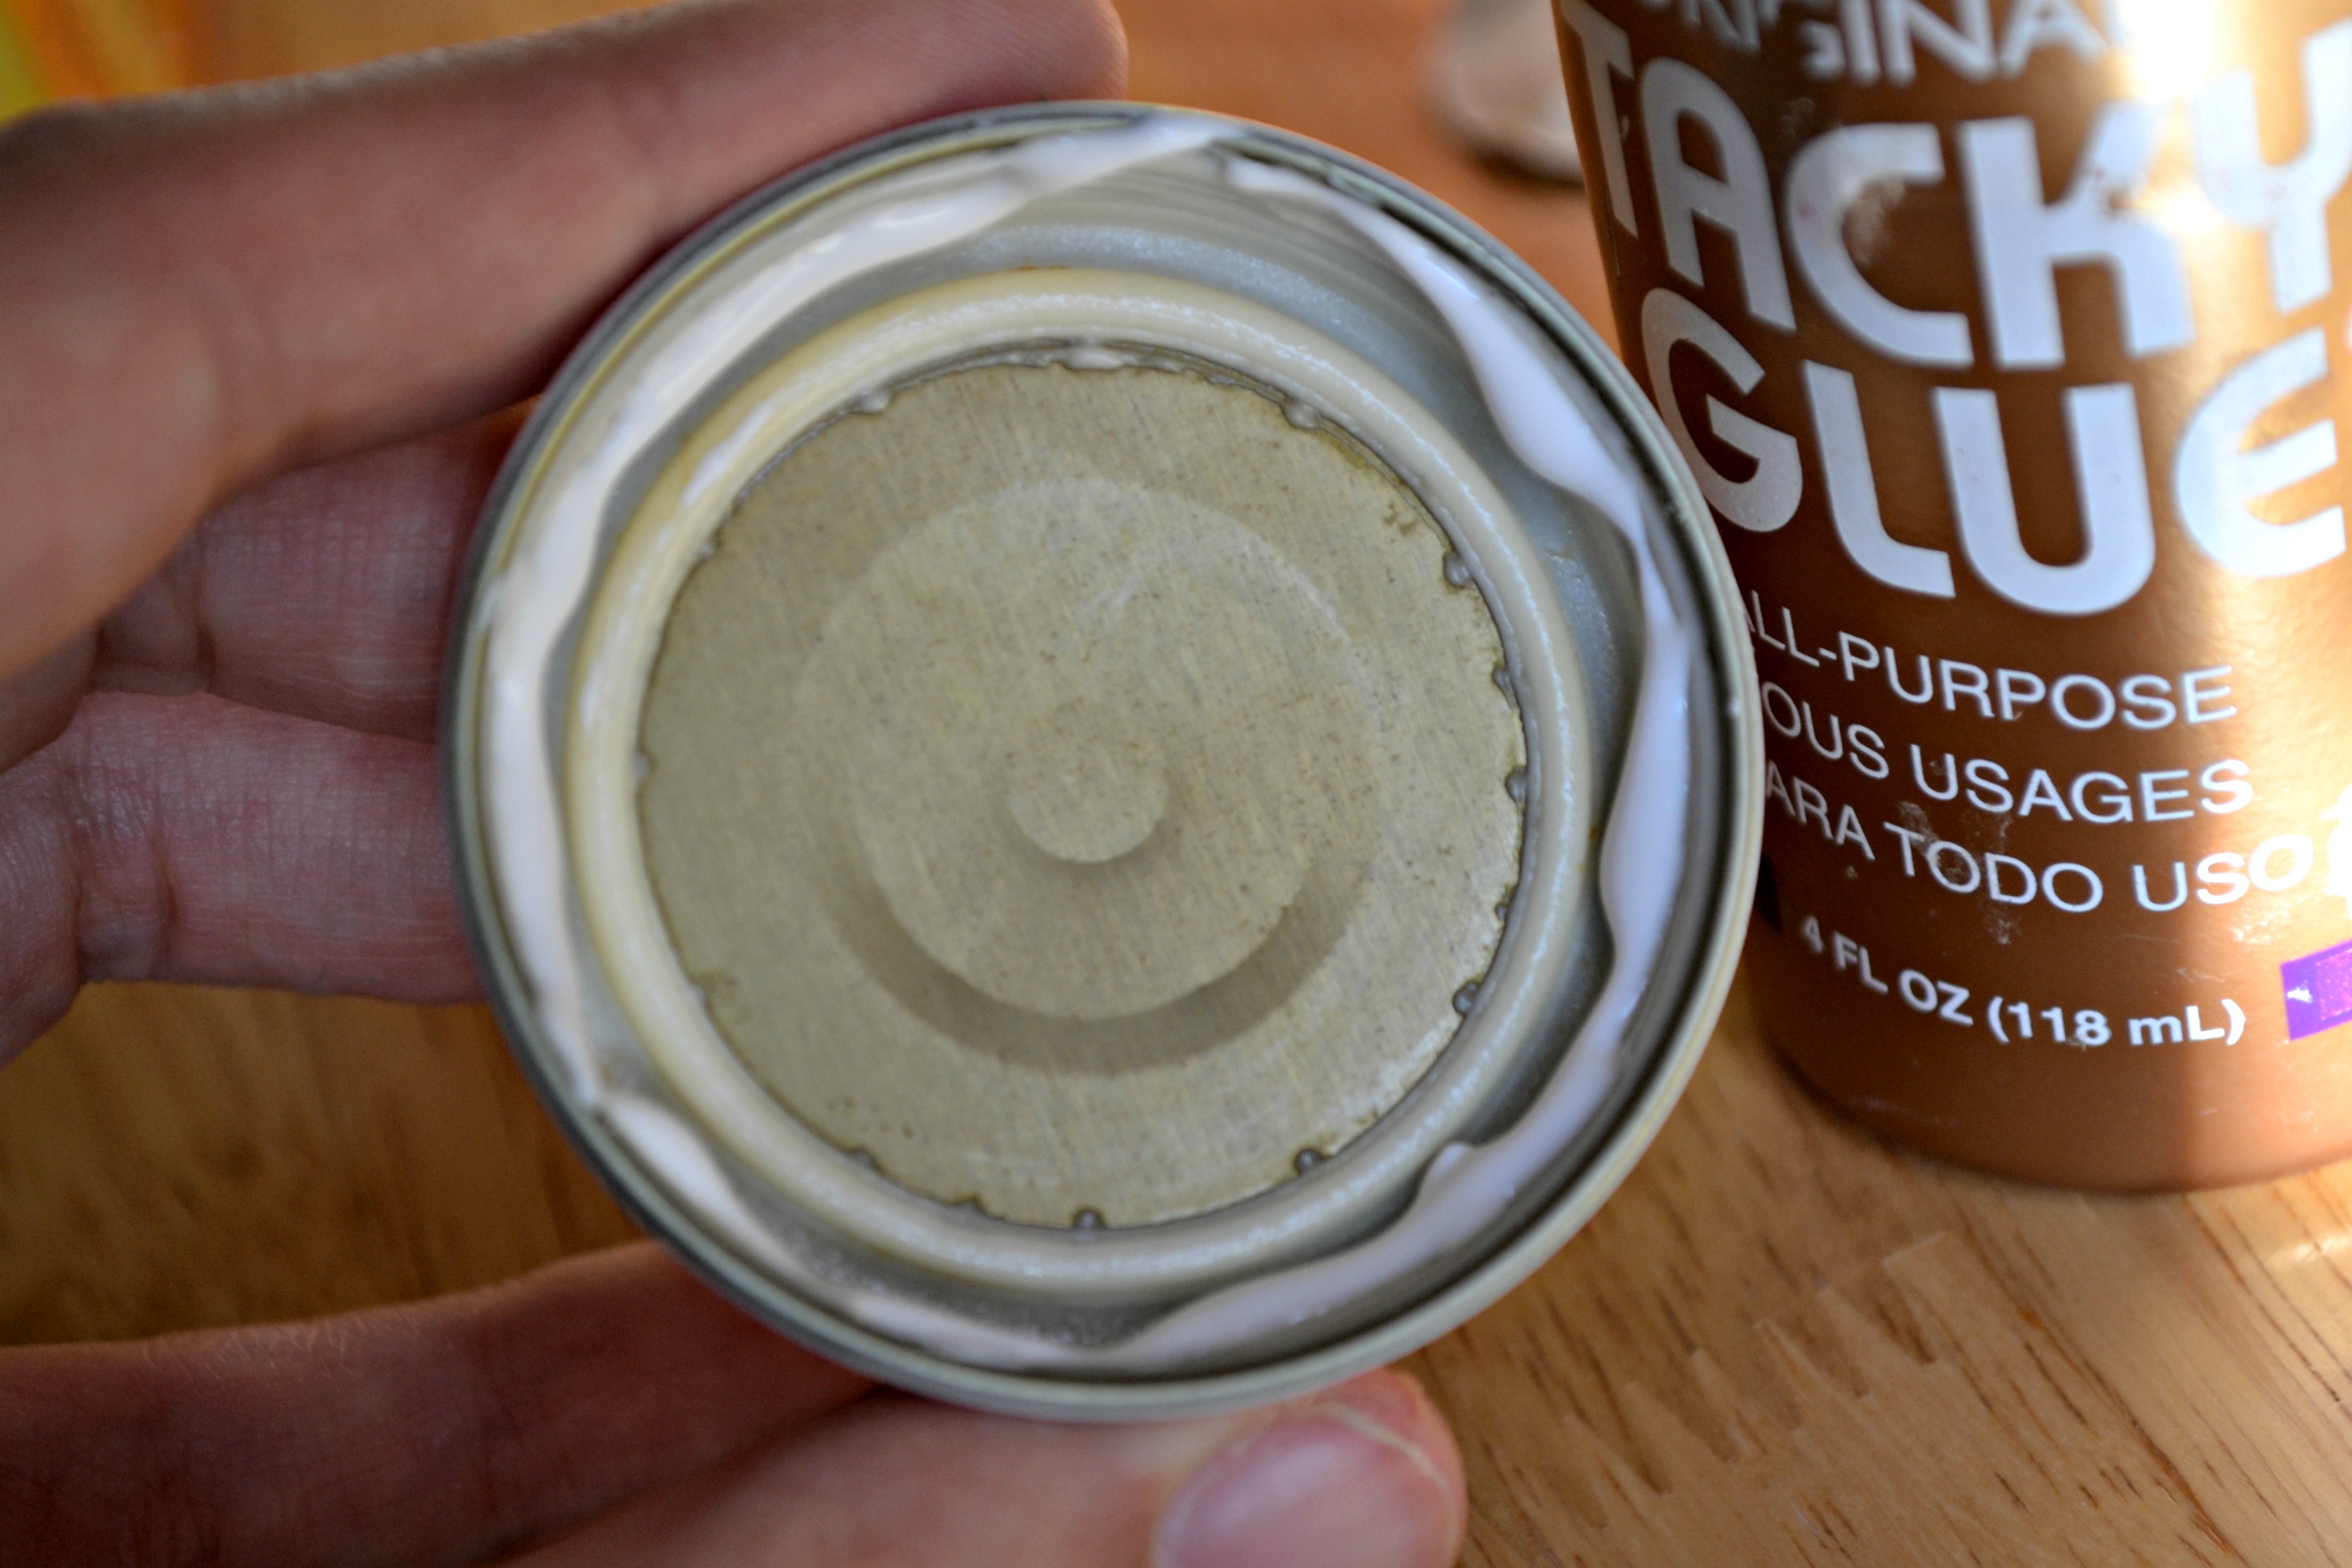
Once Fred was all set in his new home, I put a ring of tacky glue along the inside of the lid and secured it tightly onto our jar.
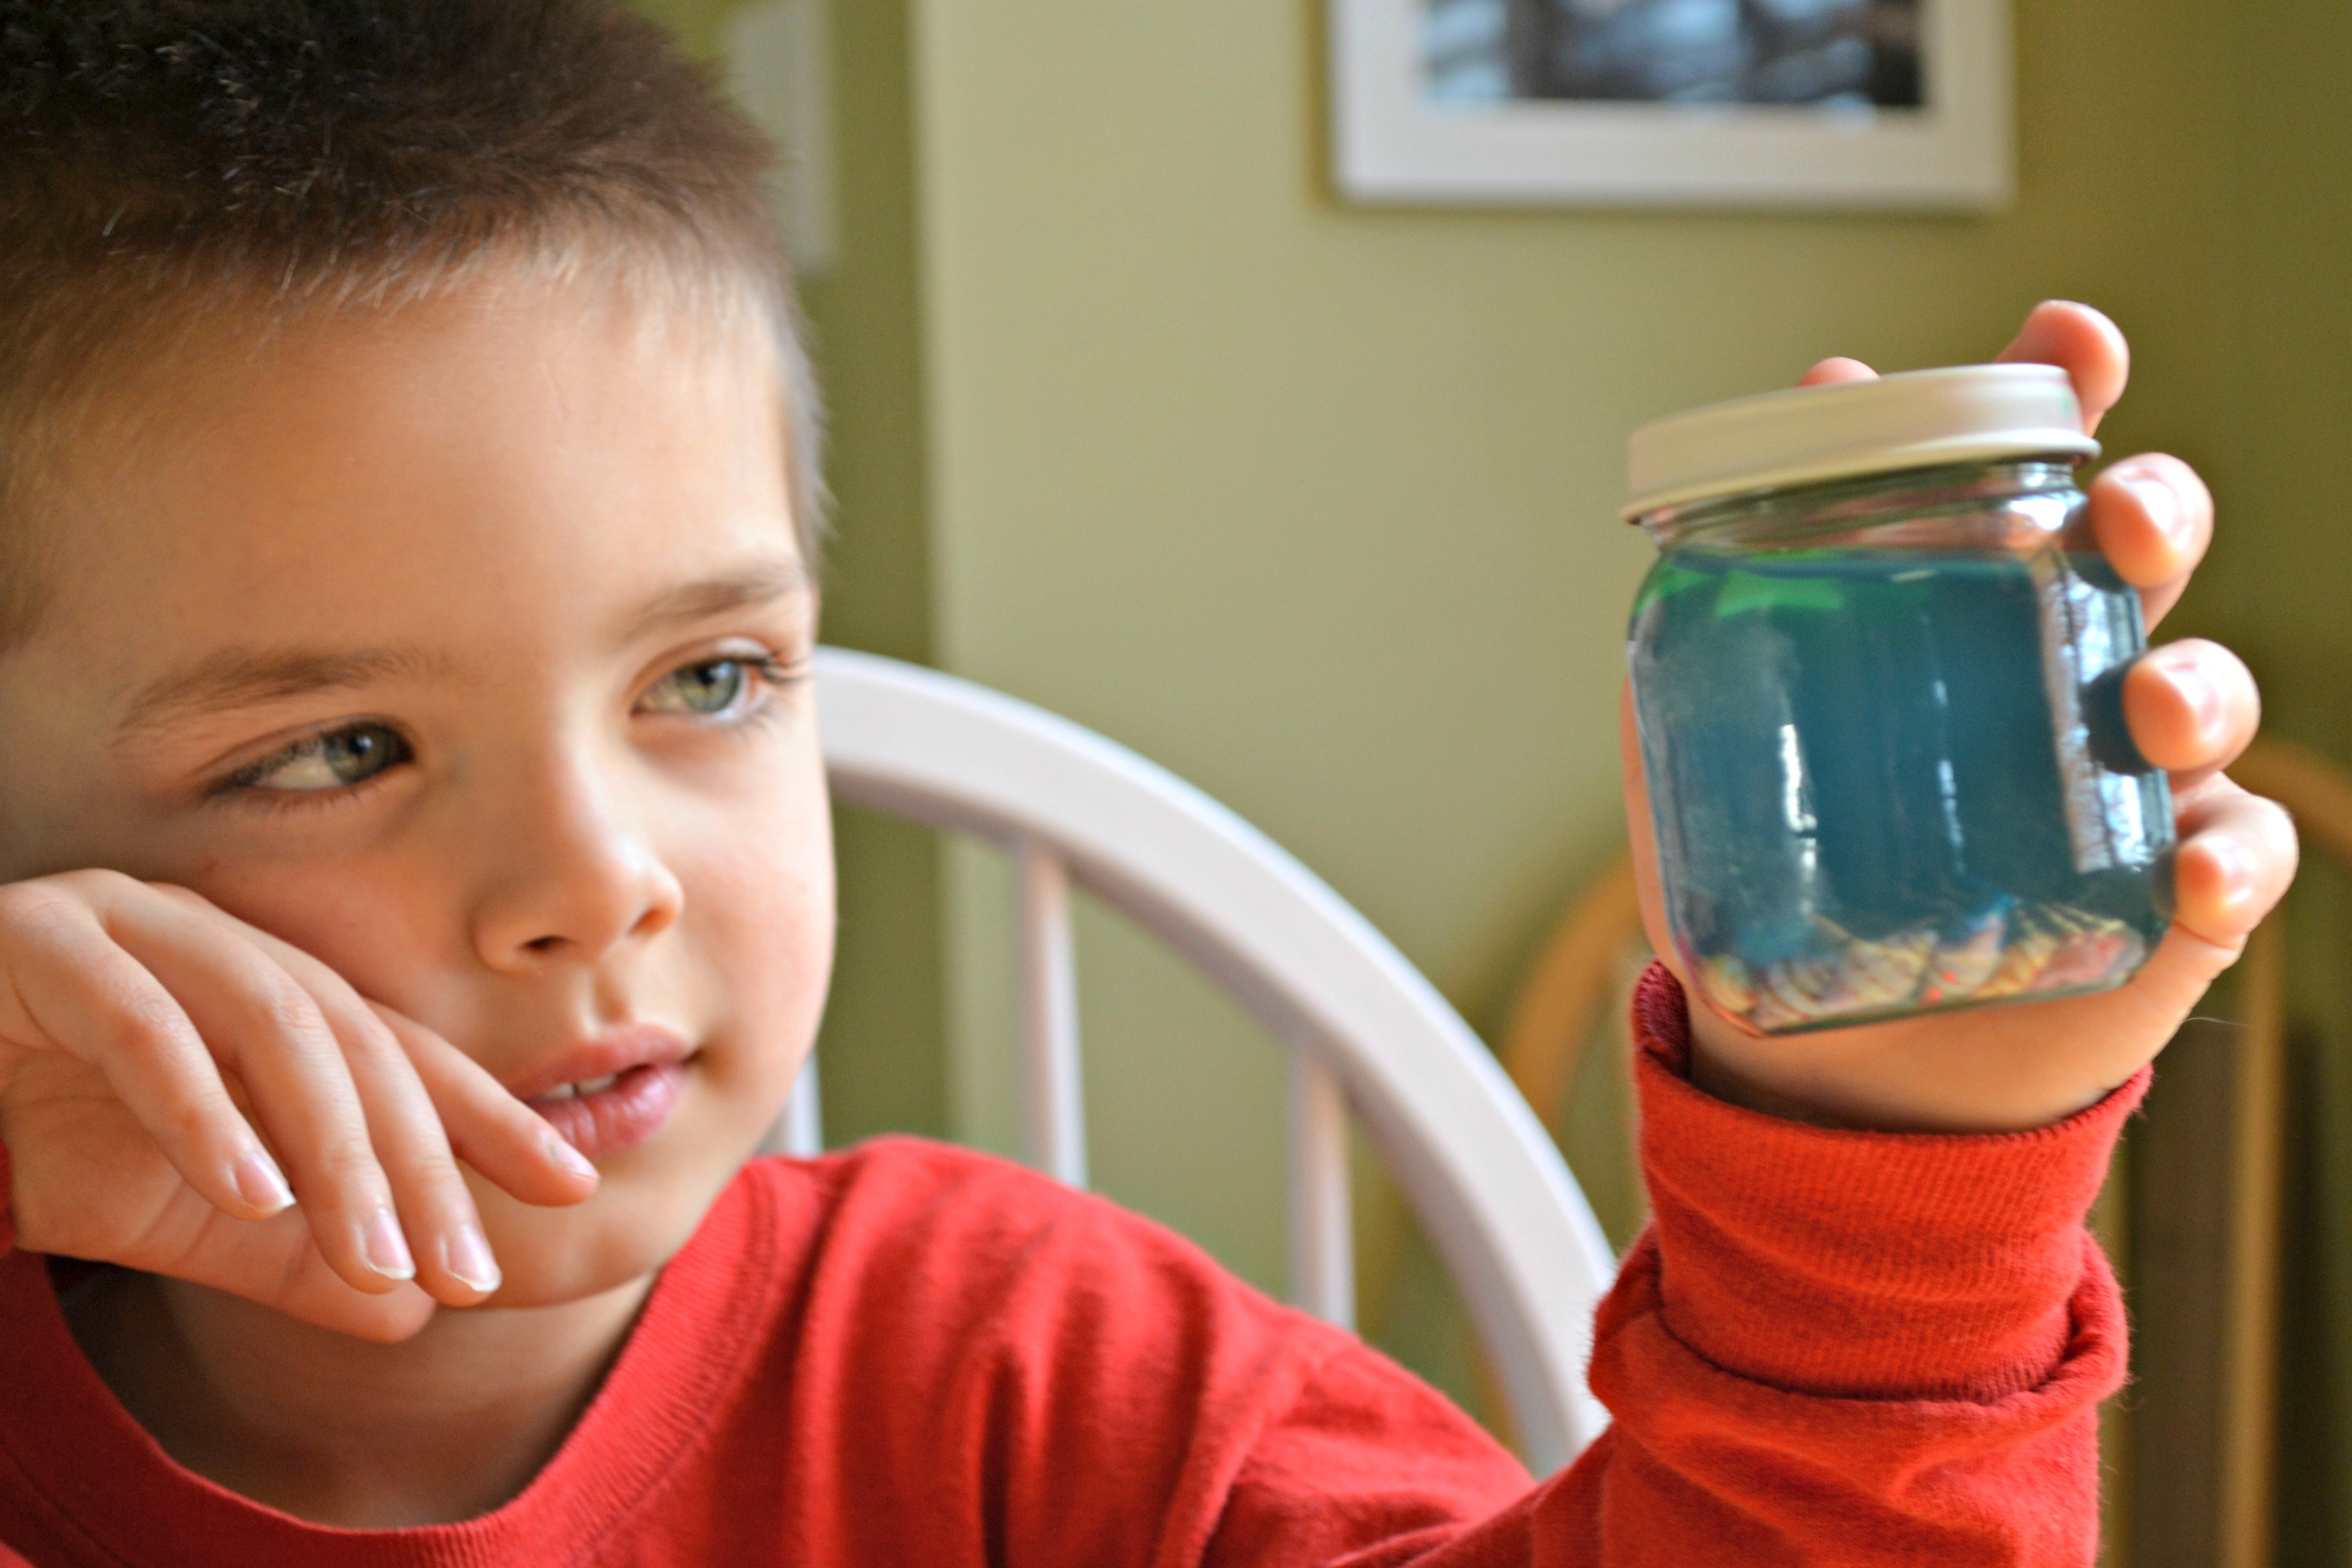
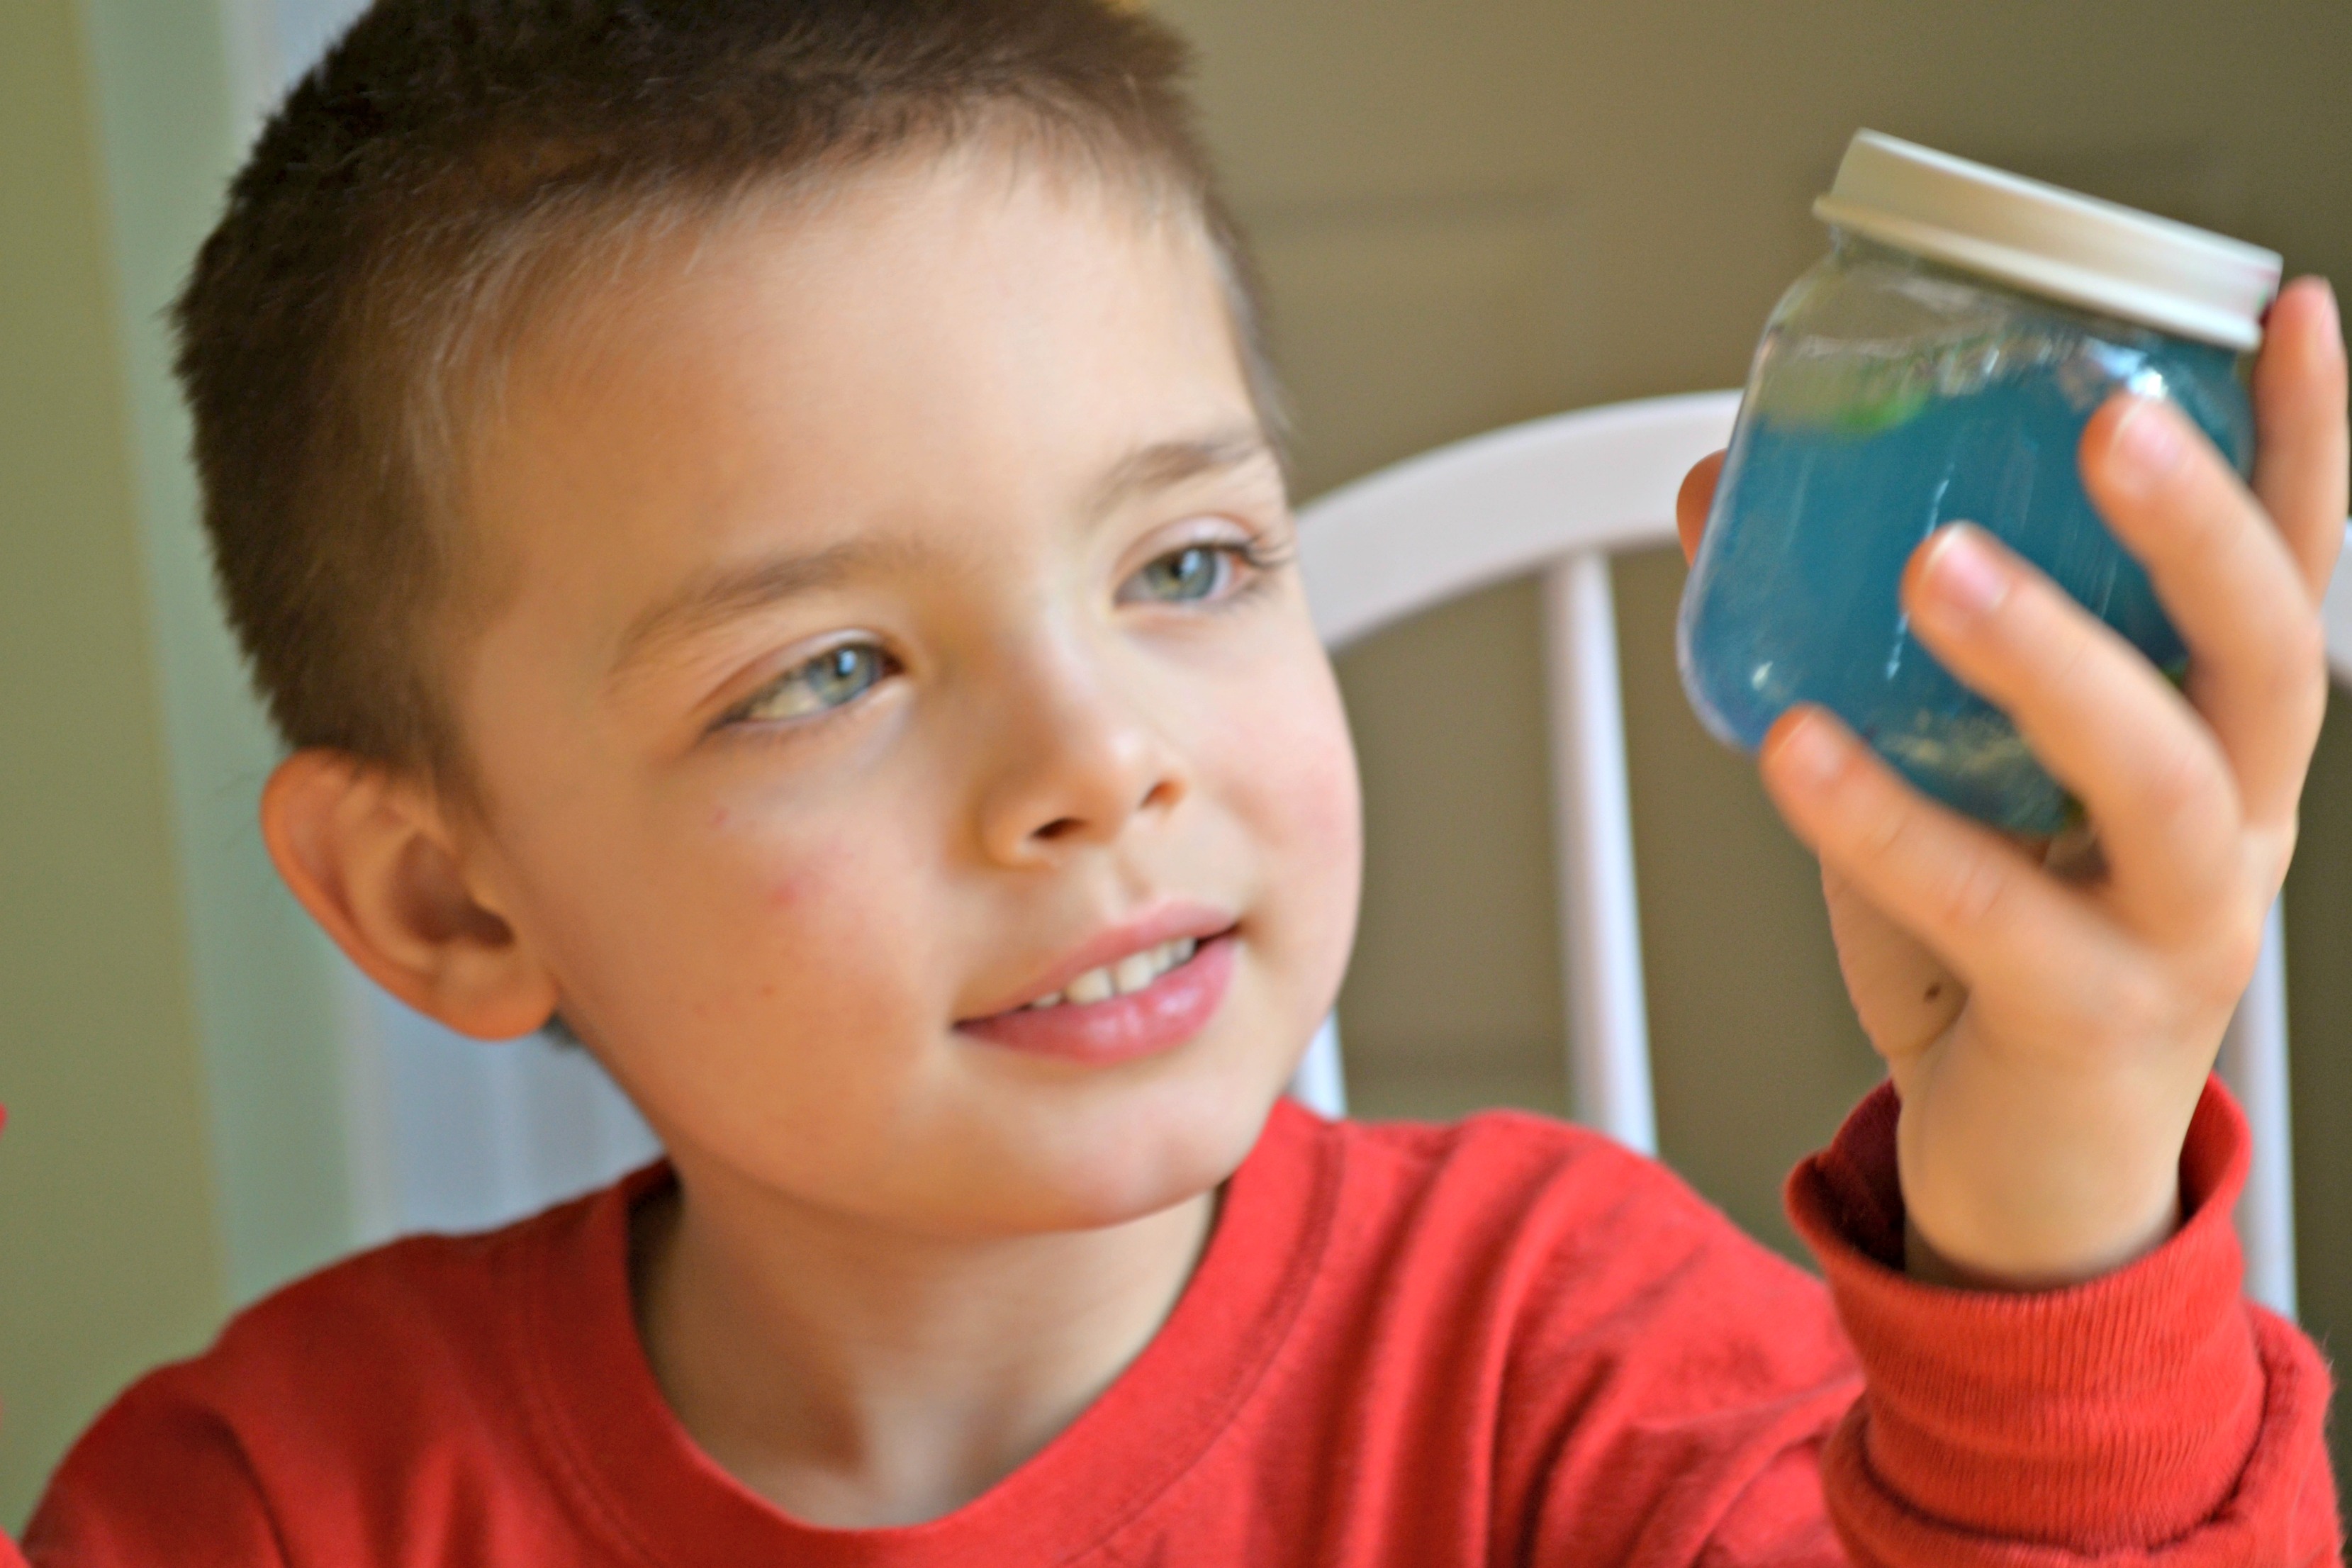
Done!
My son was so excited with his new pet and has been taking him with us everywhere. He's the cleanest, quietest pet we've ever had!