Step-by-step tutorial
Step 1
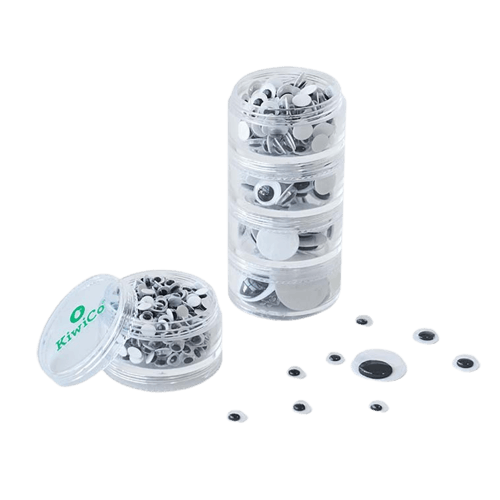
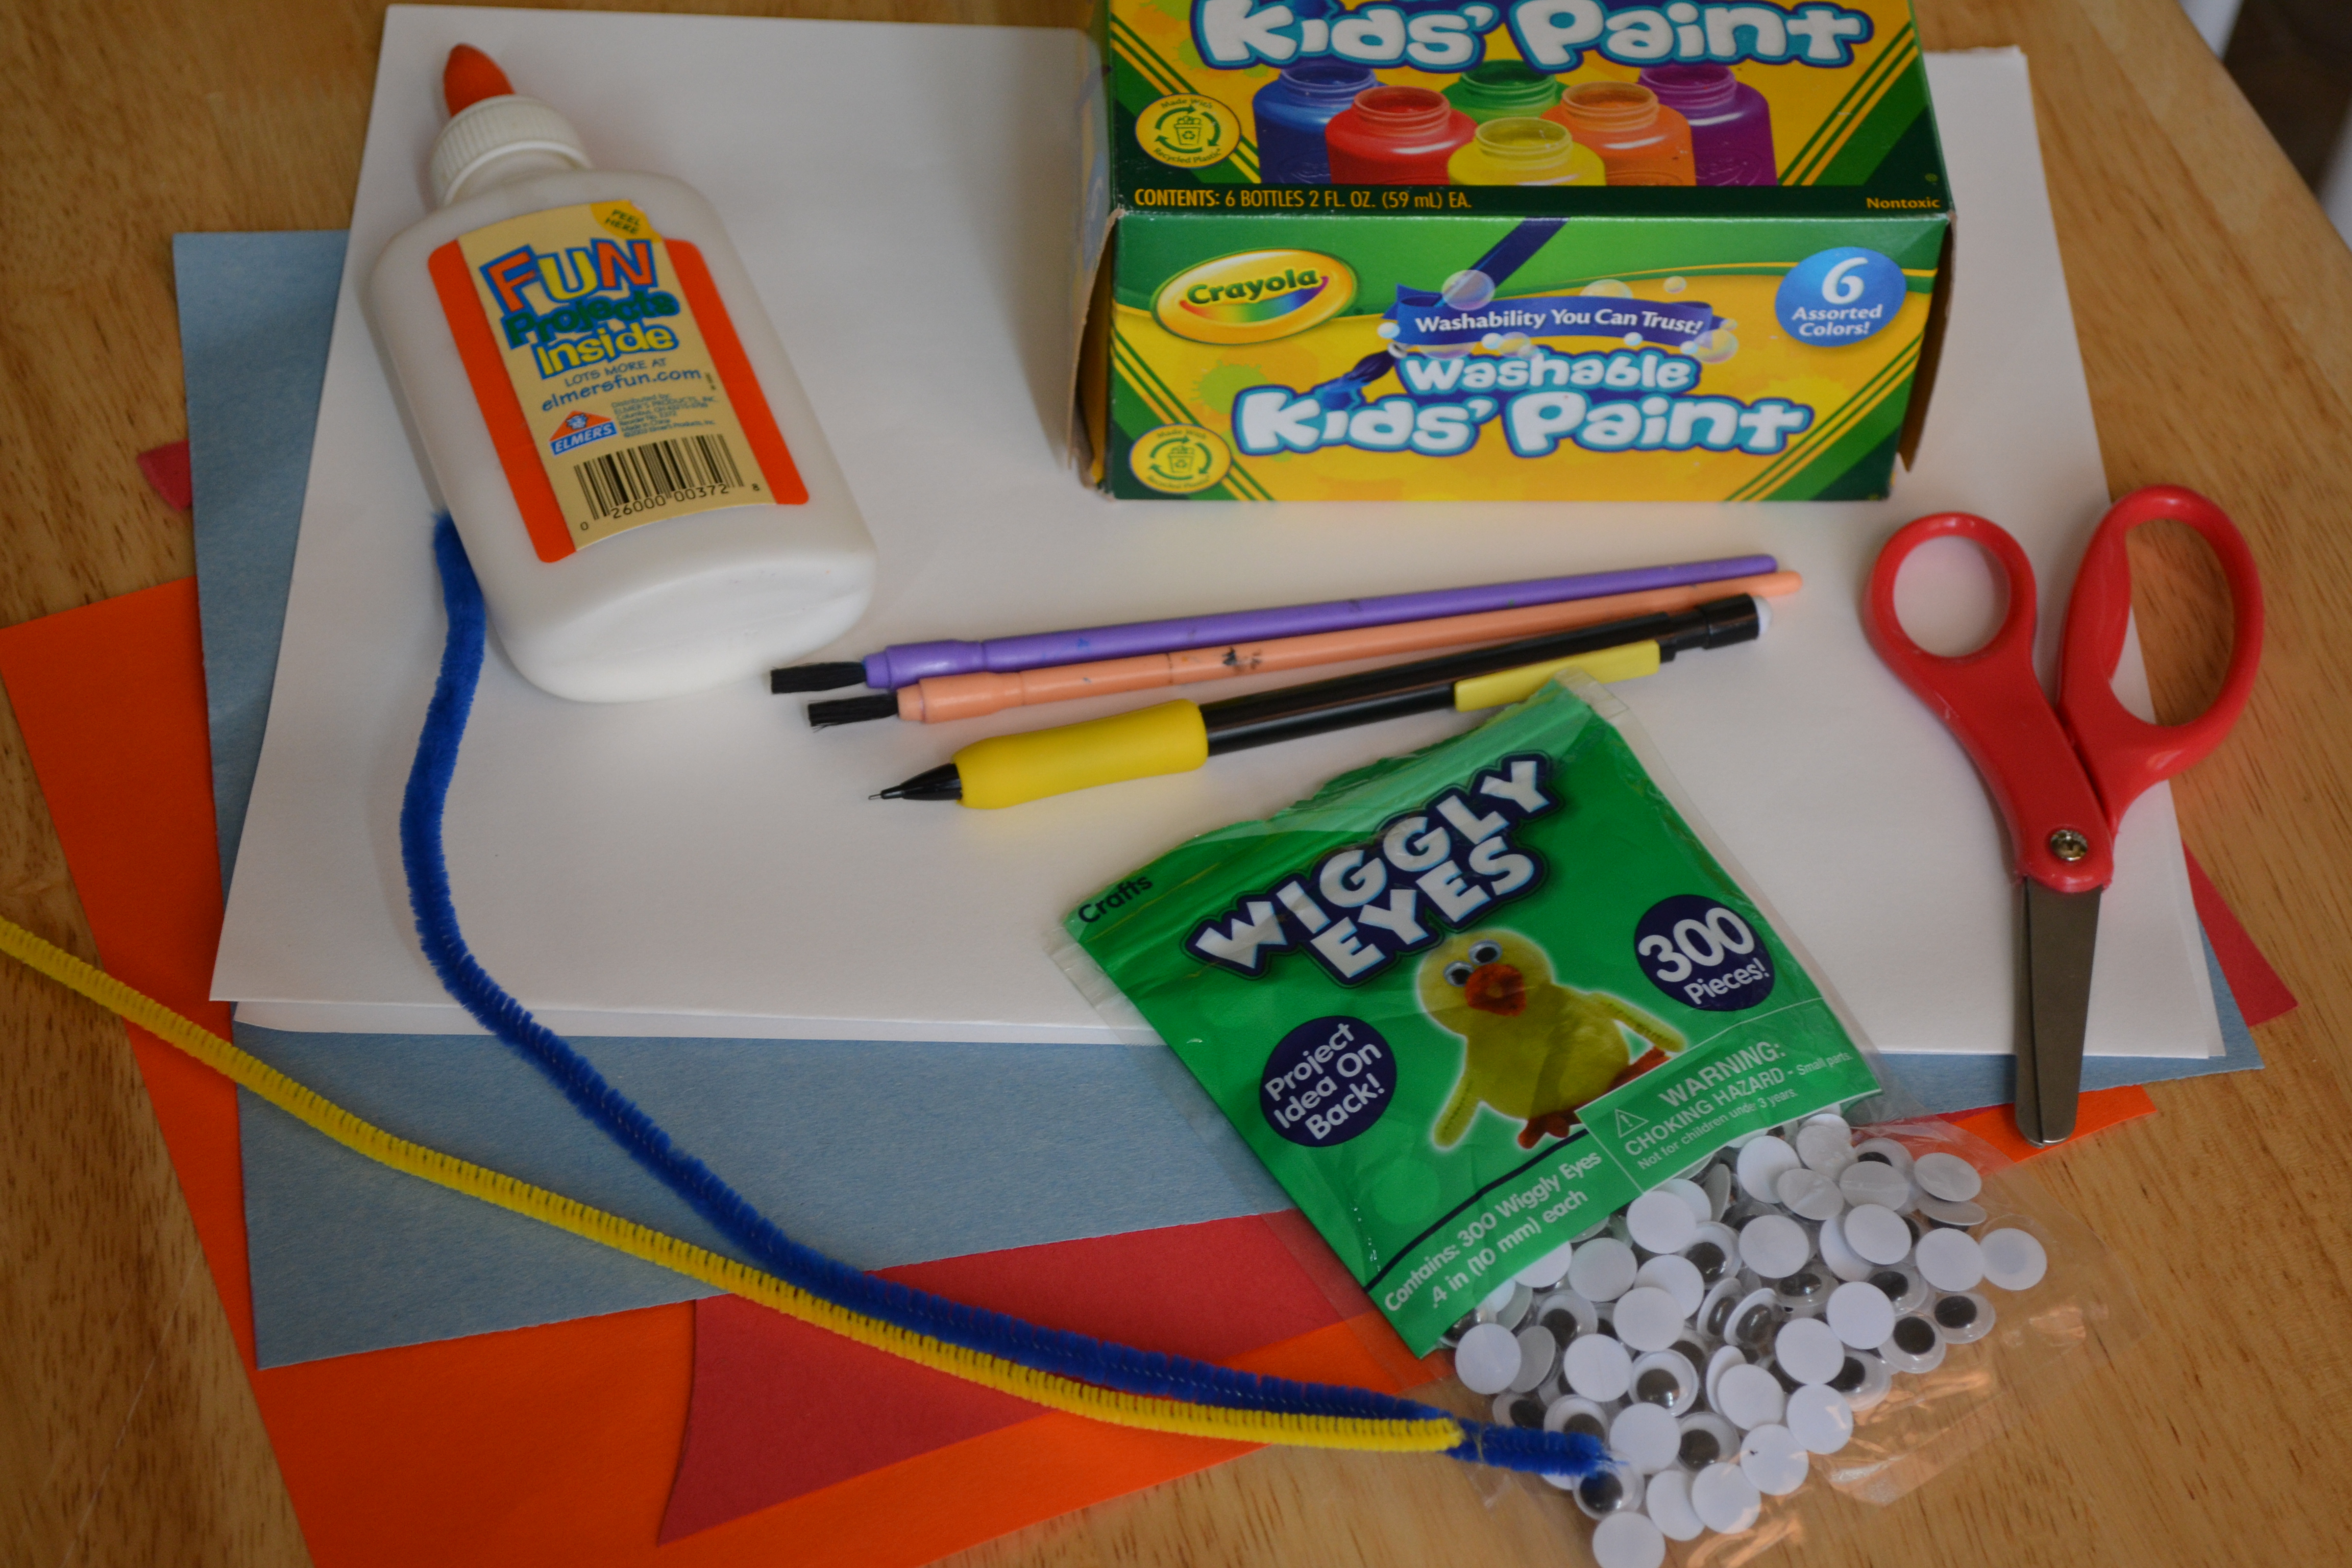
Gather all your materials. We used white construction paper for the butterfly wings and scraps of various colors for the bodies.

Step 2
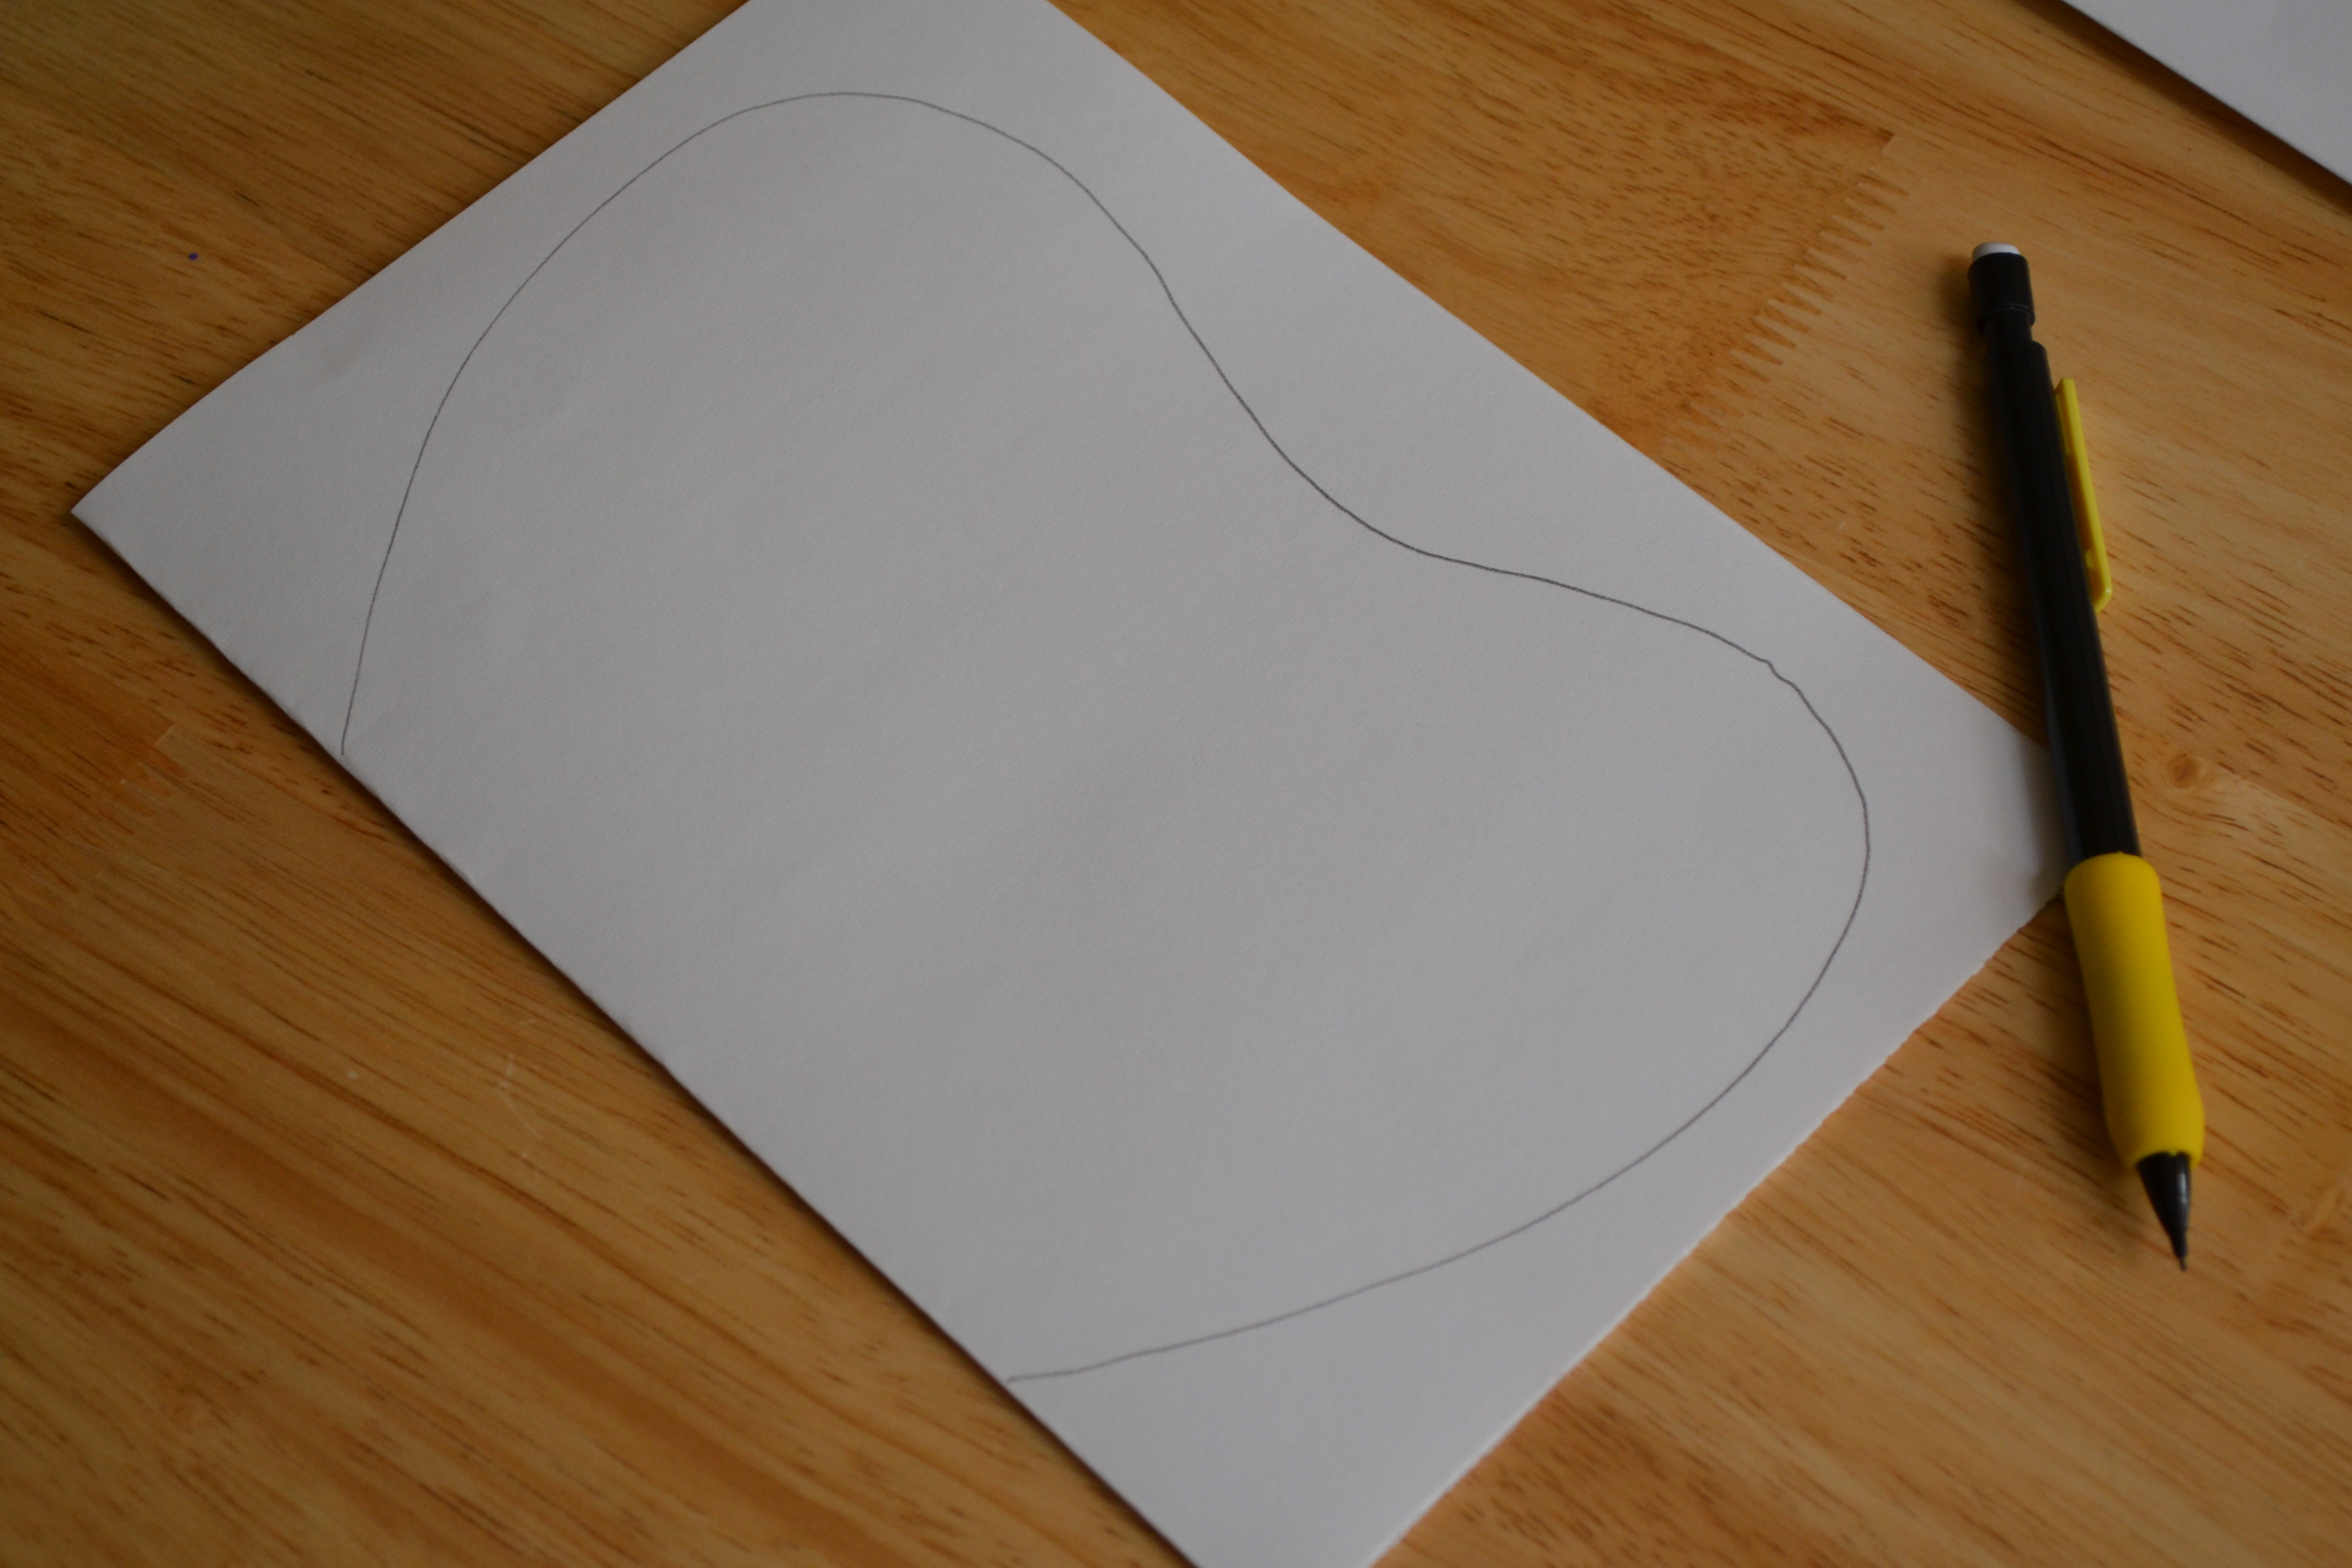
To make a template for my kids, I folded the white construction paper in half and free-handed a butterfly wing. Then I cut it out along the fold so that when you opened it up, you had a set of butterfly wings.
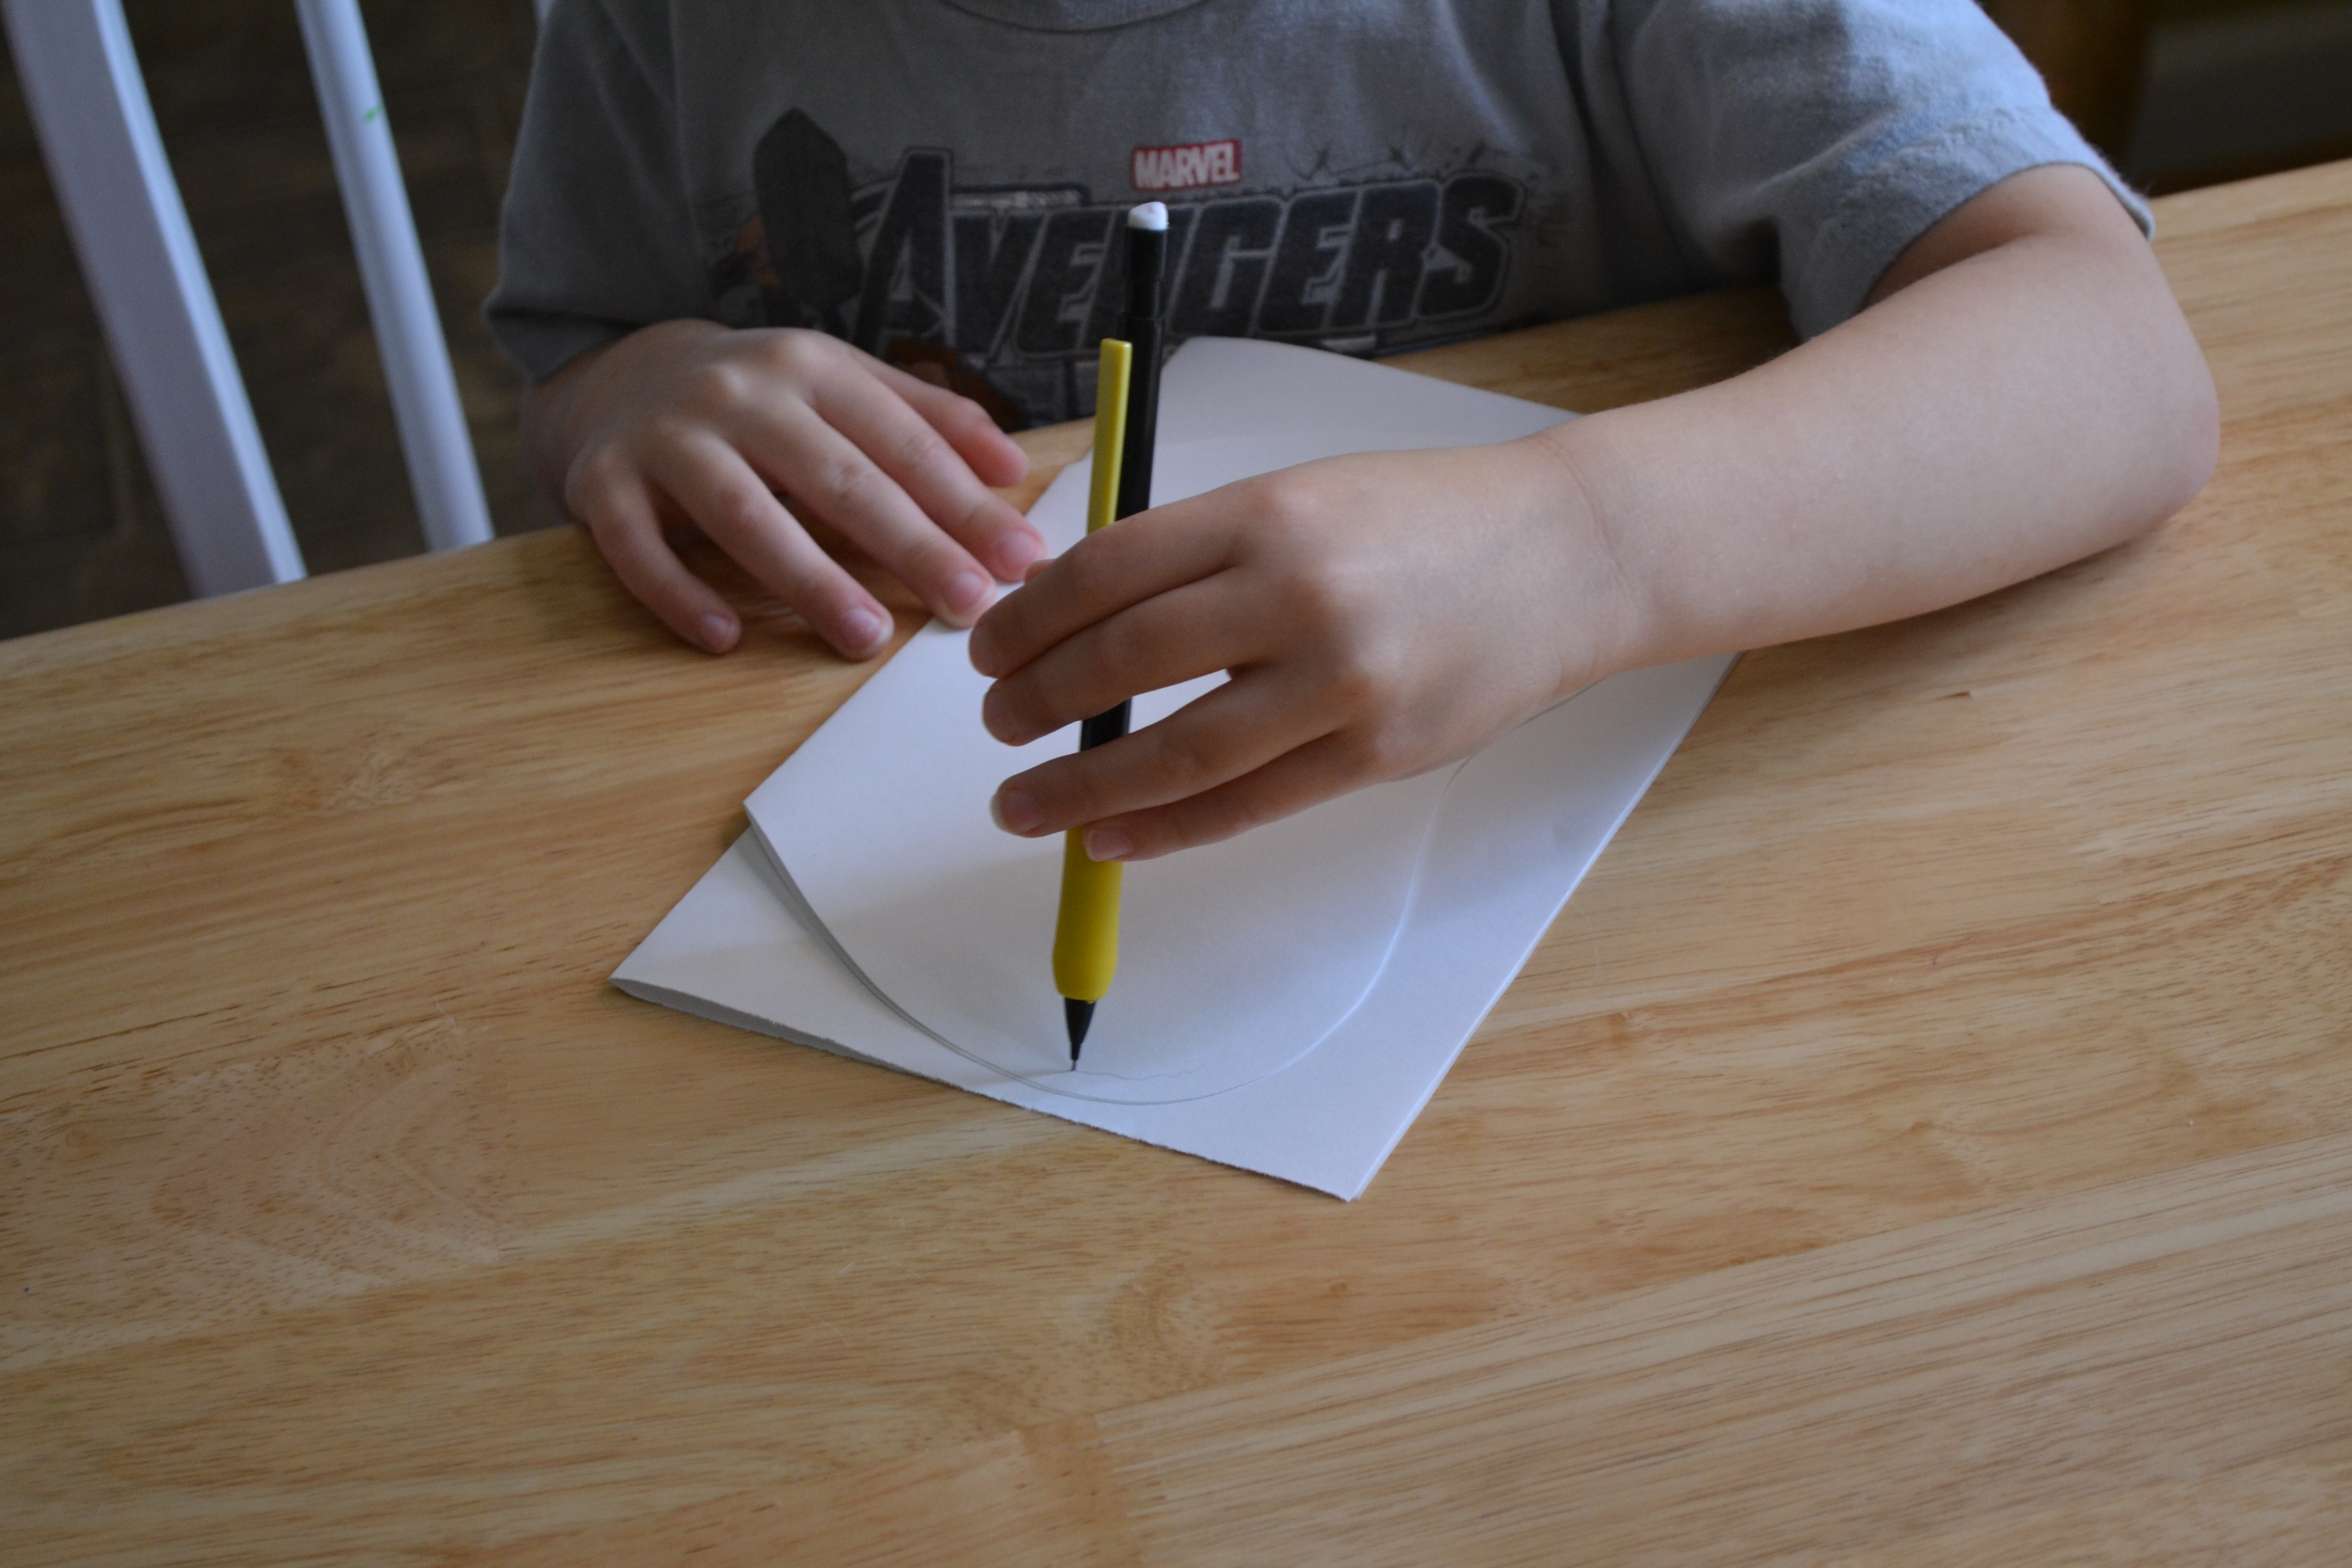
Step 3
Each of my kids took the template and traced and cut their own butterfly wings to decorate. My four-year-old needed some help with the cutting, but the older kids were able to do this on their own.
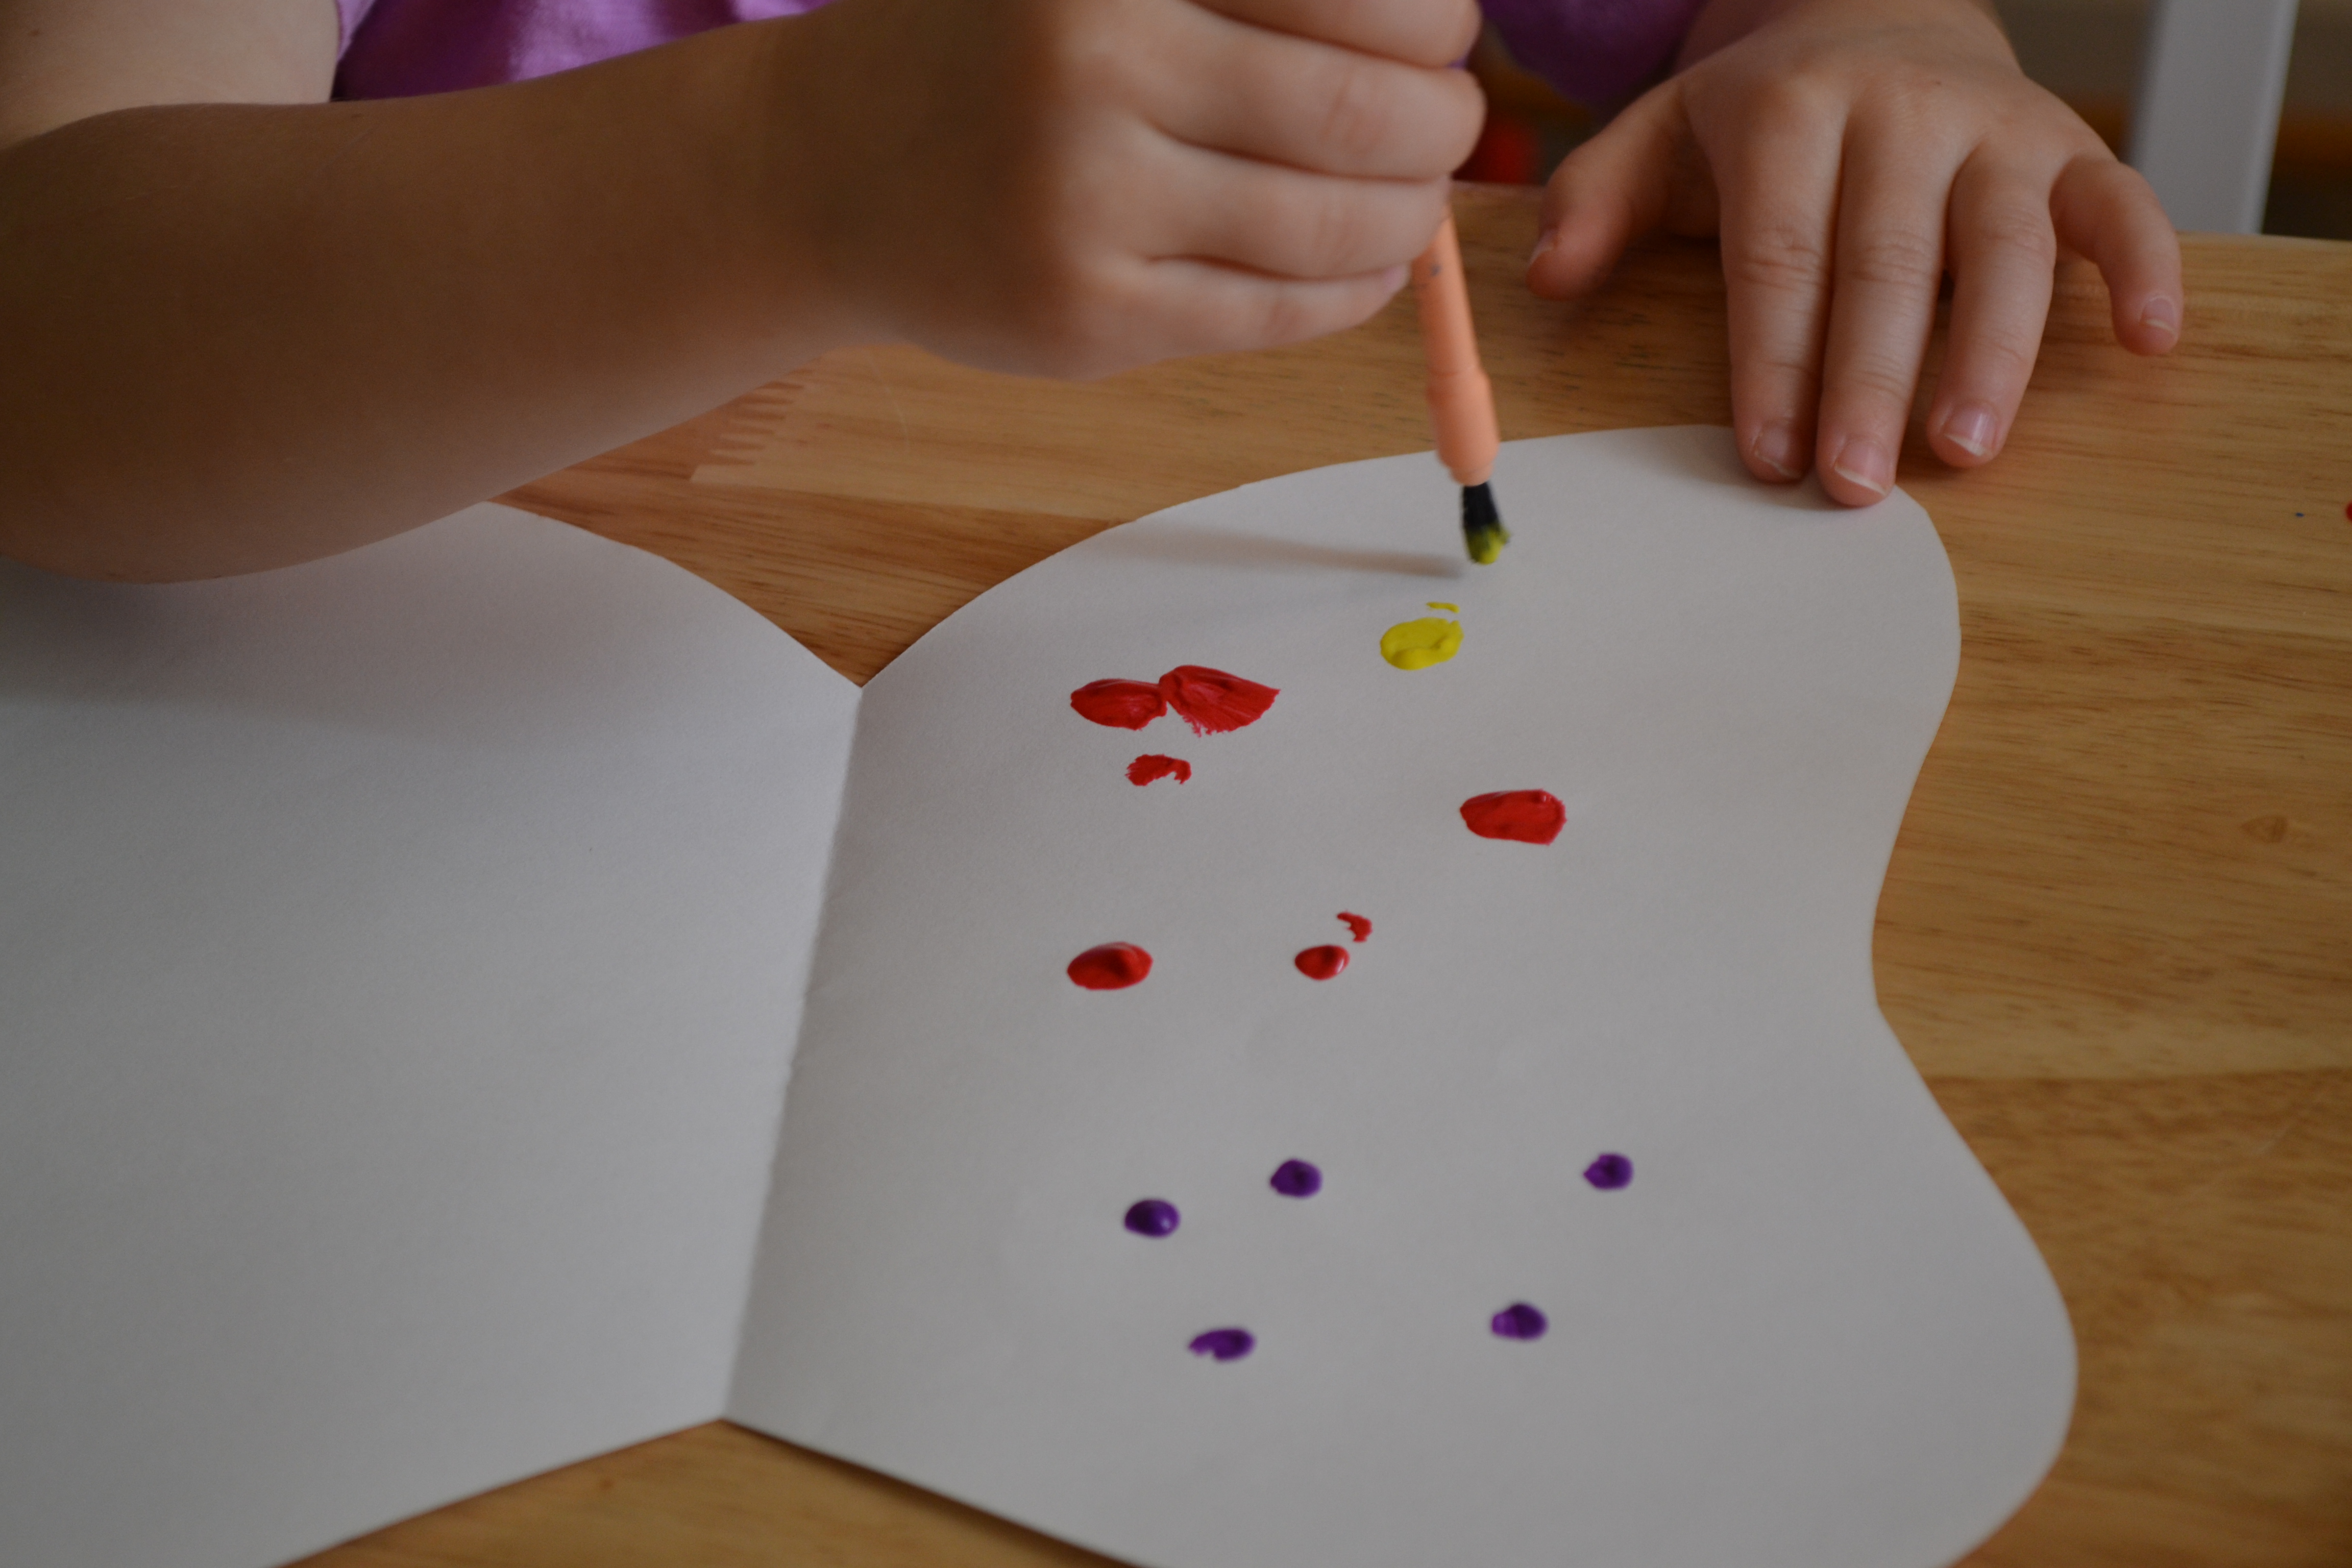
Step 4
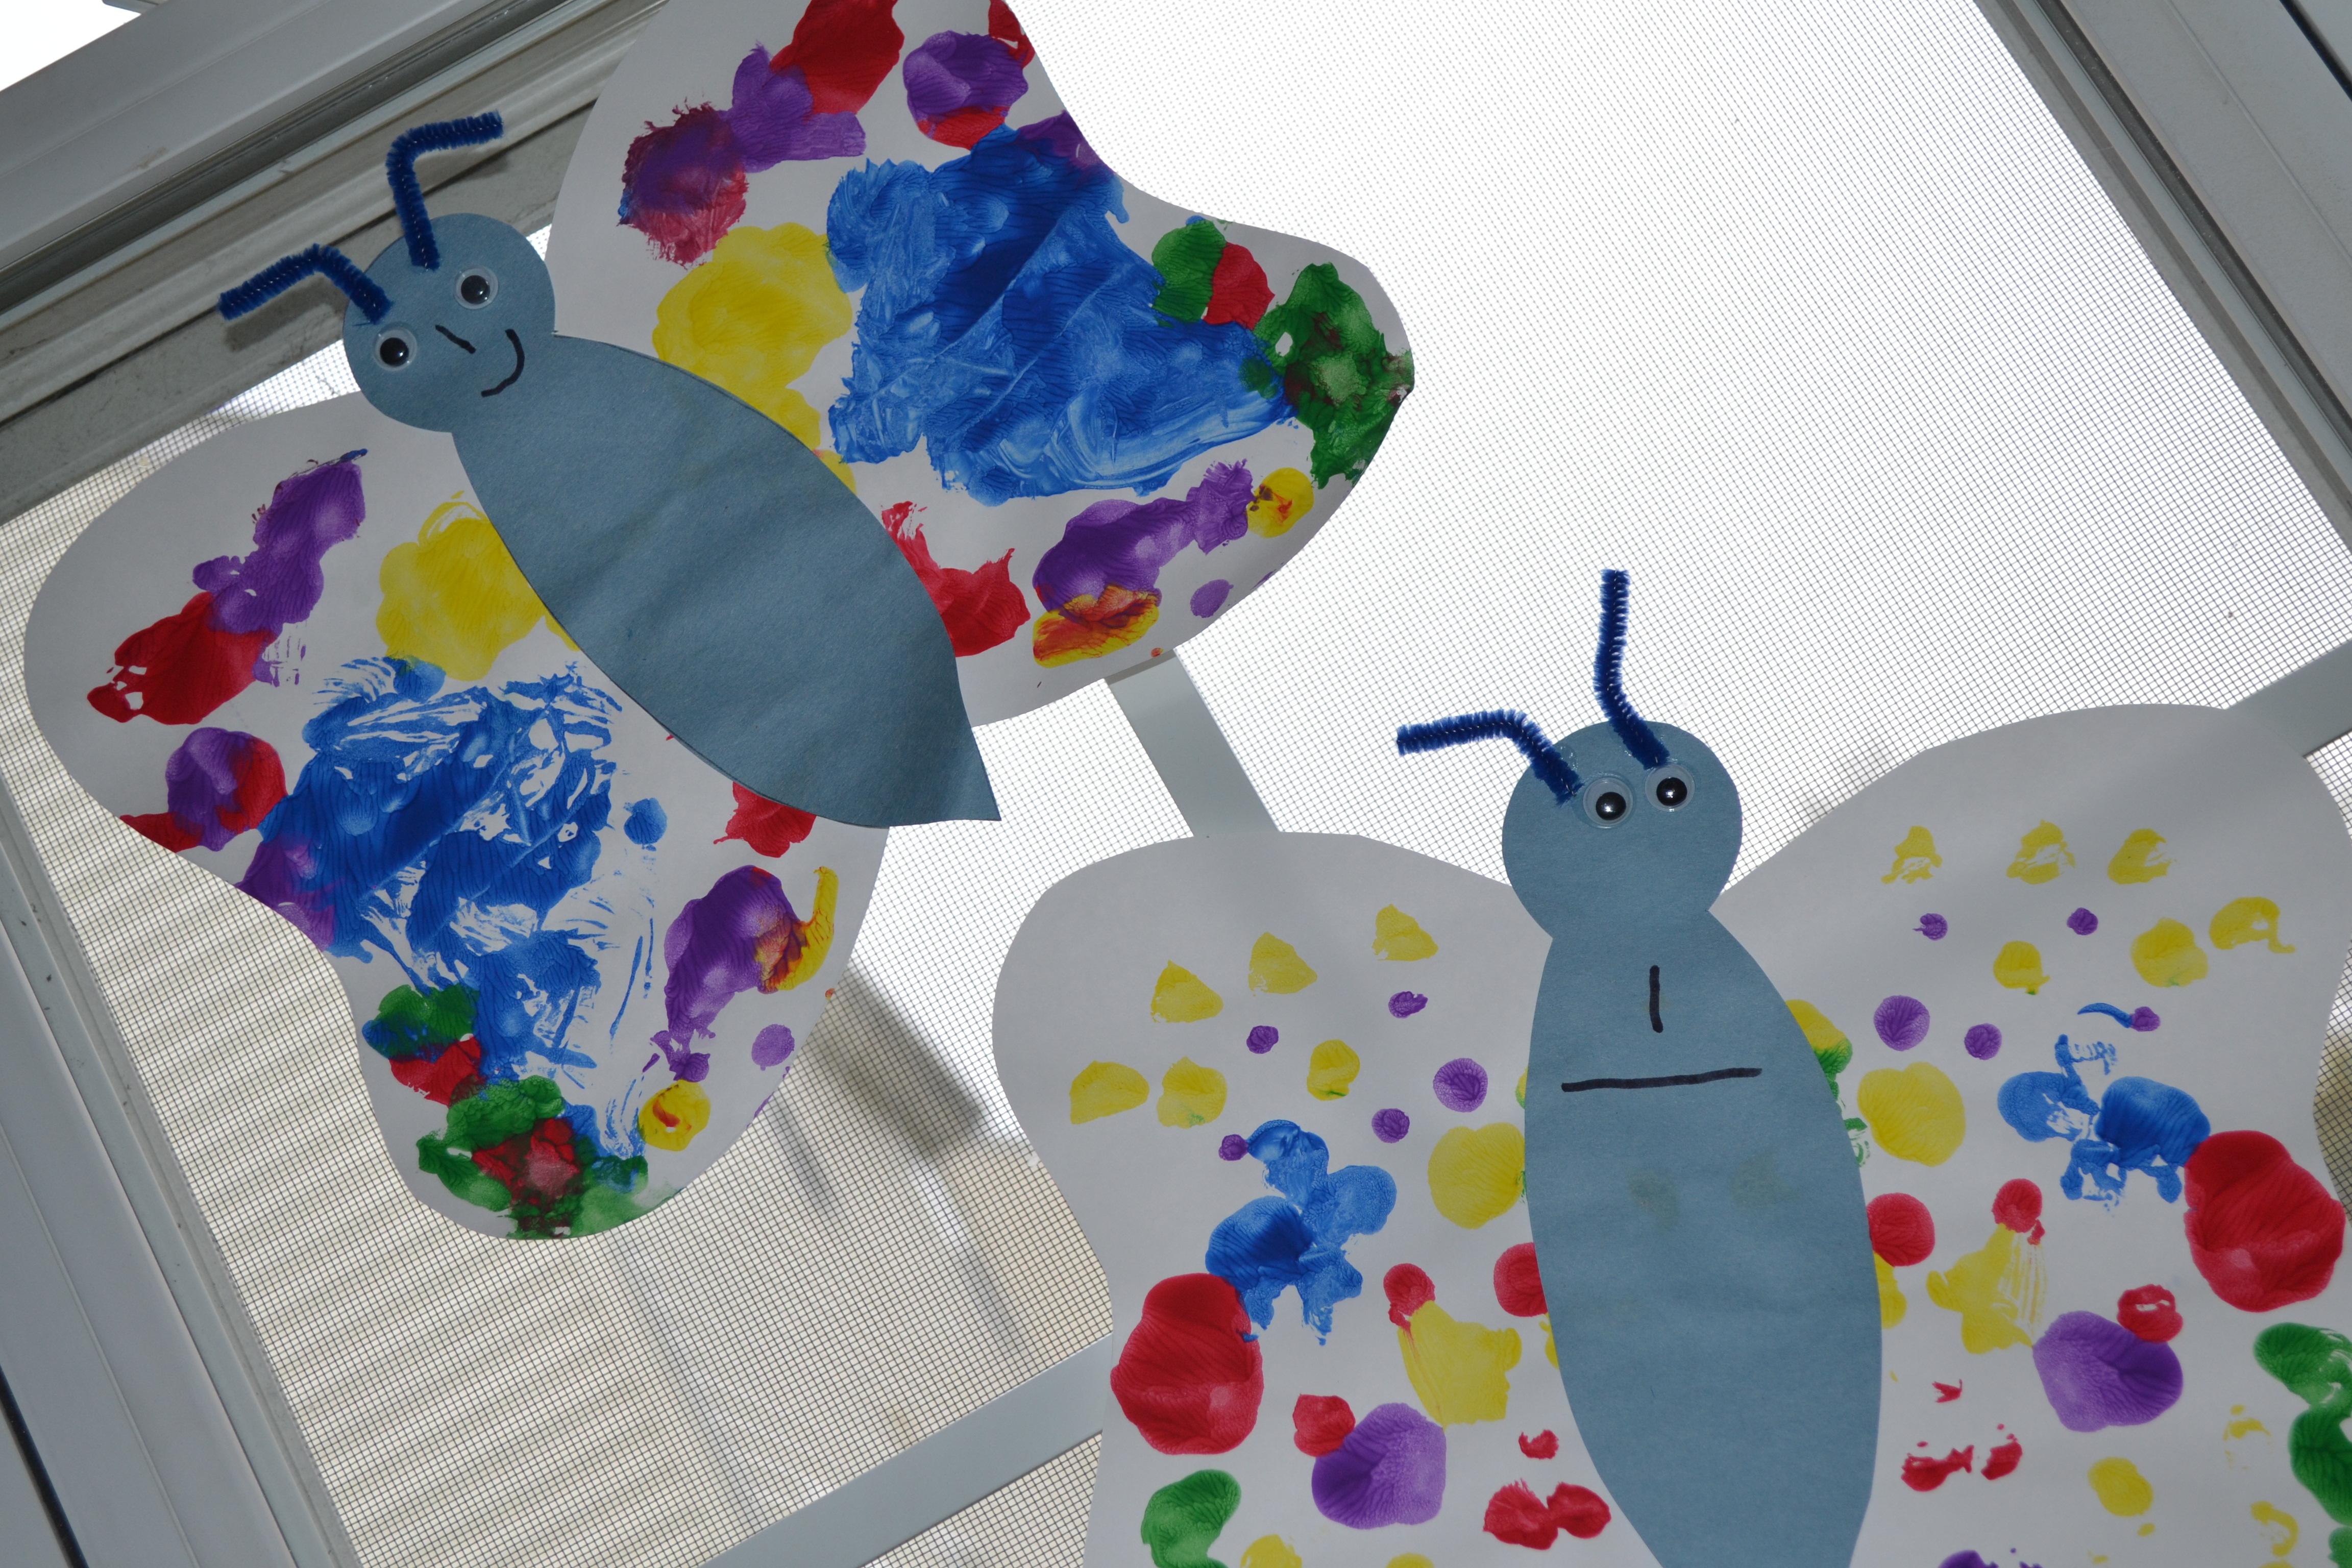
Then we talked about a line of symmetry and how everything on both sides looks the same. I gave the kids a paper plate with various colors and had them paint on one half of their butterfly wings using a good amount of paint. My three-year-old had trouble only painting on one side. This won't affect the final product, but we found that folding the wings over so he could only see one side helped.
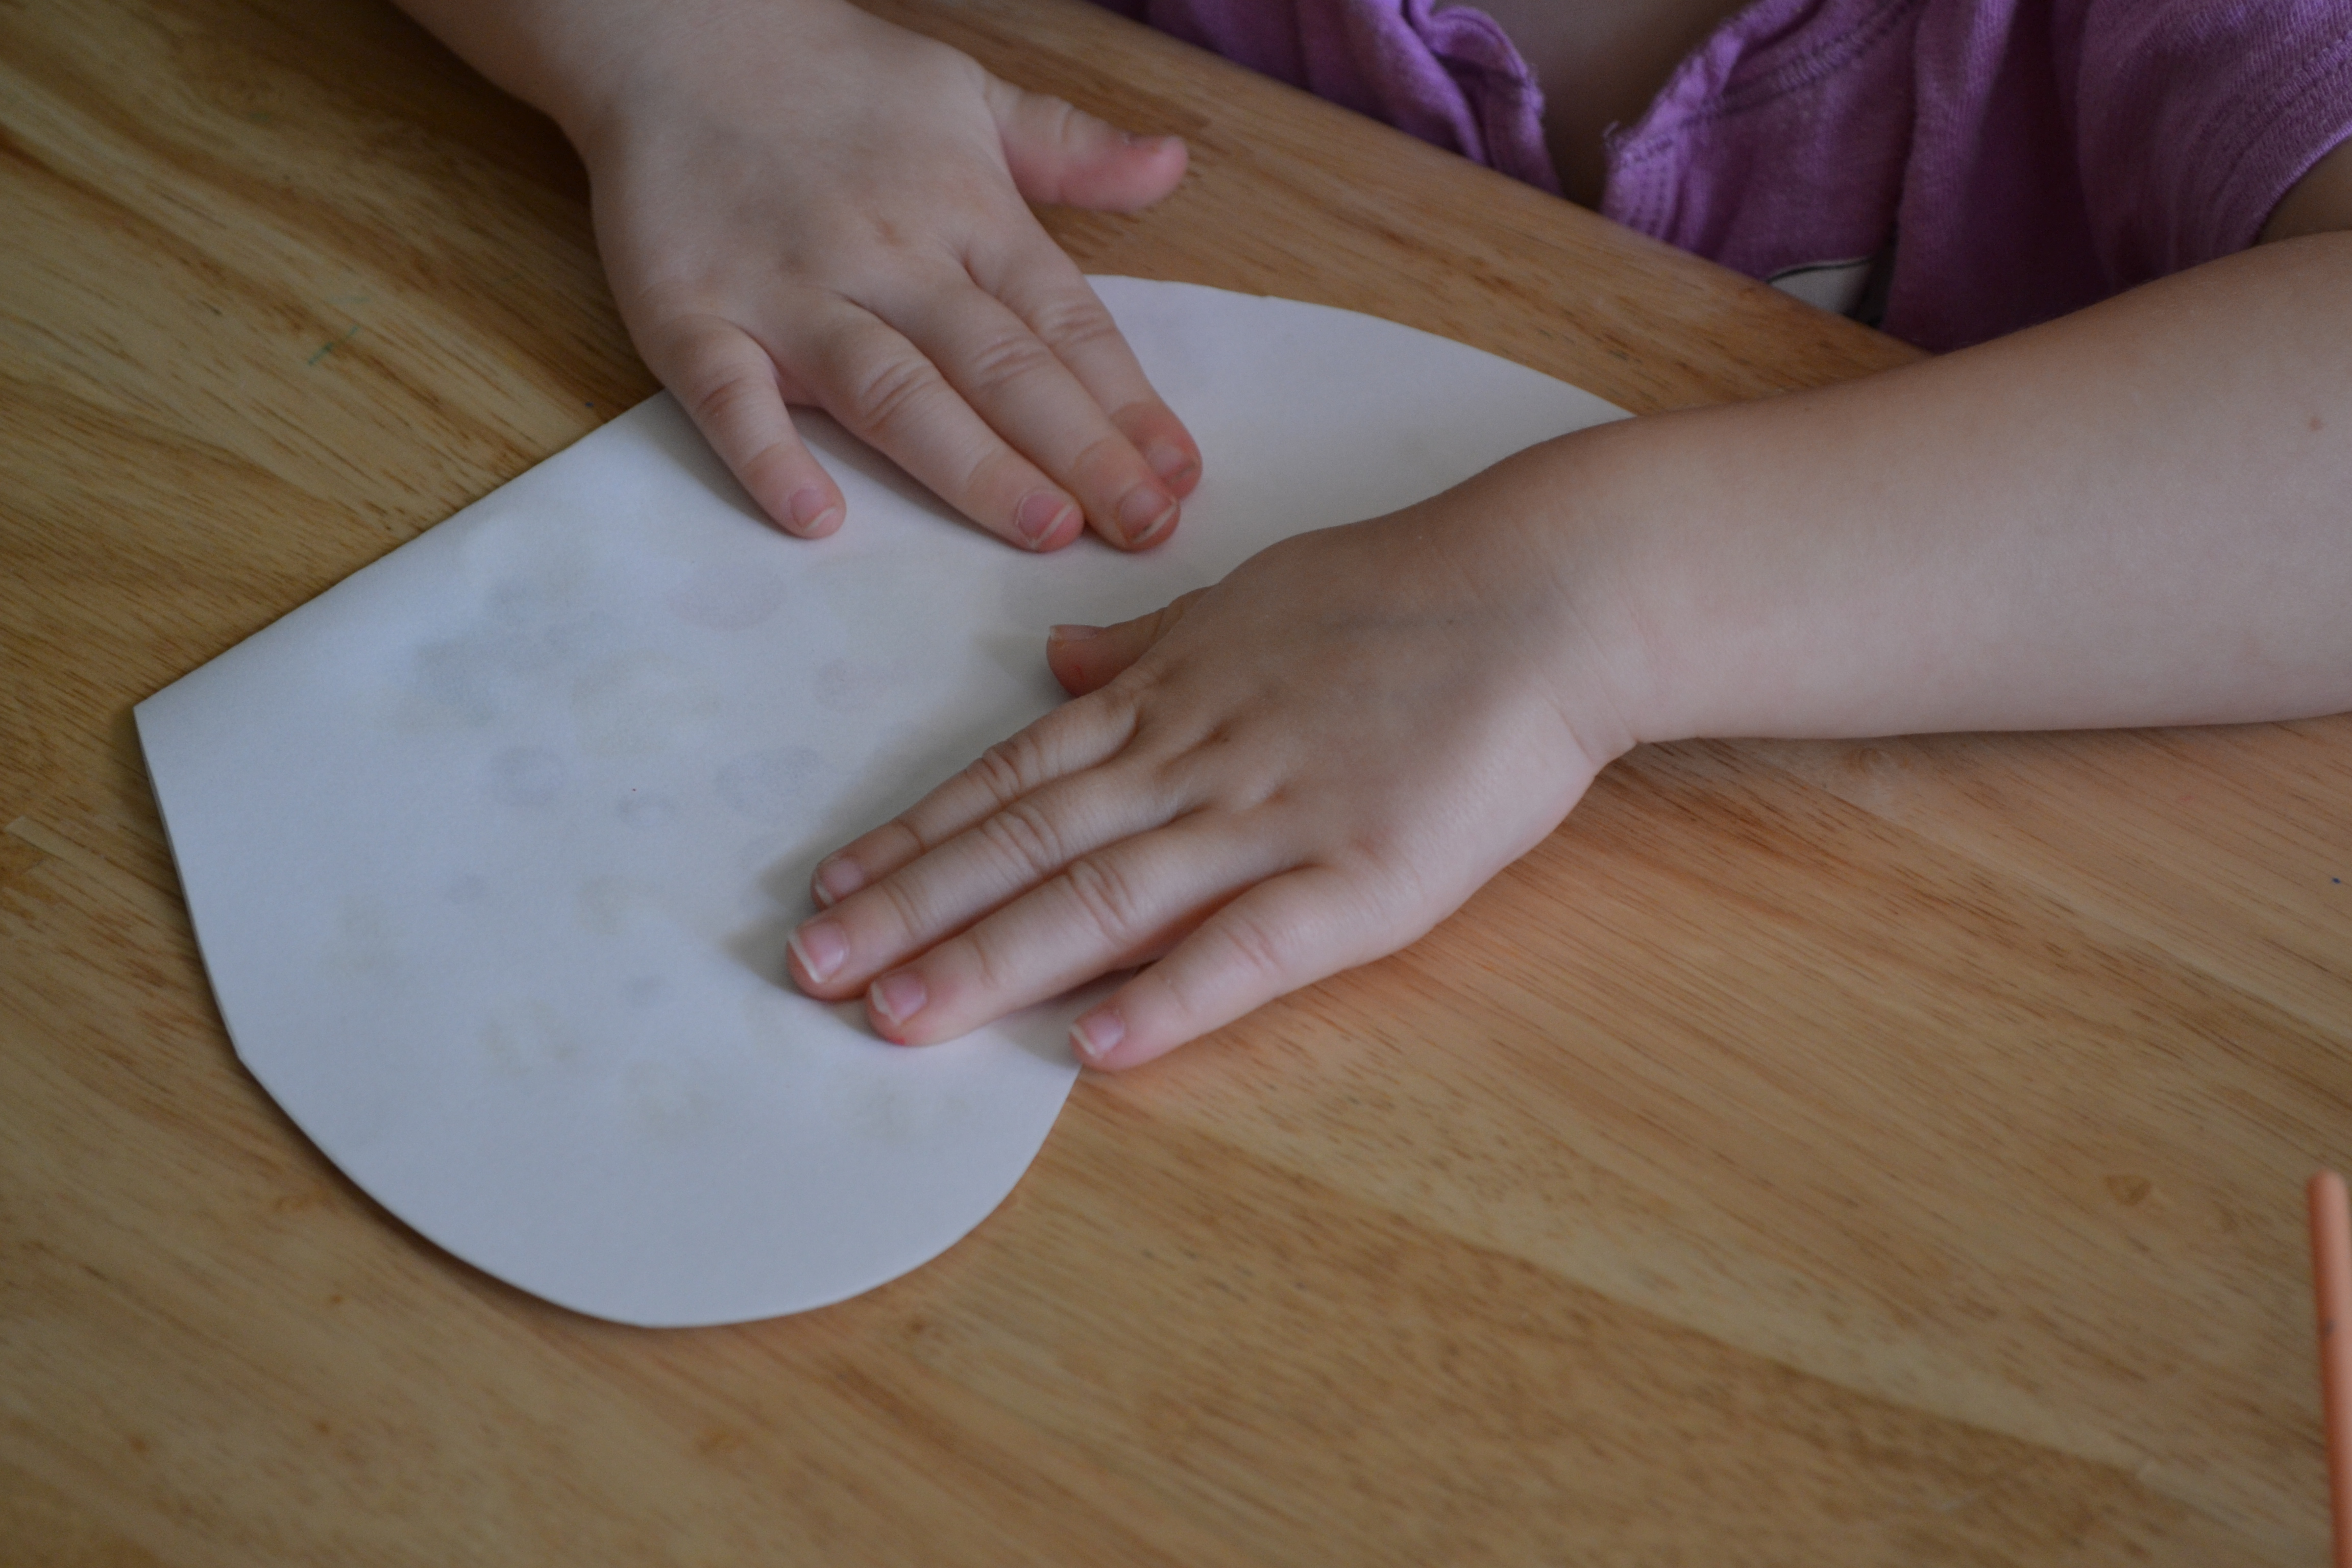
Step 5
After they finished painting, the kids pressed the two sides together. I helped the younger kids line theirs up so the sides matched up and then they carefully pressed their sides together.
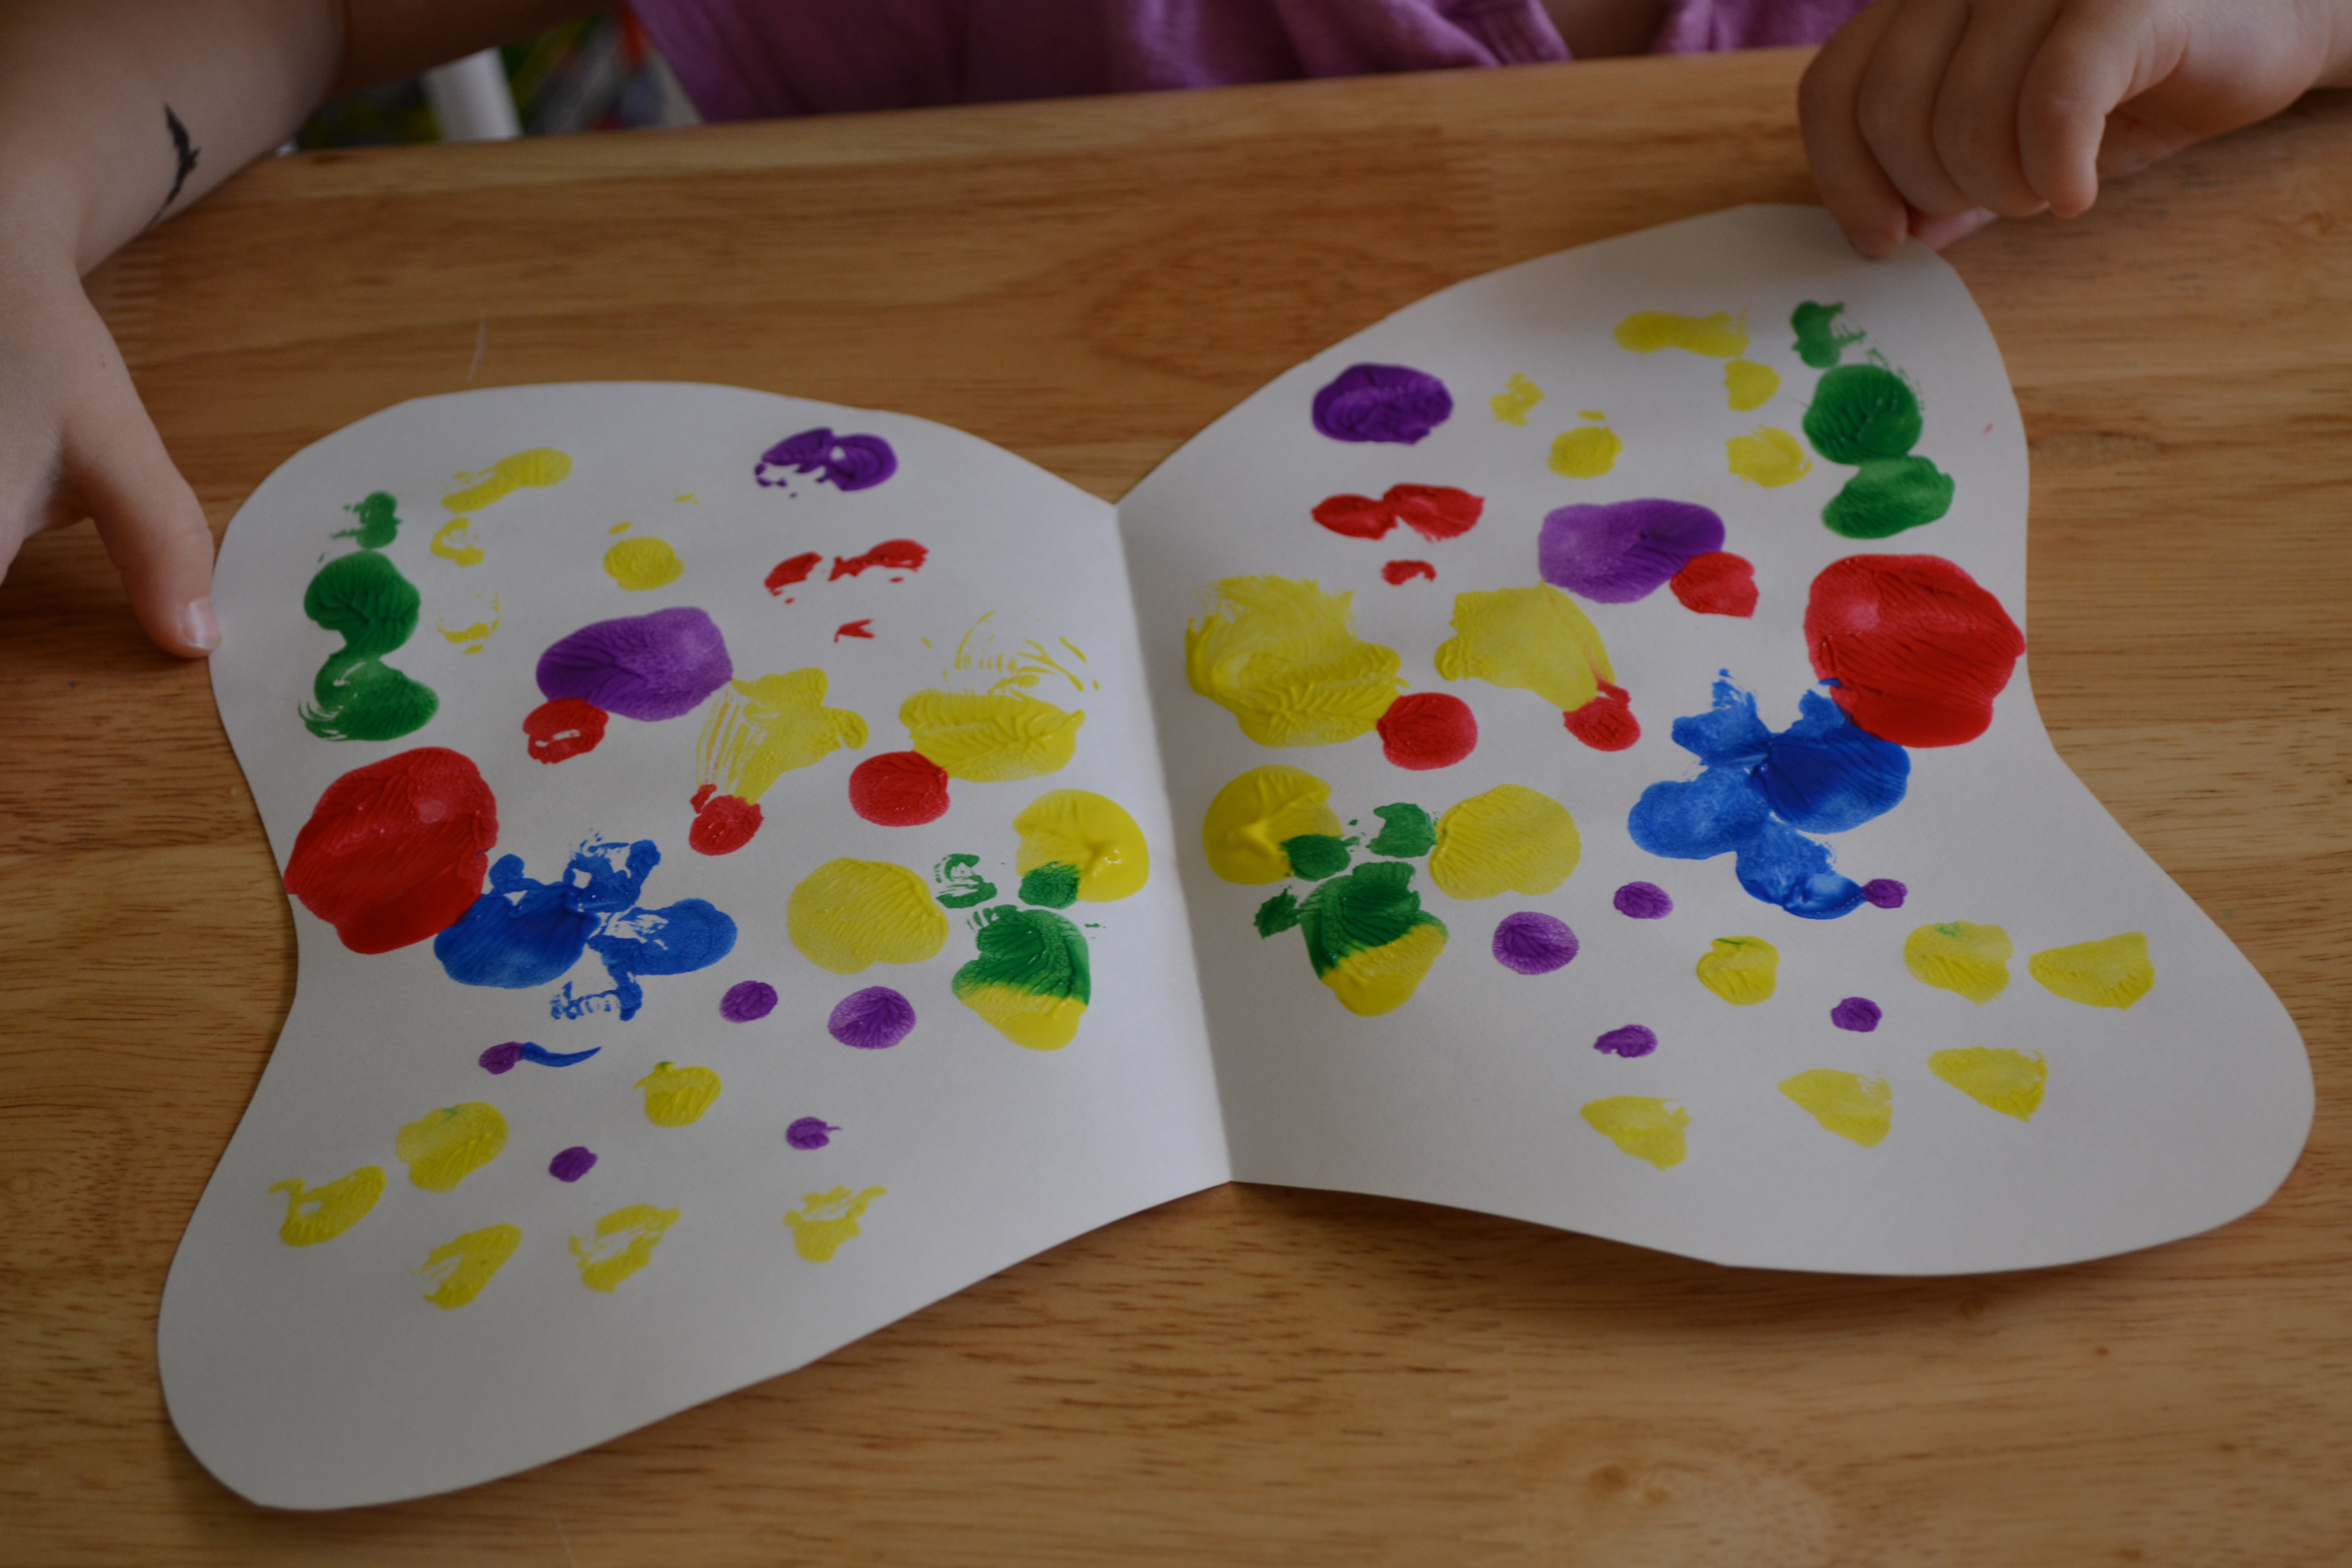
Step 6
When they opened their wings up, there was a mirror effect. My younger kids thought this was magic and the big kids were pretty impressed with the cool effect!
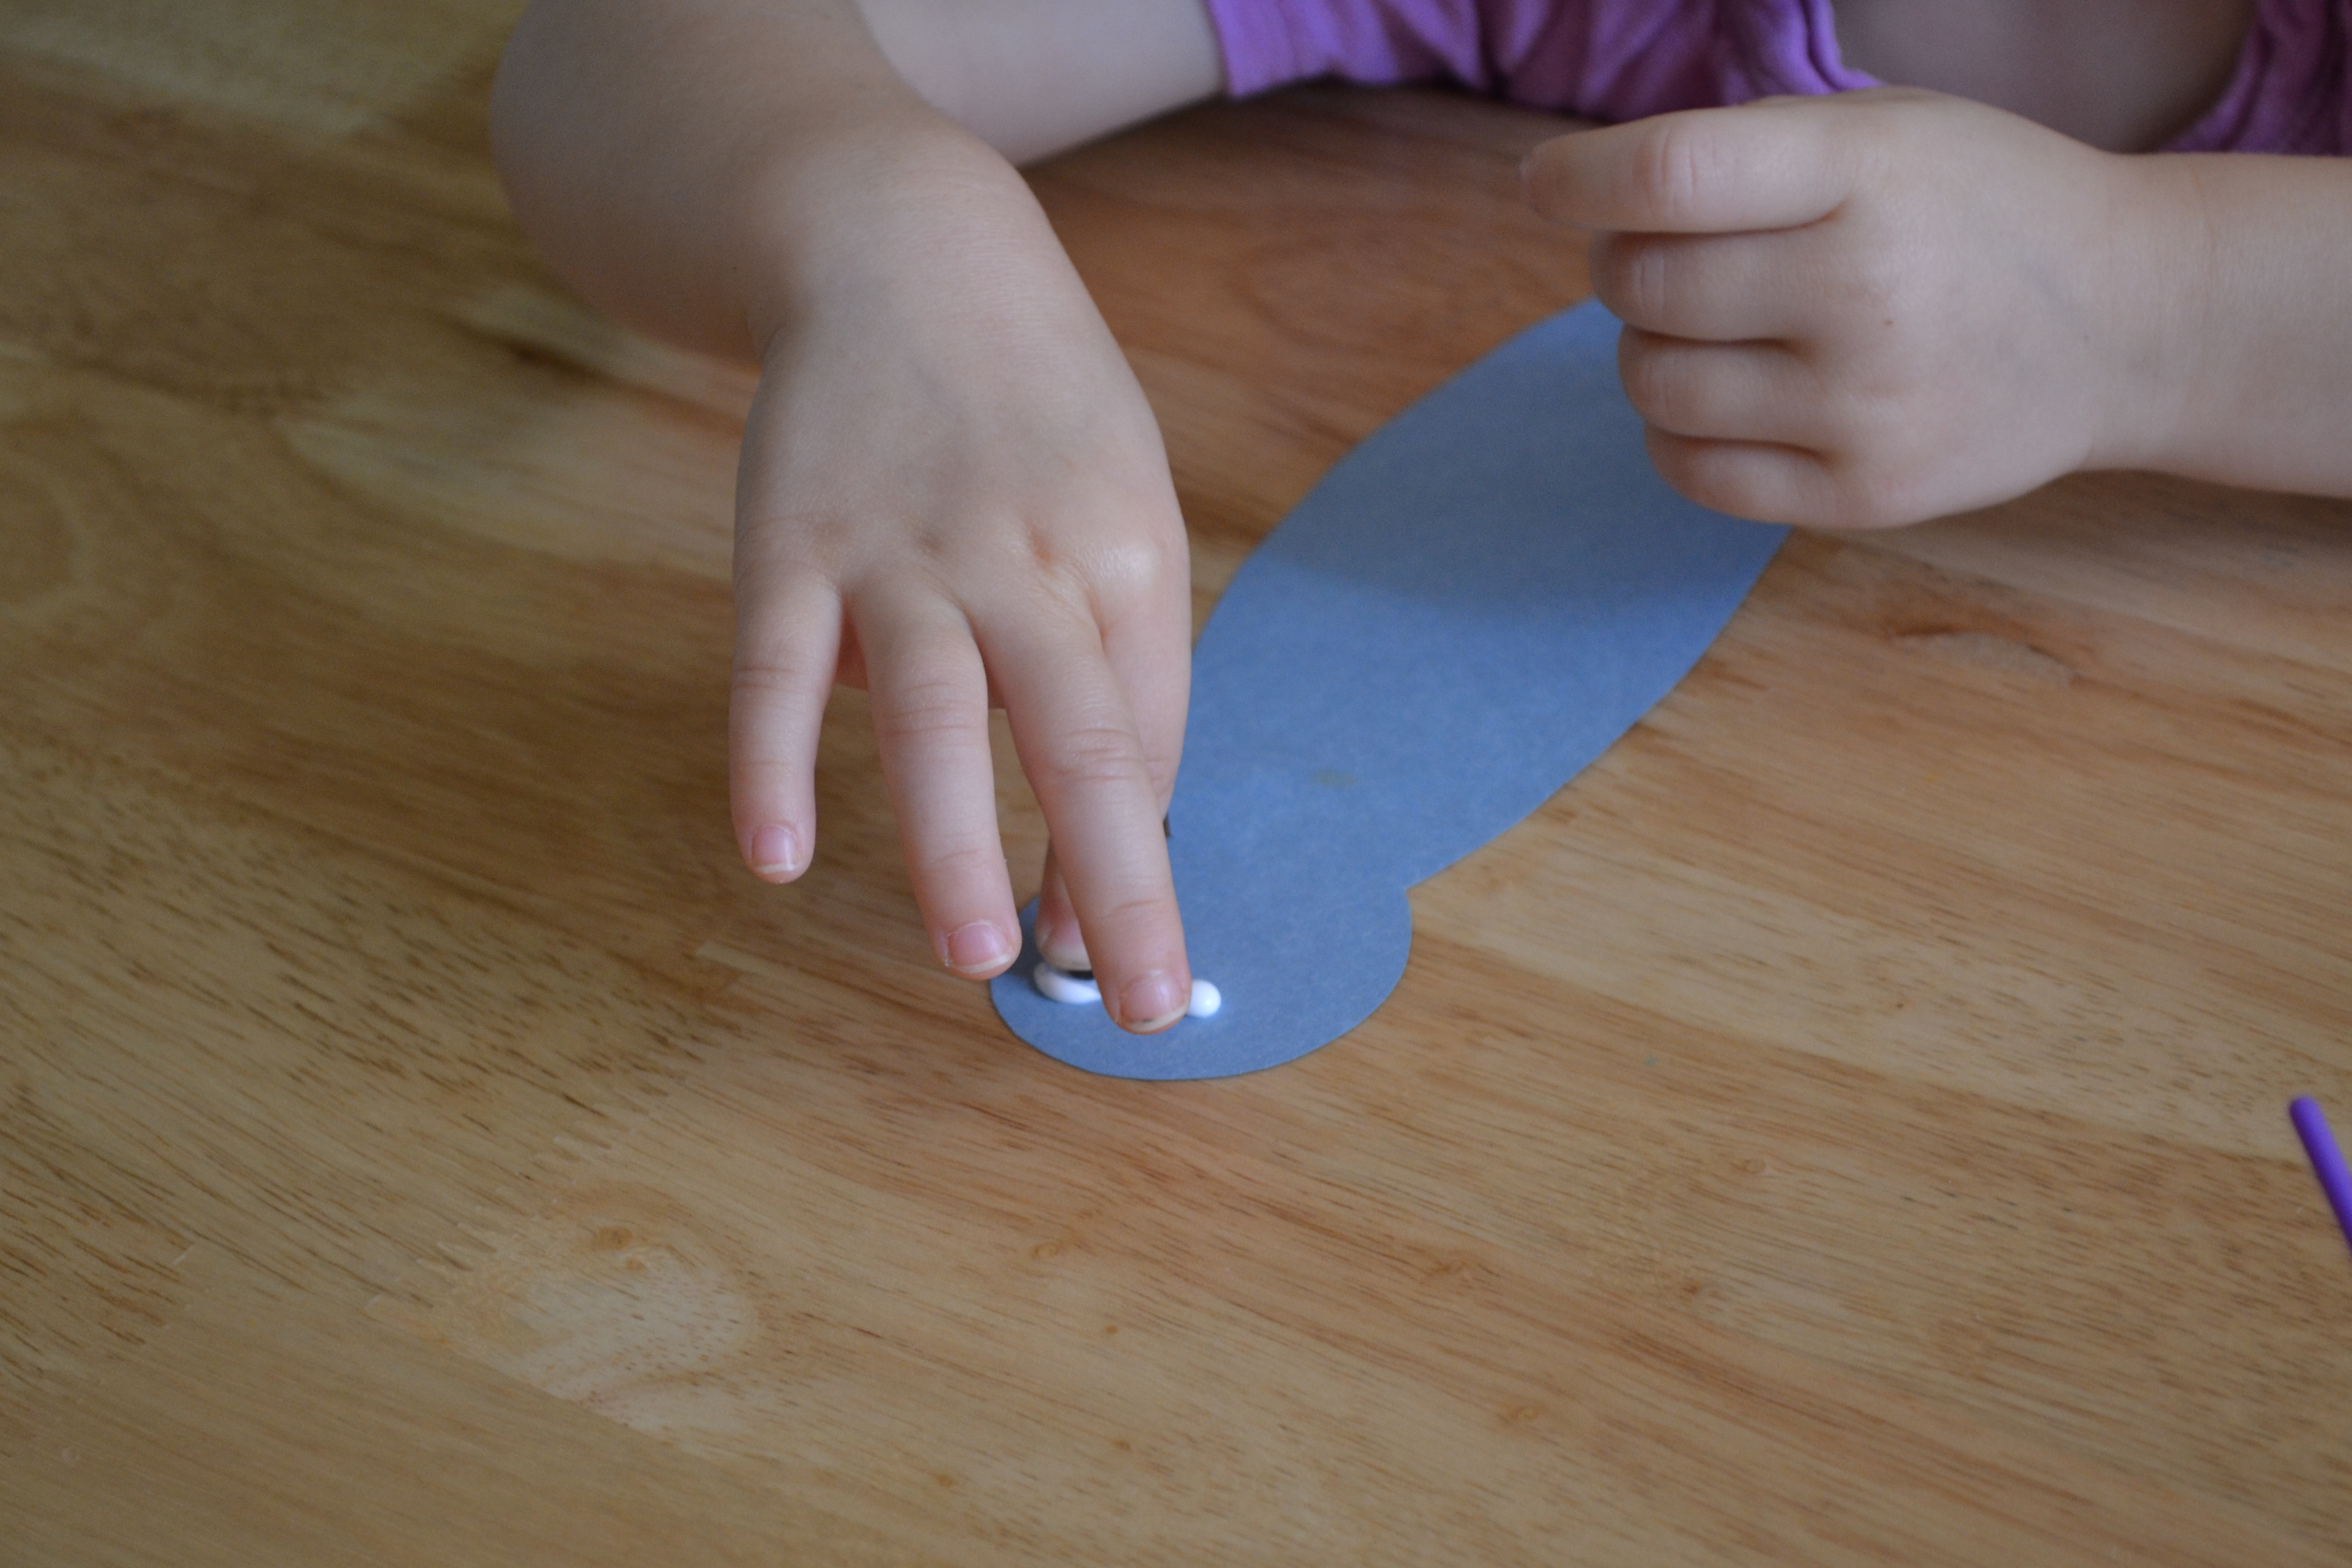
Step 7
While the wings dried, we cut out bodies for our butterflies and used the googly eyes, markers, and pipe cleaners to decorate their faces. I'm always amazed at how differently the kids make their faces look. We have one butterfly that looks really grumpy!
Final result!
The kids glued the bodies to their butterflies and then we hung them in the windows to admire.