Step-by-step tutorial
Step 1
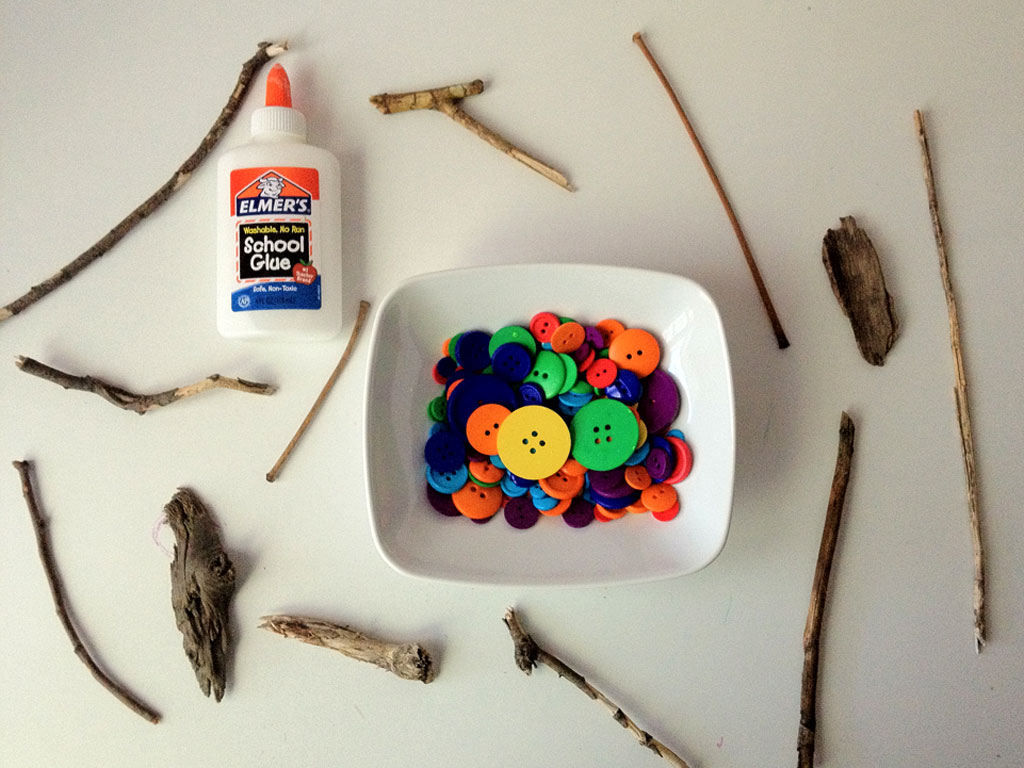
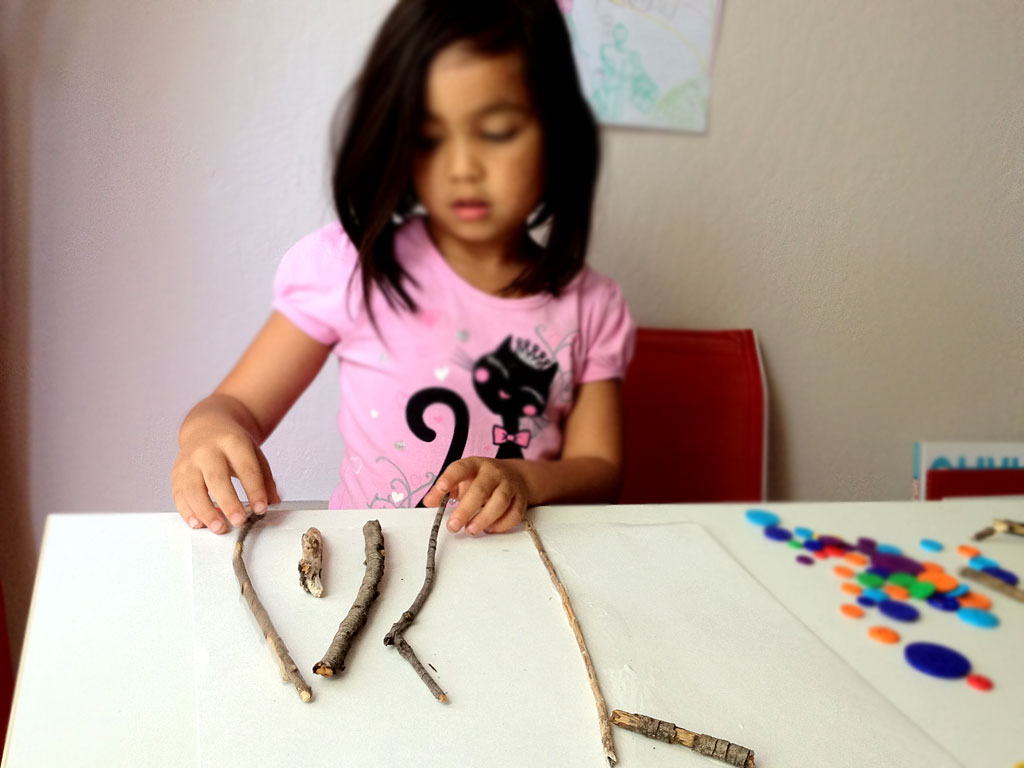
First, we went on a scavenger hunt for sticks and twigs. (My daughter loved this part!) We chose to collect our sticks over a few days because collecting items from nature is so much fun when you have a purpose for them.

Step 2
Once we were ready to make our button tree, my daughter sorted her sticks by size. We talked about "thin," "thick," "short," and "long" sticks.
Step 3
At first, my daughter added white glue to glue on the branches--but we soon realized we needed some stronger stuff to make the sticks "stick." So after my daughter artfully arranged her sticks, I hot glued the sticks into place on some poster board. (Poster board is the perfect backdrop for this project since it can carry the weight of the sticks.)
Step 4
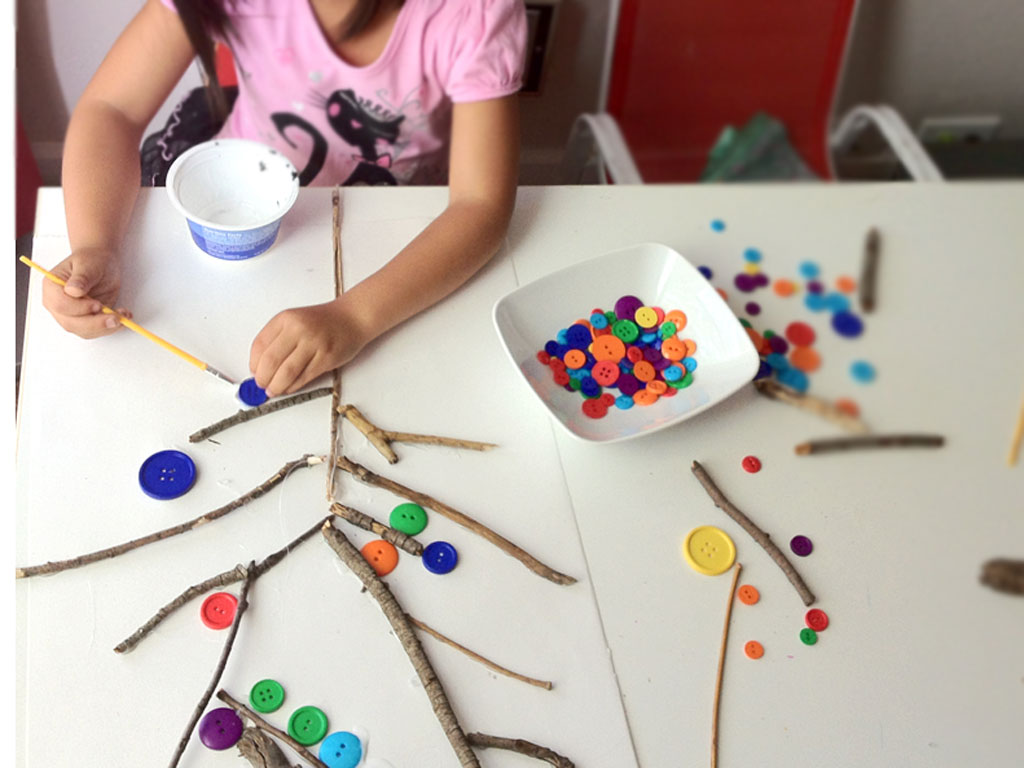
Once the hot glue had dried, my daughter took over full creative direction for her button "leaves."
Step 5
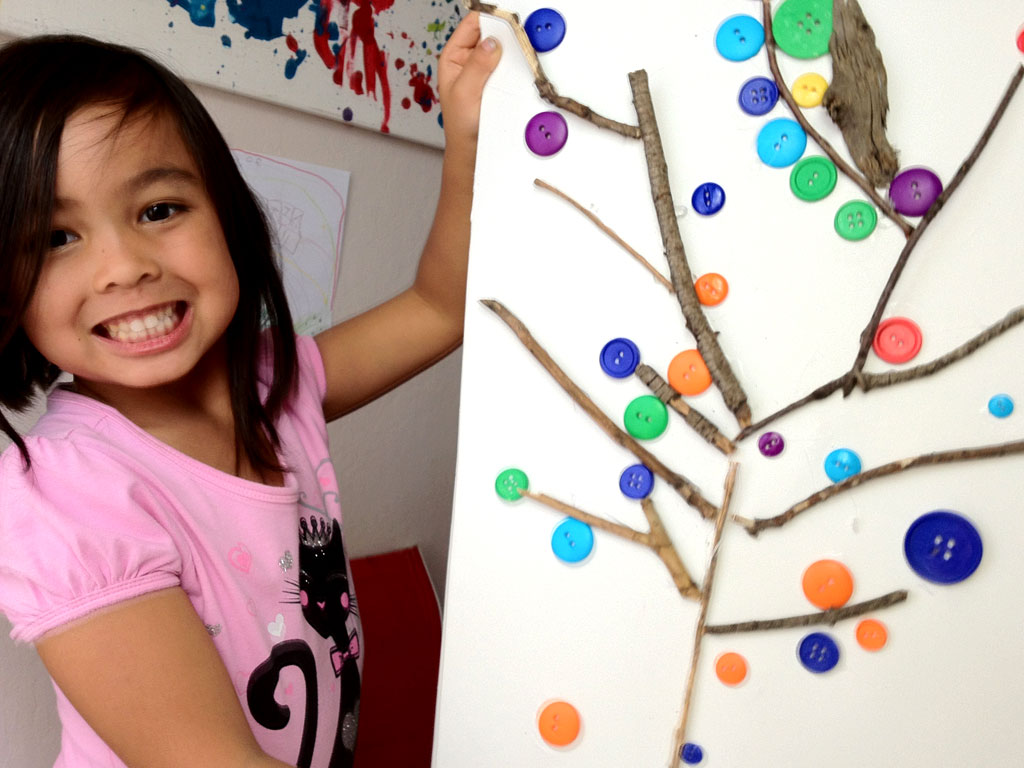
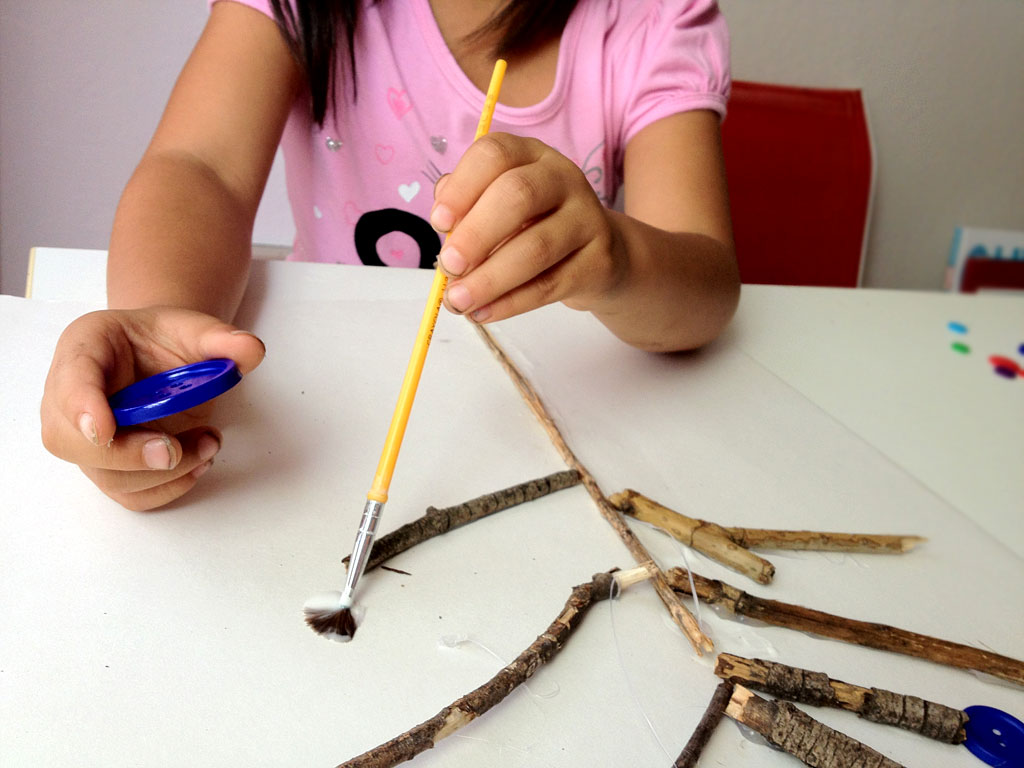
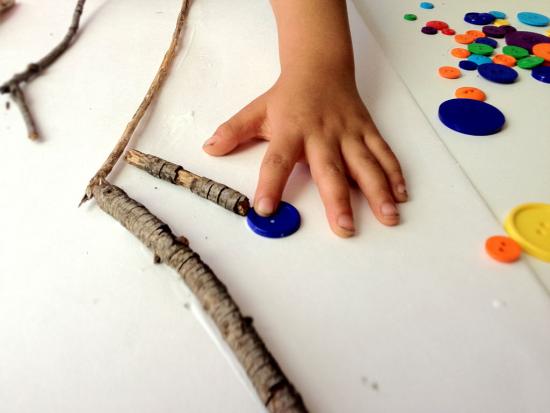
She used a paintbrush to carefully add glue to each button, then placed the button leaves on her tree.
Step 6
I thought we would be done with our button tree after the buttons were all glued on. But my daughter quickly grabbed her markers and pens to add some background scenery. She also included my name on her artwork as co-artist since I helped with the hot glue. So sweet!
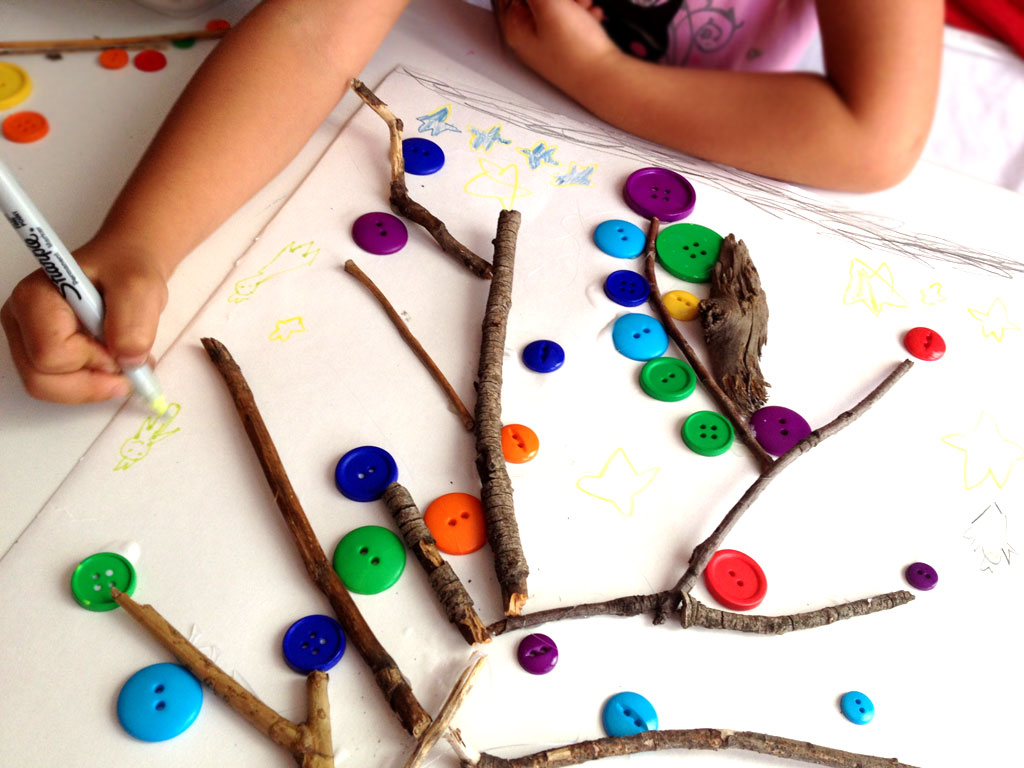
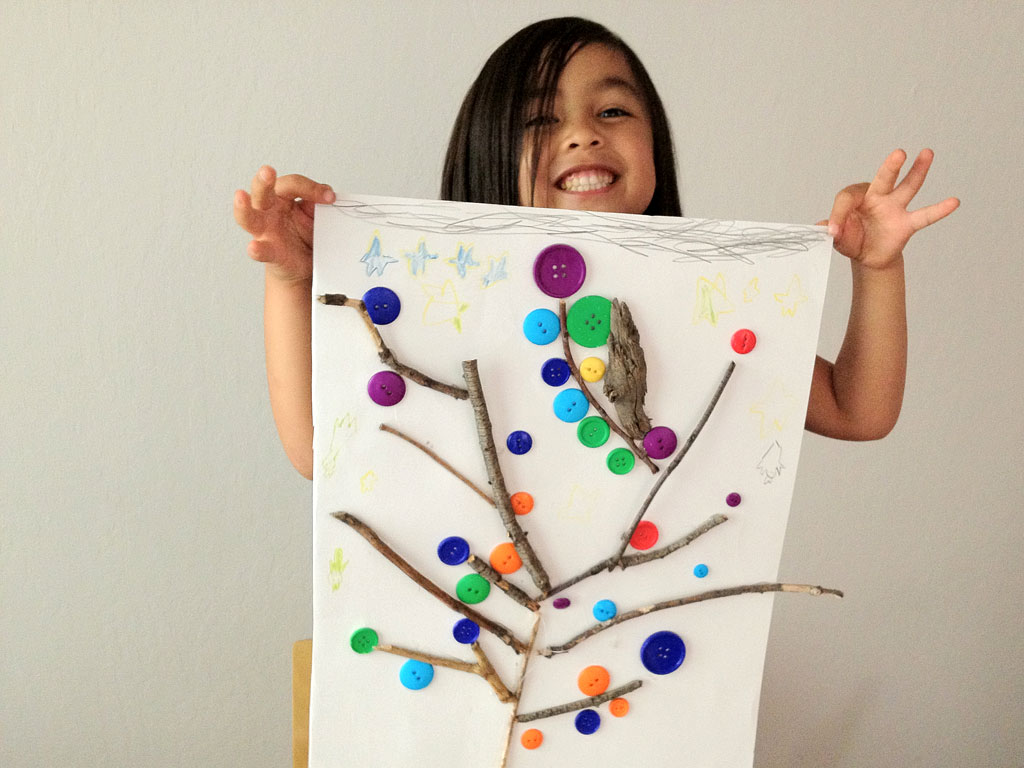
Done!
My favorite part was when my daughter glued a few buttons not attached to the tree to represent the fall season. The glue dried pretty quickly, and my daughter was excited to hold up her beautiful button tree creation!