
Step-by-step tutorial
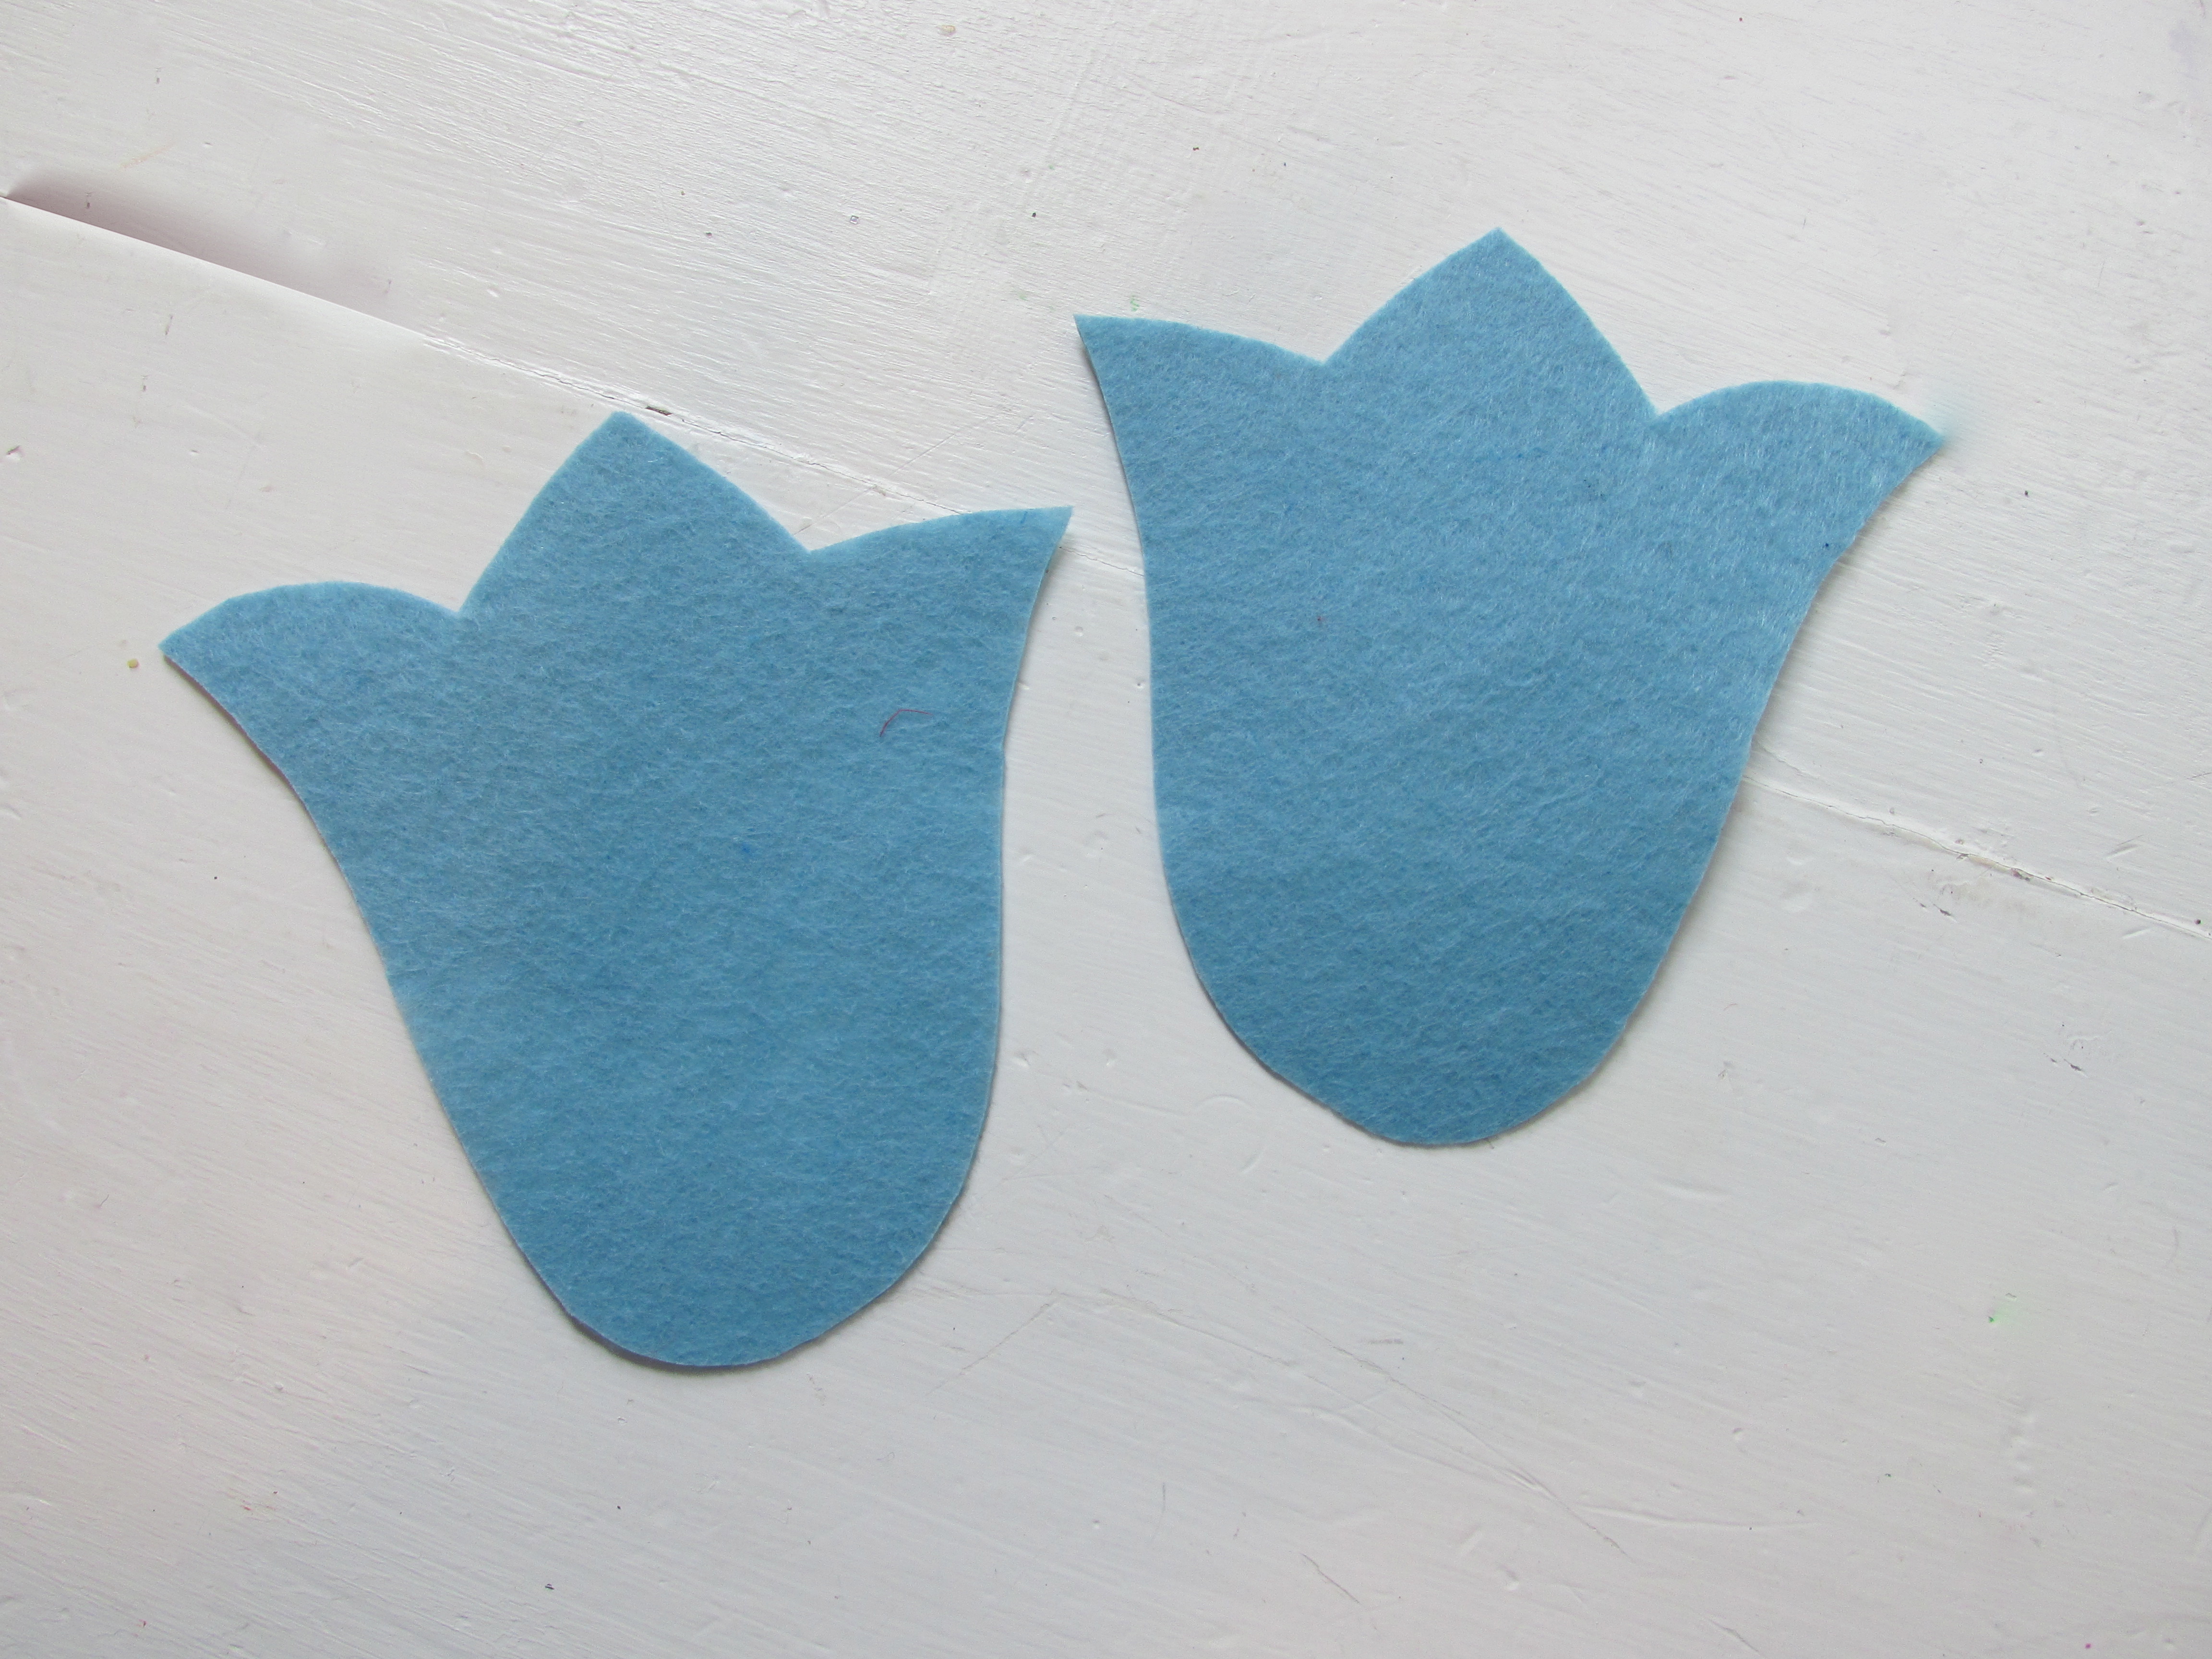
Step 1
I first Googled flower templates and searched until I found one that I liked. I printed it, glued it to some cardboard and then cut it out. This became my template for my flowers. I then traced the template onto a few different colors of felt making sure I had at least two of each color for the back and front of the flower. I then cut the flowers out.

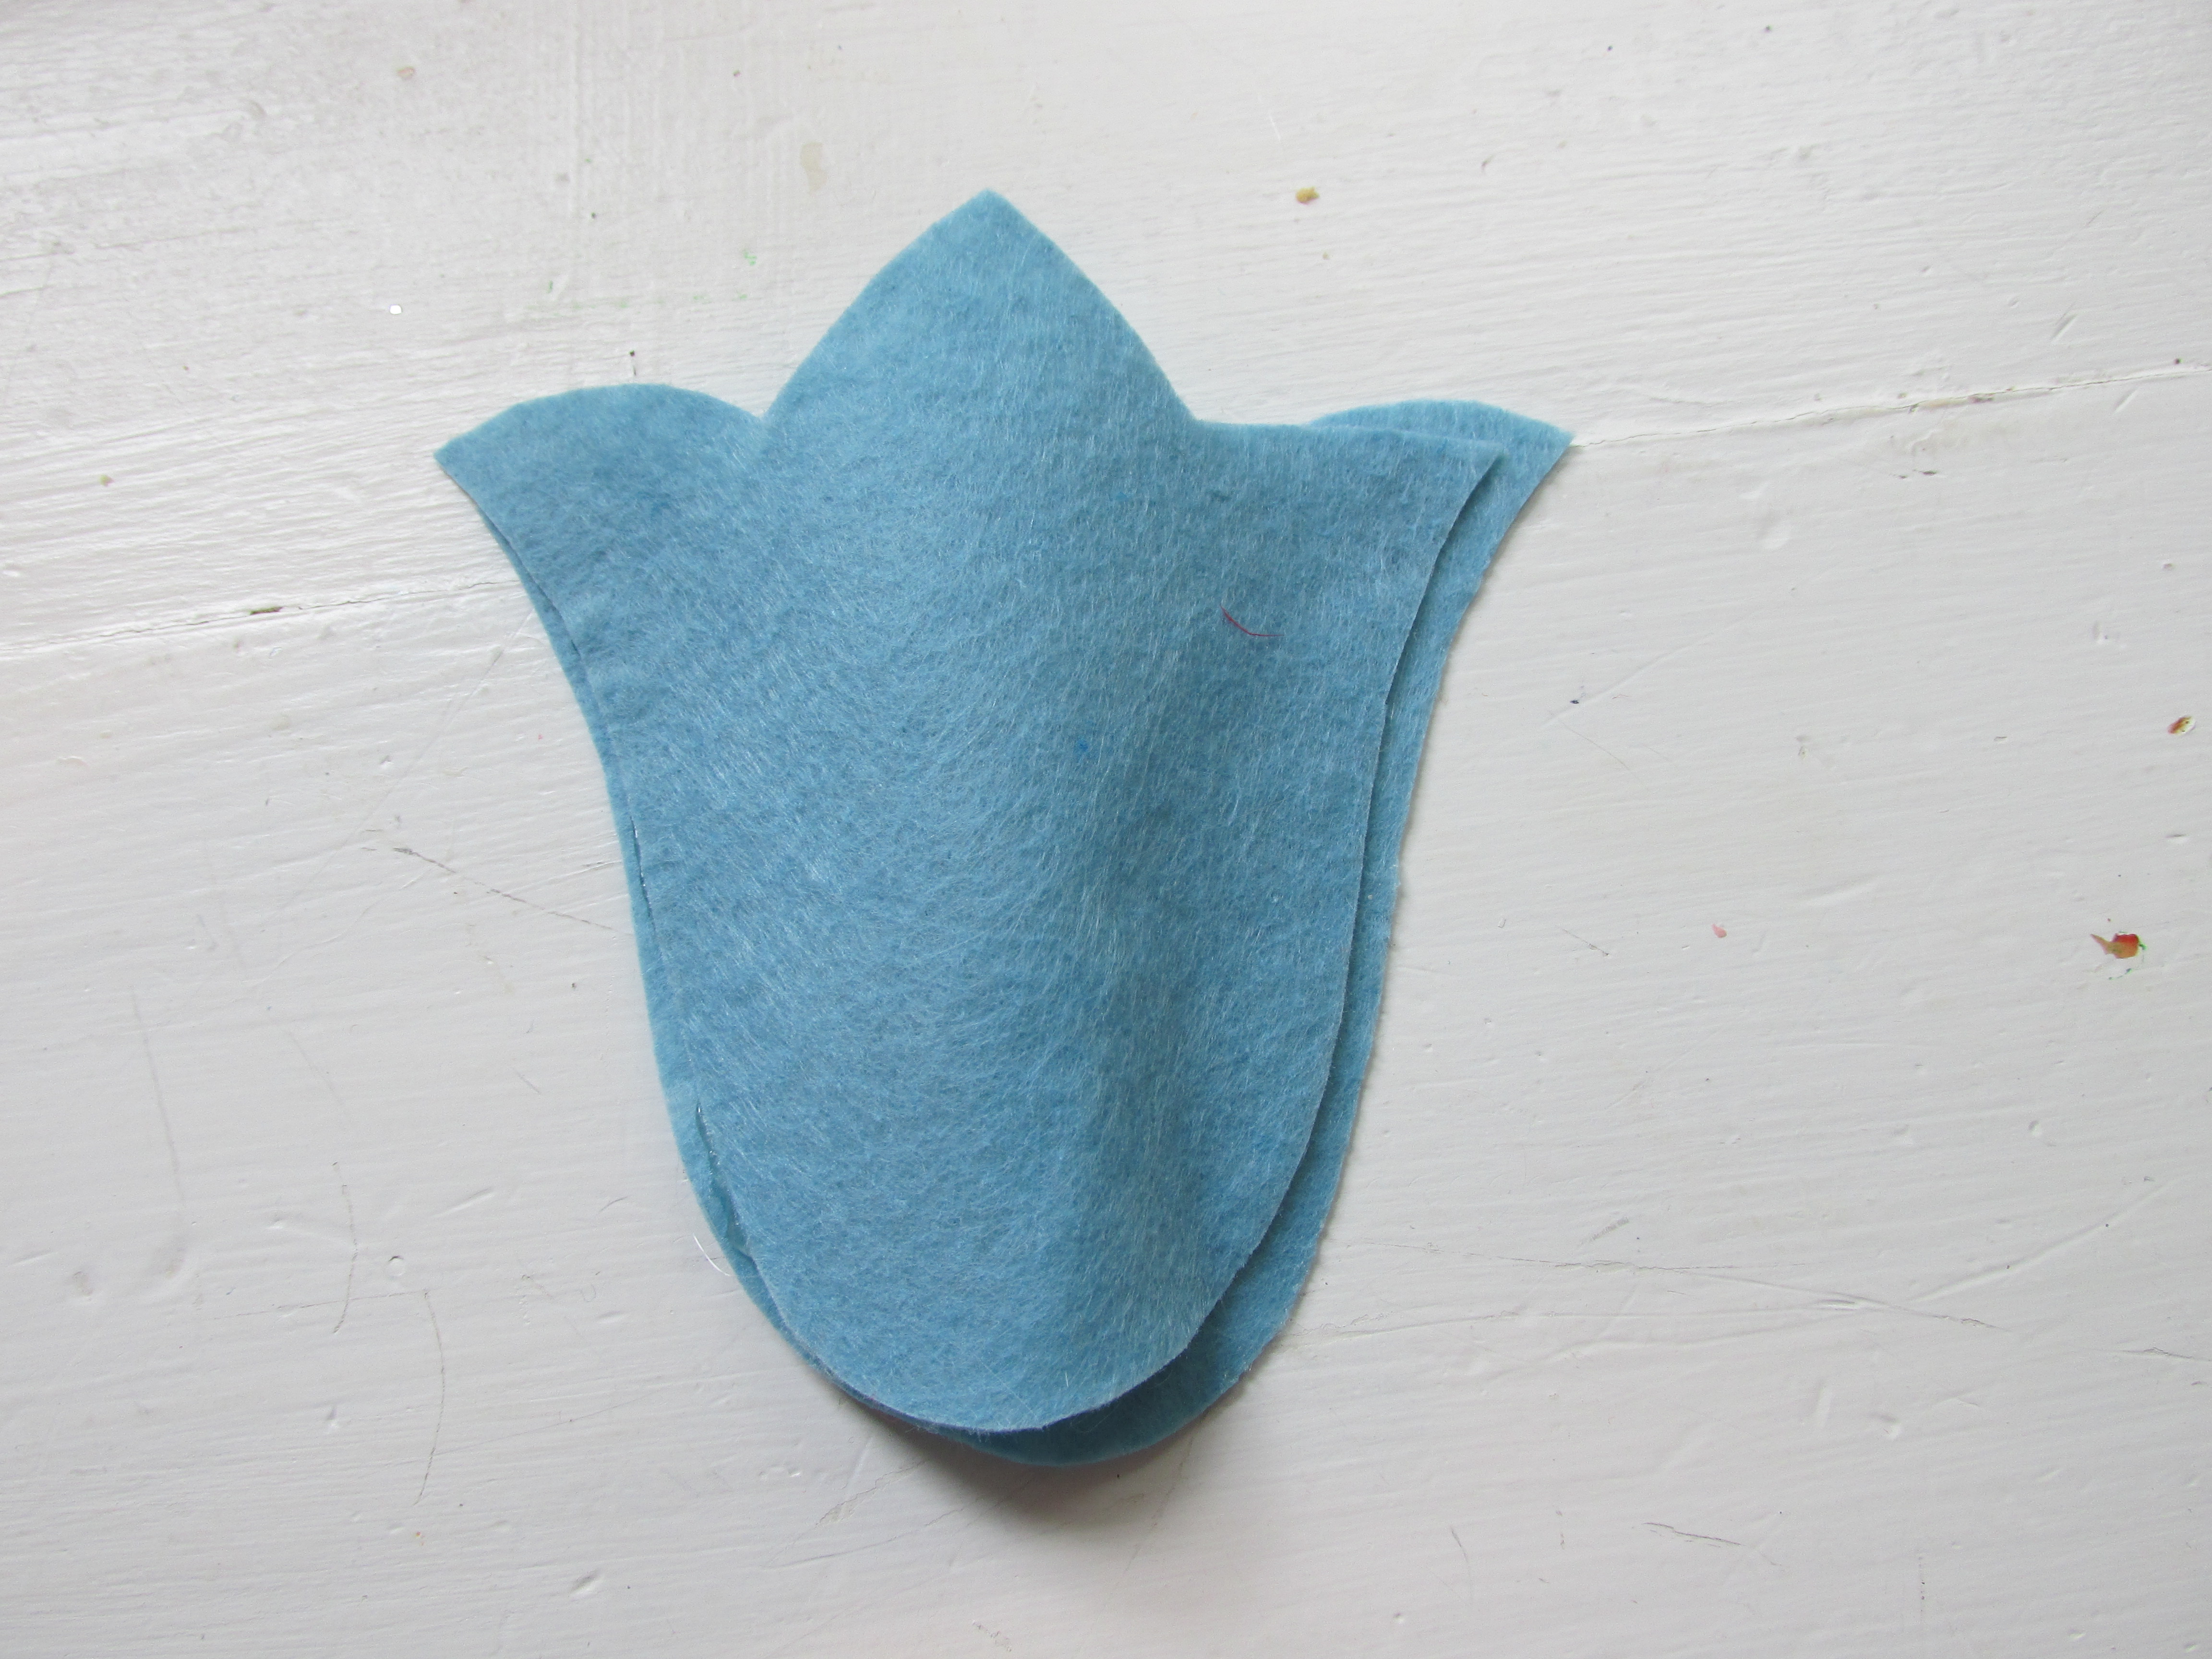
Step 2
Using my hot glue gun, I placed one flower piece on top of another and glued them together. Once the two pieces were together, I pinched them a bit so they were not totally flat. I also left an opening in the bottom of the flower for the stem.
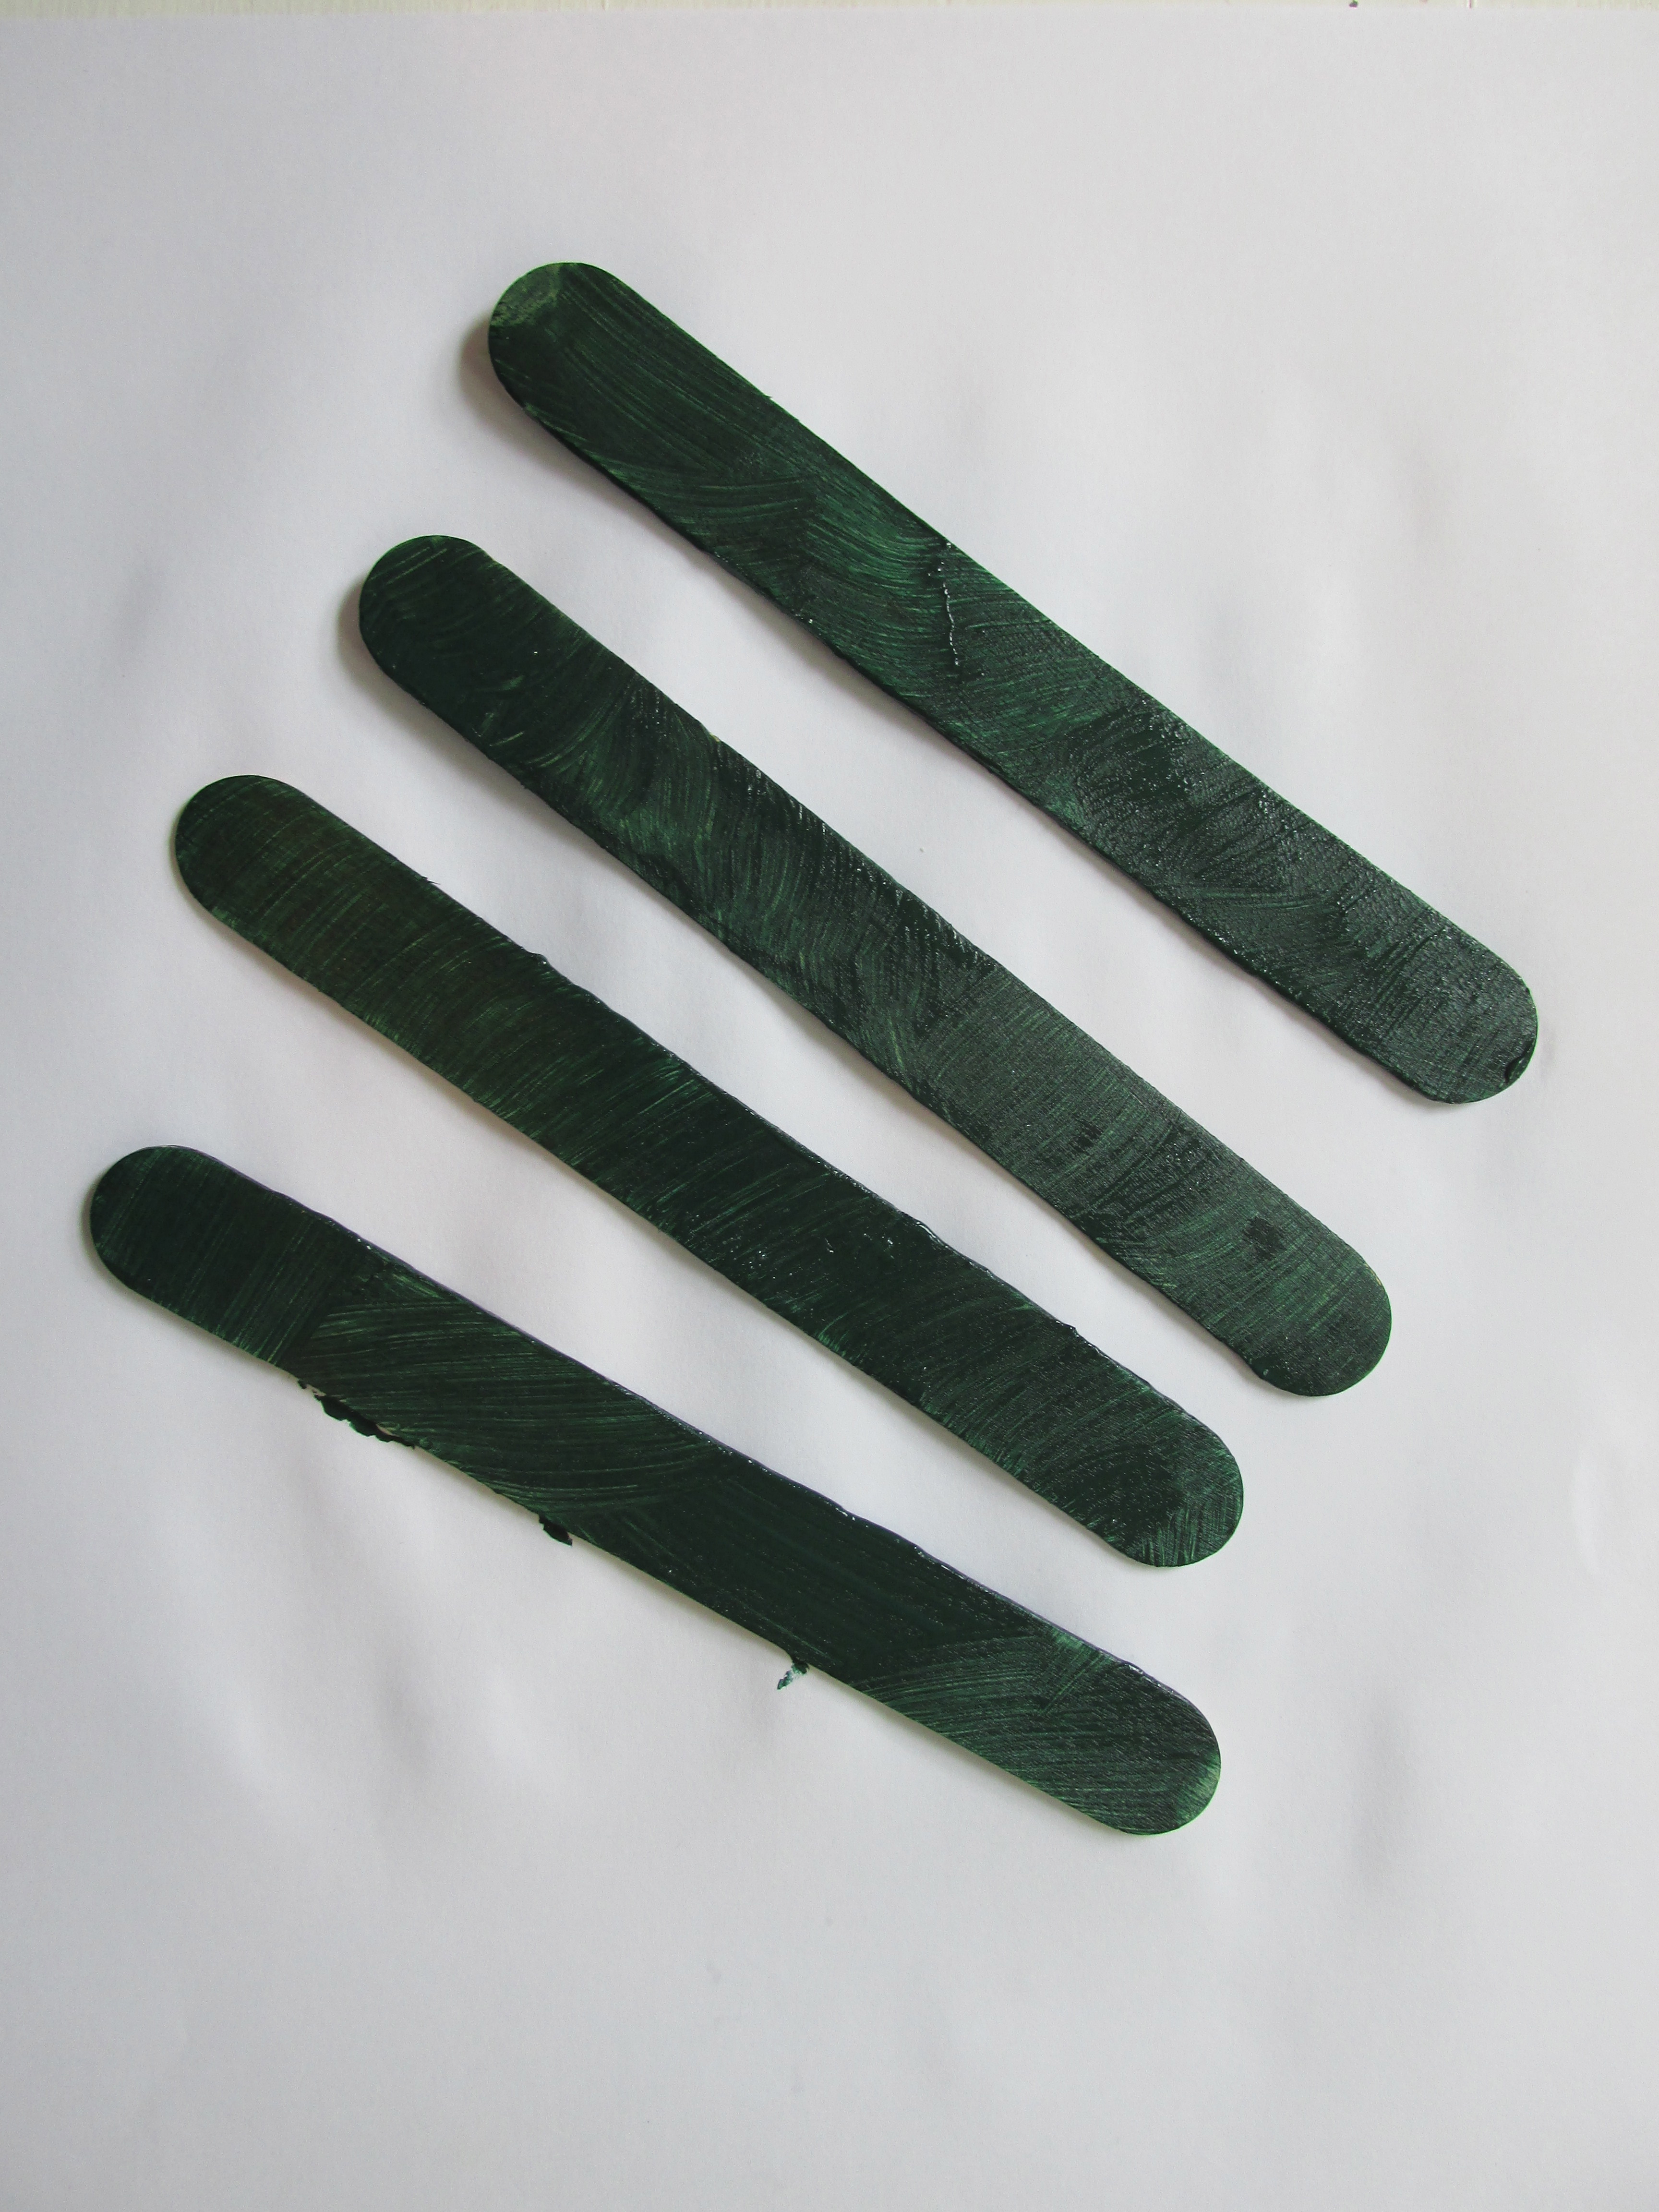
Step 3
We then painted a handful of popsicle sticks green for the stems of the flowers. We used acrylic paints, but regular paints would work as well.
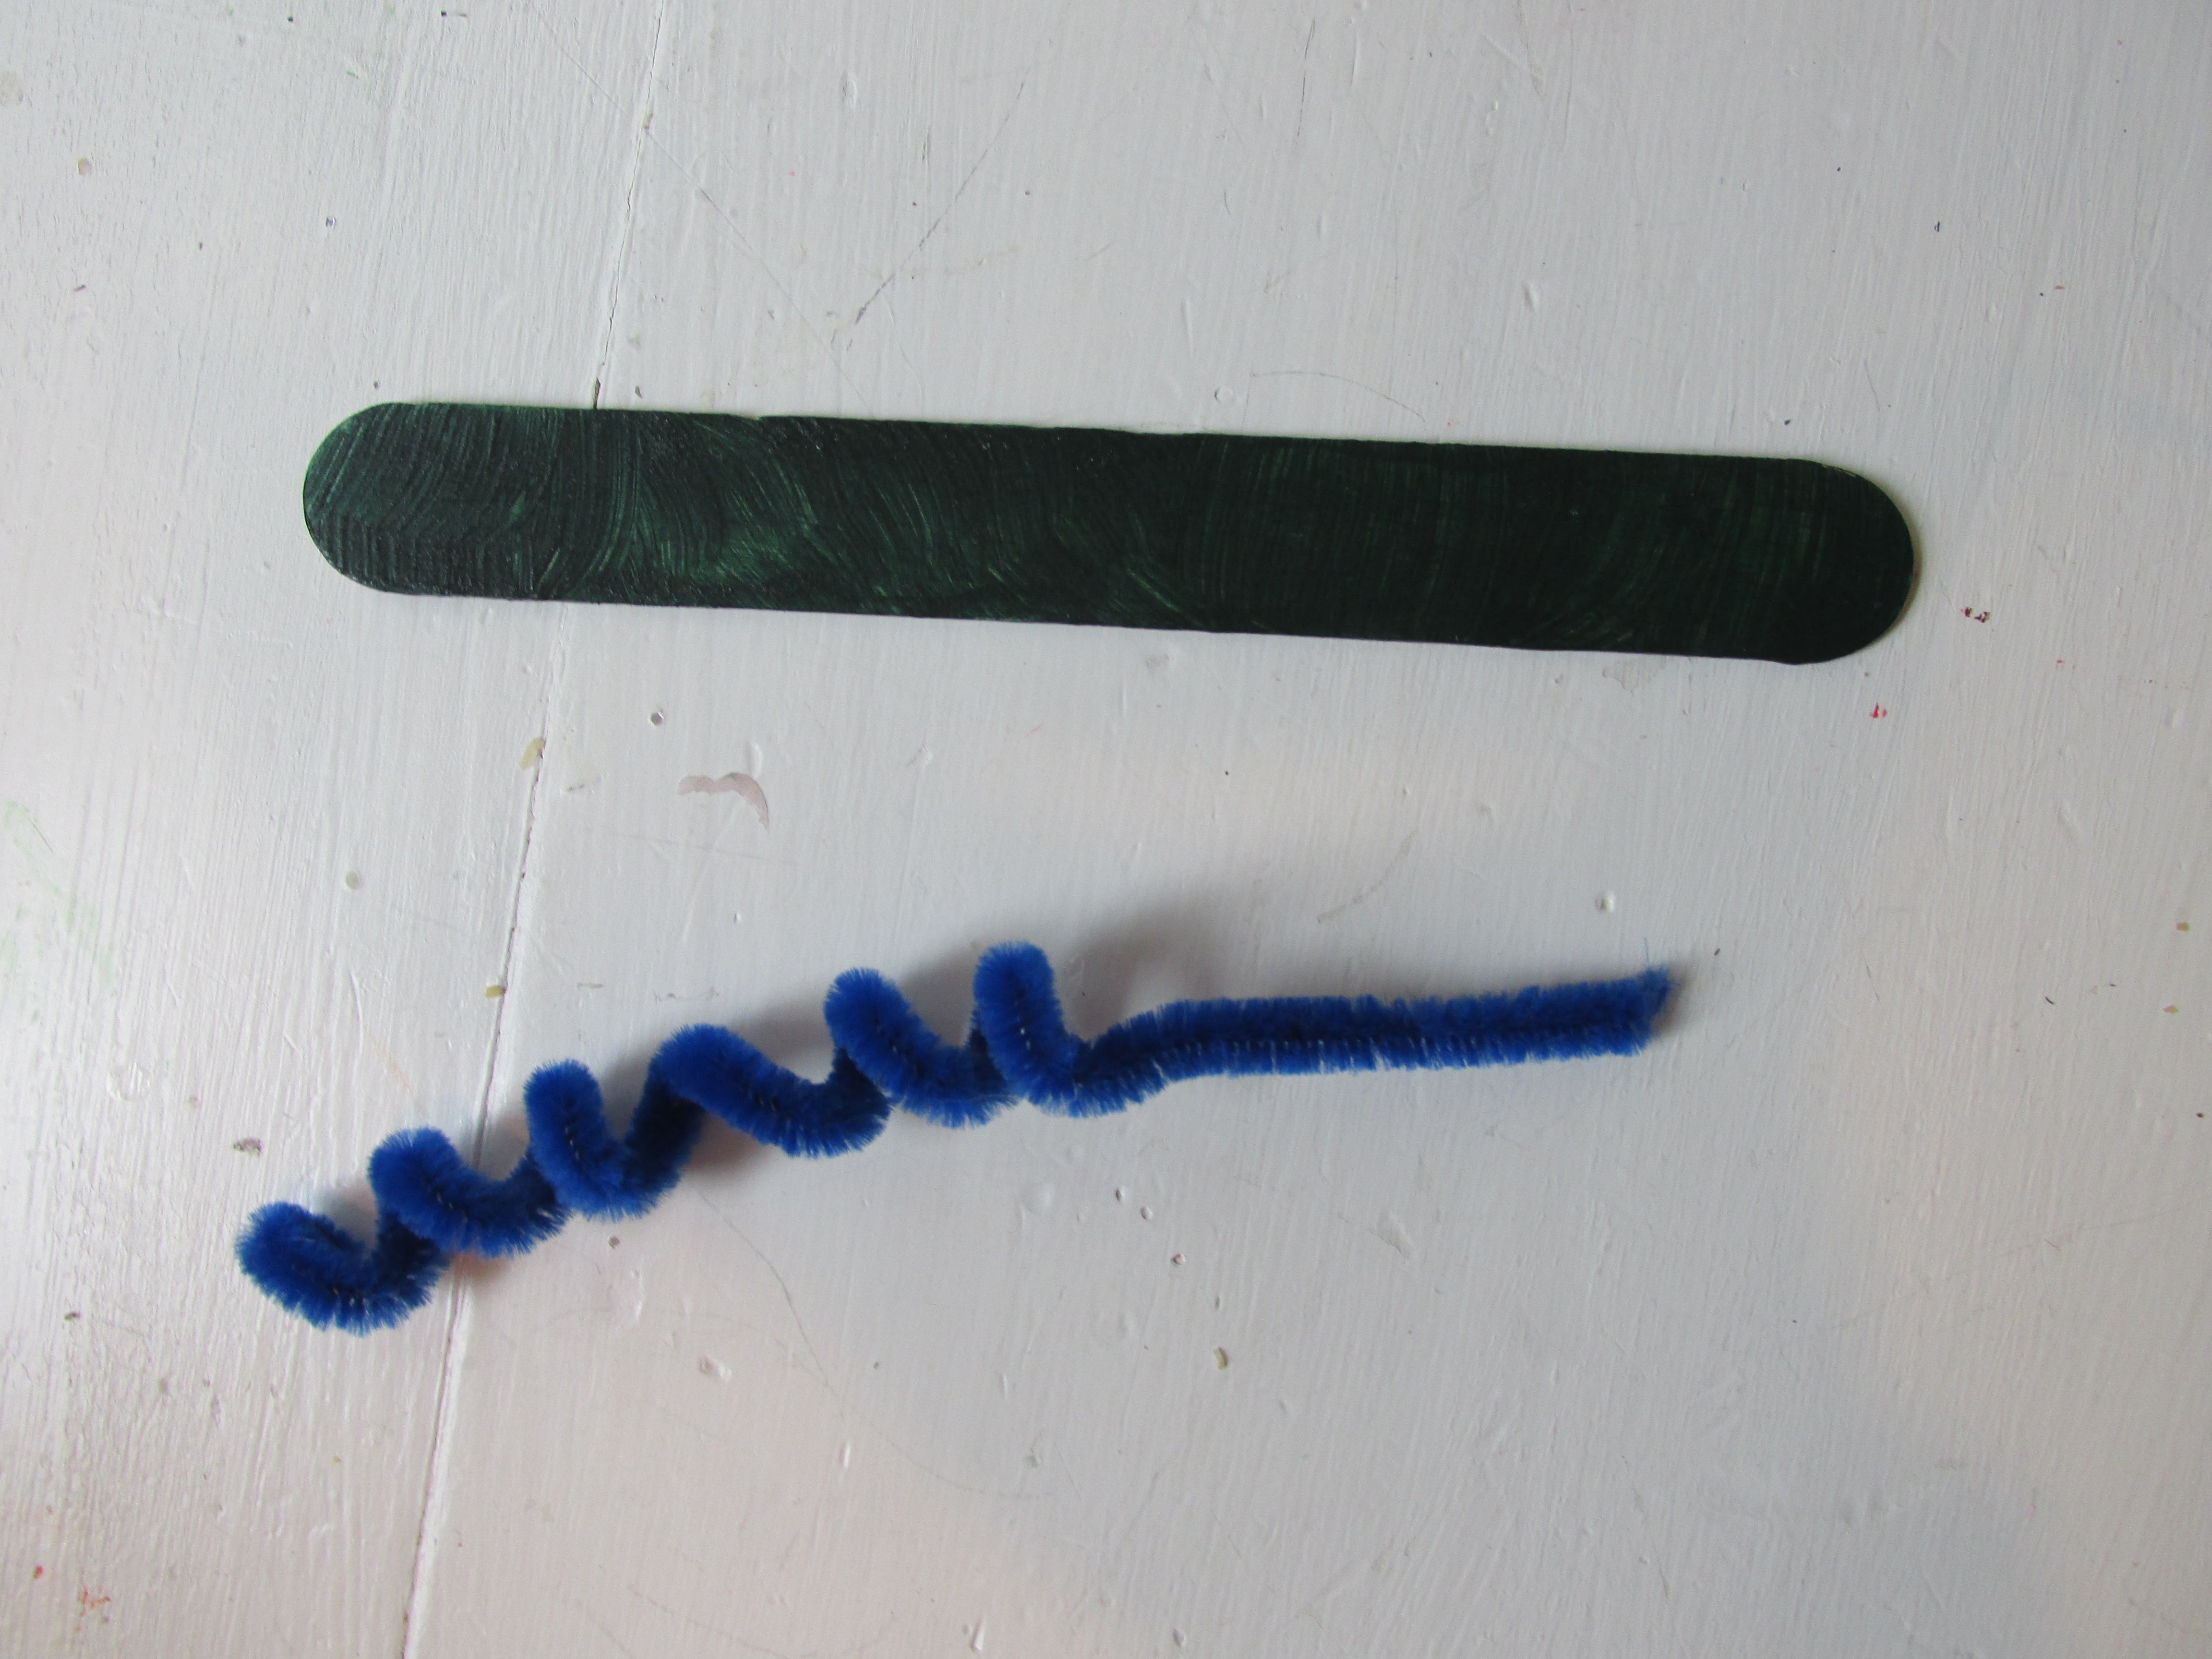
Step 4
To create the stigma (the thing that sticks out) take a pipe cleaner and wrap it around a pencil as shown in the picture below. Then carefully remove the pipe cleaner from the pencil.
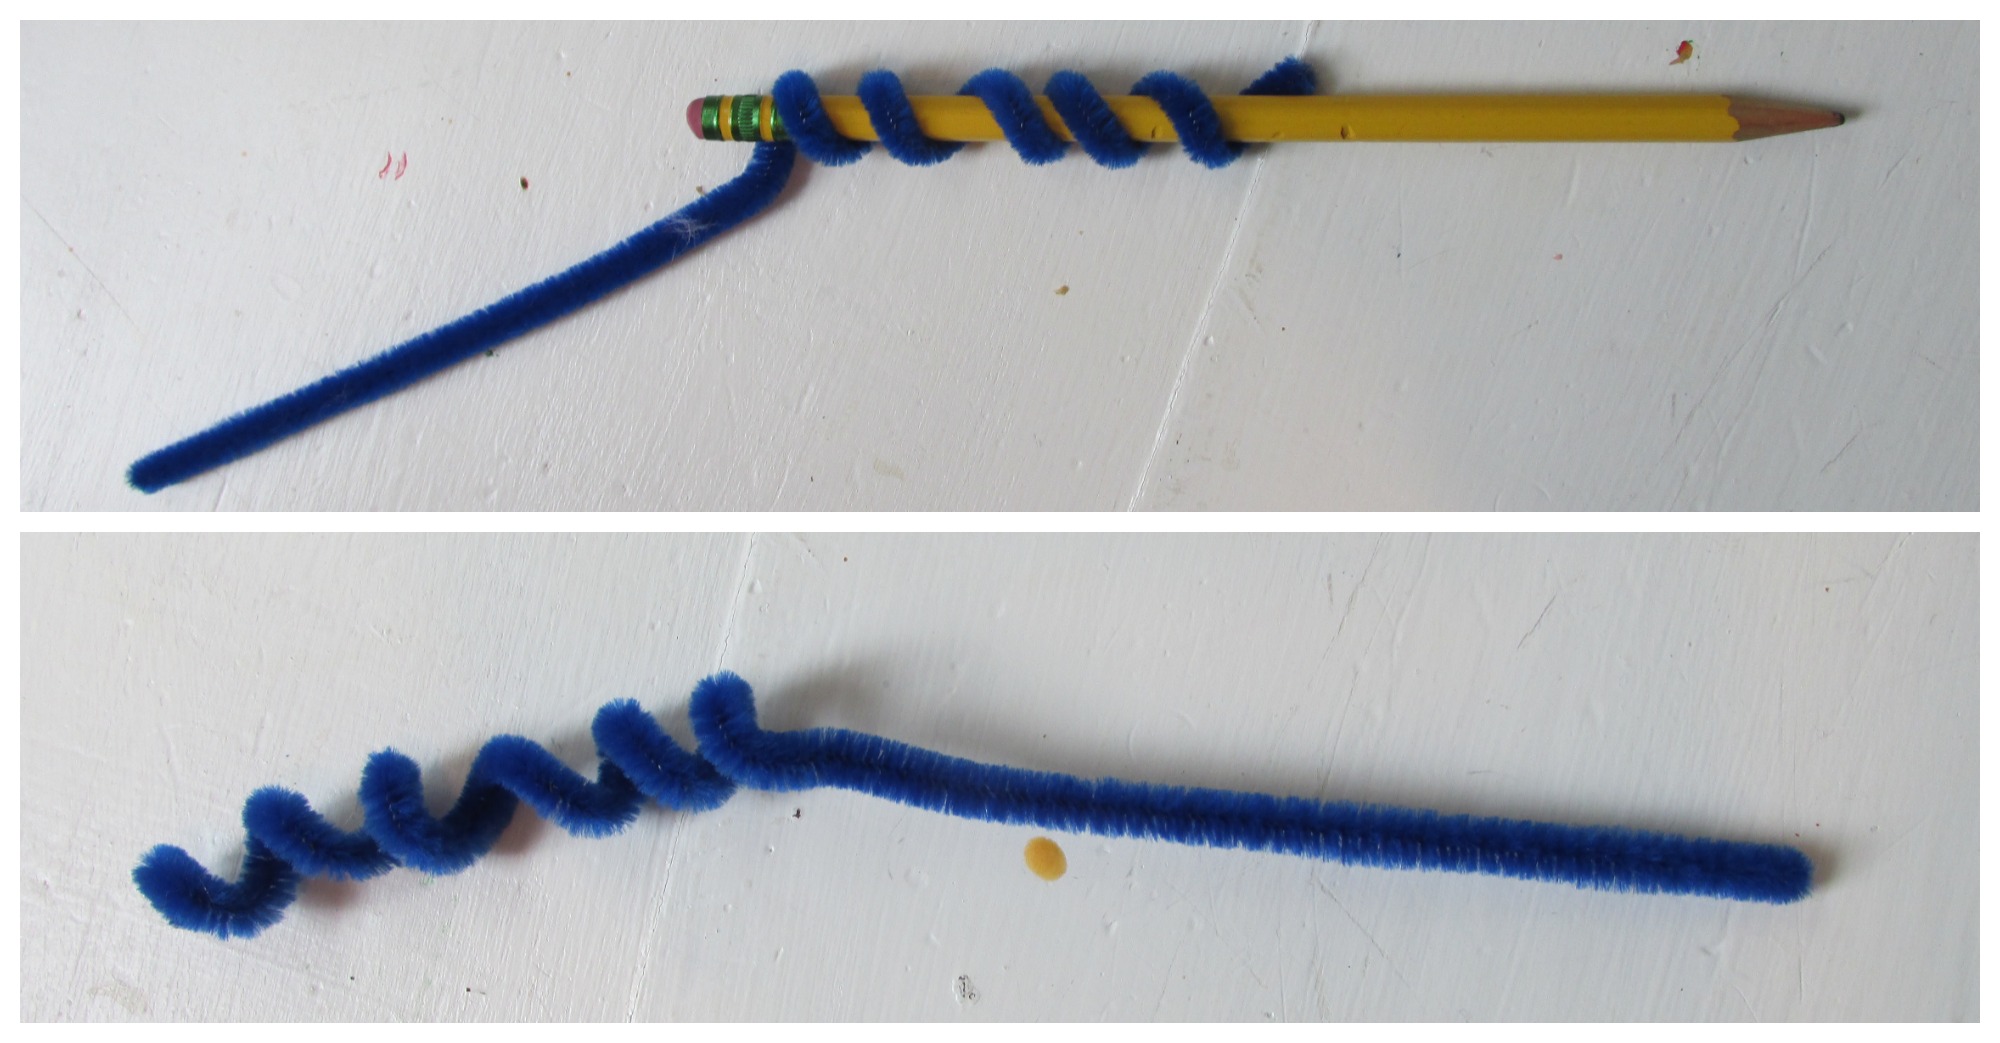
Step 5
Trim a bit off the end of the pipe cleaner so you are left only a few inches of straight pipe cleaner below the curly portion.
Step 6
Then insert the stick into the flower and position it so the stigma or curly part sticks out. Use the hot glue to attach the popsicle stick to the flower and to close the hole in the bottom of the flower.
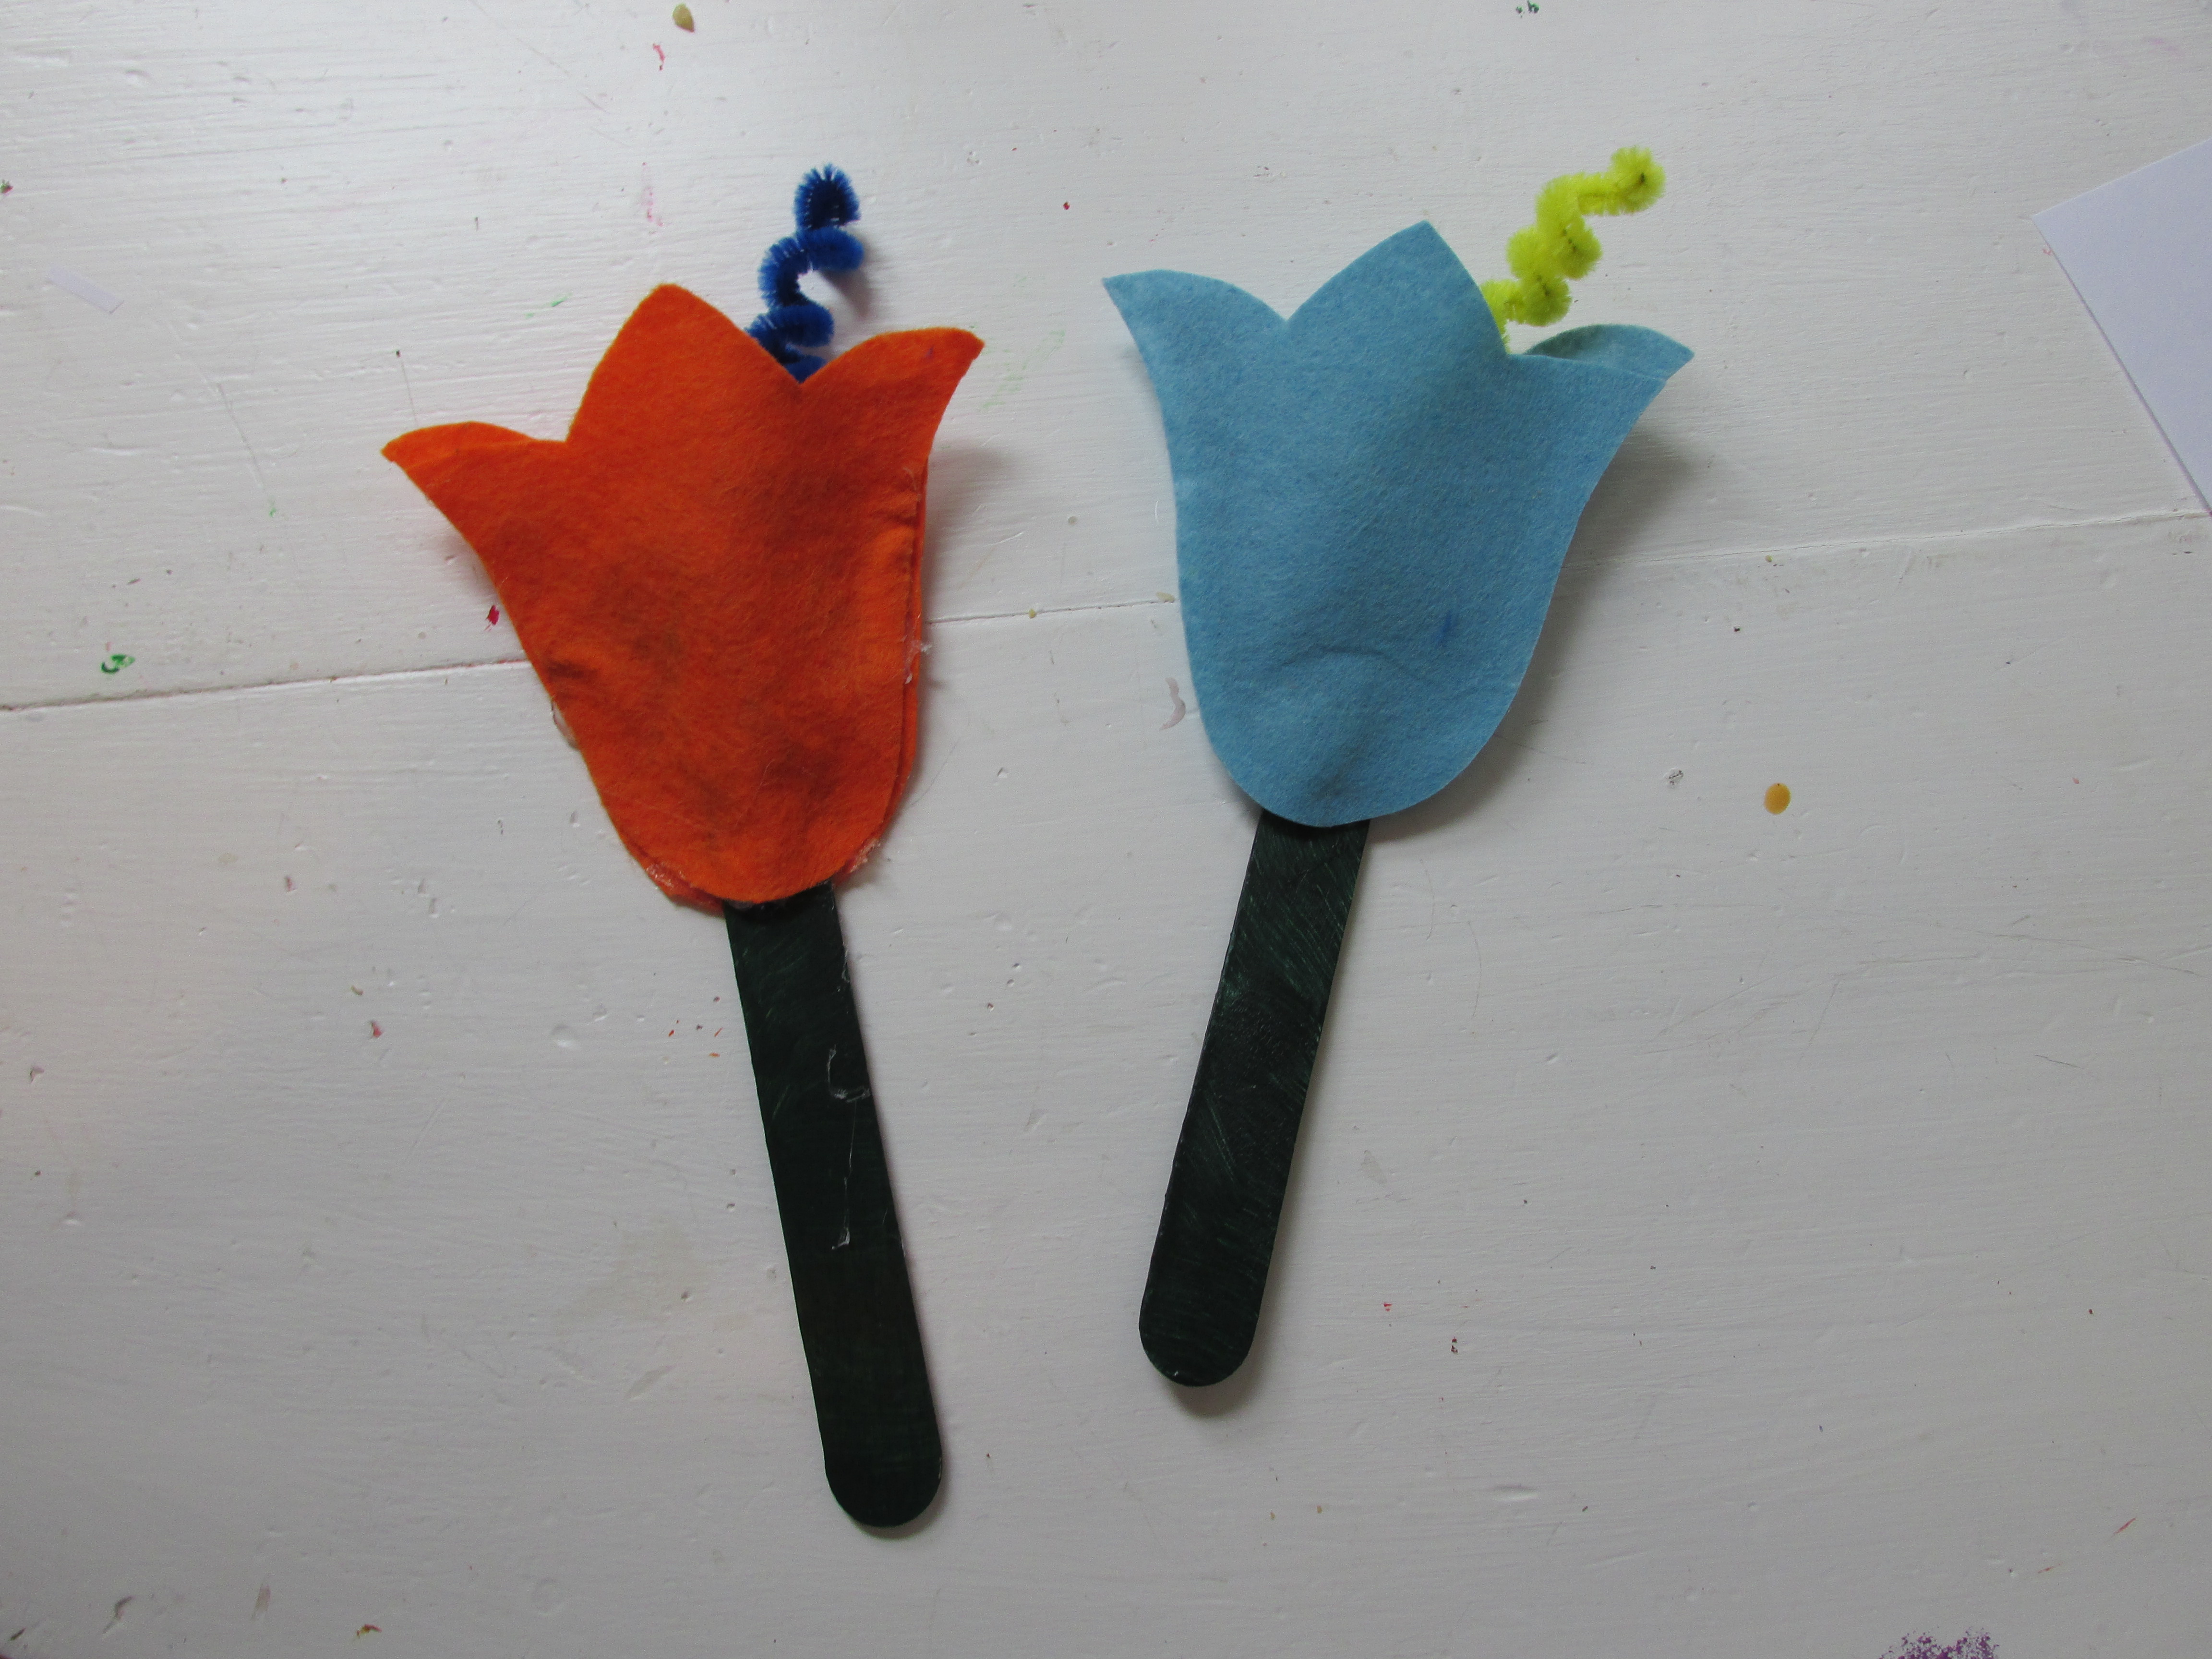
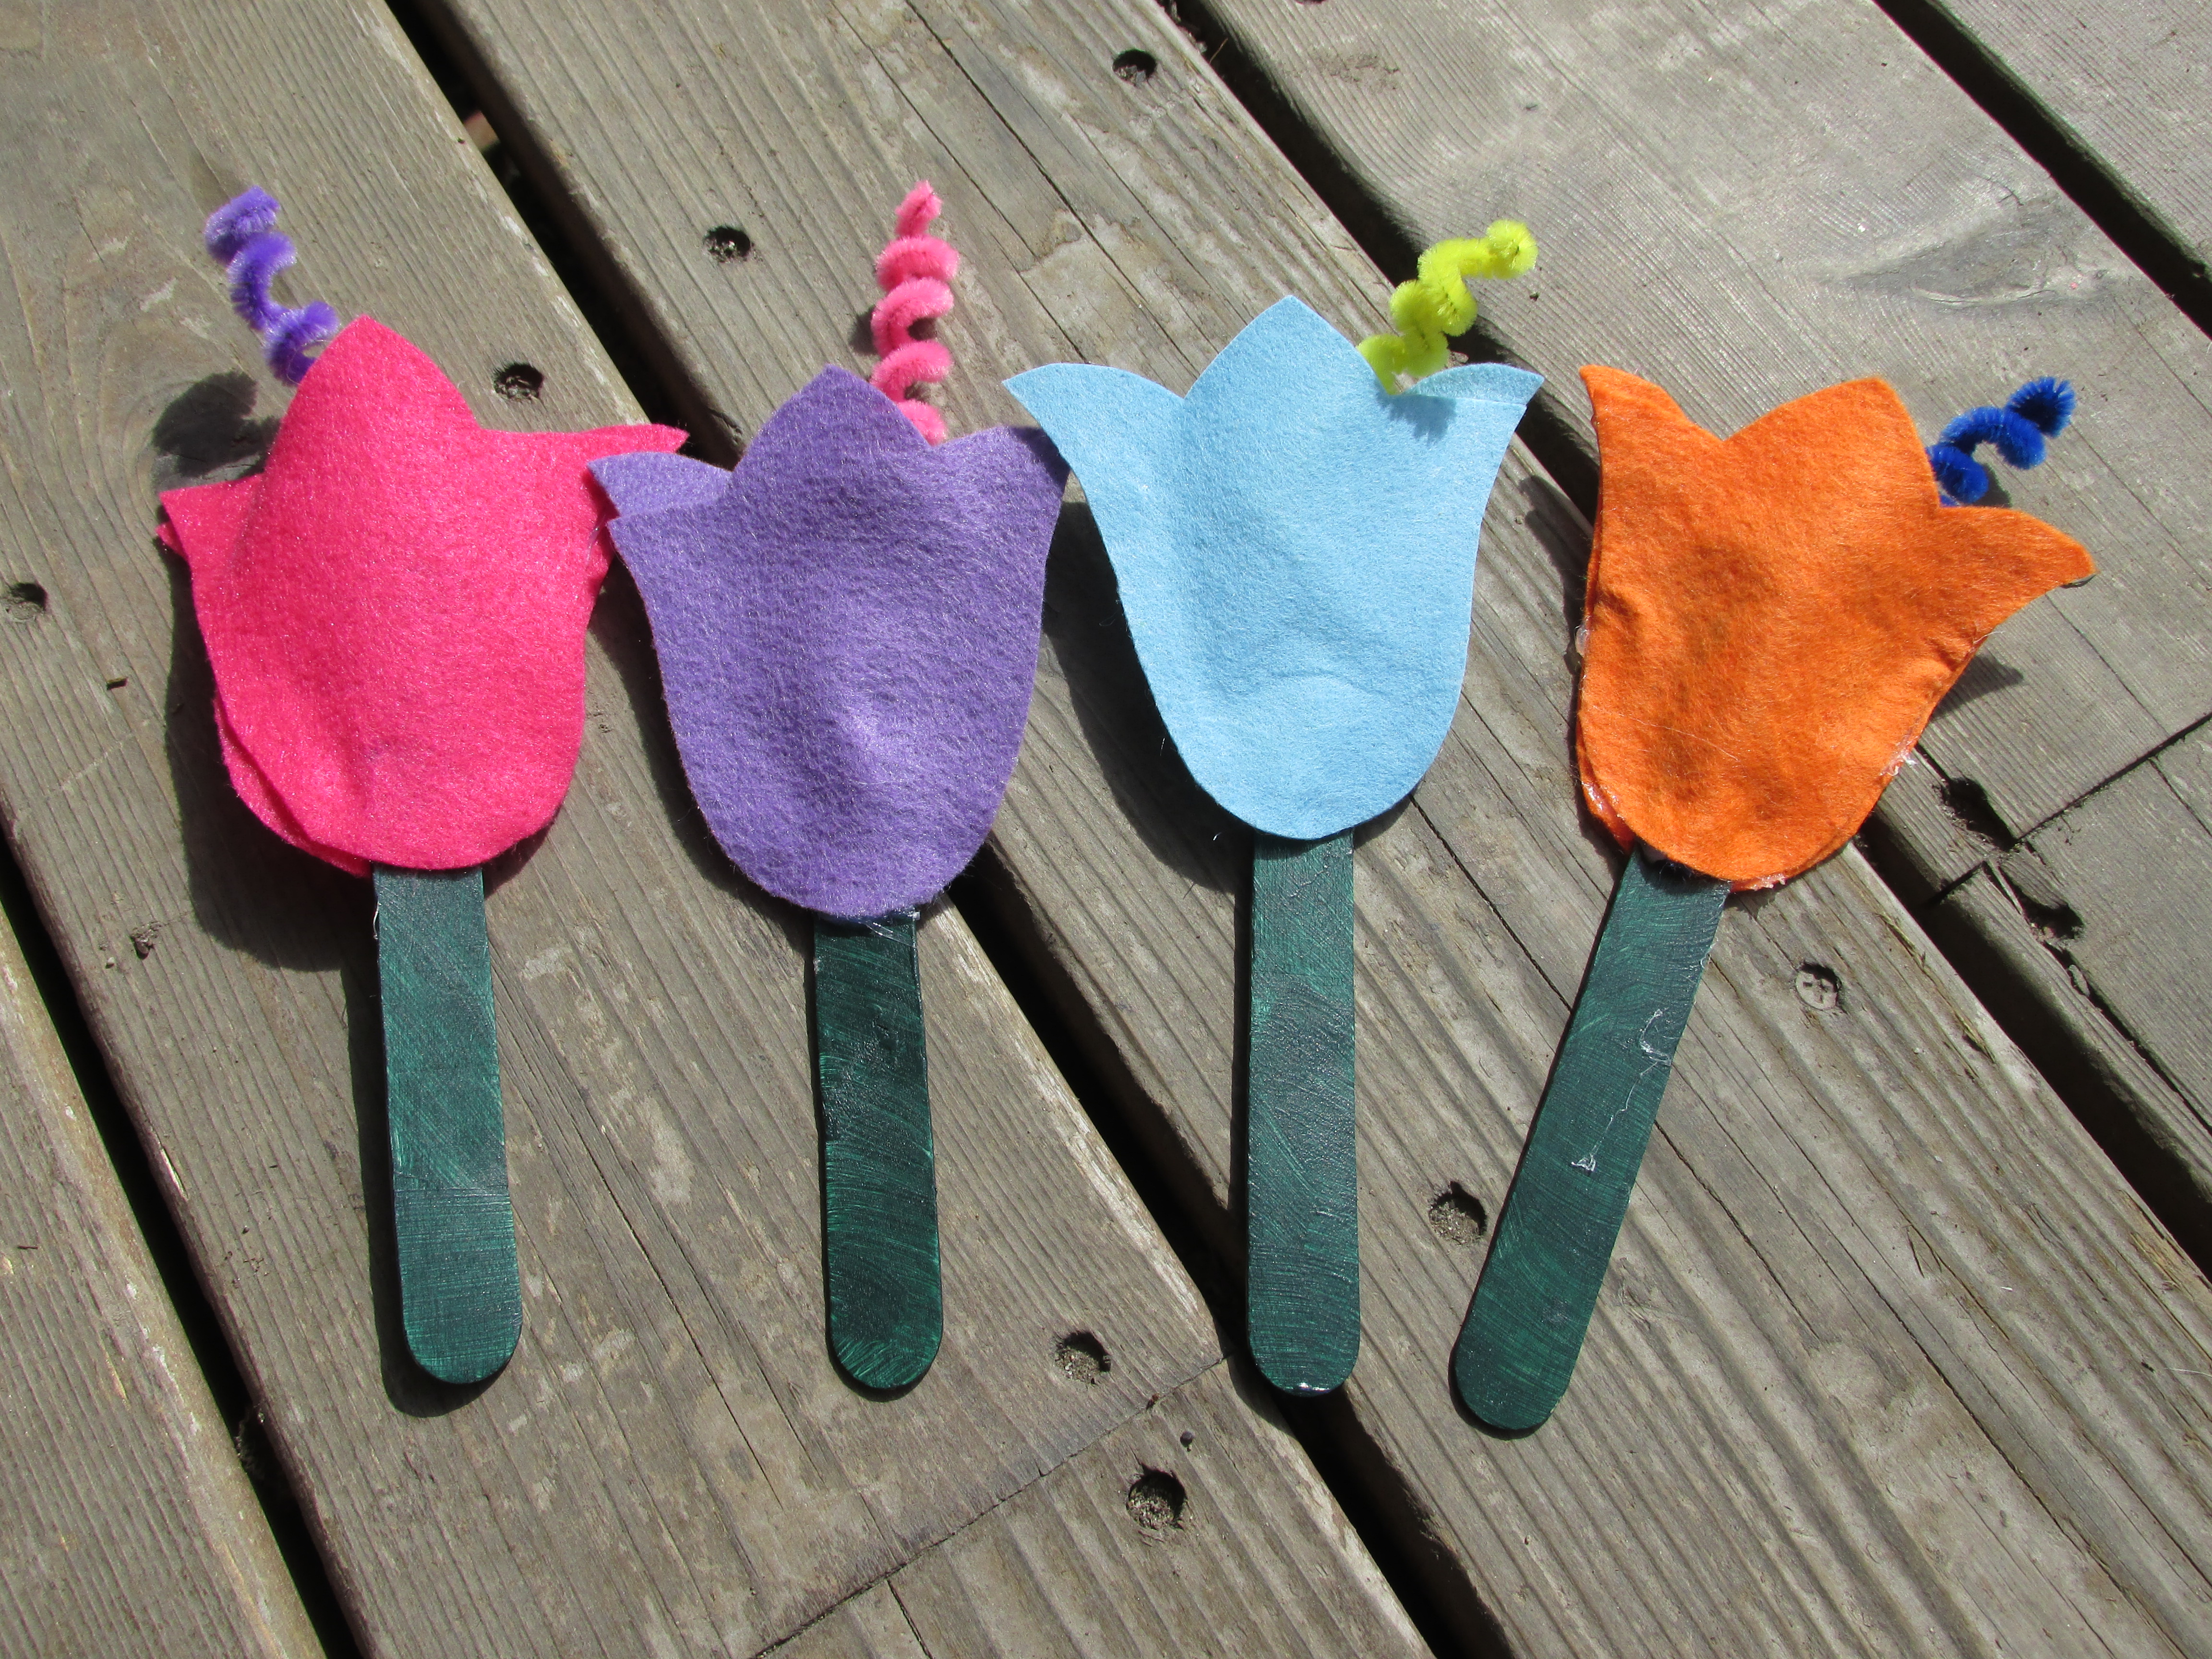
Step 7
You can make as many or as few as you like. We made 4 flowers in all.
Step 8
We then painted a small box brown to be the dirt or ground for our flowers.
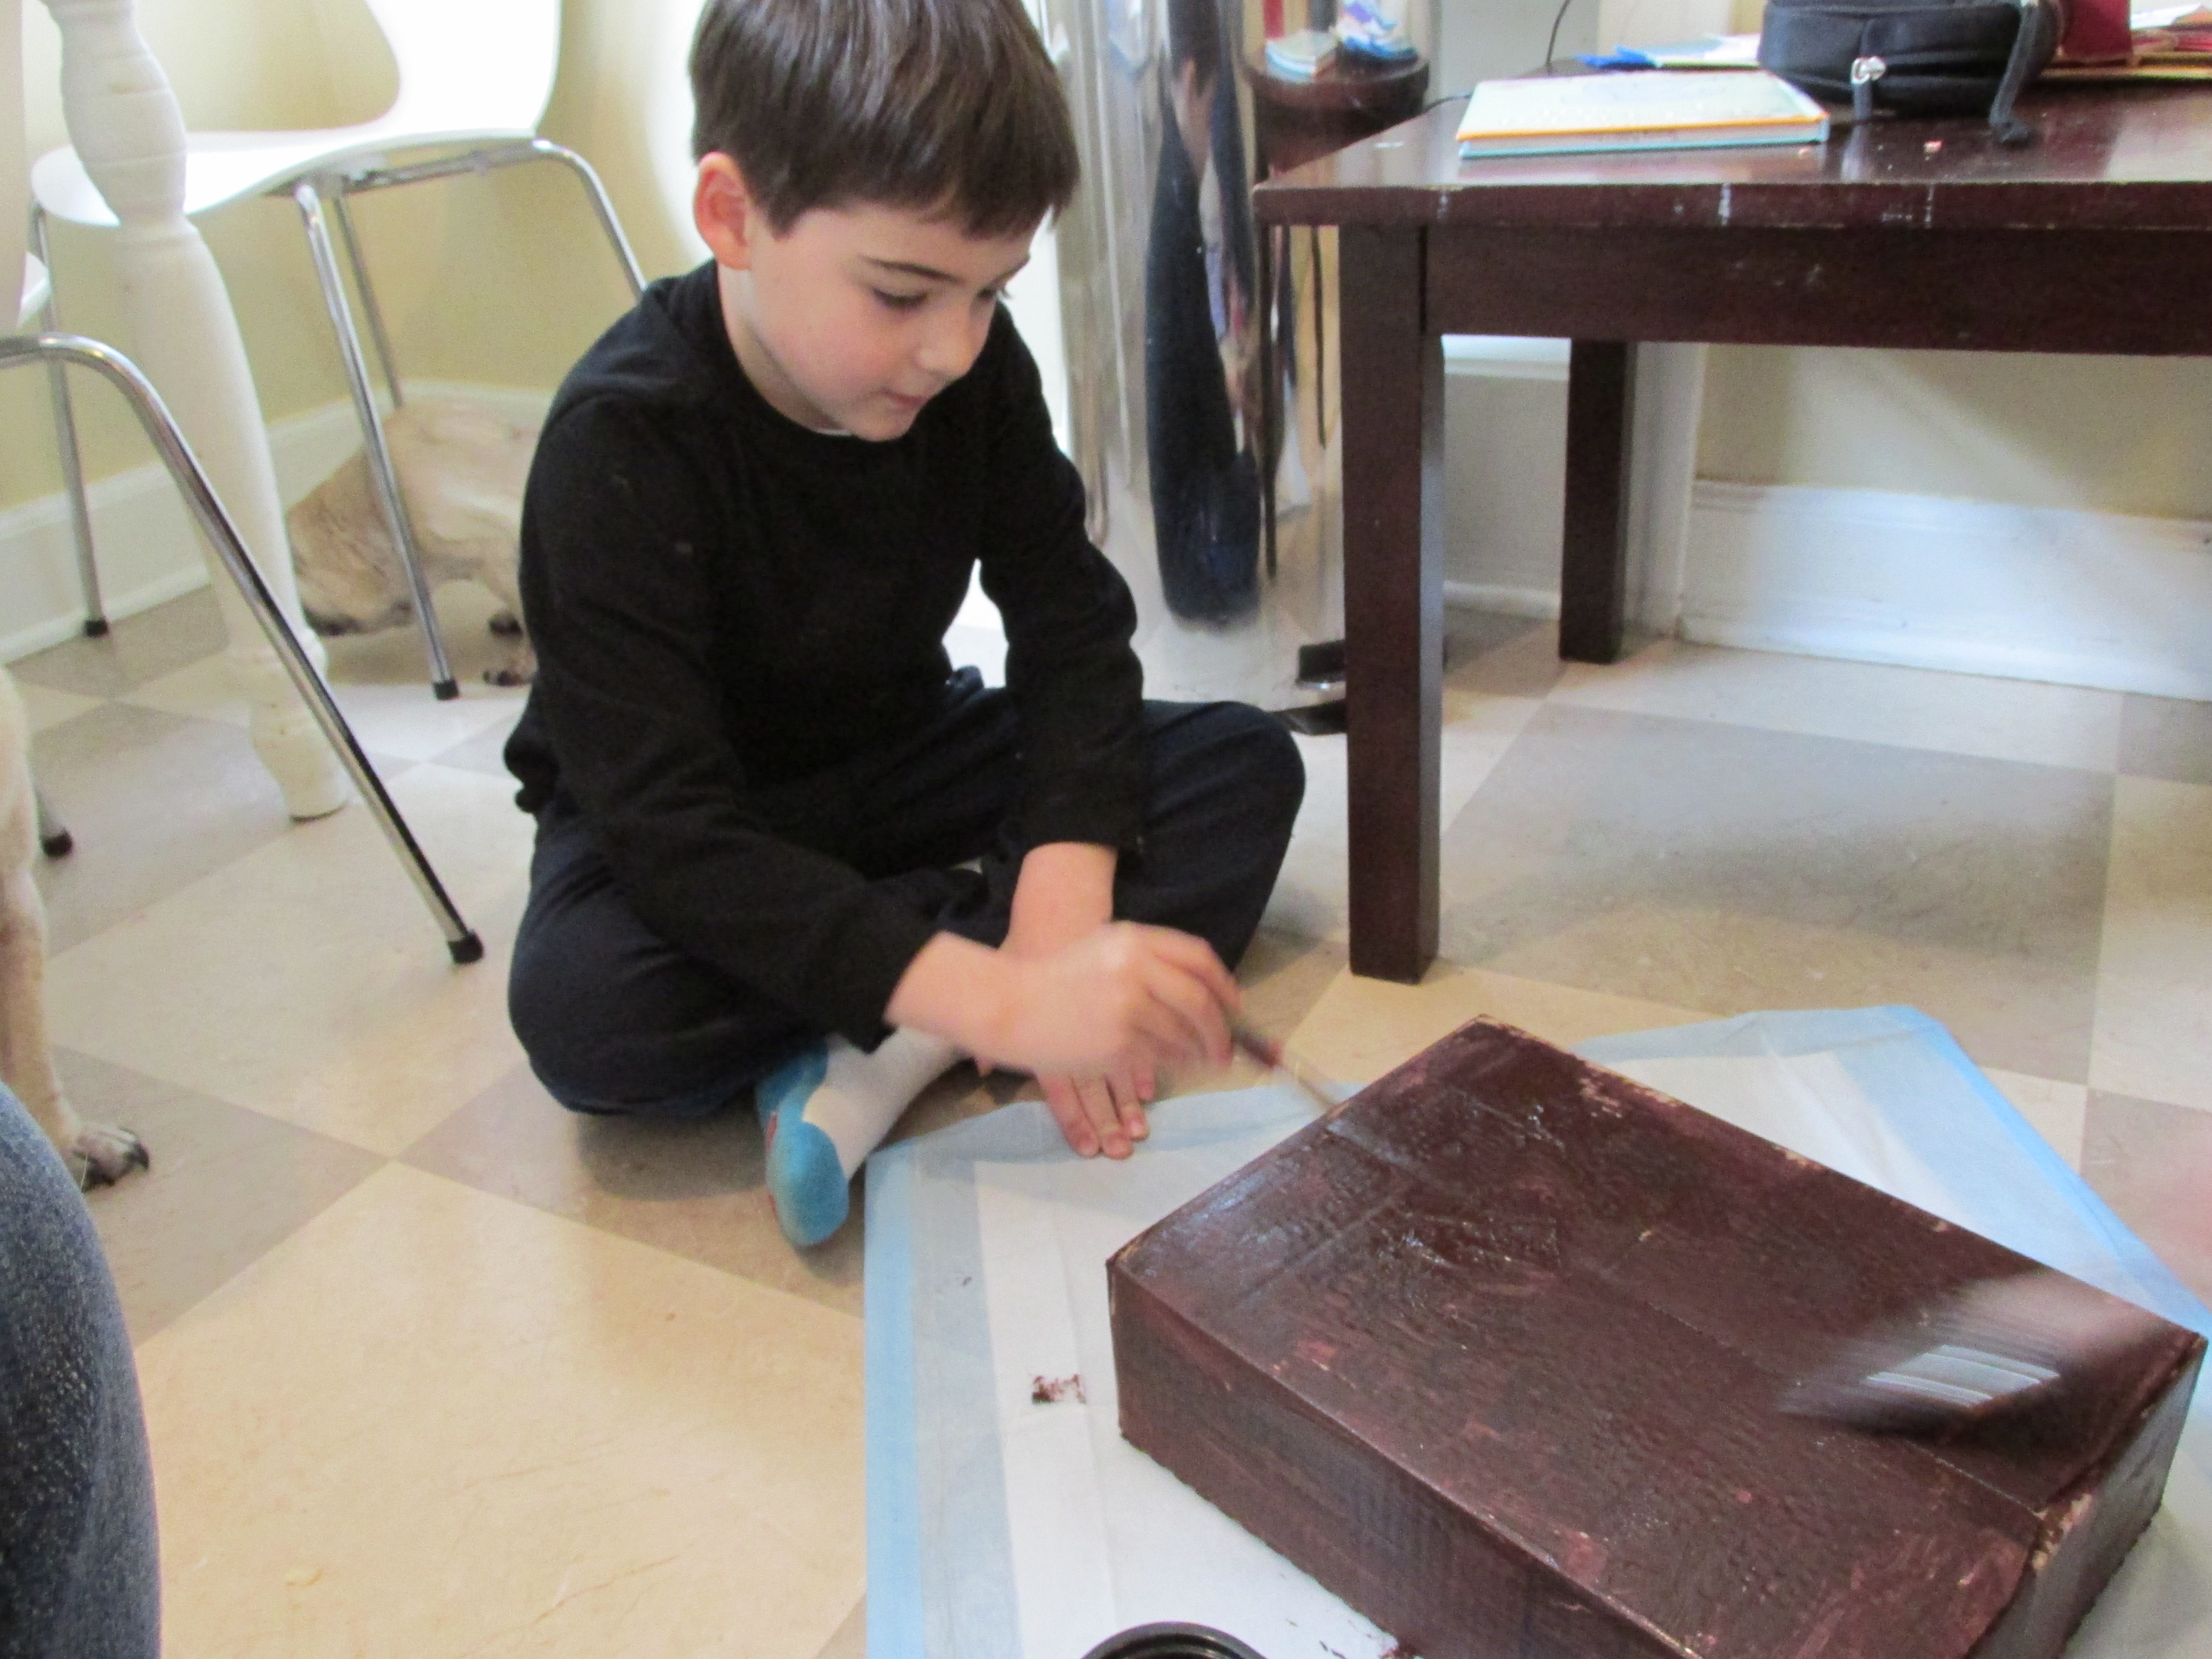
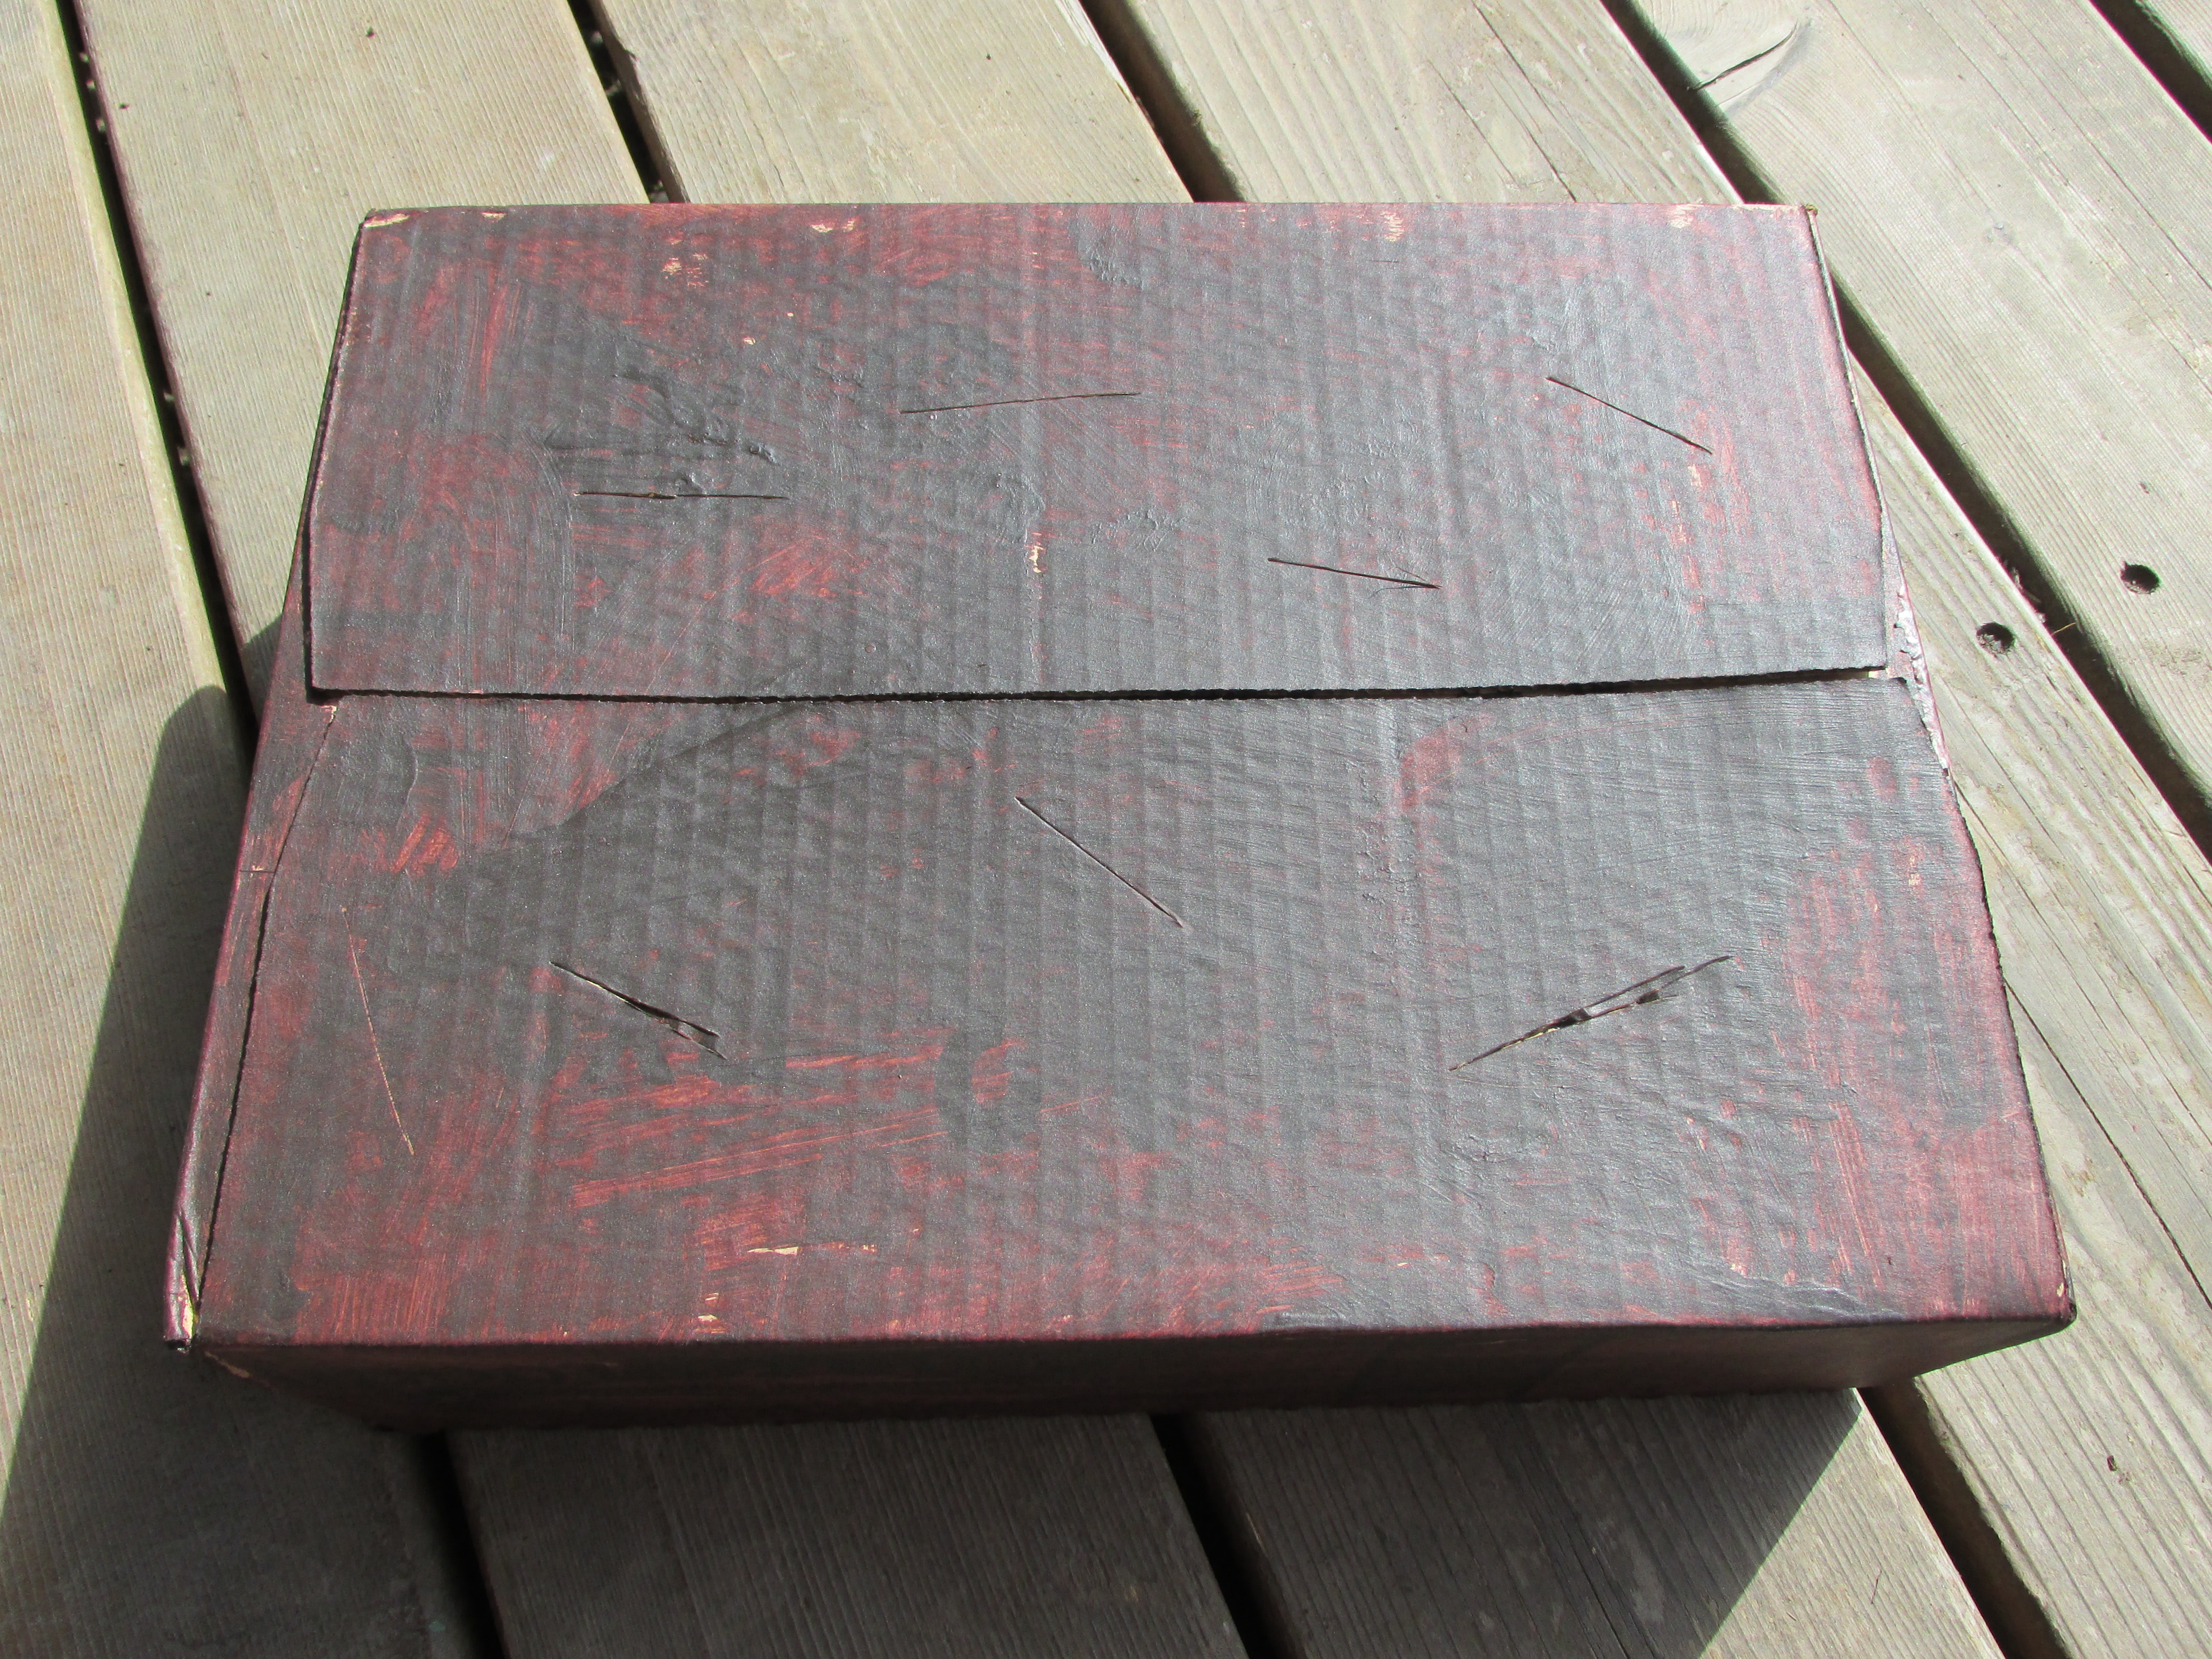
Step 9
When the box was dry, (grown-up step ahead!) I cut several slits in the top using an exacto-knife. These slits are where the flowers would be "planted".
Done!
And then we were ready to "plant" our felt flowers!


