Step-by-step tutorial
Step 1
Before you begin, take note that an adult should supervise all activities involving the stove!
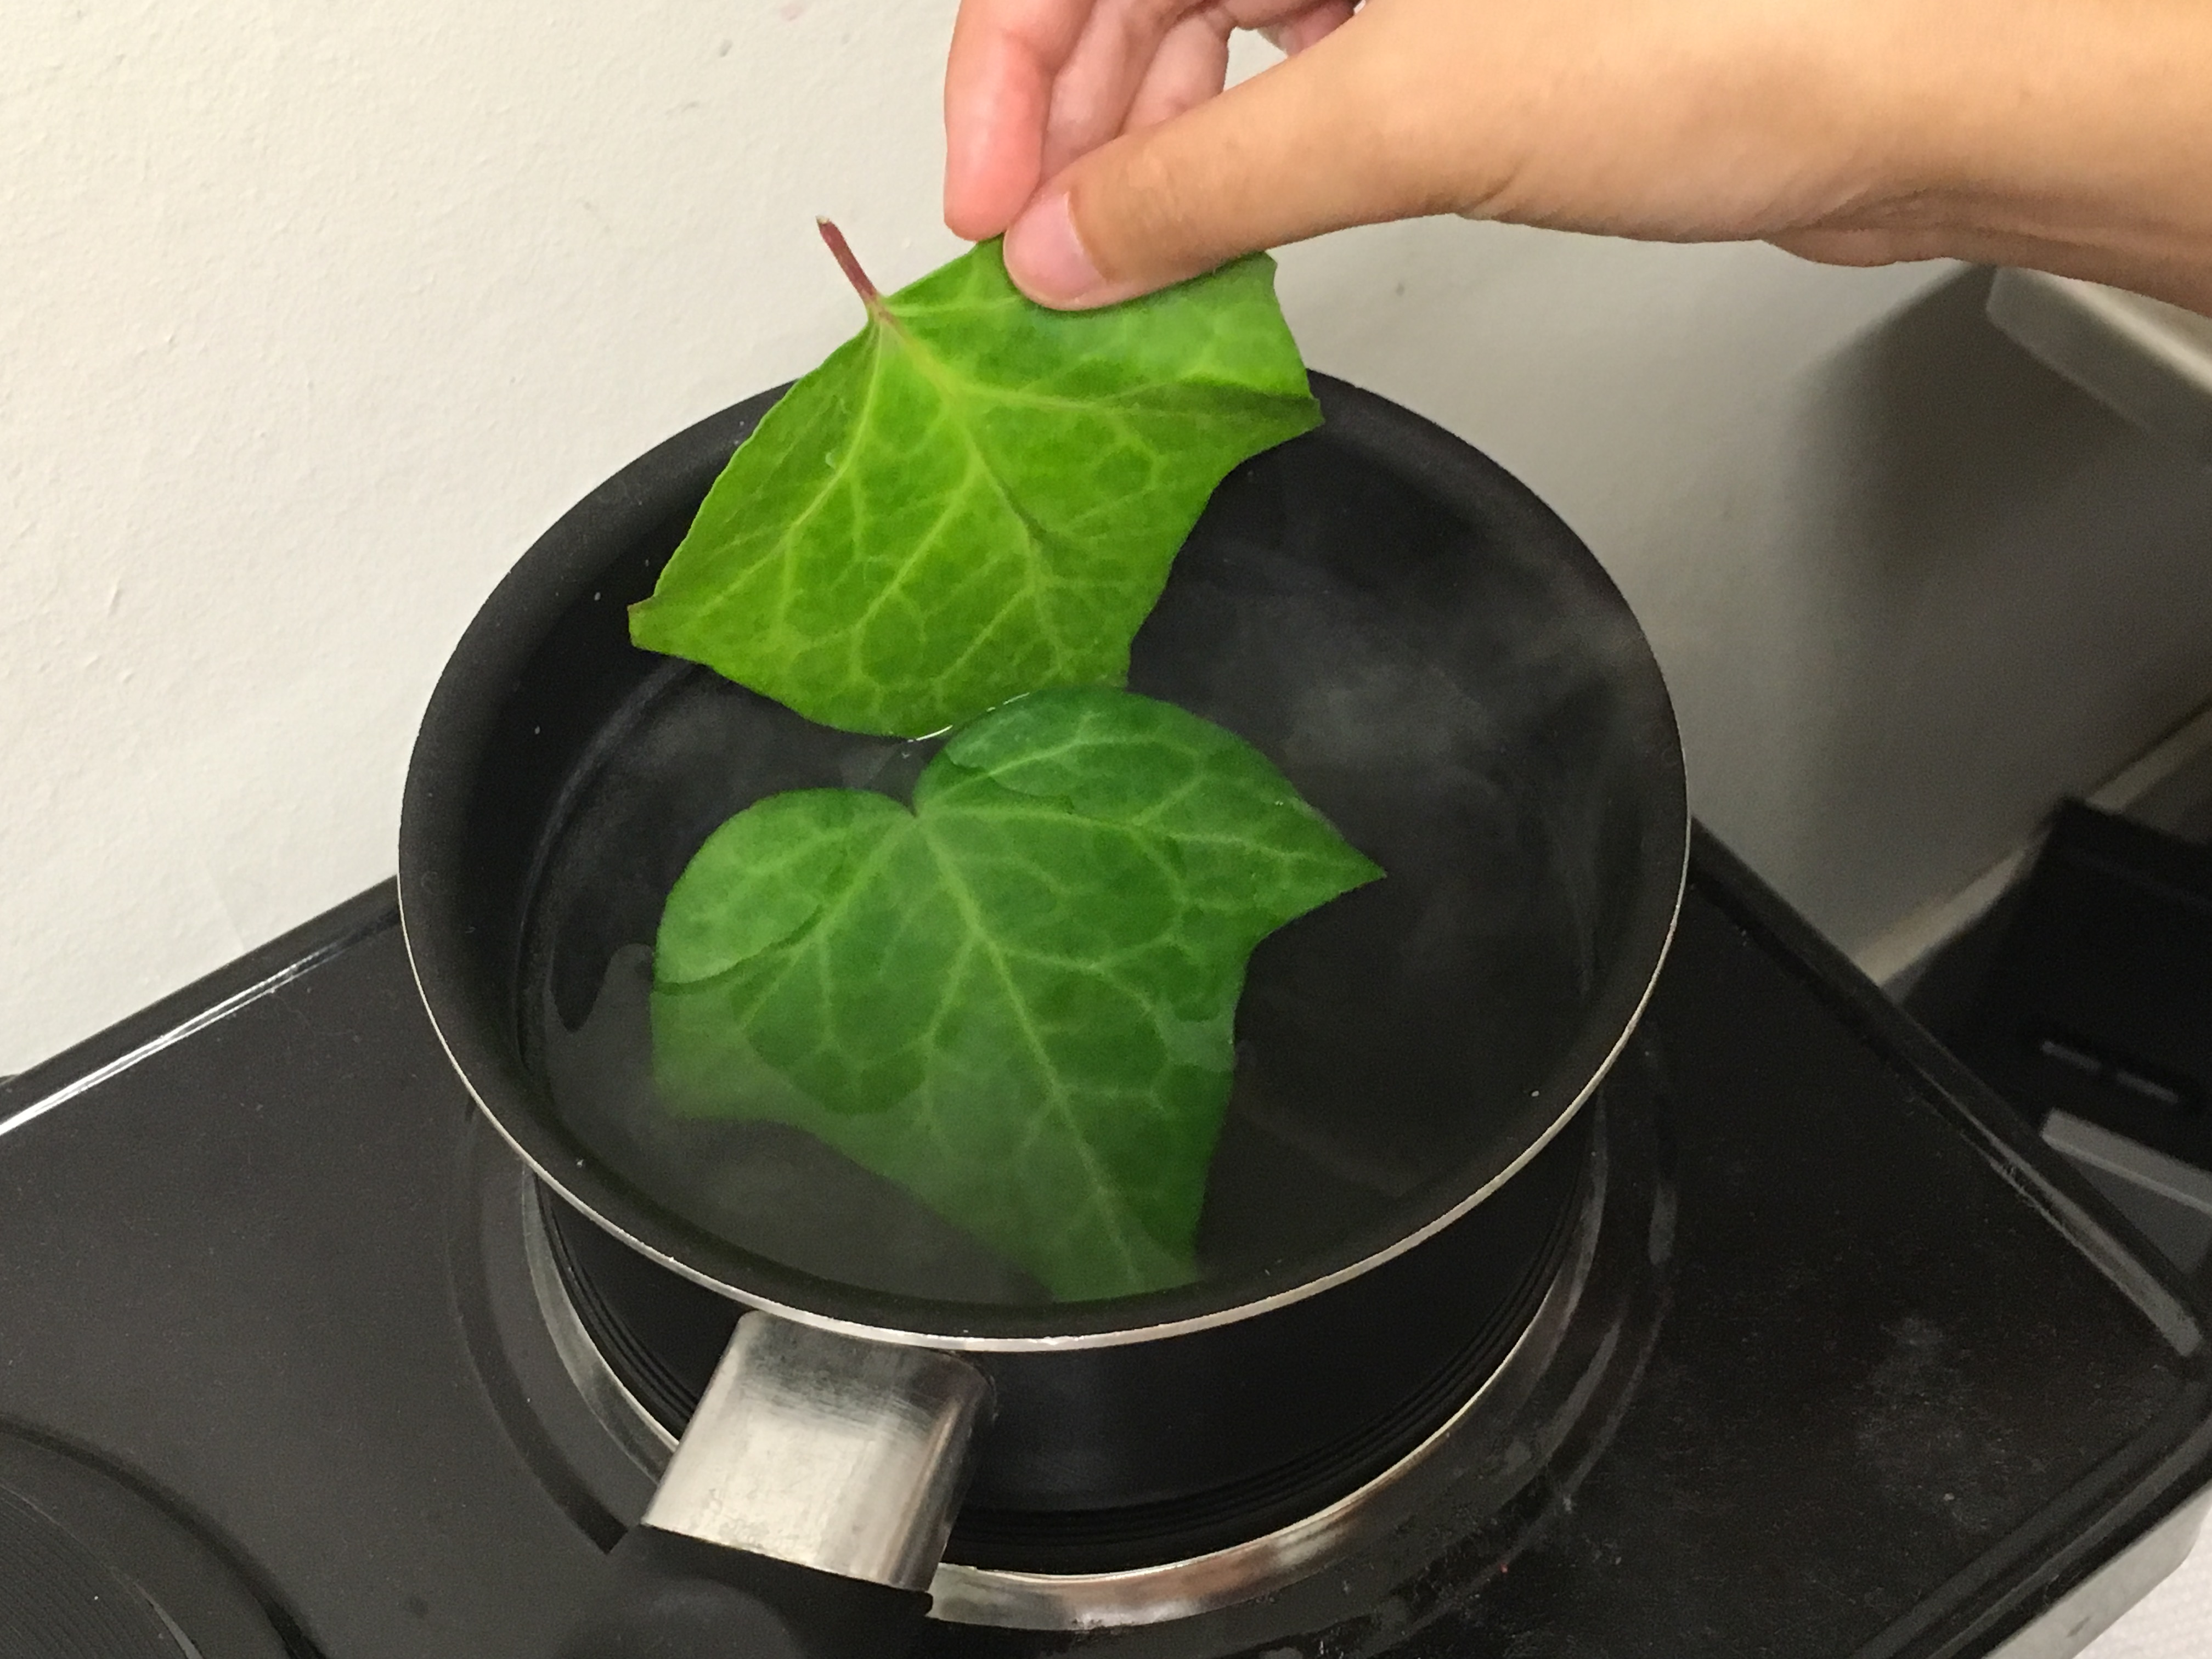
Pour the water and washing soda into your pot, mix the two ingredients, and bring the water to a boil.

Step 2
After the water has reached a boil, lower the heat to a simmer, and add 1-2 of your leaves. Simmer the leaves in water for 2-3 hours, then remove the pot from the heat. The water will be brown and murky, which is a good indication that your leaves are ready.
Step 3
Use tongs to transfer the leaves to a colander.
Step 4
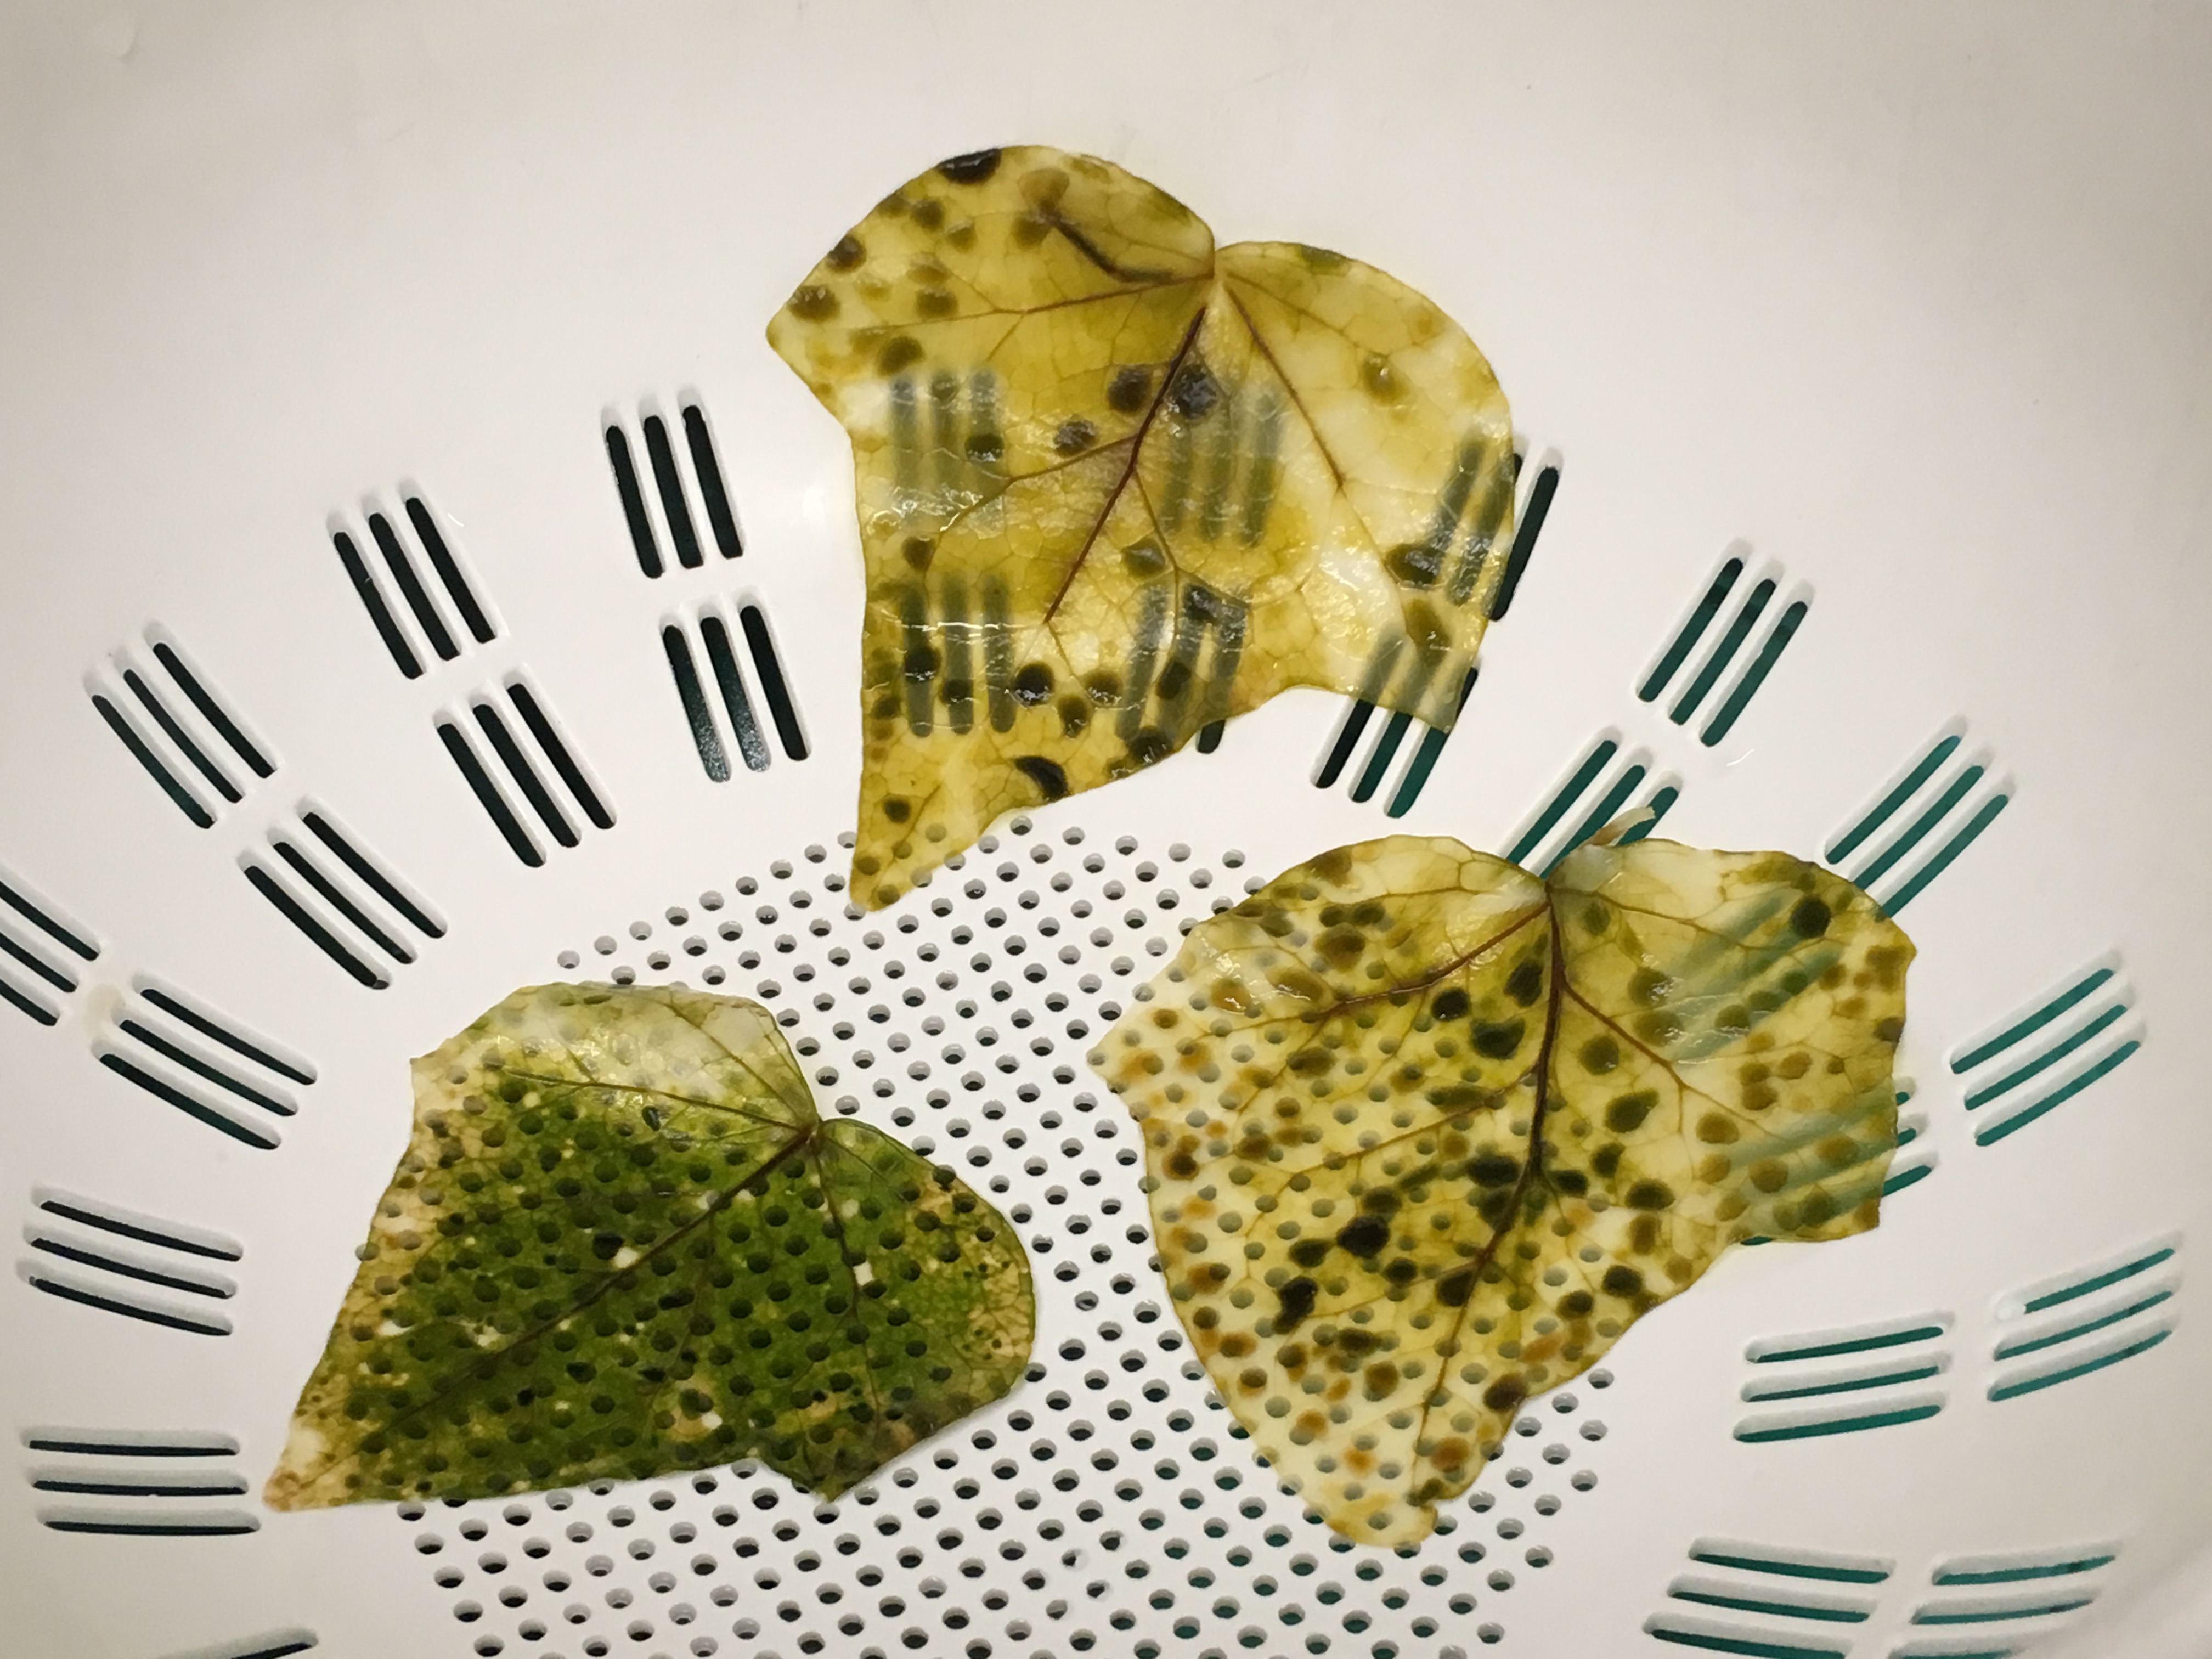
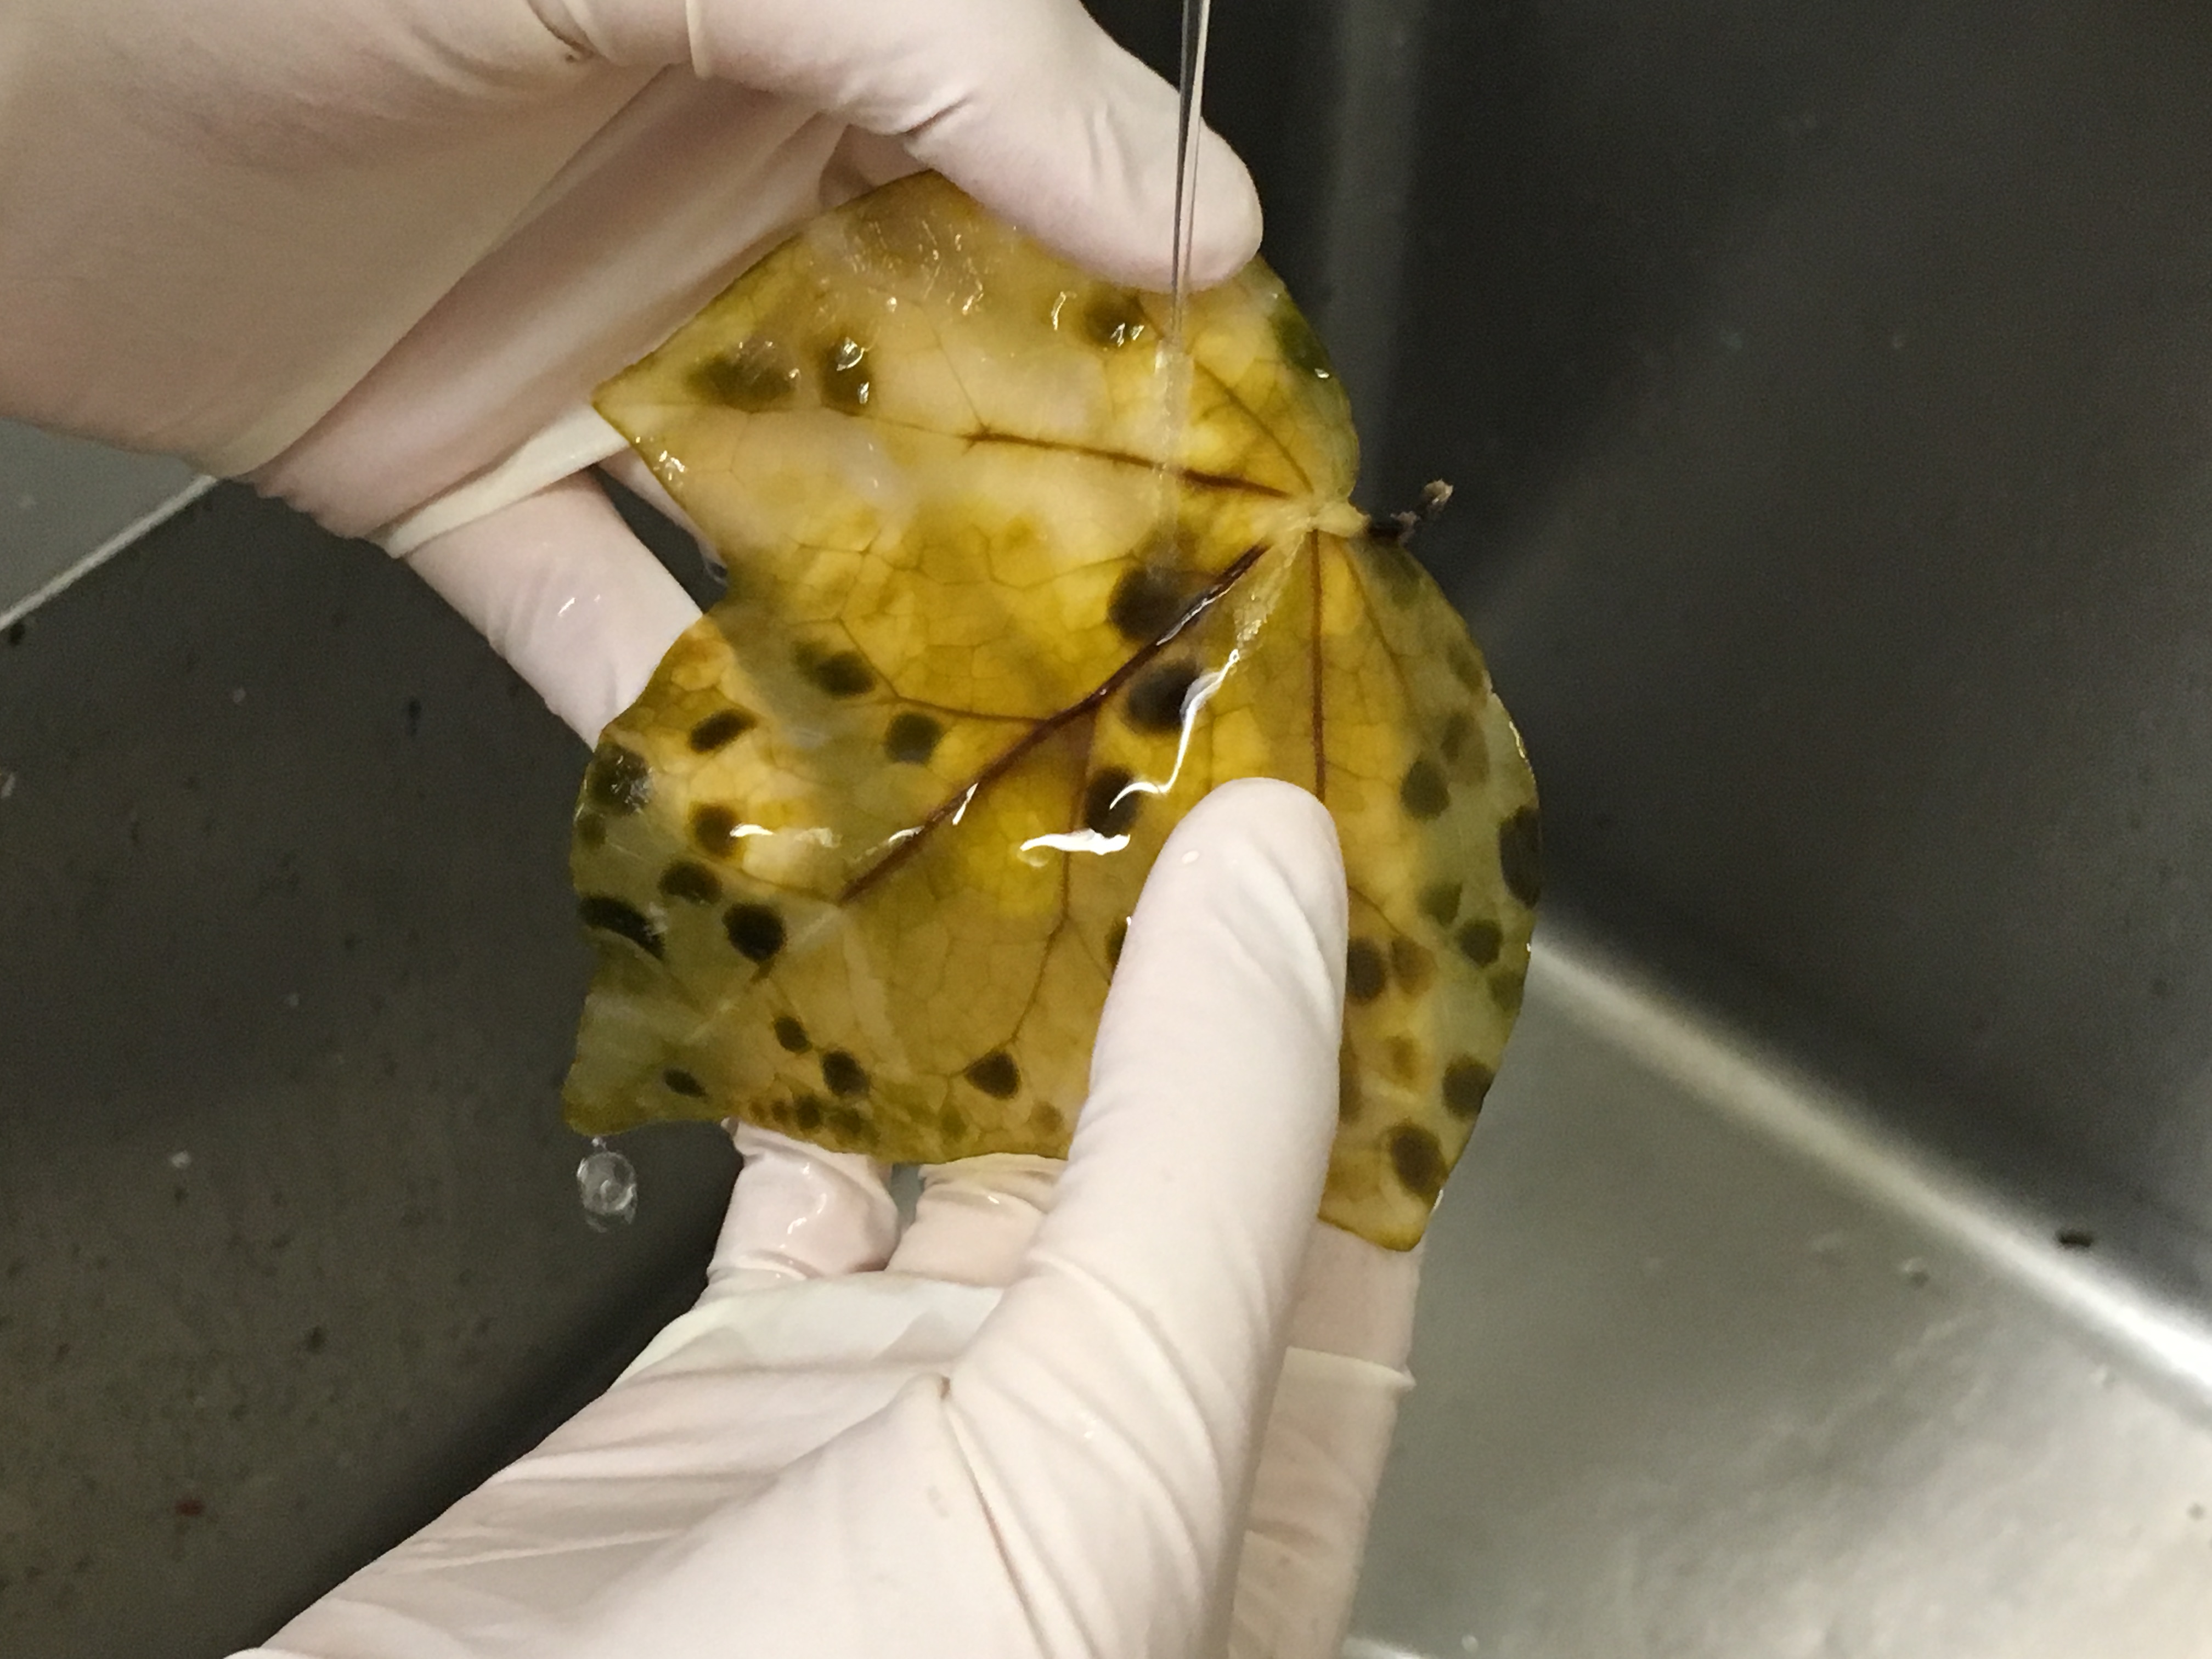
Discard the water and rinse the pot. Add ½ cup of bleach to the pot, then soak your leaves in the bleach for 30 minutes. This will help break down your green leaf tissue.
Step 5
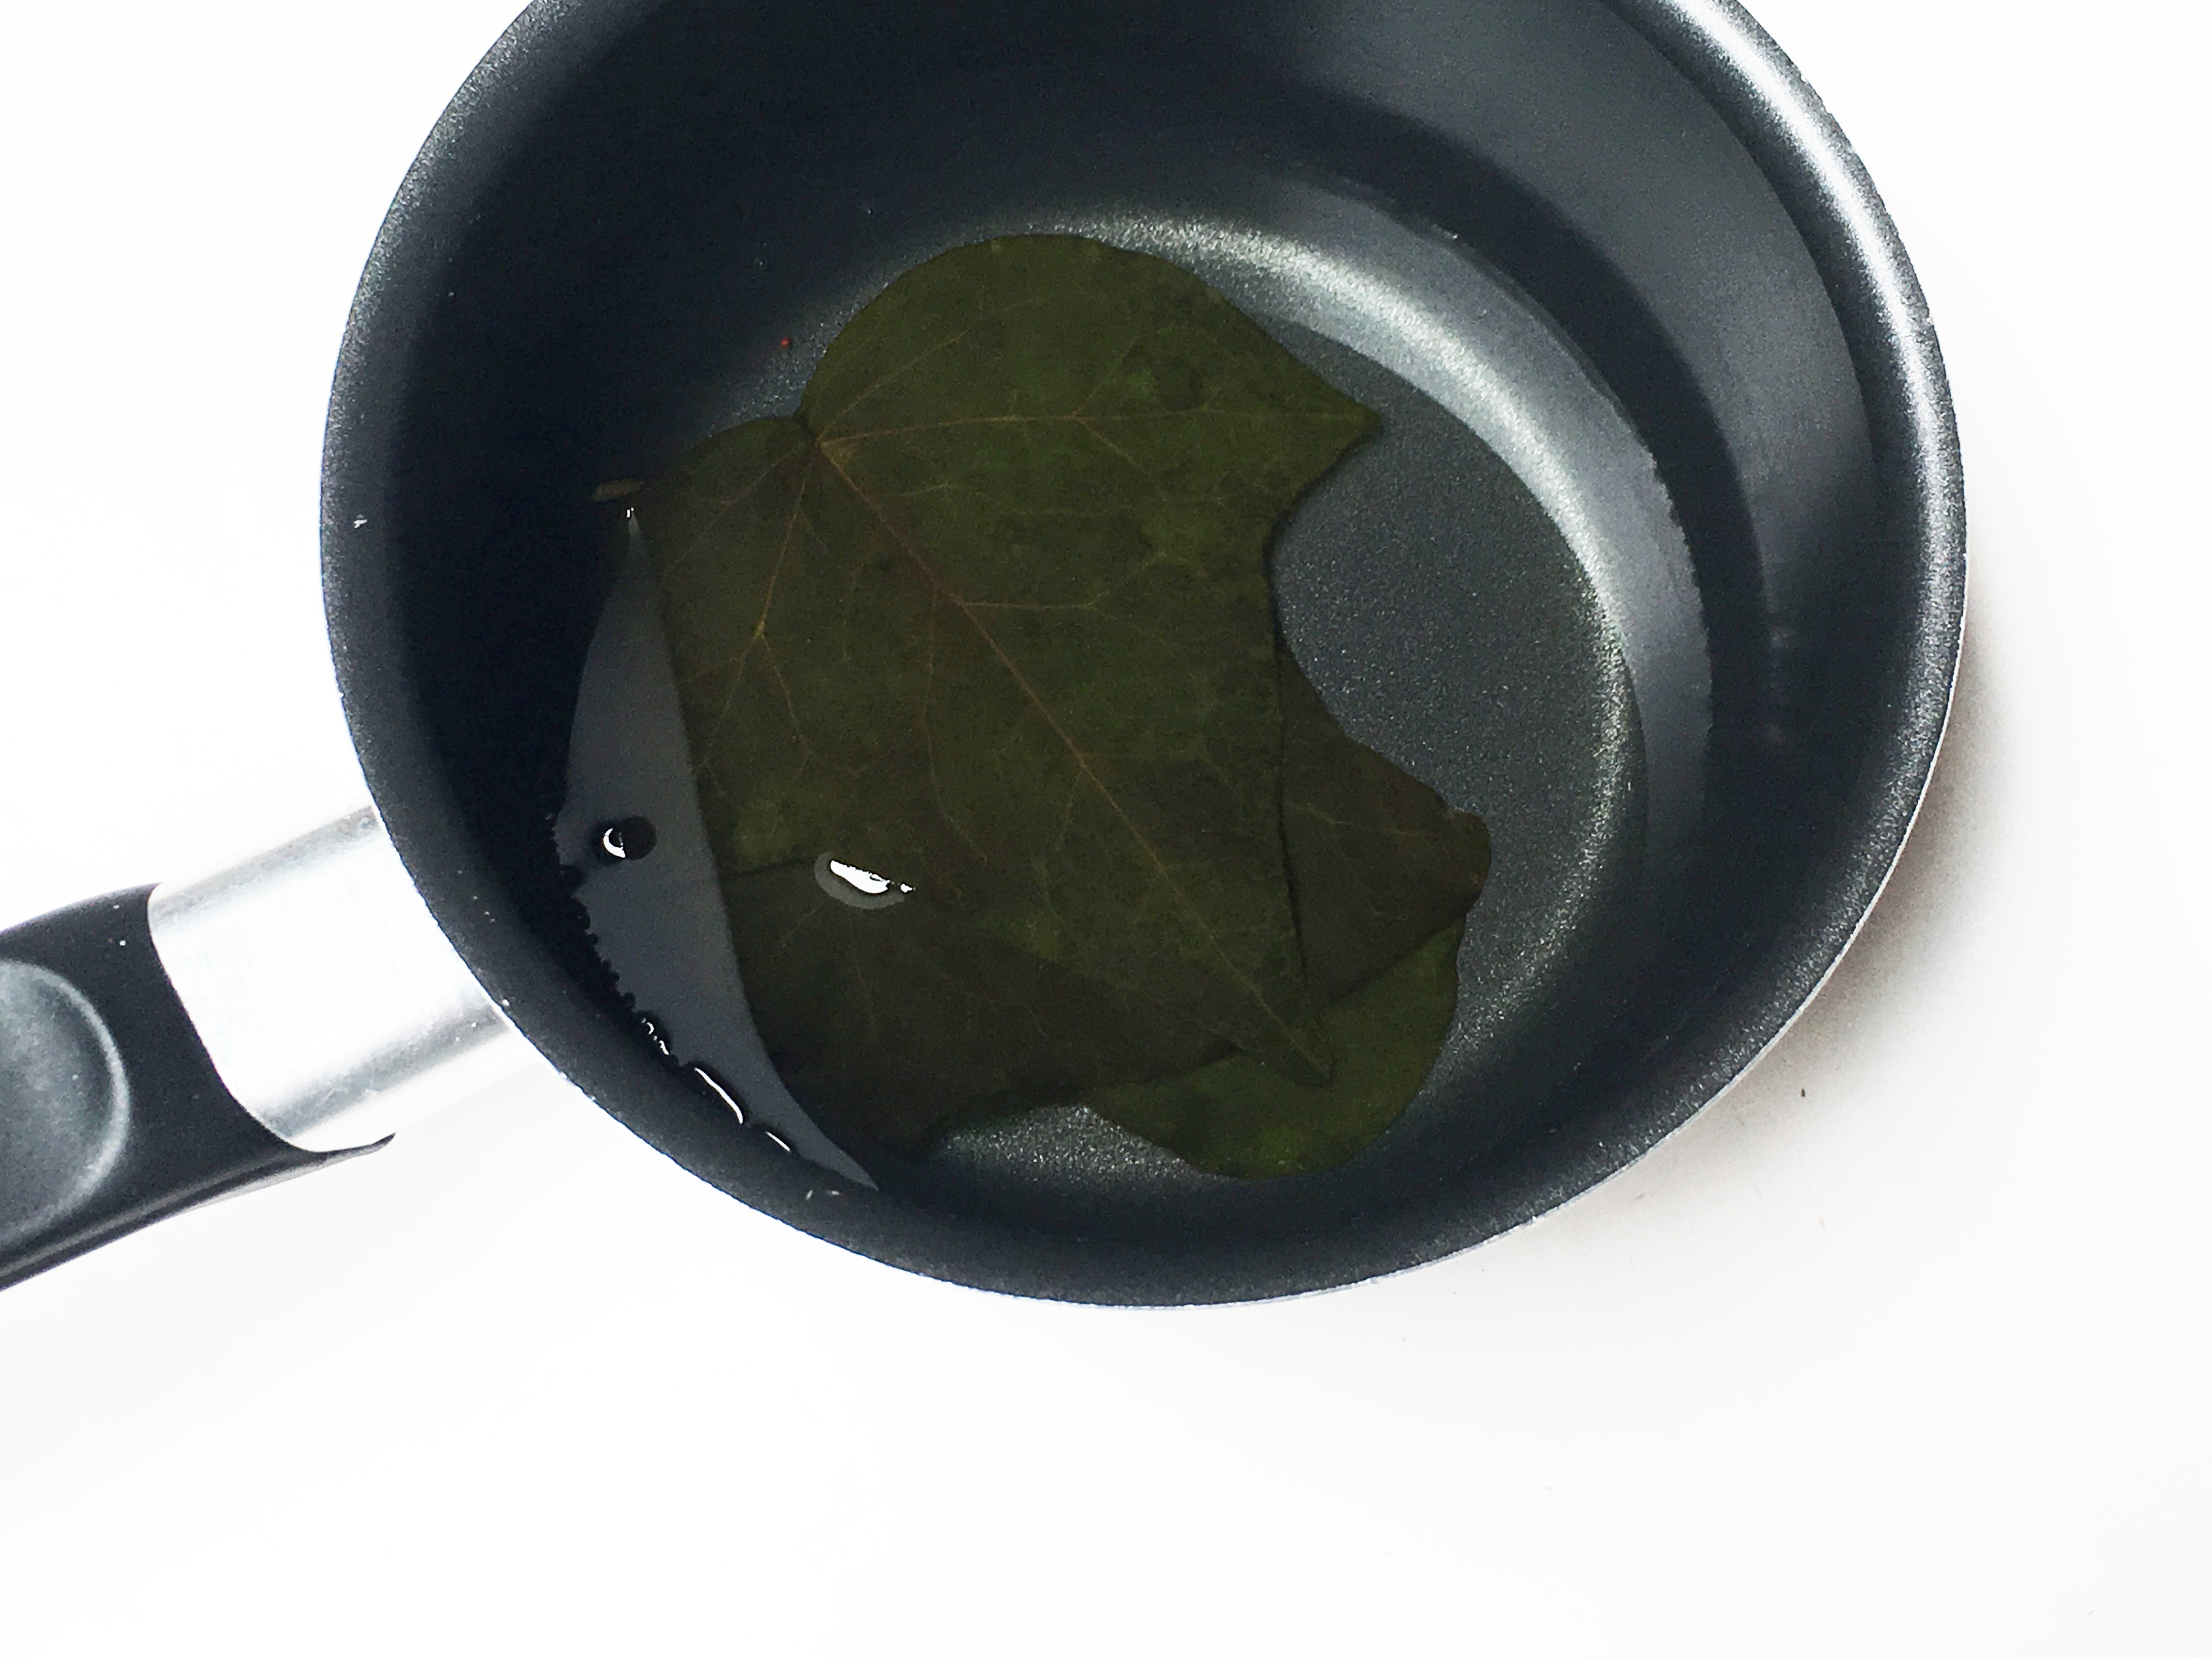
Wearing rubber gloves, gently take a leaf out of the pot. Carefully rinse it under a faucet. Use your fingers to gently rub away the green leaf tissue. As you rub your fingers toward the ends of the outer edges of the leaf, you'll start to see the colored leaf tissue wash away leaving a clearer, translucent layer.
Tip
Use a paintbrush or toothbrush to gently brush away the green leaf tissue.
Step 6
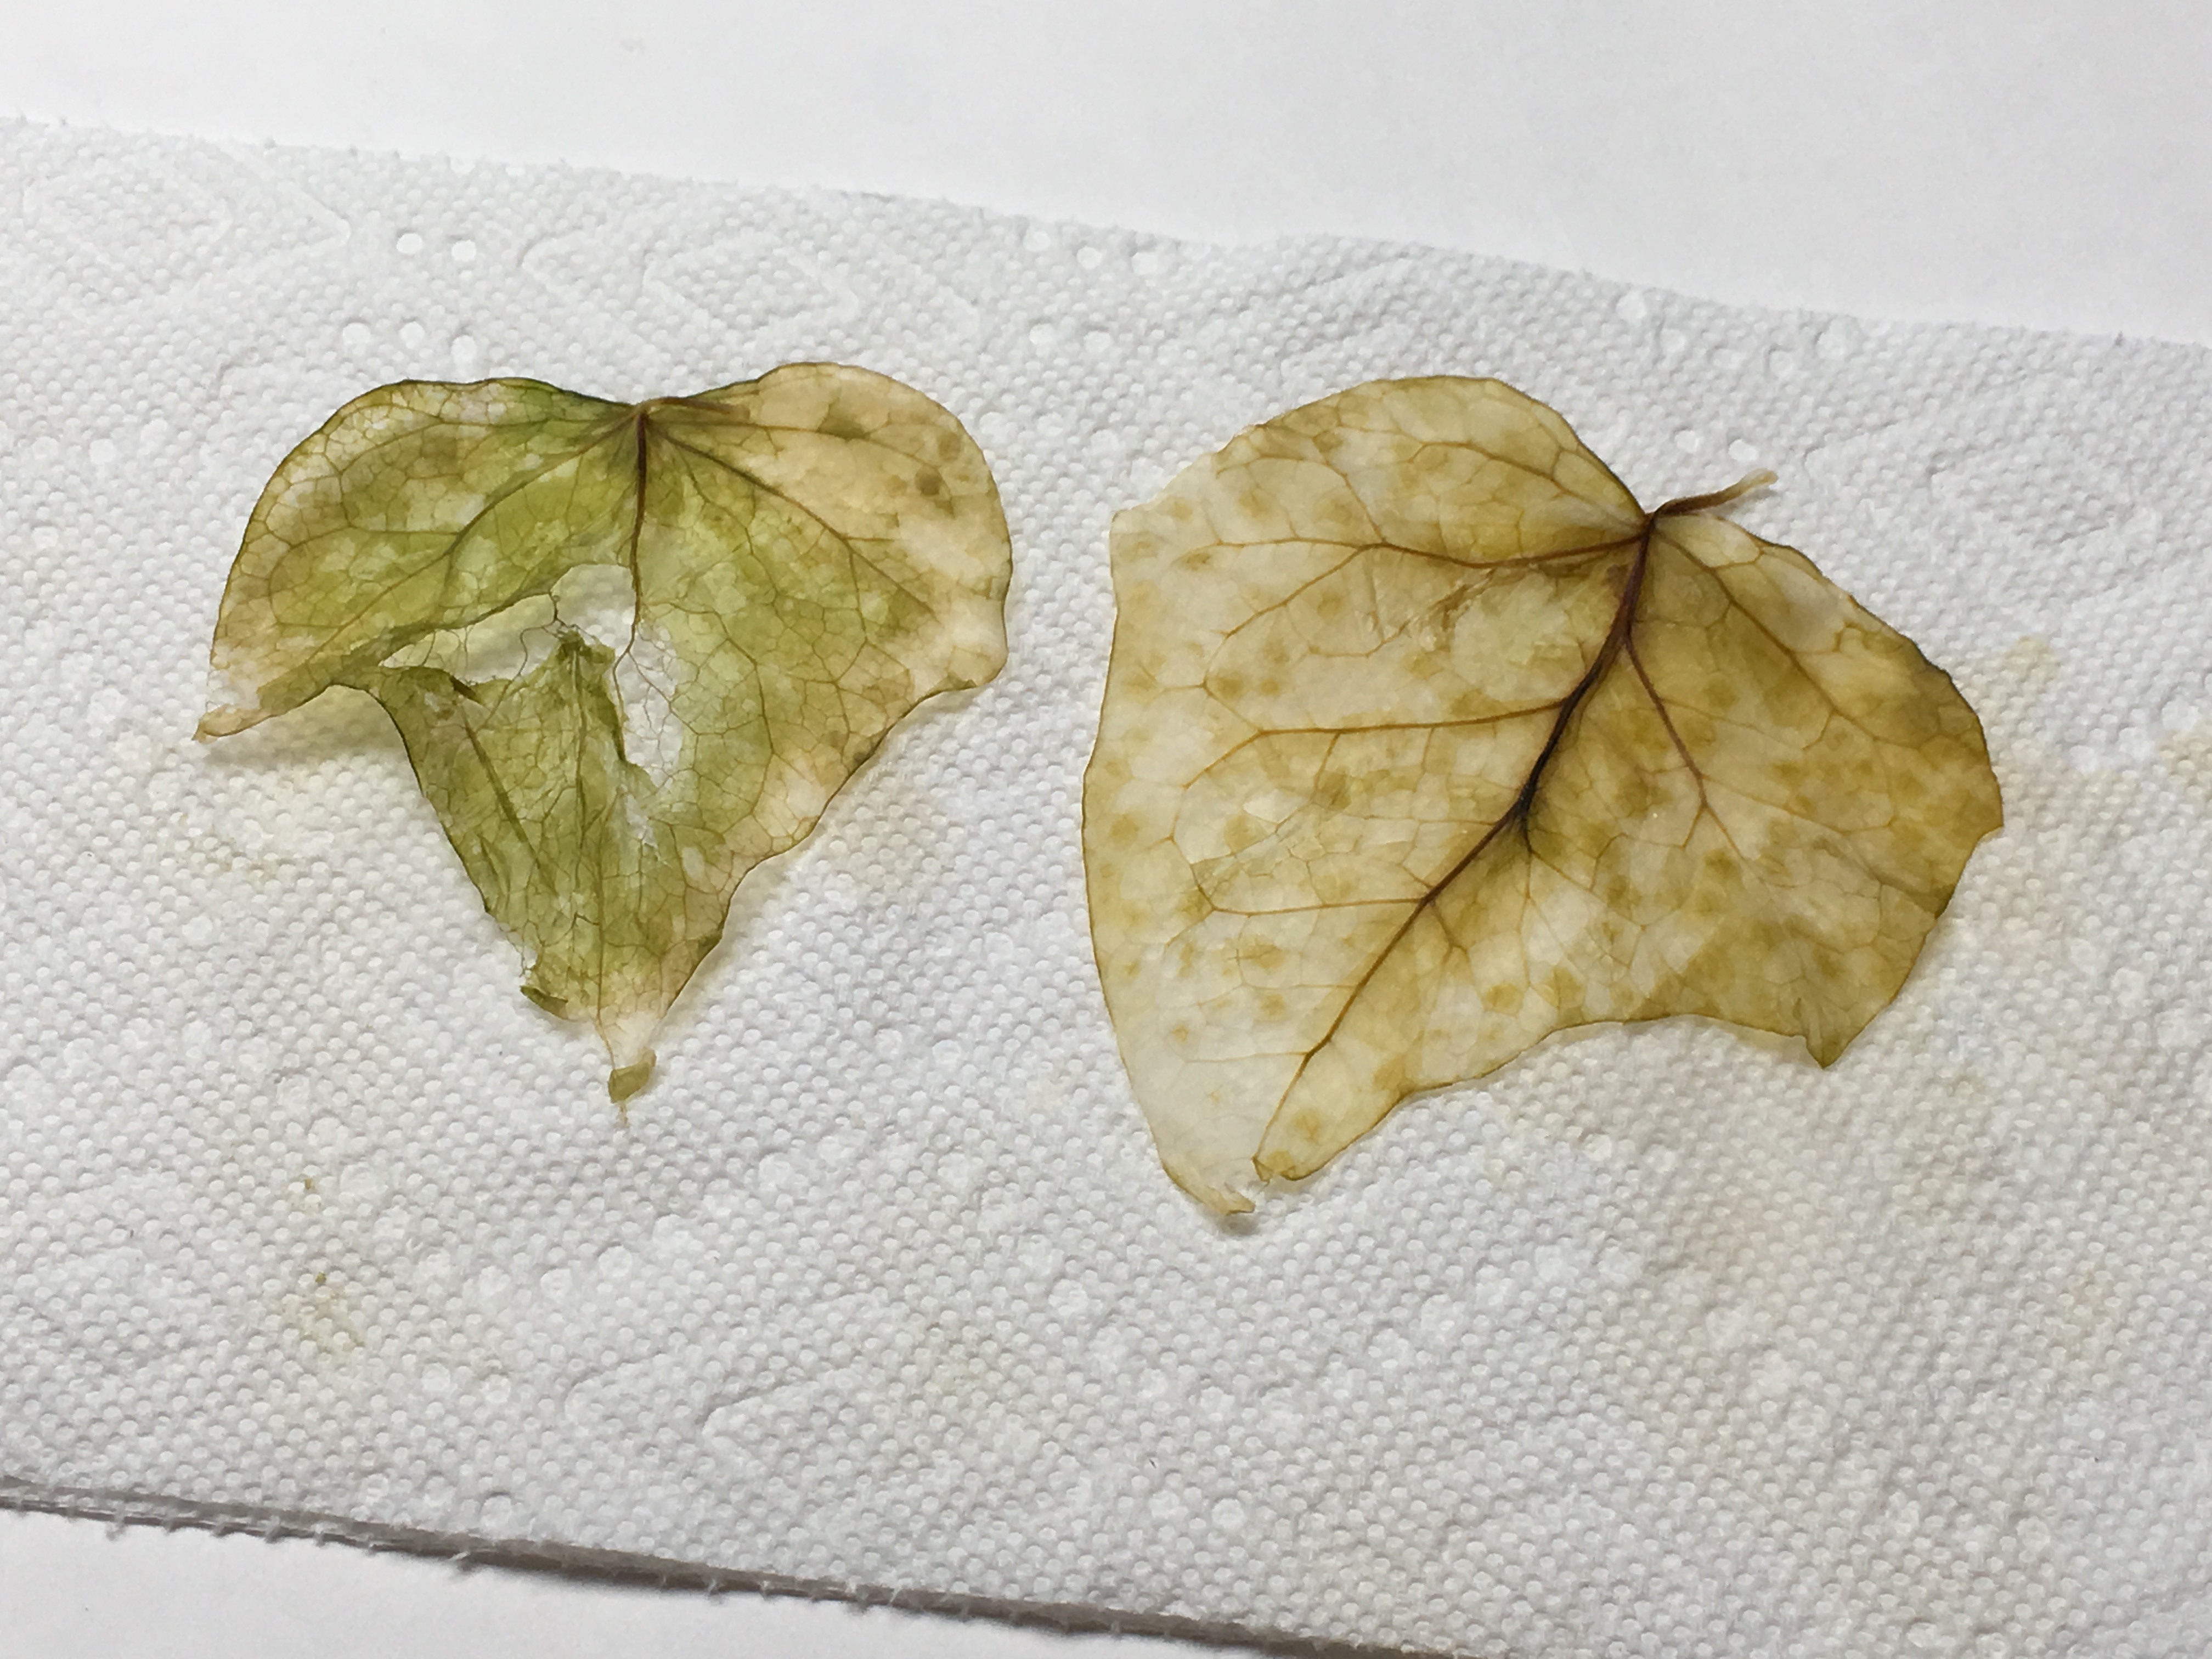
Once you have the green leaf tissue rubbed off, you are left with a clearer leaf. We decided to take a step further, and remove the rest of the tissue by gently peeling it from the veins of the leaf.
Step 7
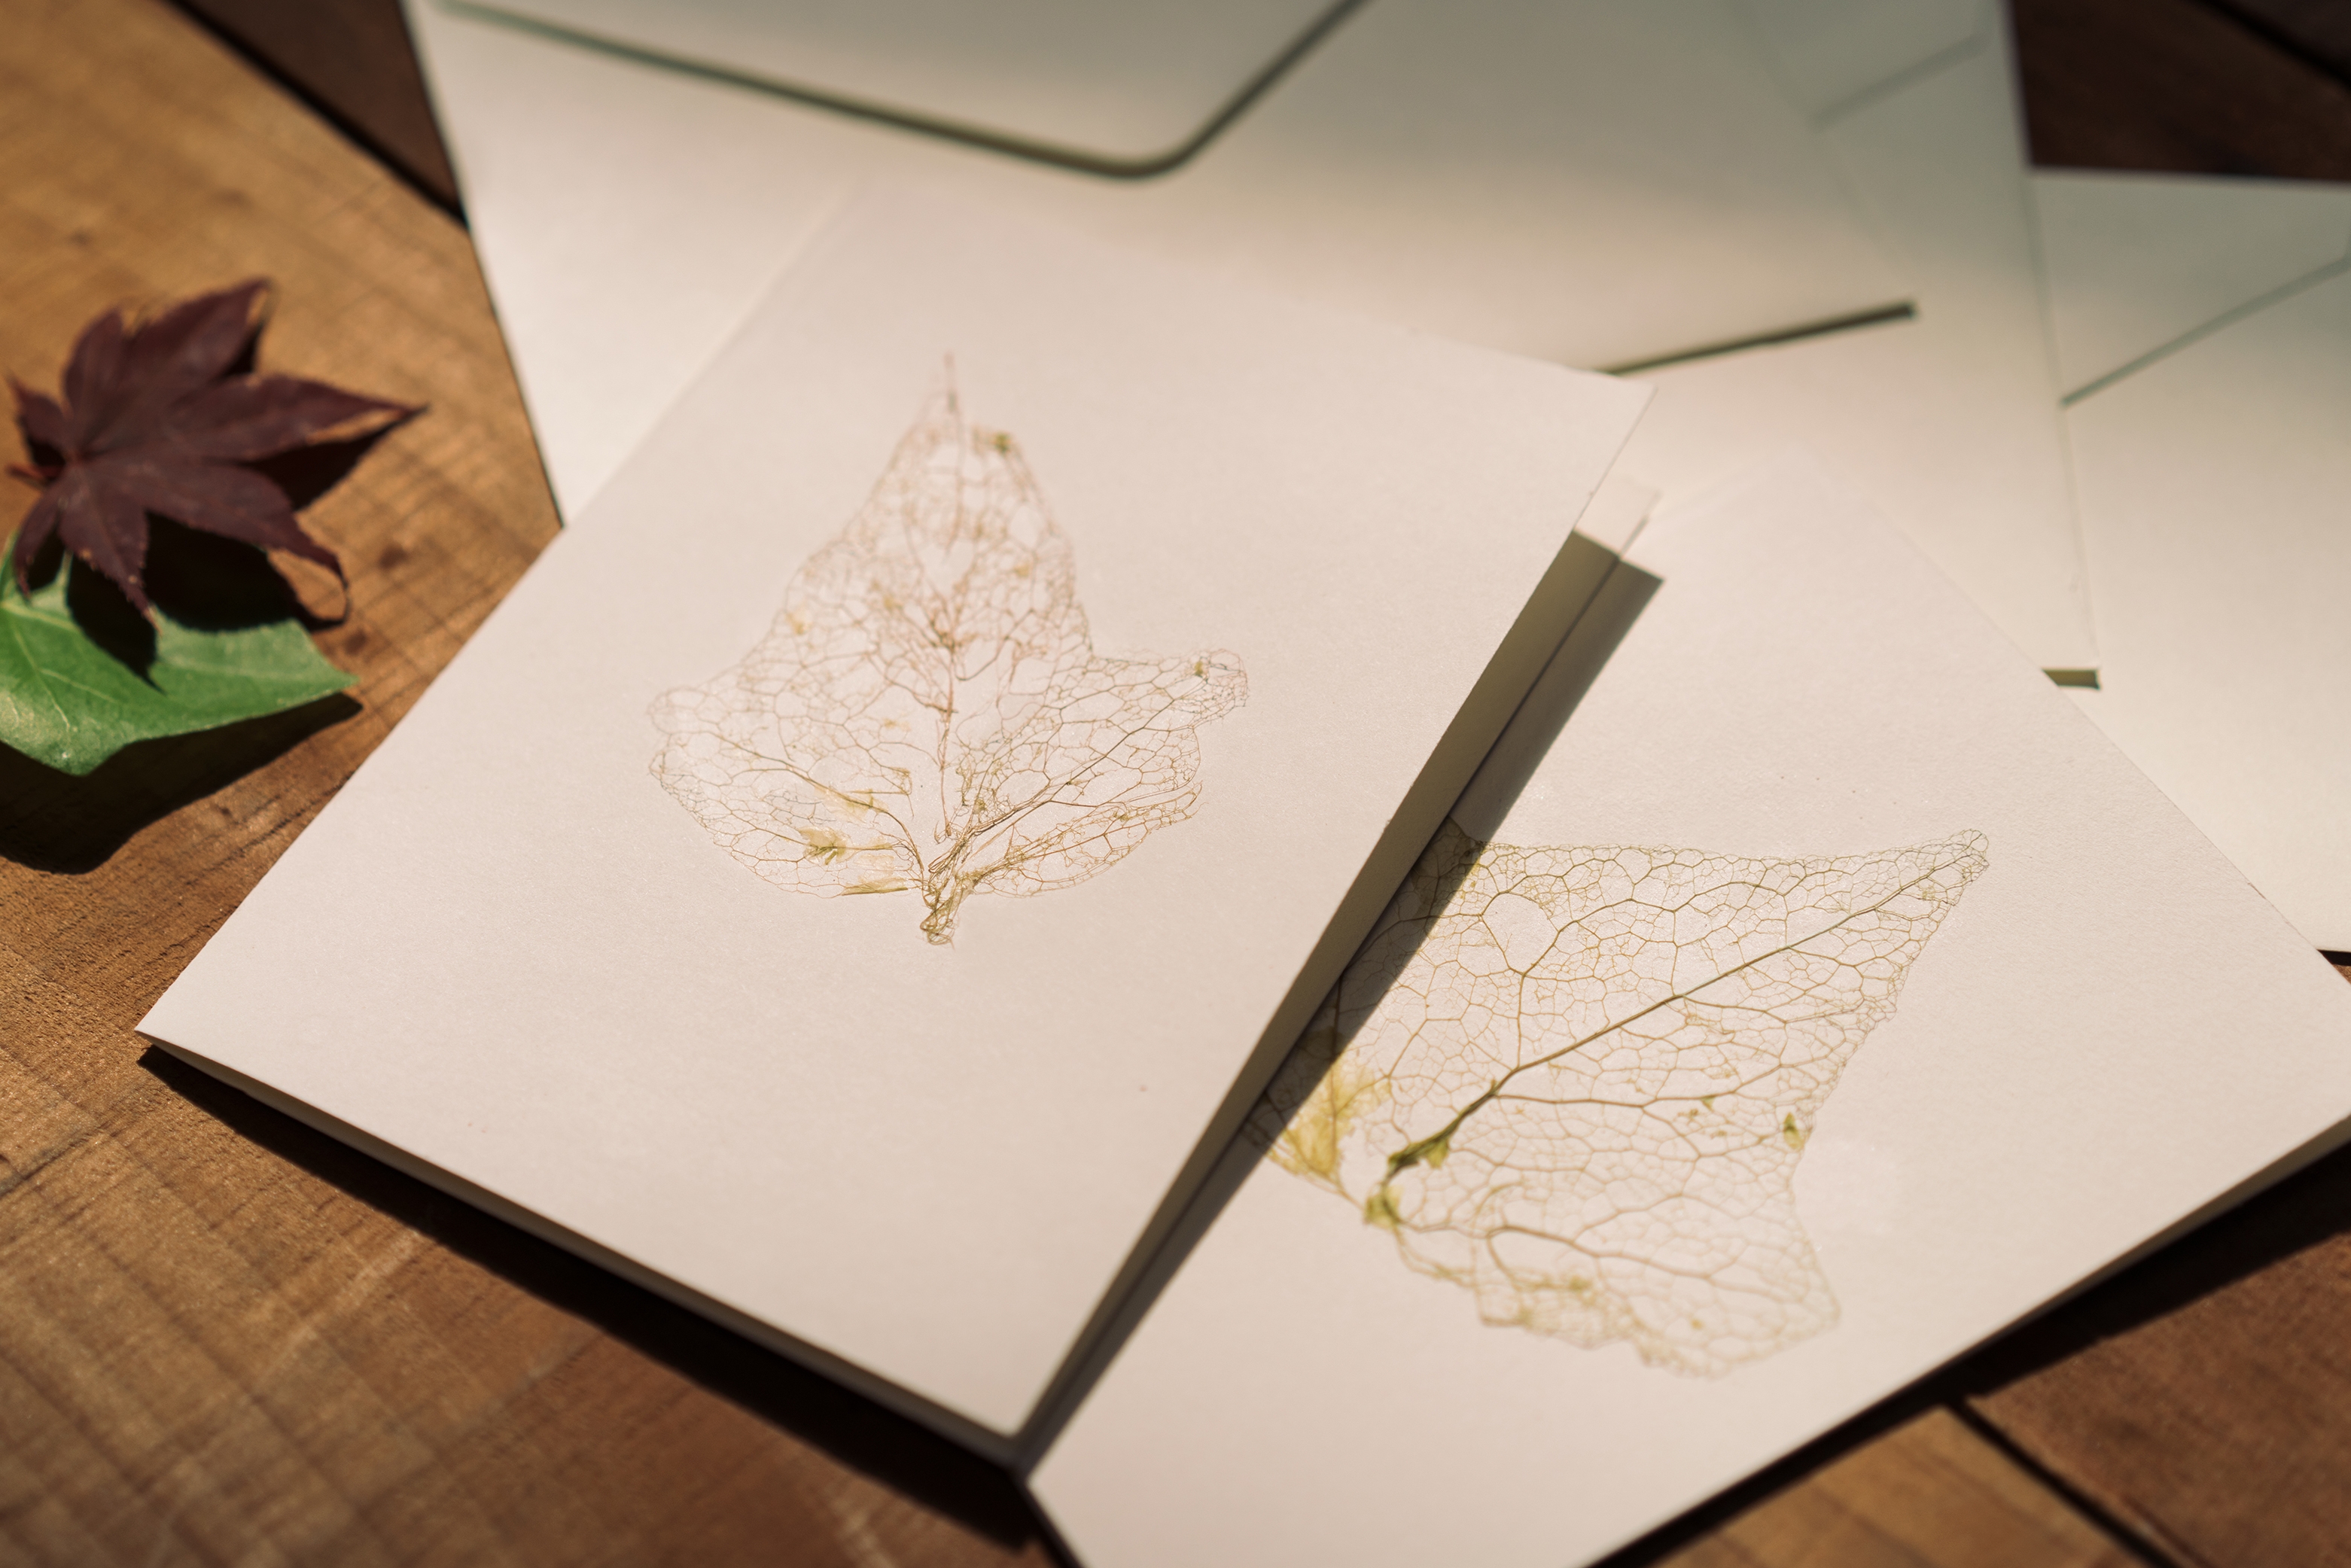
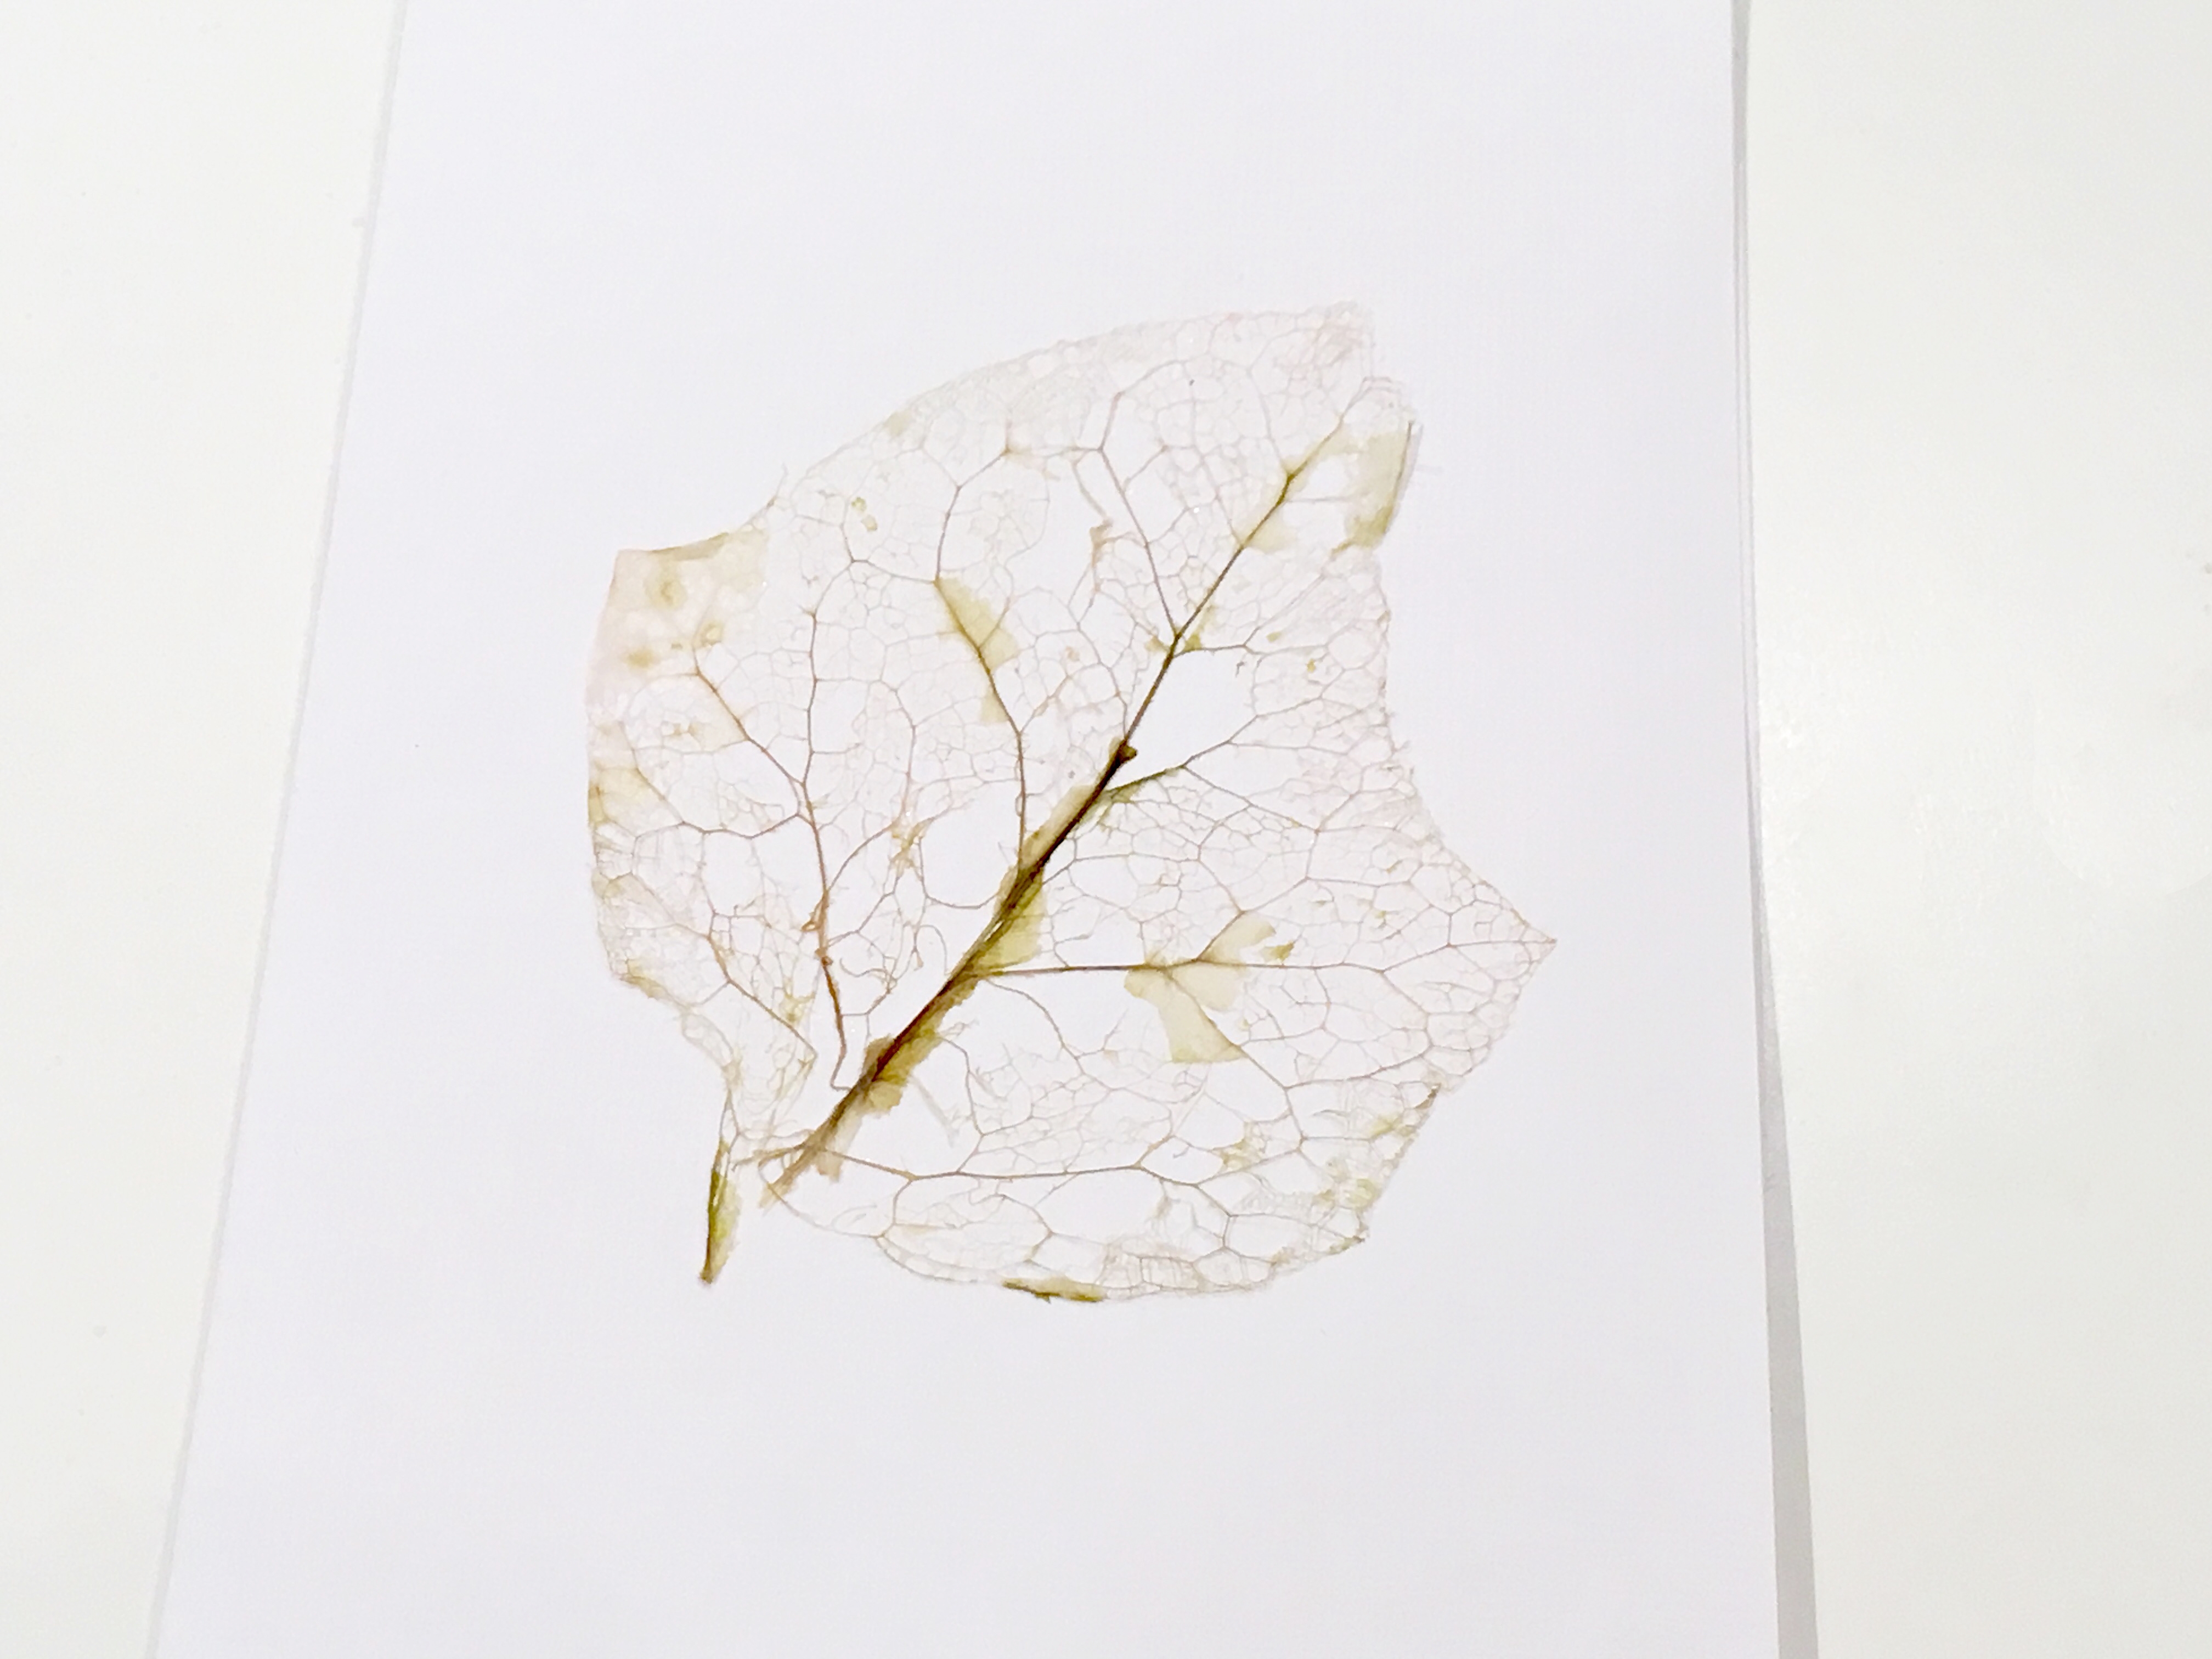
Let your bare leaf skeleton fully dry and glue it on a piece of cardstock to make your own card! What else can you make with your leaf skeleton?
Fact

What is it?
The part of the leaf you're looking at now is the complex system of veins, which makes up the leaf skeleton. The leaf skeleton is a part of a transportation system that delivers nutrients from the tree trunk and moves nutrients throughout the leaf.


