Step-by-step tutorial
Step 1
Gather all materials. Borax can be found in the laundry aisle of your local grocery store. We used various color pipe cleaners so the kids could pick their favorites, but we found that the white pipe cleaners looked most like snowflakes.


Step 2
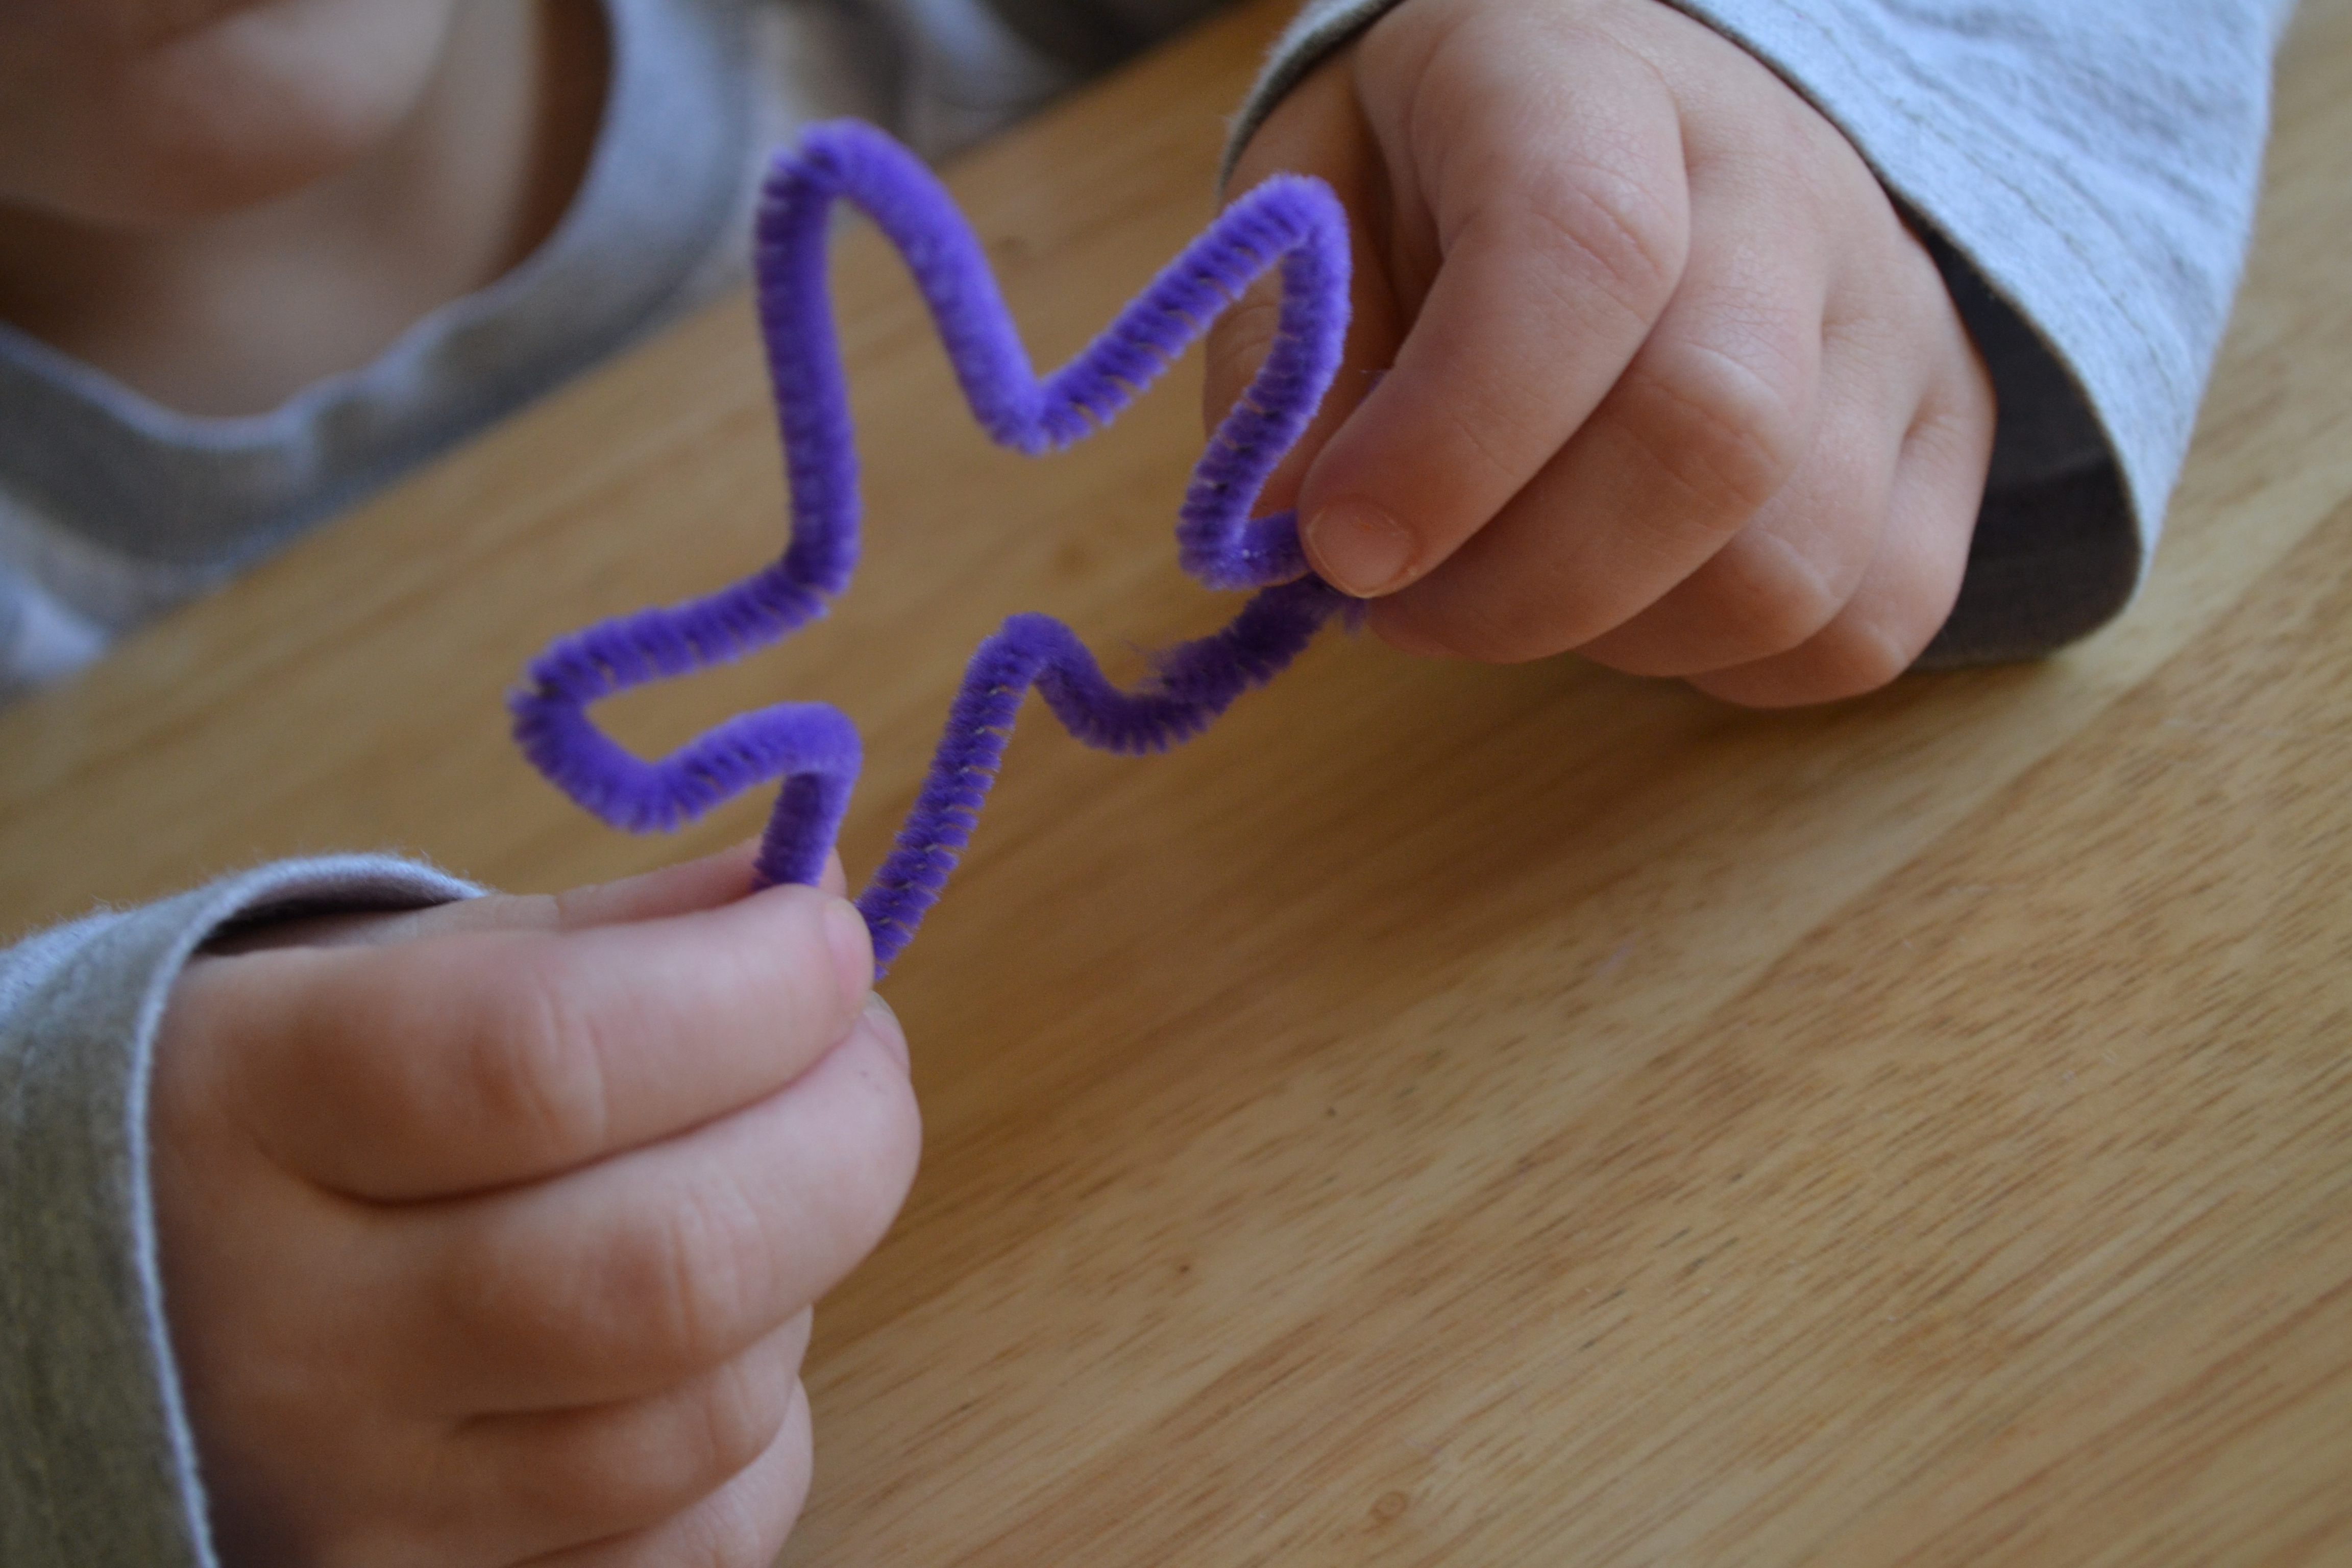
I gave each of the kids a pipe cleaner and helped them form snowflakes out of them. Our snowflakes ended up looking more like stars, but the kids loved them. You could make any shape. I think next time we'll try cutting the pipe cleaner into pieces and twisting them together. While the kids worked with the pipe cleaners, I put the kettle on to boil.
Step 3
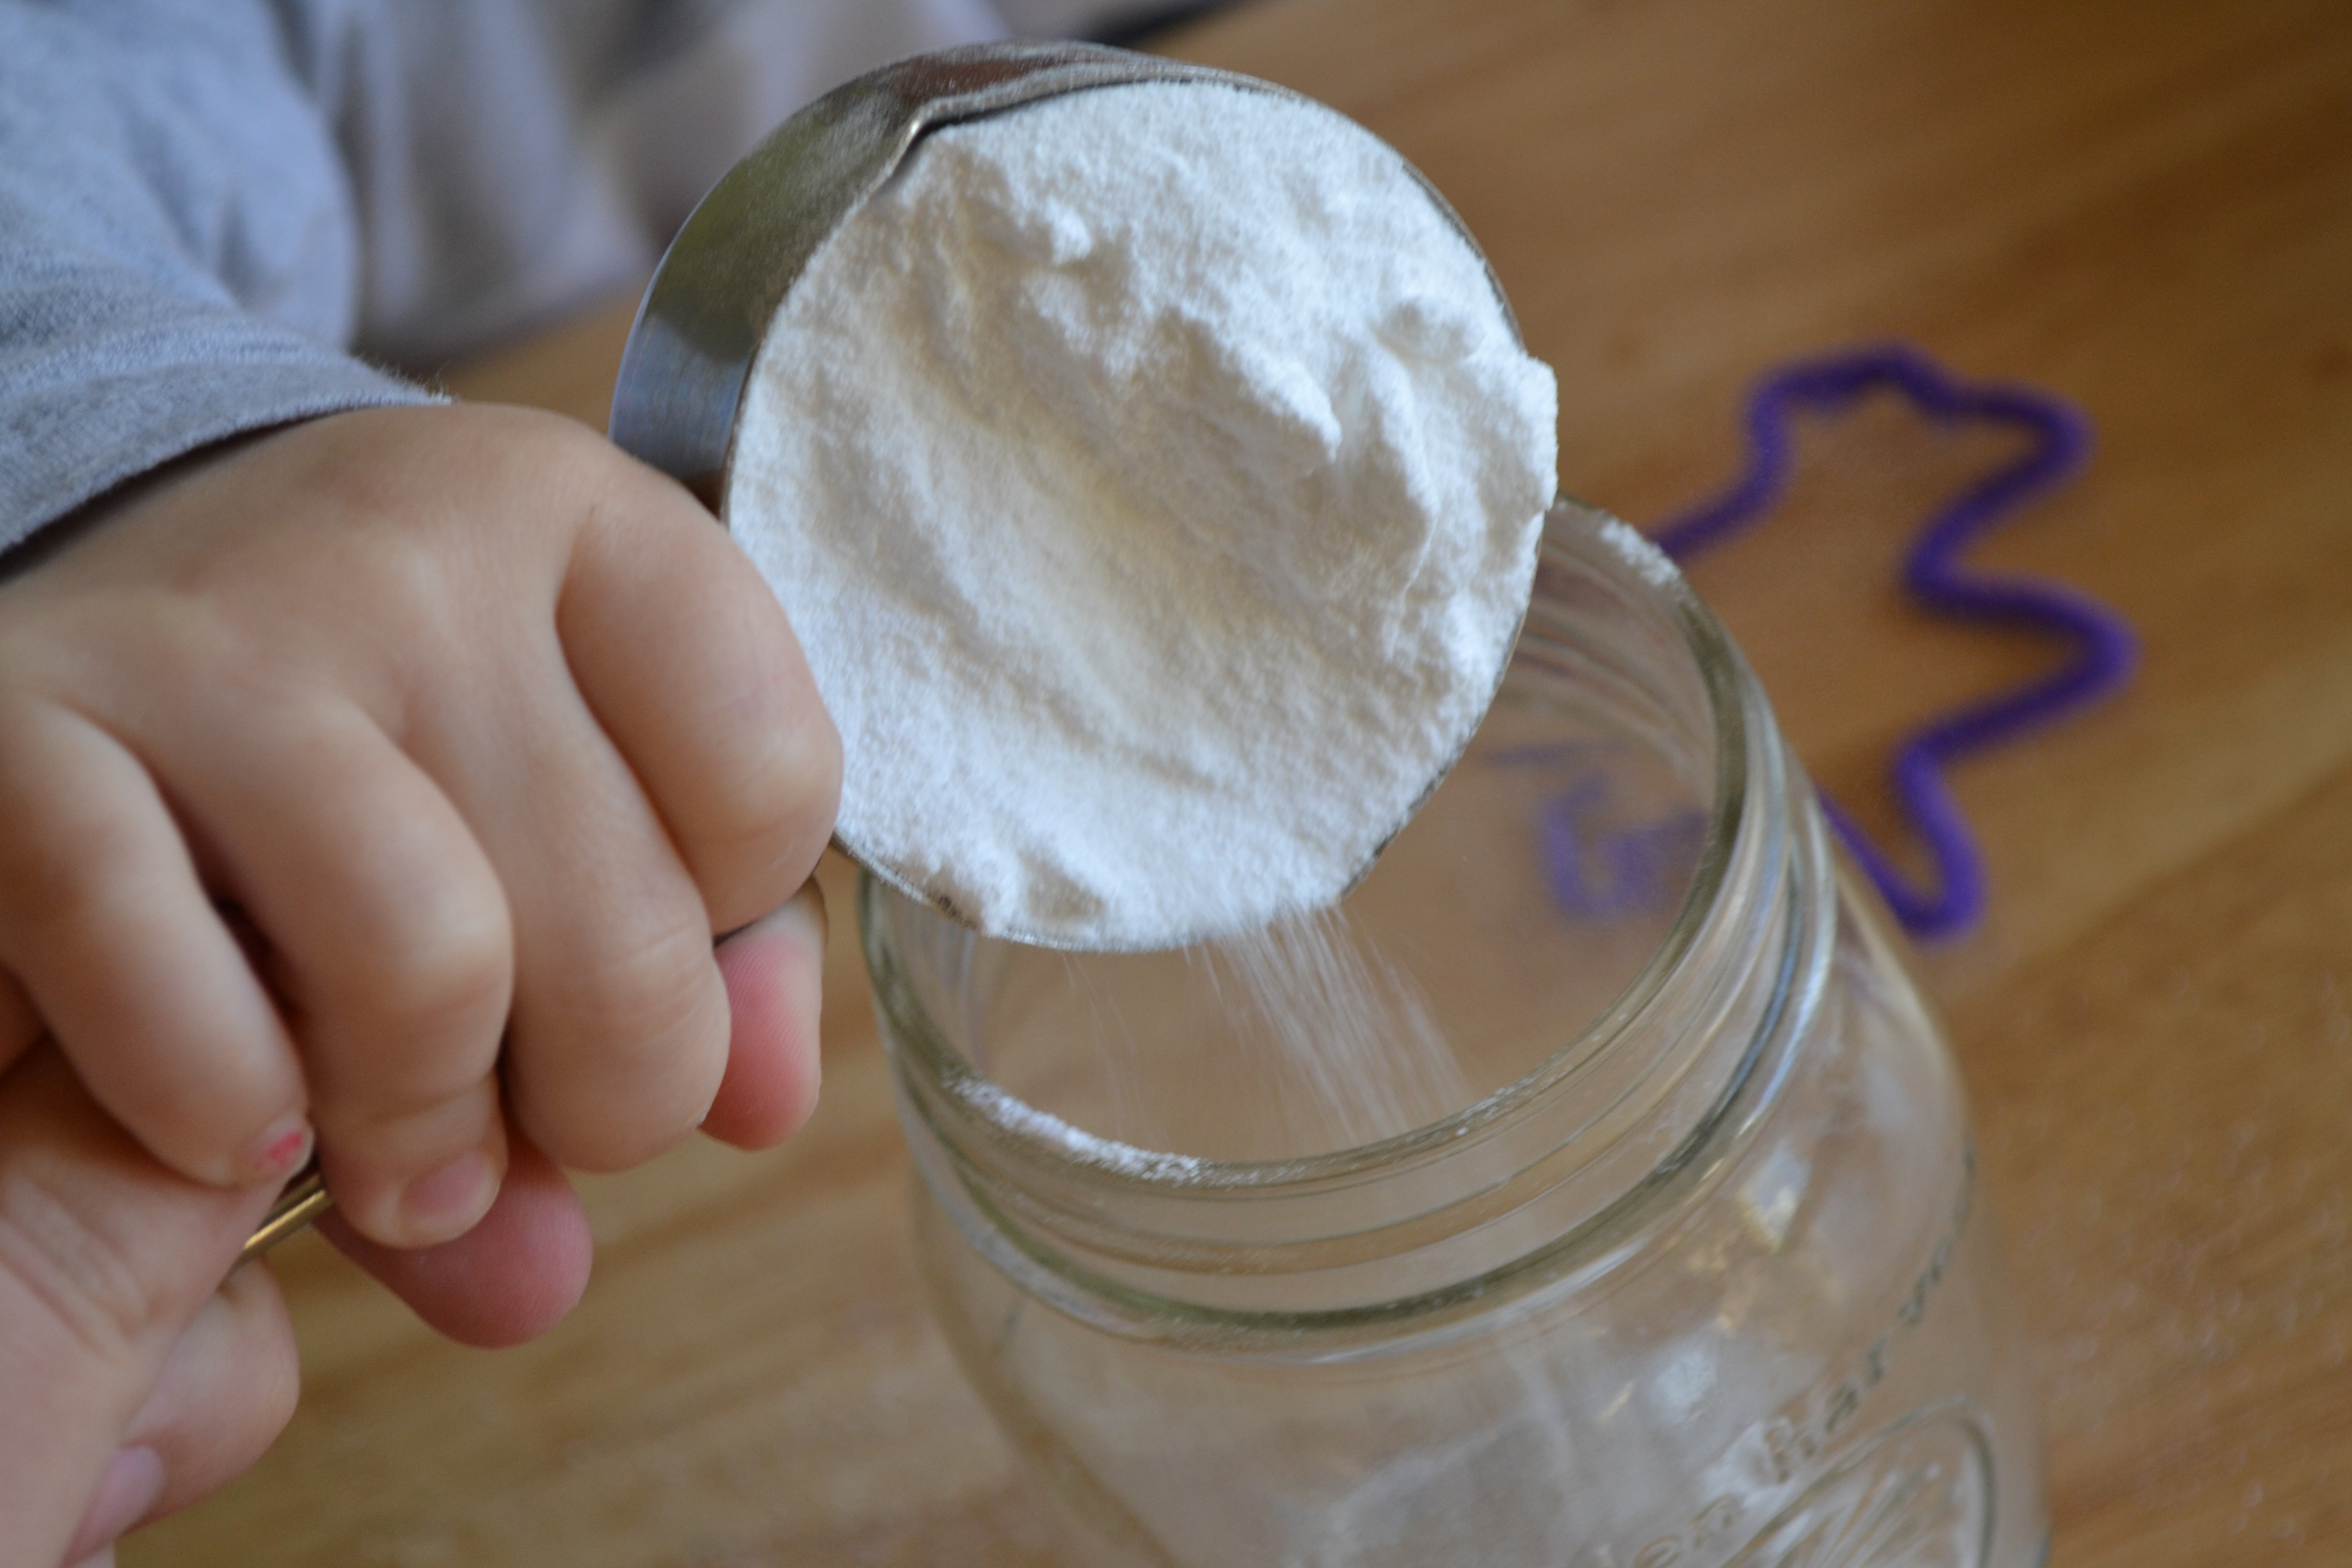
I gave each of the kids a pint-sized Mason jar and they poured in 1/3 cup of Borax. I had to be extra careful with my 2 and 3-year-olds to make sure that they didn't try to eat any of the Borax.
Step 4
Then, I carefully filled the jars 3/4 full with boiling water. After warning the kids repeatedly about the hot water, I let them use the Jumbo craft sticks to stir their borax. They were very careful and did a great job getting the borax to dissolve. They loved watching it "disappear".

Step 5
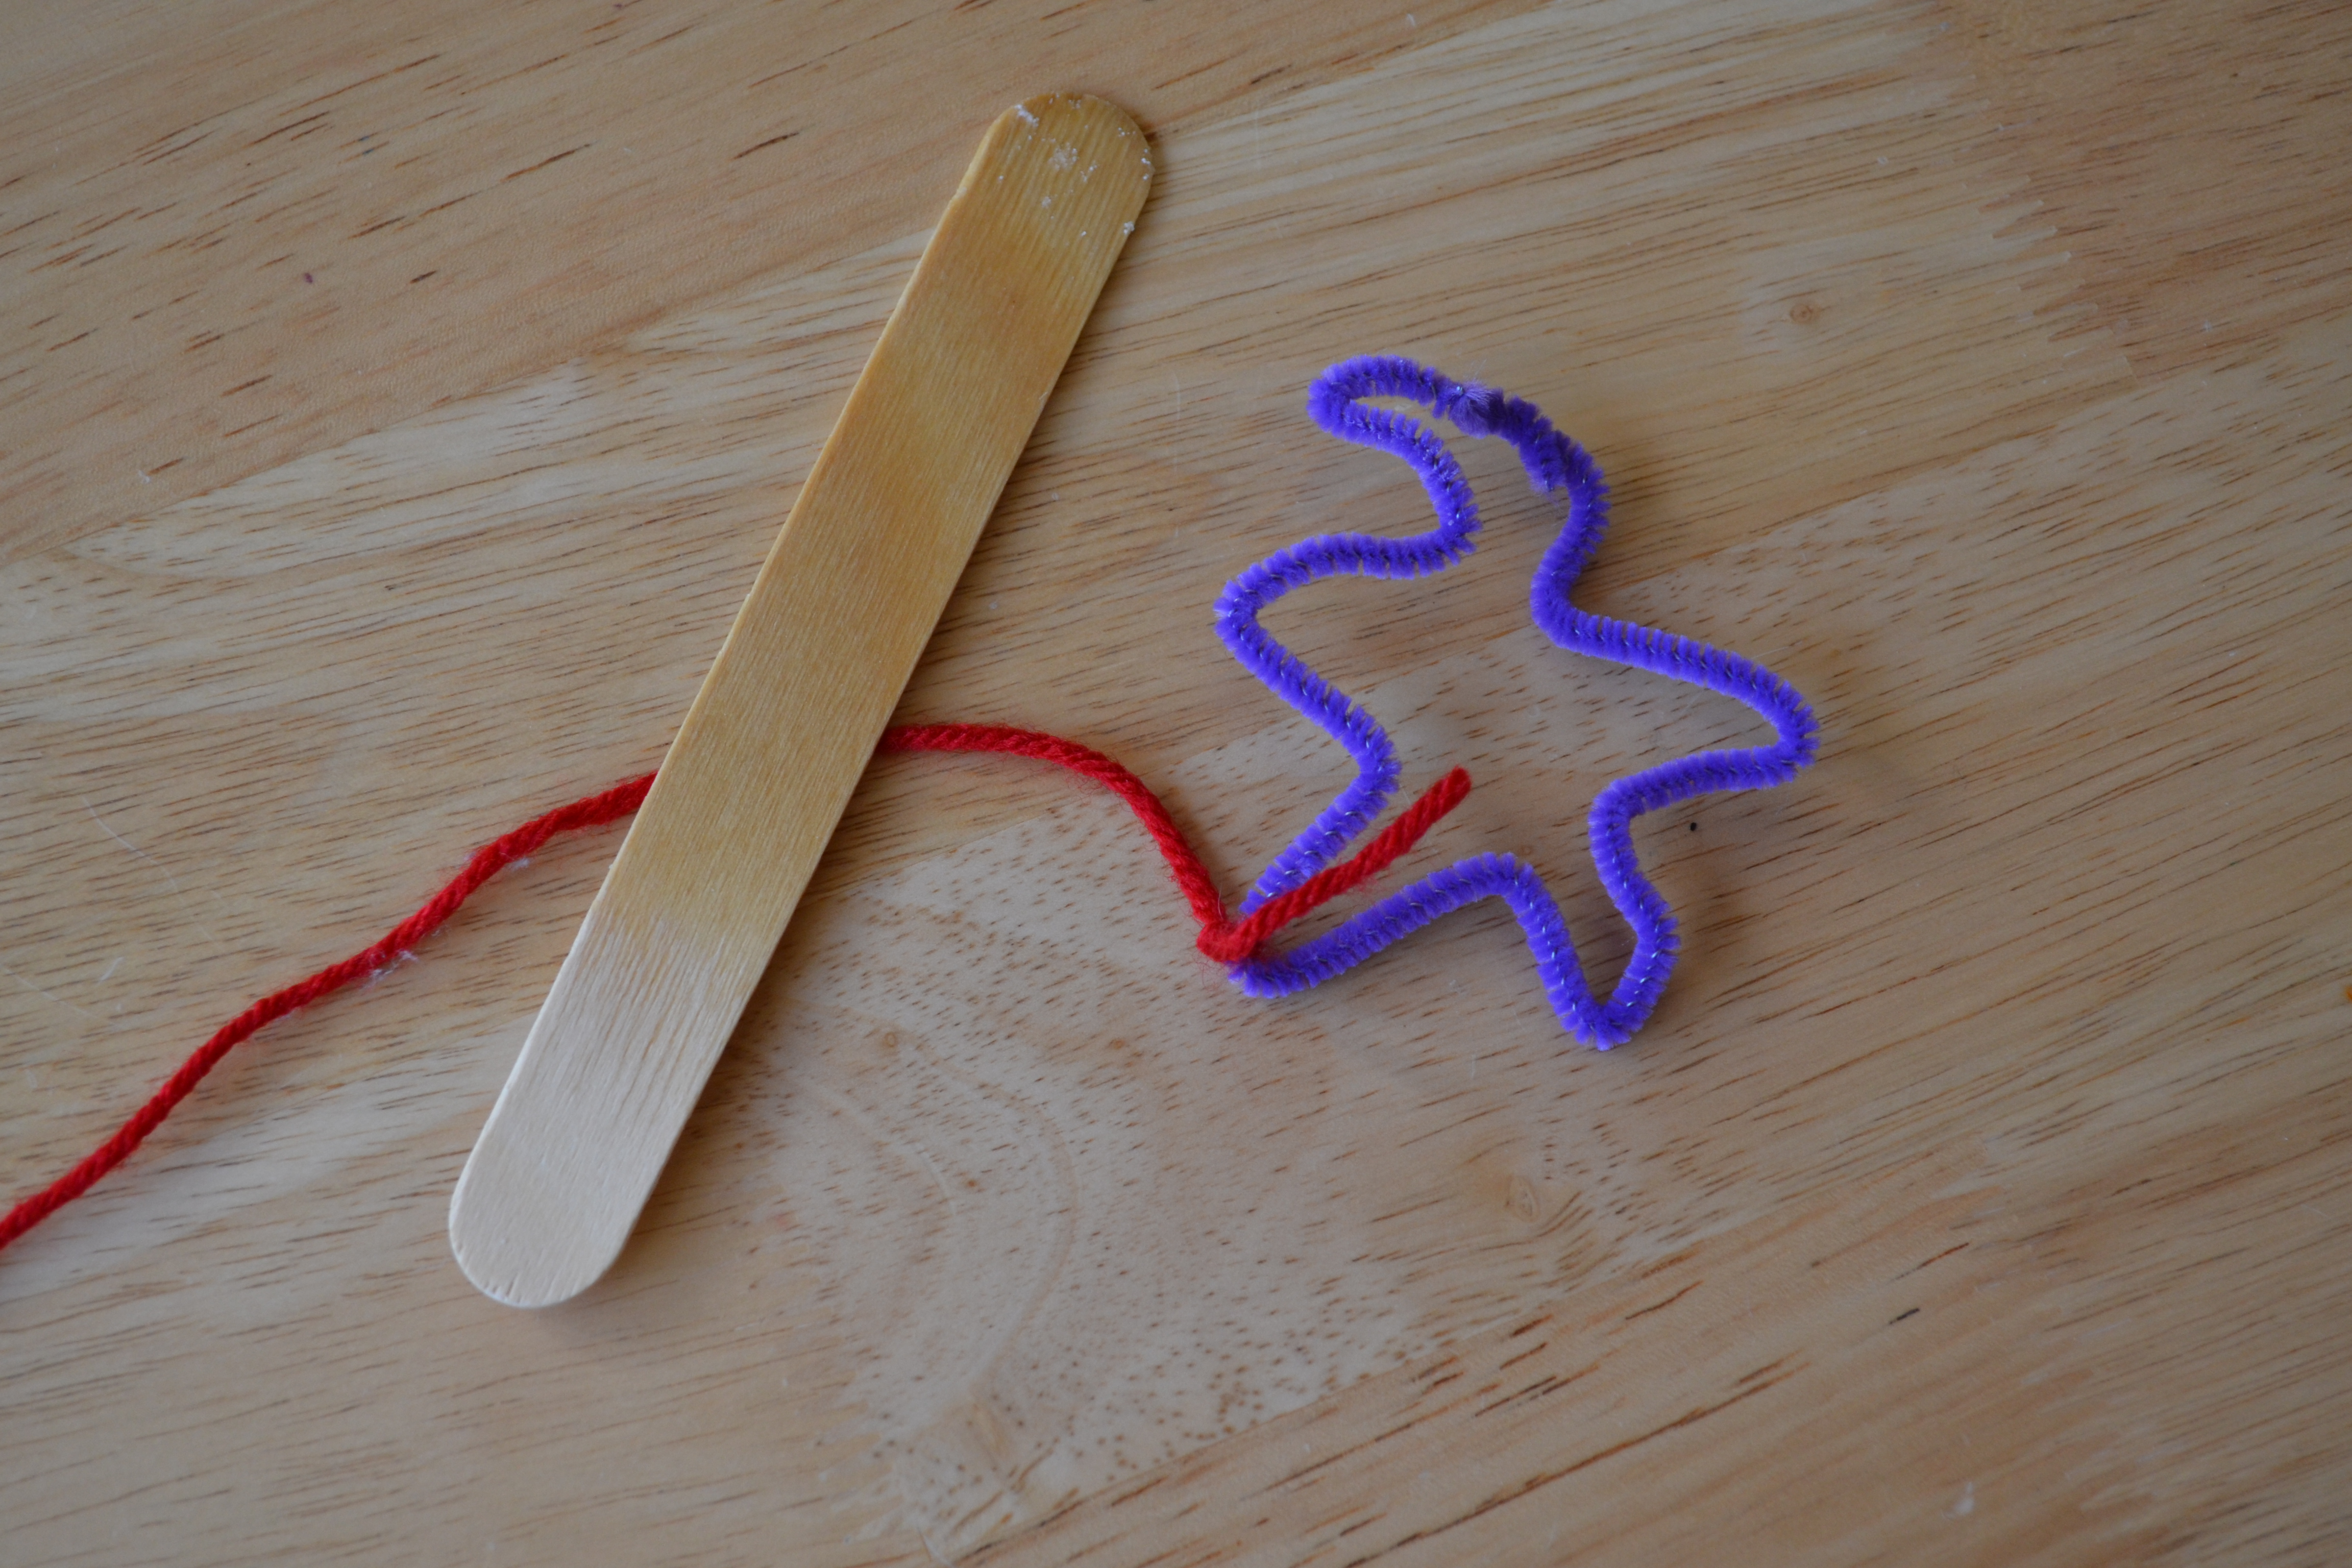
Once the water was ready, we tied yarn to our pipe cleaner and lowered it into the jar of water. Be sure to use a ribbon or string that you don't mind remaining attached to your snowflake. Once the crystals form, those strings are NOT coming off!
Step 6
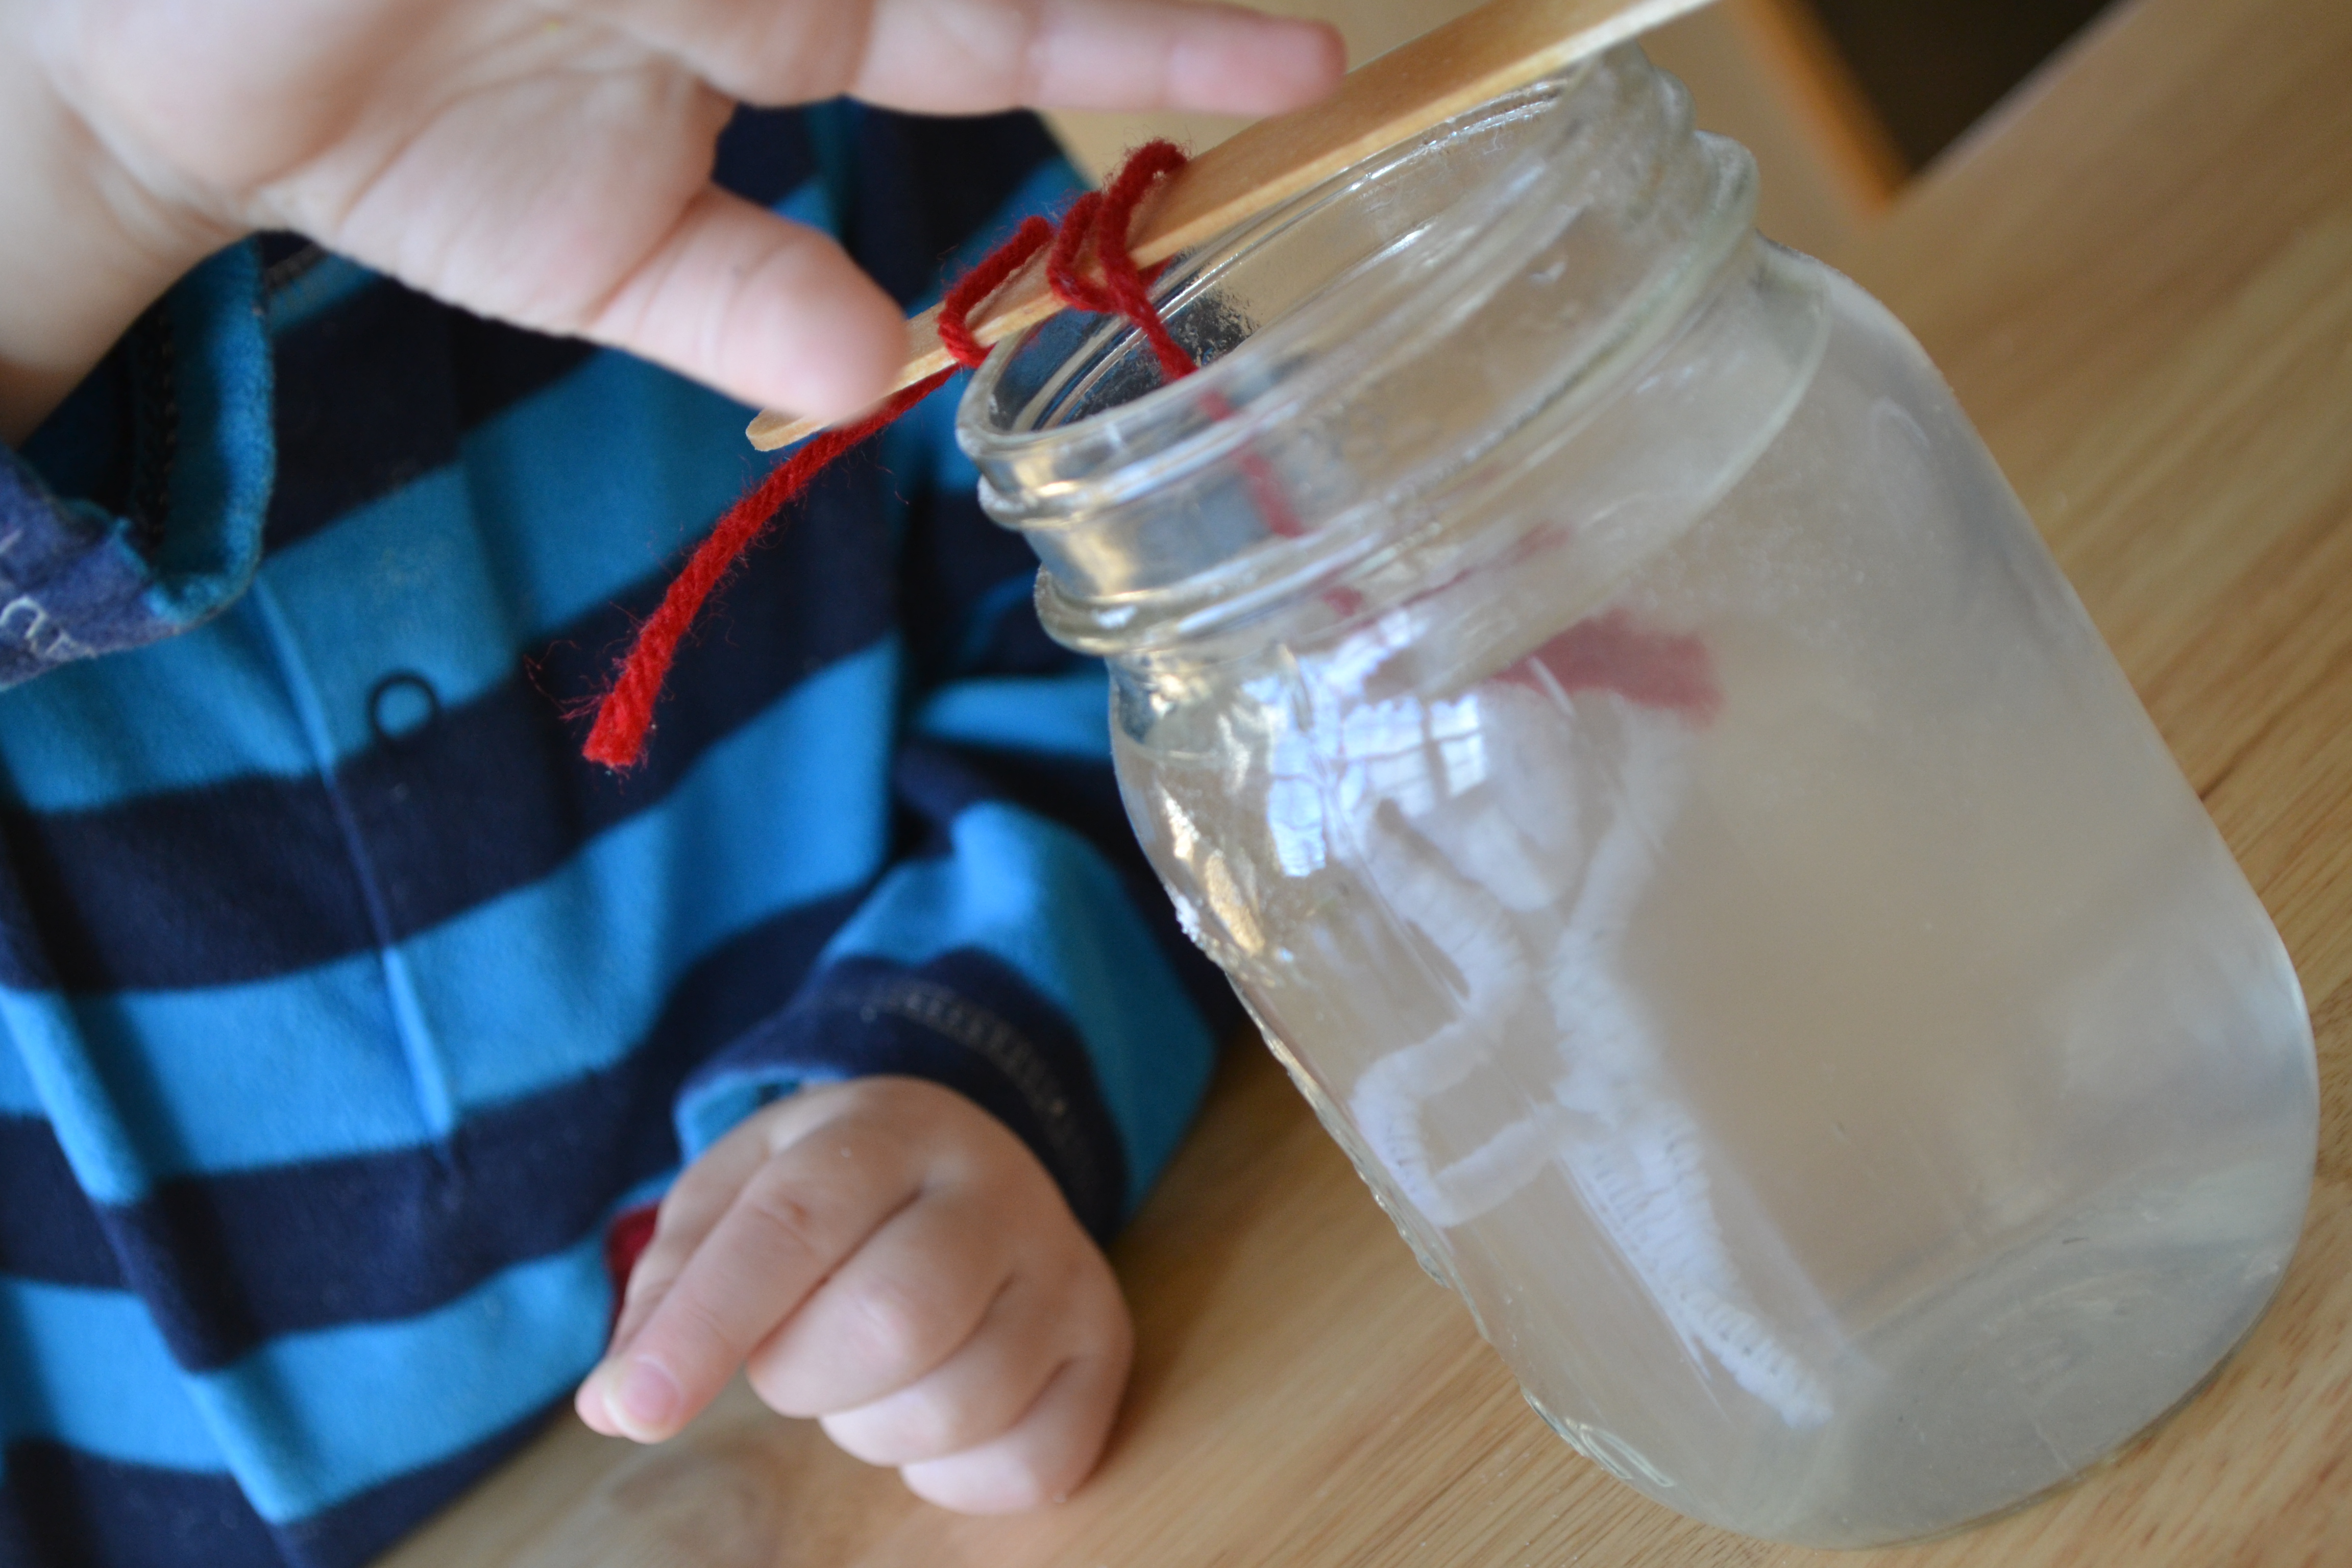
We wrapped the other end of the string around the jumbo craft stick to keep it suspended in the water without touching the edges. I tried using a pencil at first, but it didn't hold as well. The craft stick was great because it didn't roll.
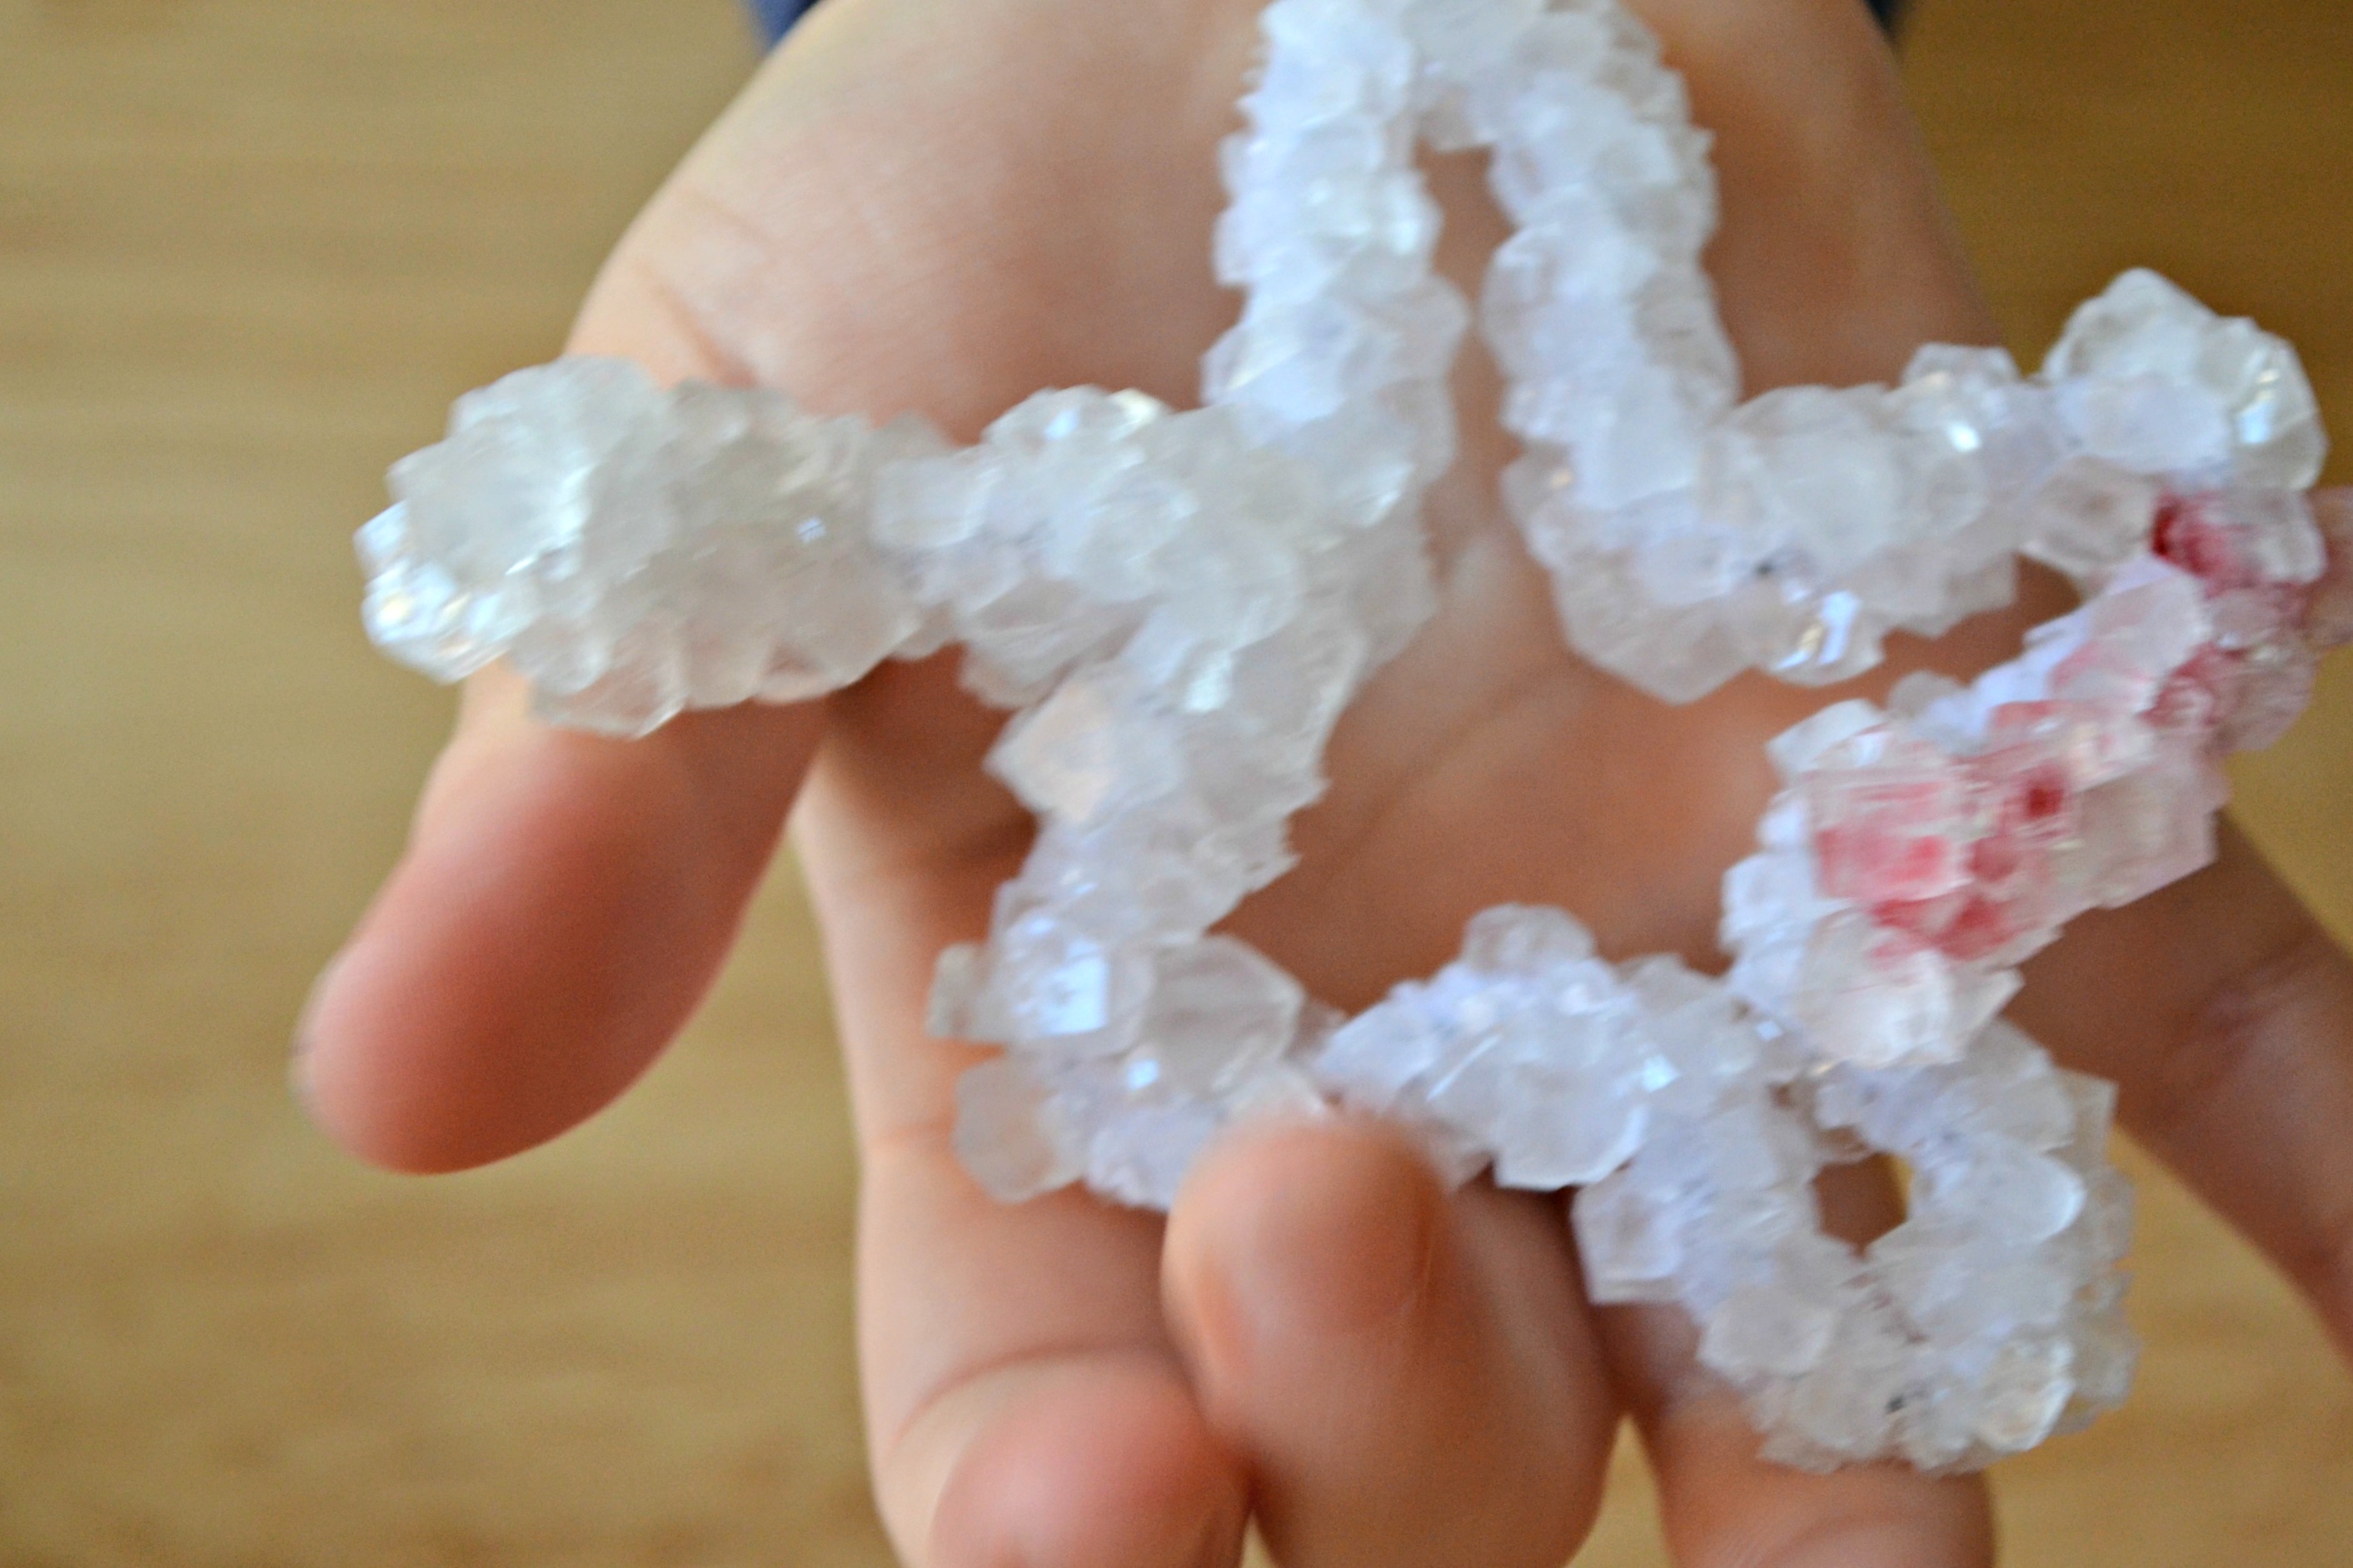
Done!
We left our jars overnight and the next morning the kids were amazed by their beautiful crystal borax snowflakes! These would make great ornaments and could me made in any shape, or even your child's initials!