Step-by-step tutorial
Step 1
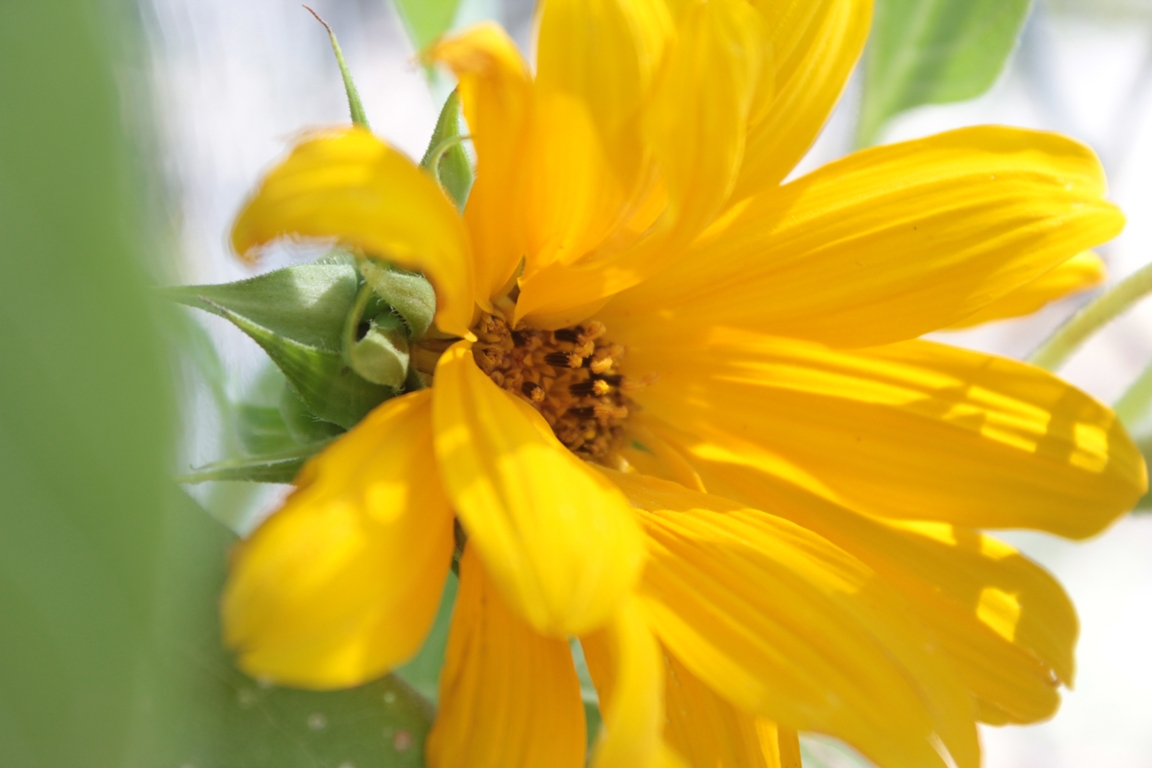
While the valley we call home is still filled with green and sunflowers, we can see the mountains clearly from our home, and there are very definite patches of red on those tall slopes. I've had leaves and acorns on my mind for several days now, so while my family was loading up our giant pup and the ice chest for a day in the mountains, I made sure to toss in a few extra supplies.

Step 2
While wandering, we get to make all sorts of discoveries. We watch a scurrying mouse. I point out to the children the false Soloman's Seal and milkweed. And we admire how much larger the beaver pond is this time than it was a few weeks ago.
Step 3
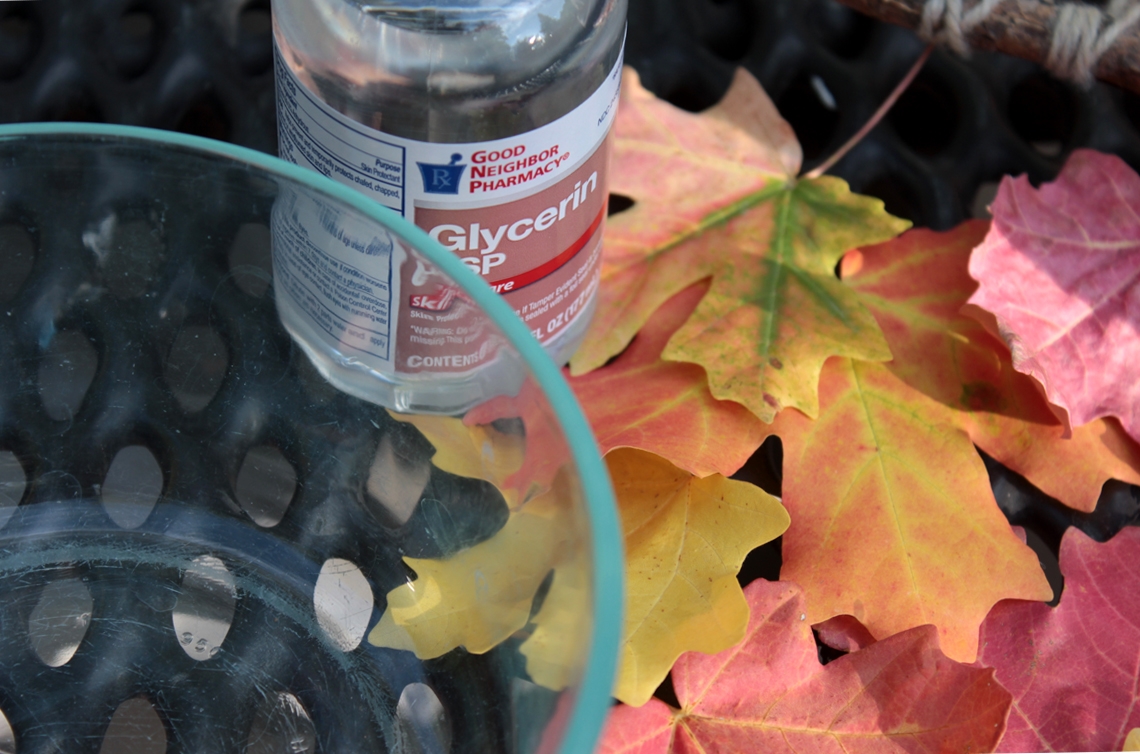
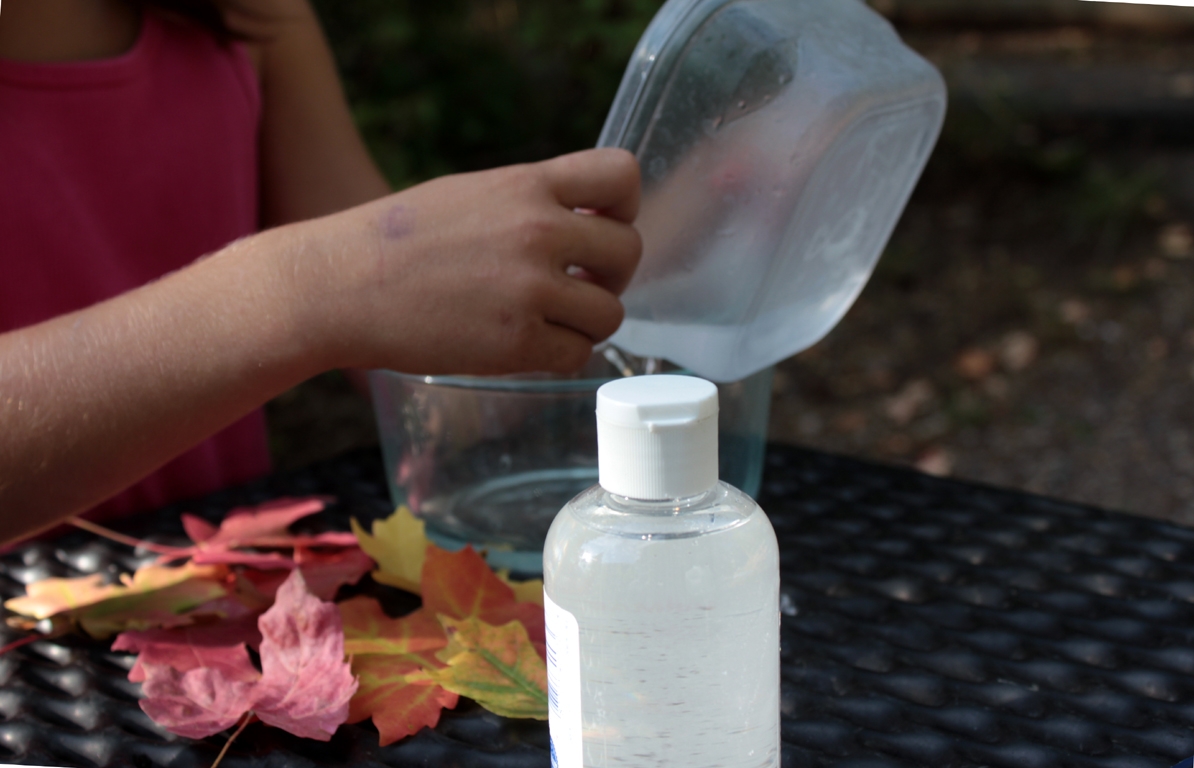
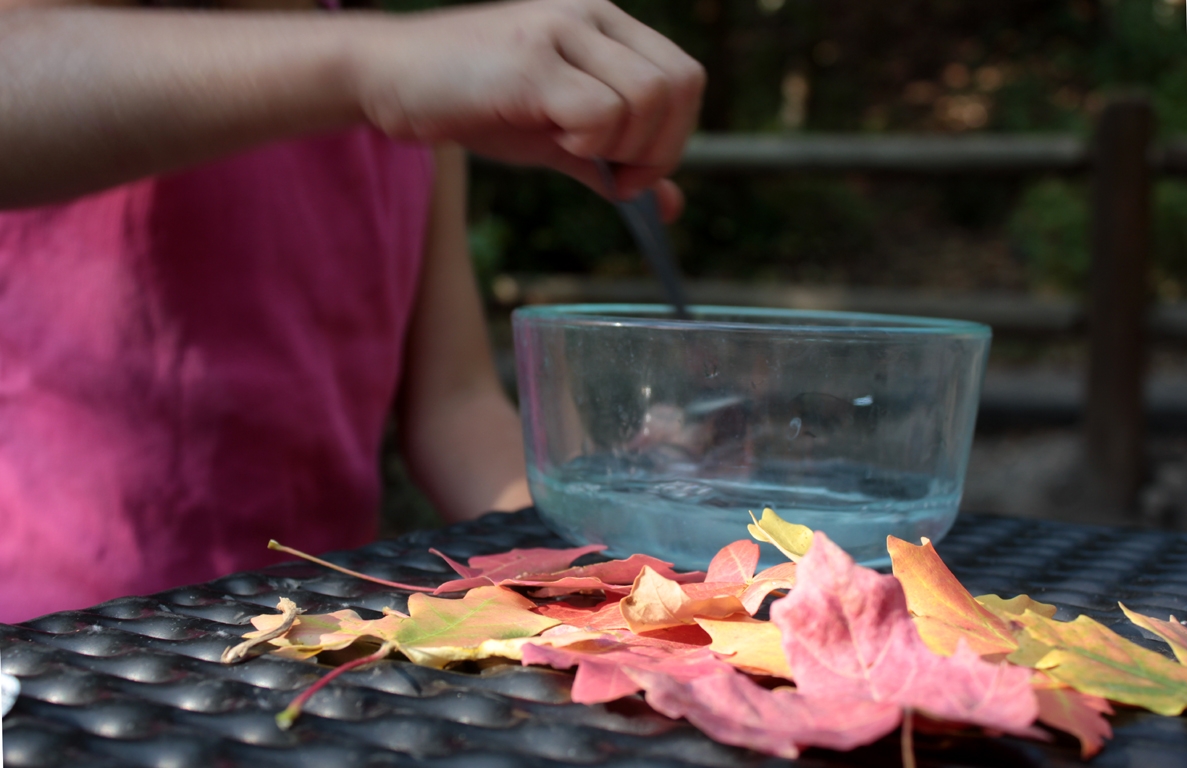
I love this time. I love that my kids point out trees that are being cut down by the beavers. I love that our explorations lead us to beaver slides. I love that we can just walk, and reconnect, and talk about anything at all. Eventually we make our way to our picnic table, and Madeleine pours in a bowl one part glycerin to two parts water.
Step 4
It gets stirred well...
Step 5
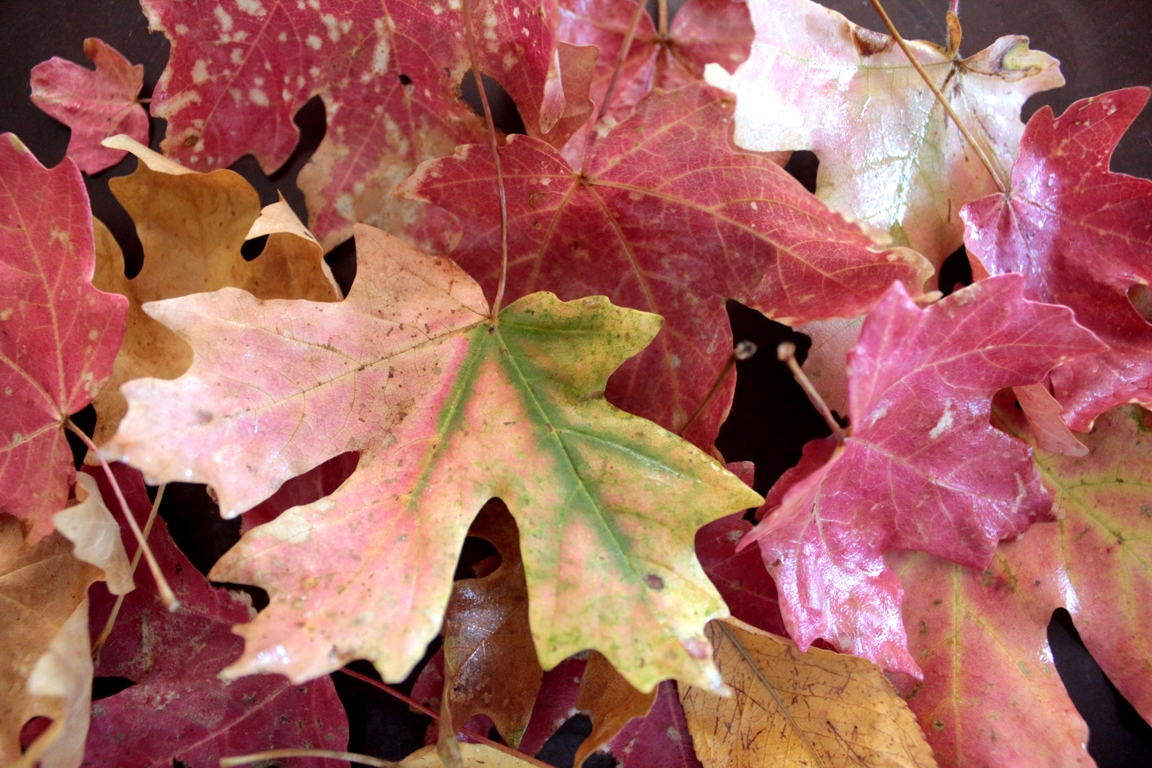
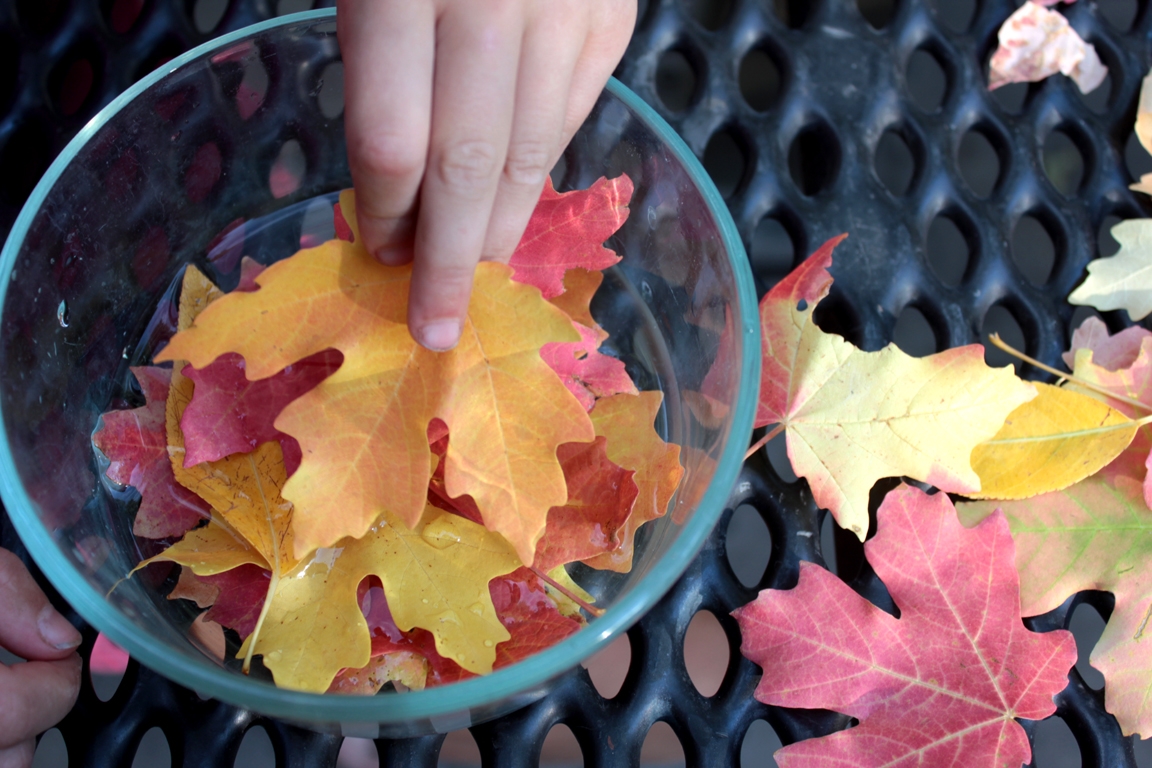
...and then we decide which of our favorite leaves will get preserved. (All of them!)
Step 6
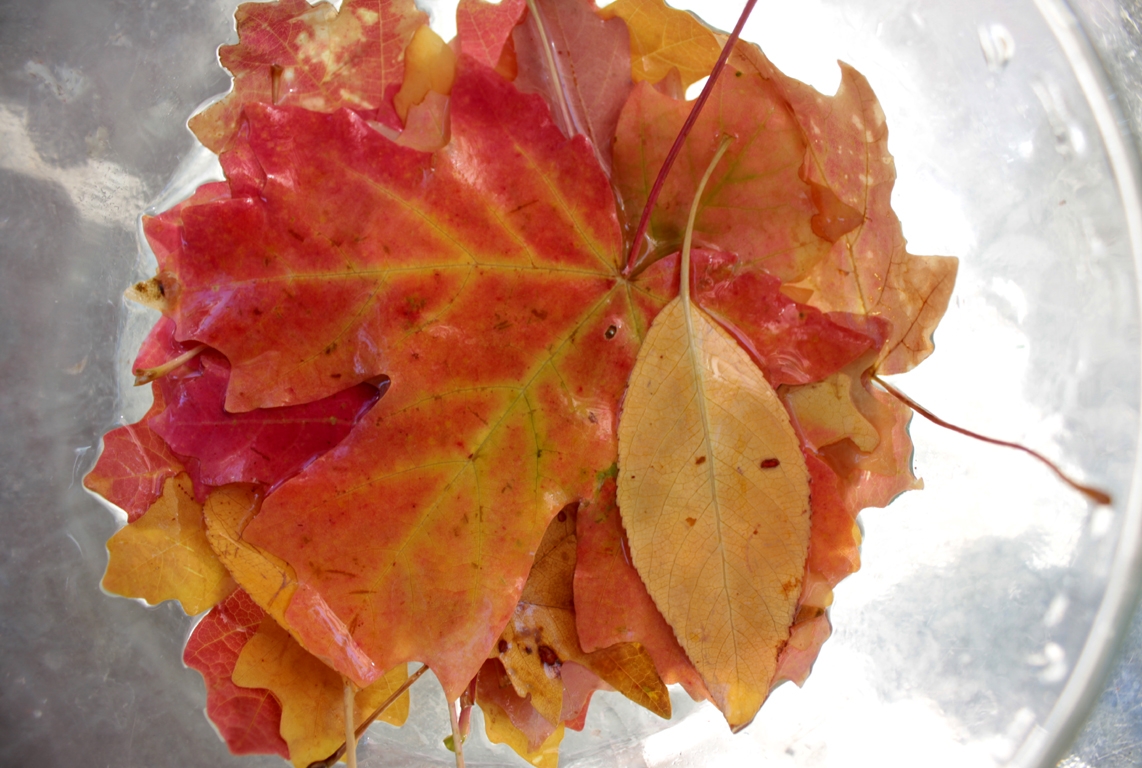
You can either leave your leaves in a bowl (making sure there is plenty of liquid to cover all the leaves), or you you can put the leaves on a disposable plate (not paper), pour the liquid over them, and place another plate on top to make sure the leaves stay saturated. We were not at home, so we opted for a bowl and lid. Let your leaves soak for two to four days....
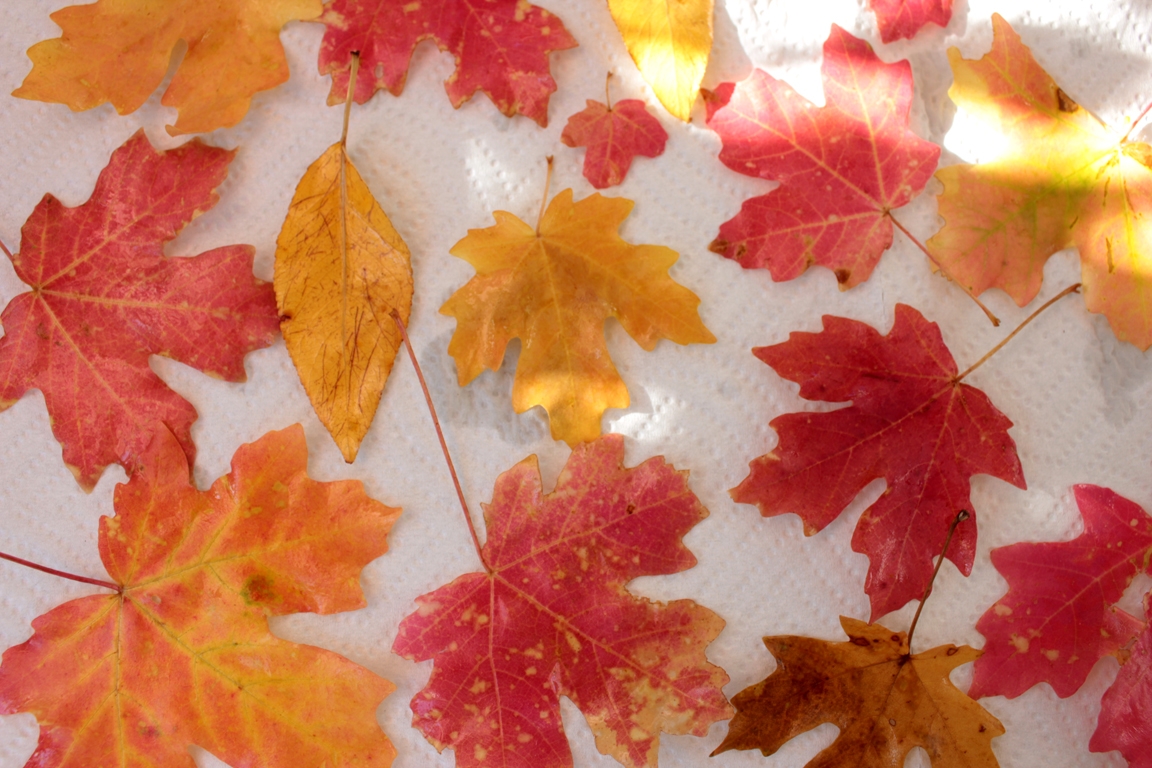
Step 7
...and then take them out, and dry them on a flat surface. As the leaves dry, you can flip them over if you'd like them to lay more flat (i.e., have less curl). We dried ours in the sun, and let some curl up as they would.
Done!
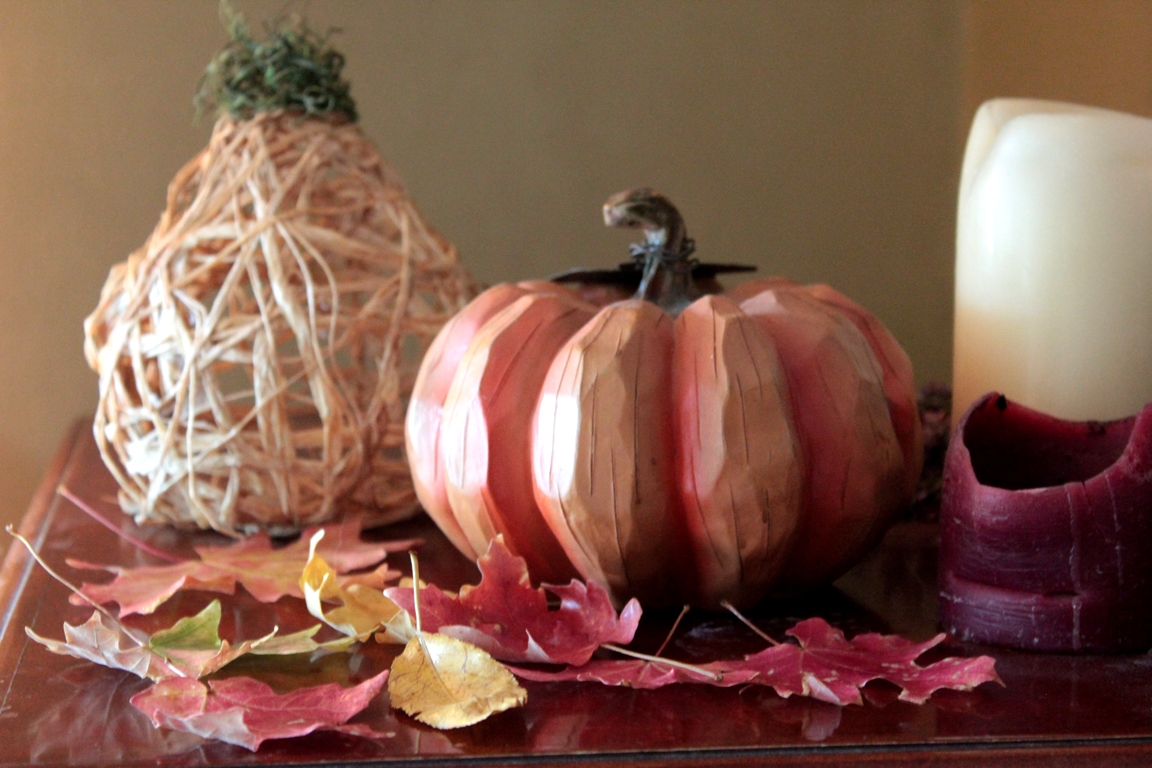
There! Now our leaves are ready to decorate our festive Thanksgiving table!