Step-by-step tutorial
Step 1
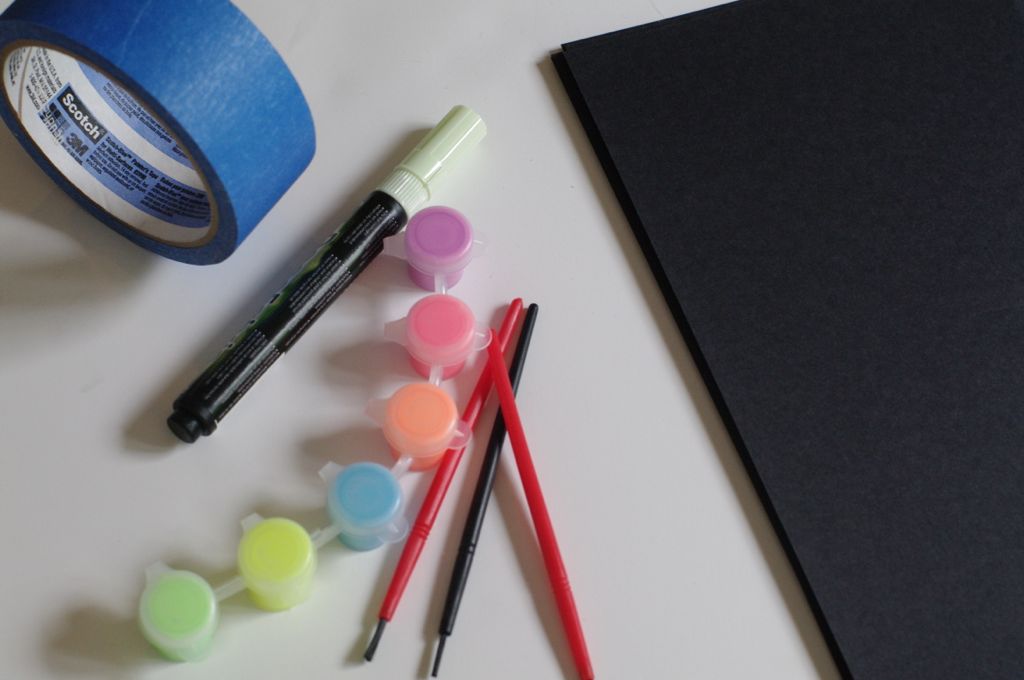
First, we gathered our supplies. I purchased a set of glow-in-the-dark paints from our local craft store. We chose small brushes. We recommend cardstock paper over construction paper. Construction paper was too porous and the paint didn't glow as well. You can use any dark-colored cardstock. It doesn't have to be black. We found dark purple did well, too.

Step 2
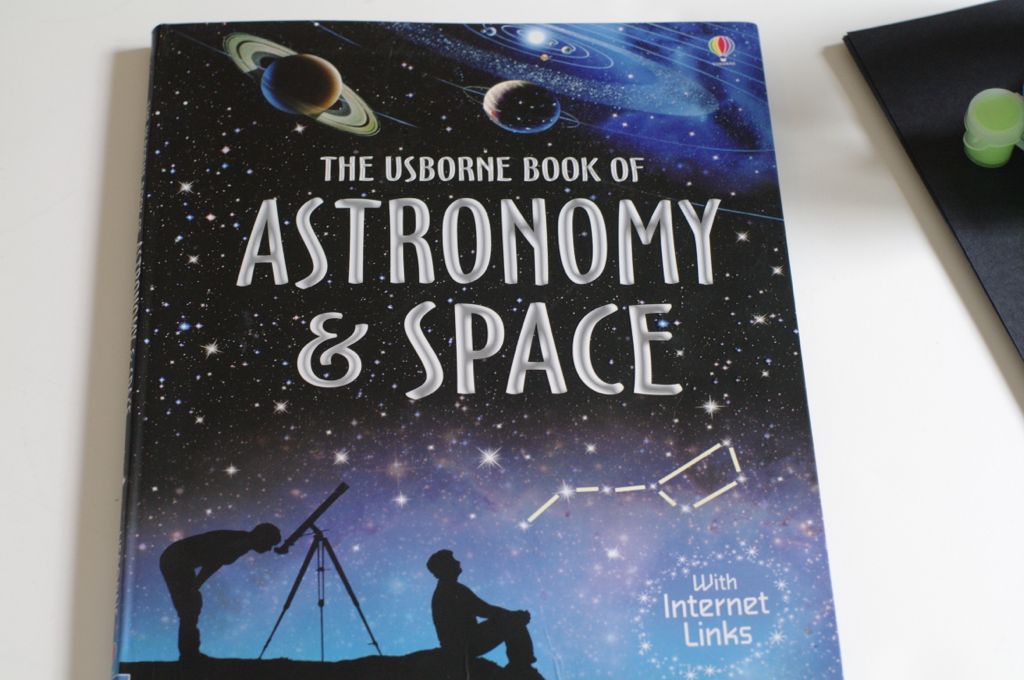
Next, we looked through our astronomy book to find our favorite constellations. If you don't have a book, you can easily search websites for examples of constellations.
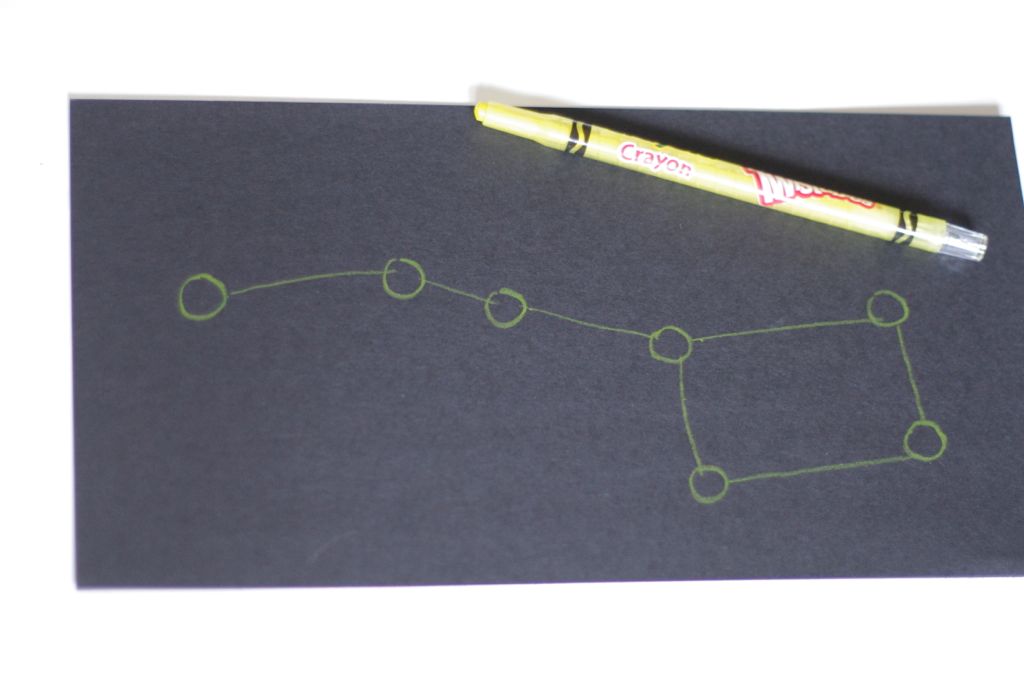
Step 3
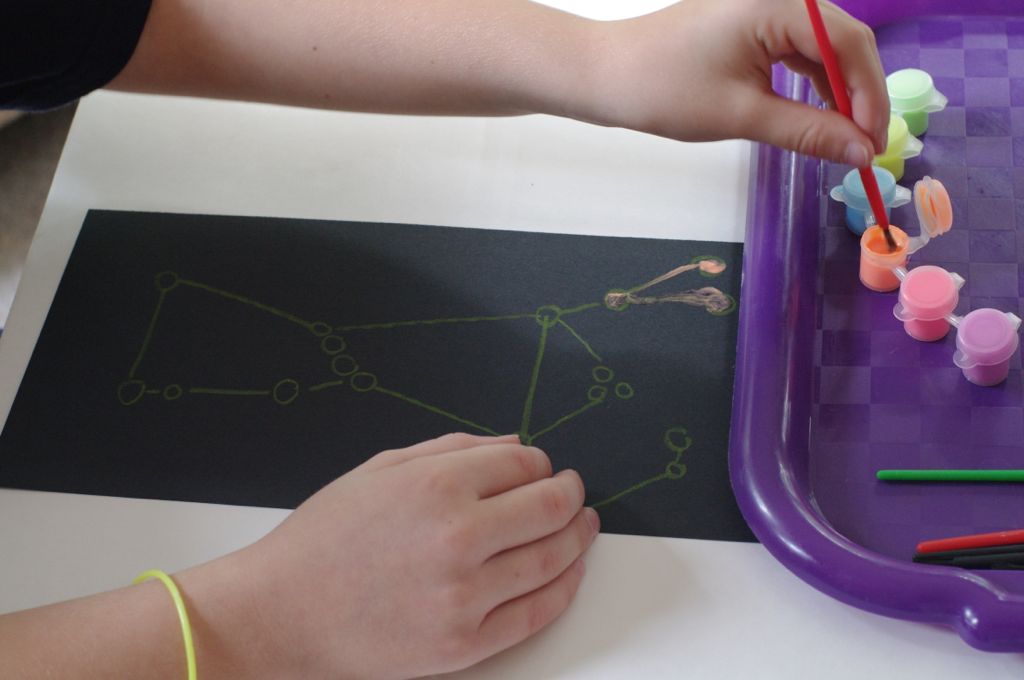
We used a light-colored crayon to sketch out our constellation, making circles for stars and lines to connect them.
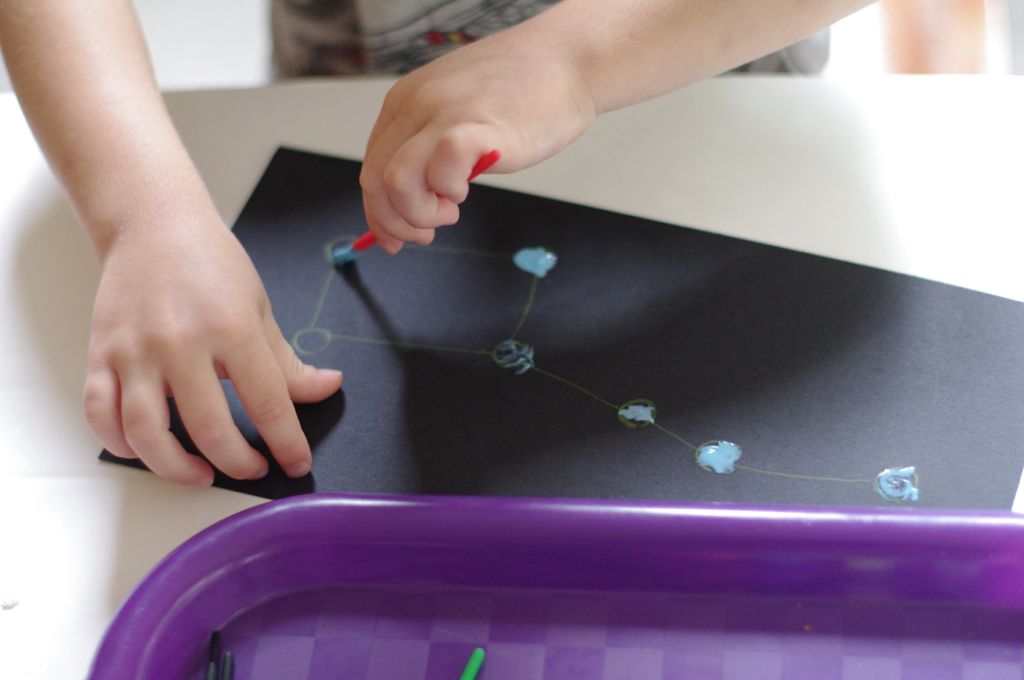
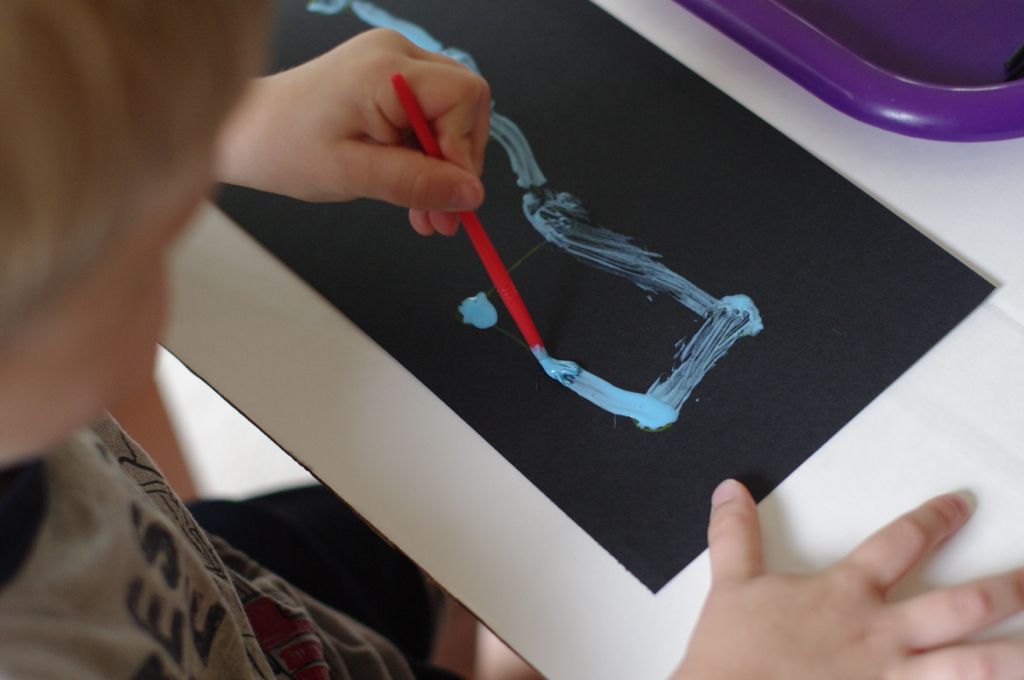
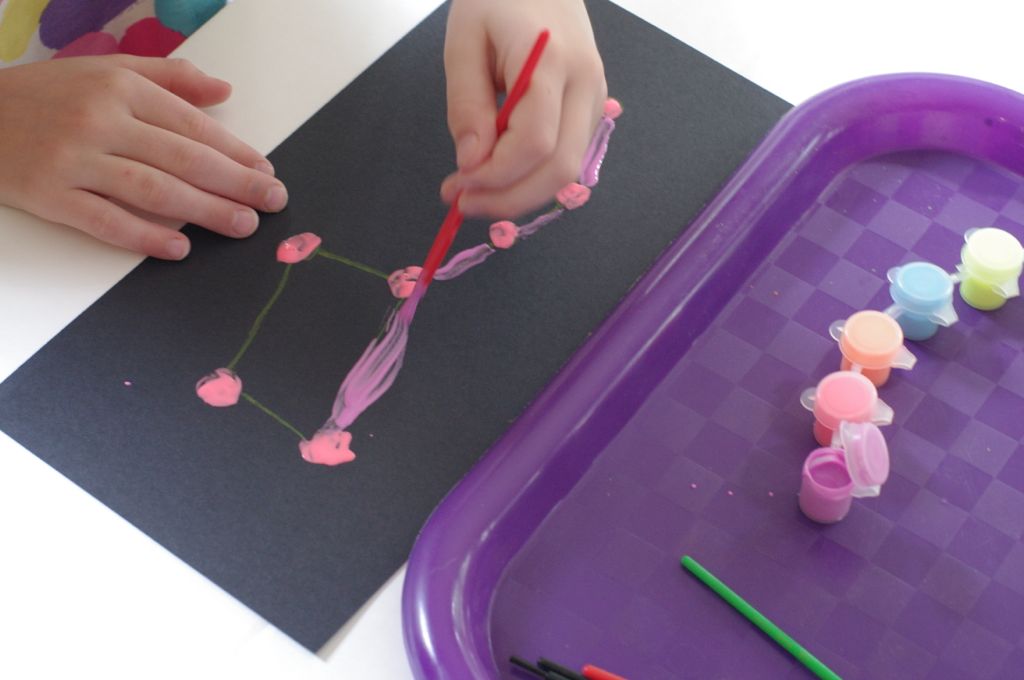
Step 4
Then we painted over the crayon markings. We recommend being very generous with the paint for maximum glowing effect.
Step 5
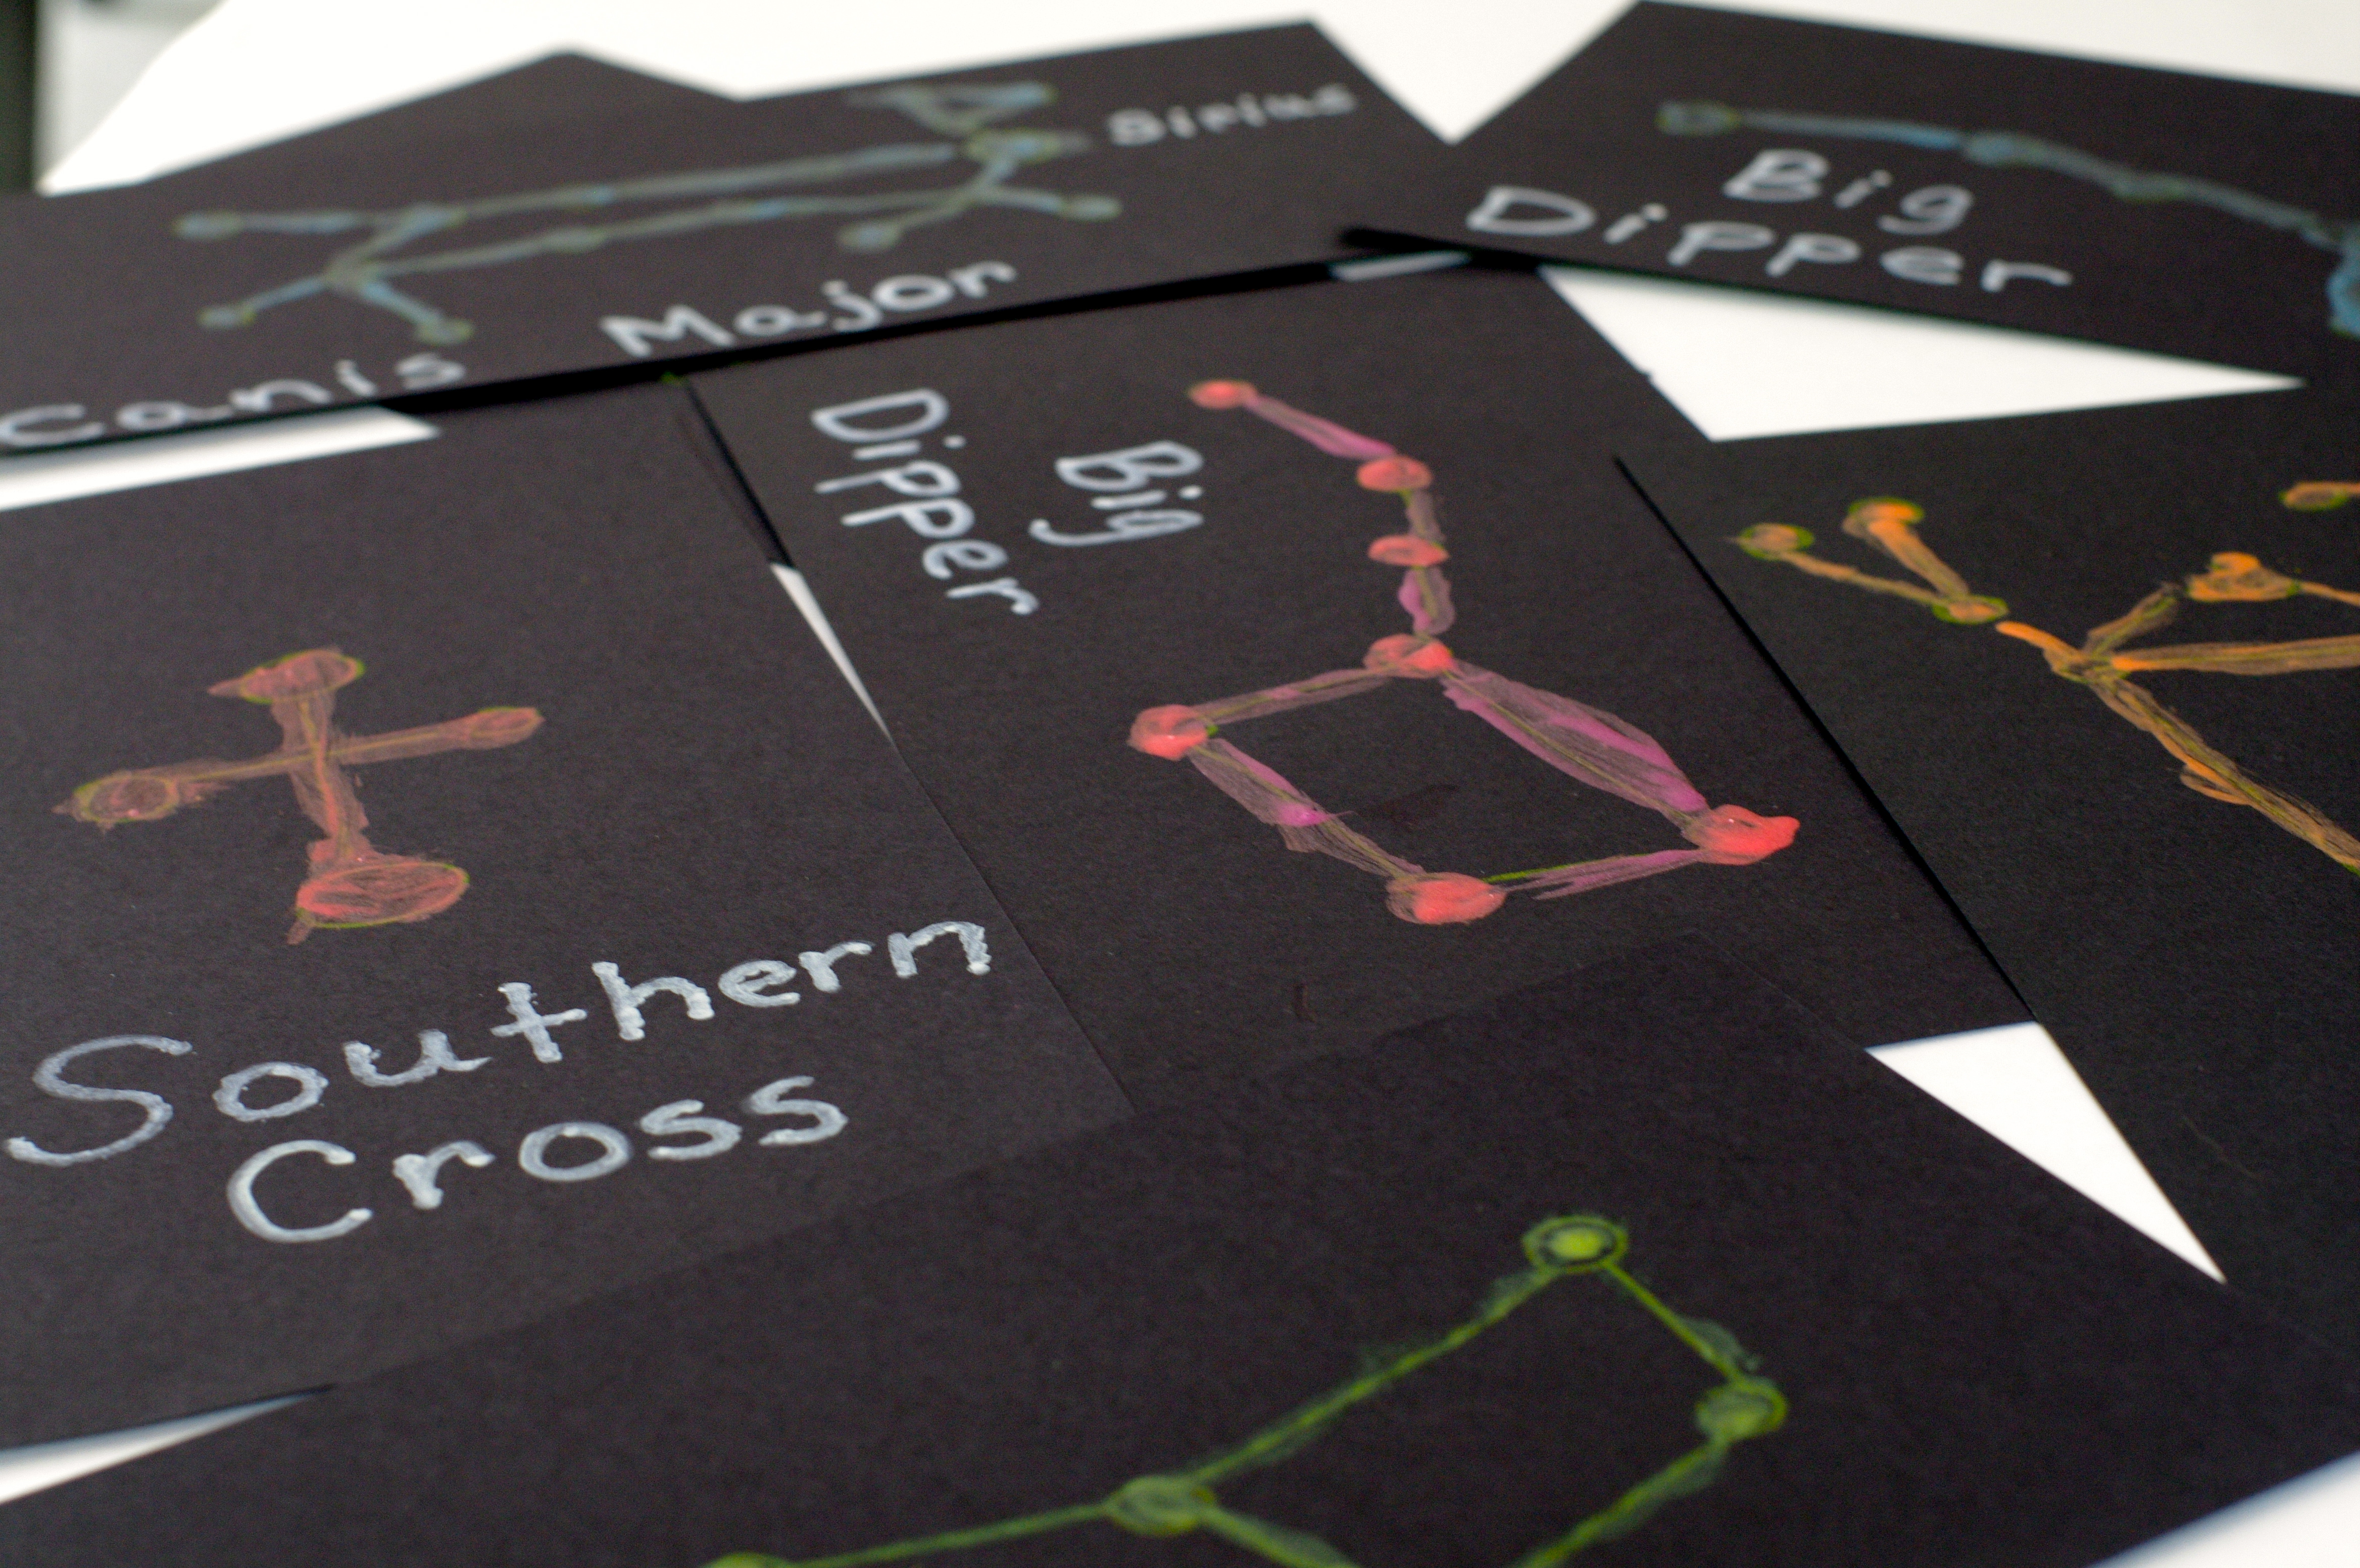
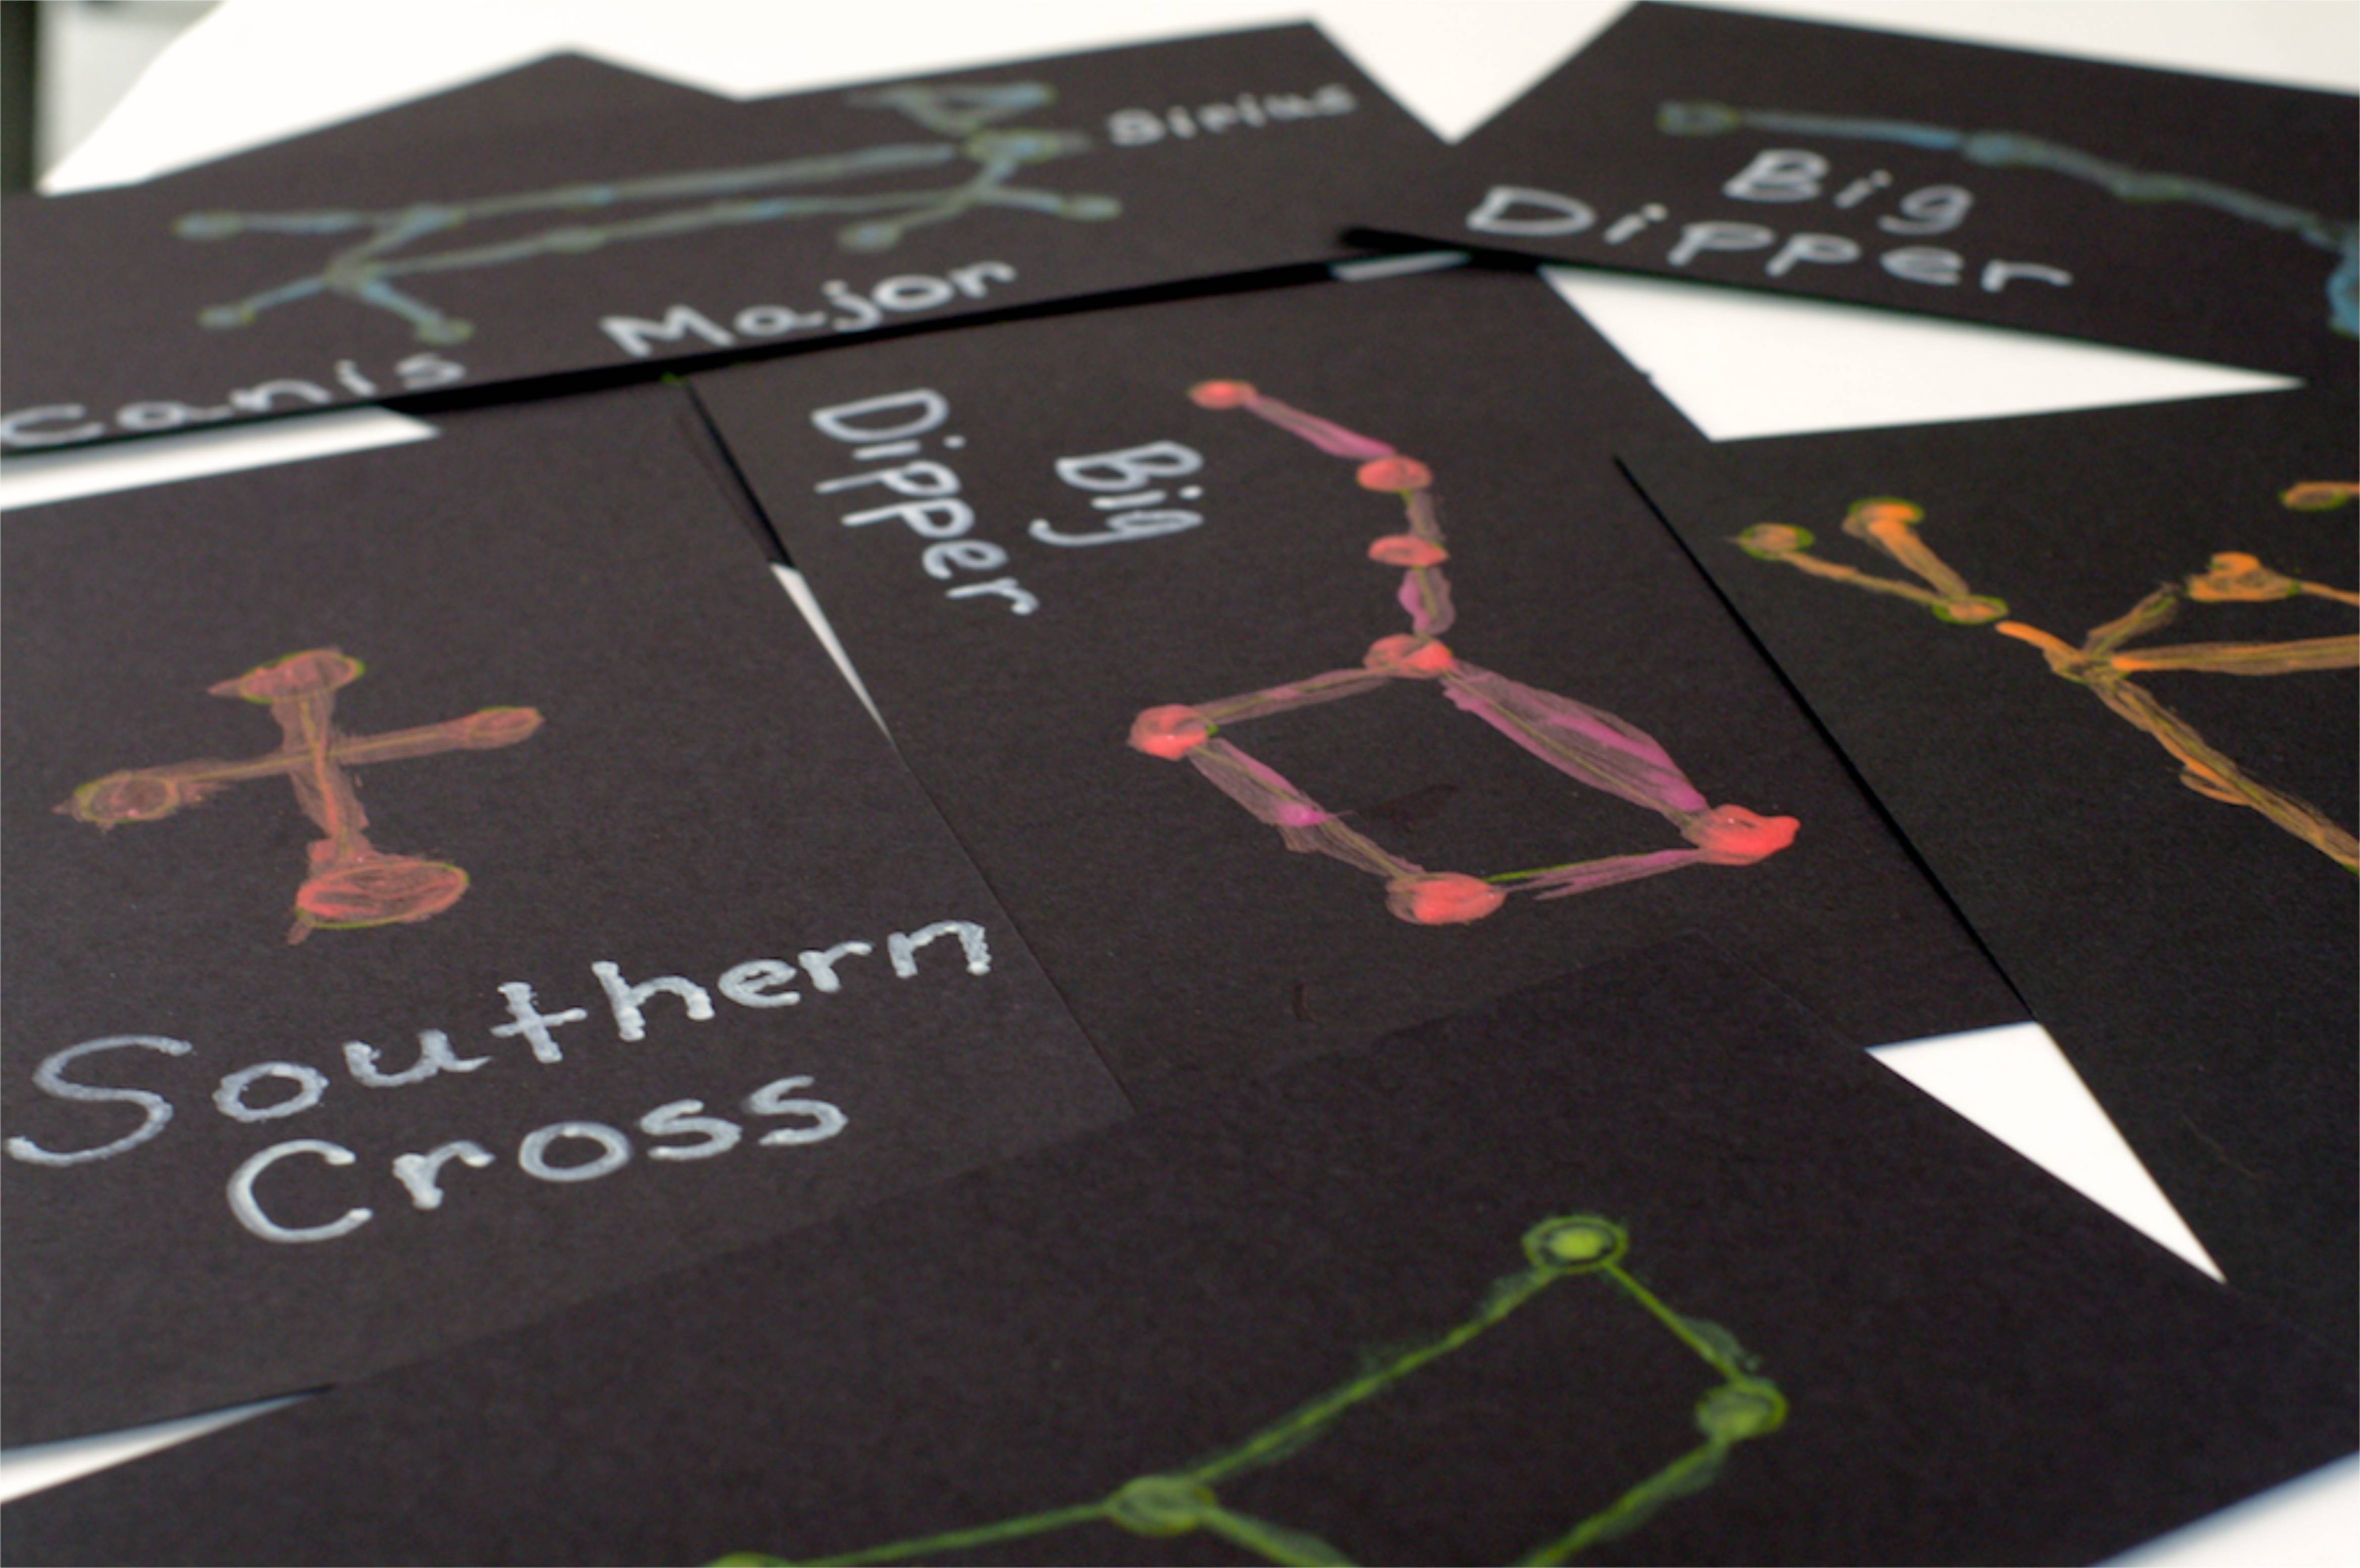
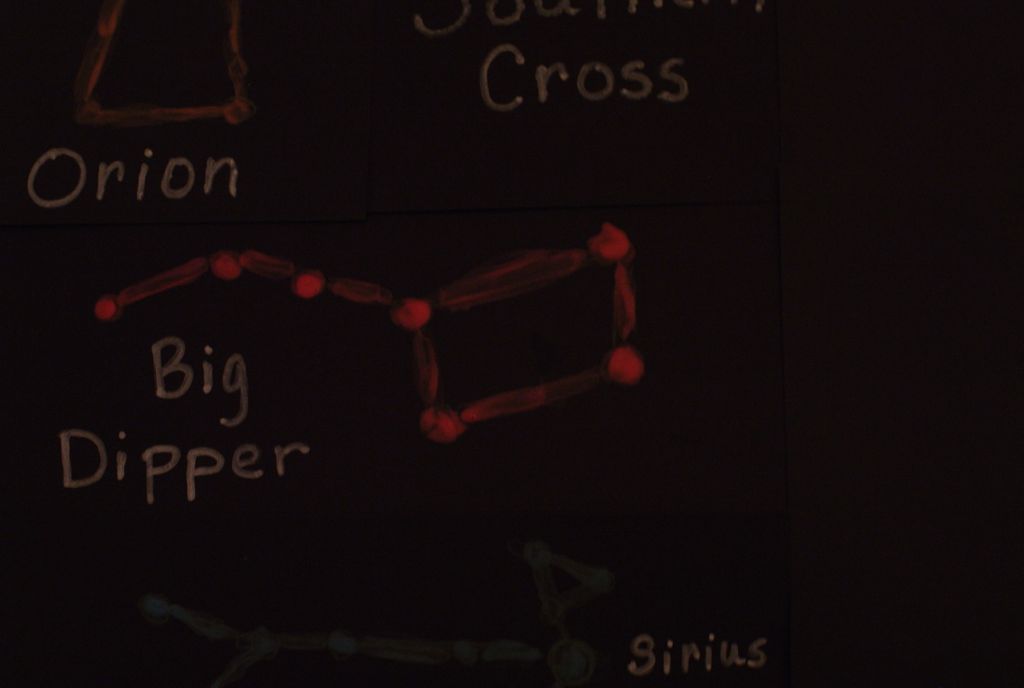
Here's my 4 year old, very excited to make the Big Dipper.
Step 6
In fact, the Big Dipper was popular with all my kids. They each made one. We recommend letting the first coat of paint dry, then painting a second coat. The constellations we made with two coats of paint glowed even brighter.
Step 7
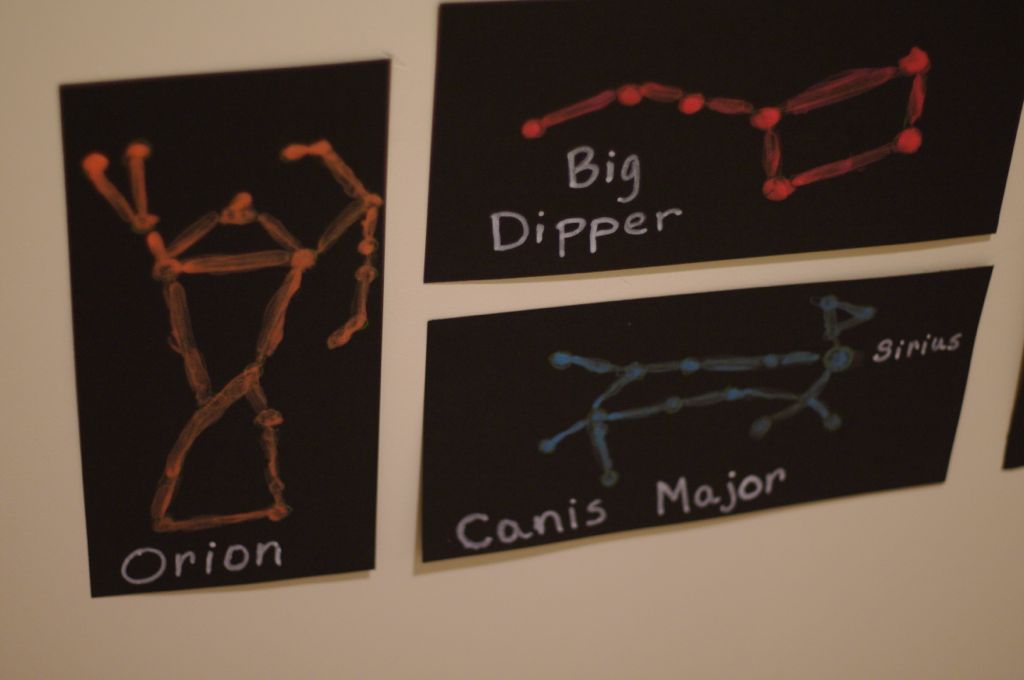
My 9 year old chose his favorite constellation, Orion.
Step 8
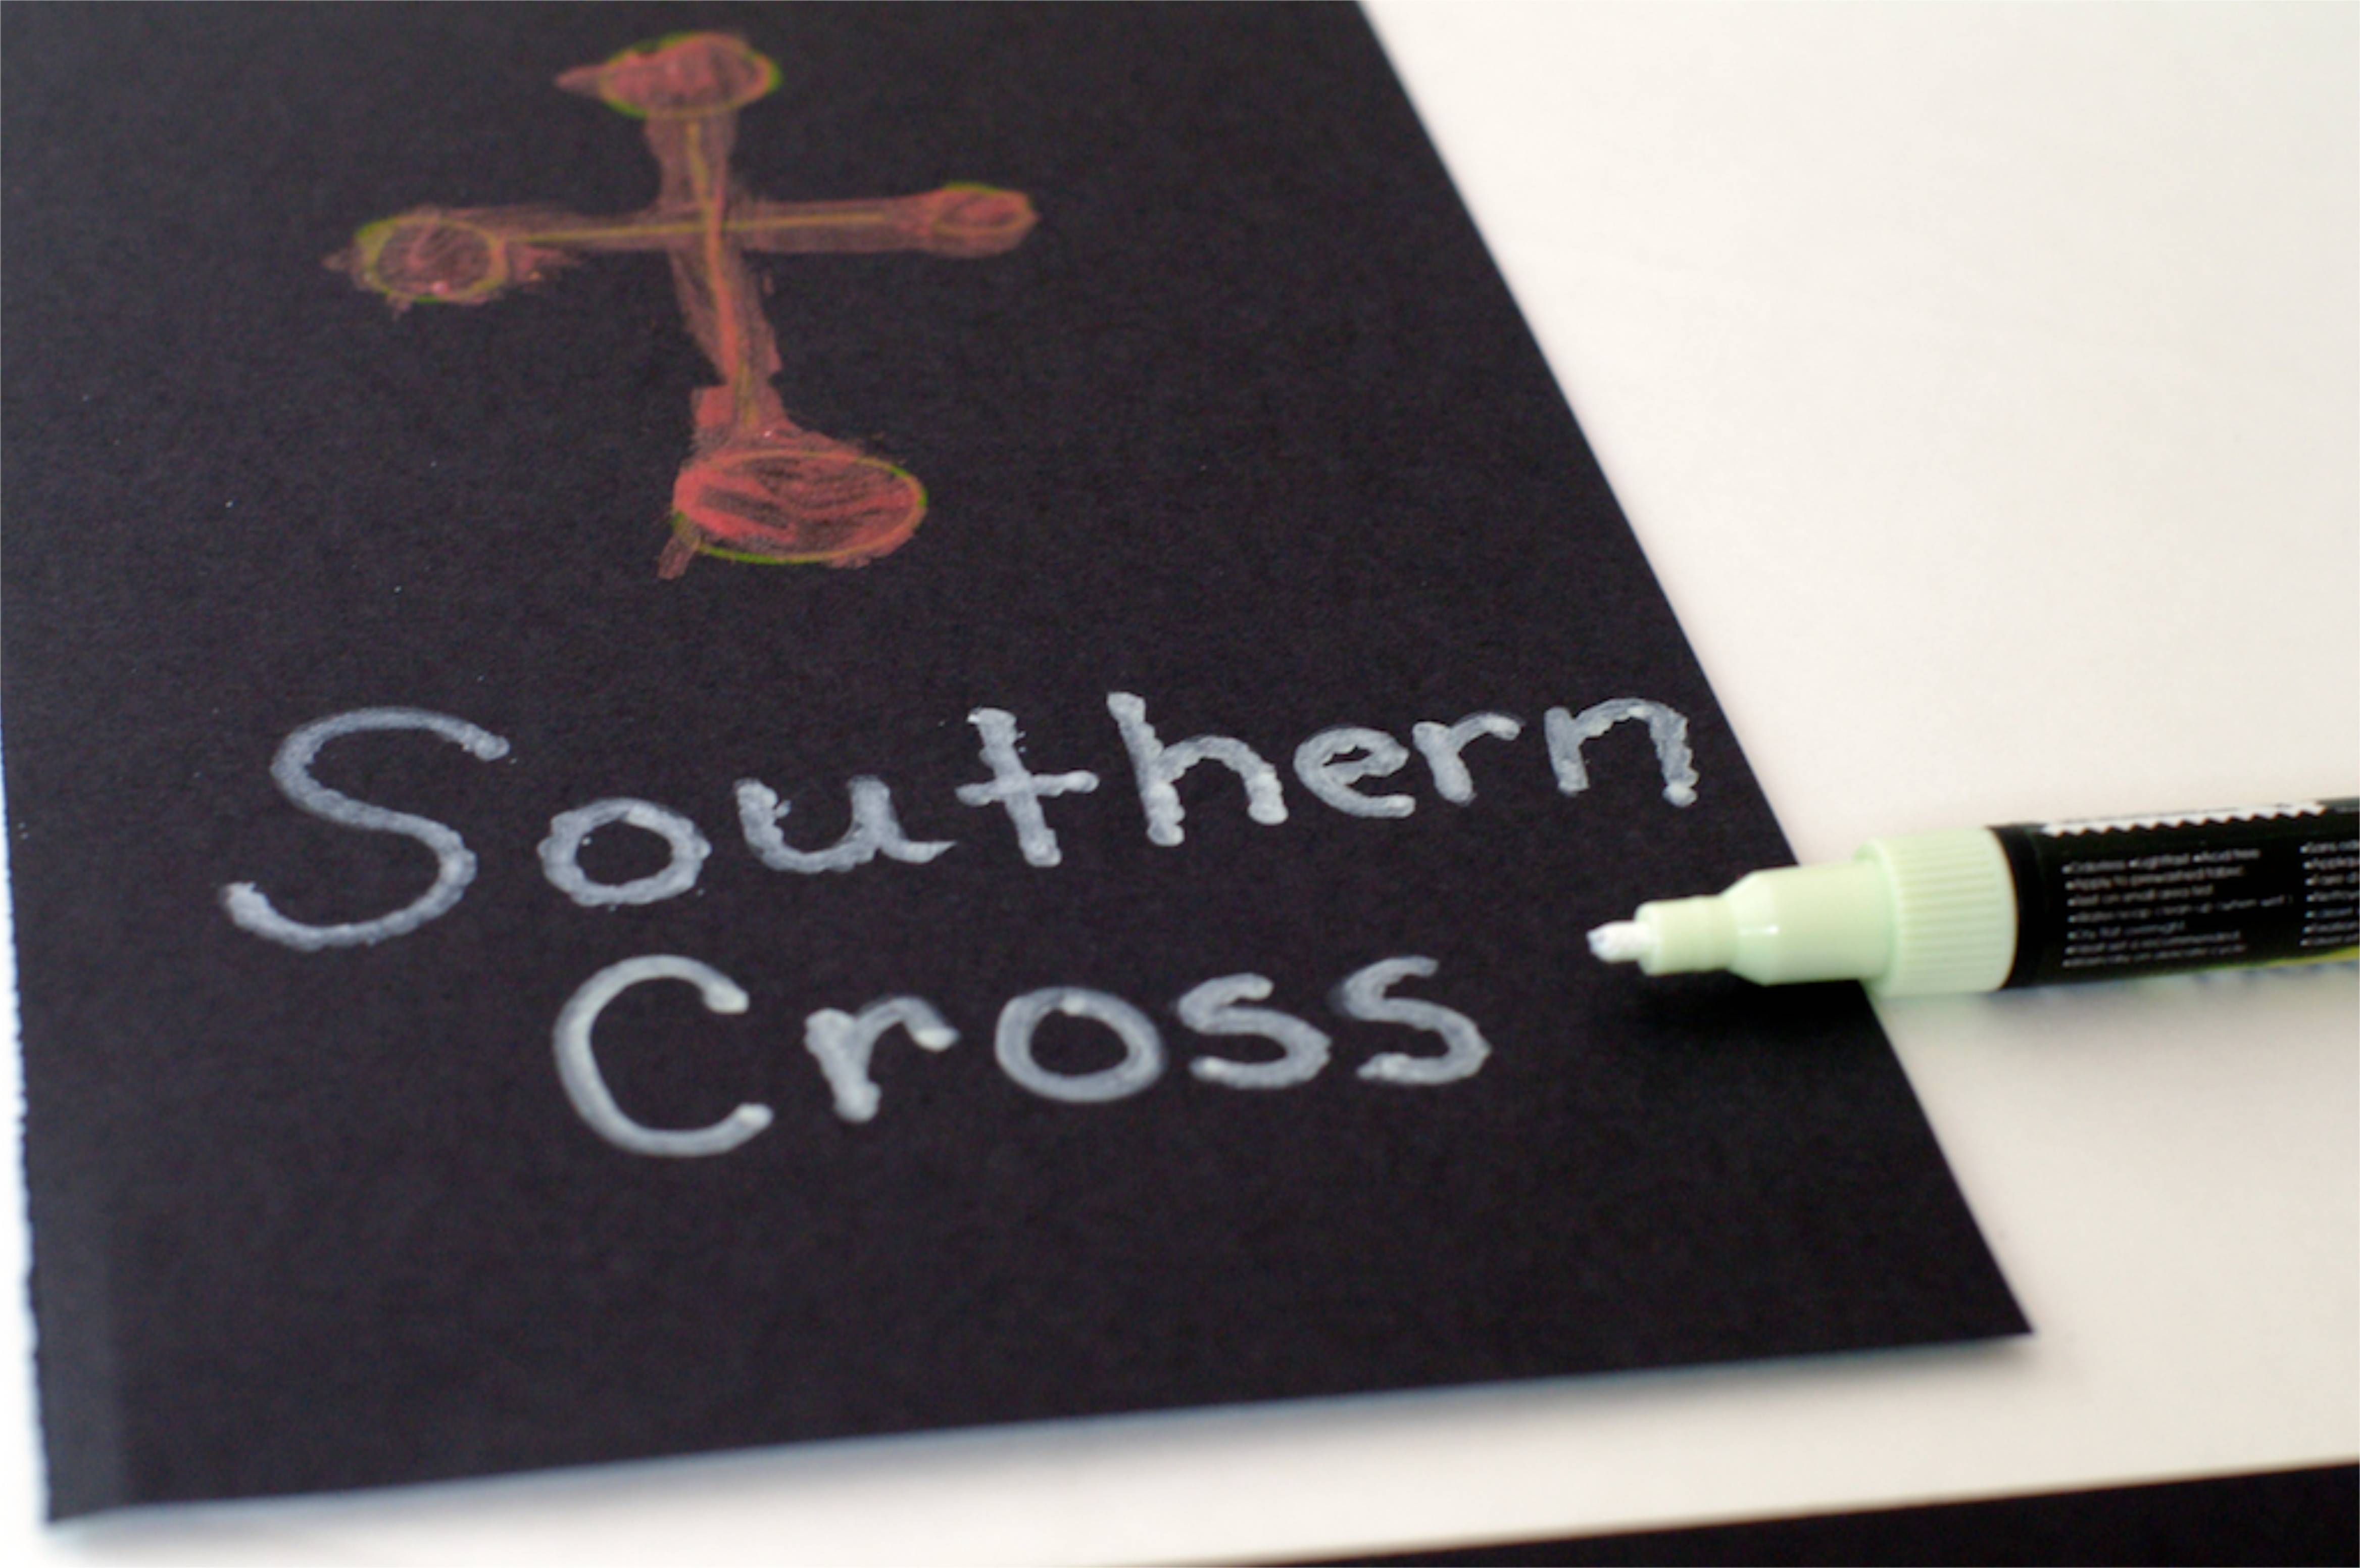
I wrote the name of each constellation on the cards with a paint-type of glow-in-the-dark marker. The kids tried to use it but it was a bit challenging because it released paint in blotches, so I helped with this part. This is actually a fabric marker but it worked just fine on the paper.
Step 9
We left the cards out to dry in a sunny location. That way, the glow paint could "charge" while drying.
Step 10
Finally, they were ready to hang up. My kids chose their bedroom walls, but I think these would be great on the ceiling, too.
Step 11
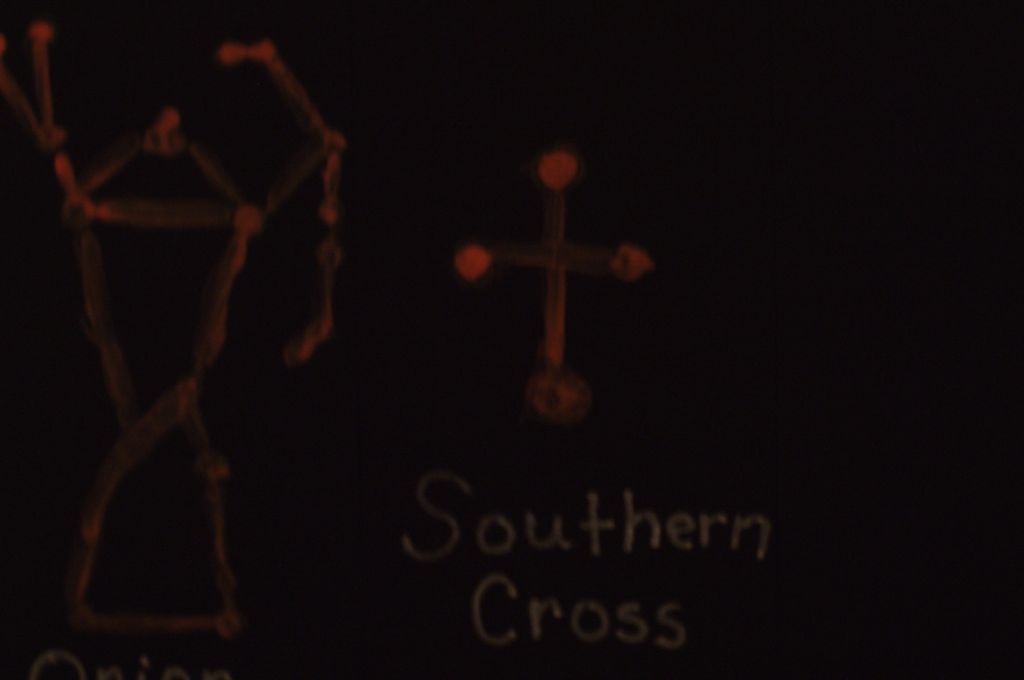
Time for lights out! They are definitely glowing!
Done!
Don't they look great? We had a great time with this project and will continue to enjoy our constellation cards for a long time.