Step-by-step tutorial
Step 1
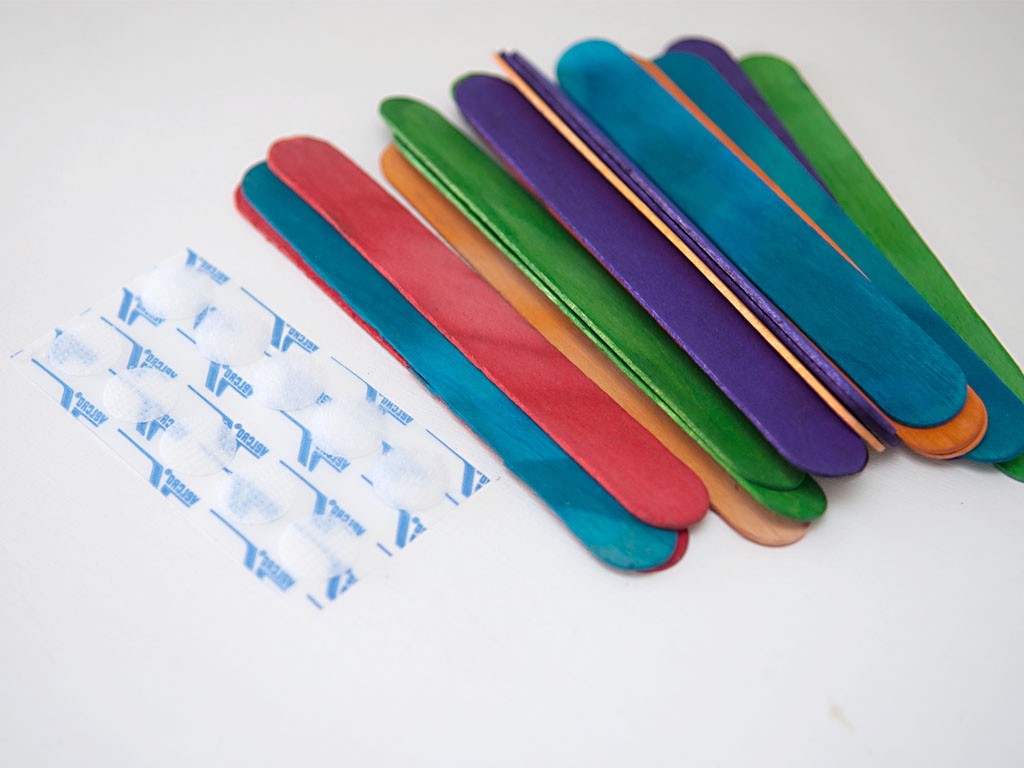
We started by grabbing our supplies. It was super easy since the project only requires two things: sticks and Velcro stickers.

Step 2
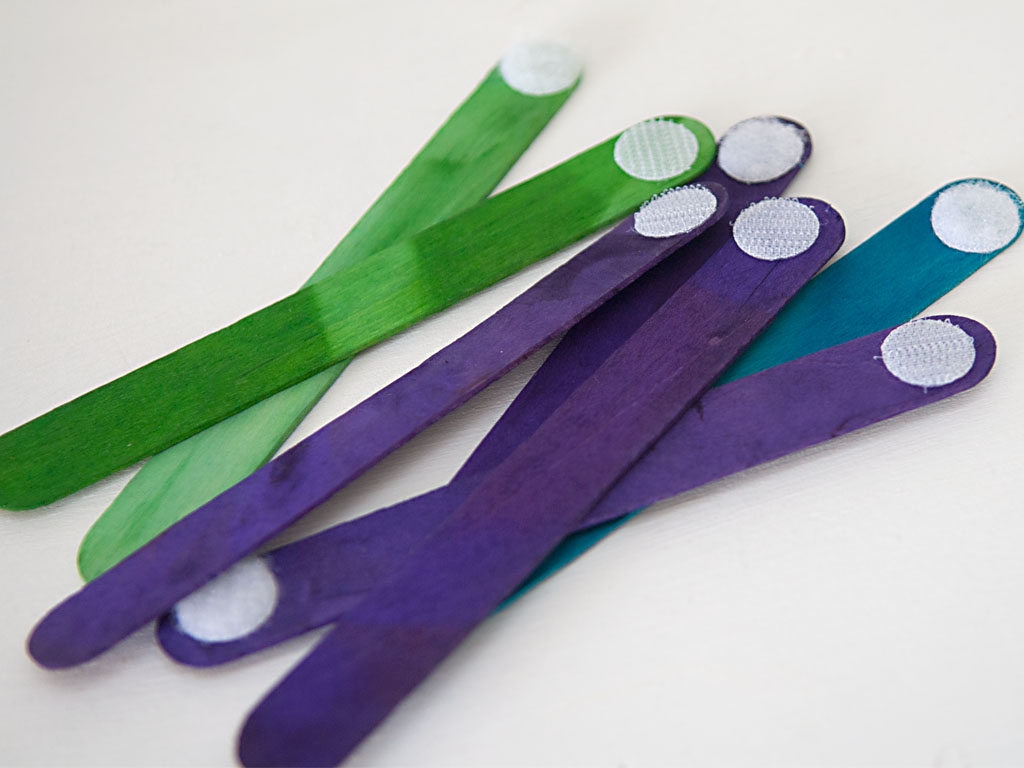
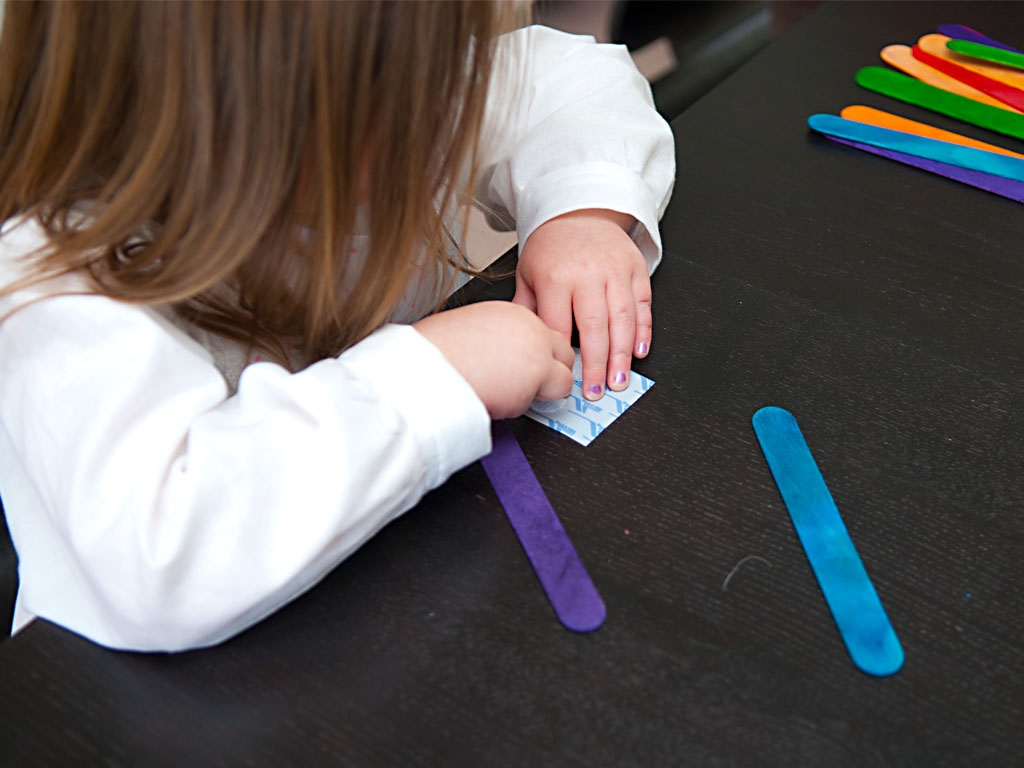
First add the stickers to the sticks. I love how easy this is for the kids to do themselves!
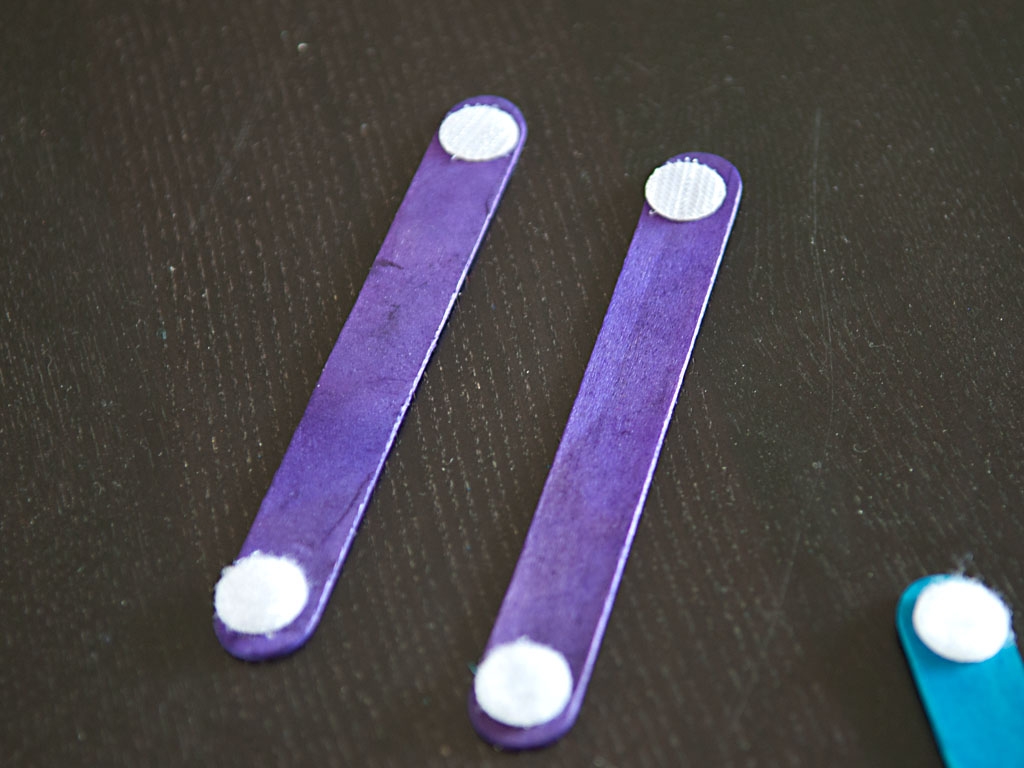
Step 3
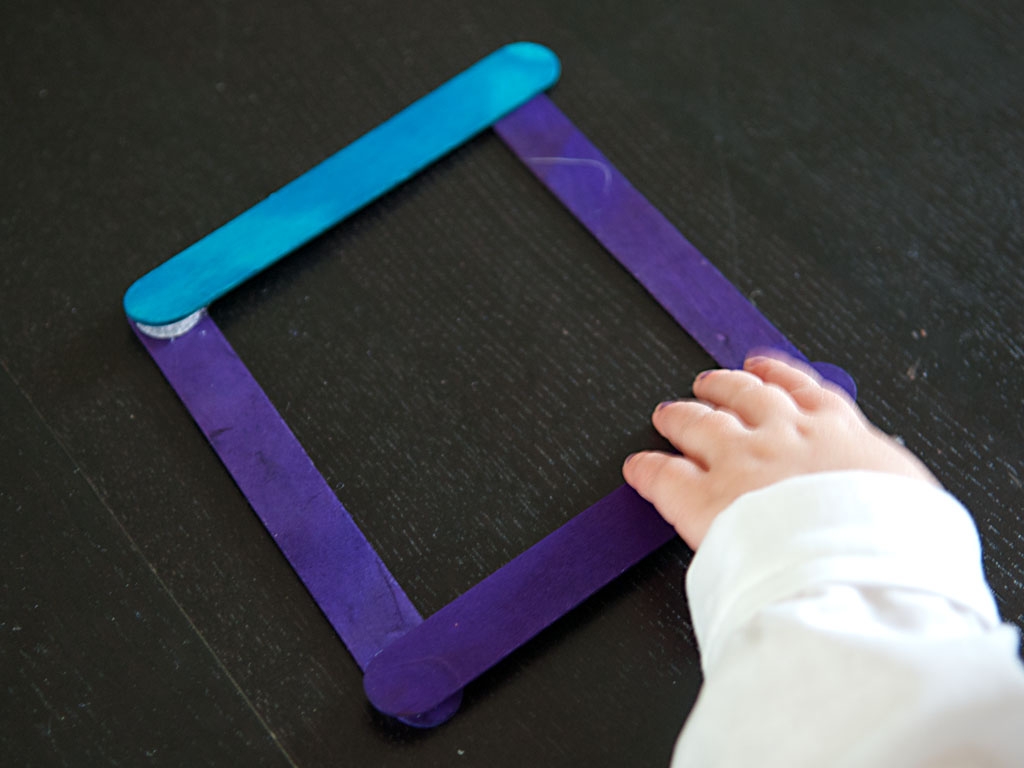
The stickers can be stuck on however you'd like. You can add them to the end of the sticks (one side has a "fuzzy" sticker while the other has the "rough" sticker), or you can add some stickers to the middle of the sticks, which opens up new ways to construct.
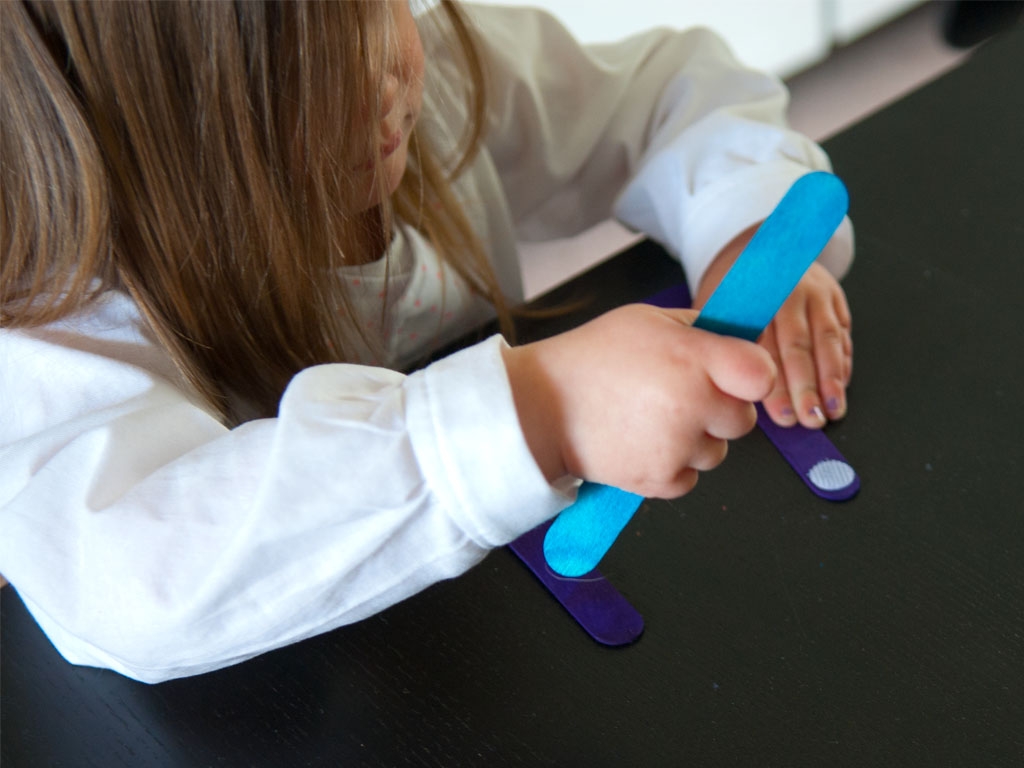
Step 4
After the stickers are placed on, the sticks are ready to be played with. The kids enjoyed seeing how many things they could build with the sticks.
Done!
Kids can practice making shapes, letters, mixing colors, or grouping colors...or they can just have fun. Throw them in a small bag and carry them with you everywhere you go. They're great for long car rides or if the kids need to wait around at the doctor's office!