Step-by-step tutorial
Step 1
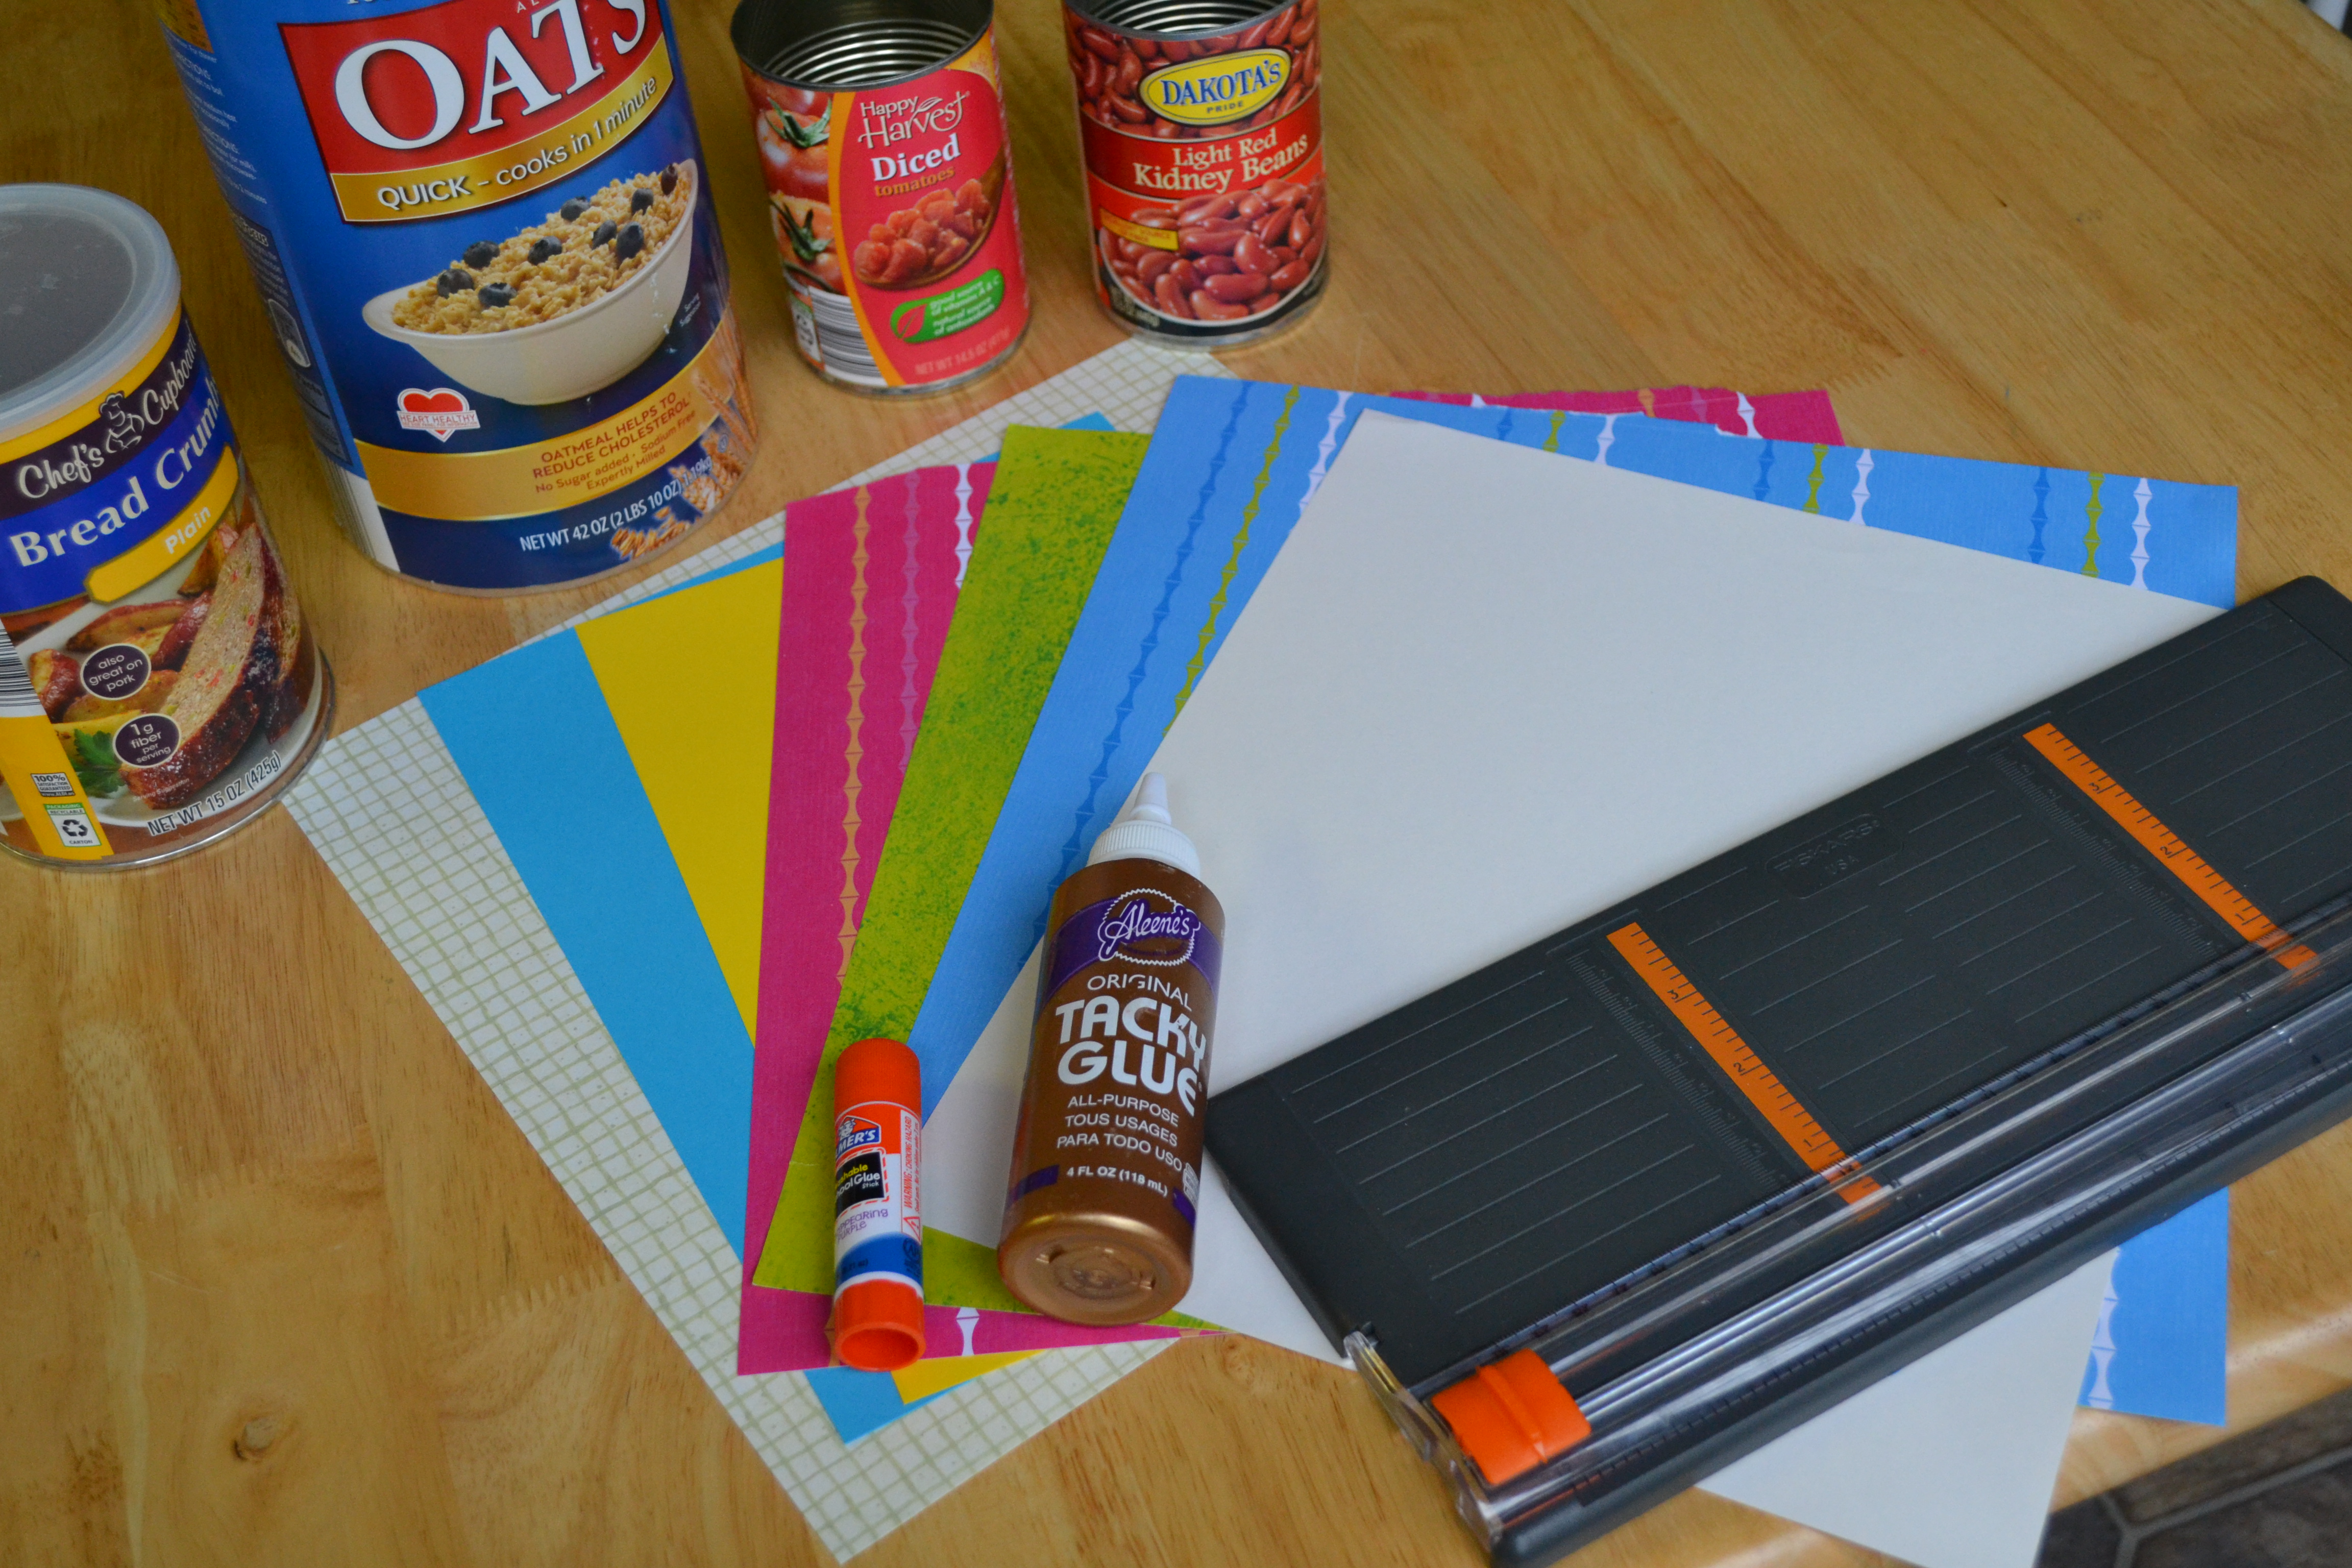
Gather all materials. We made two sets of this game and used aluminum cans for one set and cardboard oatmeal containers for the other. The bigger cans were easier for the younger kids to hit.

Step 2
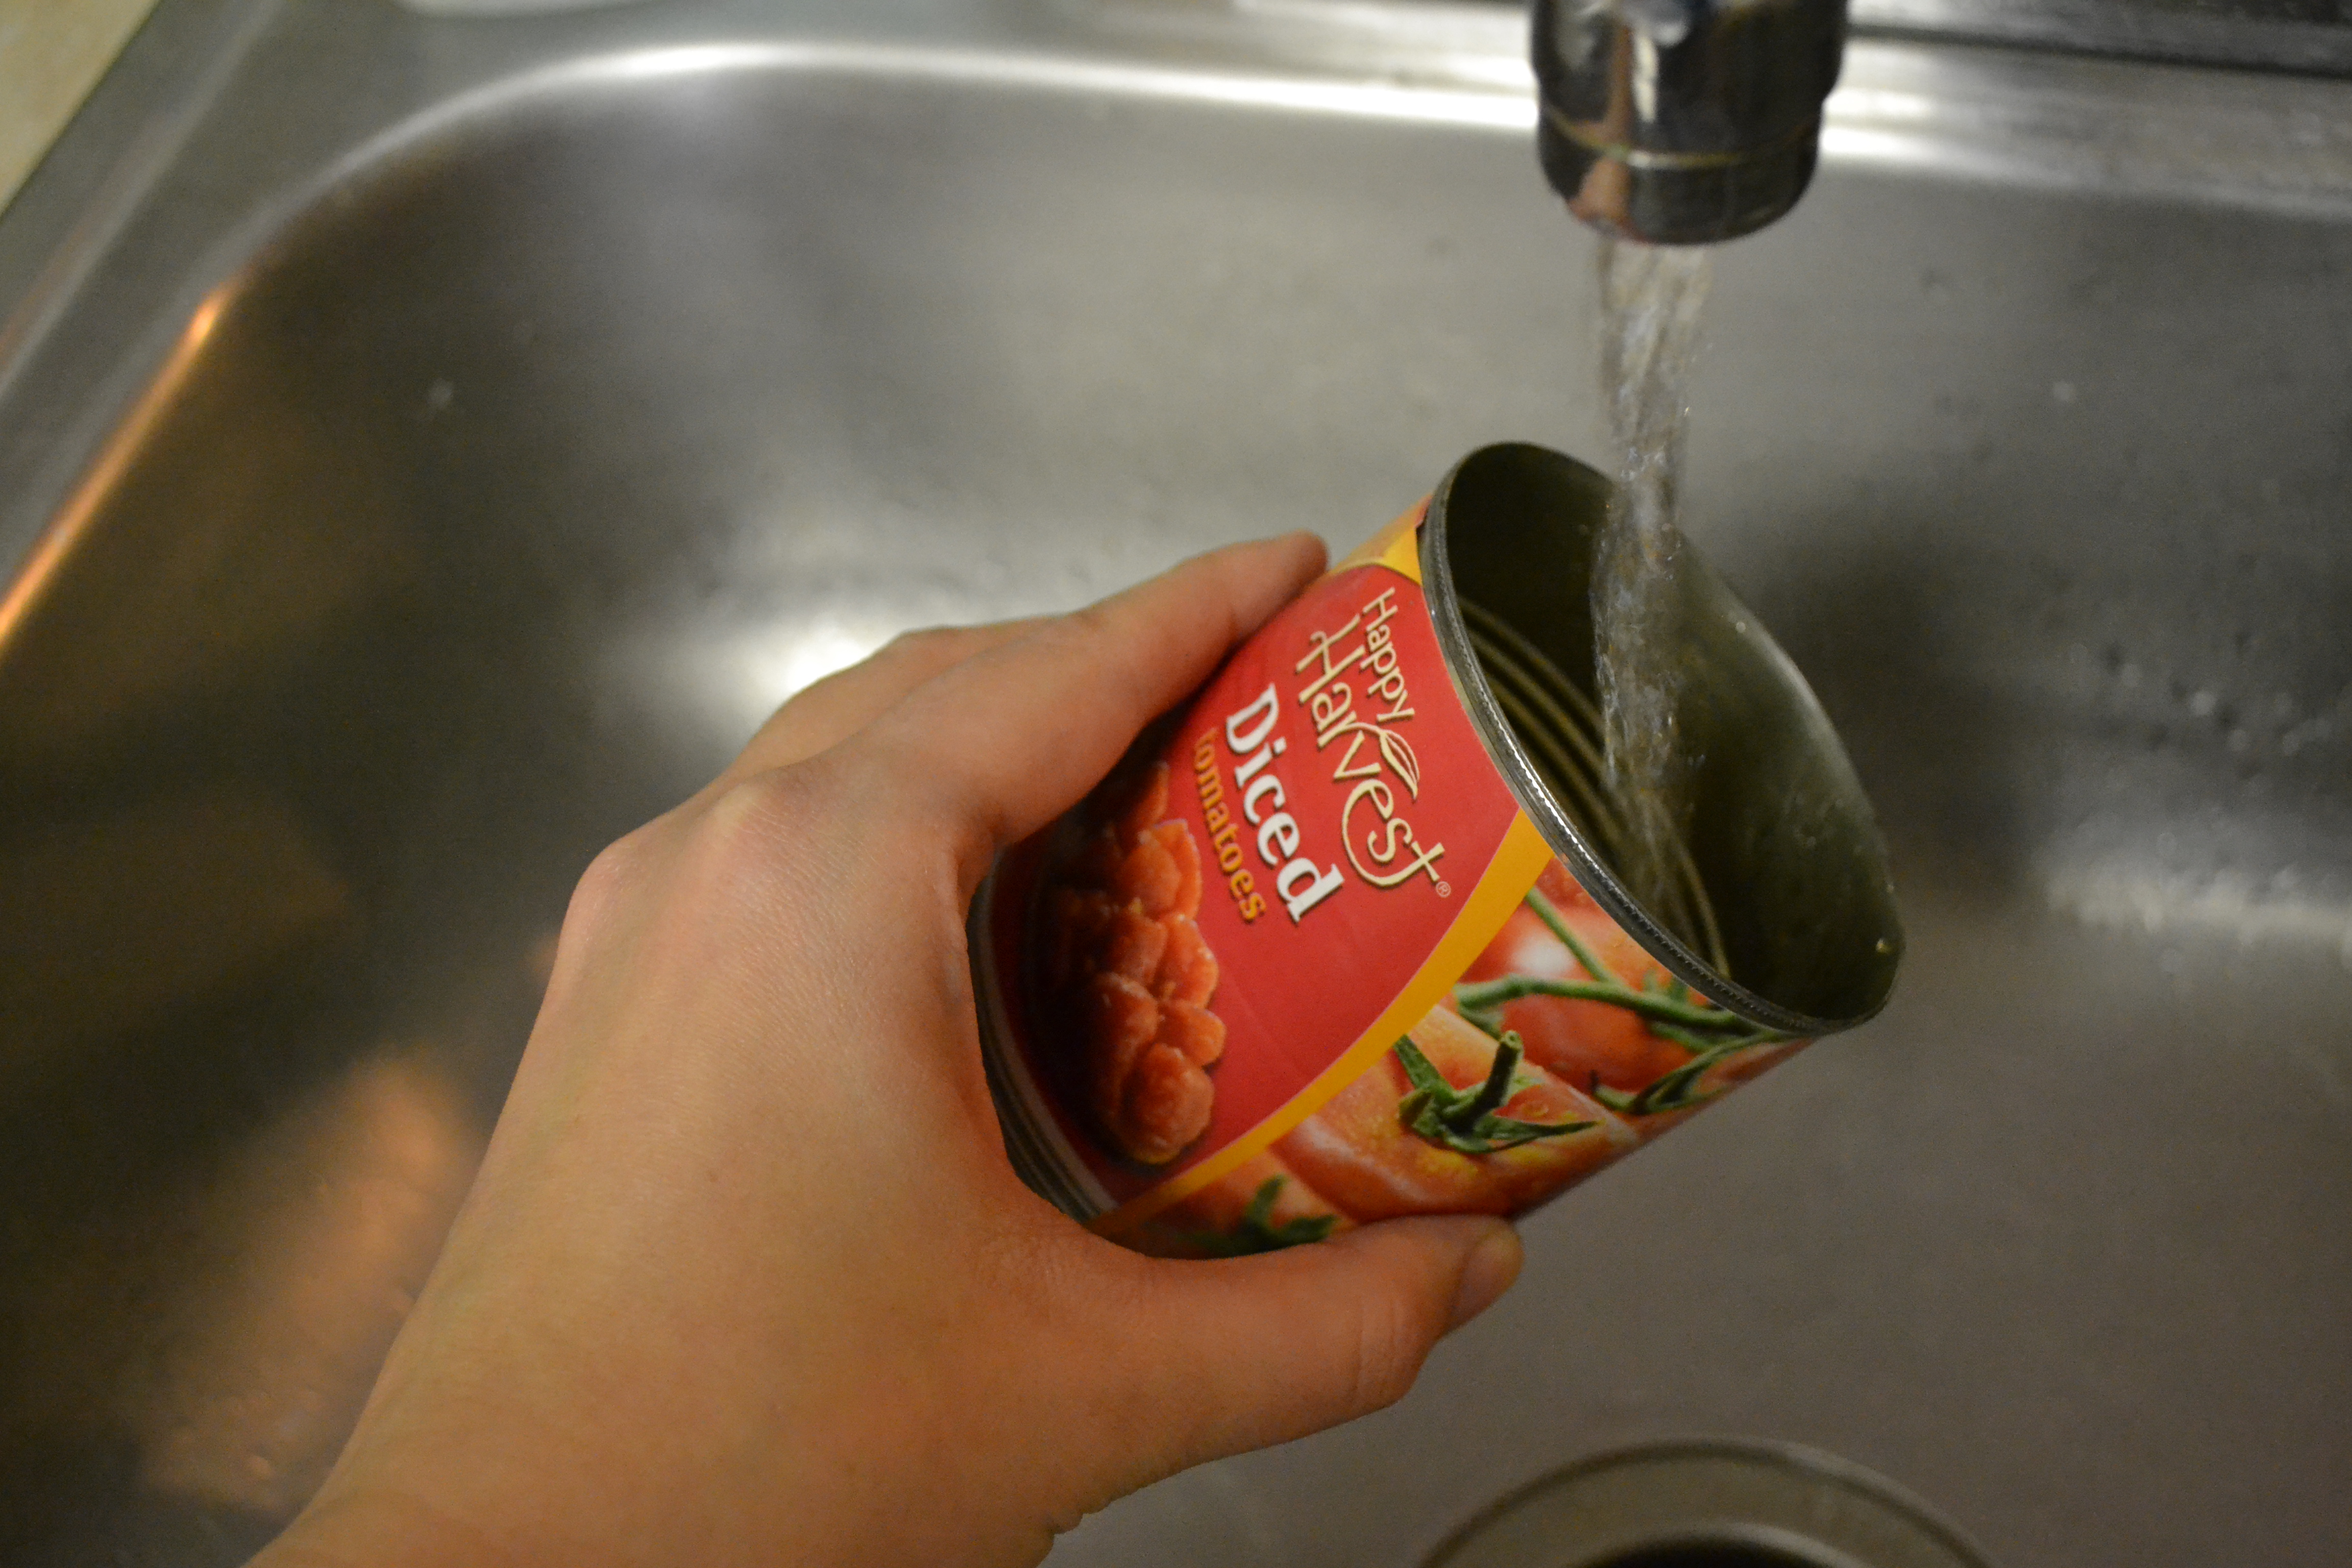
We washed all of the cans out and left them to dry completely. Our can-opener cuts a smooth edge, but if you have jagged edges on your cans, be sure to cover them with masking tape or painter's tape to keep the kids from cutting themselves.
Step 3
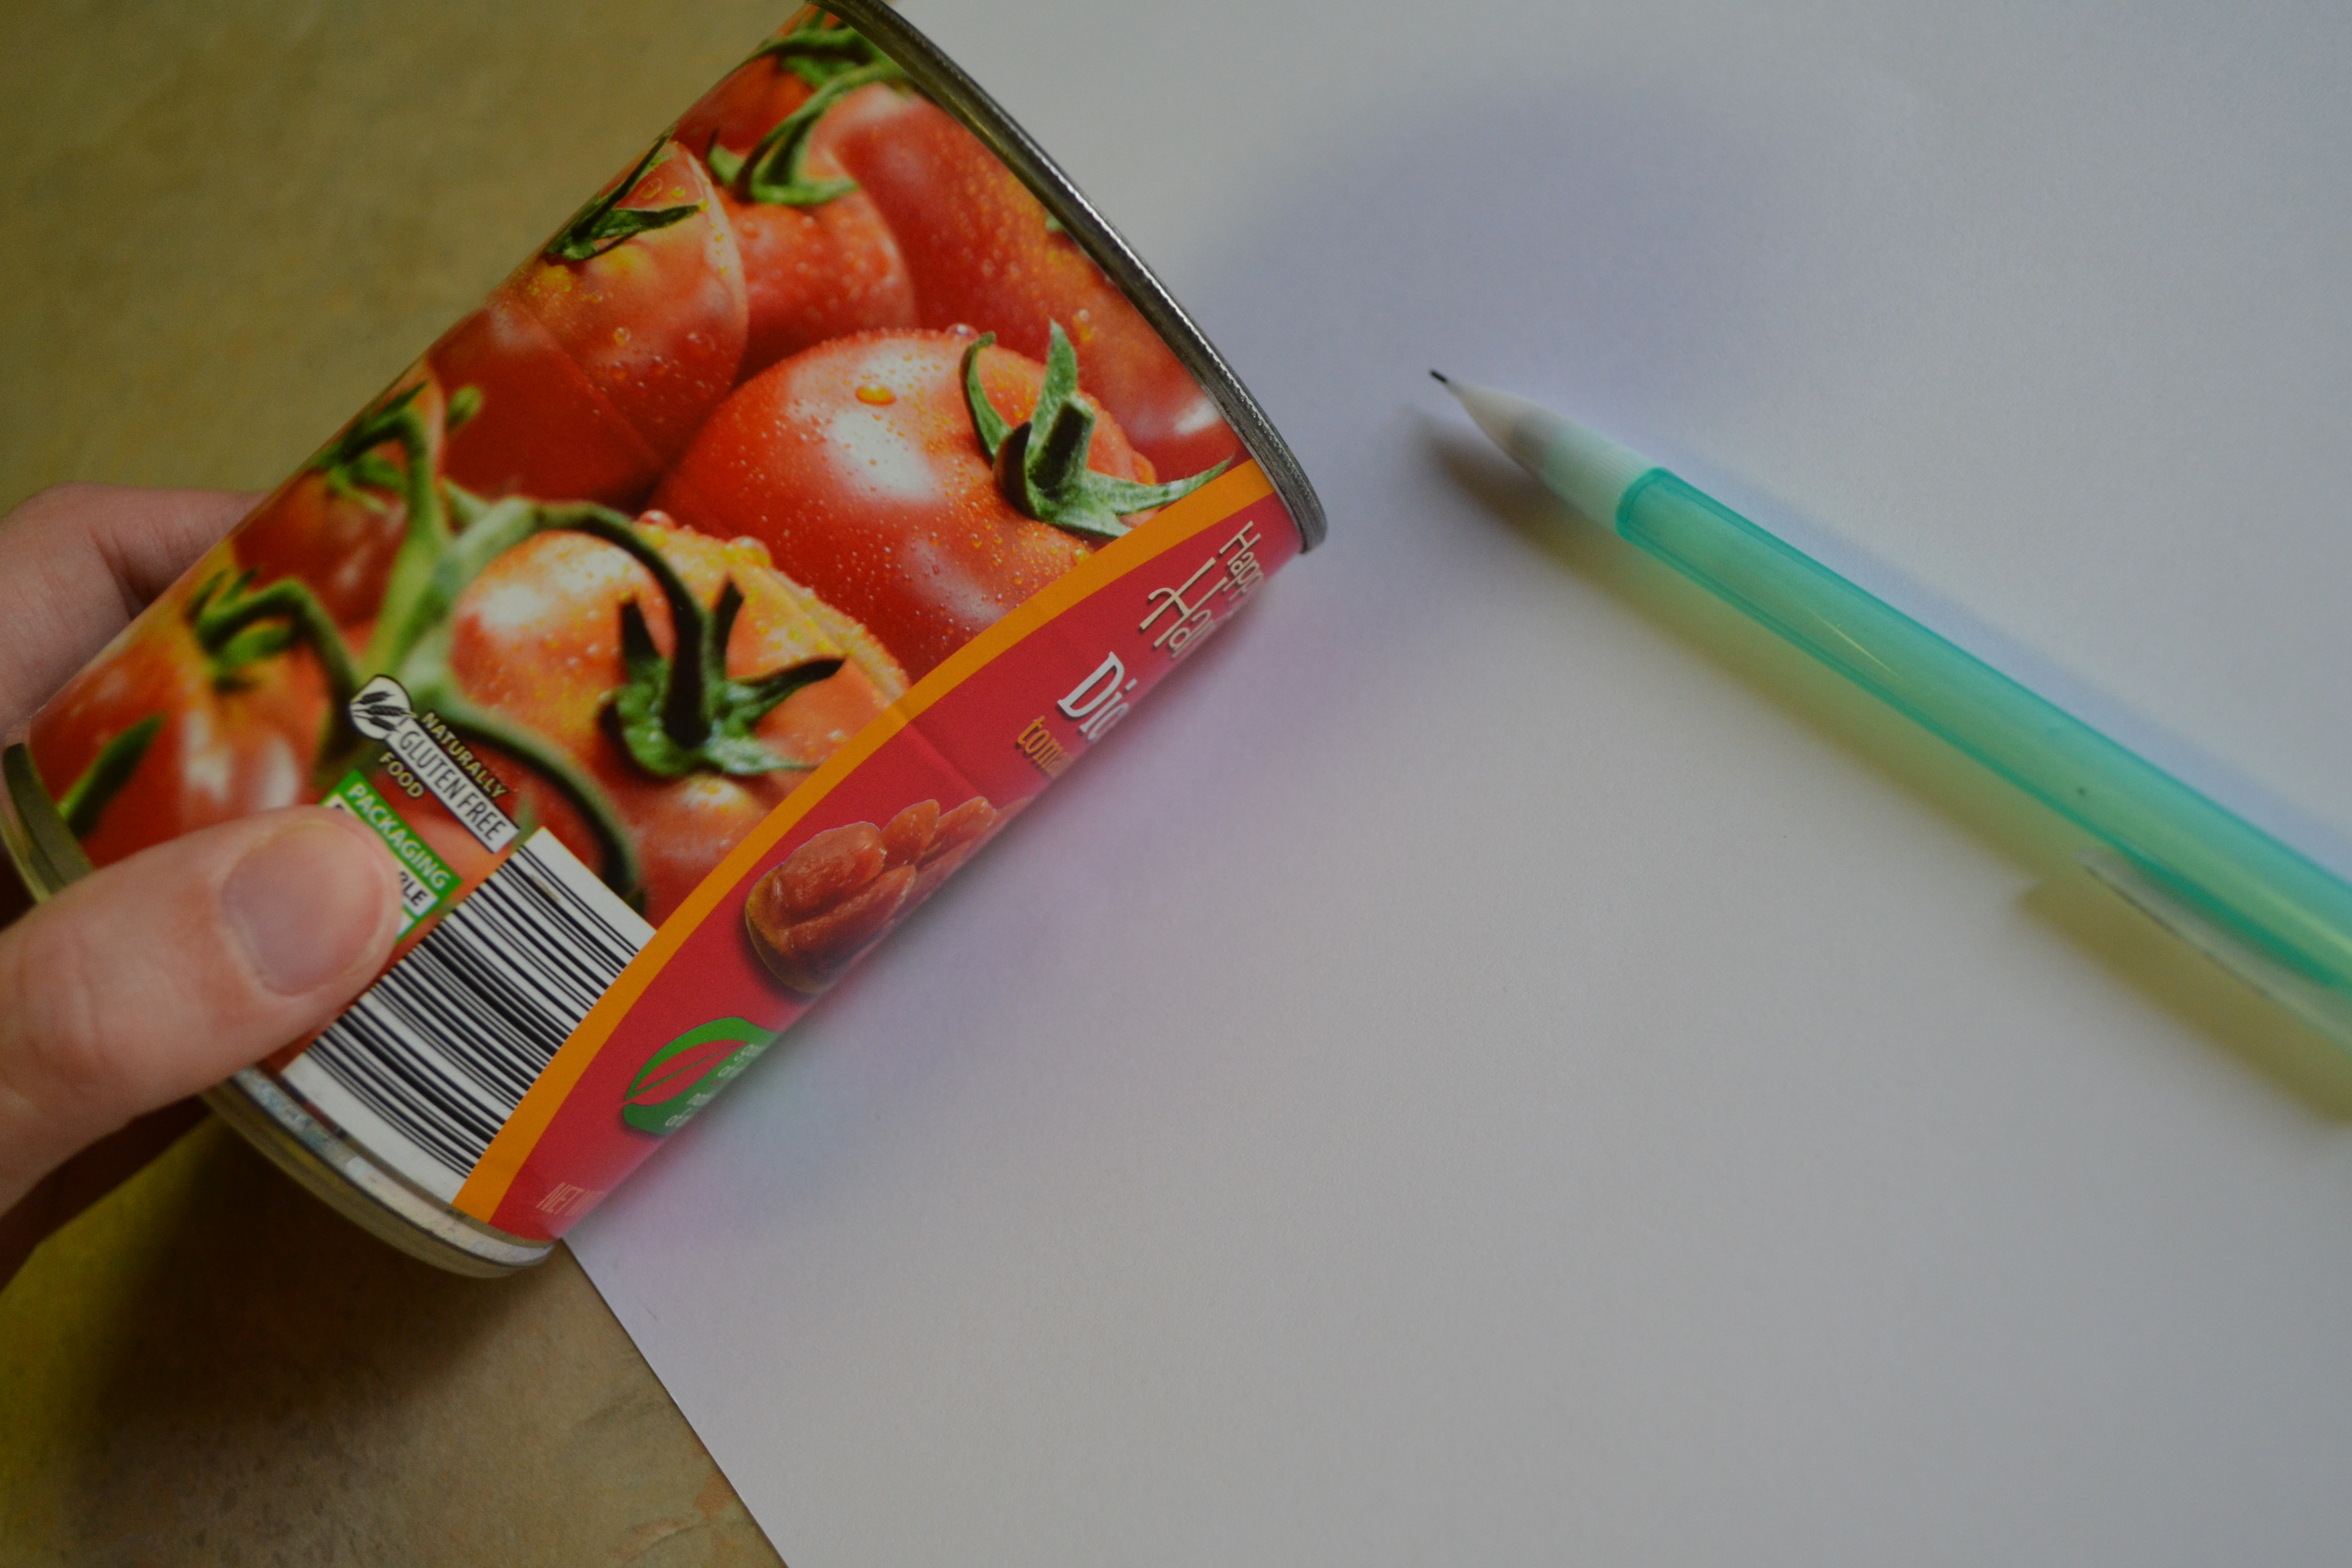
While the cans were drying, we selected a bunch of different scrapbooking papers. You could also use construction paper or any other type of paper. Rather than measuring the paper, we used the can to mark how long our strip of paper needed to be.
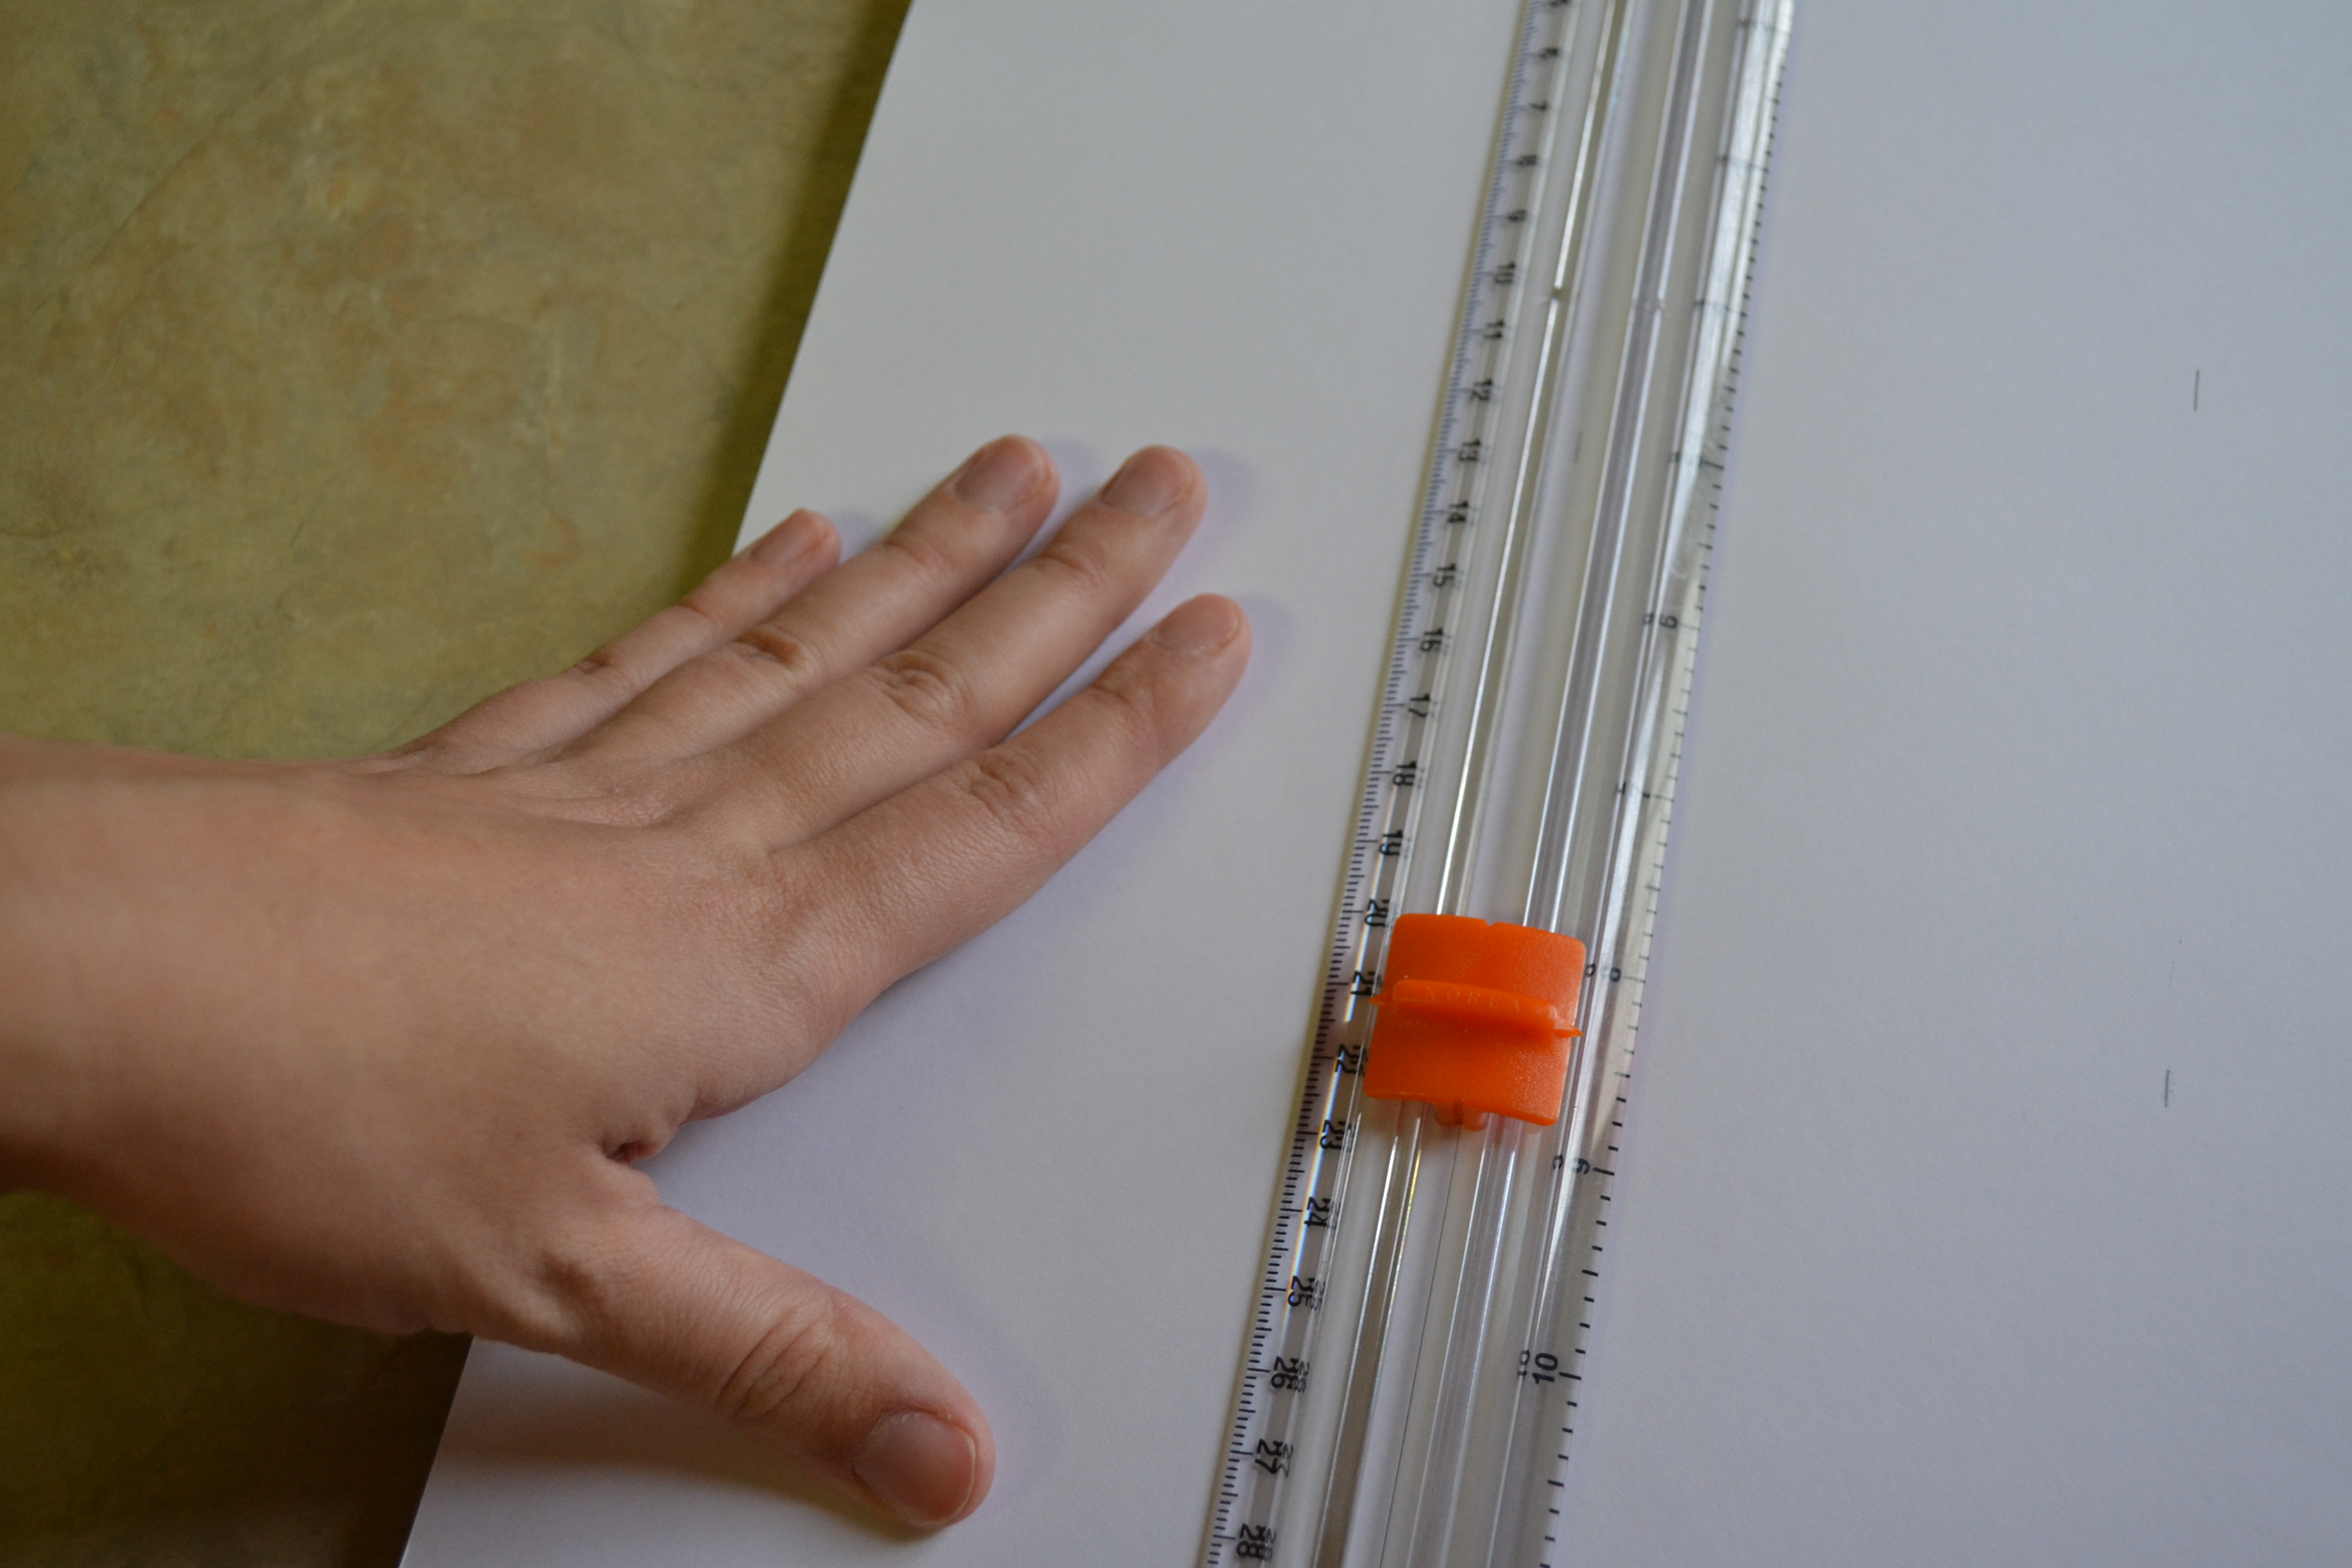
Step 4
Then, we used a paper cutter to slice the scrapbook paper into strips. My older kids are getting pretty good at using the paper cutter.
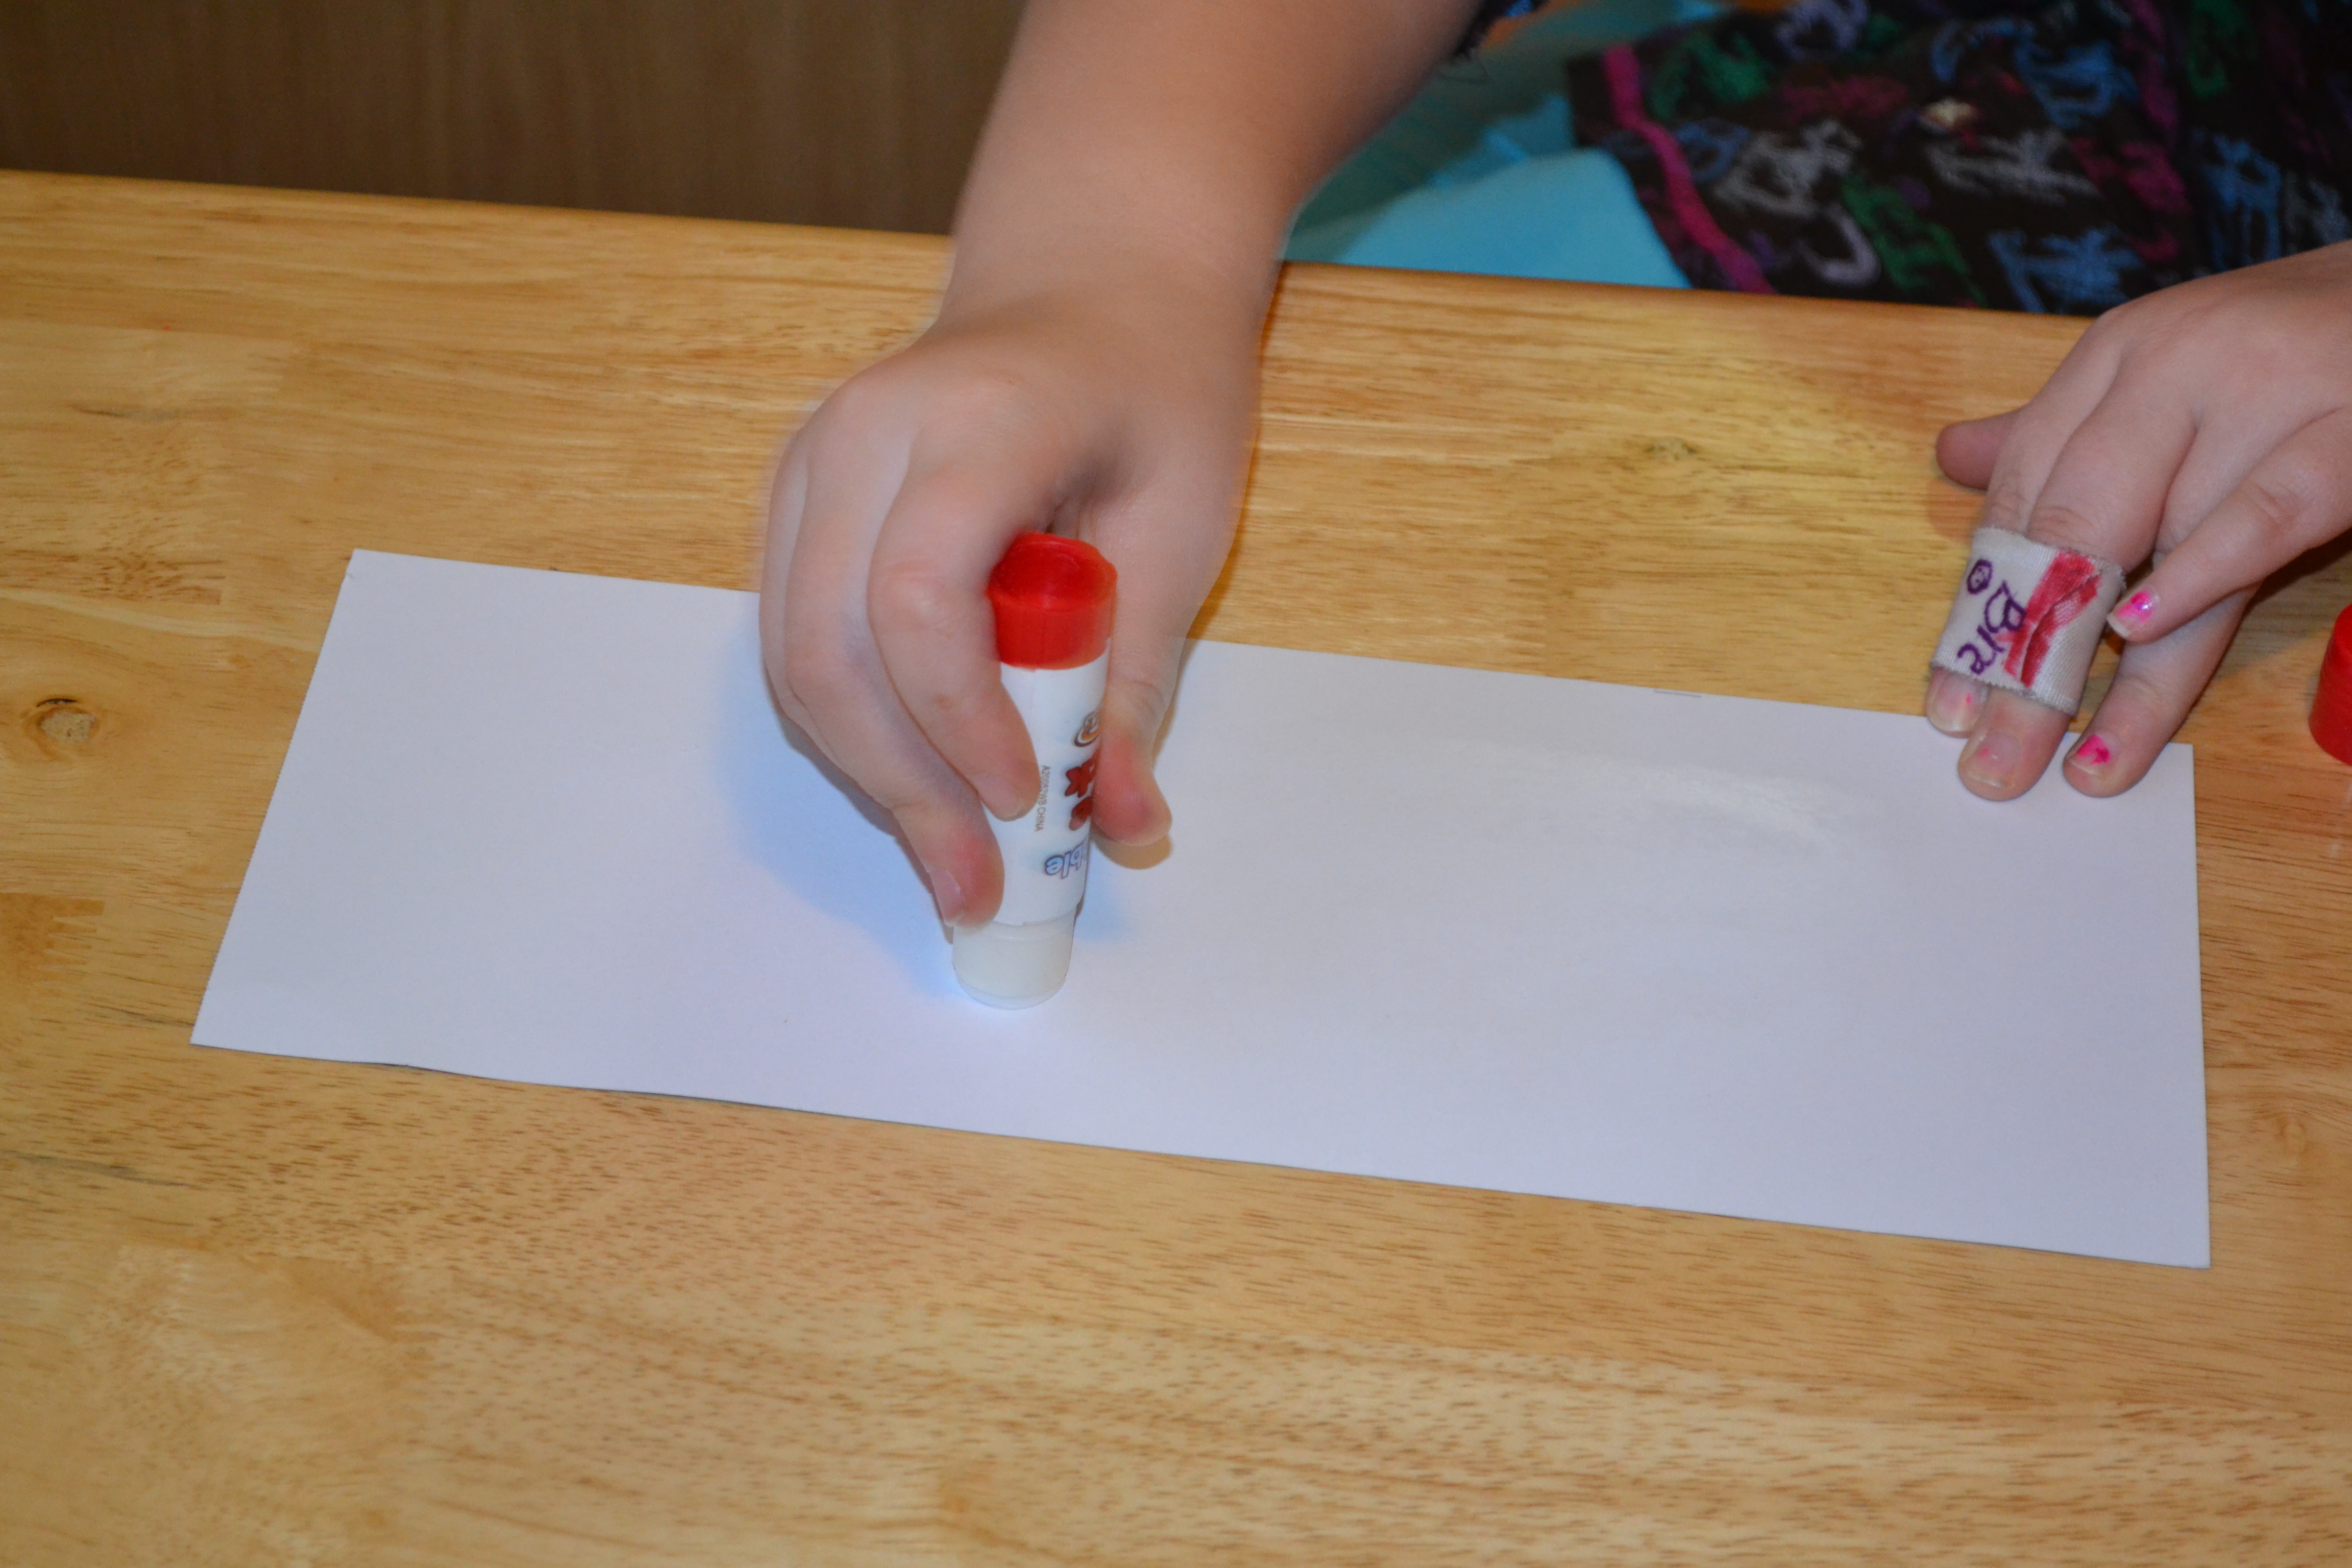
Step 5
My 8-year-old glued the strips of paper and wrapped them around the cans. She was very careful to smooth out all the bubbles and was very particular about trying to get them straight.
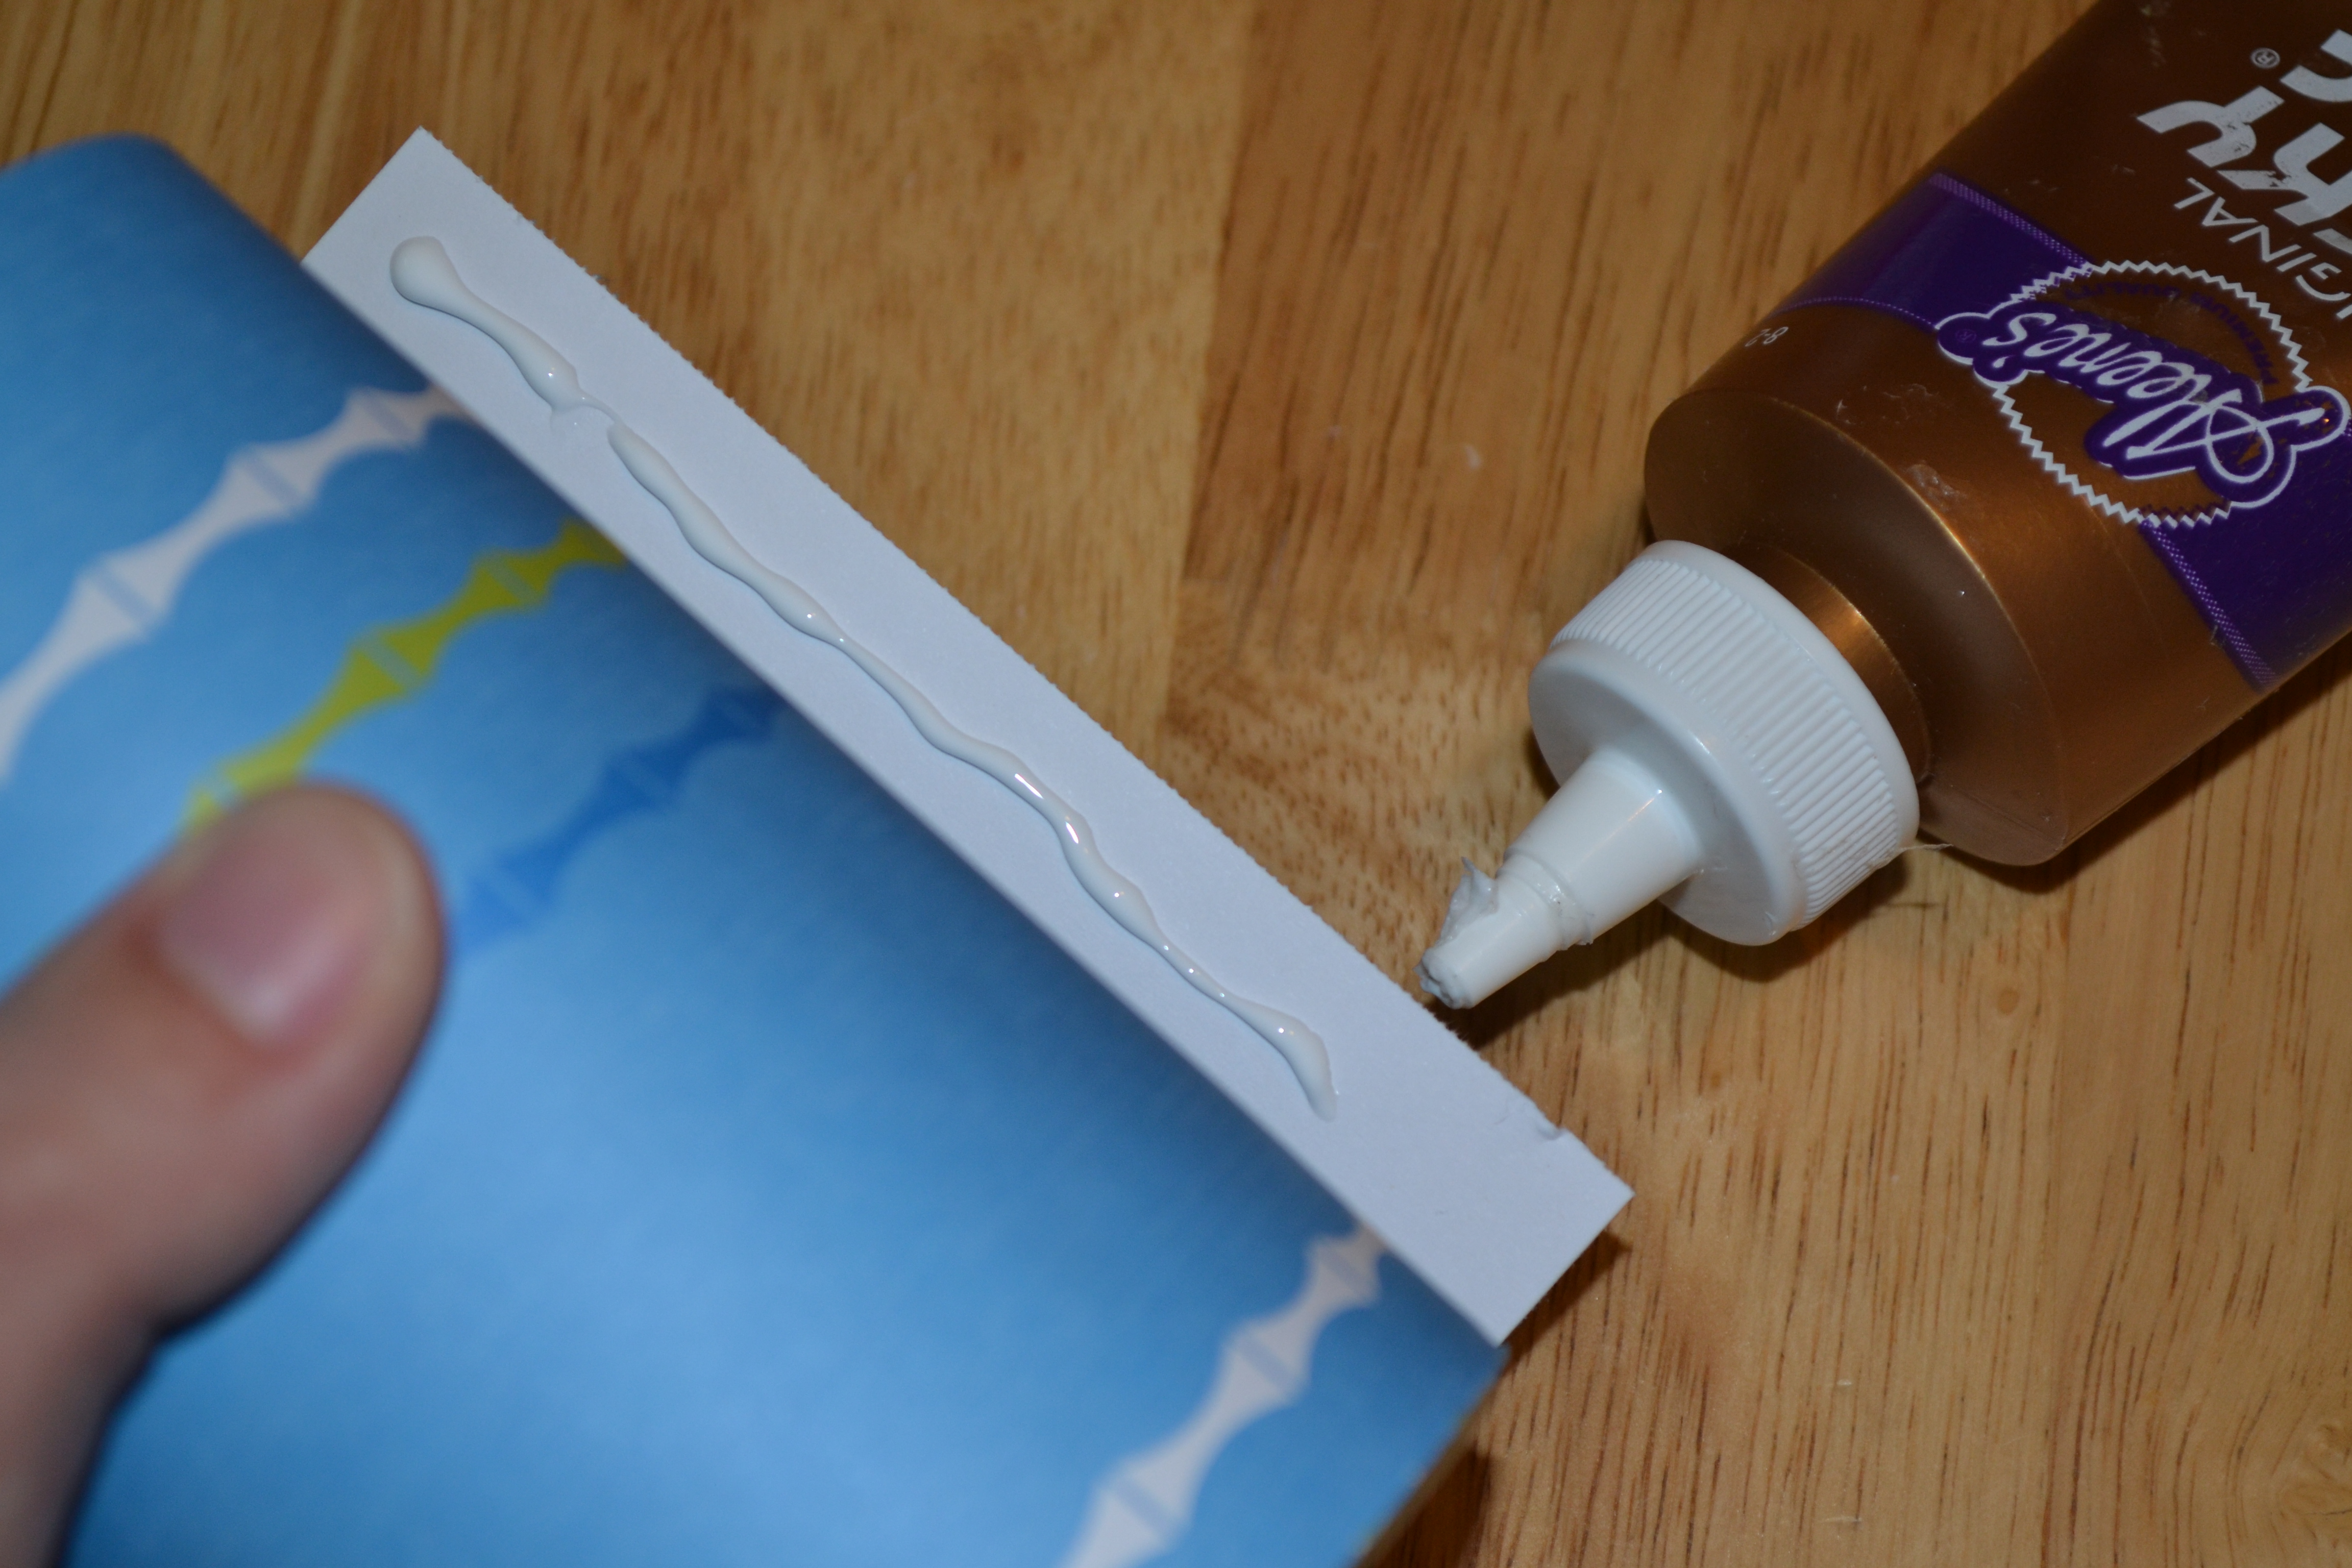
Step 6
We found that using a thin line of tacky glue on the edges helped to hold the paper into place.
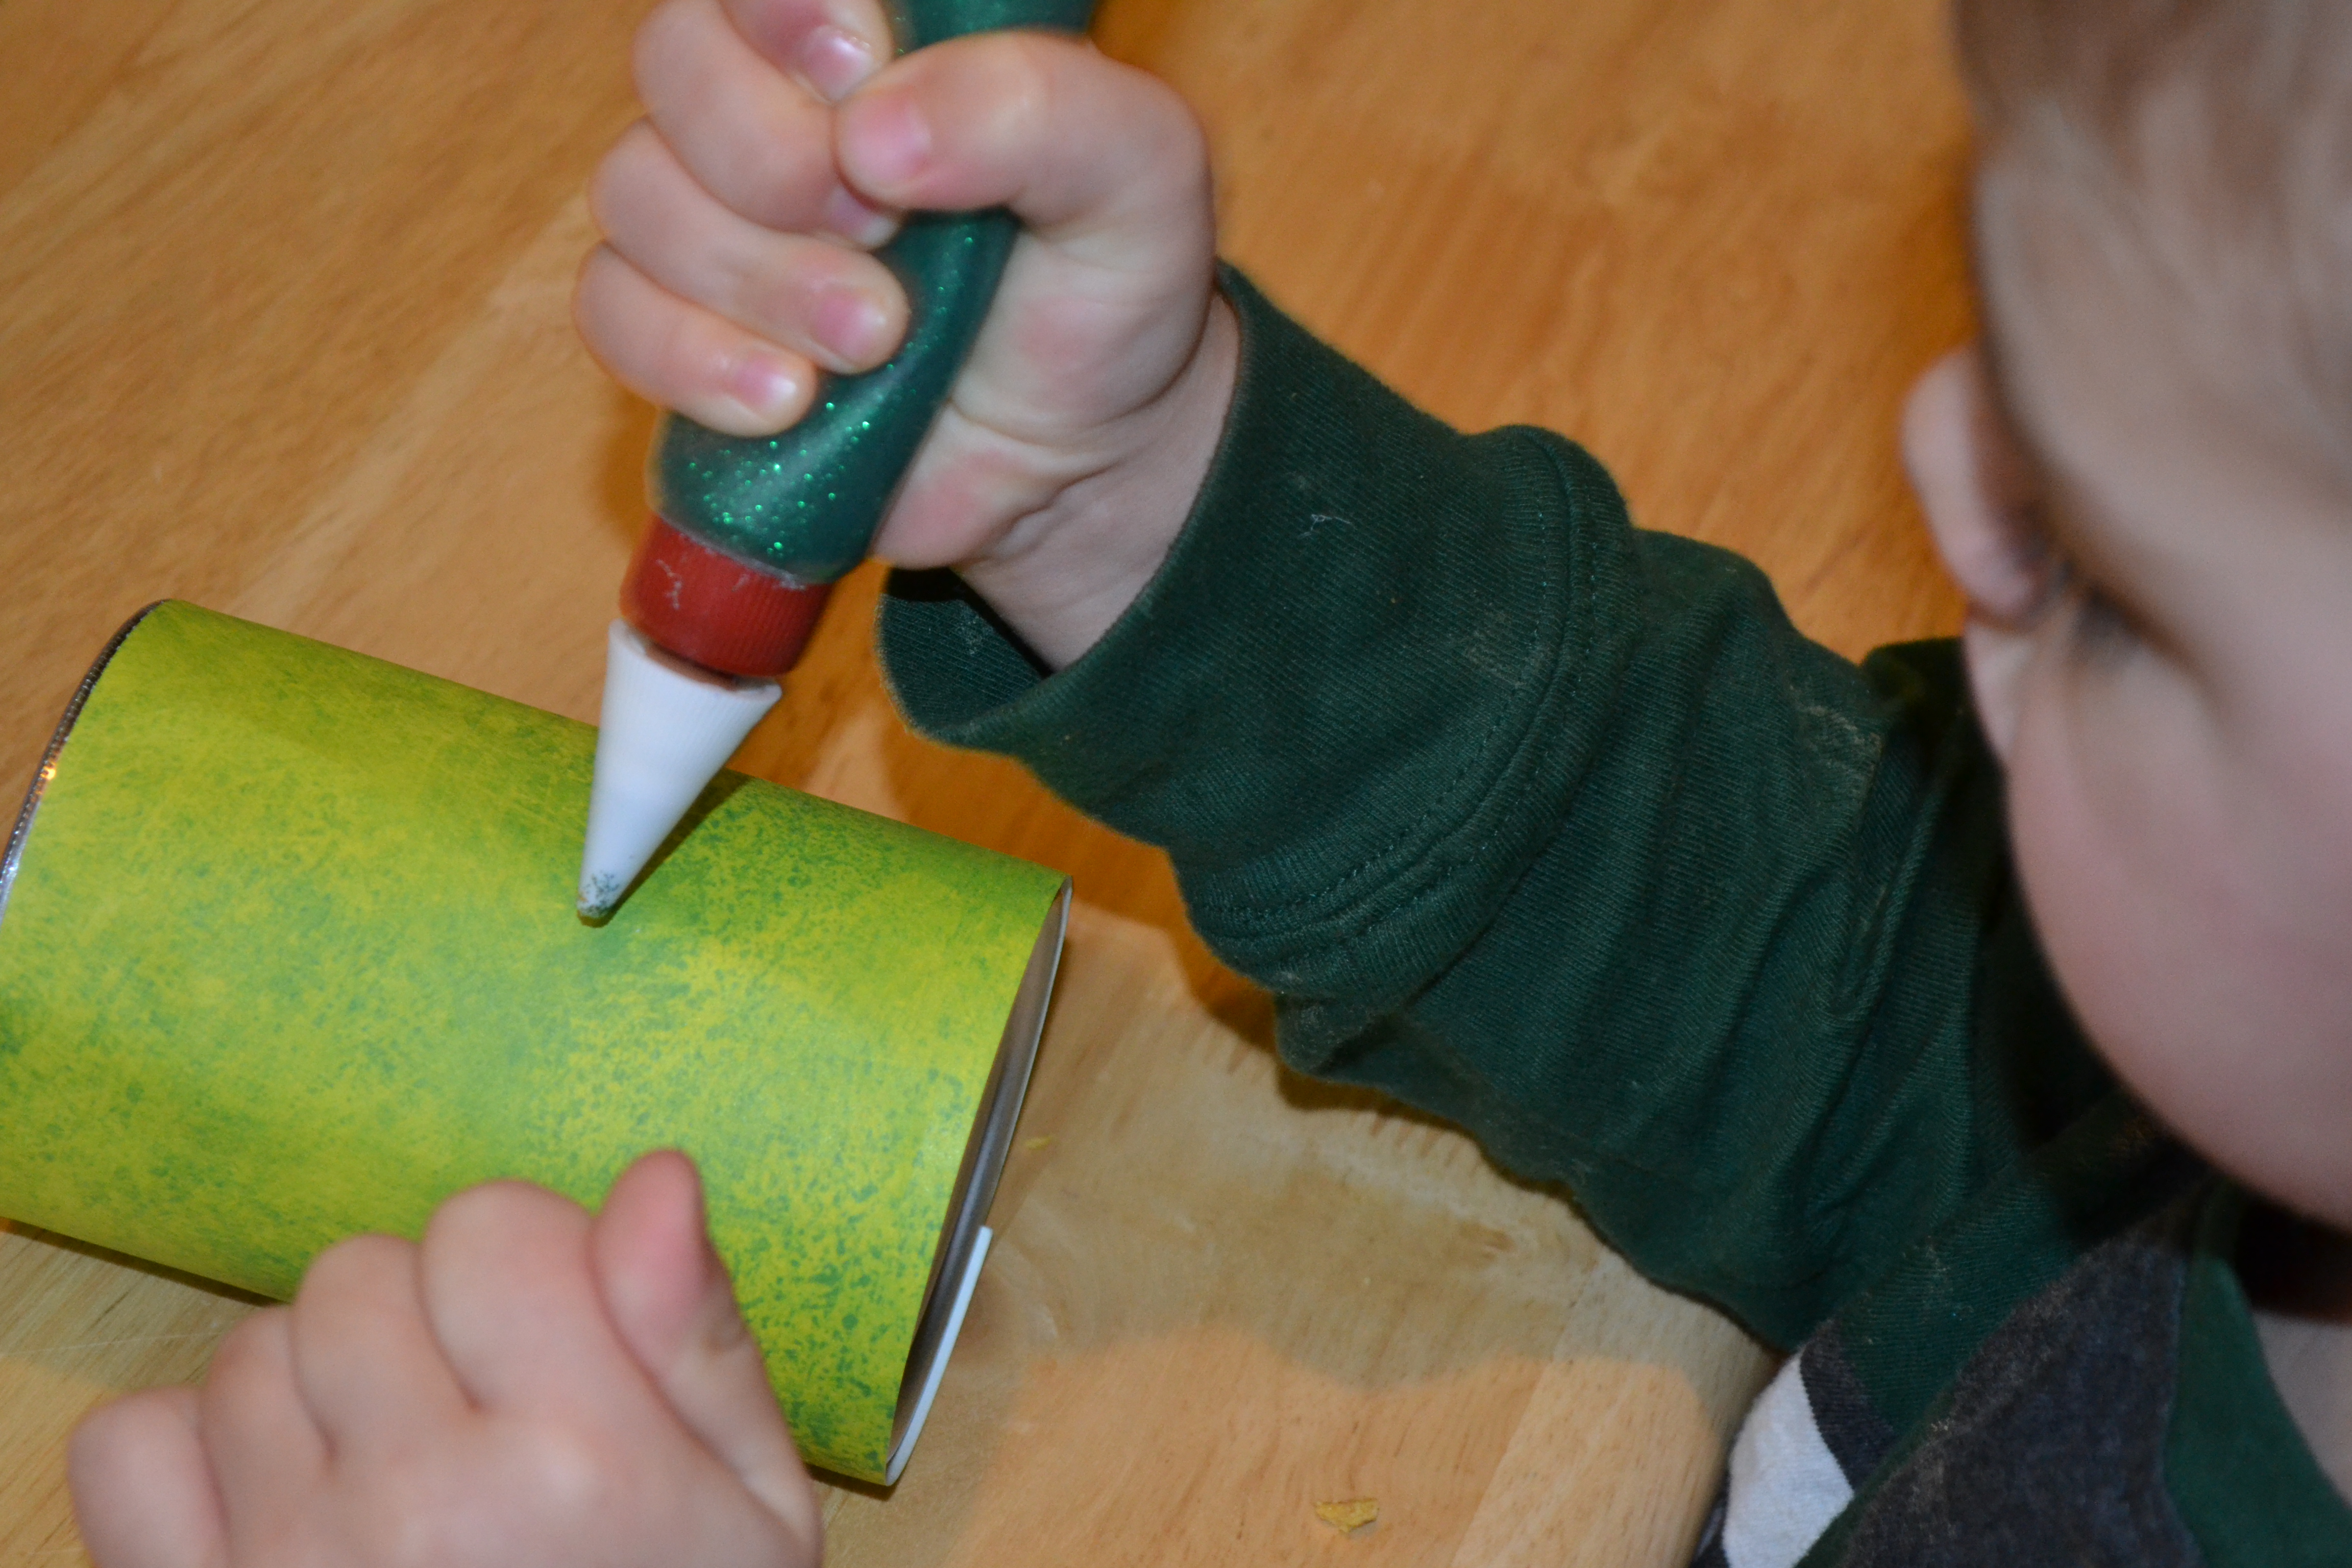
Step 7
Then, my 3-year-old helped us decorate some of the cans with glitter glue. You could also use stickers, markers, or any other craft materials to jazz up your cans.
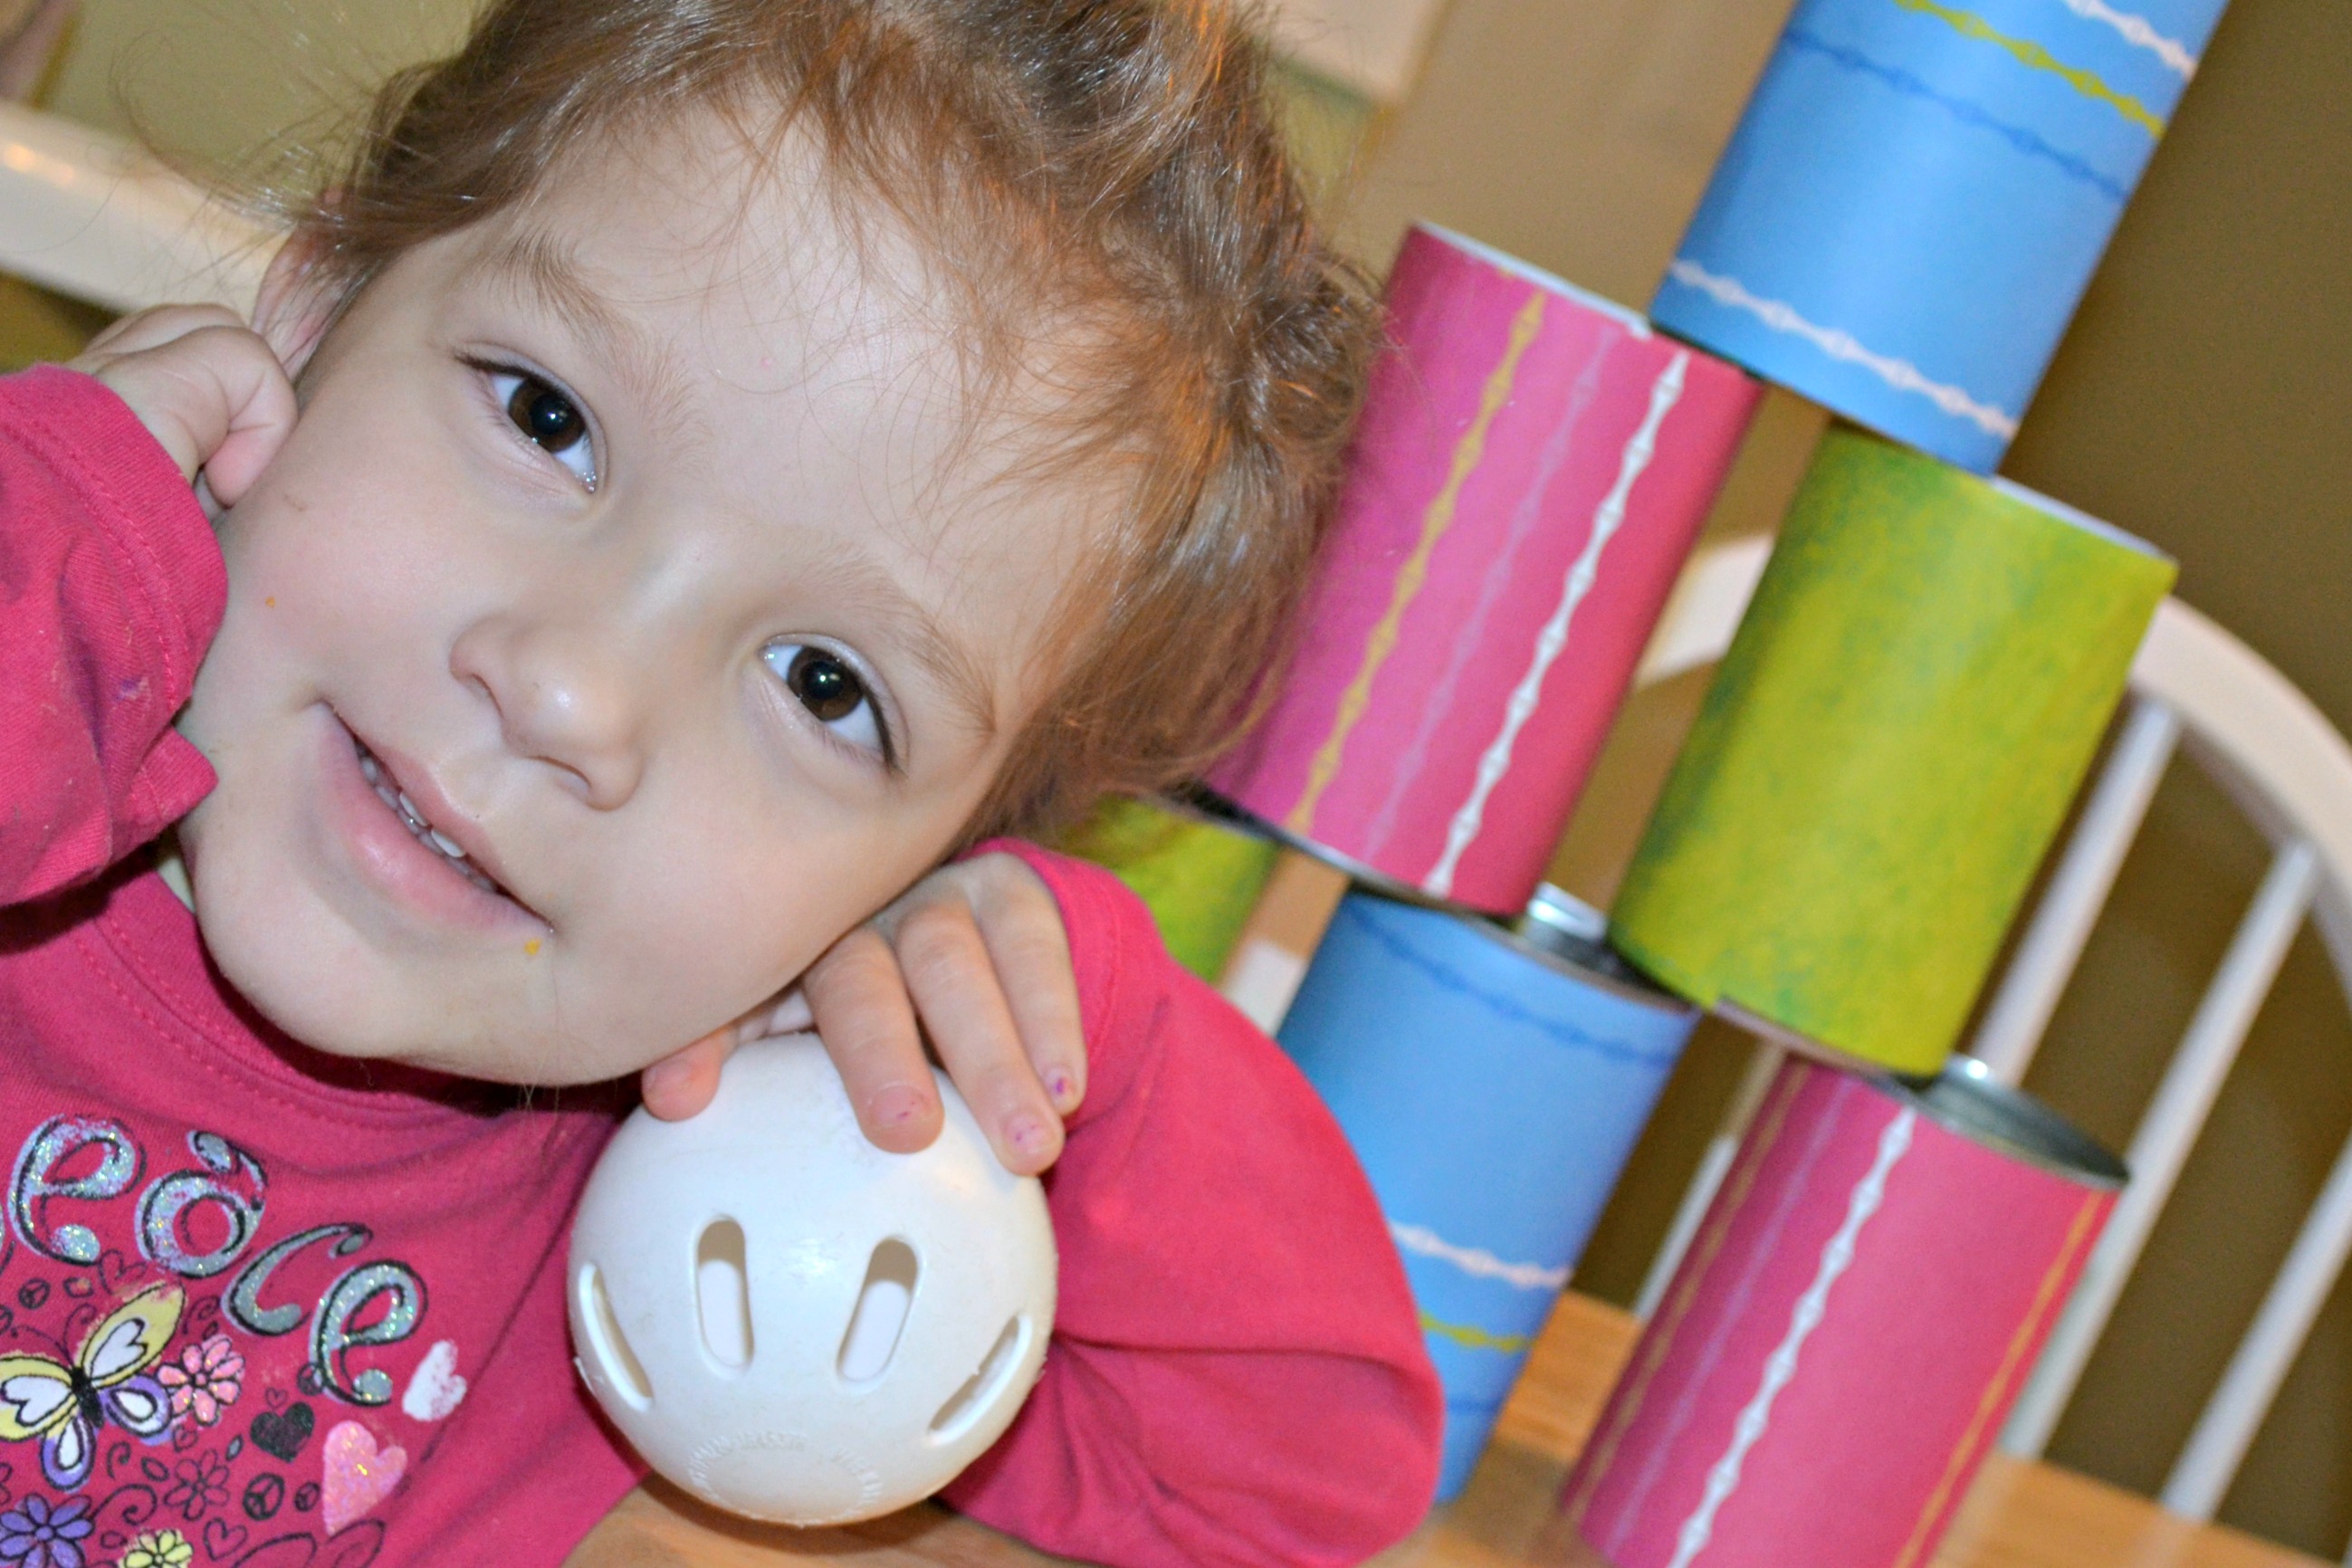
Done!
Once everything was dry, we set them up and the kids had a blast knocking them down. This was a great activity for the younger kids to work on their large motor skills (throwing a ball) and their counting skills to see how many they knocked down. My 2-year-old loved setting the cans back up in a tower.