Step-by-step tutorial
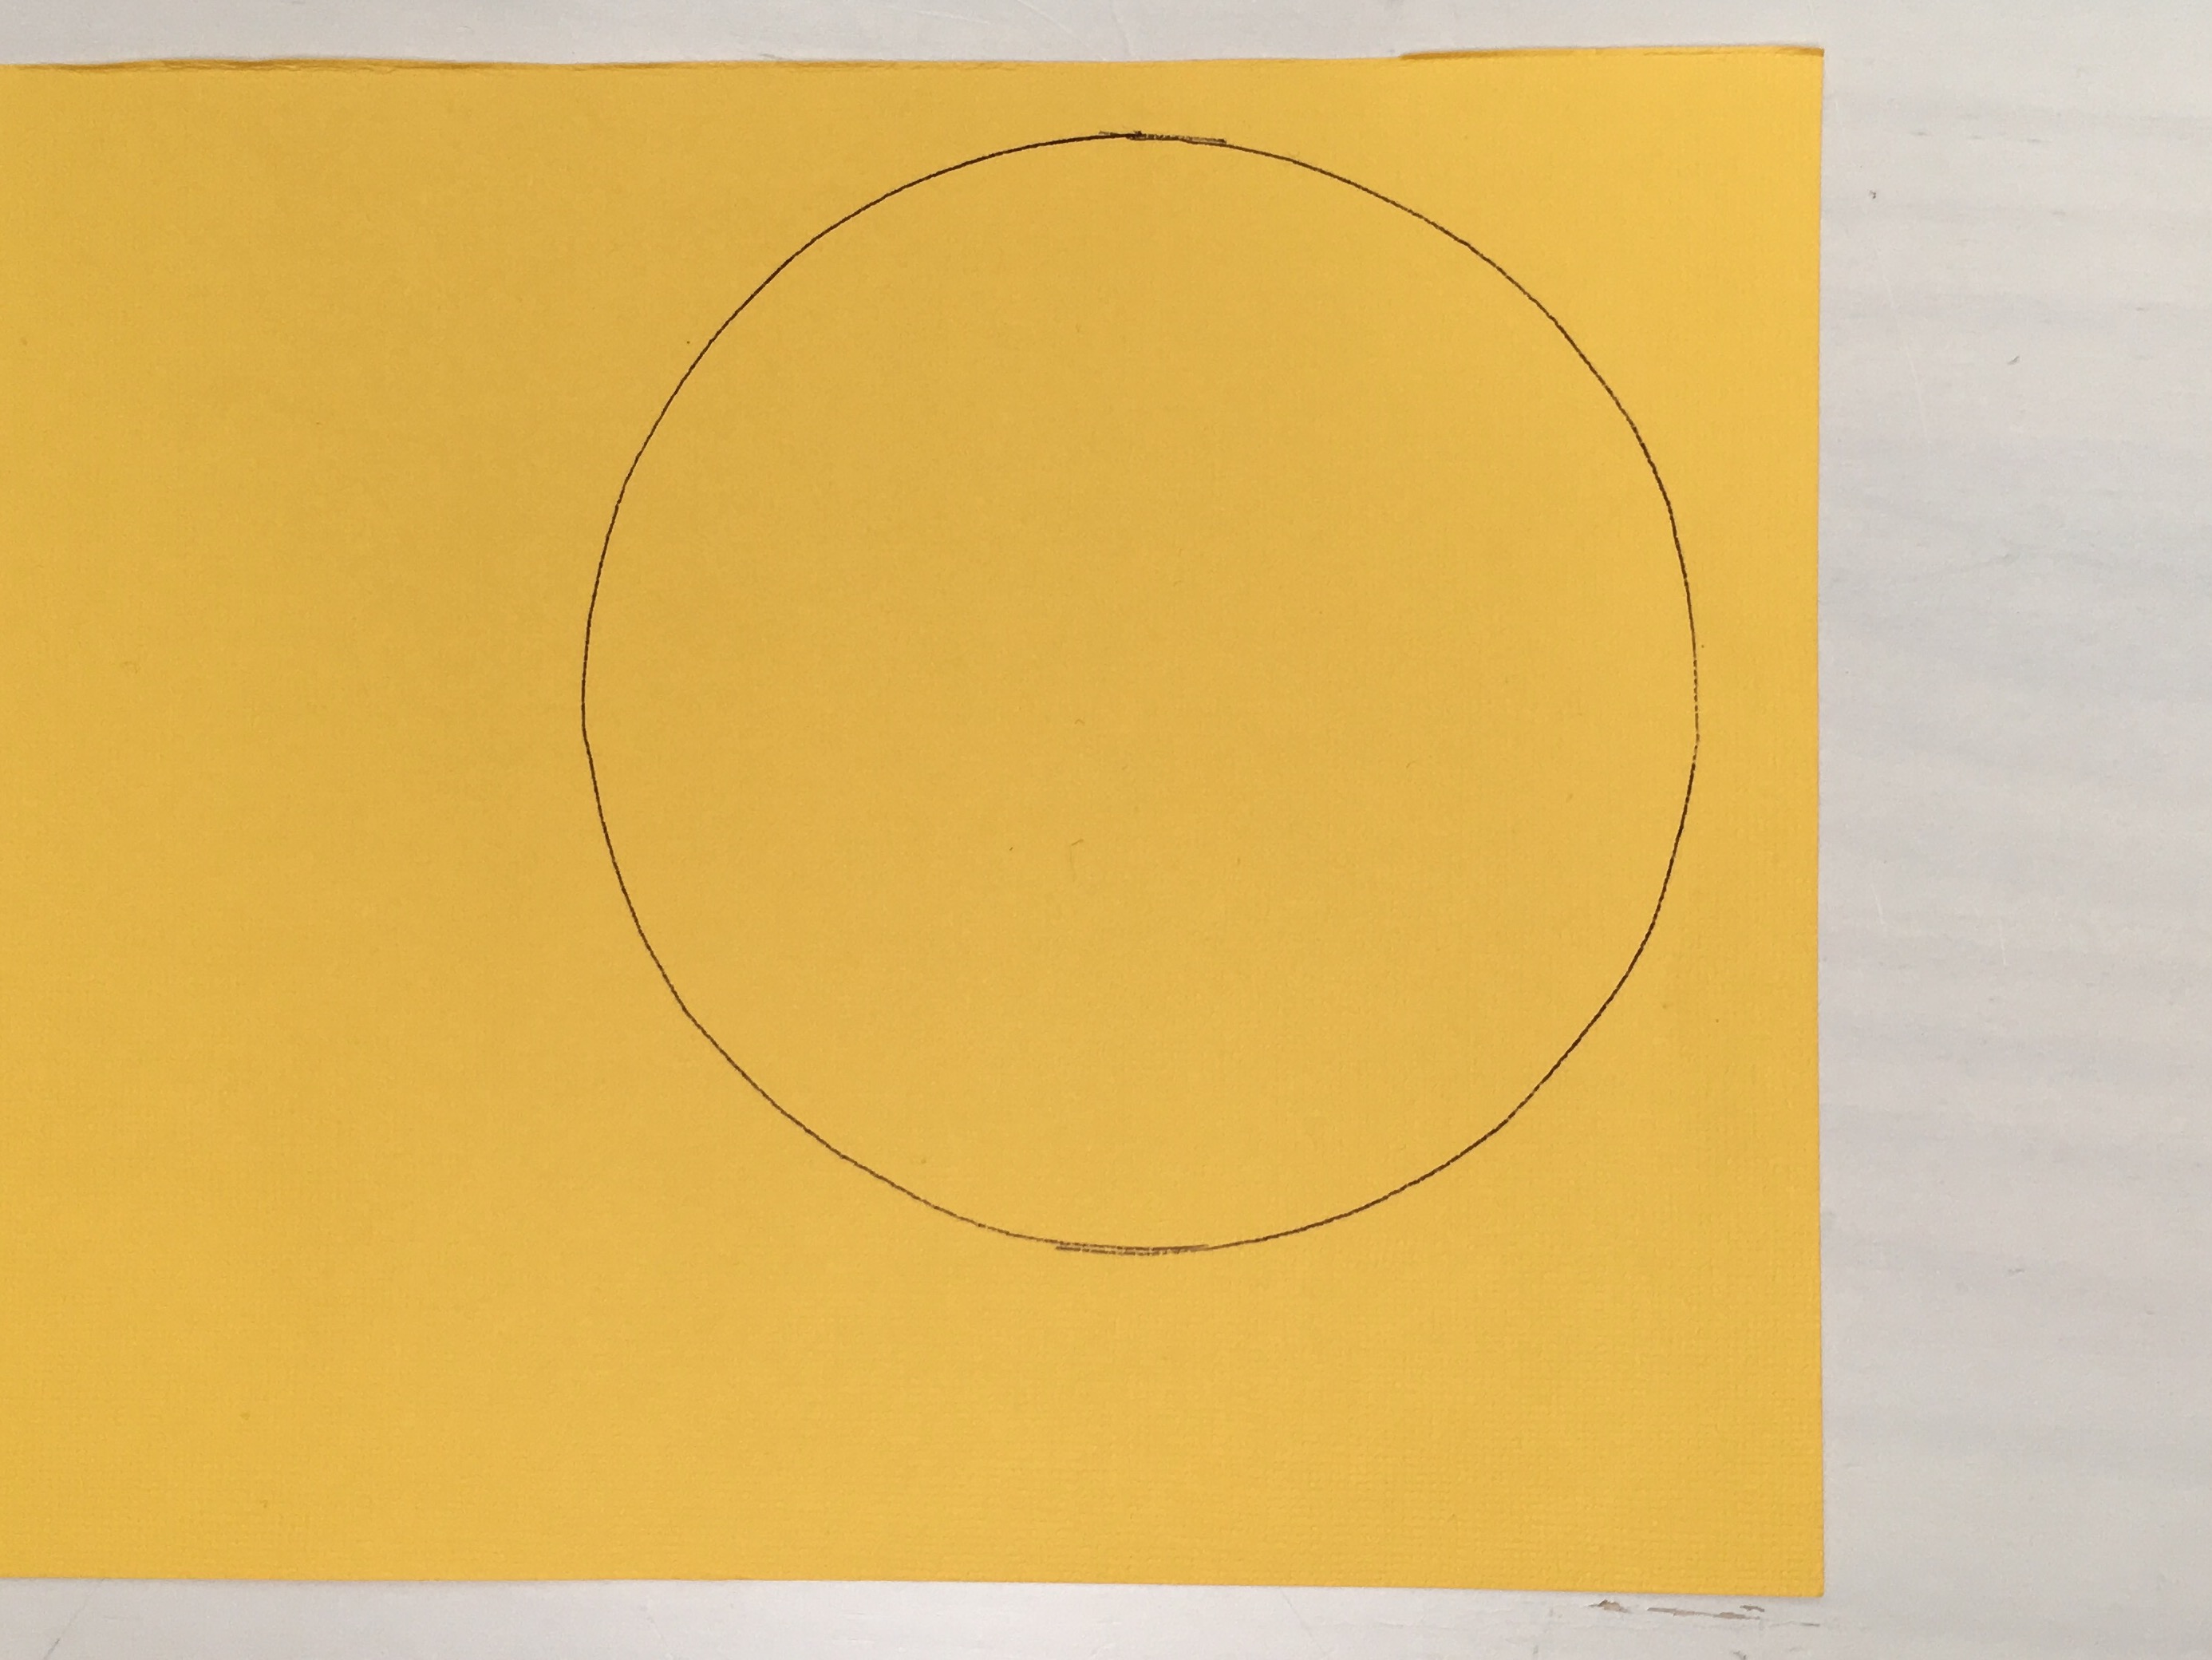
Step 1
To get started, trace a circle on paper with the CD.

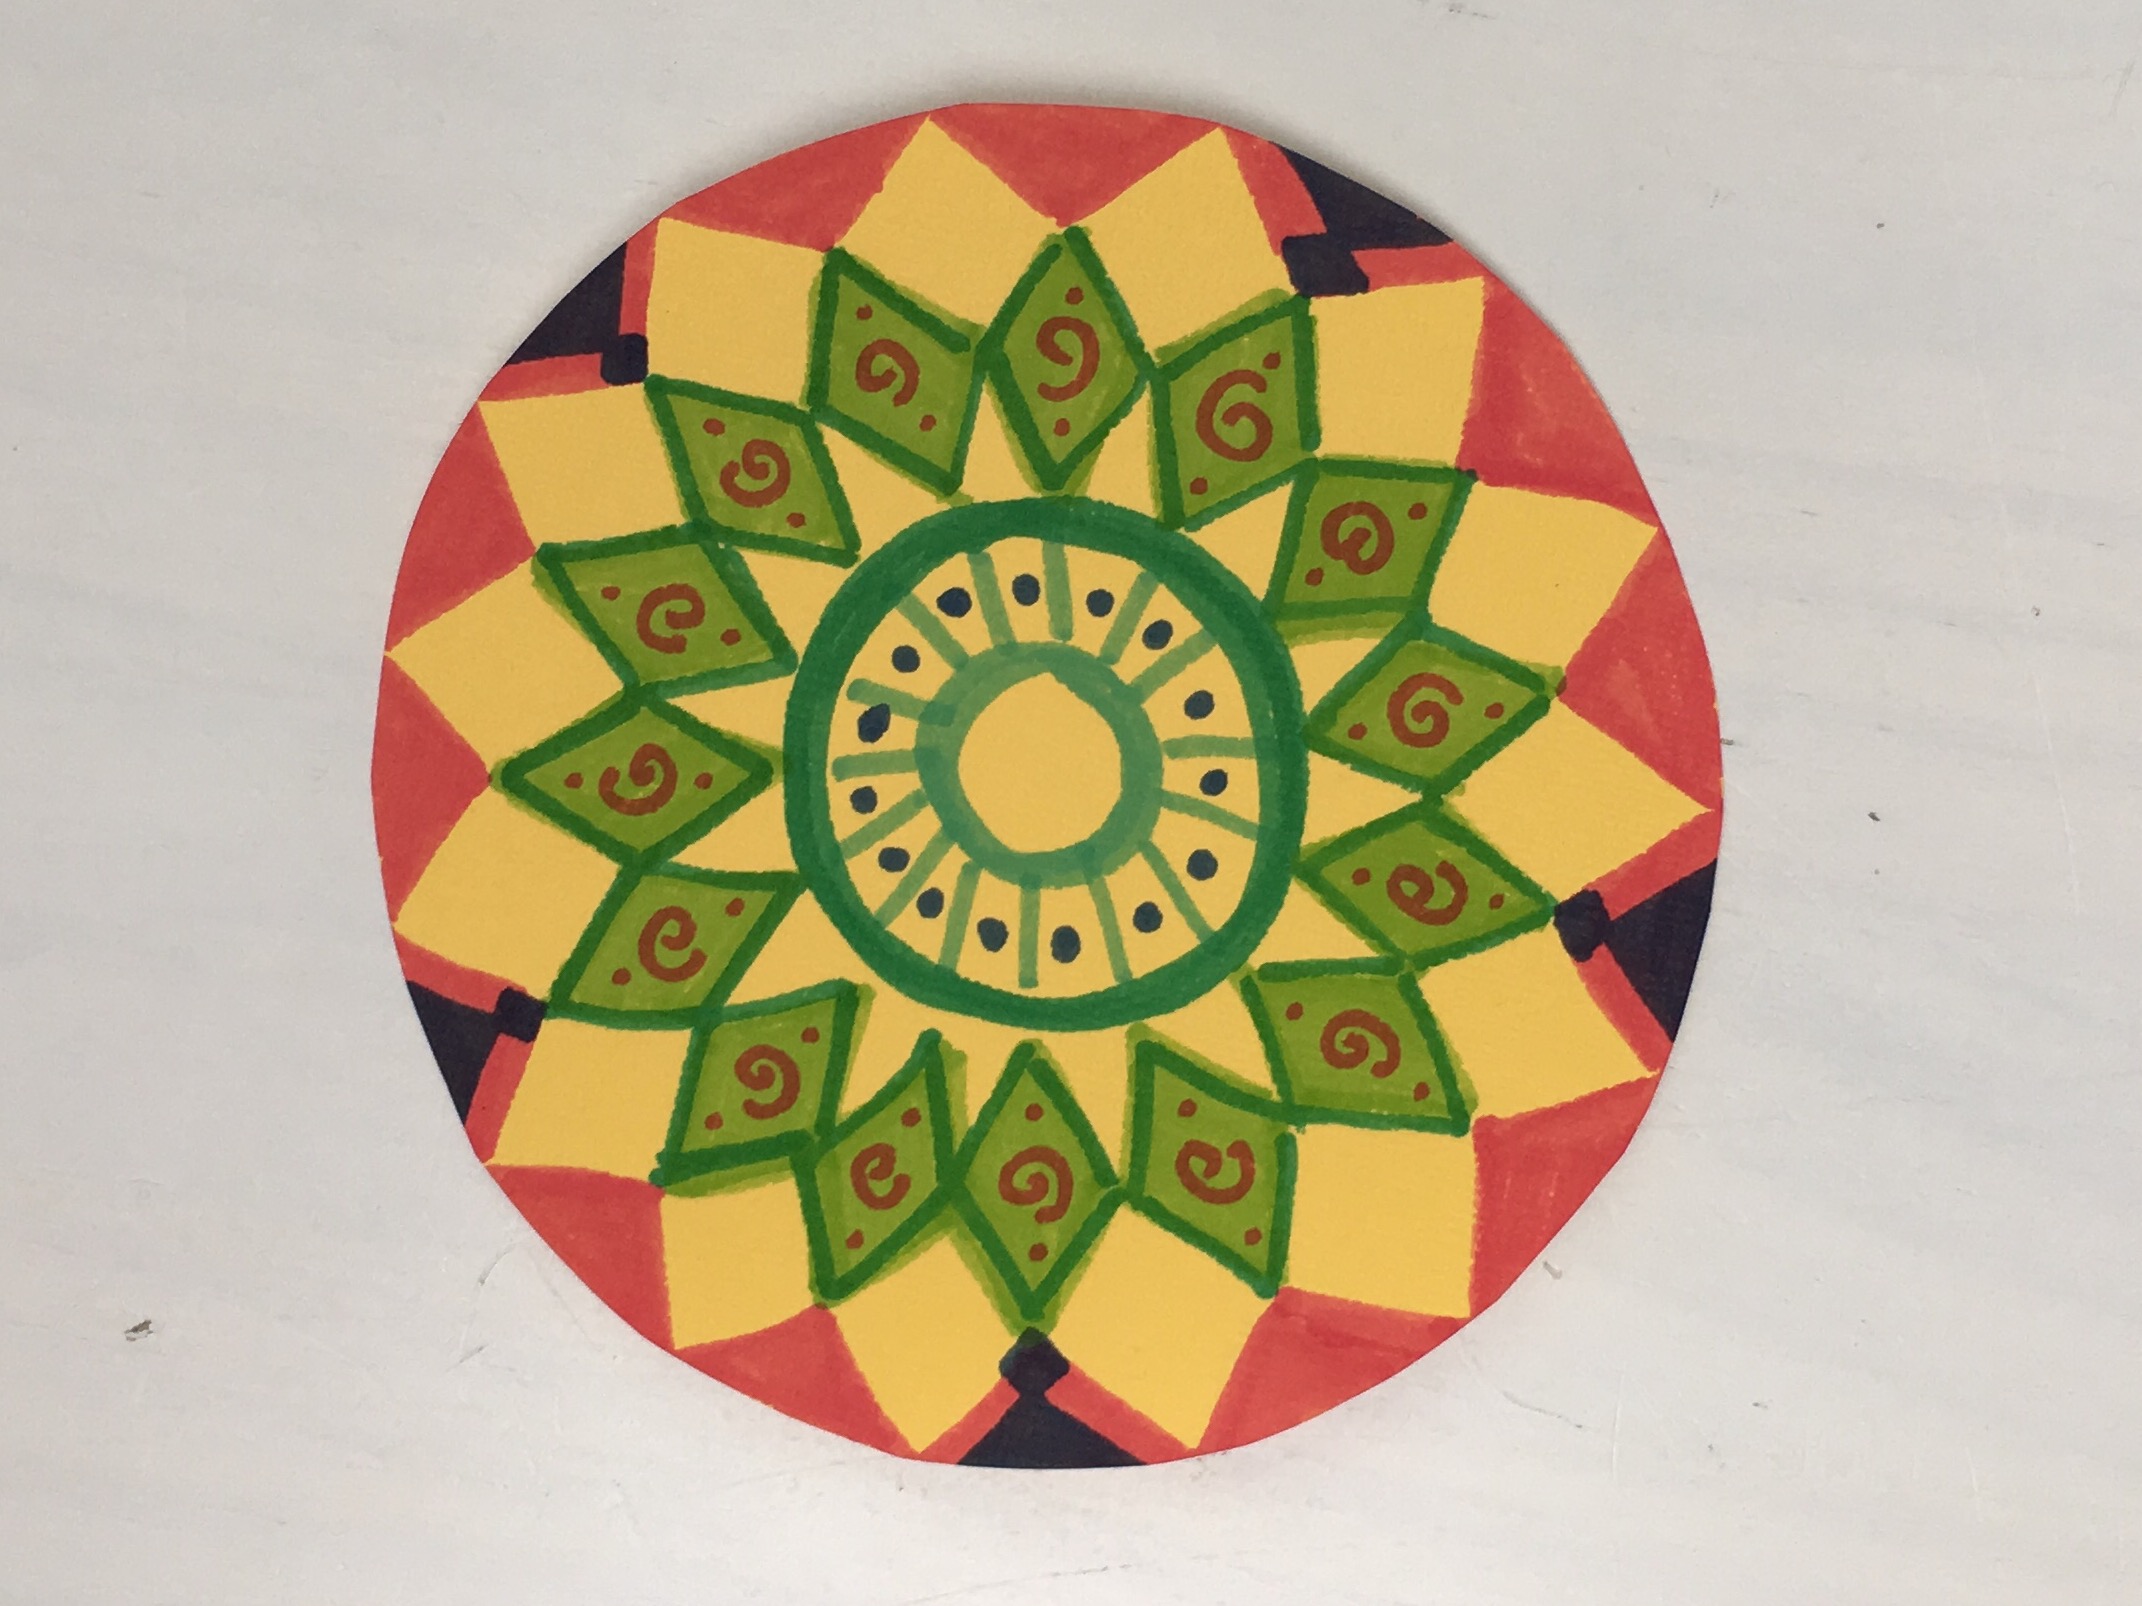
Step 2
Decorate the traced circle with markers and then, cut out the circle. Glue the circle to the top of the CD with a glue stick.
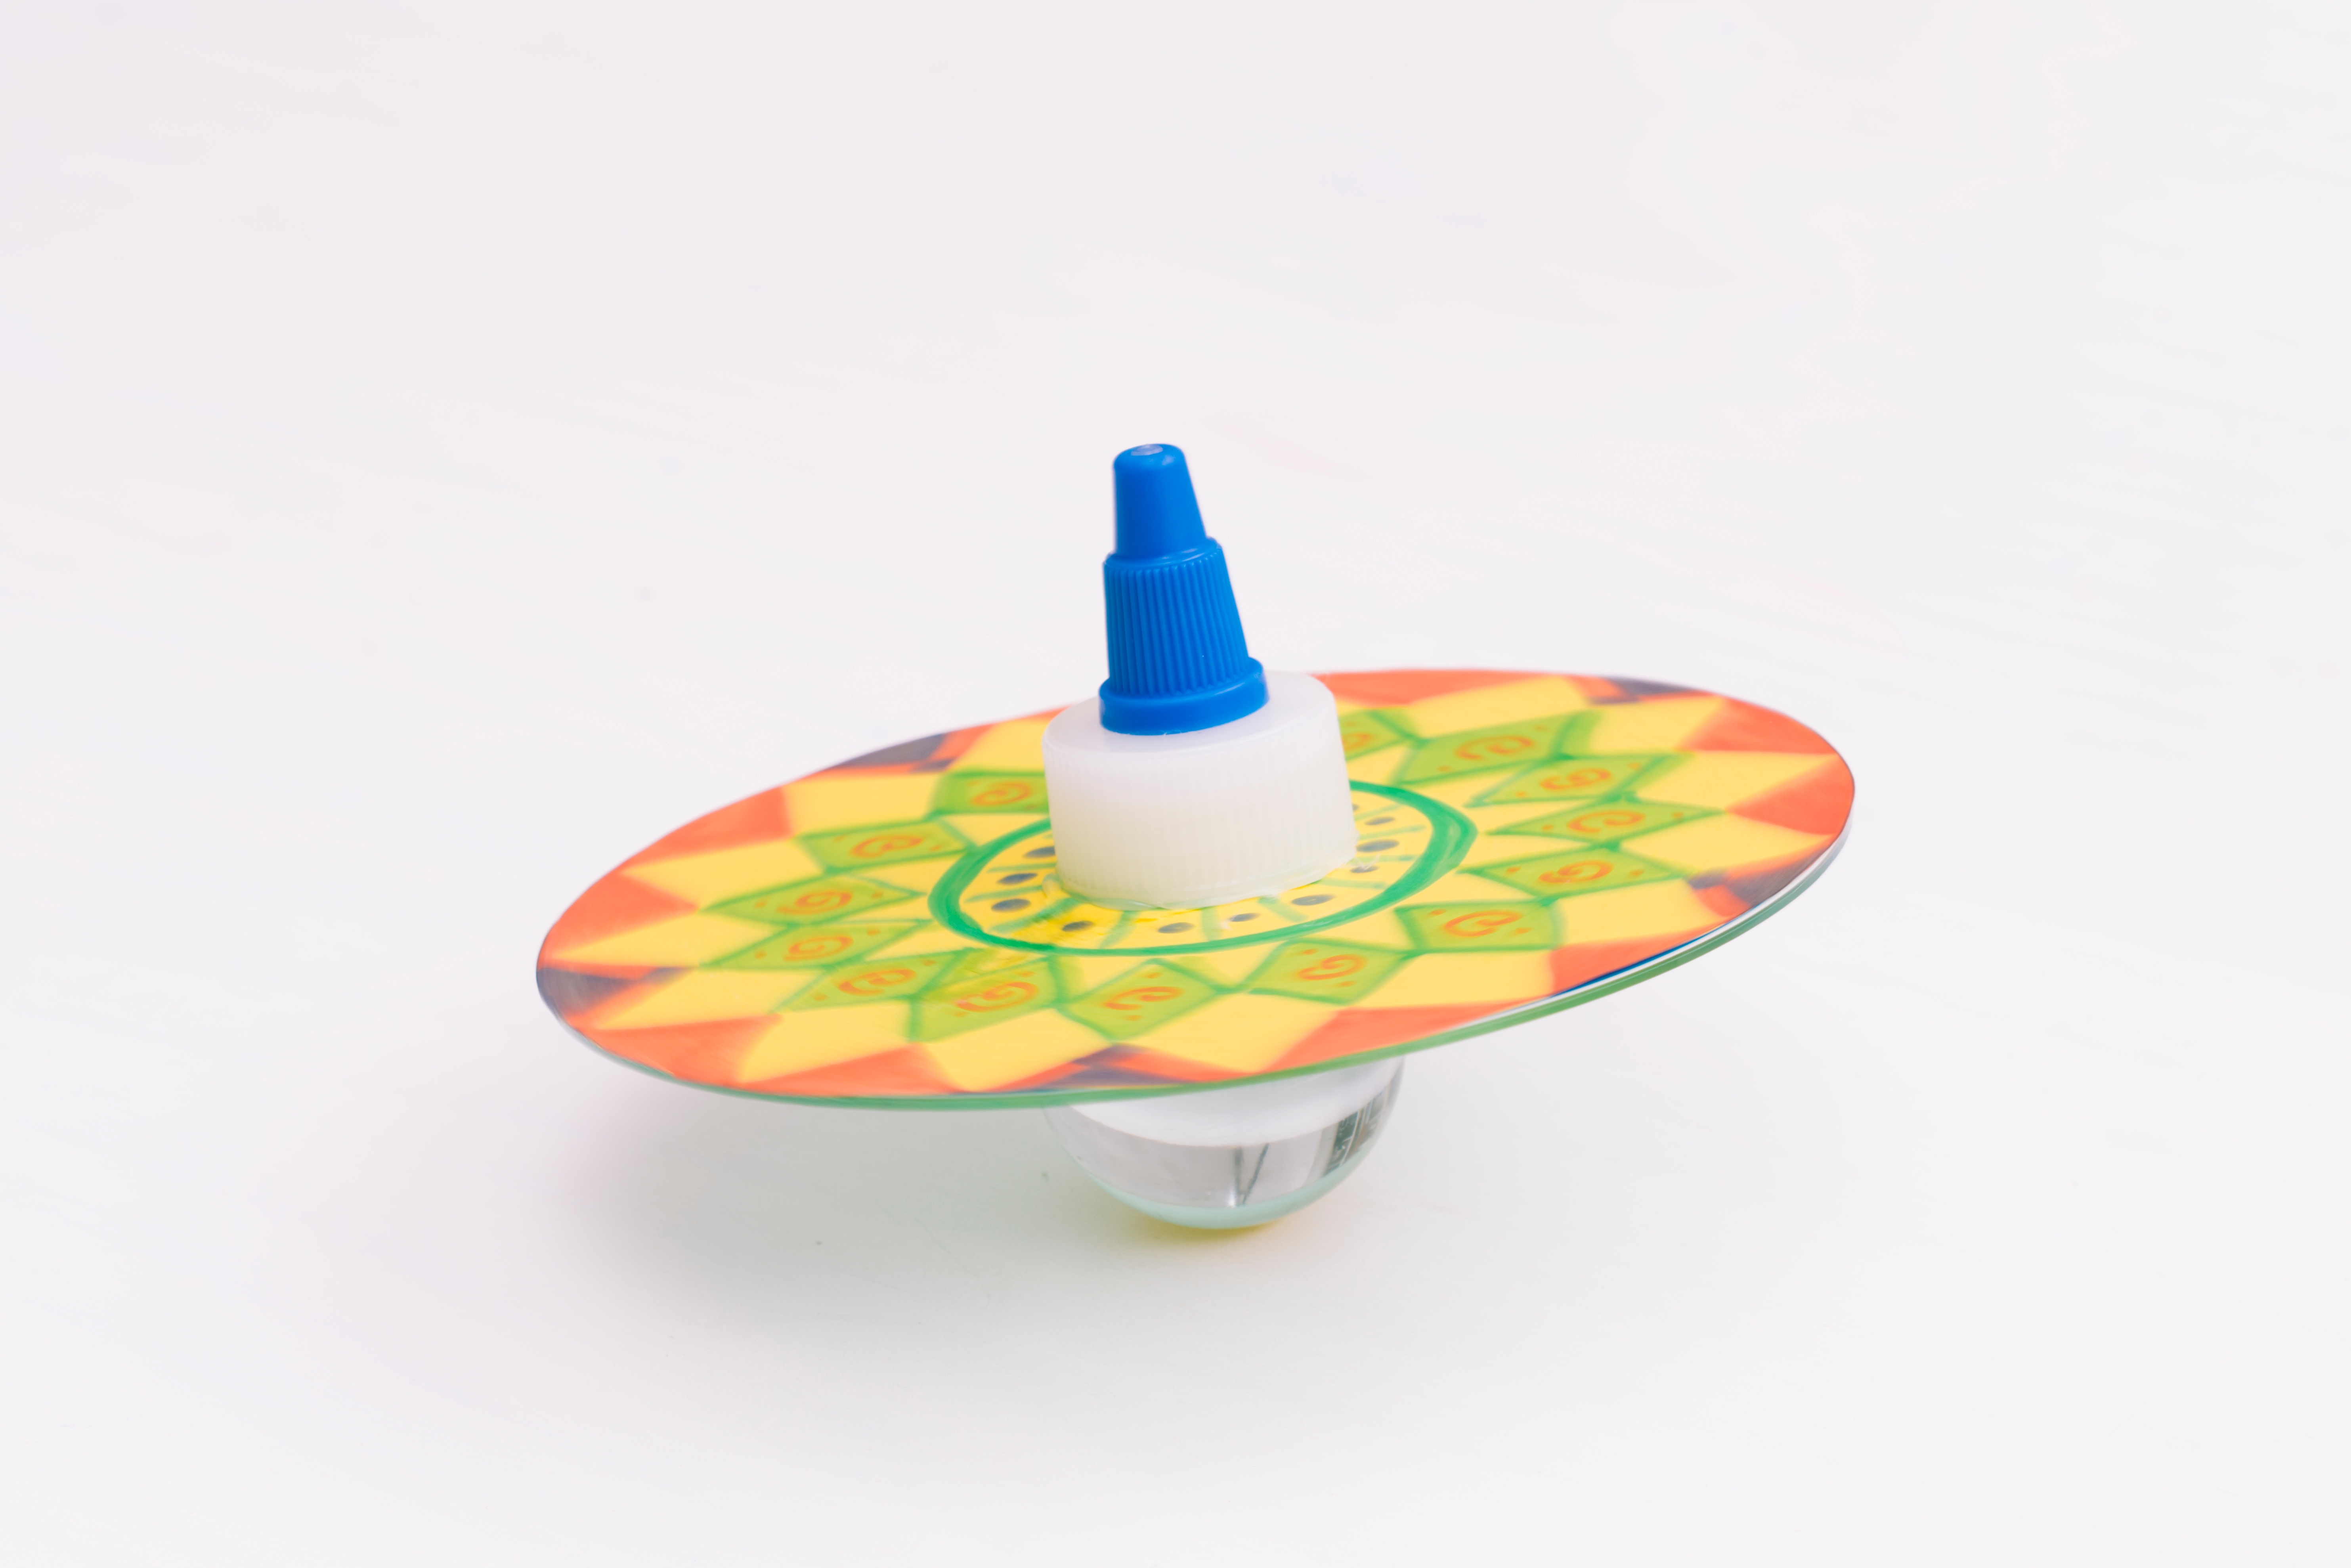
Done!
Have a grownup attach the bottle cap to the center of your circle with a hot glue gun. (We used the top of an old glue bottle.) Also glue a ping pong ball under the CD in the center. Make sure to line the bottle cap and the ball with the center hole of the CD!
Once the glue is dry, use the bottle lid as a handle and give your new top a spin! What other materials can you create a spinner out of? How about a wooden cube for the top and a marble for the spinning base? Do some objects spin better than others?


