Step-by-step tutorial
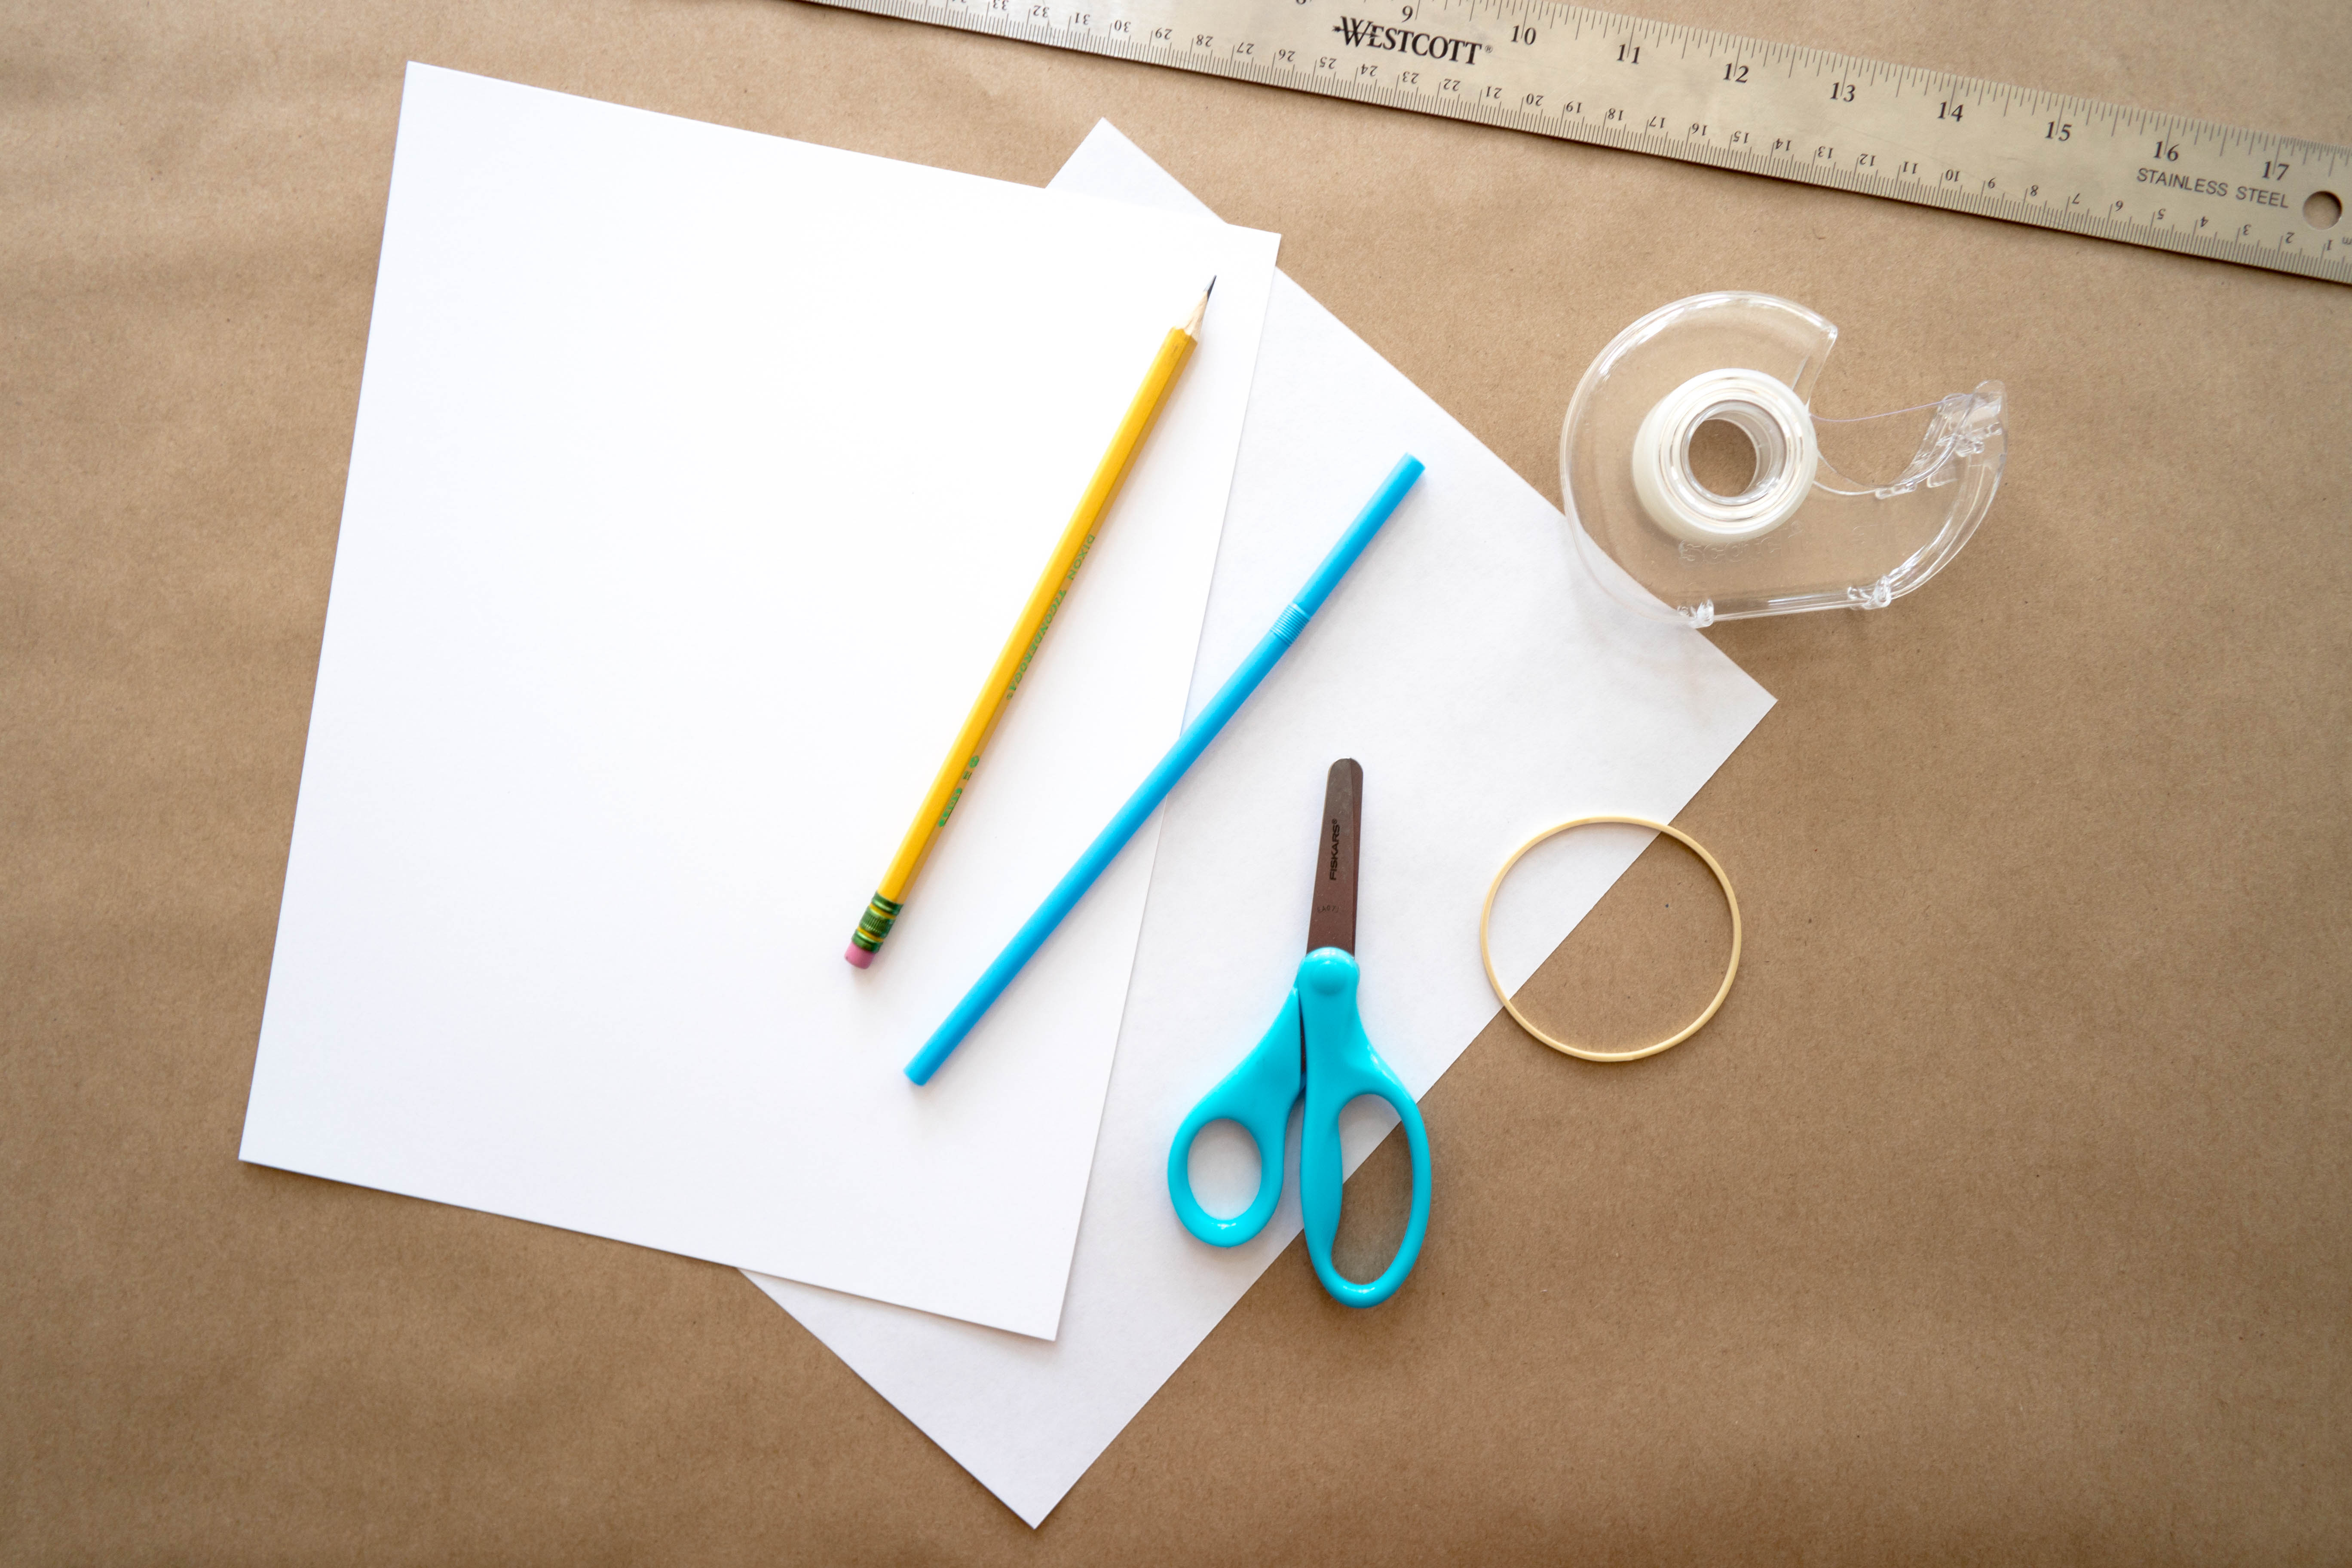
Step 1
Gather your materials.

Step 2
Draw or print an image (or a few!) on a piece of cardstock. This is what will “skitter” down your rubber band. Tip: We used a mouse and a few blocks of cheese, but you can try anything - like a car chase, a bird, or a firefighter!
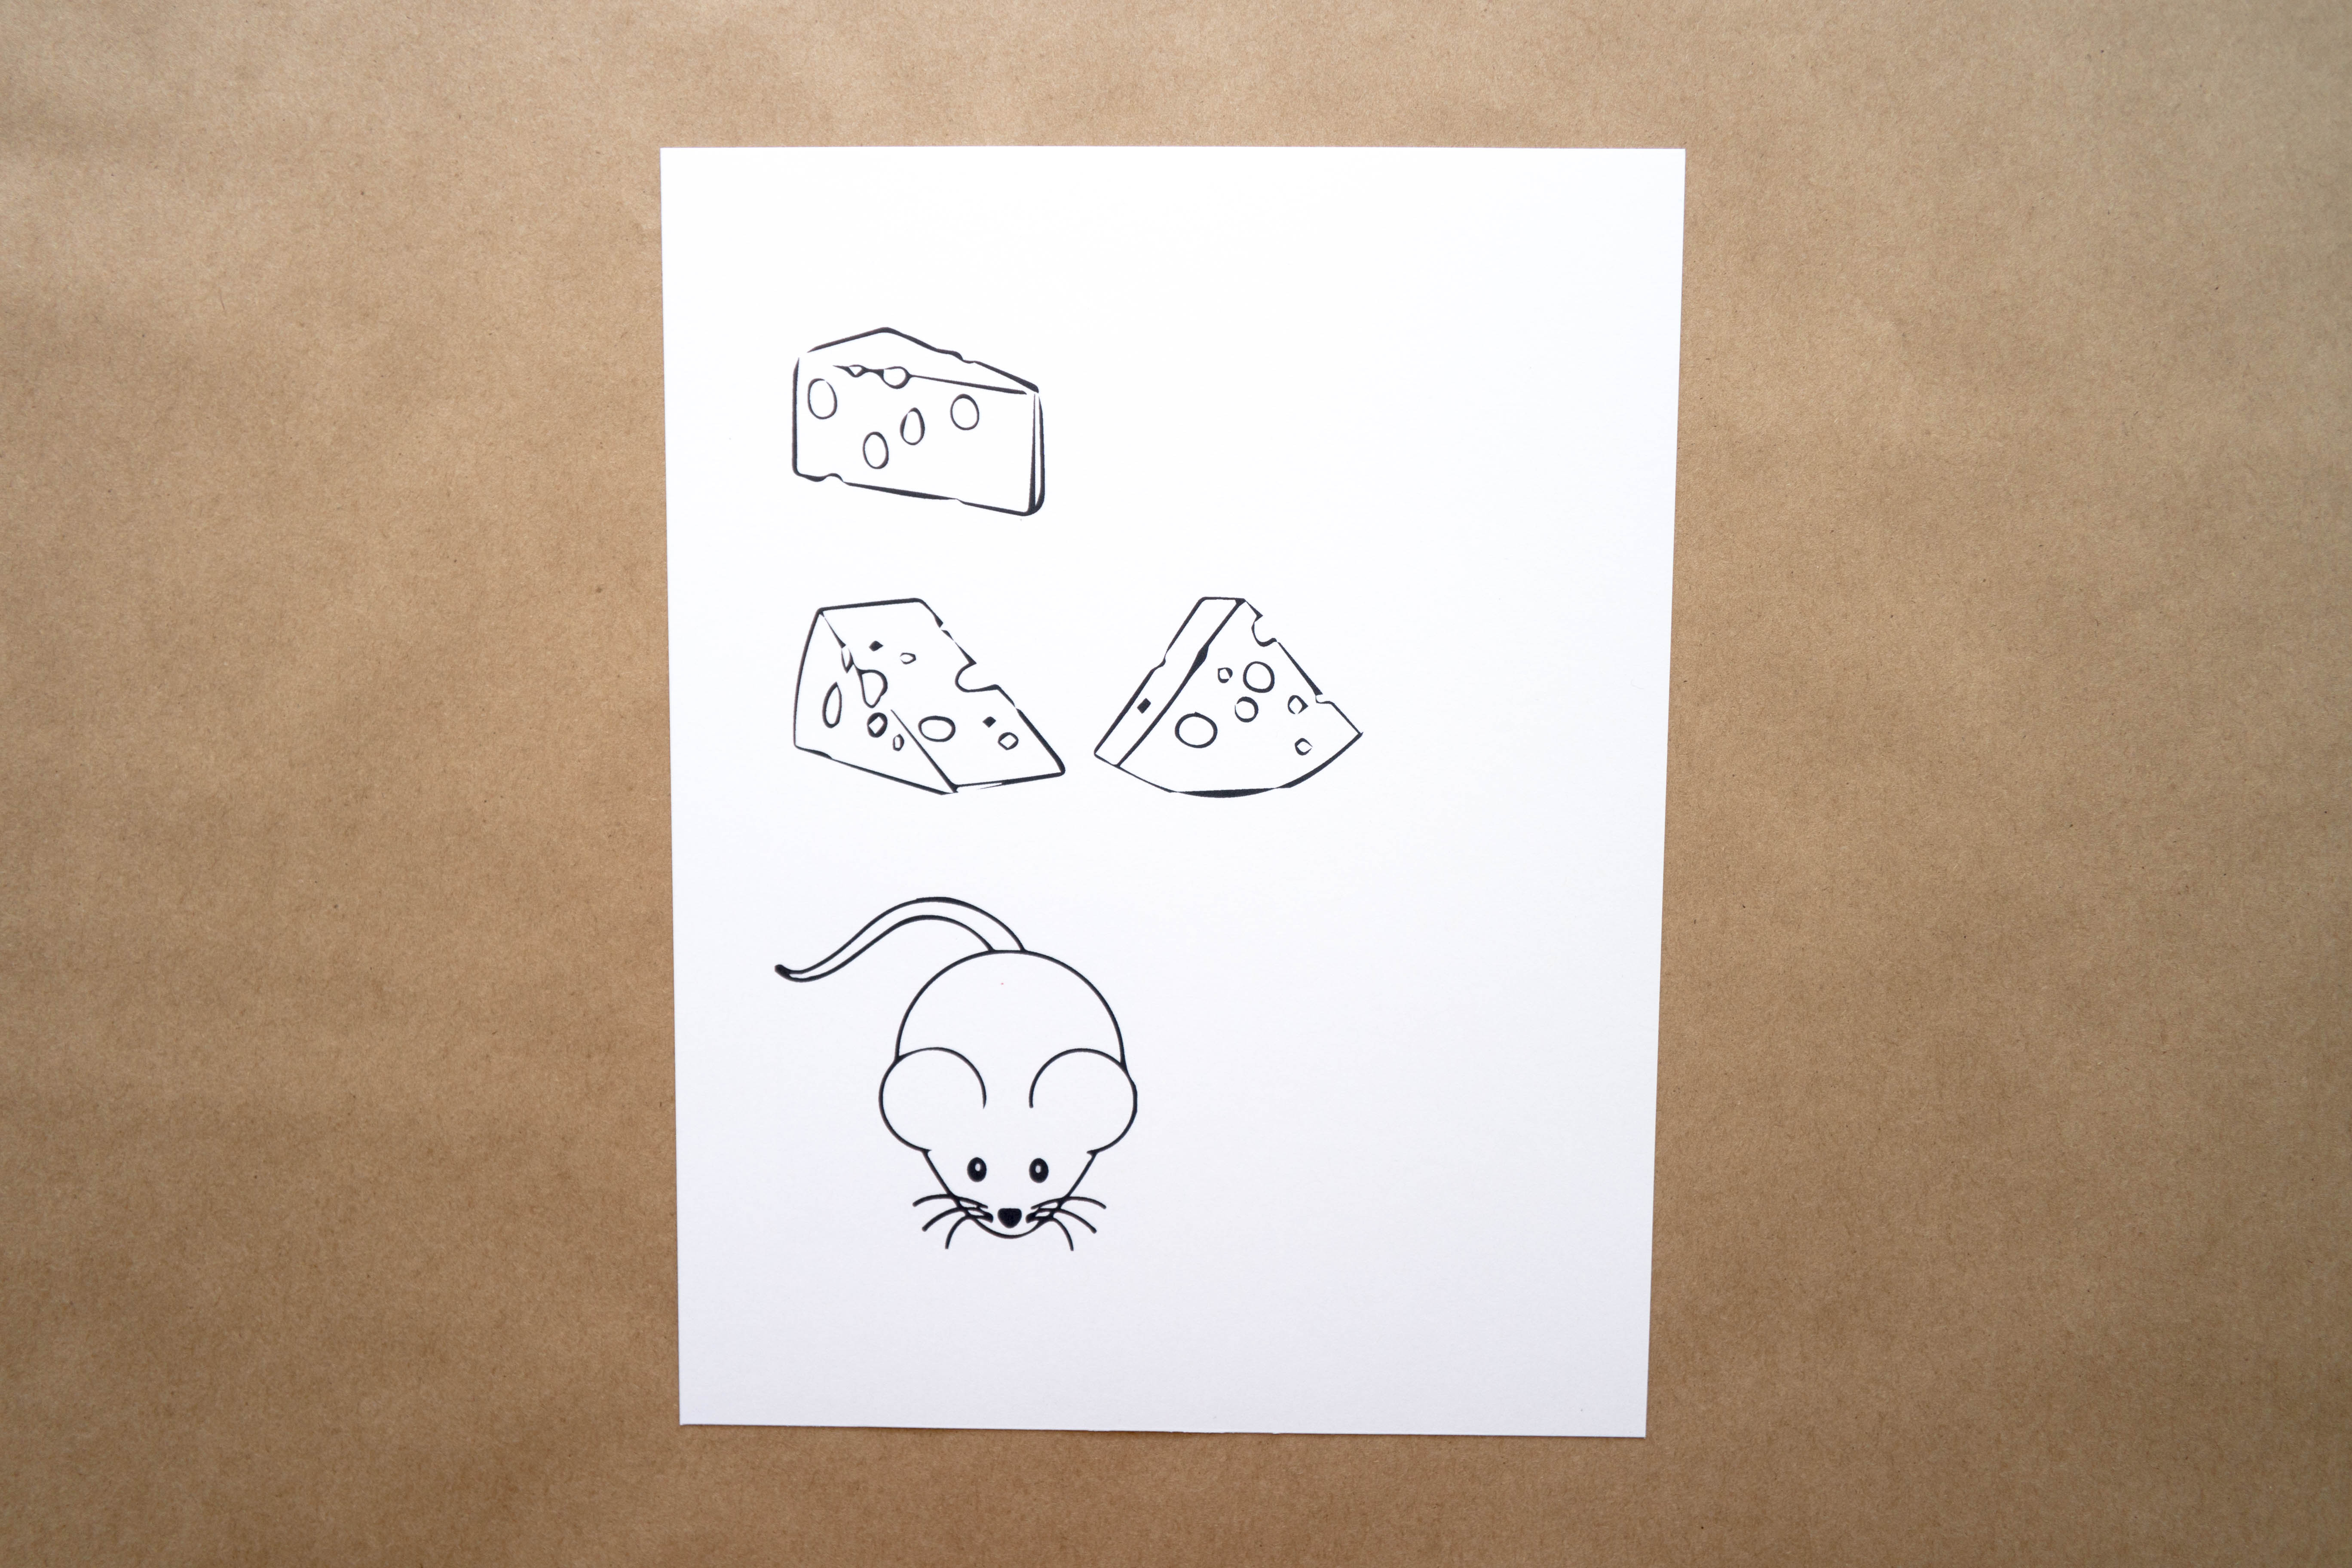
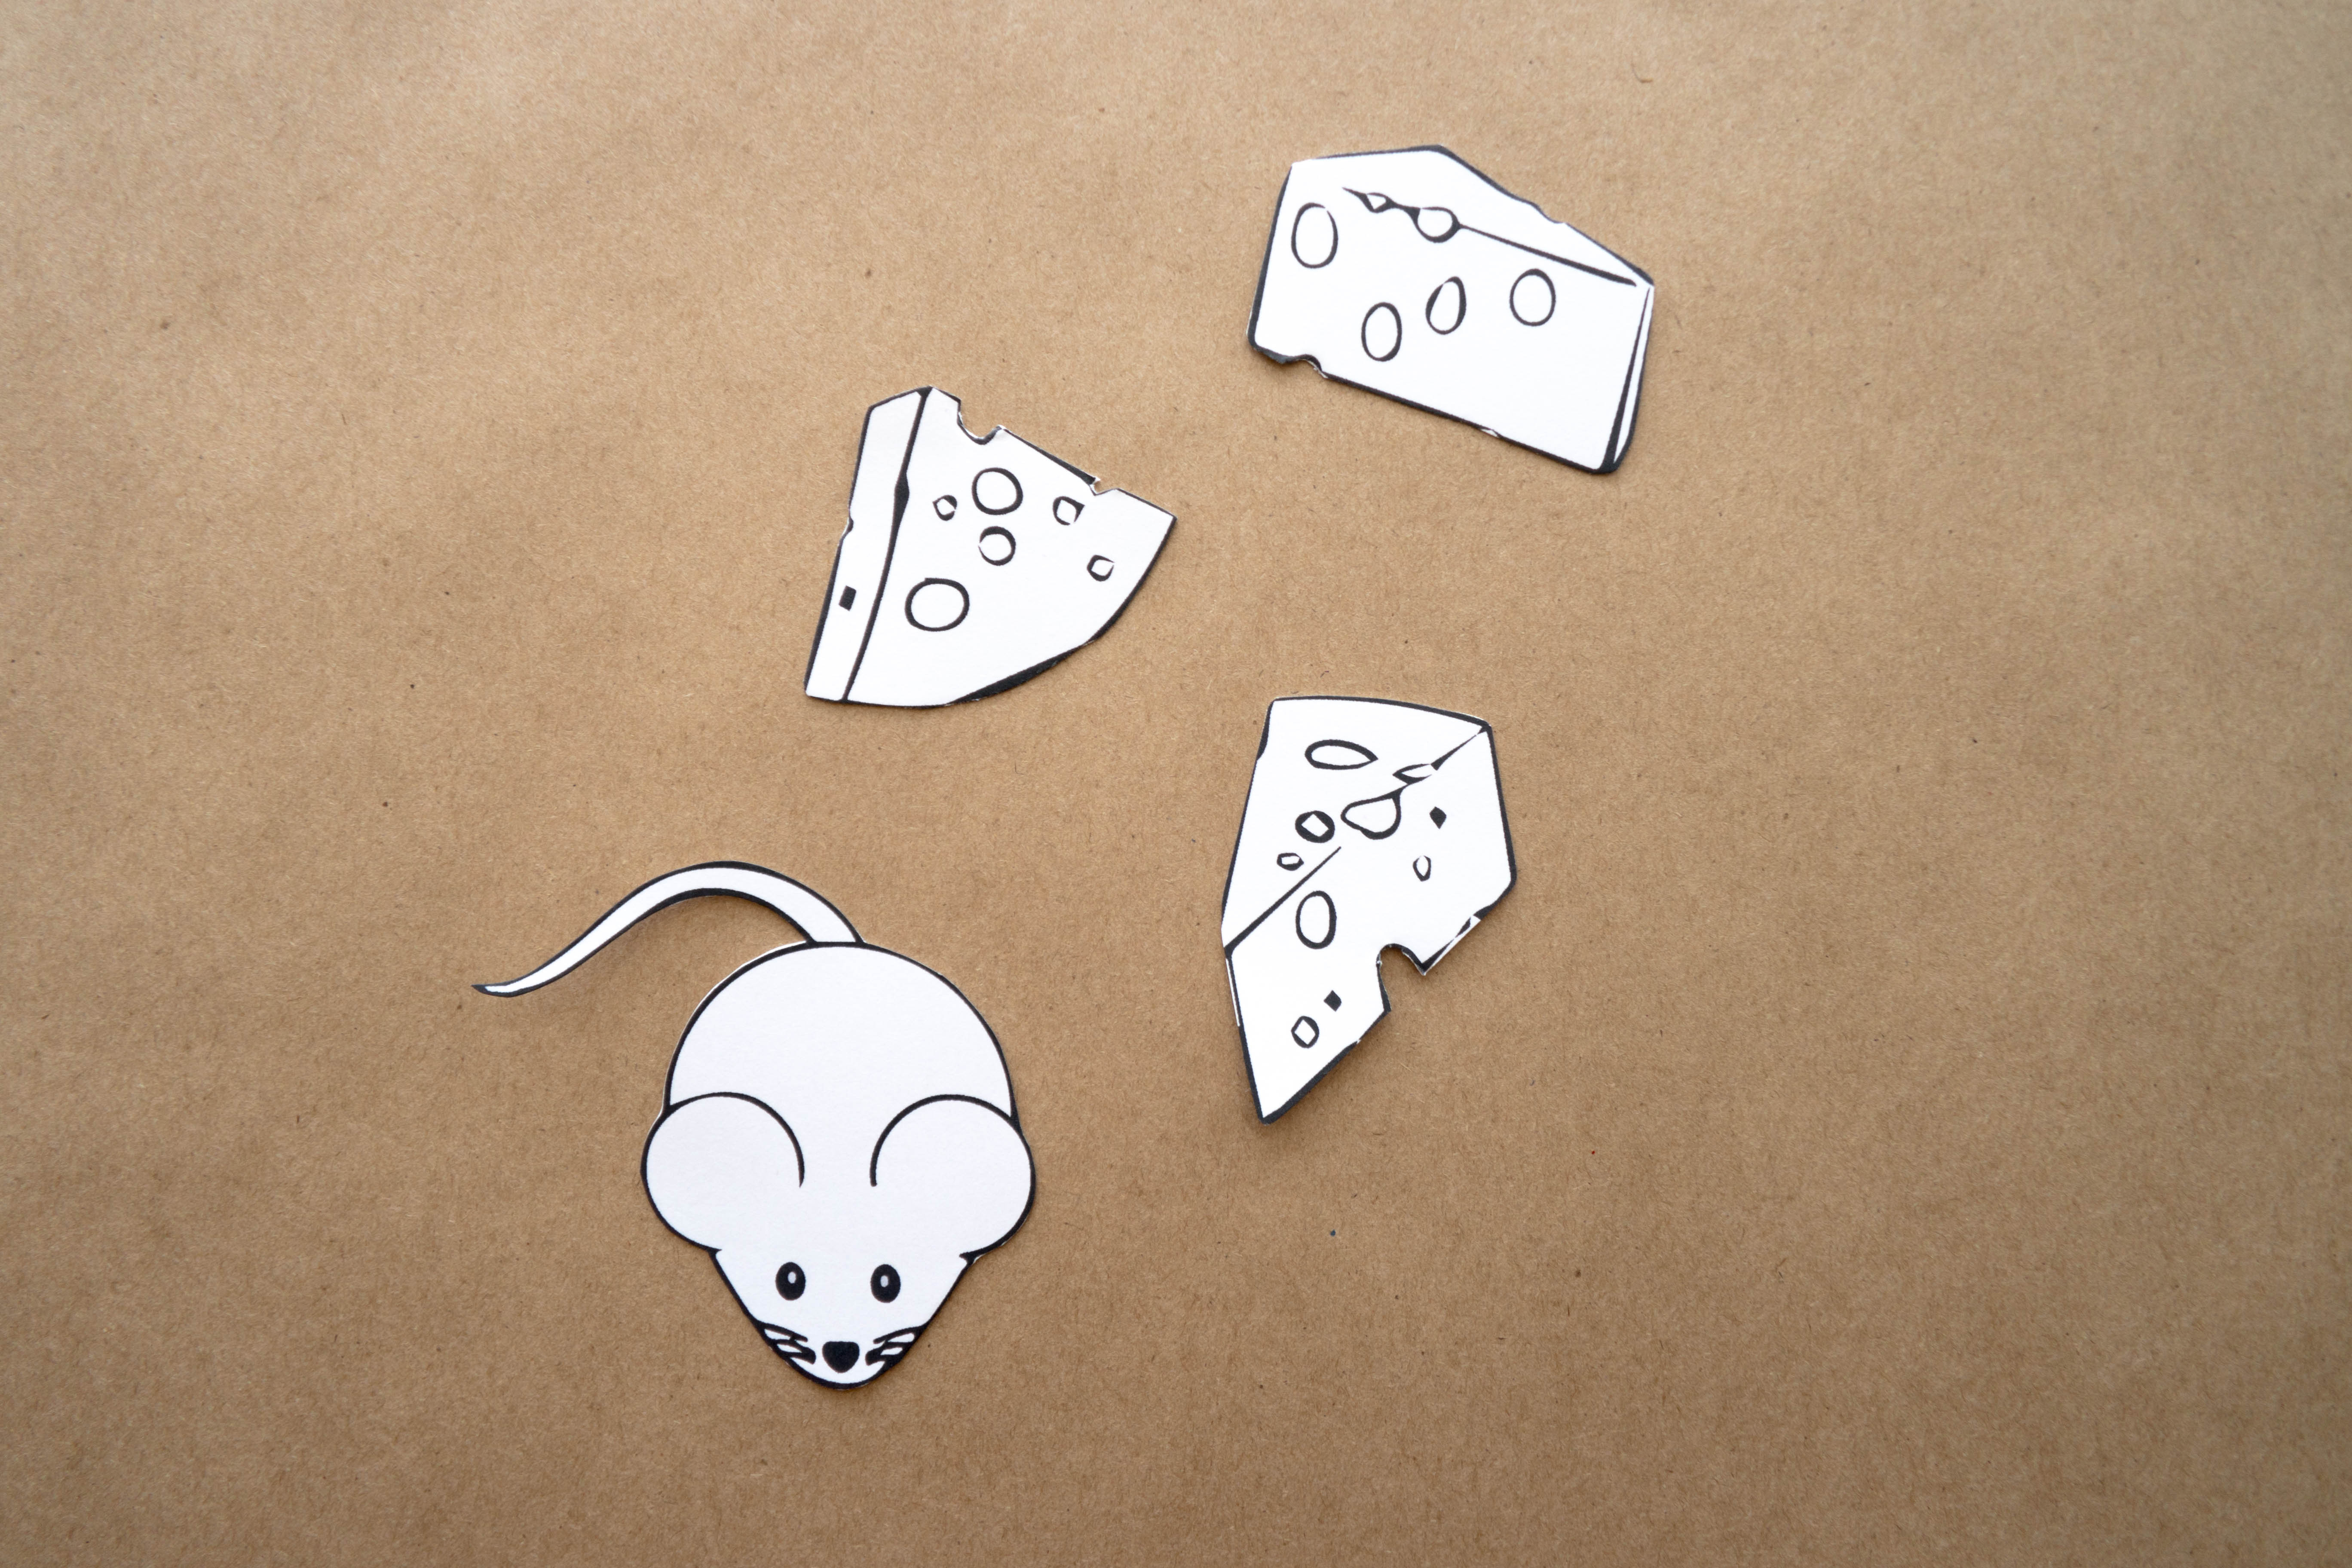
Step 3
Cut out the images.
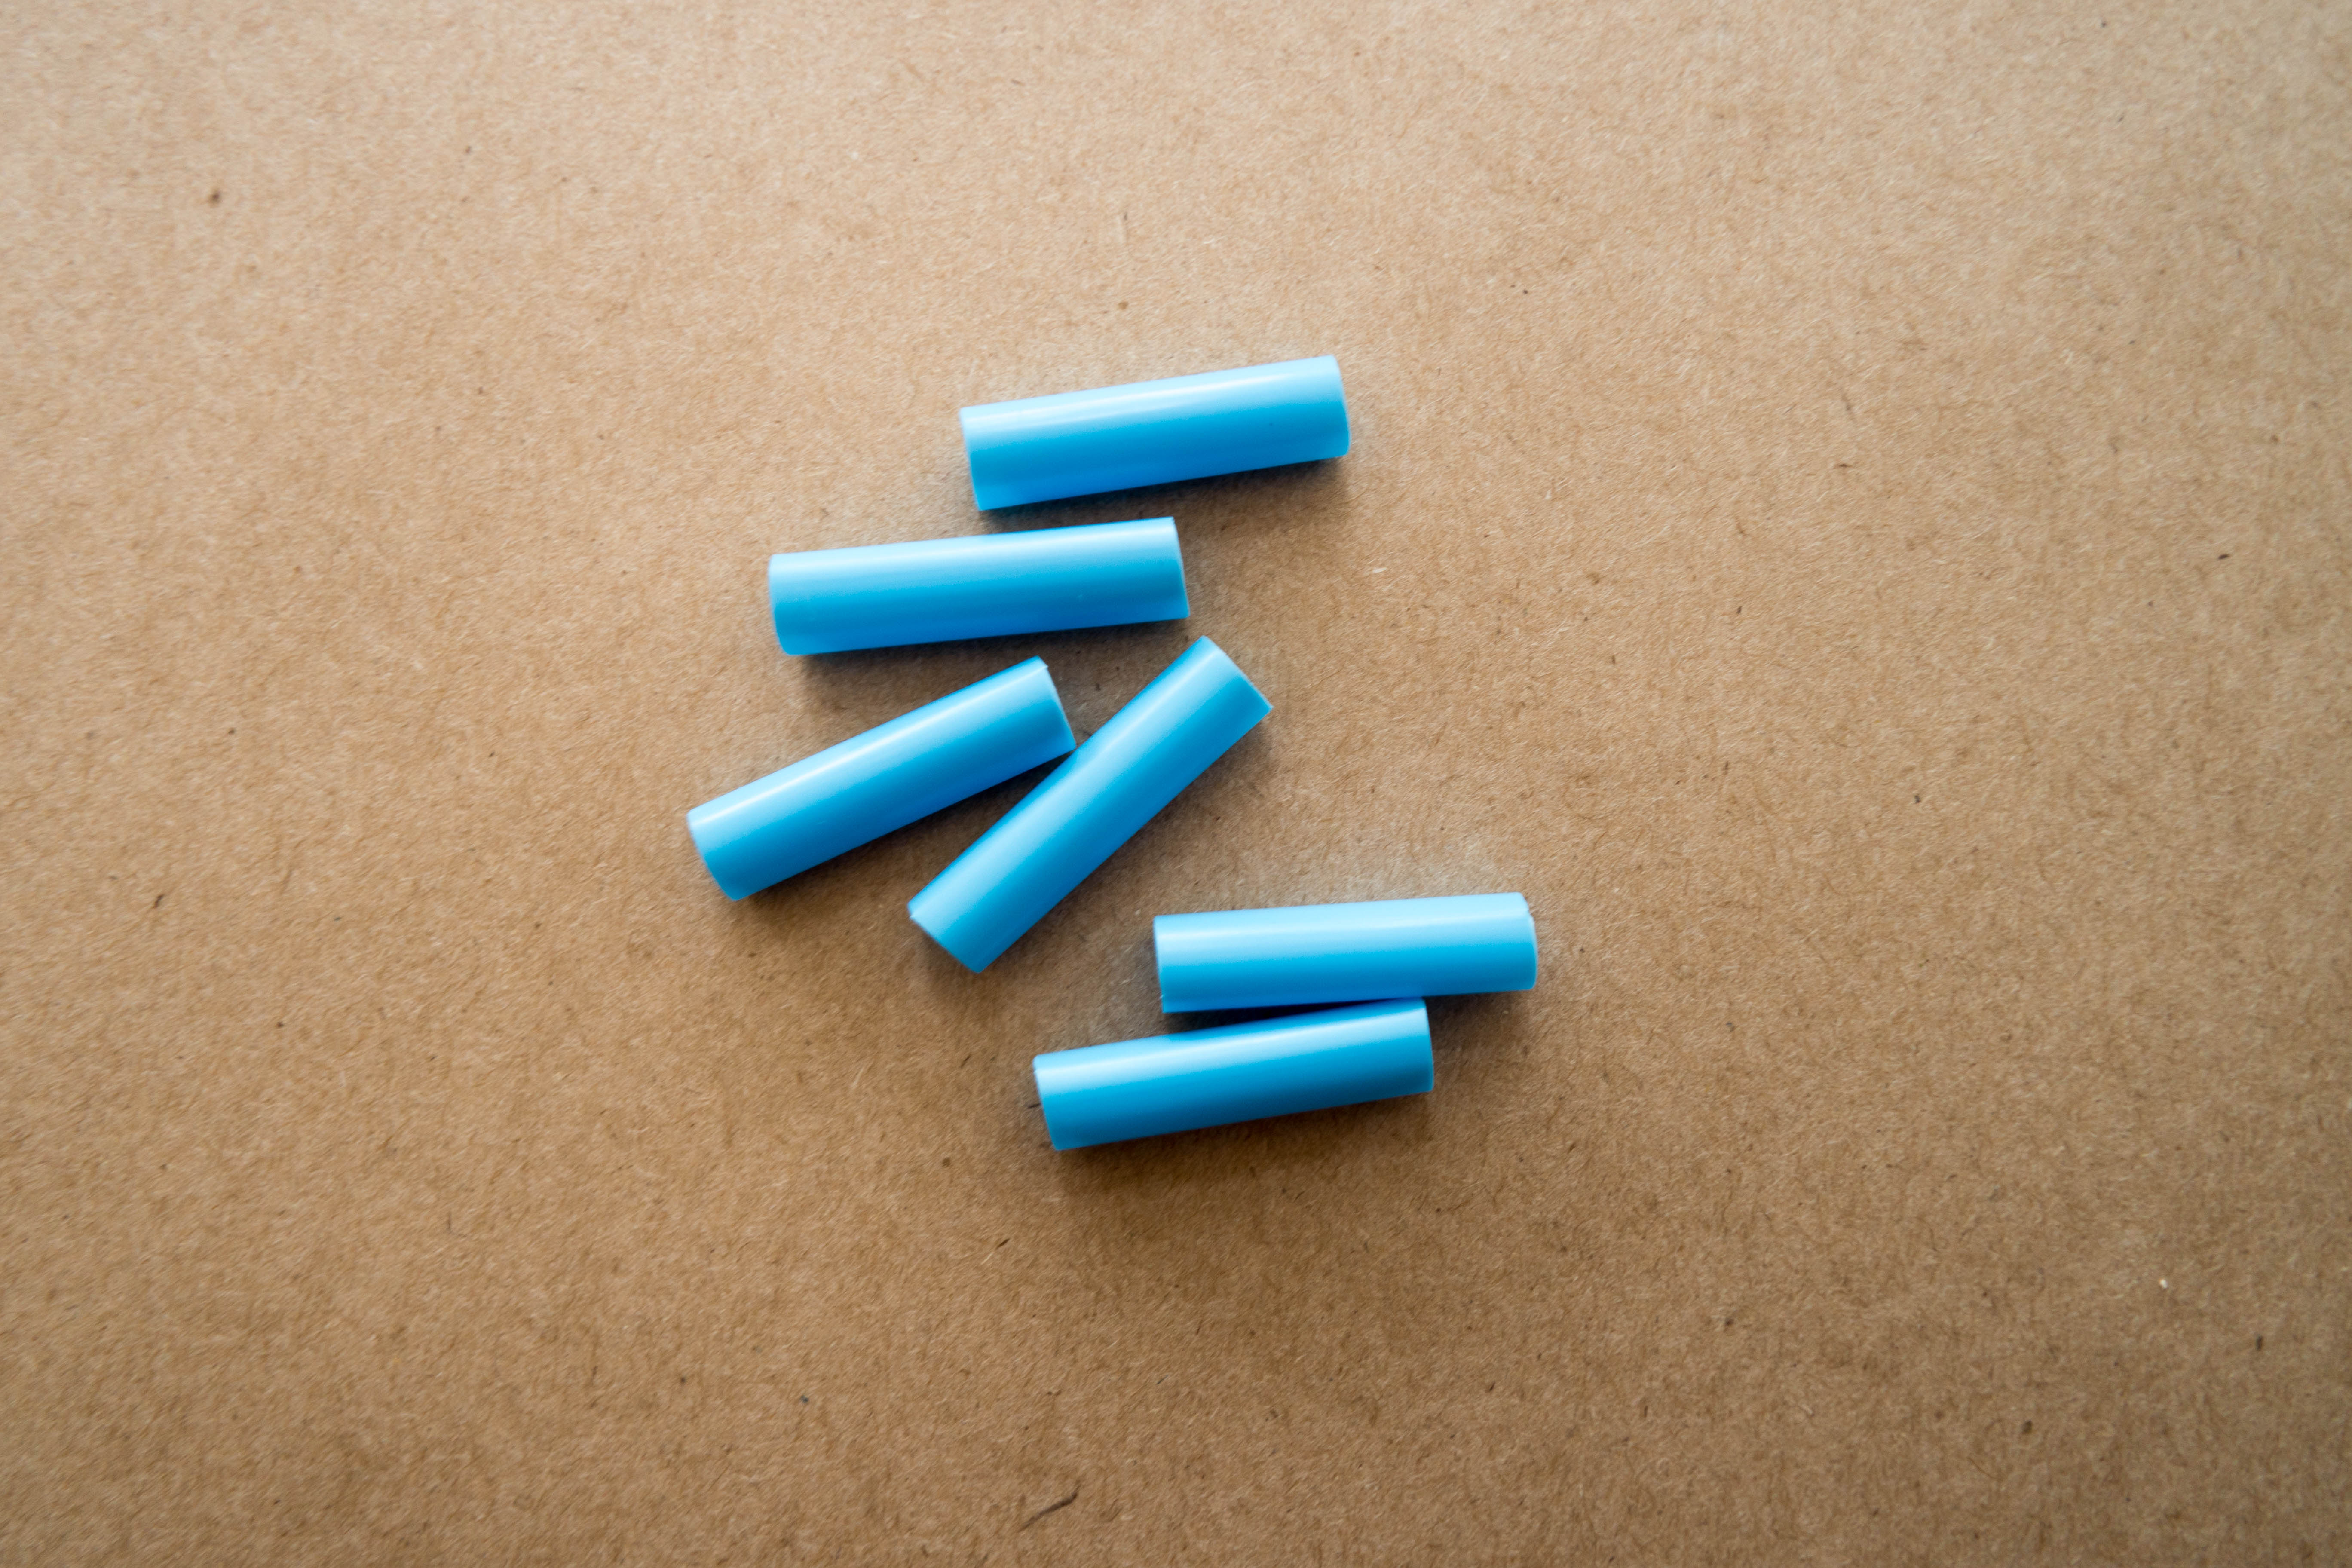
Step 4
Cut the straw into 1” pieces.
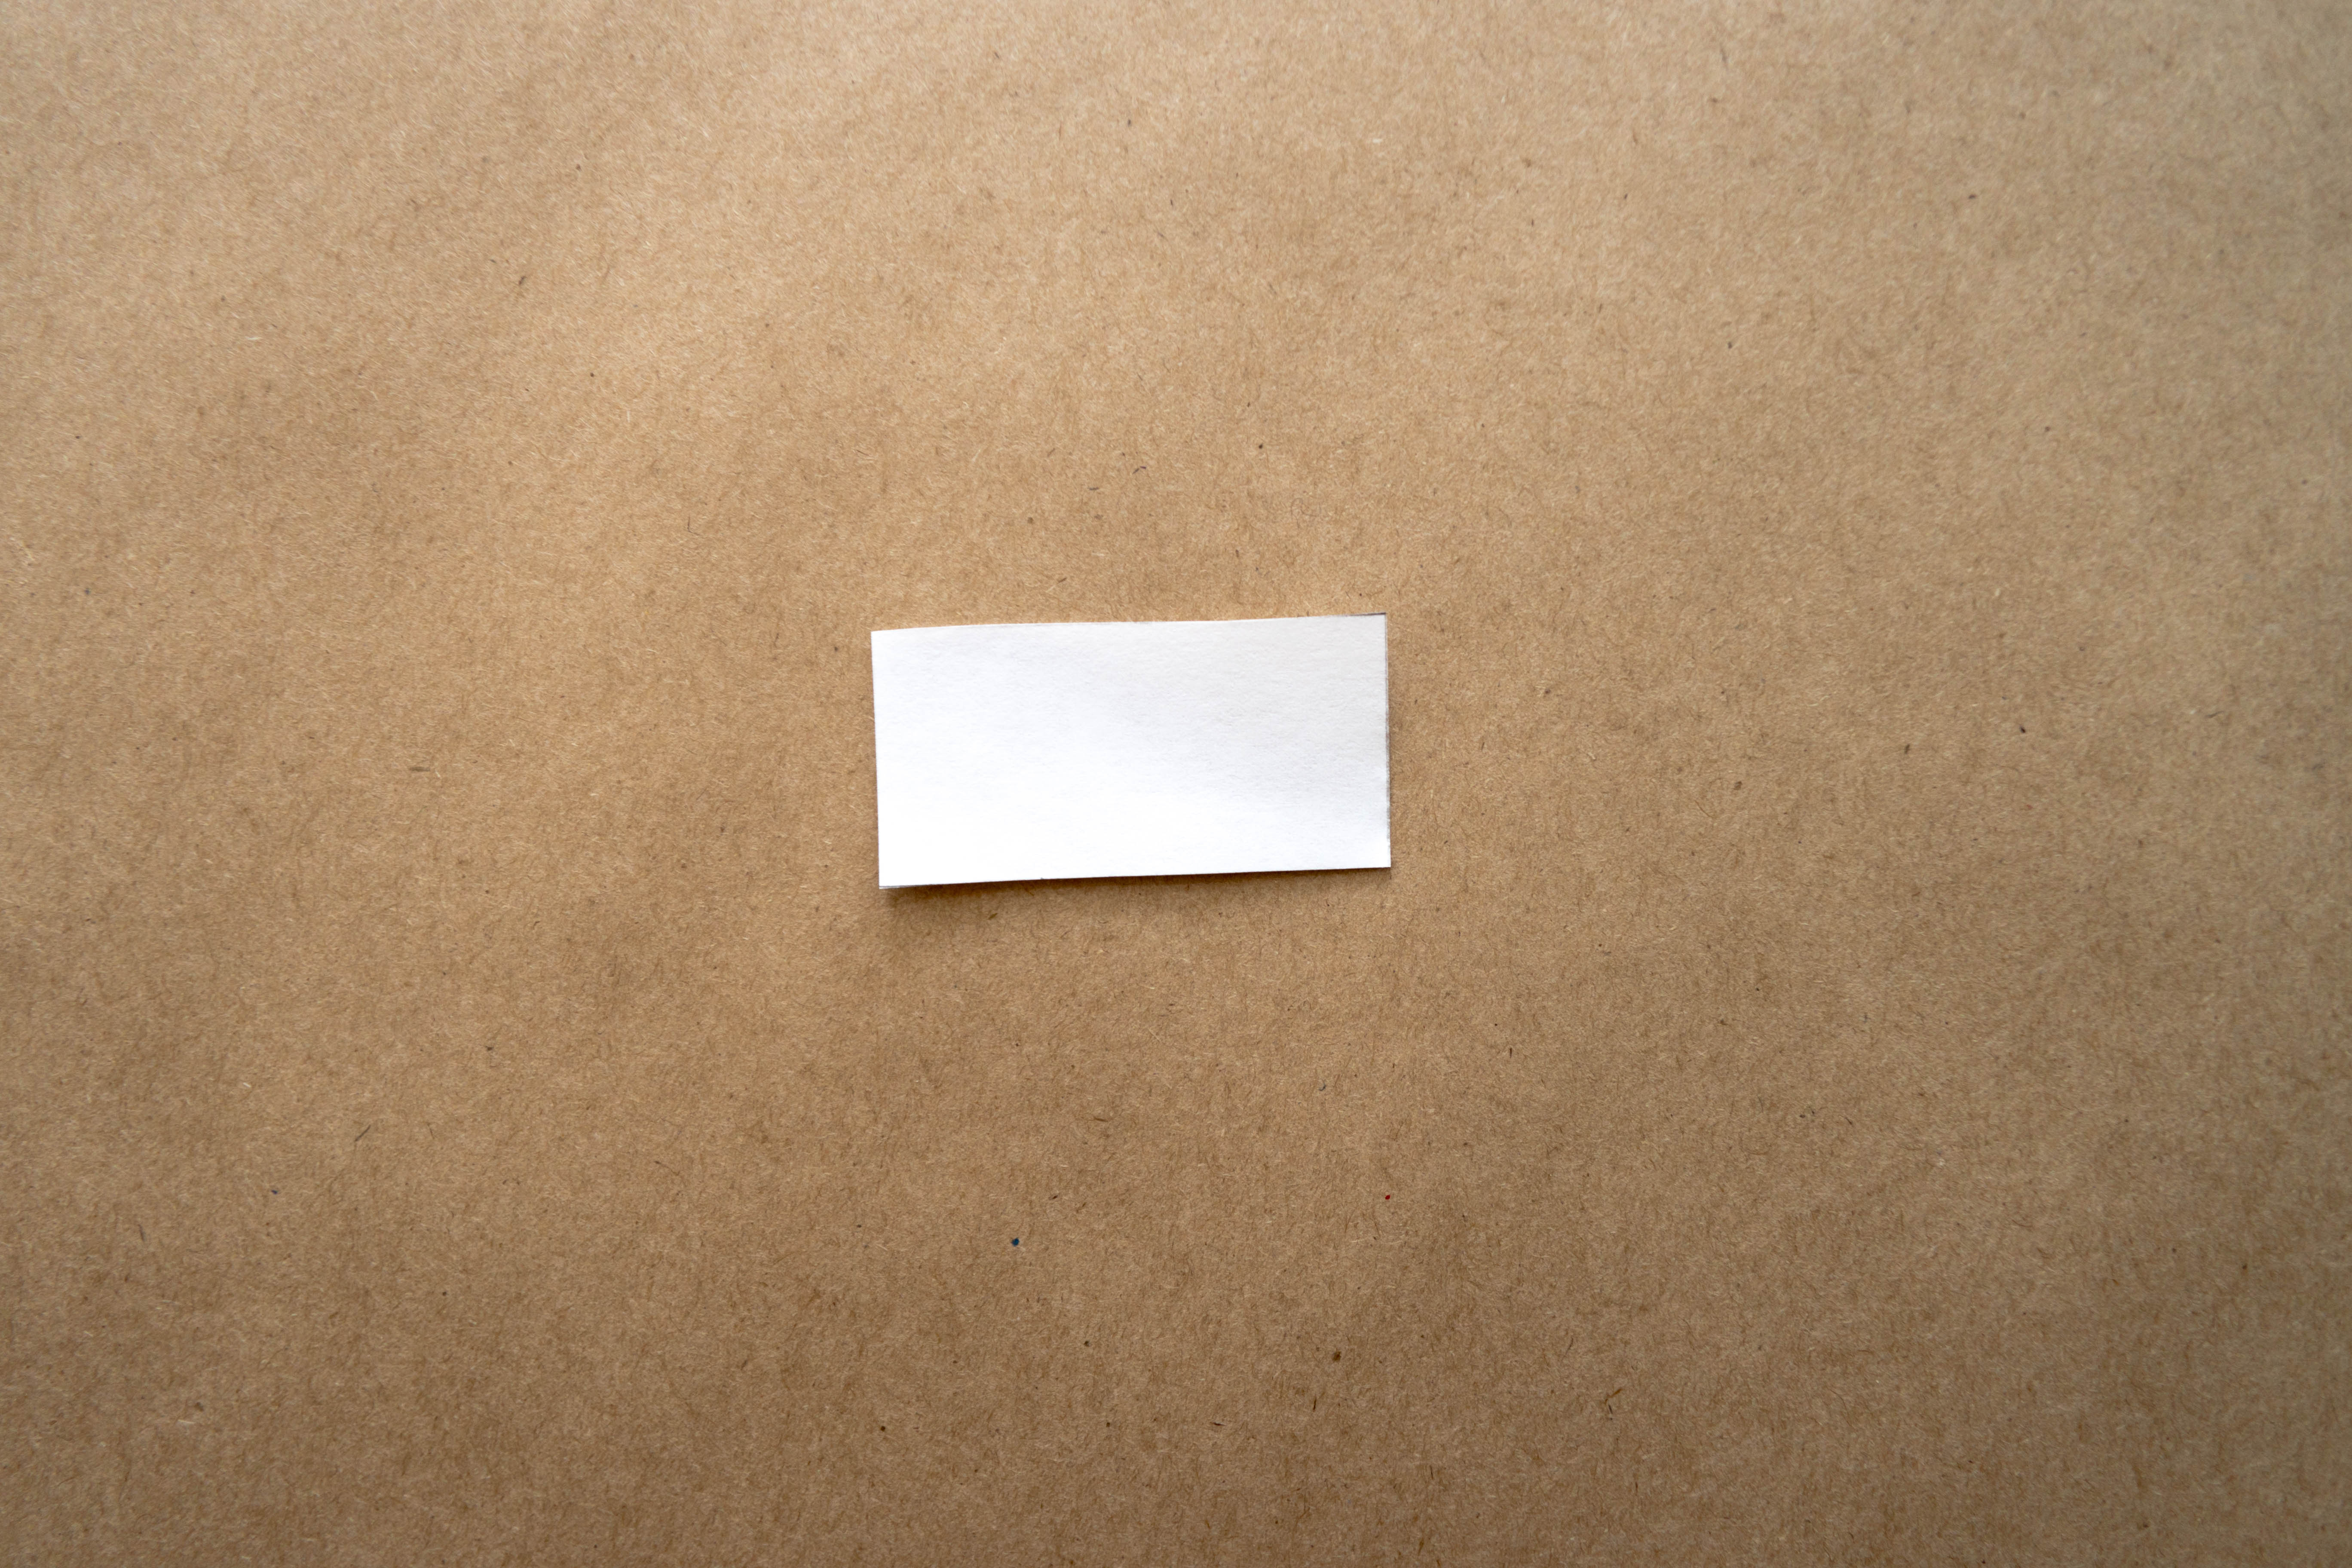
Step 5
Draw a 1” x 2” rectangle on a piece of paper. Then, cut it out.
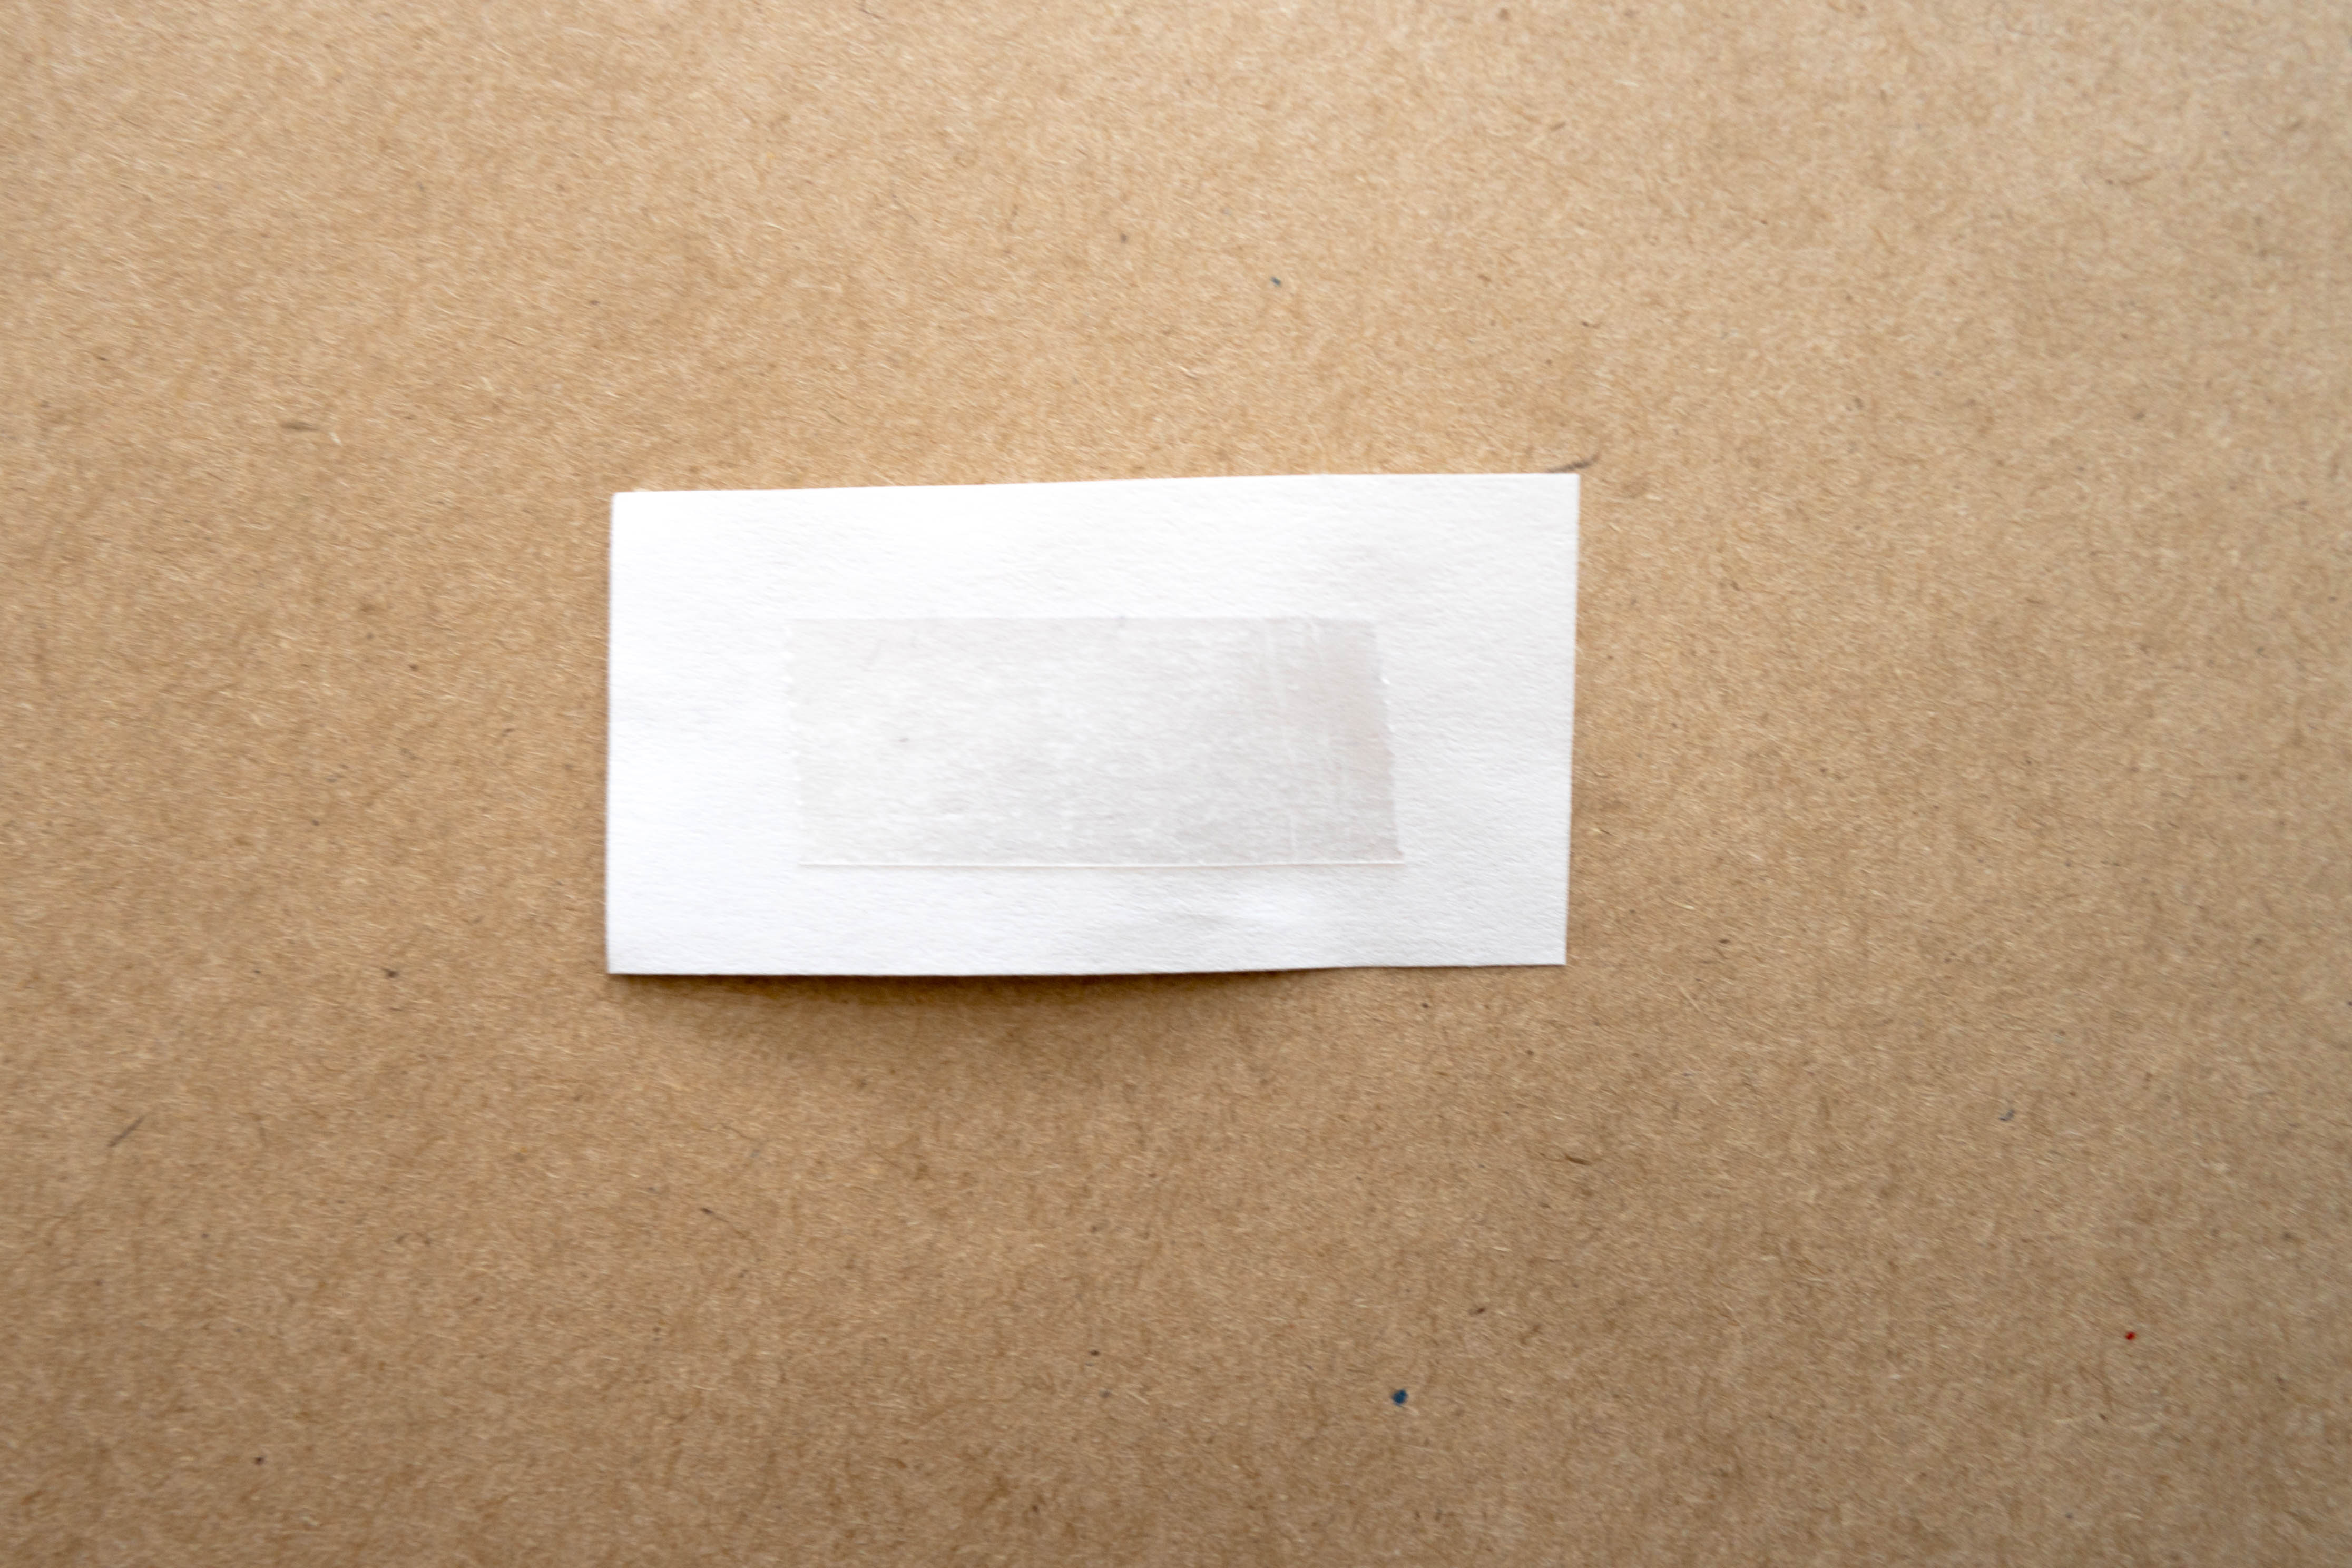
Step 6
Stick a piece of double-sided tape to the rectangular piece of paper.
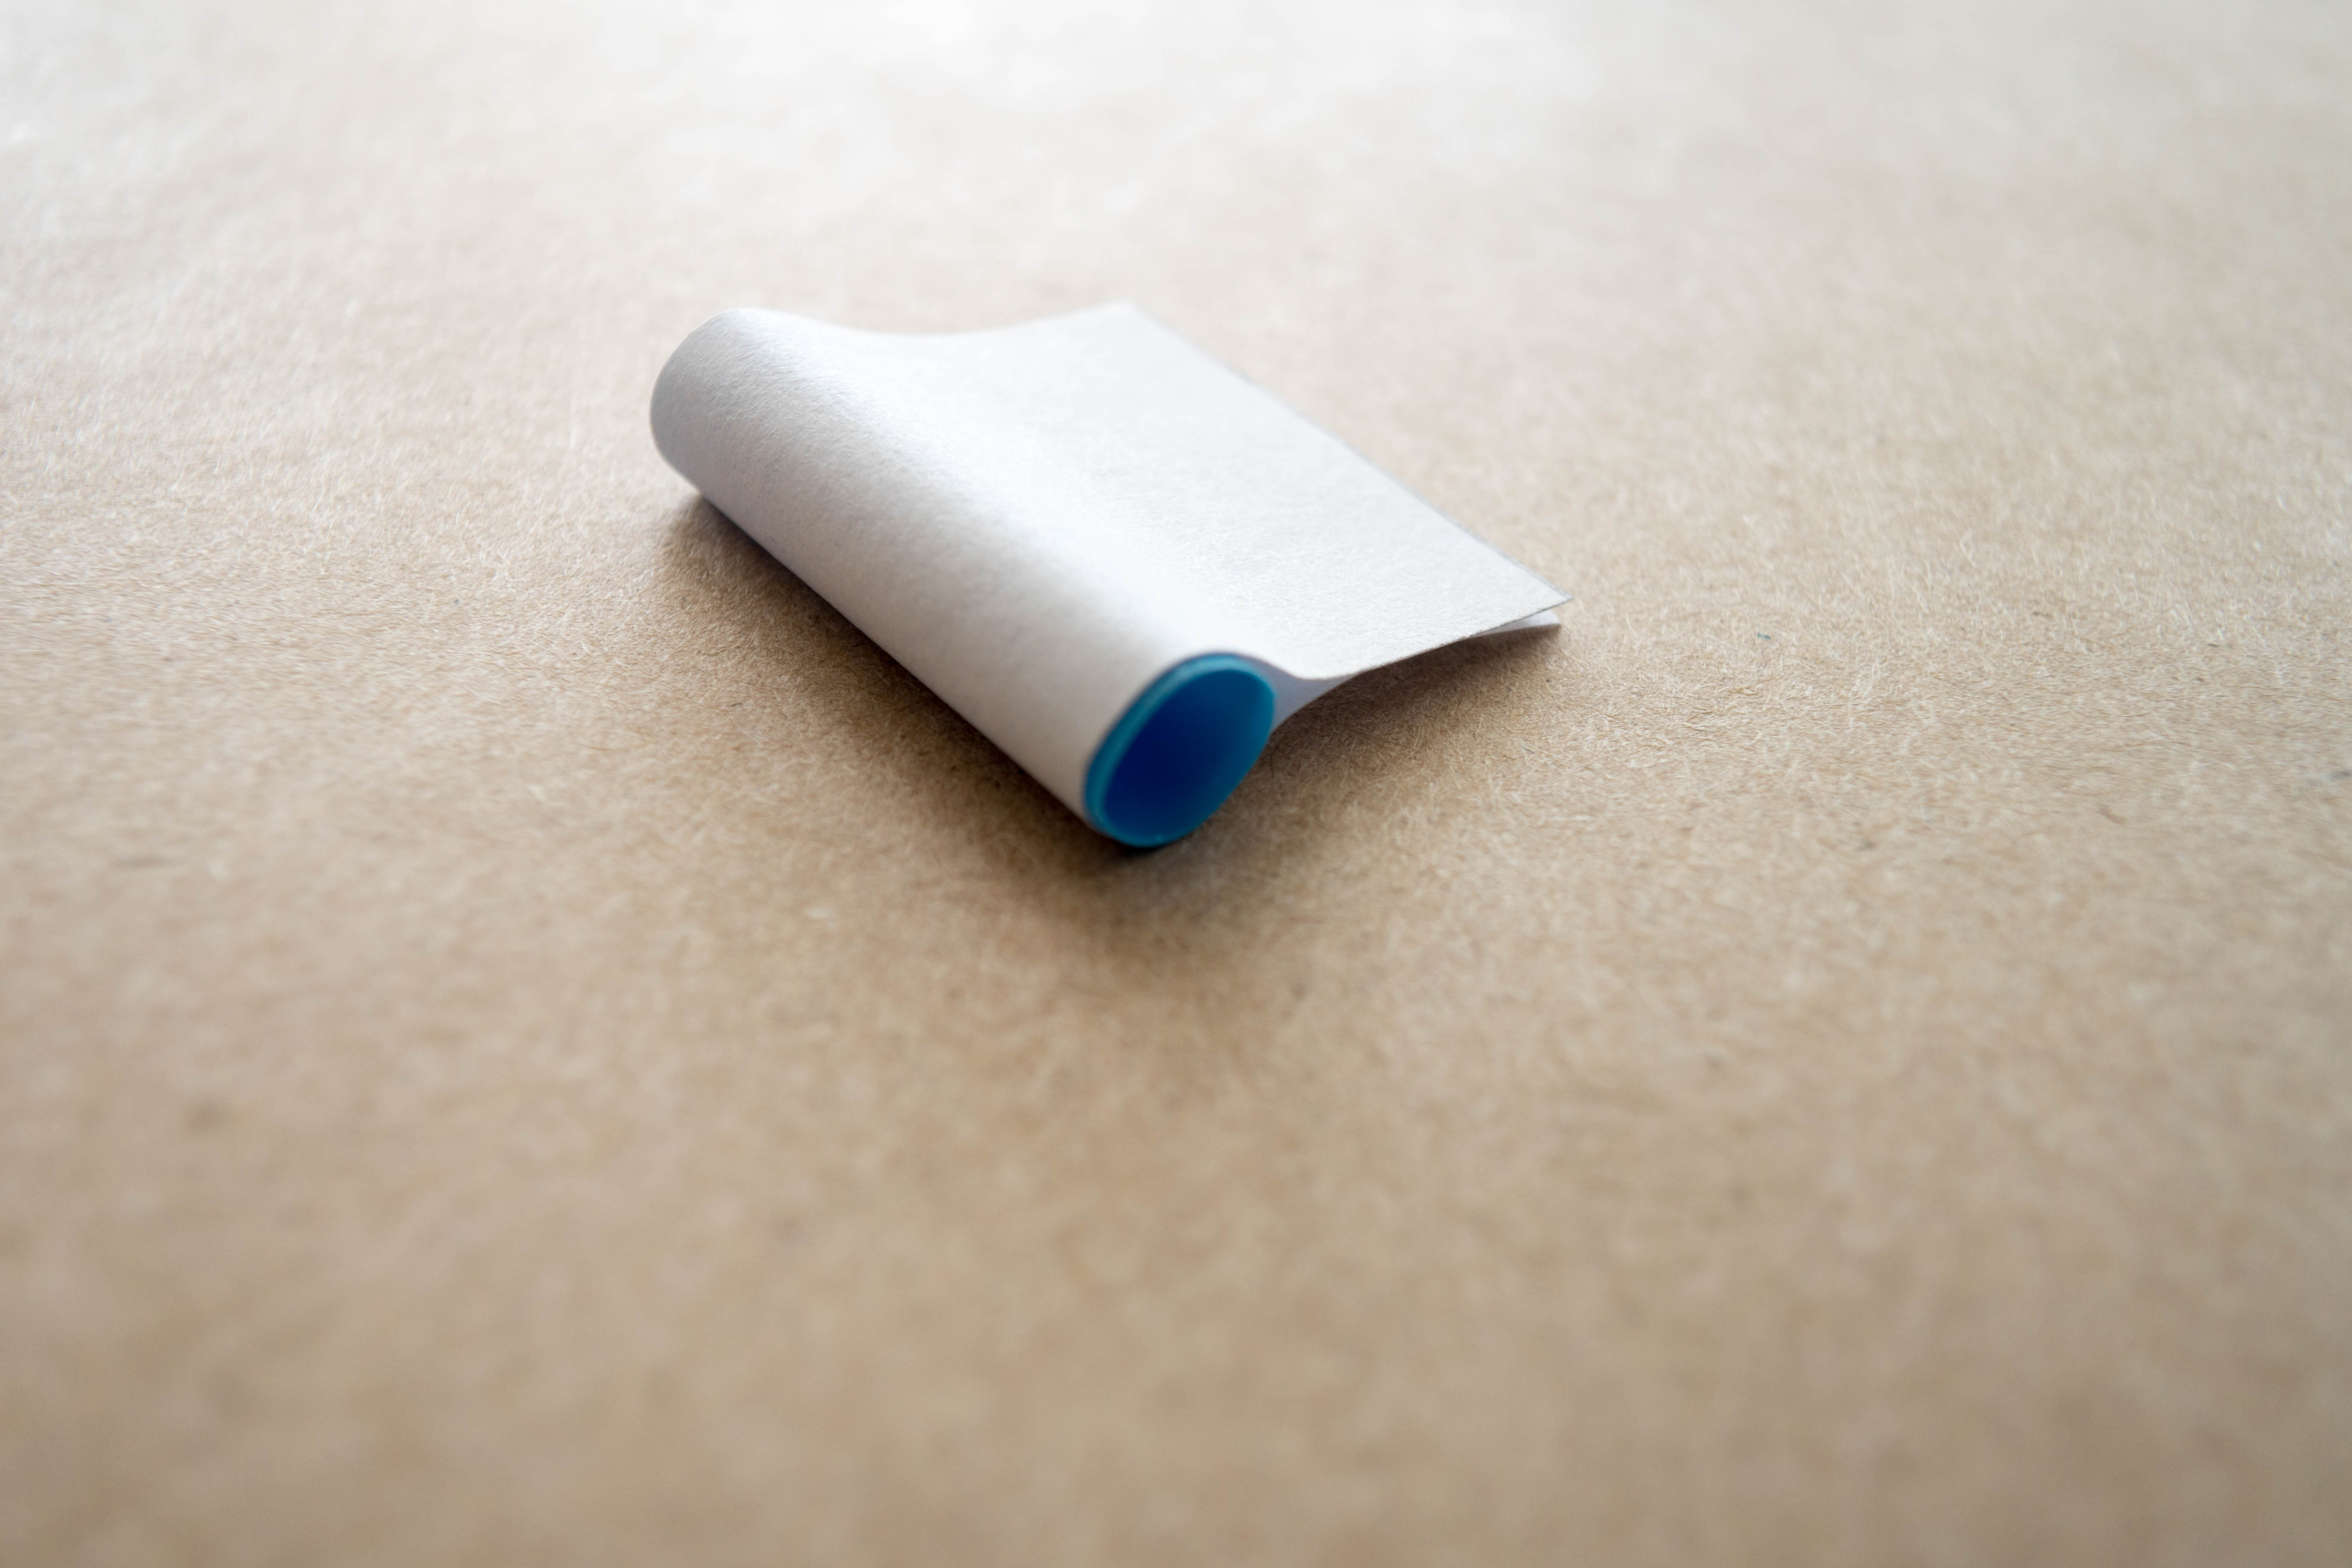
Step 7
Stick the straw onto the double-sided tape in the middle of the piece of paper. Then, fold the rectangle in half along the straw.
Step 8
Use double-sided tape to attach the paper-wrapped straw underneath the left side of your image.
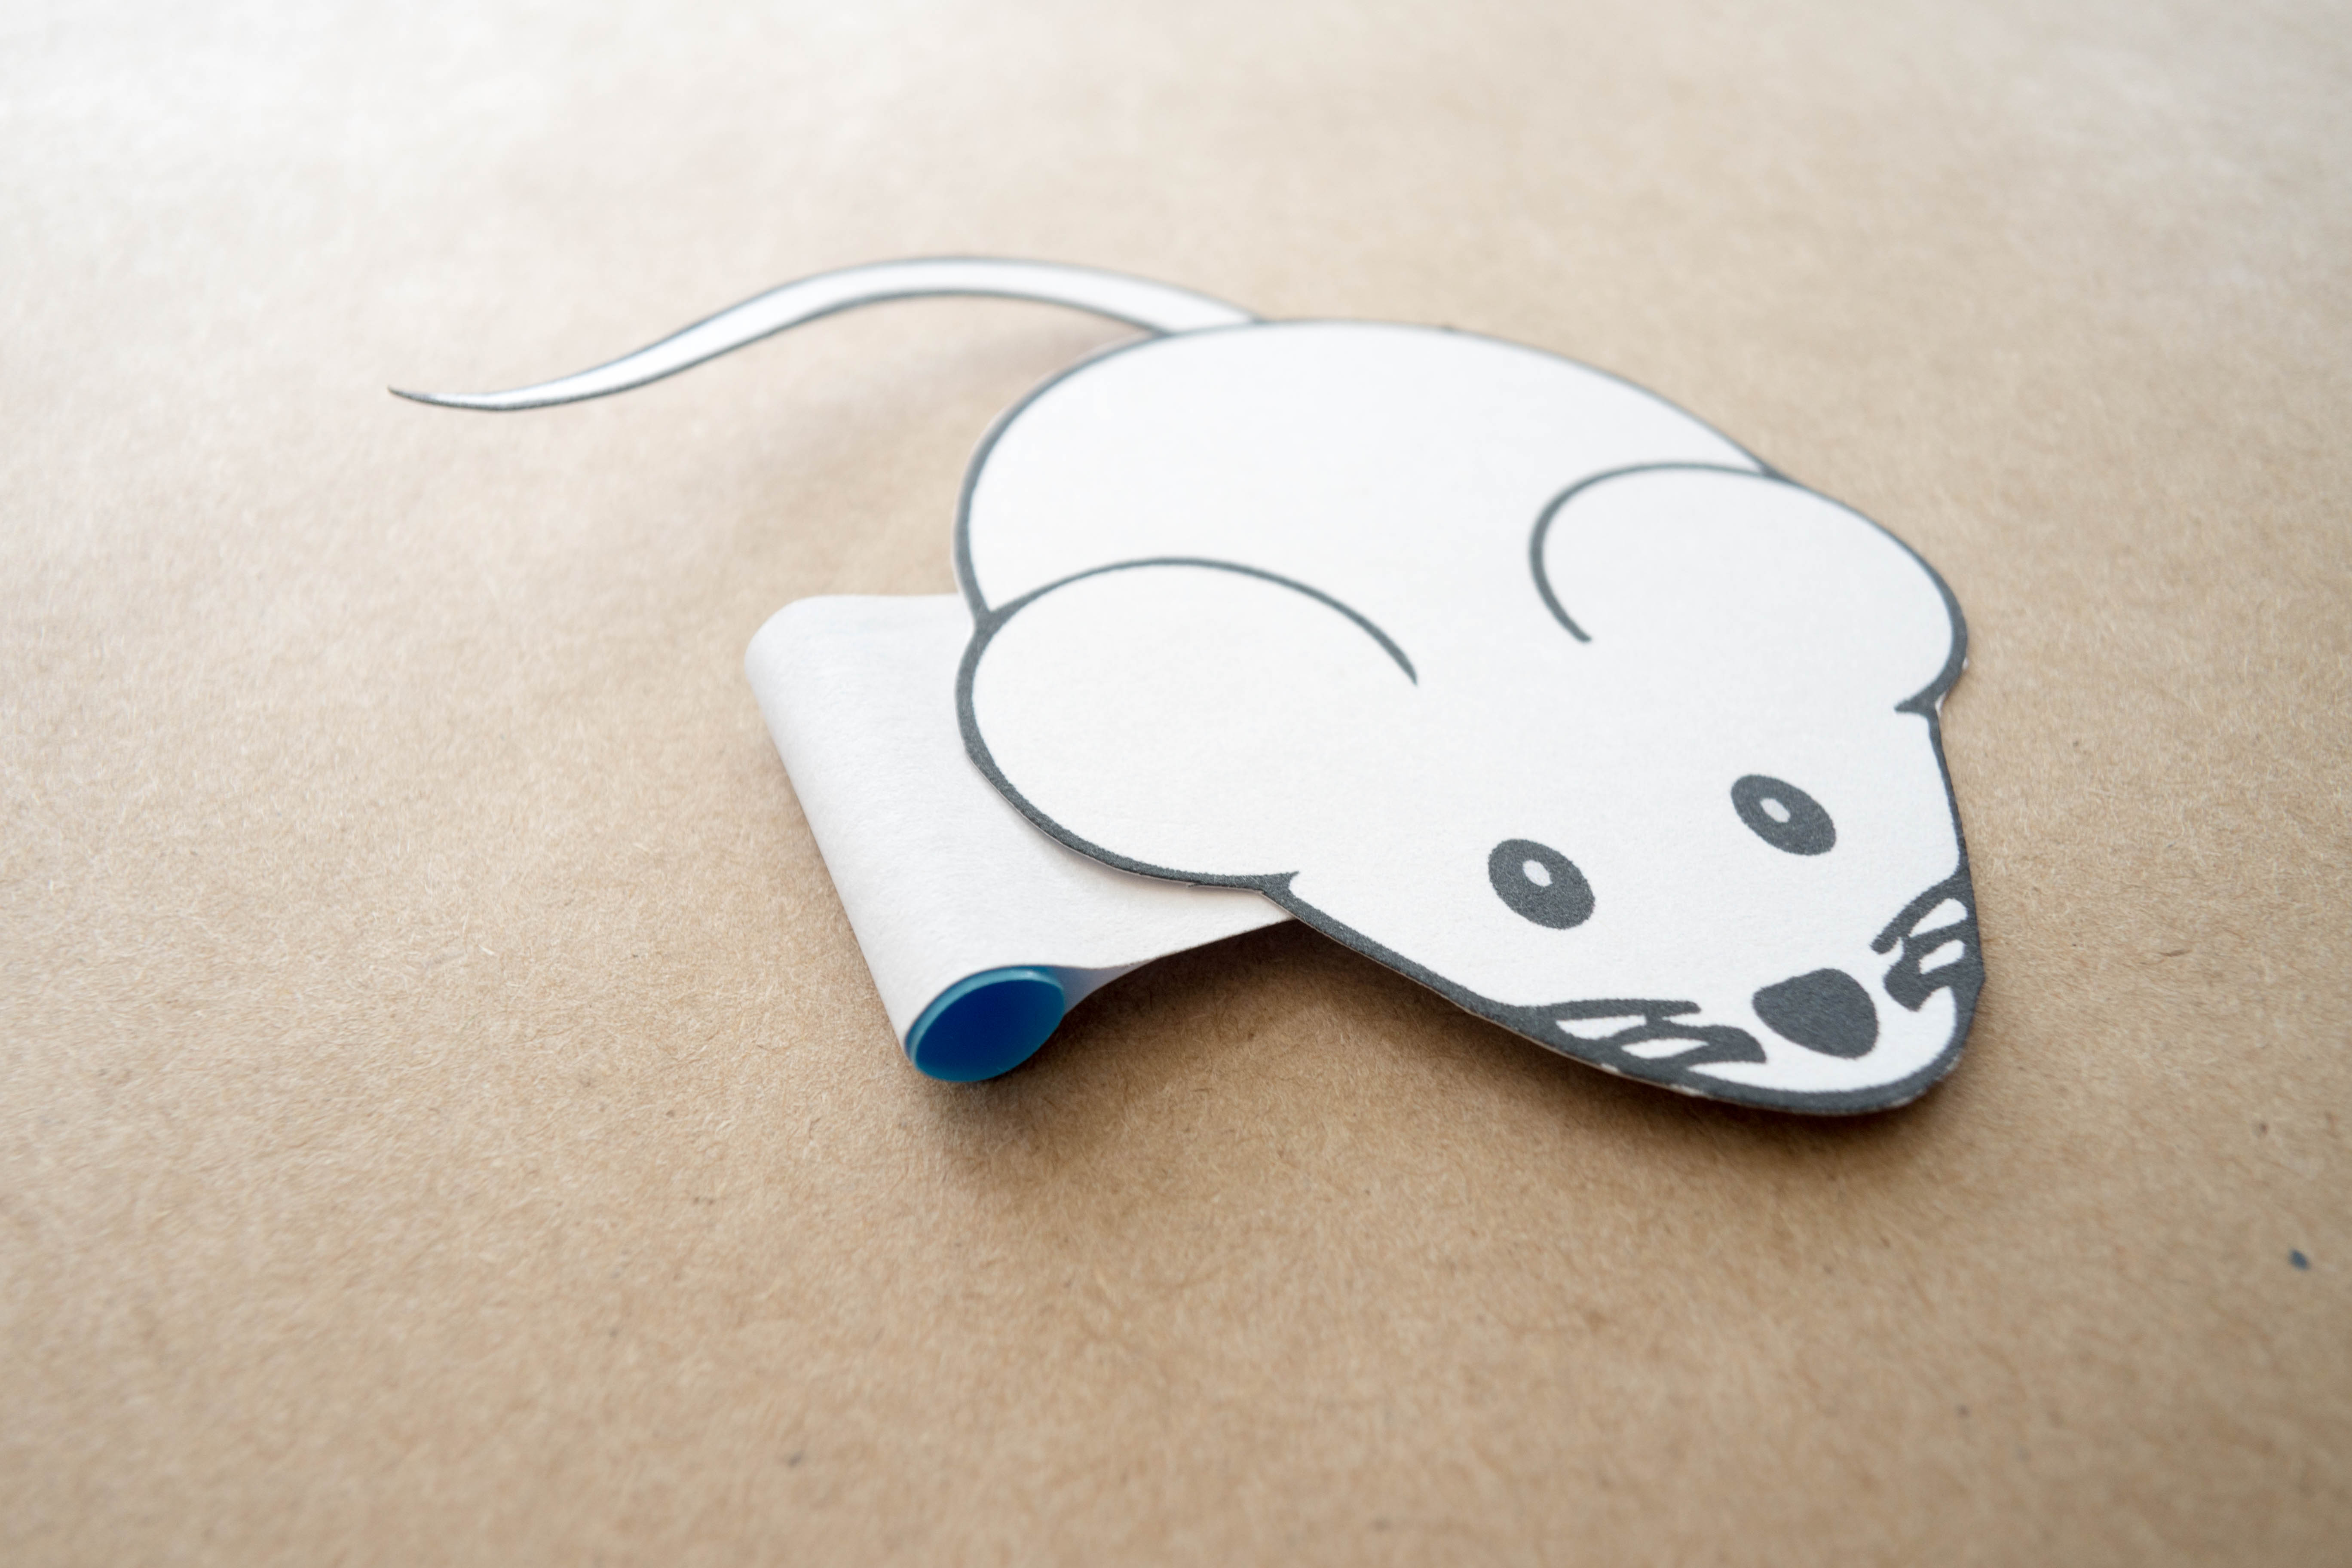
Tip
Make sure the straw is lying parallel to and sticking out from the image.
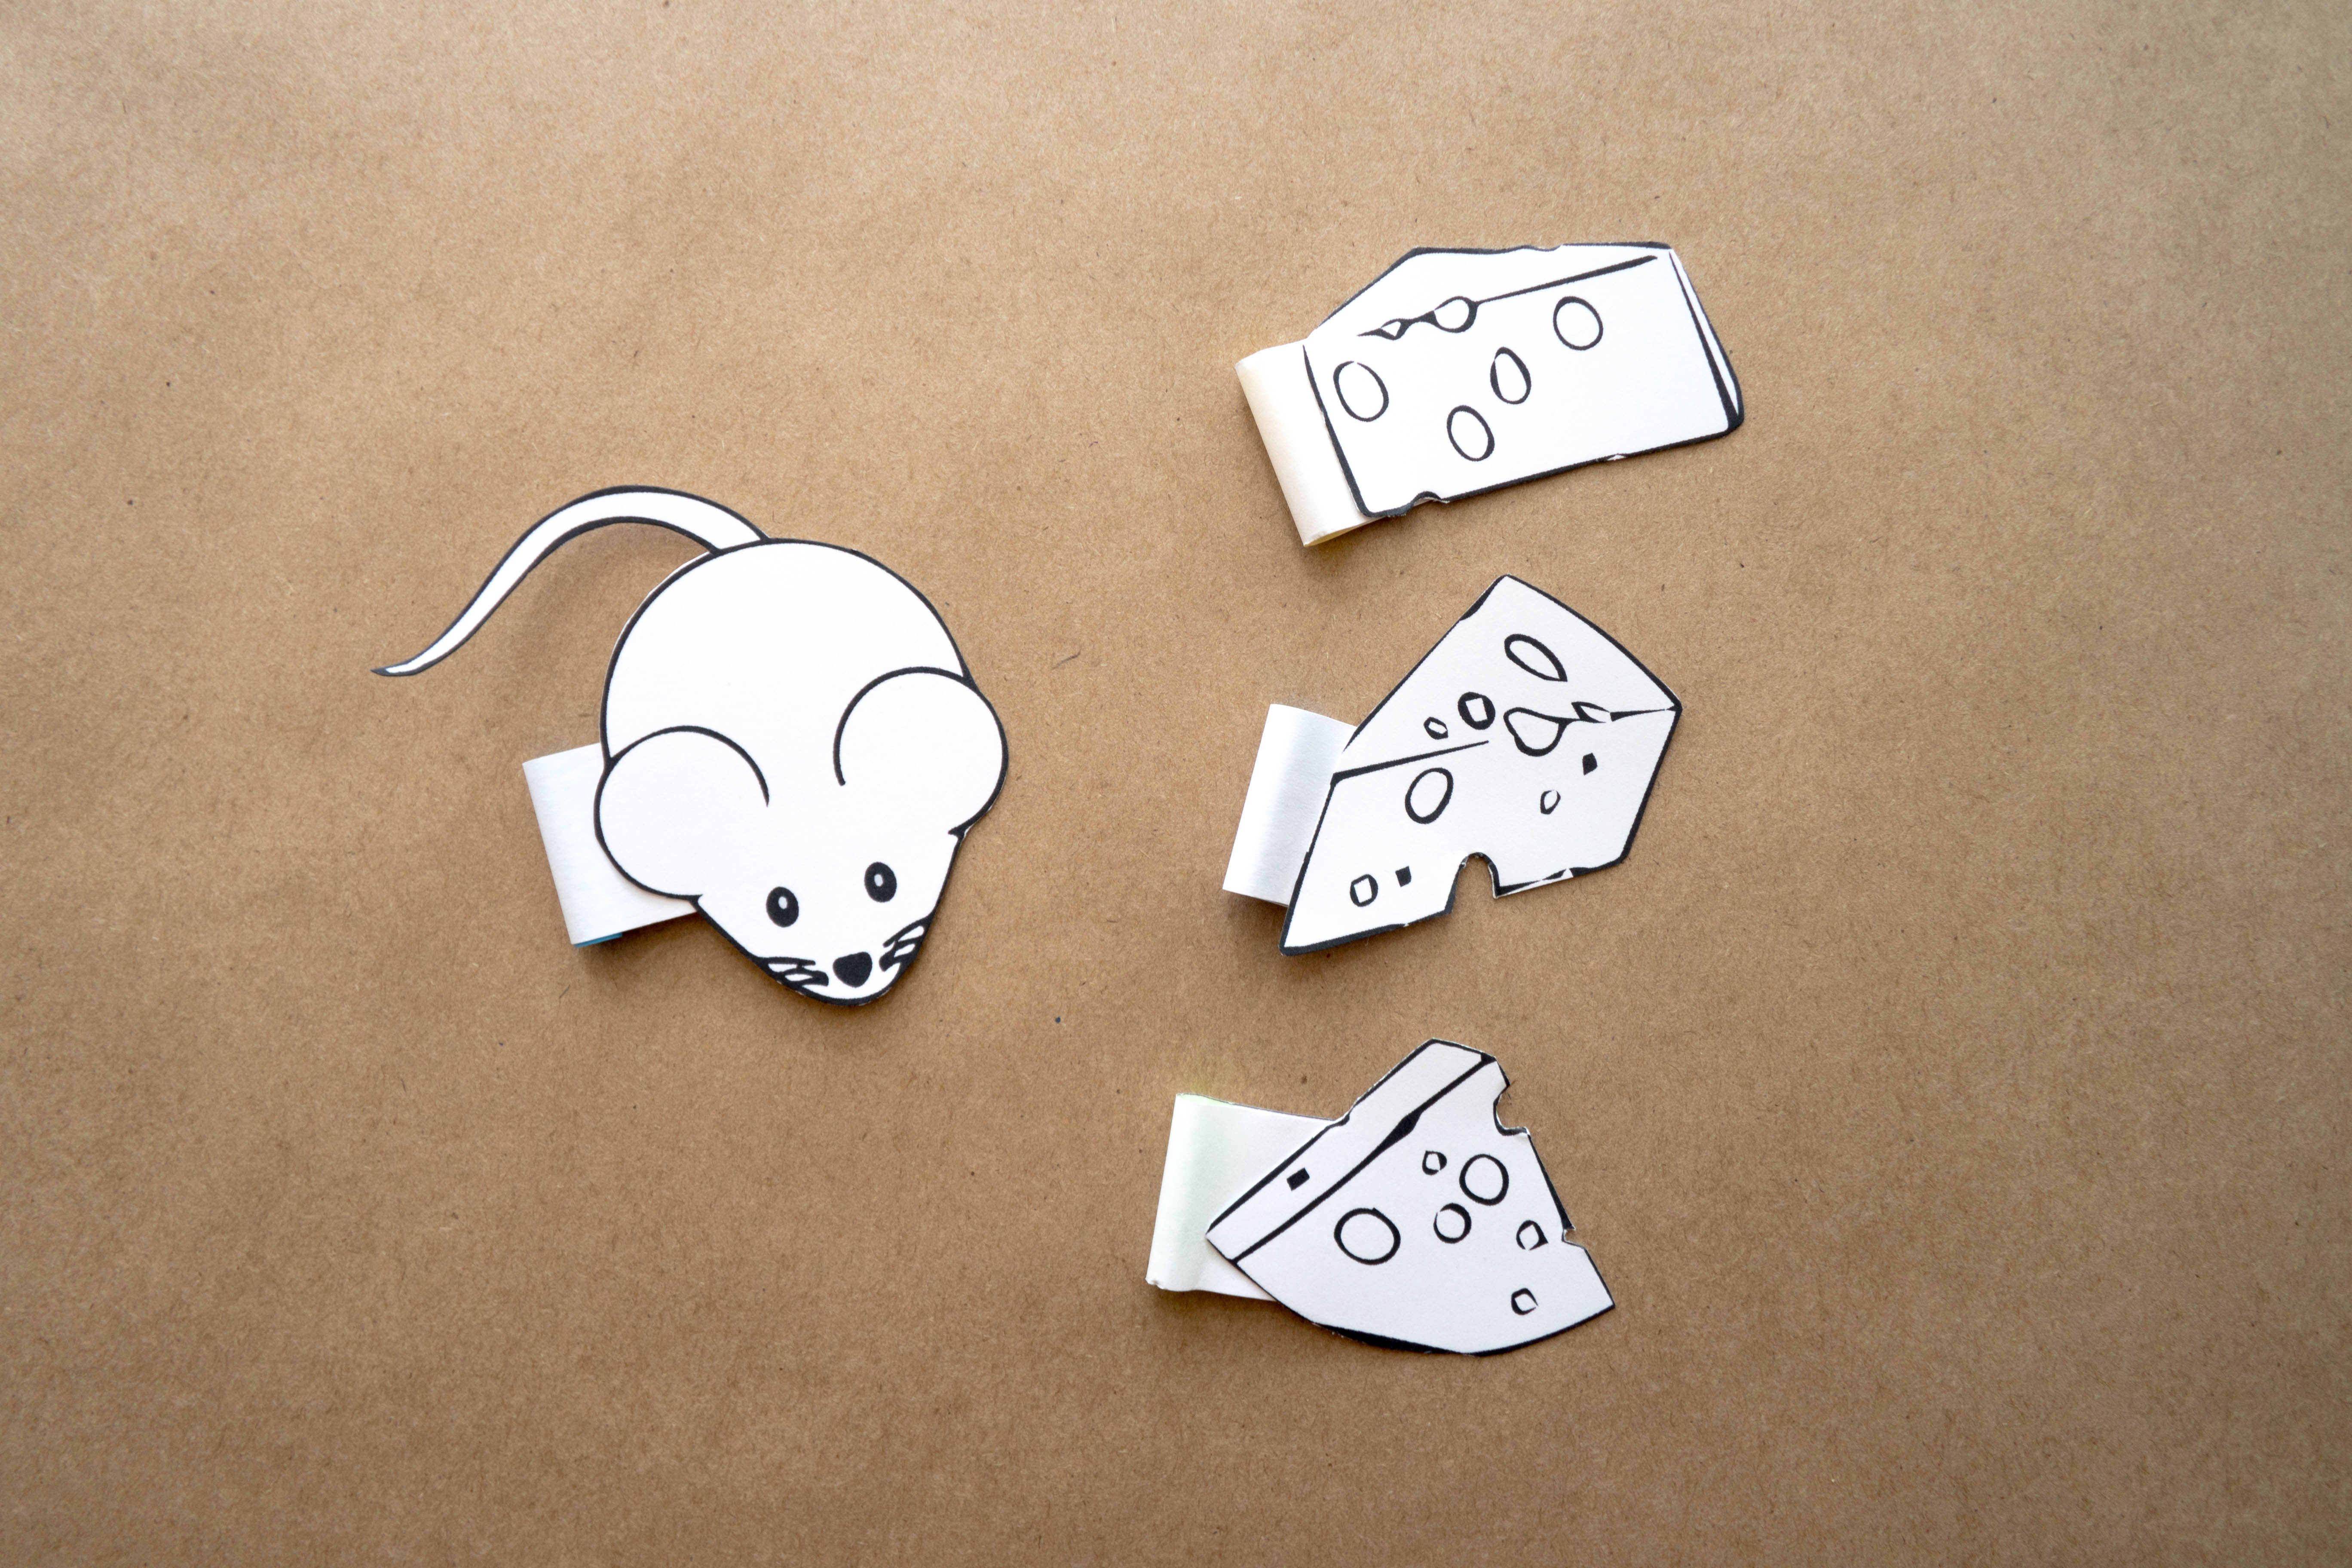
Step 9
Repeat steps 5-8 for as many images as you have.
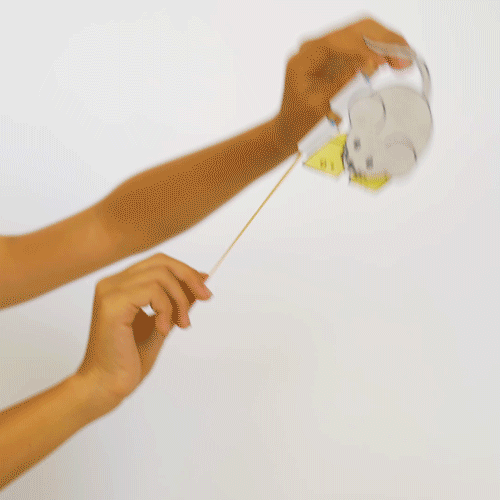
Step 10
Decorate your images! Then, cut the rubber band in half and string the images onto it.
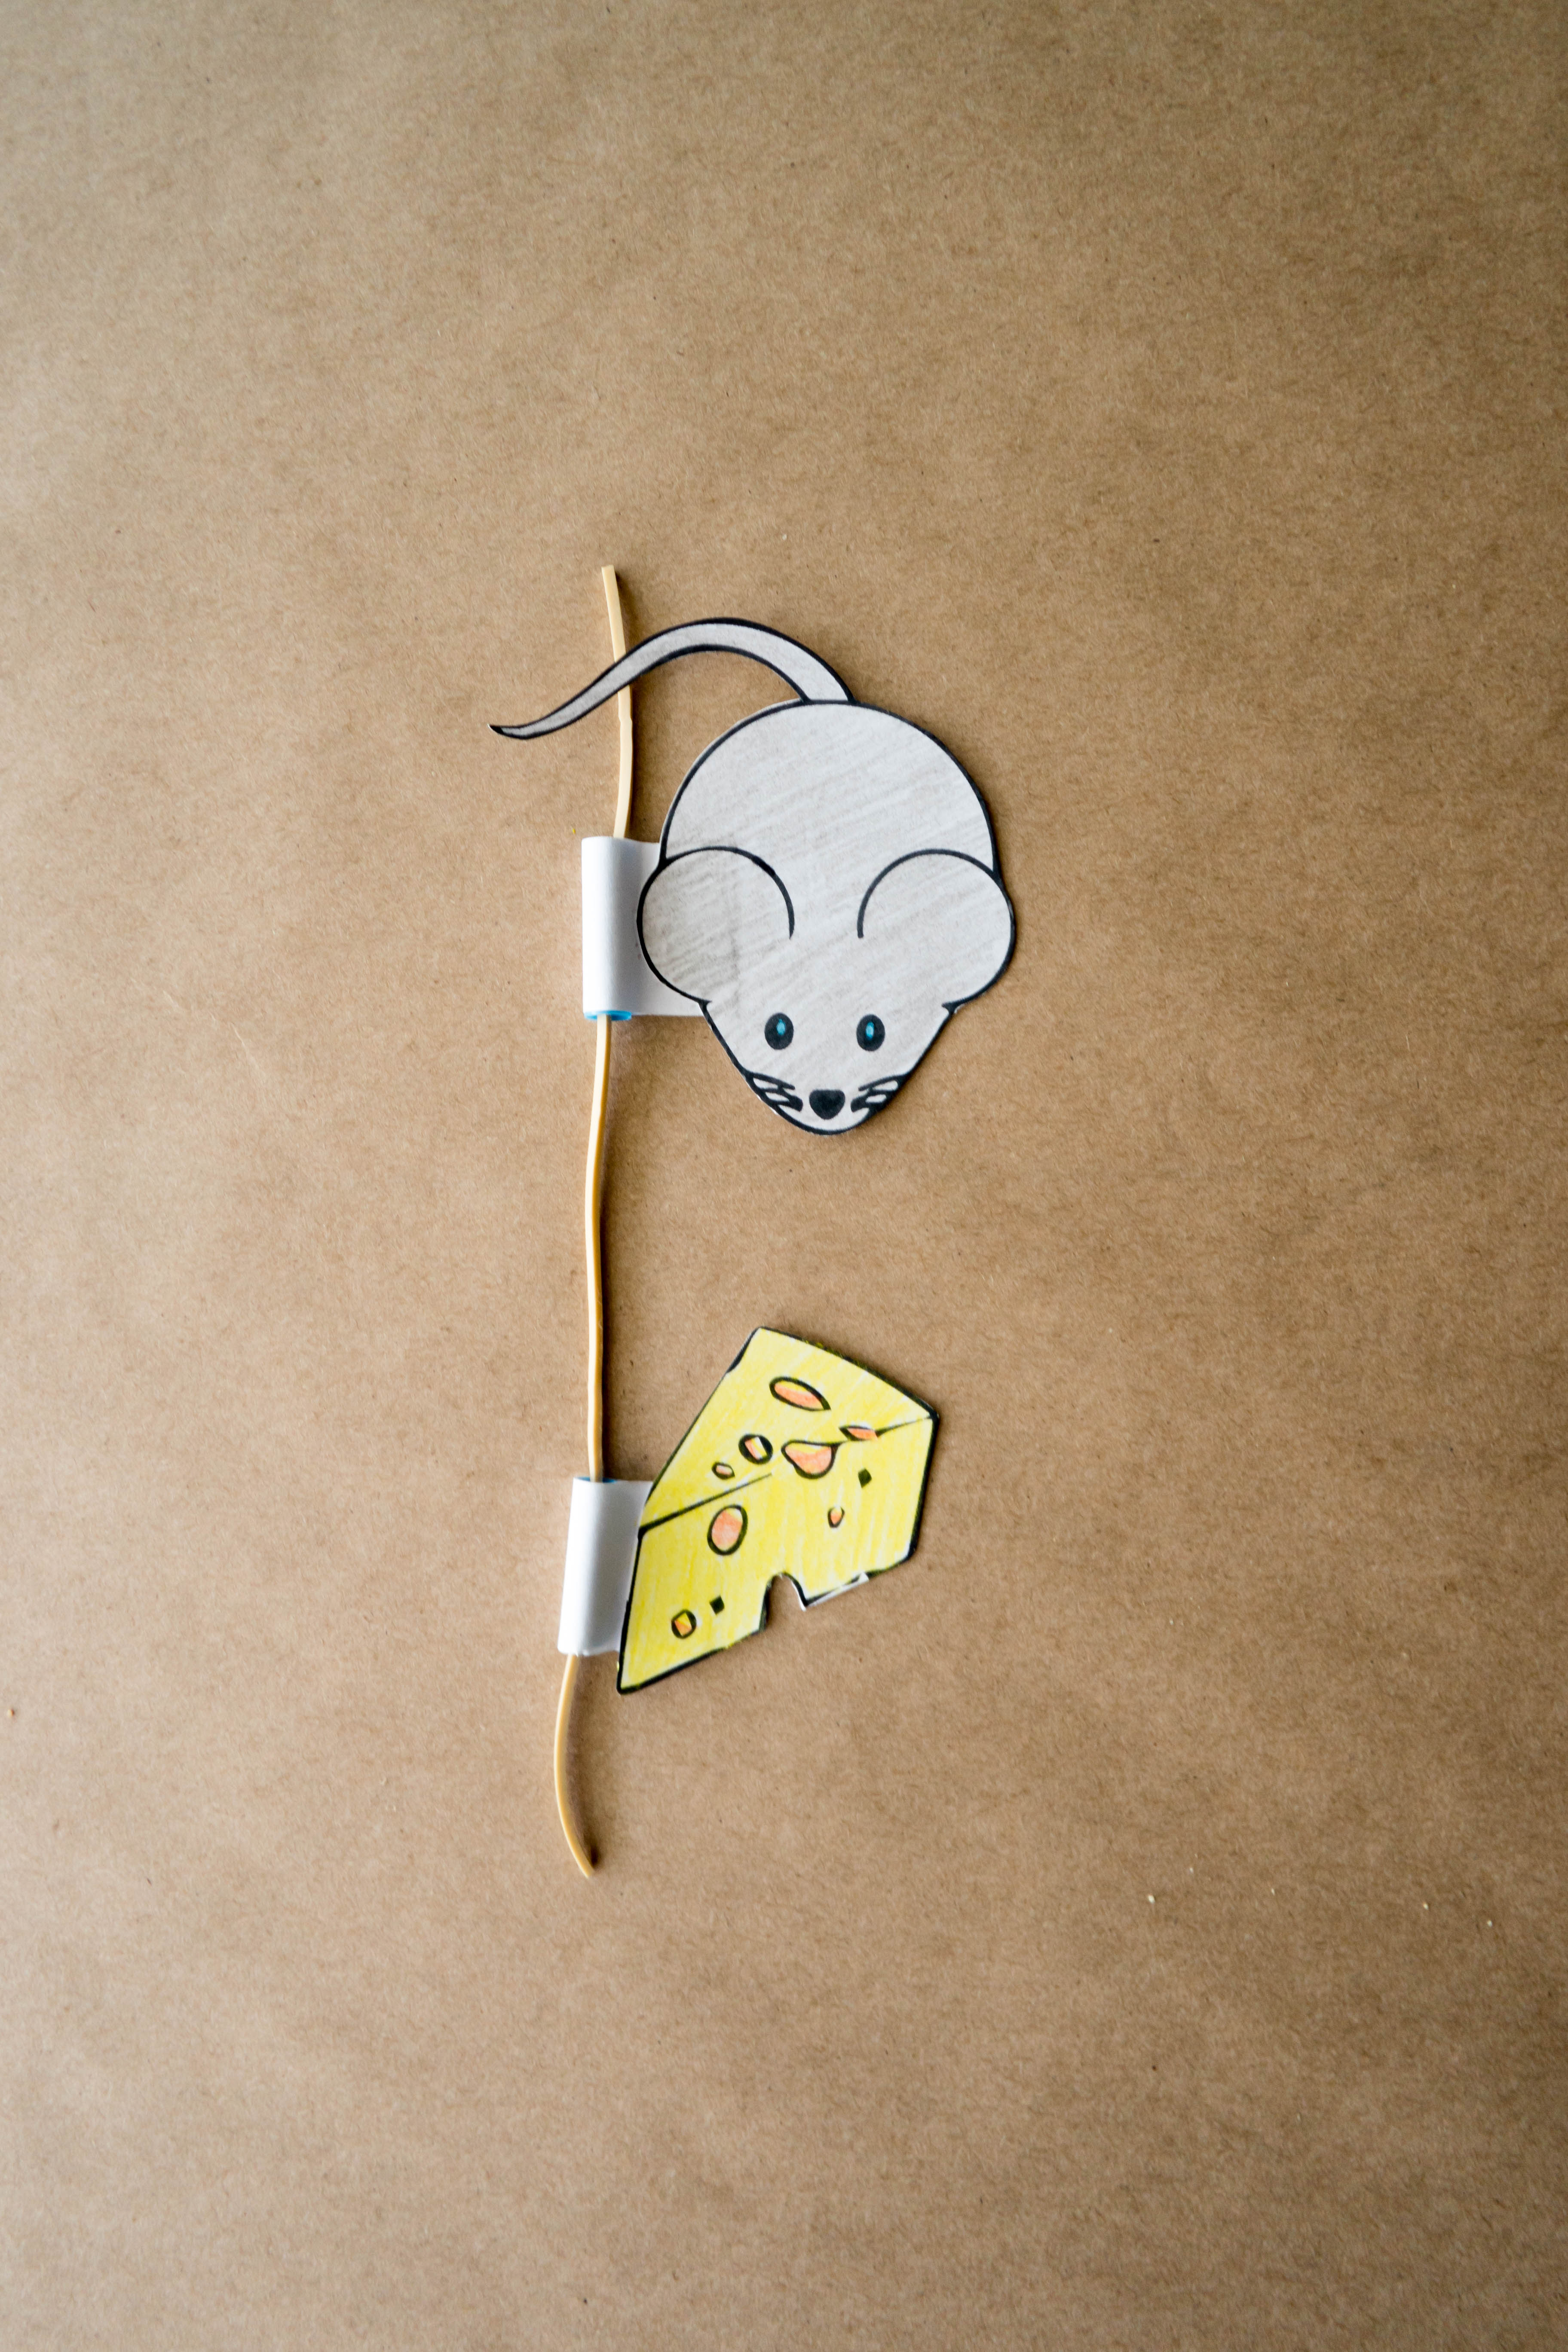
Learn more

Can you figure out a way to make the mouse fall without bouncing on the rubber band? Try moving around where you put the straw, closer and further from the center of the shape. If there’s a single point where the mouse goes down without spinning, that might be the center of mass!