Step-by-step tutorial
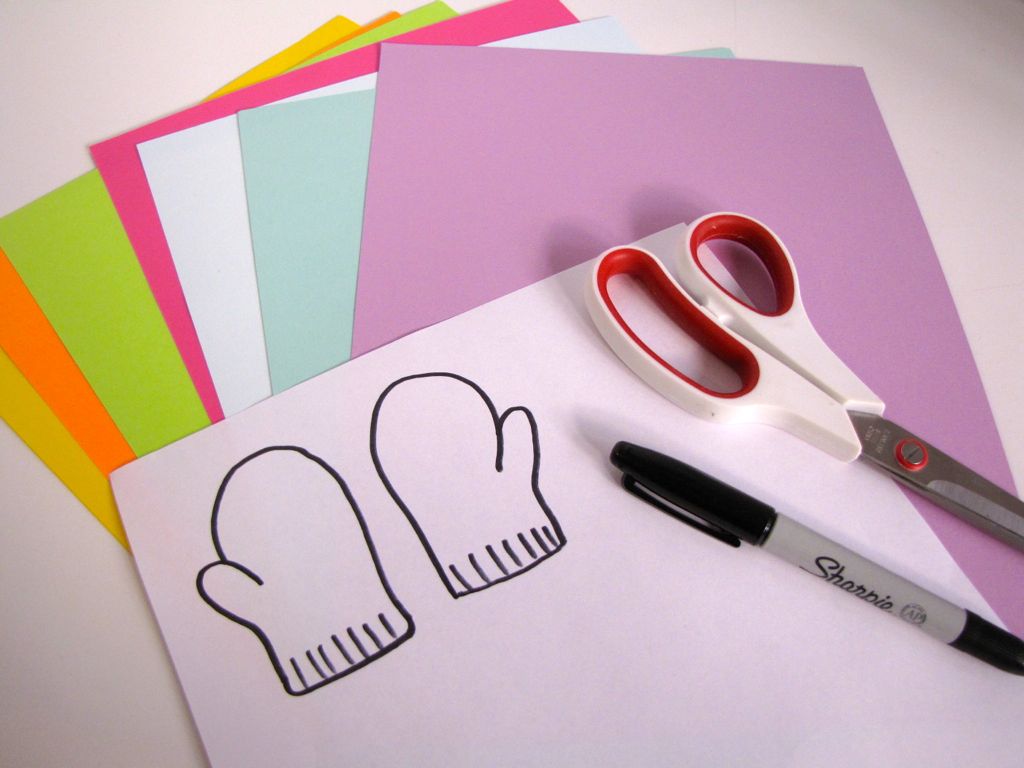
Step 1
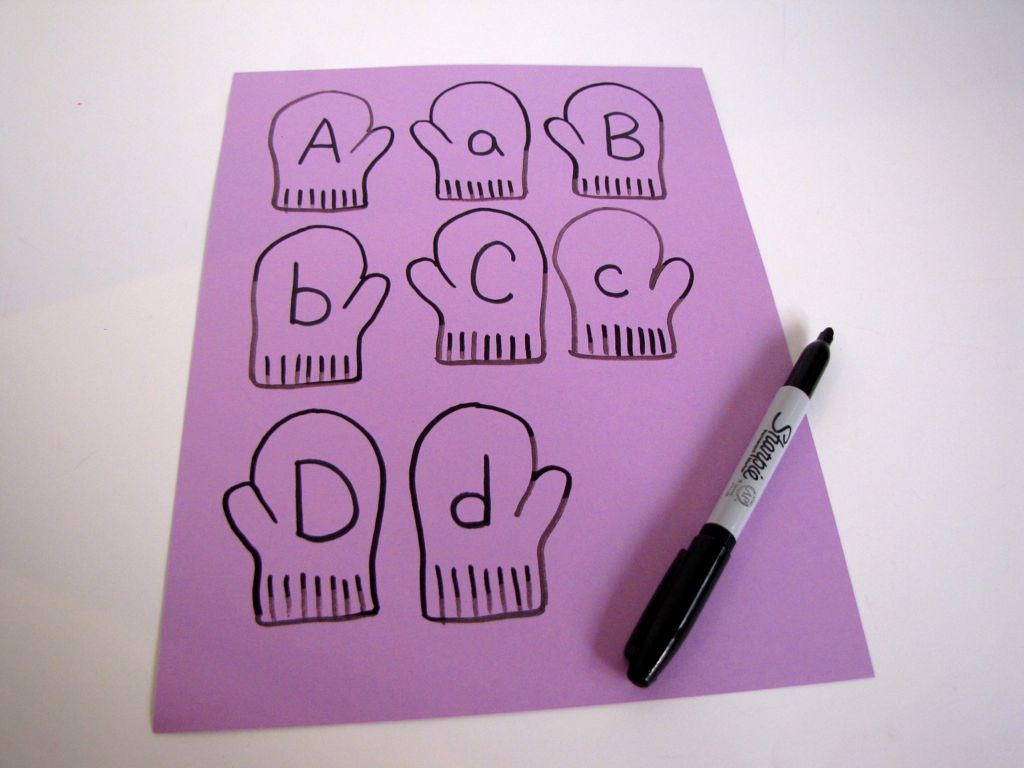
Gather your supplies, then draw a template of a pair of mittens. (Think small: you have to make 26 pairs!) If you don't want to draw, search for "mitten template printable" on the Internet. There are many free, printable options.

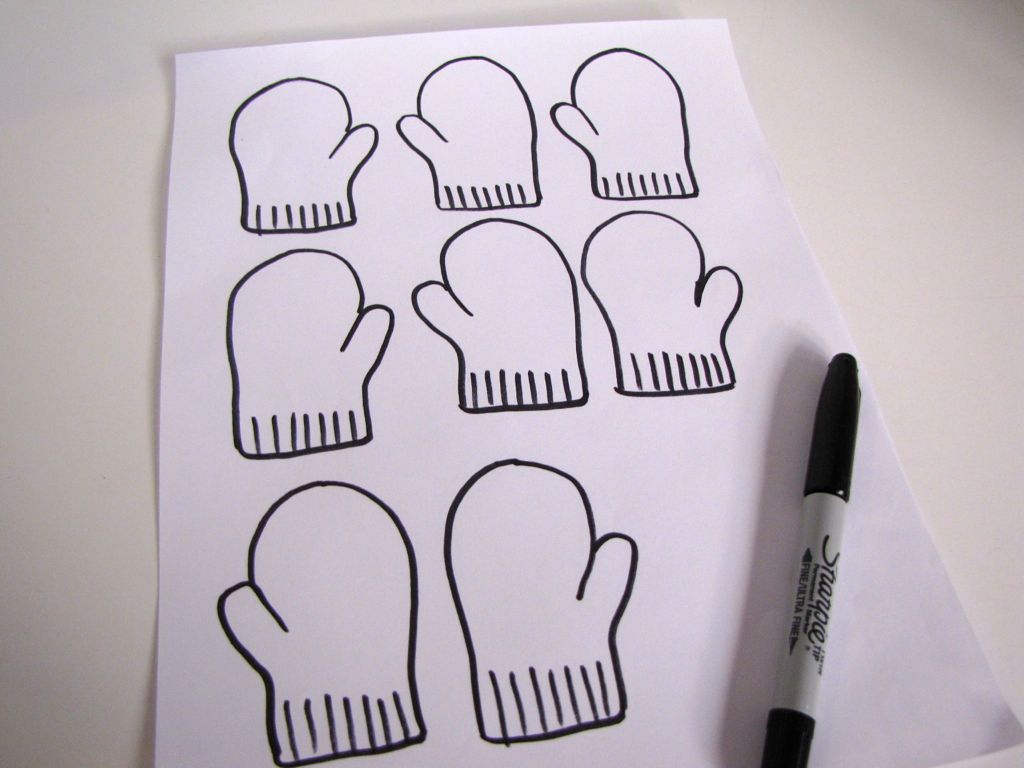
Step 2
Next, I traced my original pair of mittens onto a piece of white paper.
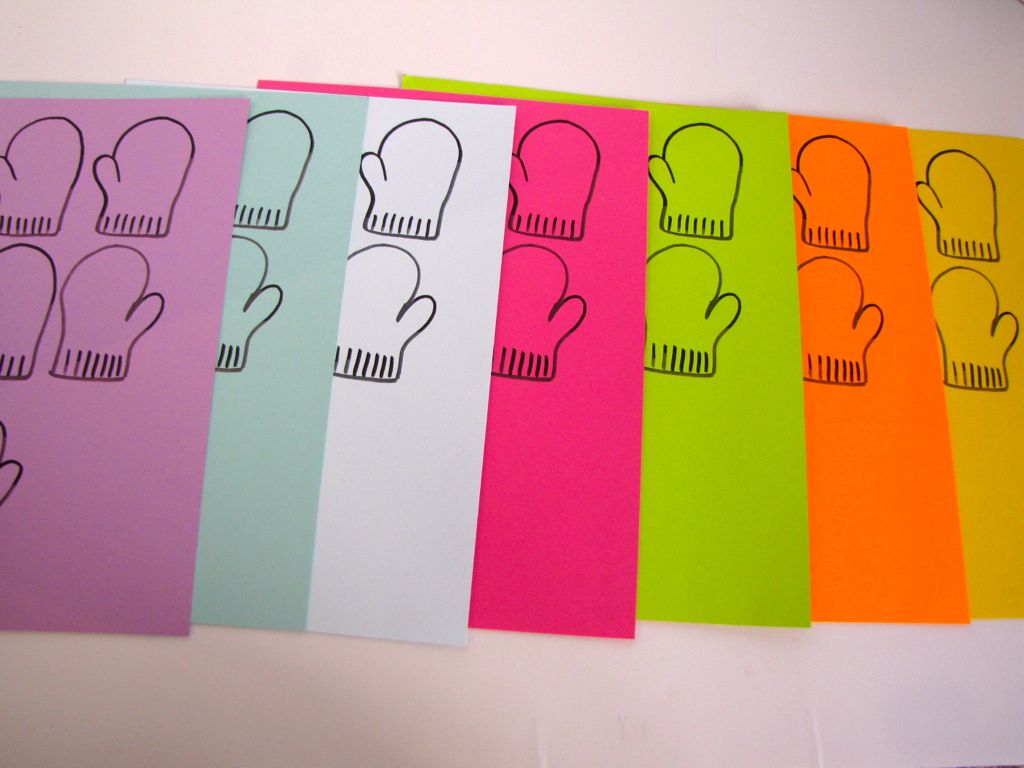
Step 3
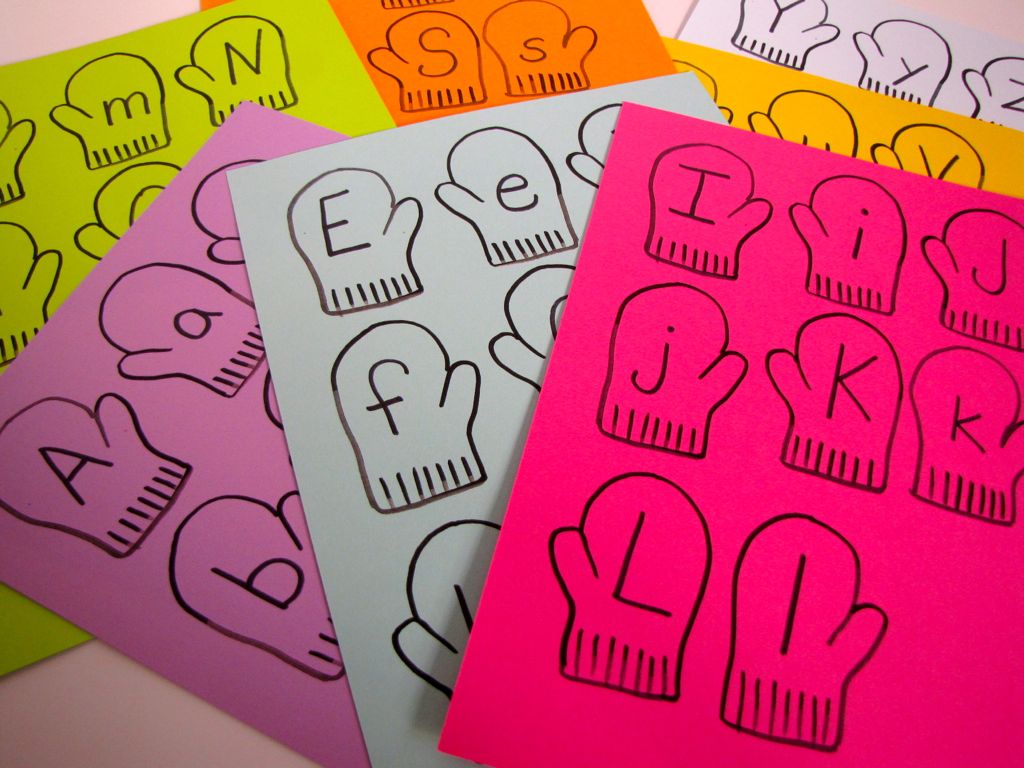
I used a photocopier to print out all the pages I would need in colorful hues. You could also trace your original sheet onto the colorful ones.
Step 4
Next, I wrote uppercase and lowercase alphabet letters onto the mittens. Having both of the letter A's on purple paper, for example, would also help my preschooler to match them up. Also, that way, each letter would have a left mitten and a right mitten. These are clues that you can use later if your child is unable to find the match. "Look for a purple letter," "Look for a mitten with the thumb on the other side," etc.
Step 5
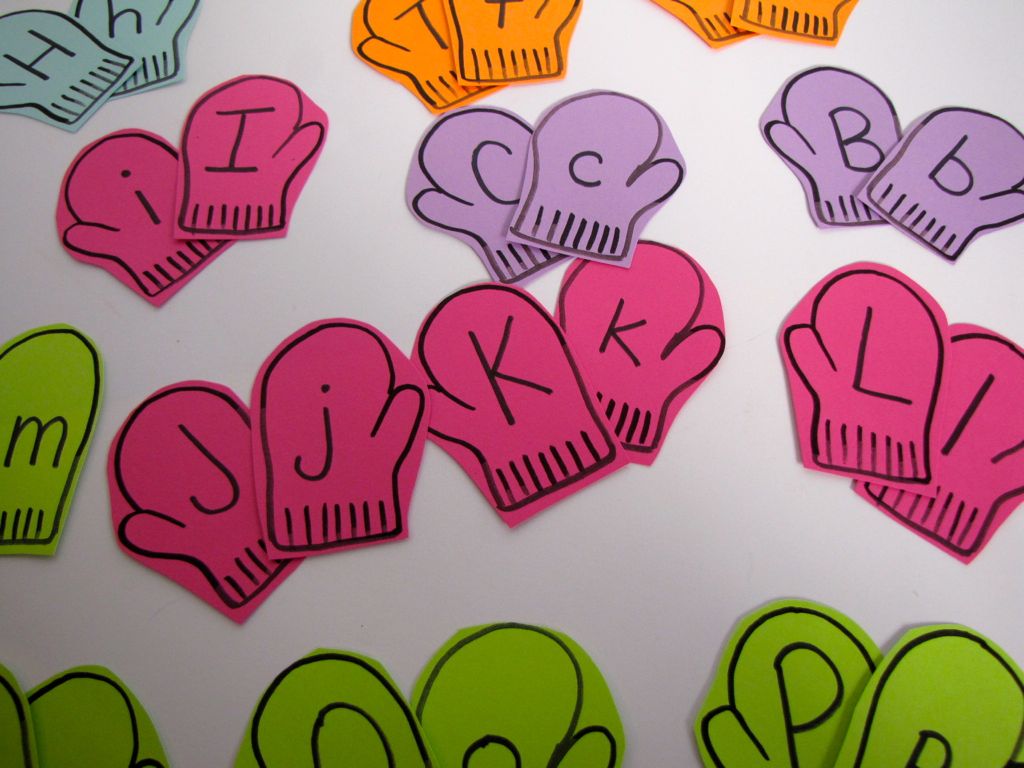
When I was done with my letters, I was ready to cut out my mittens.
Step 6
Look at all the pretty pairs of mittens!
Step 7
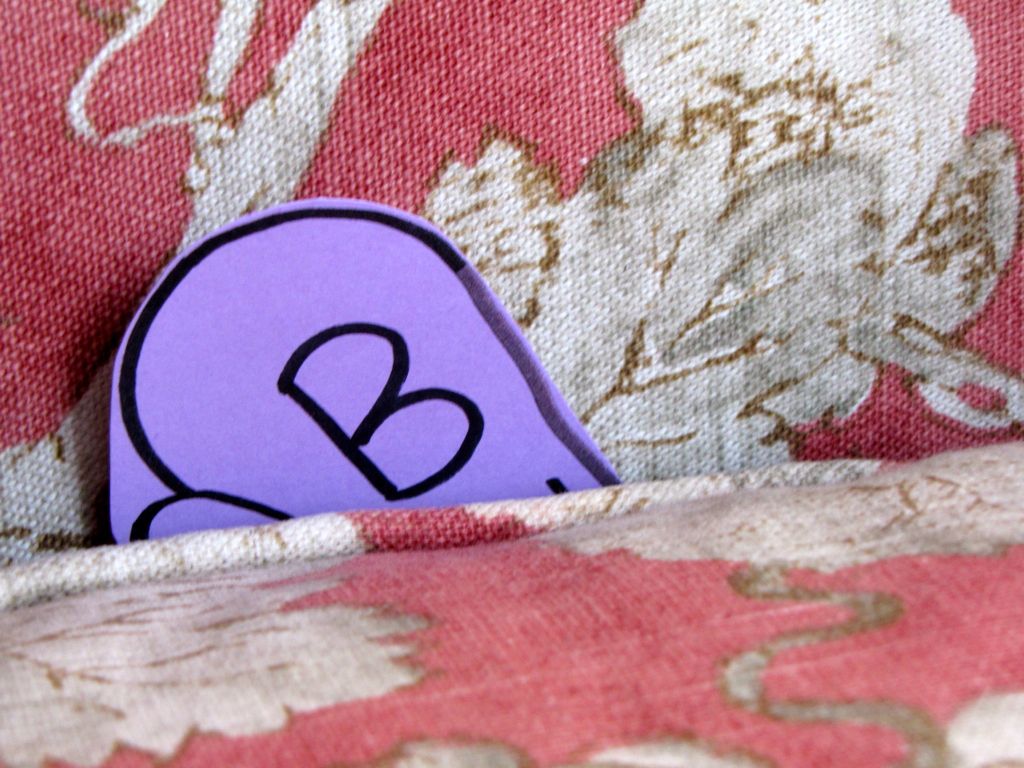
Our first game was Hide and Seek with the mittens. I sent my preschooler out of the room while I hid the mittens all around.
Step 8
He was so excited to find them! I started out with just a few pairs, but he really enjoyed this game, so we moved on to hiding all 26 pairs.
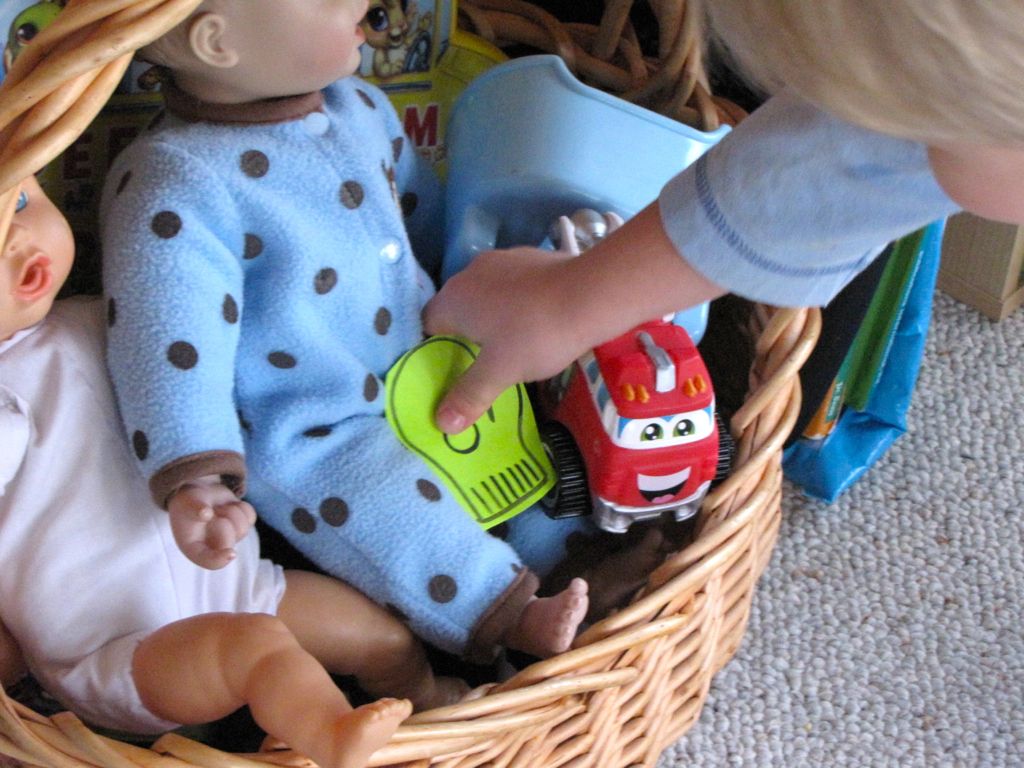
Step 9
After he found them all, we laid them out on the floor and he matched them up.
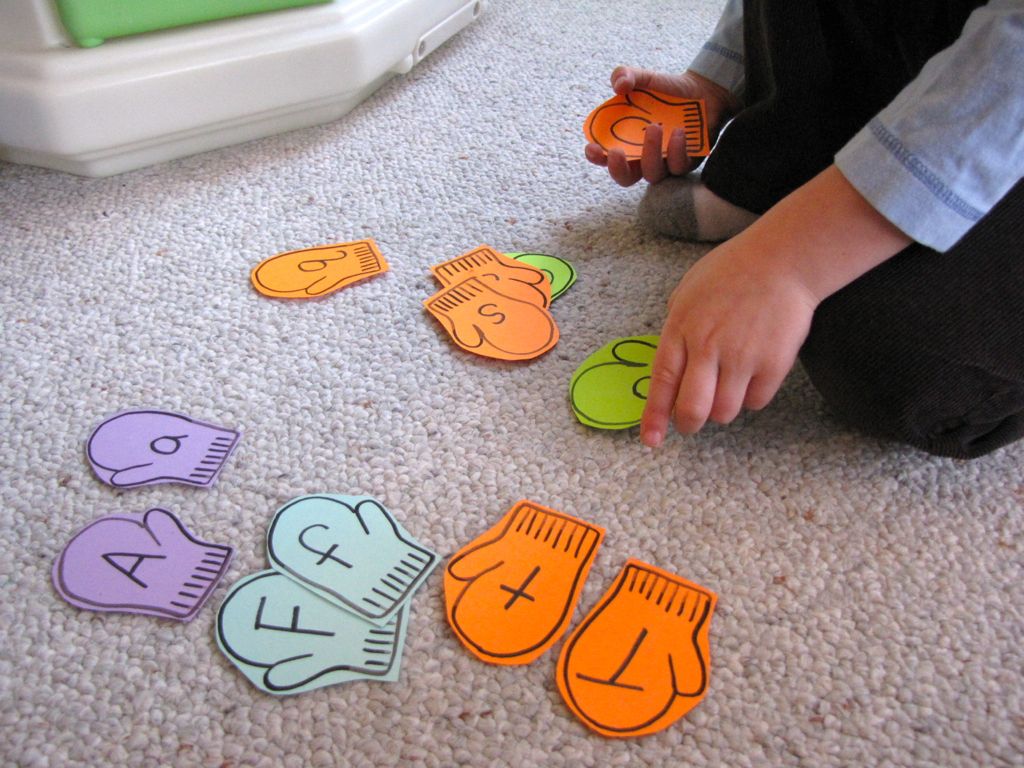
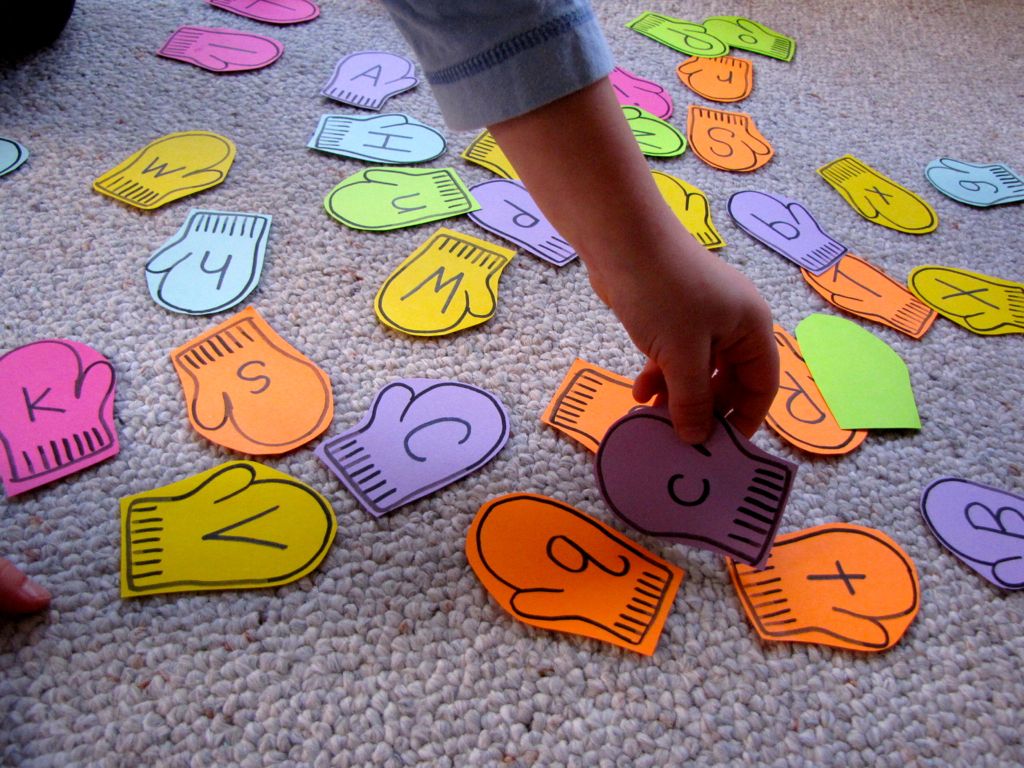
Step 10
Another game we played was to just scatter them on the floor and find the matches. You could also do this as a memory game by turning them all over and taking turns finding a match.
Done!
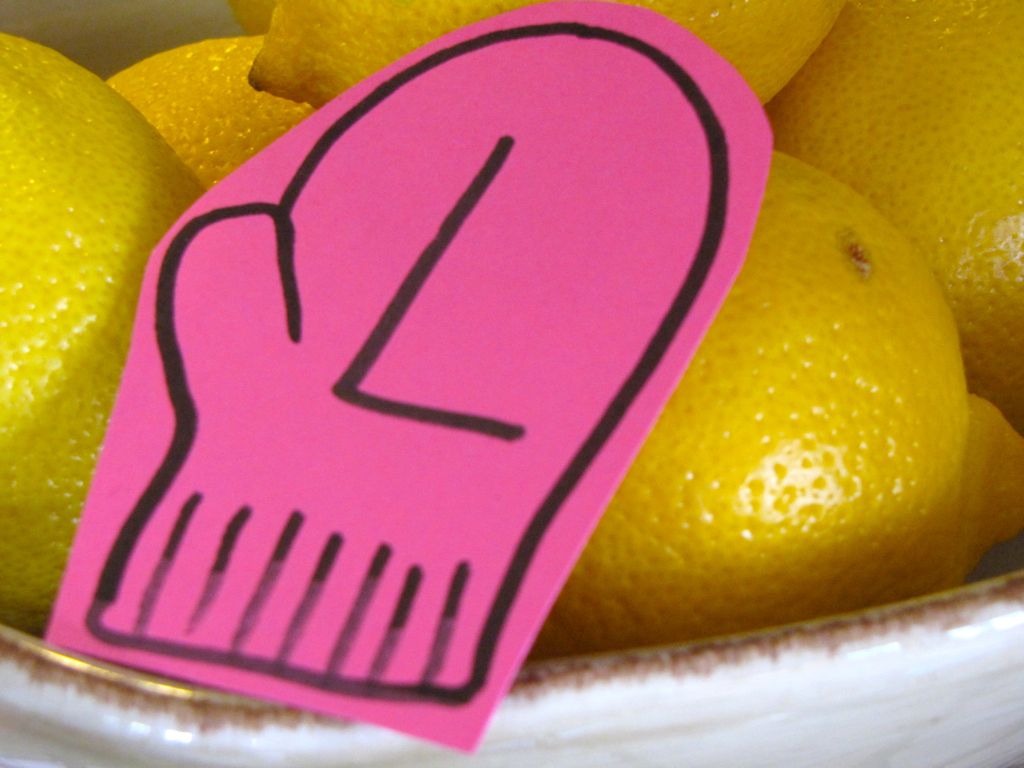
Another fun game we played was to find an object in the house that began with the beginning sound of each letter and leave the mitten there. L for lemons. T for table. And so on. What other games can you play with matching mittens? We'd love to hear your ideas.