Step-by-step tutorial
Step 1
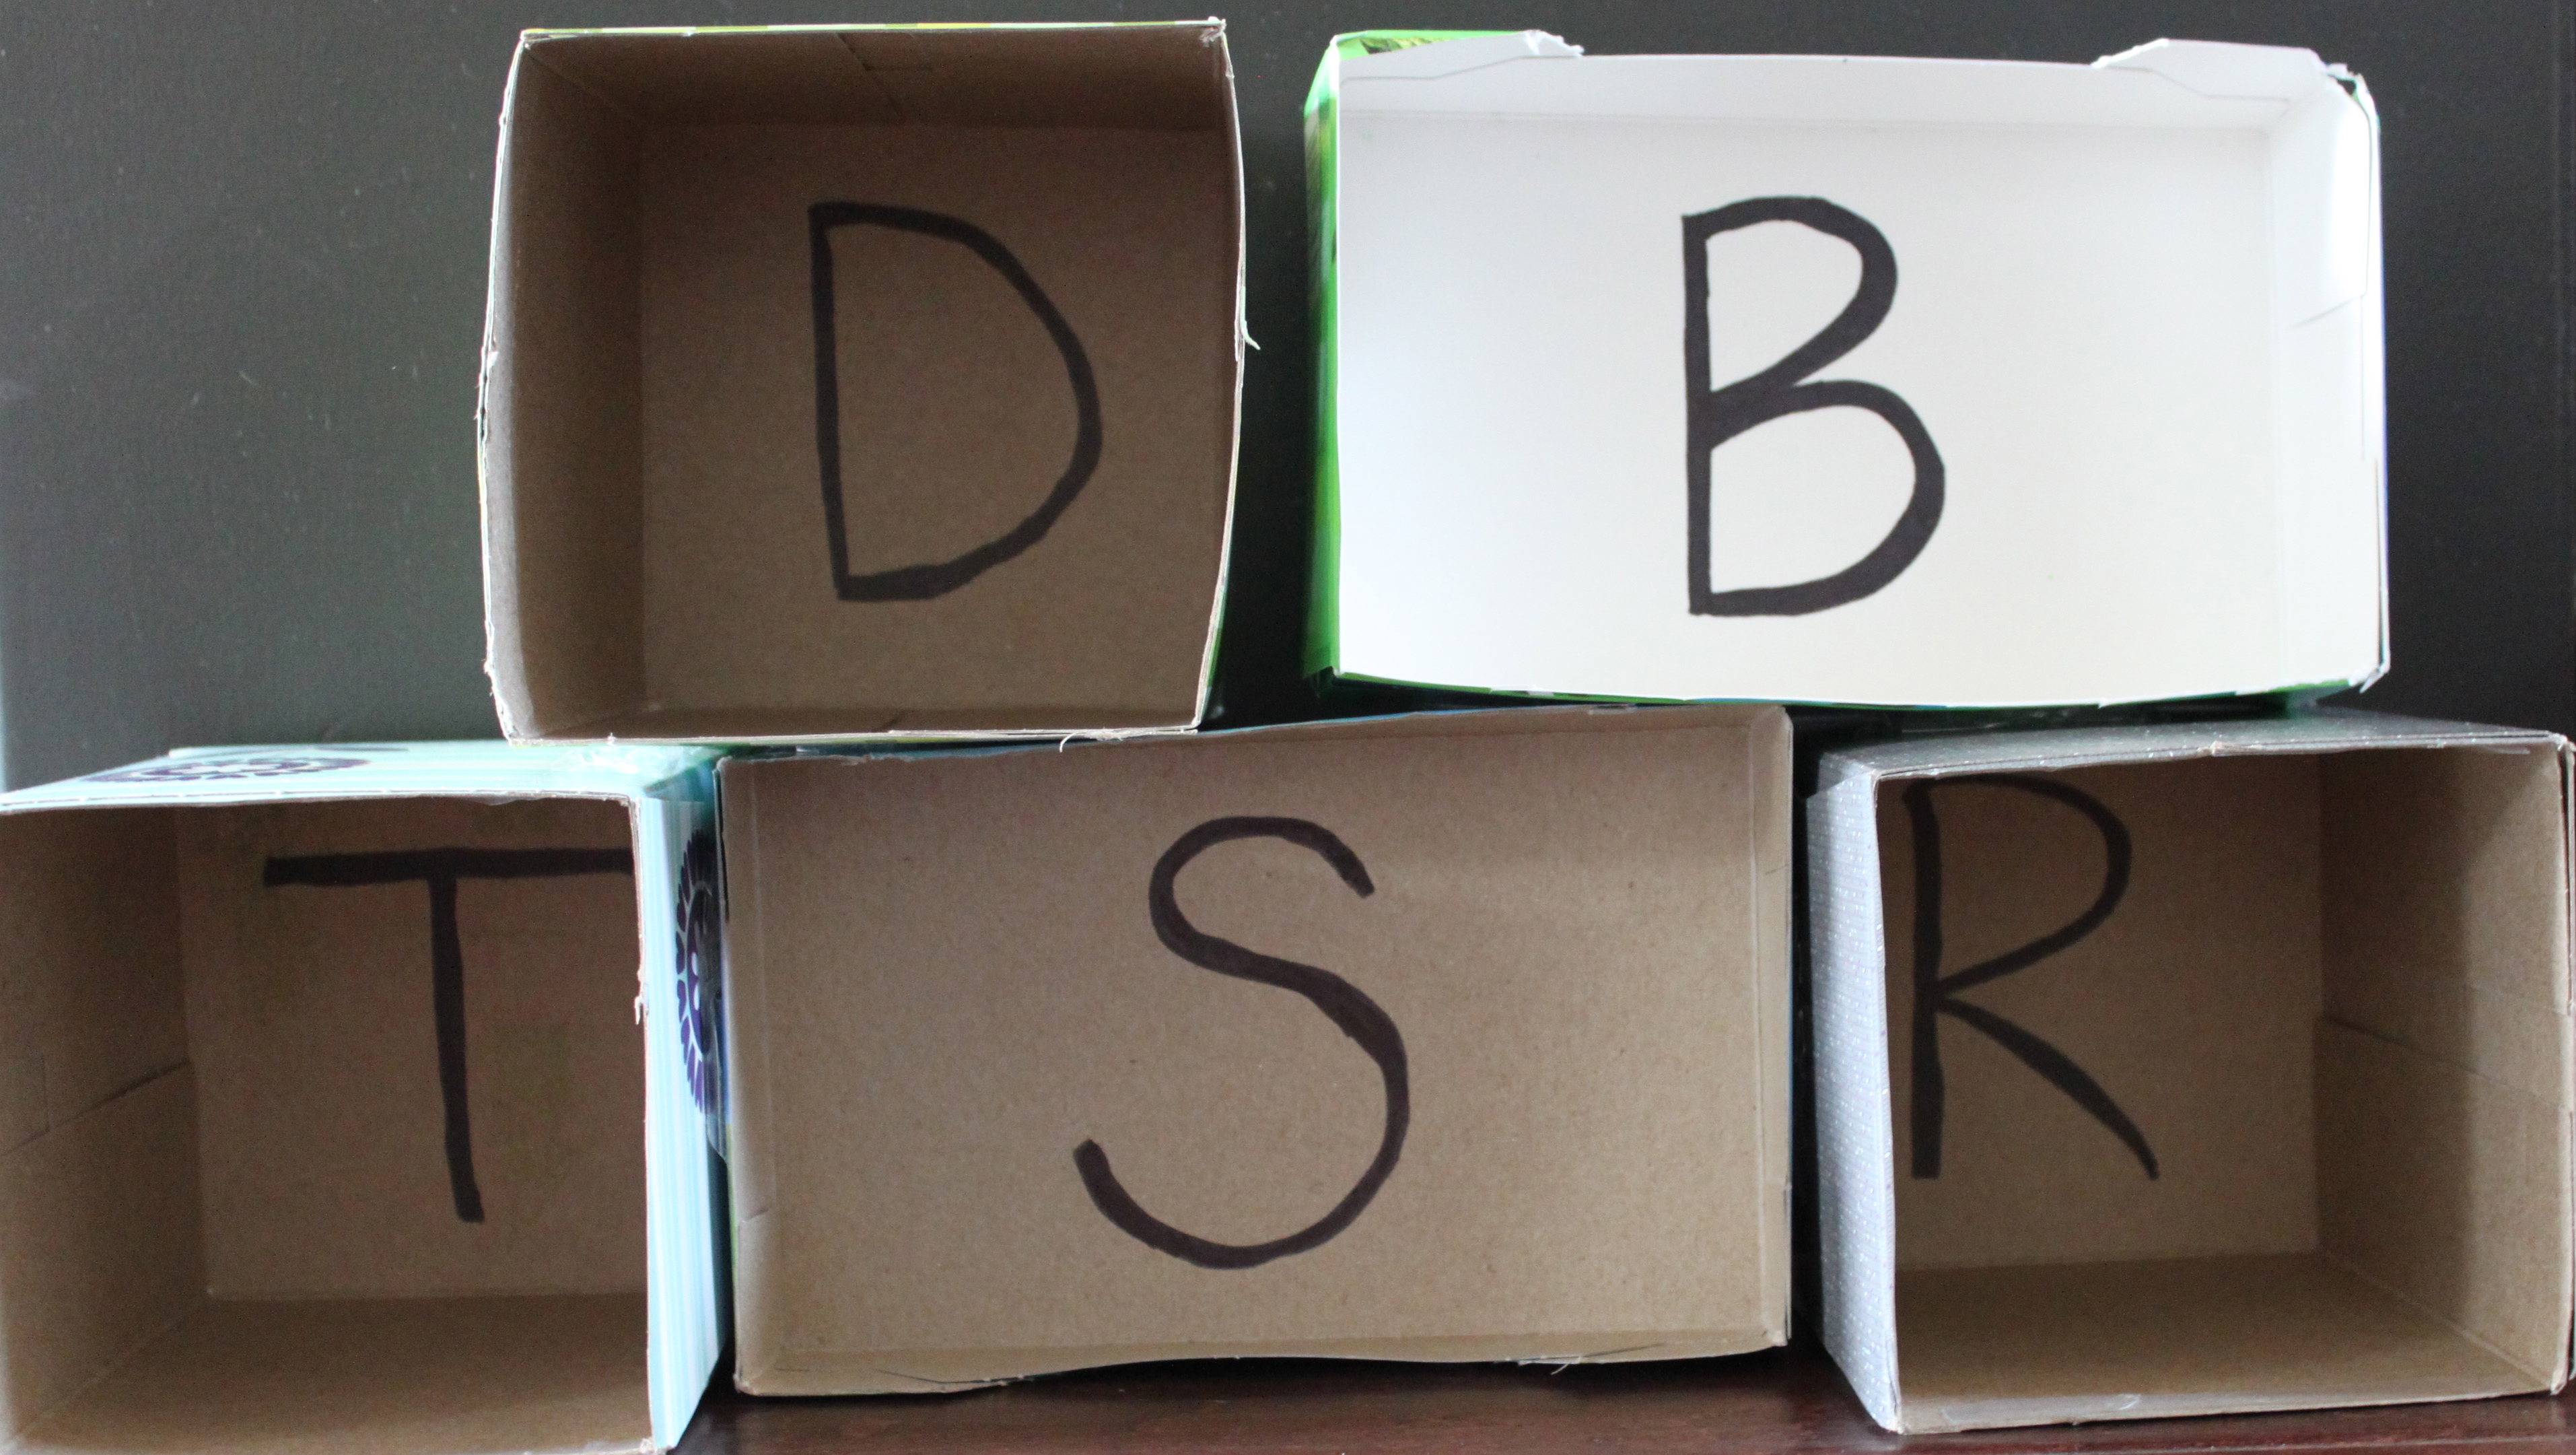
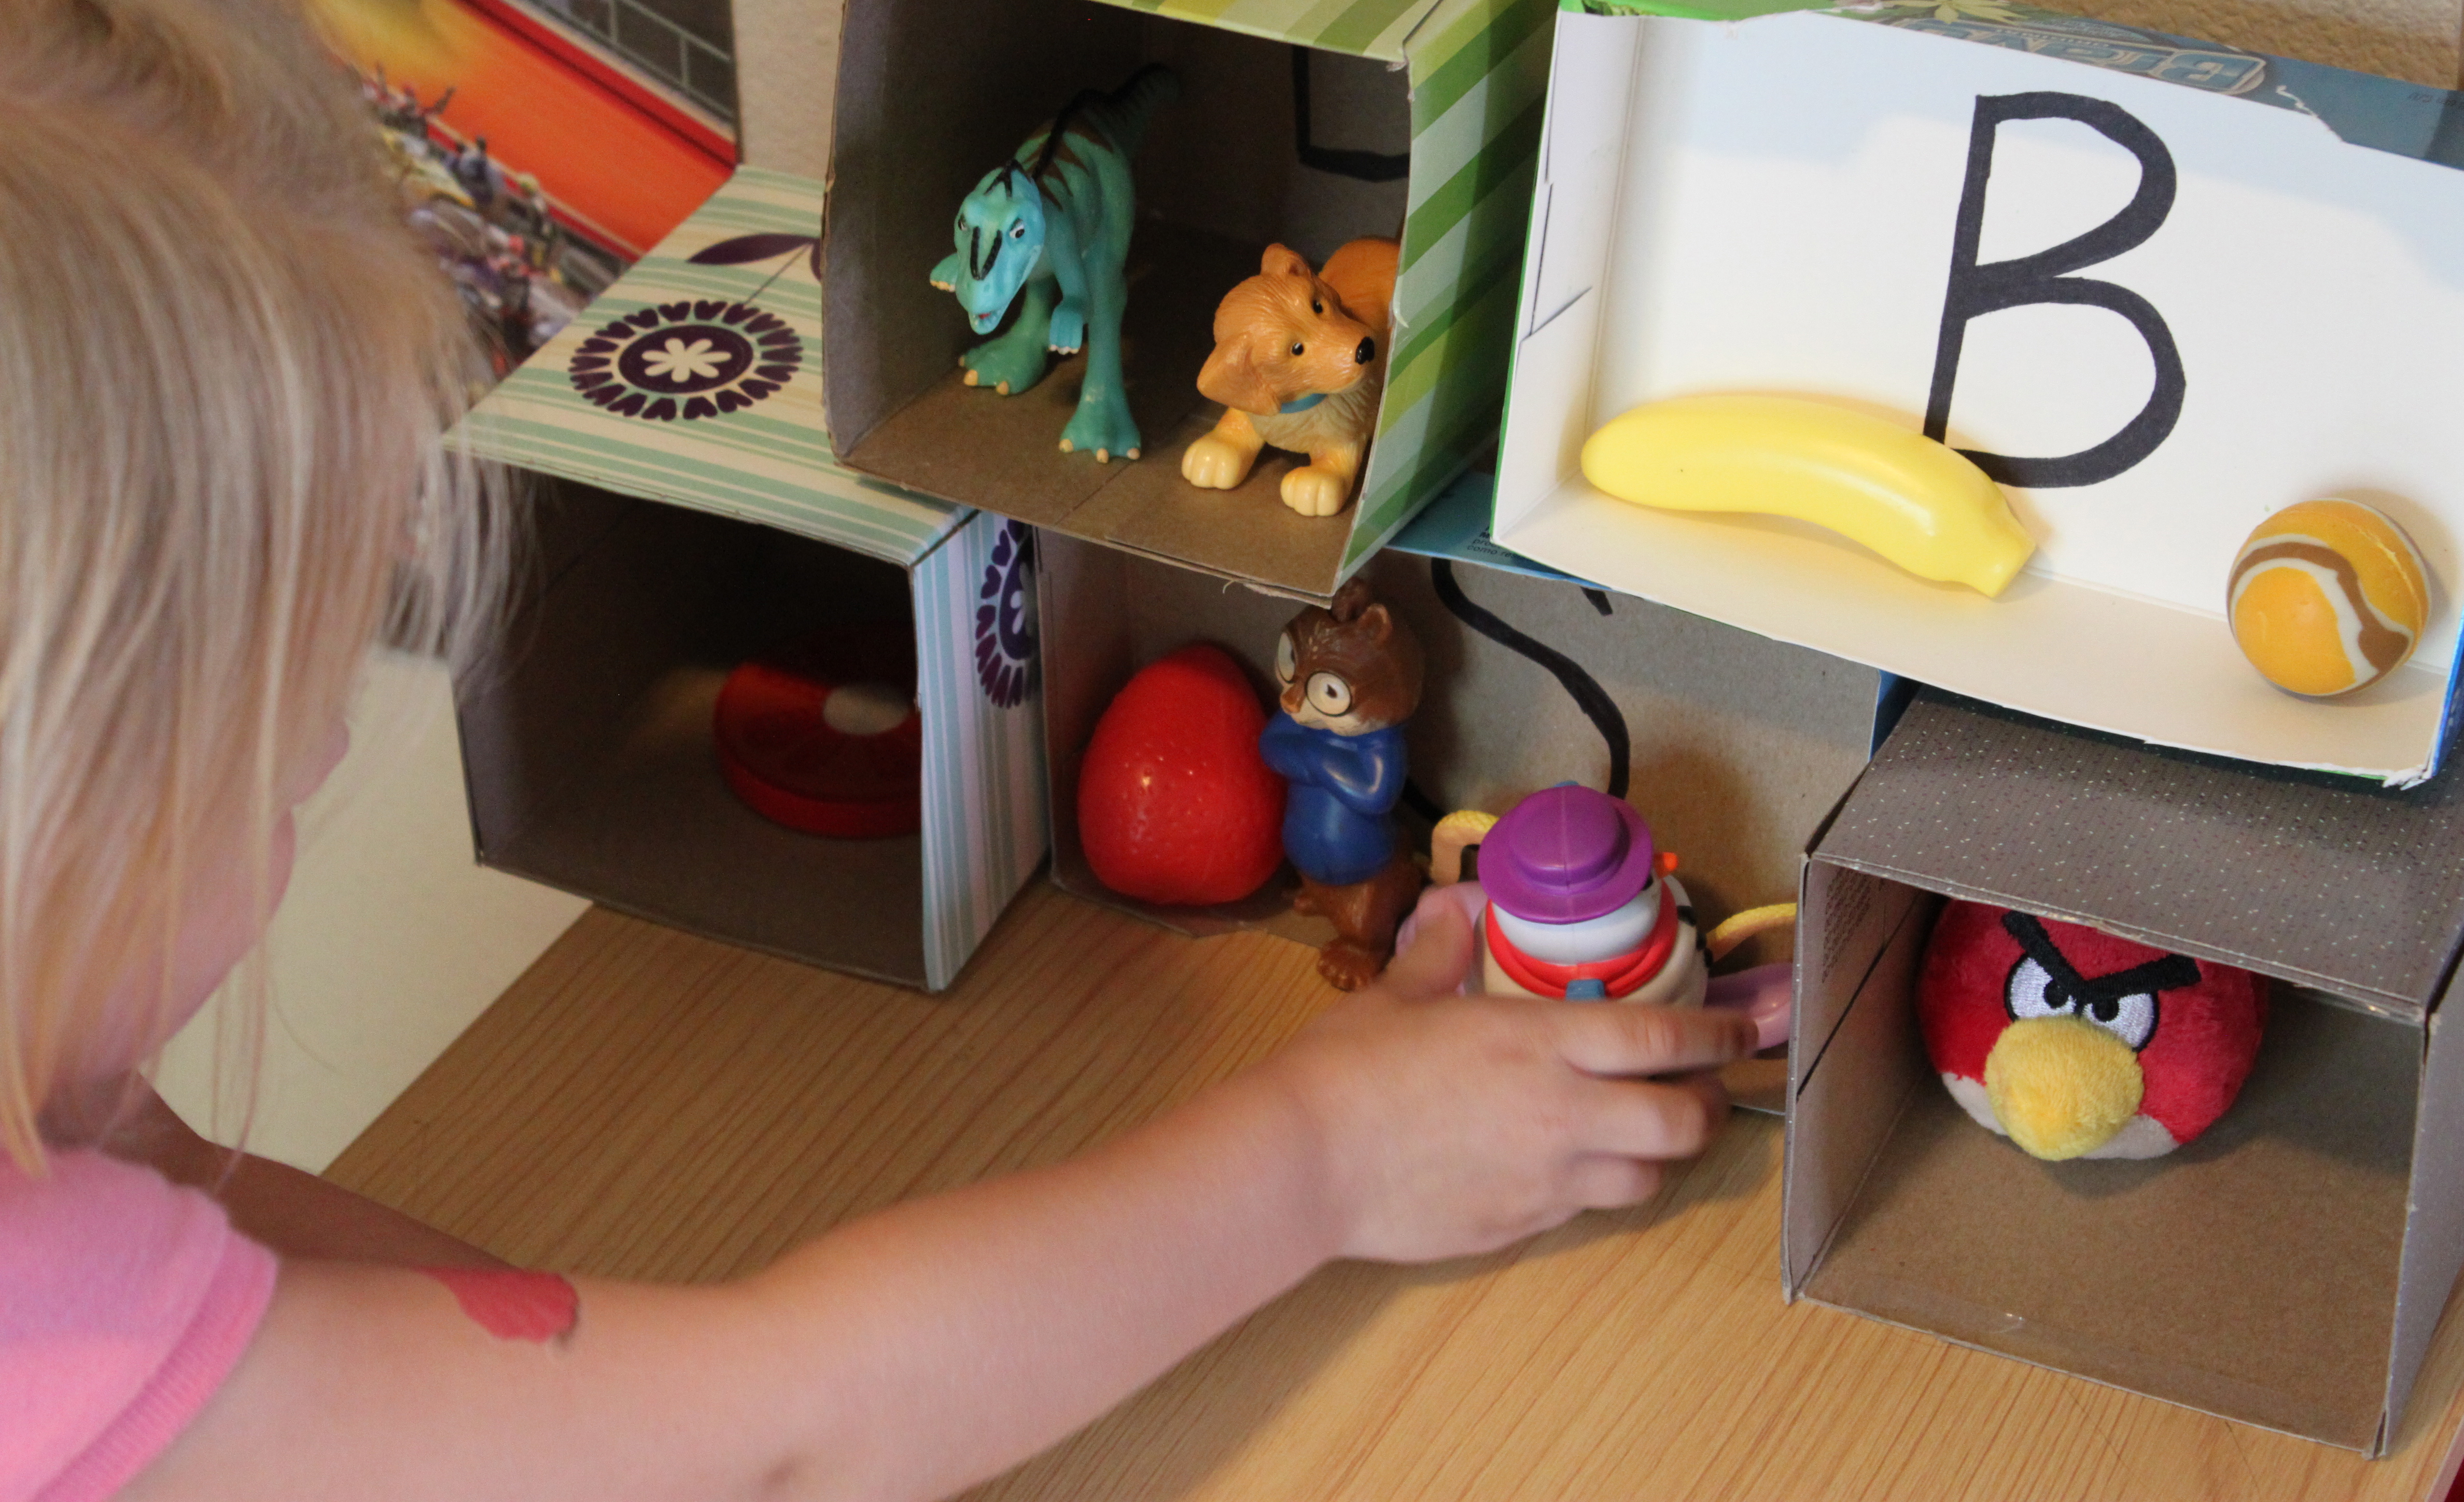
Keep your old tissue boxes and dryer sheet boxes to make an alphabet neighborhood. I cut the top of each box off and wrote a letter with a permanent marker in the bottom. I used packaging tape to stack and tape them together, but it would also work to line them up or spread them around the room.

Step 2
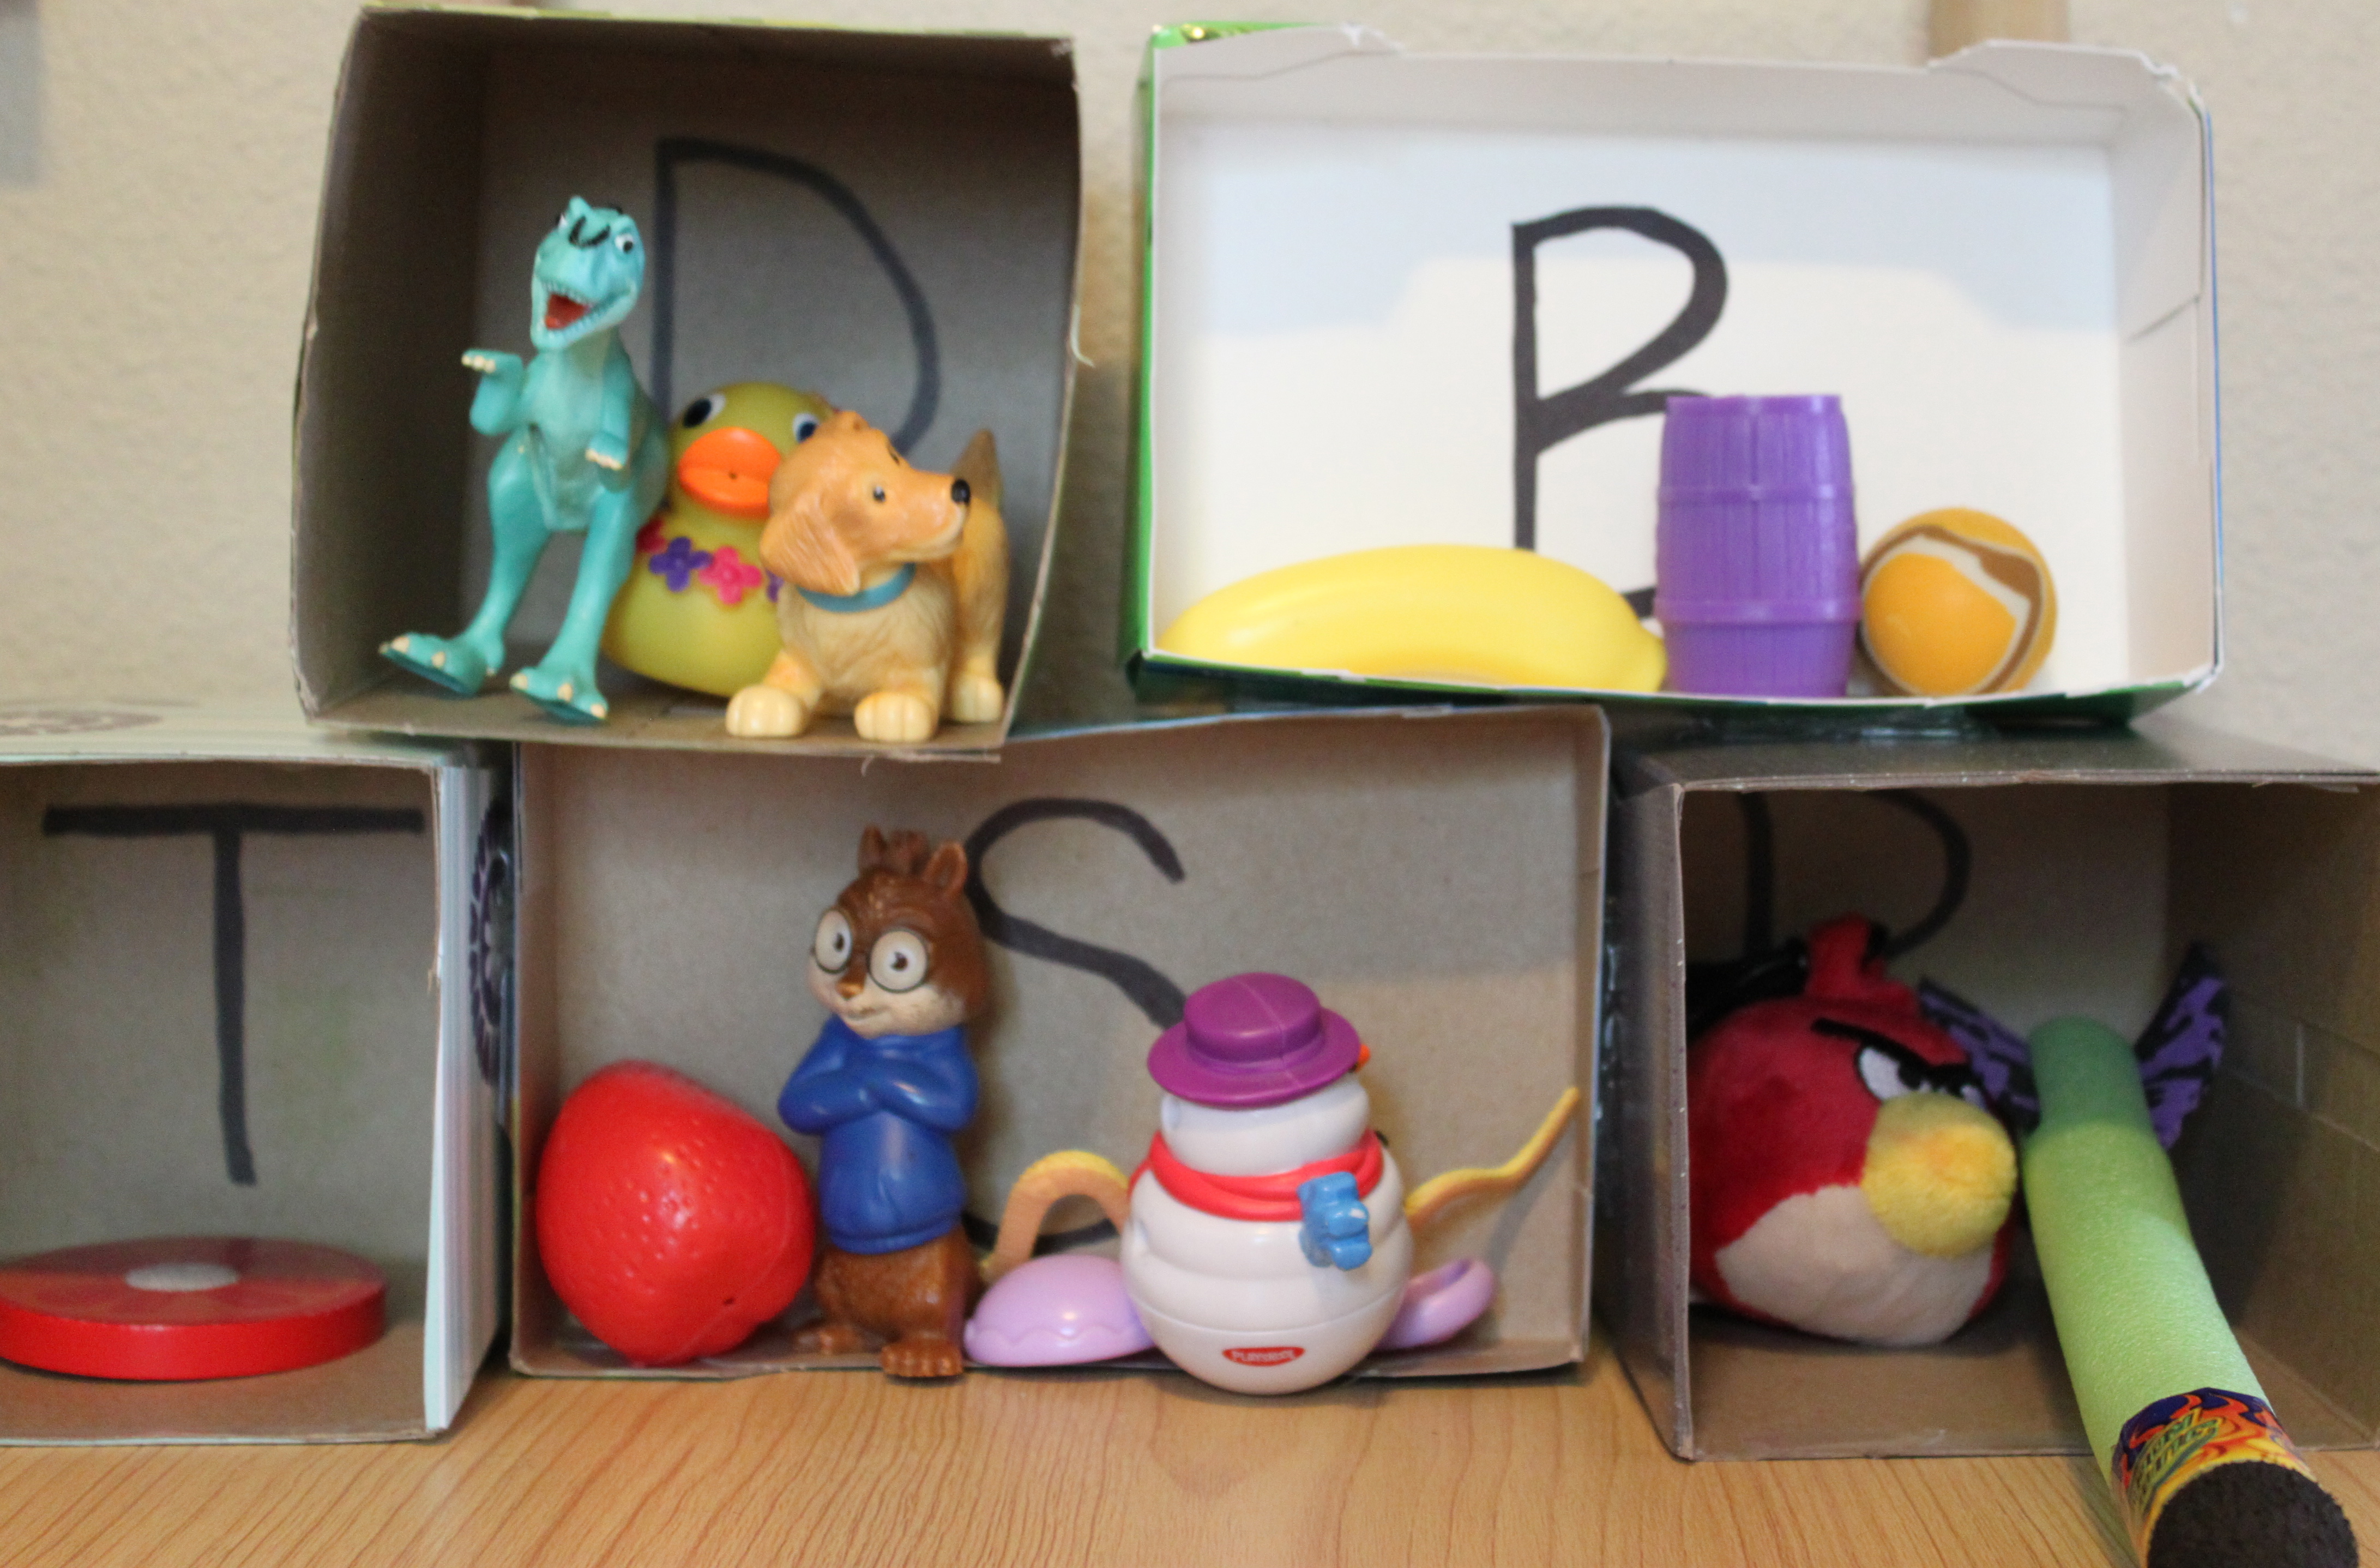
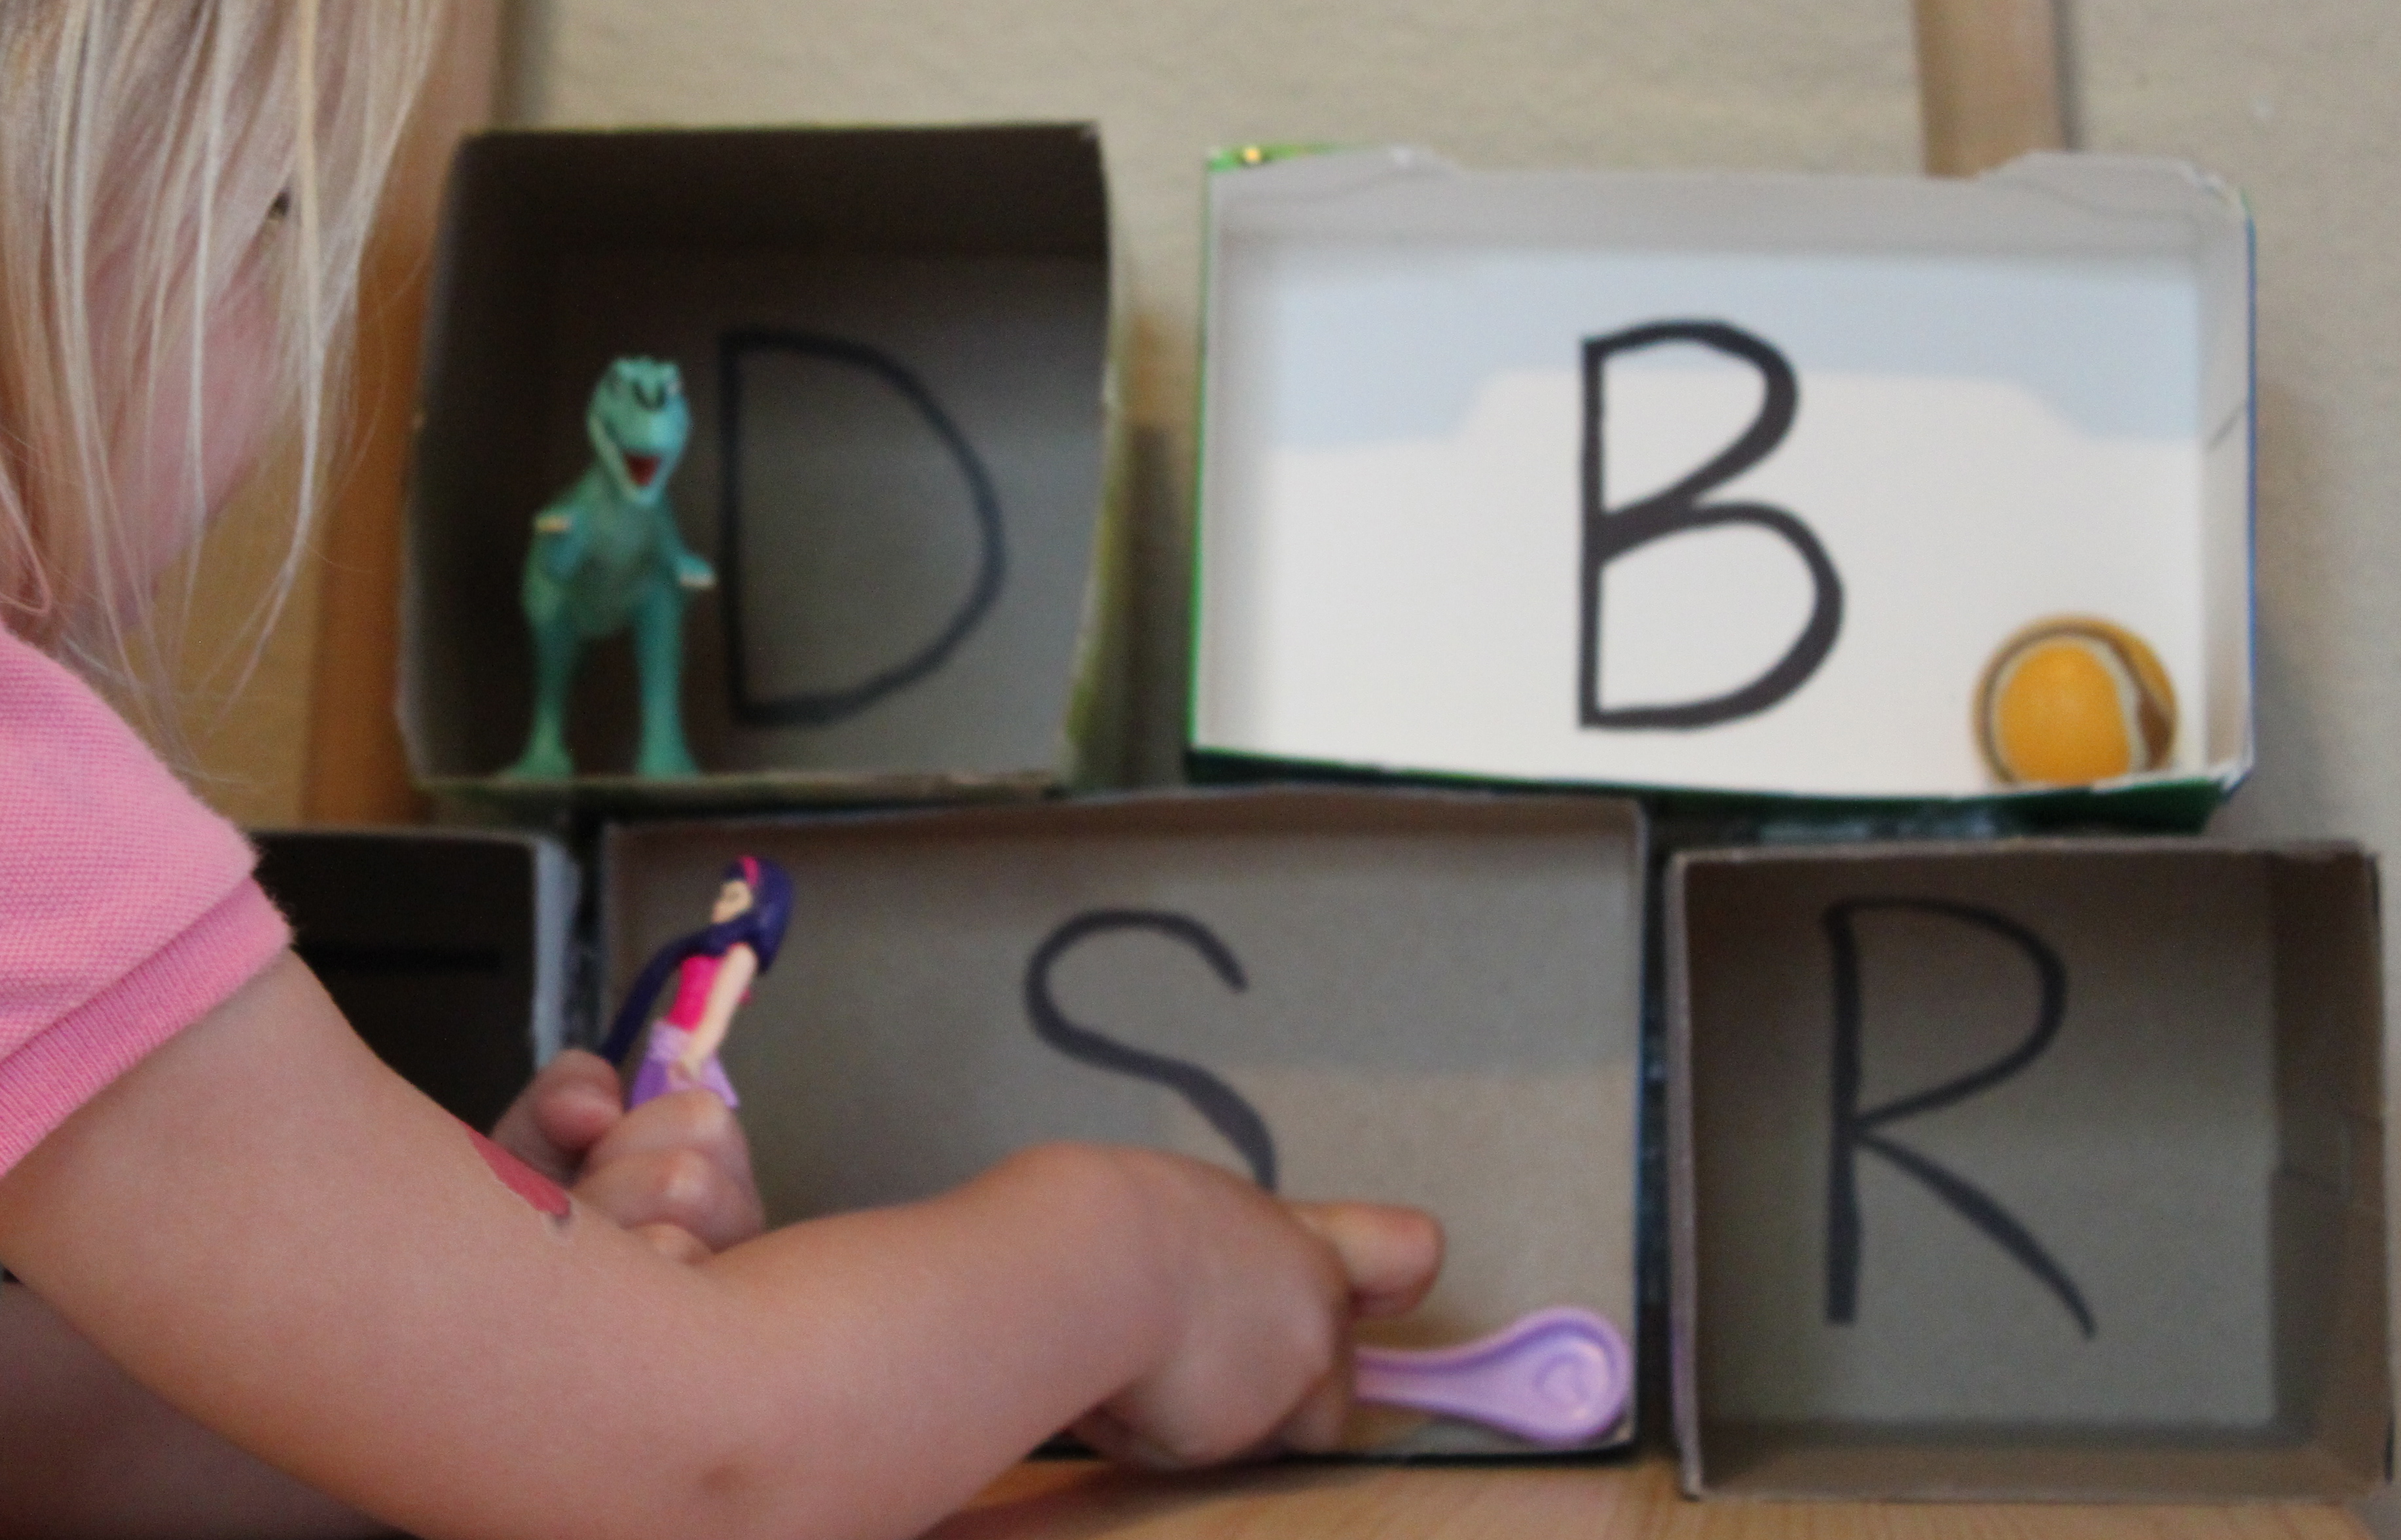
Then we talked about what kinds of things could live in our alphabet neighborhood. We have a D house, a B house, an S house, etc. Only things that start with D or say /d/ can live in the D house. So we went on a hunt around the play room.
Step 3
Your child may want to only hunt for one letter at a time or find different toys and see if they can live in any of the letter houses.
Step 4
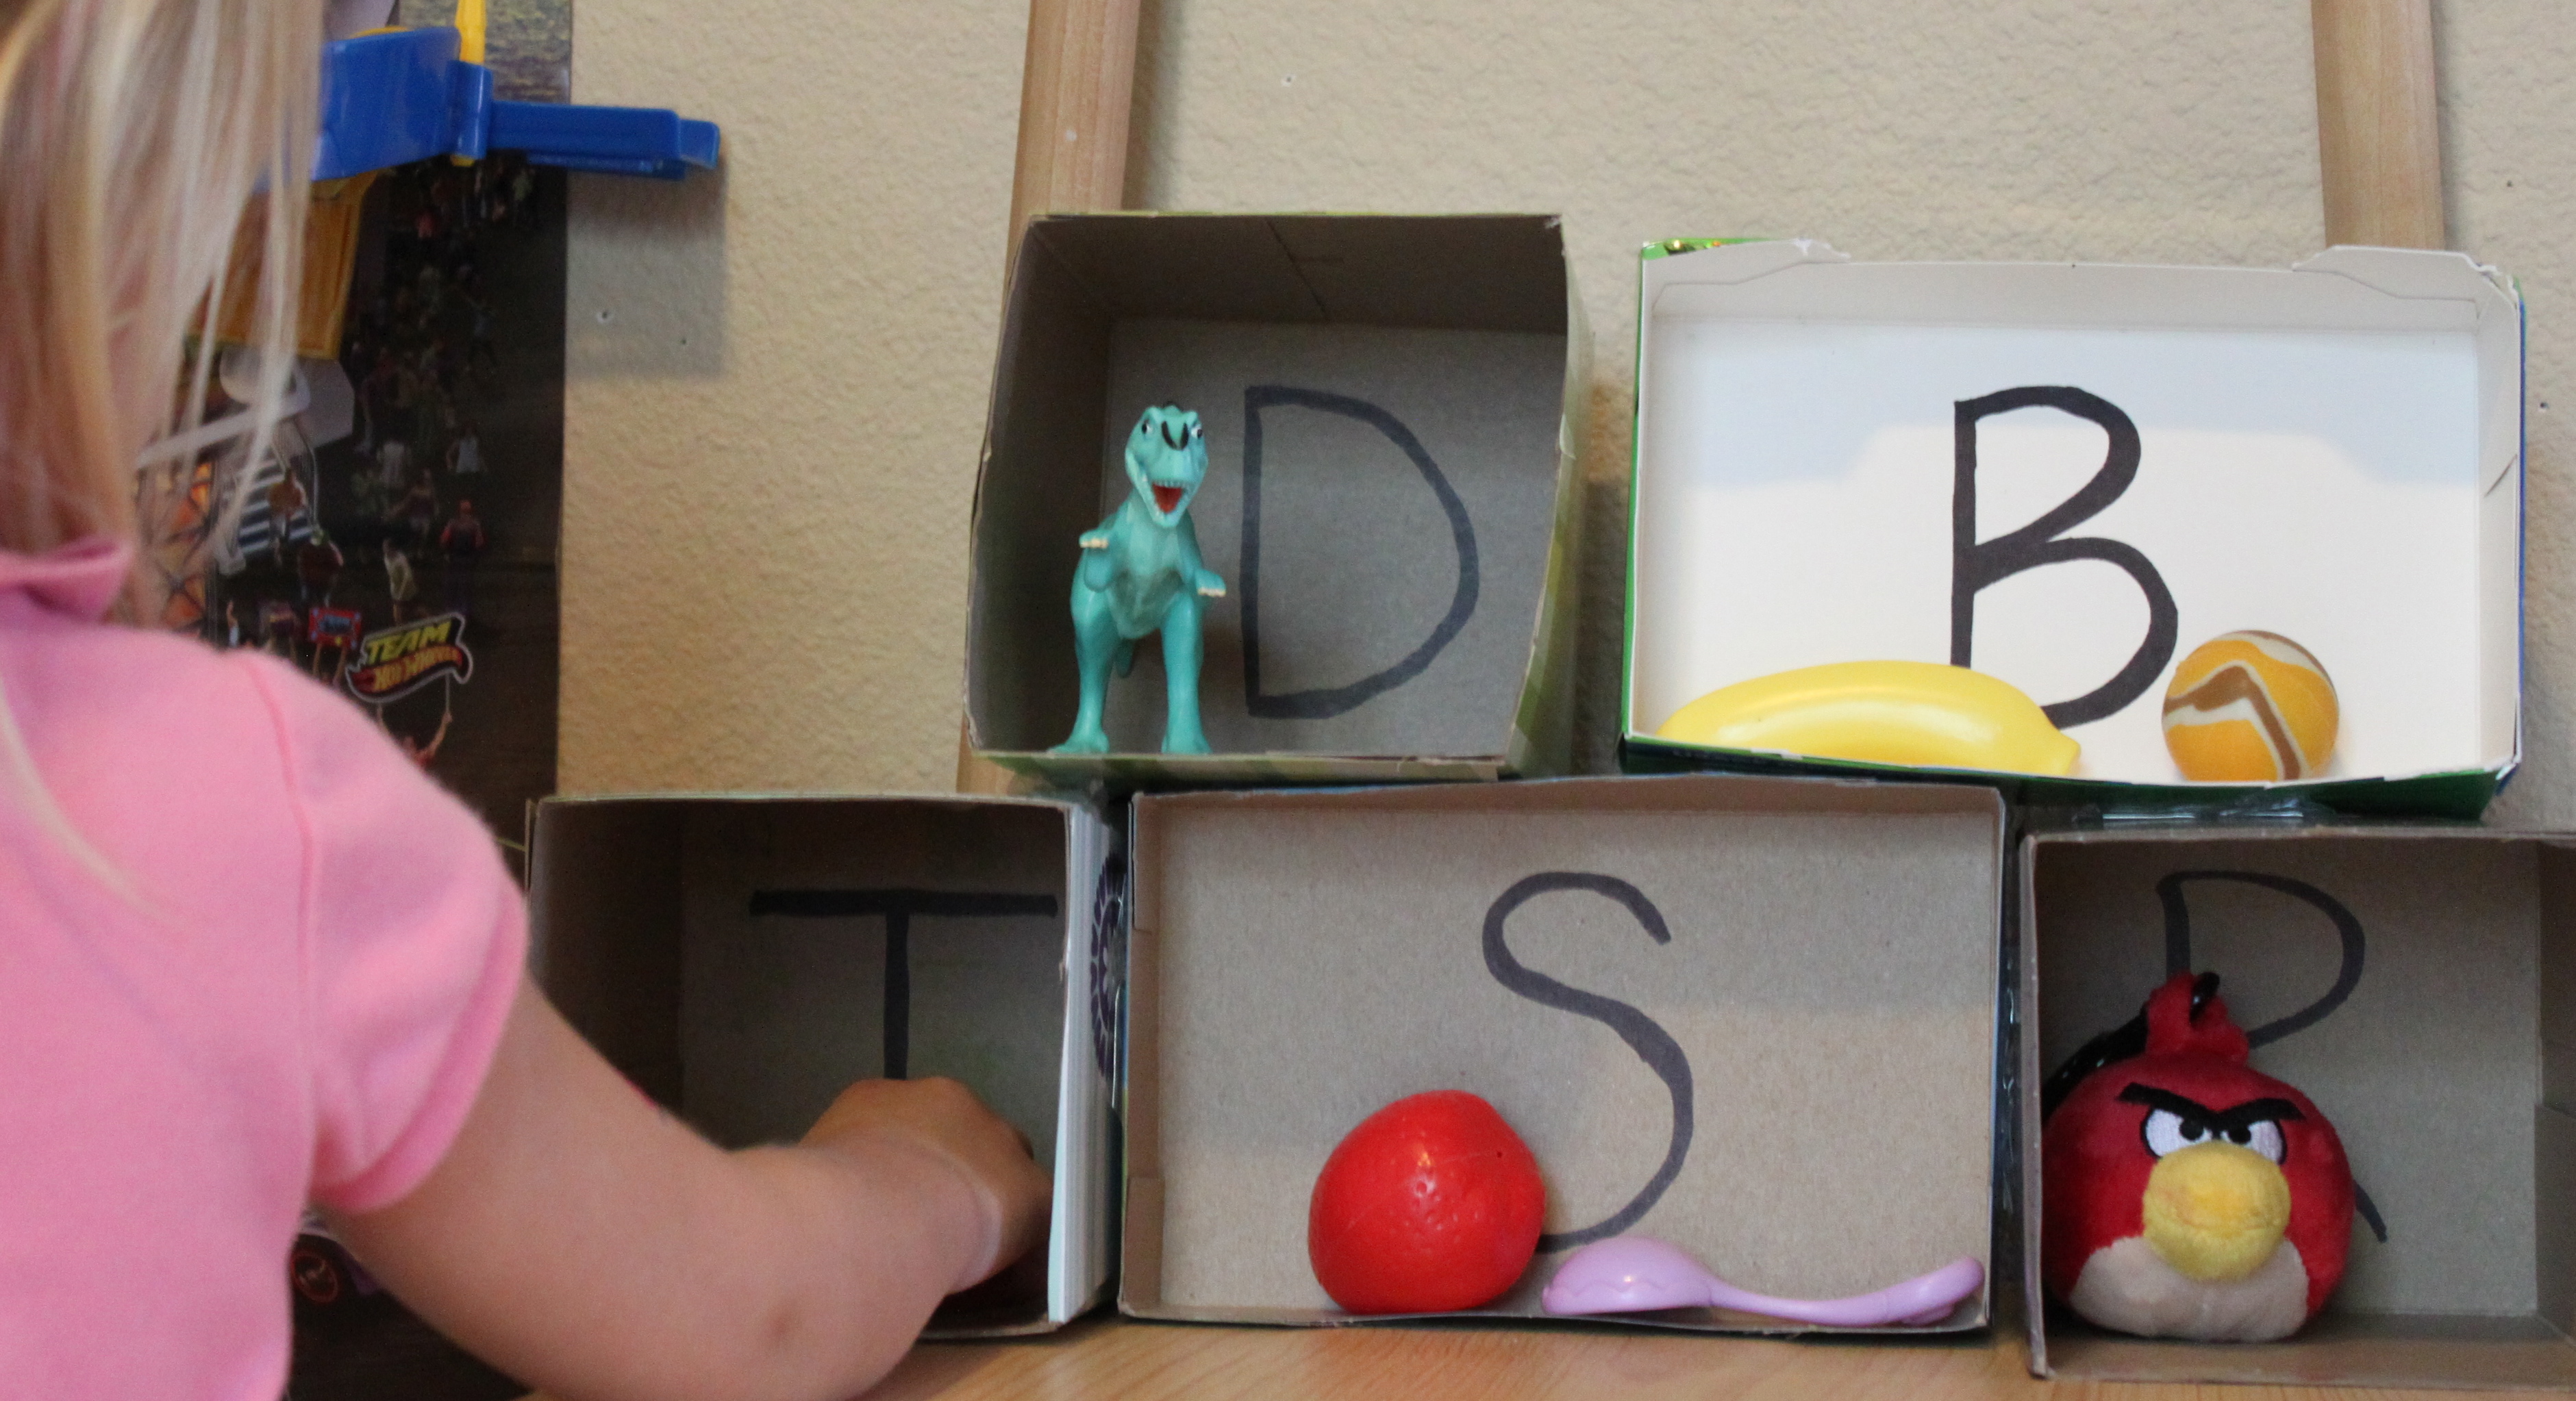
After a while of hunting, she got frustrated that the objects she found didn't belong in any of the rooms so my older son and I found the objects and she figured out which letter house they belonged in. She was happy with that because not only could she focus on just sorting by letter sounds, but it also gave her a chance to arrange them and pretend with the houses.
Done!
You could save up enough boxes to make a neighborhood using all 26 letters or just use common ones like we did. Another idea would be to write numbers in the boxes (instead of letters) and only that number of animals or princesses or superheroes can live in each one.


