Step-by-step tutorial
Step 1
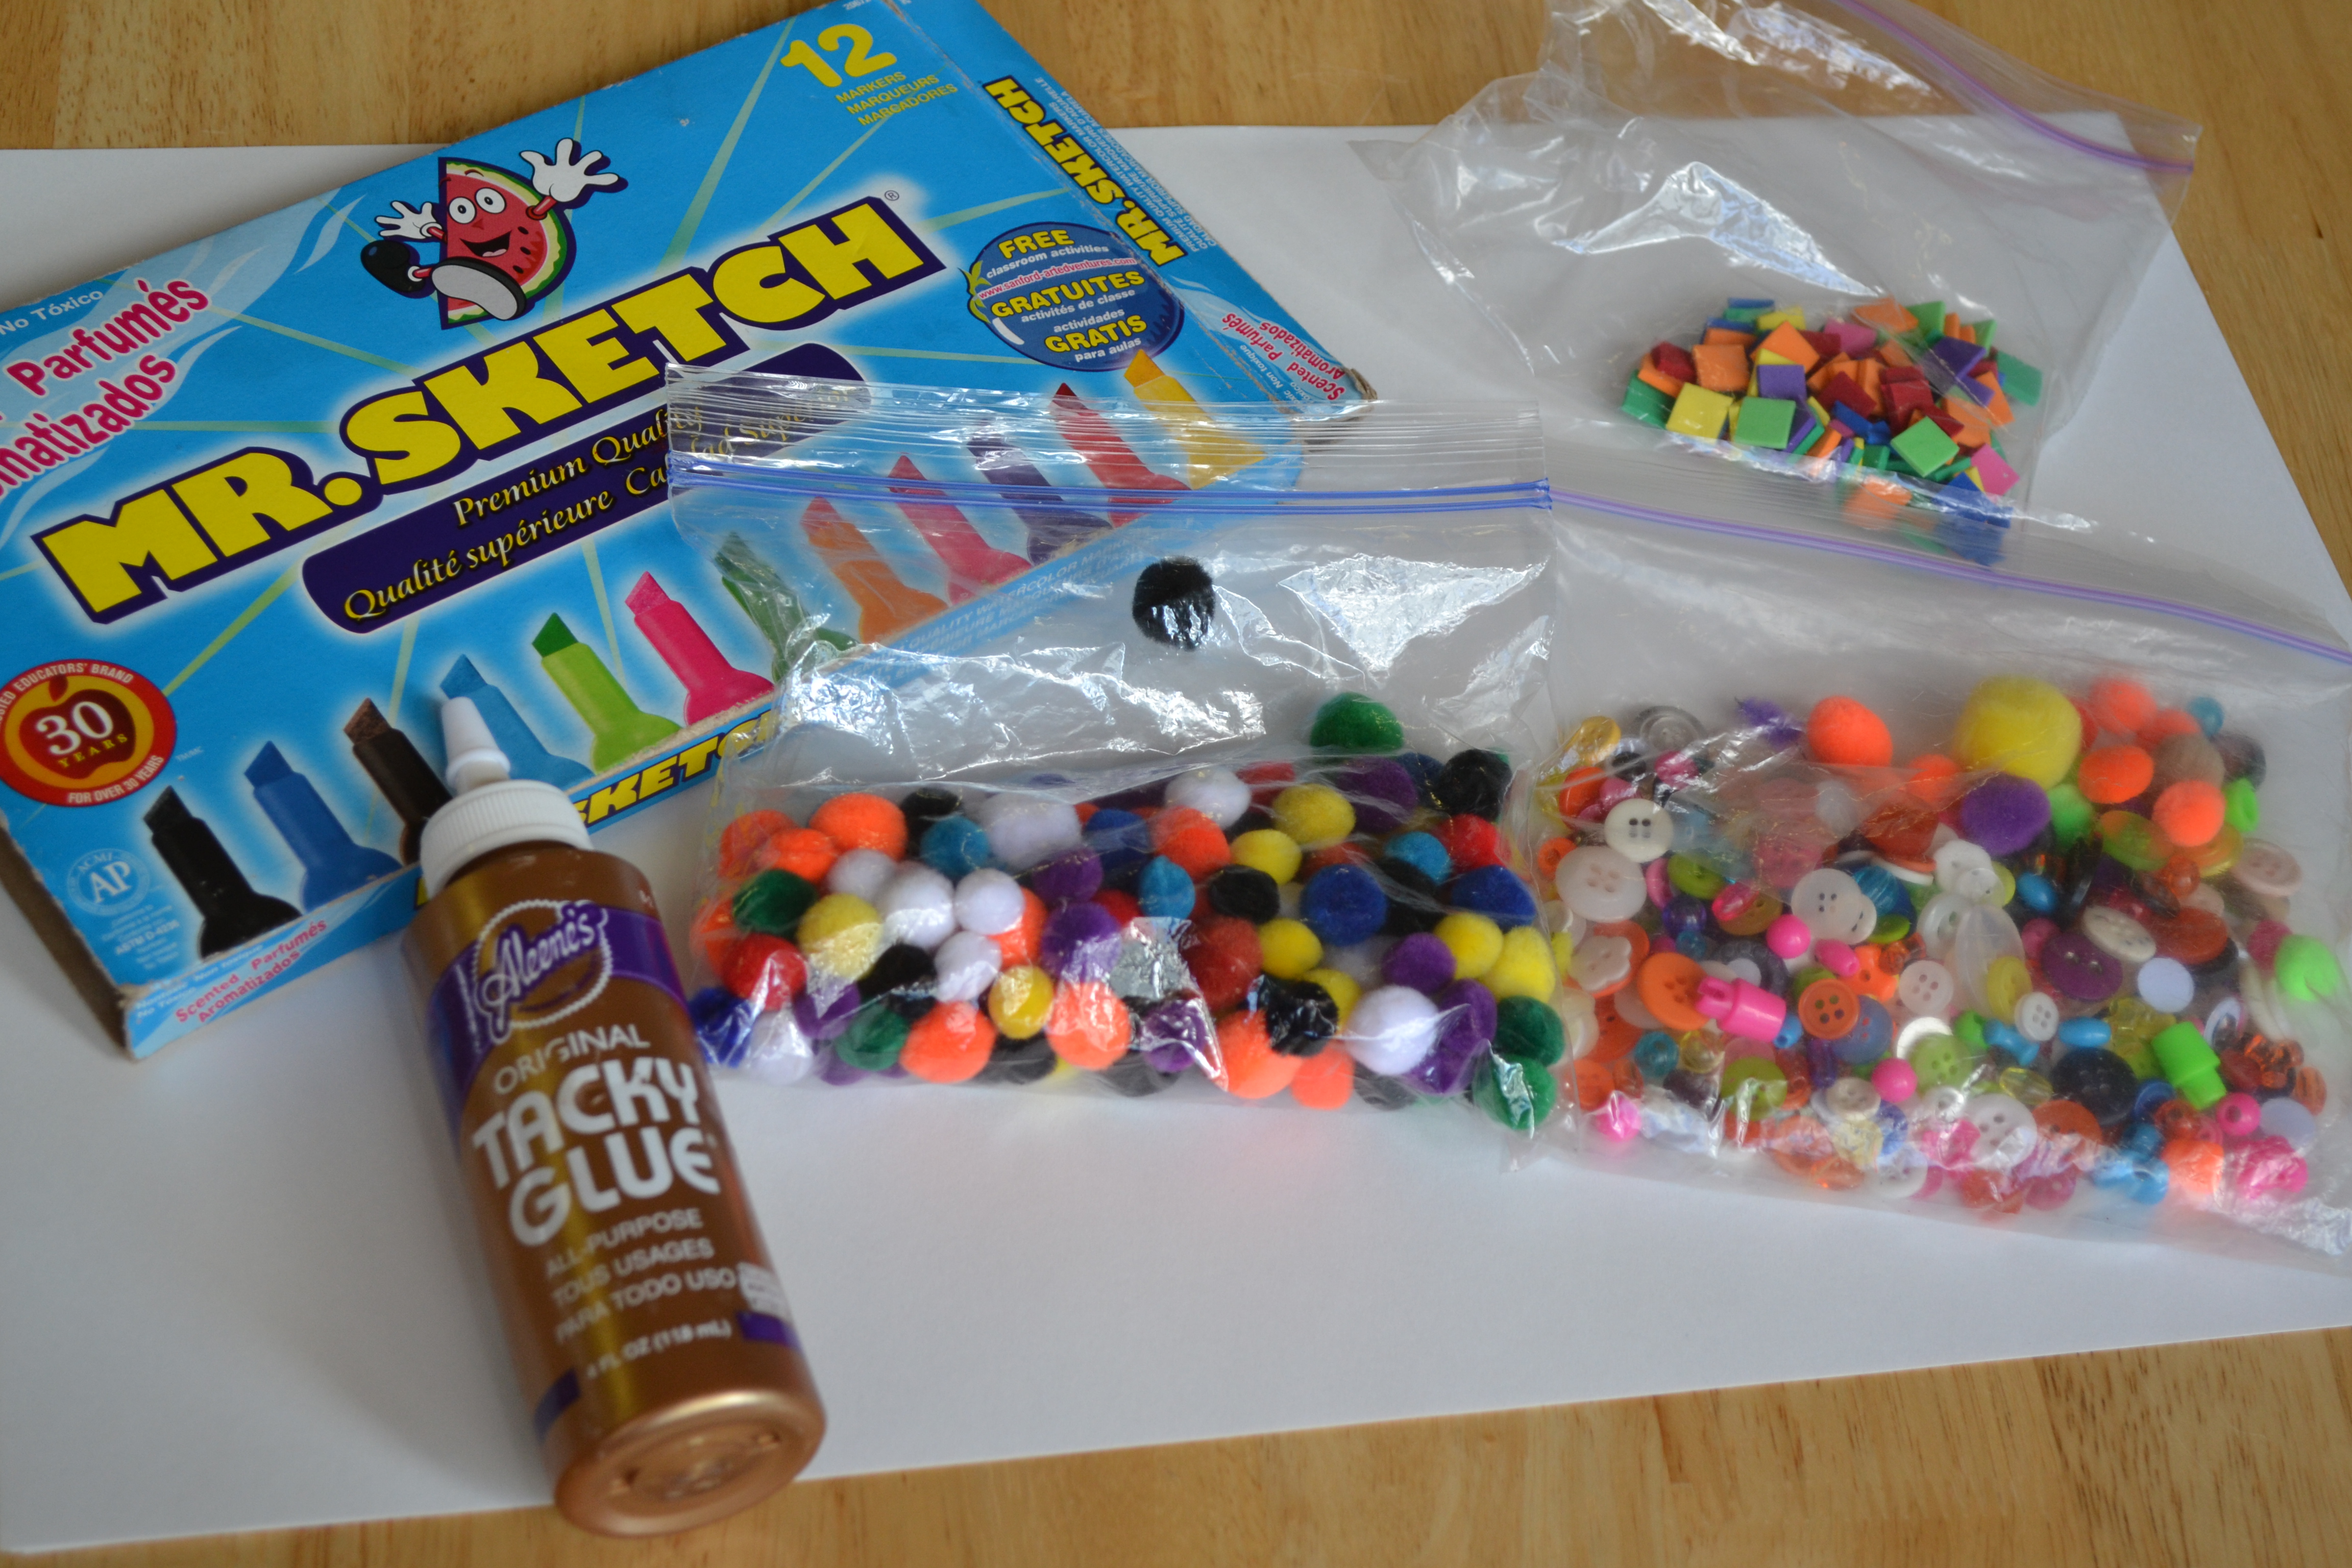
Gather all materials. This project was great for using those last few beads, buttons, feathers, and foam pieces that we weren't sure how to use.

Step 2
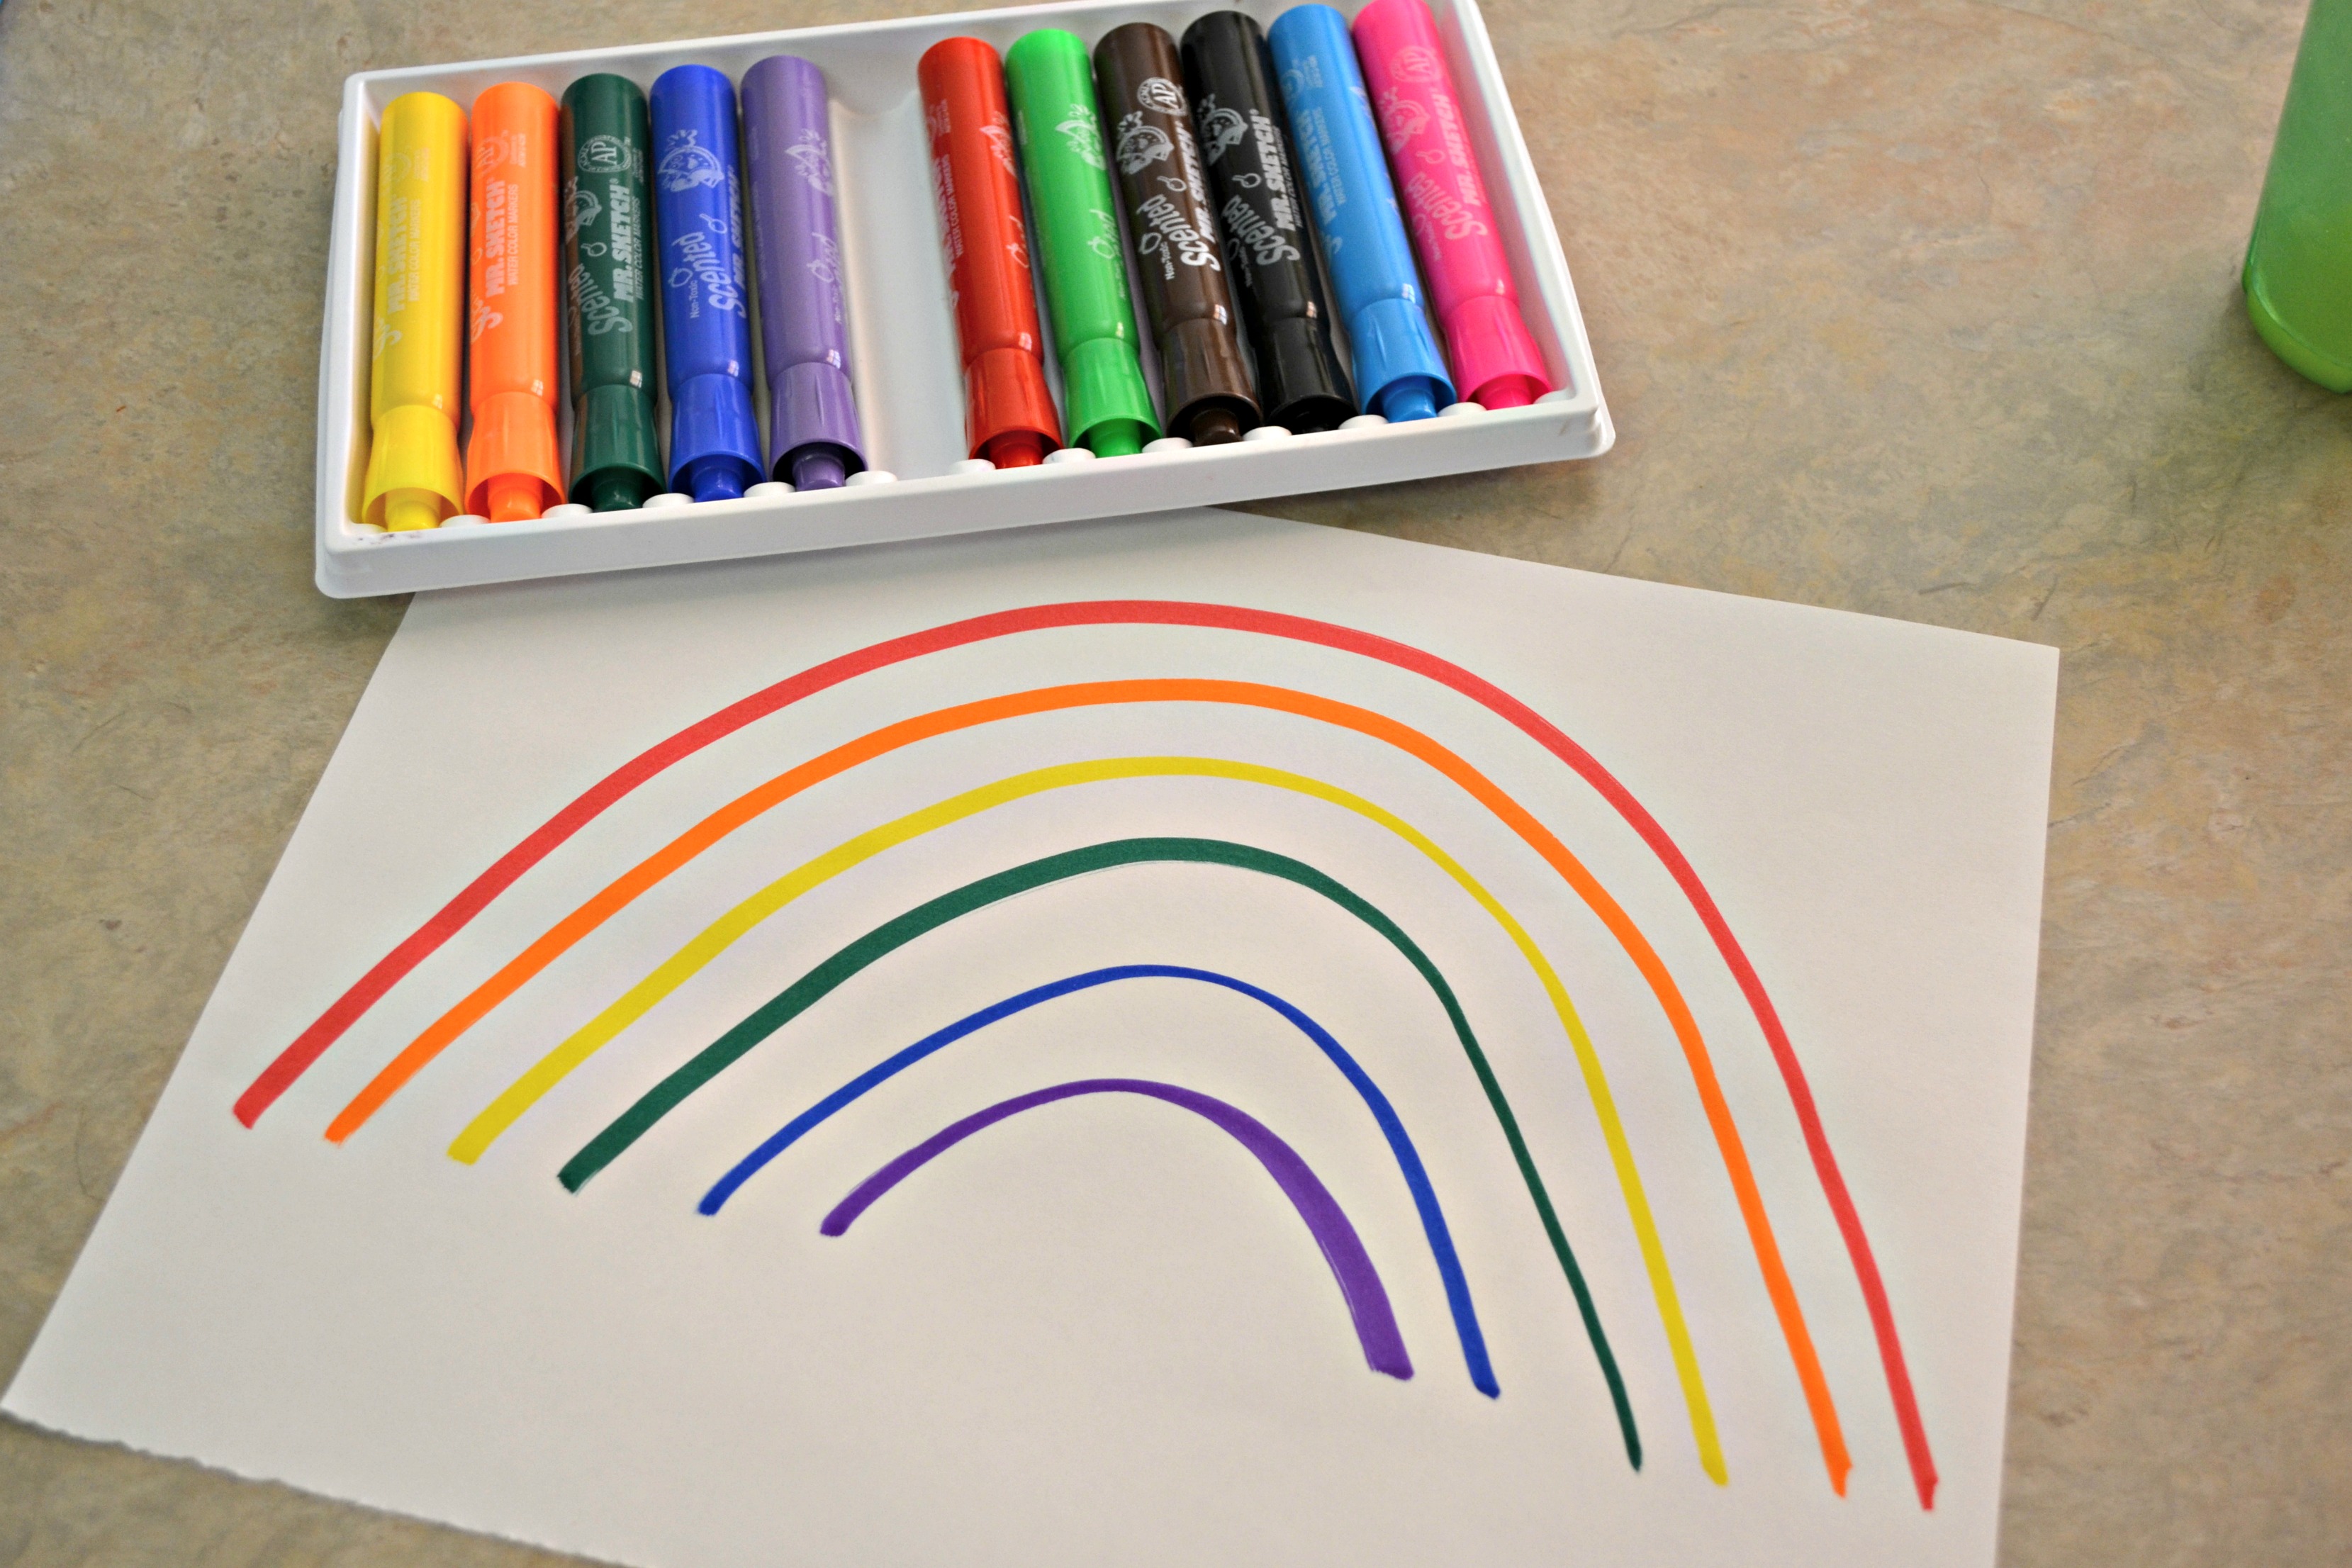
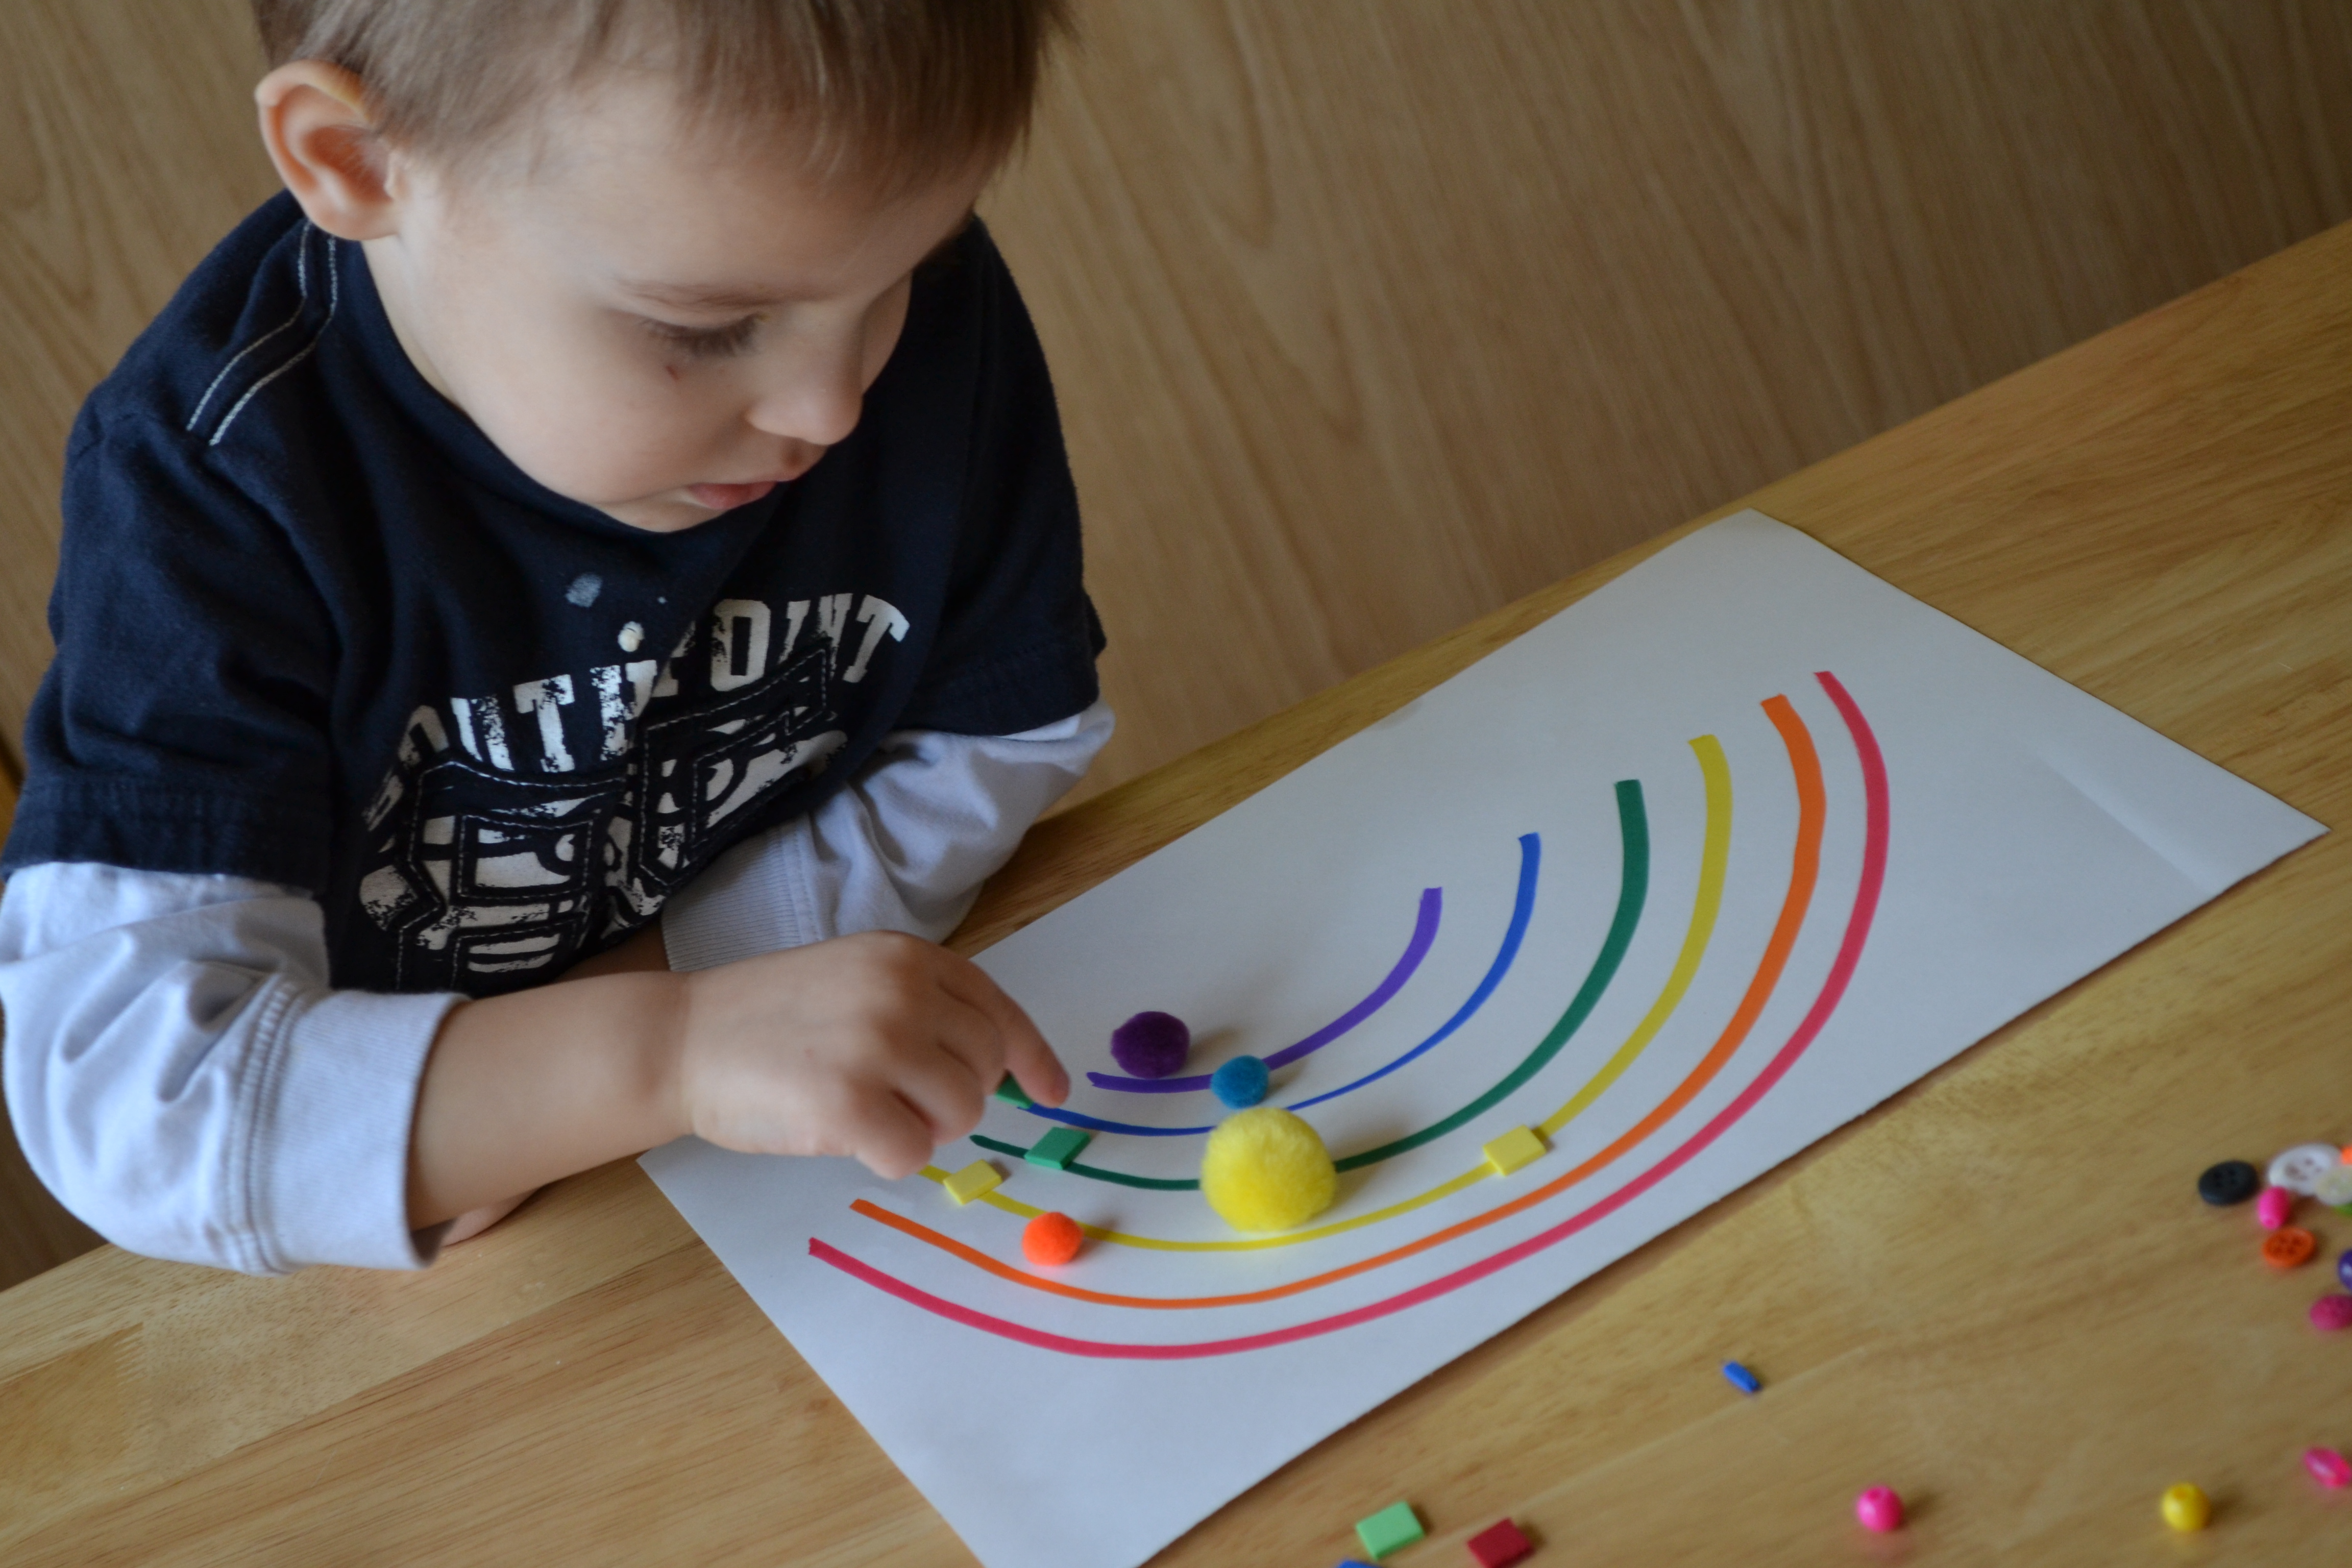
We drew a simple rainbow on the card stock to give the little ones a guide for making their rainbows. We love using scented markers in our house! As I was drawing the rainbows, my two and three-year-old named each of the colors and wanted to smell each one.
Step 3
My younger kids had a great time going through our craft supplies and sorting the different colors. My three-year-old was able to describe the different textures of the materials as soft or hard. We had a great time finding "fuzzy", "smooth", and "hard" materials. Even my two-year-old was able to match the colors on his rainbow.
Step 4
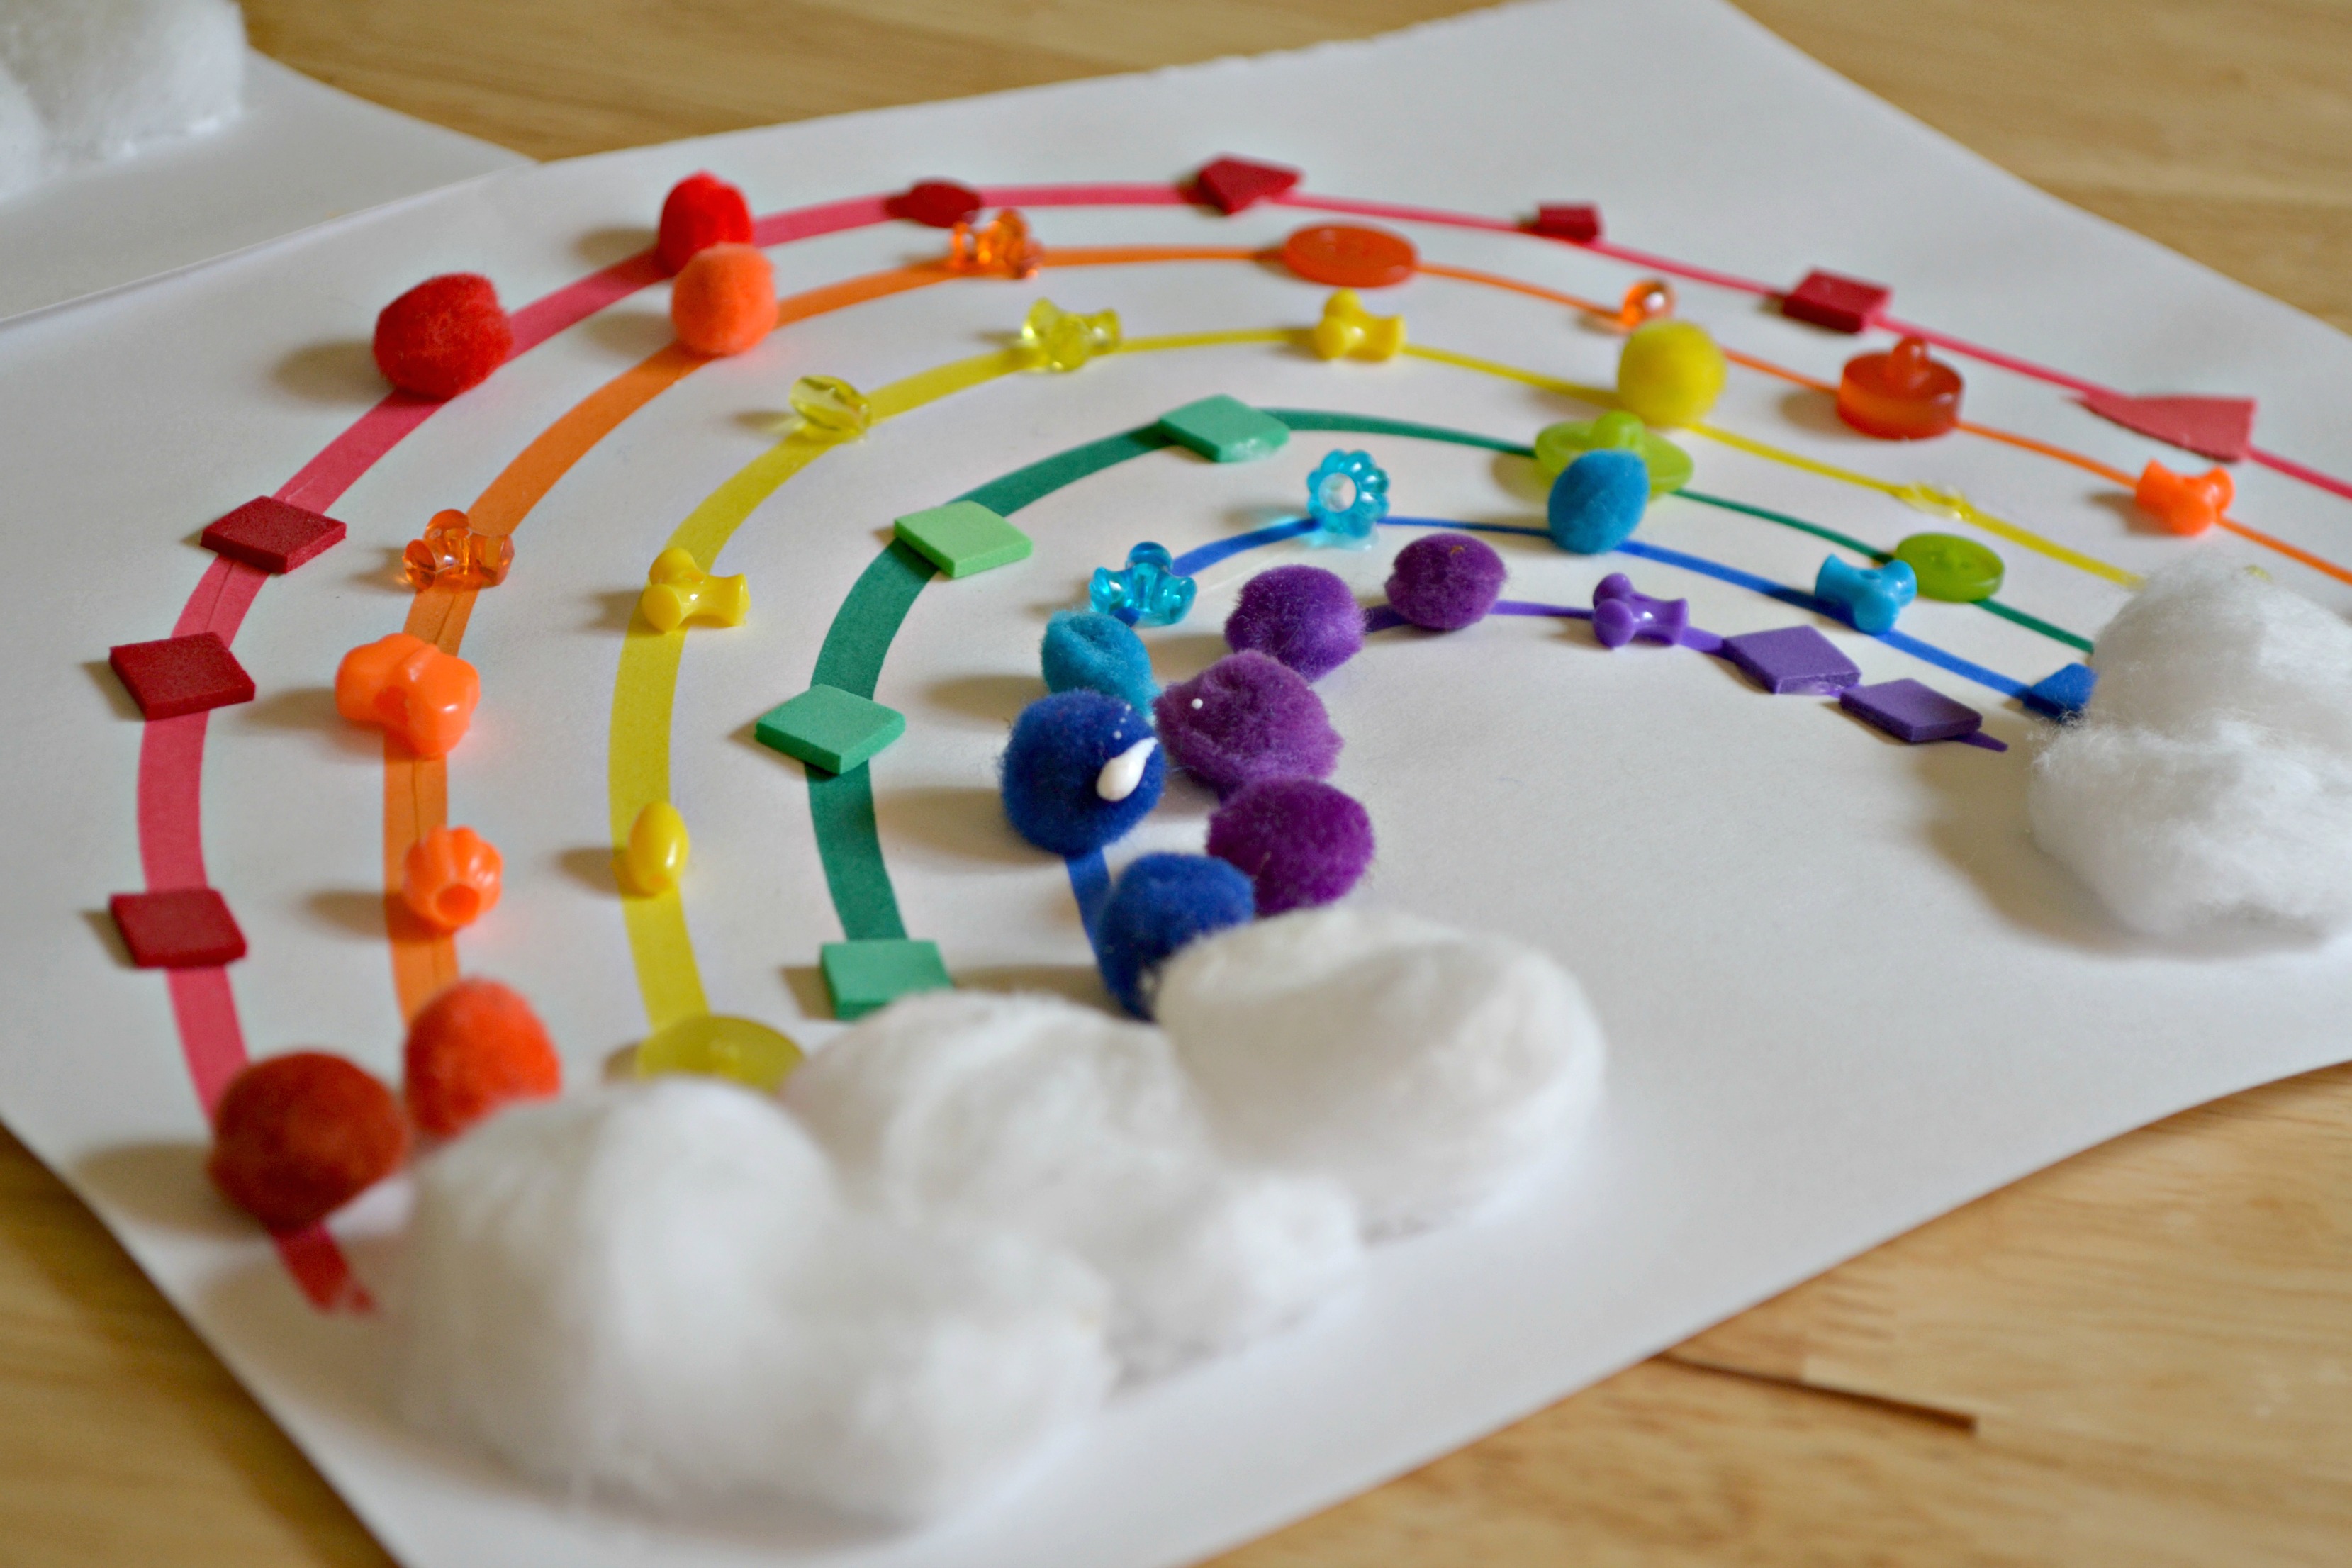
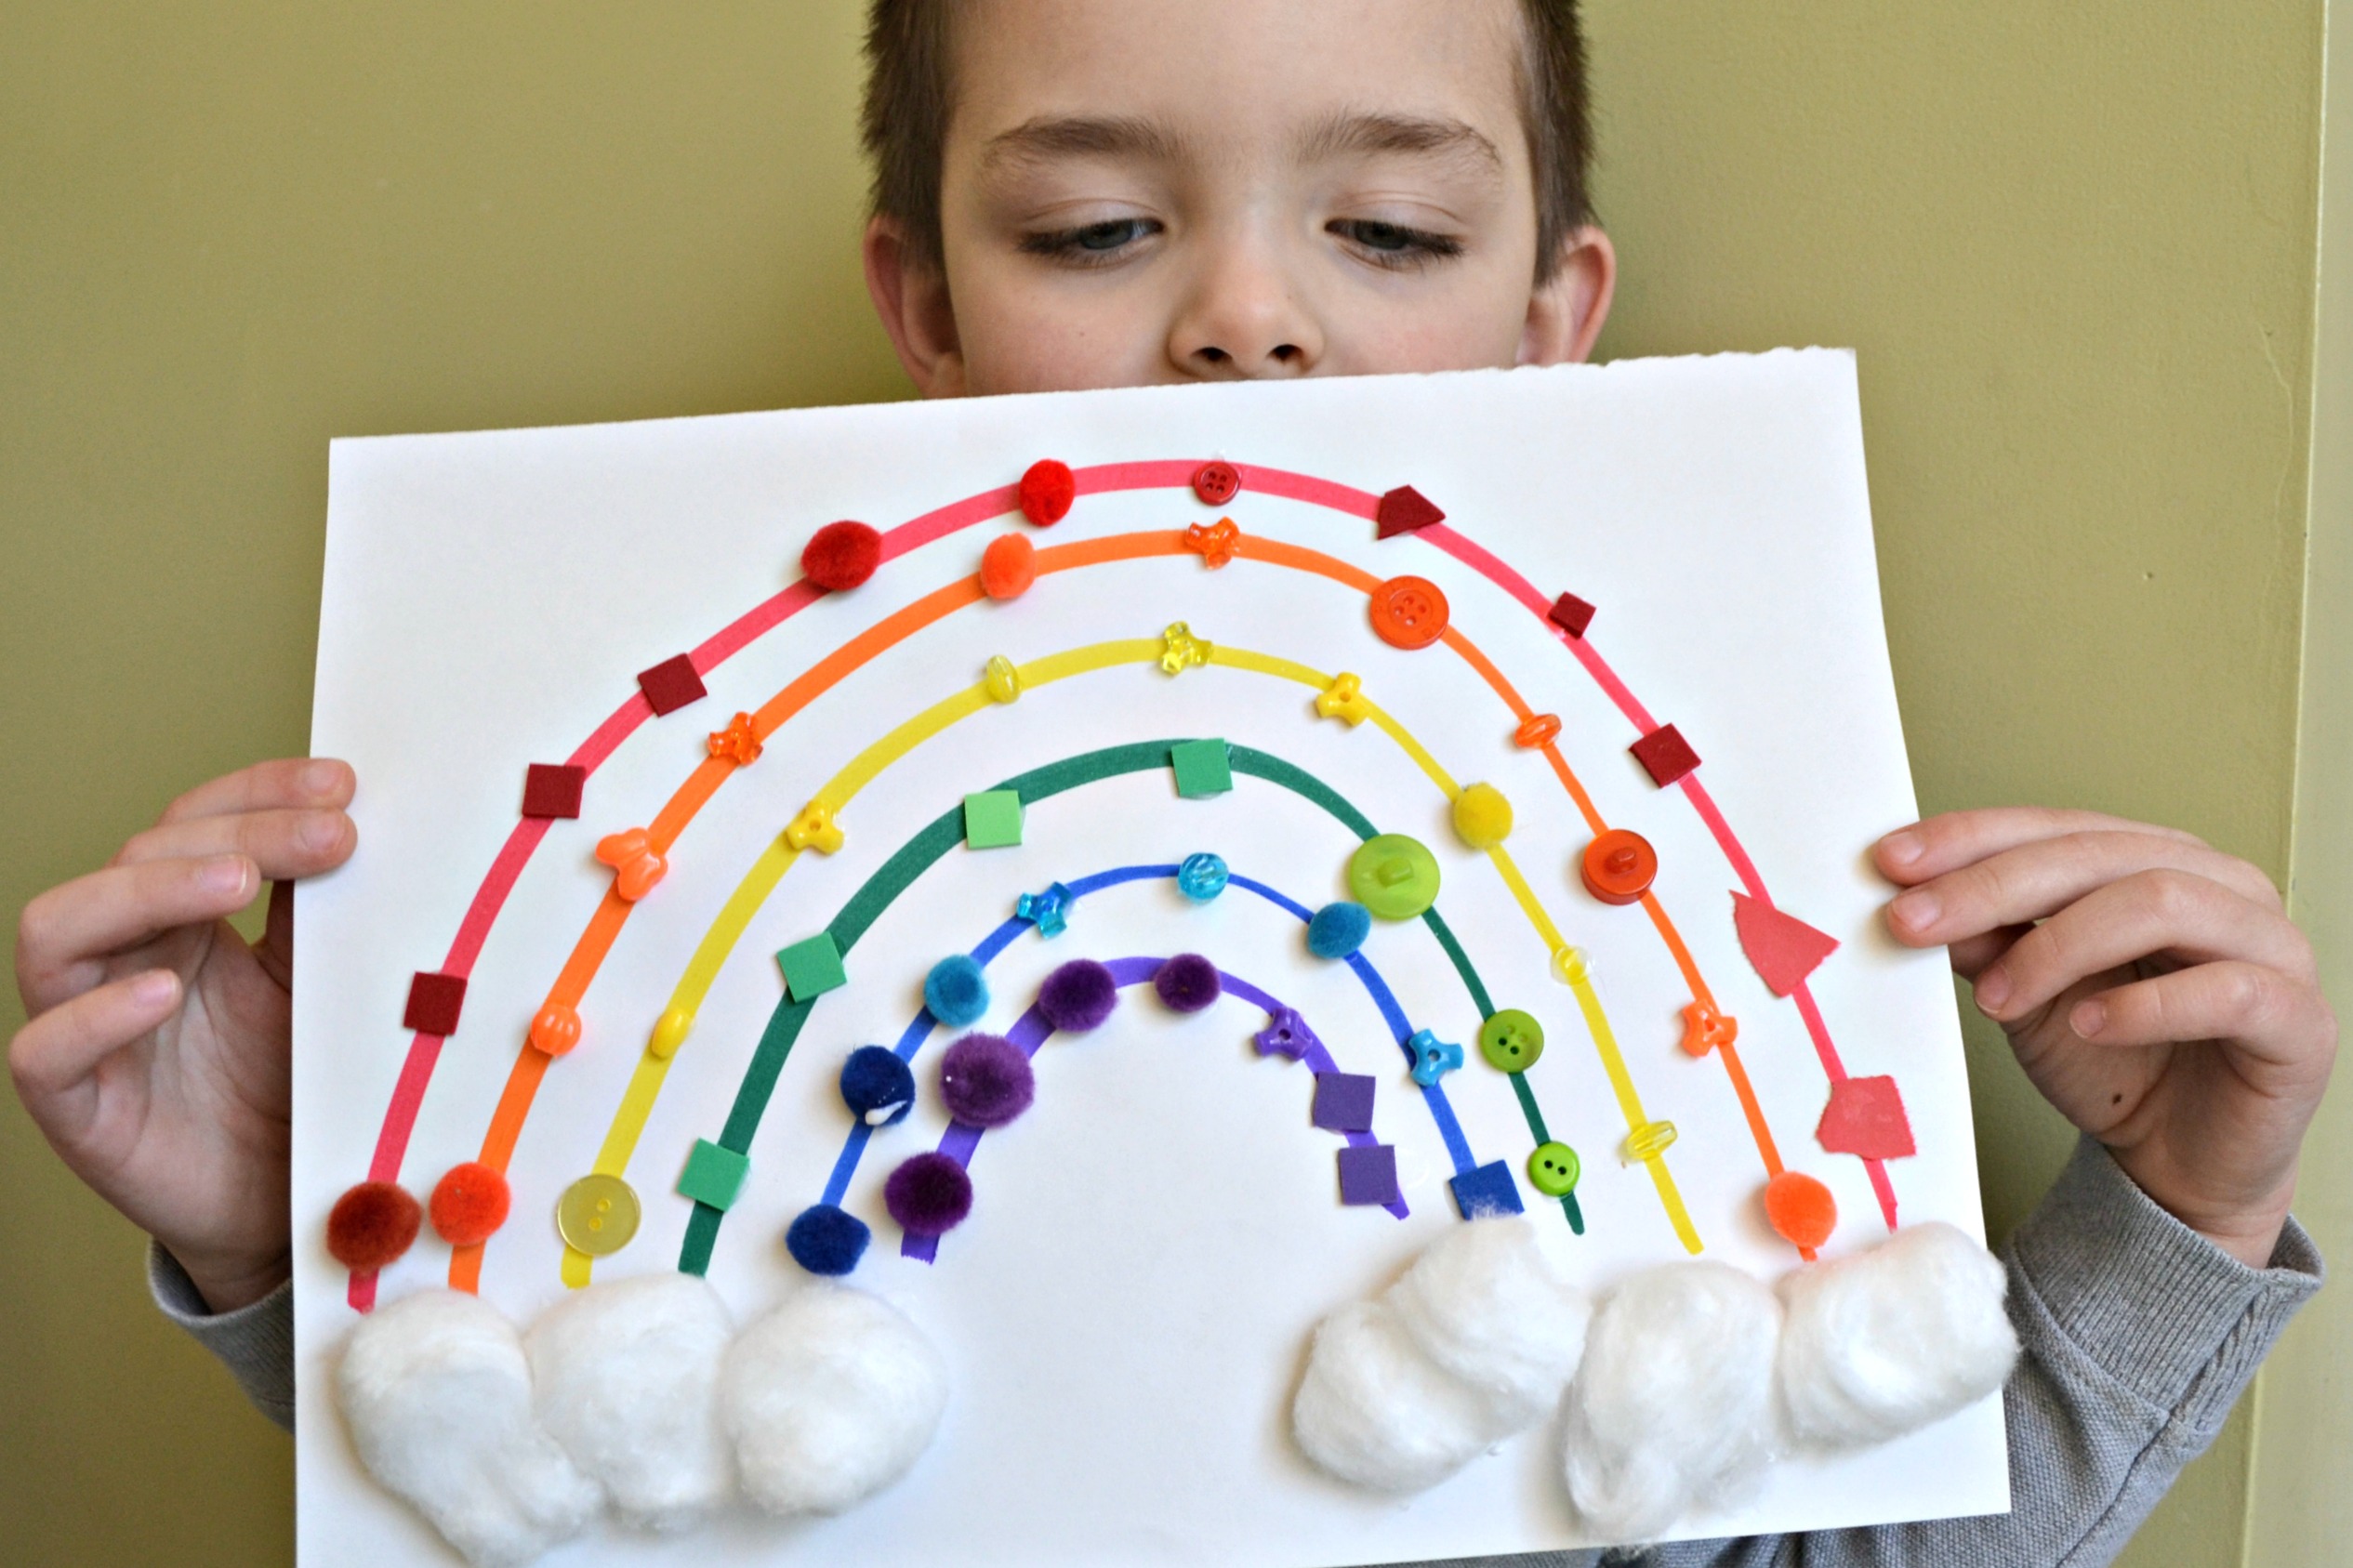
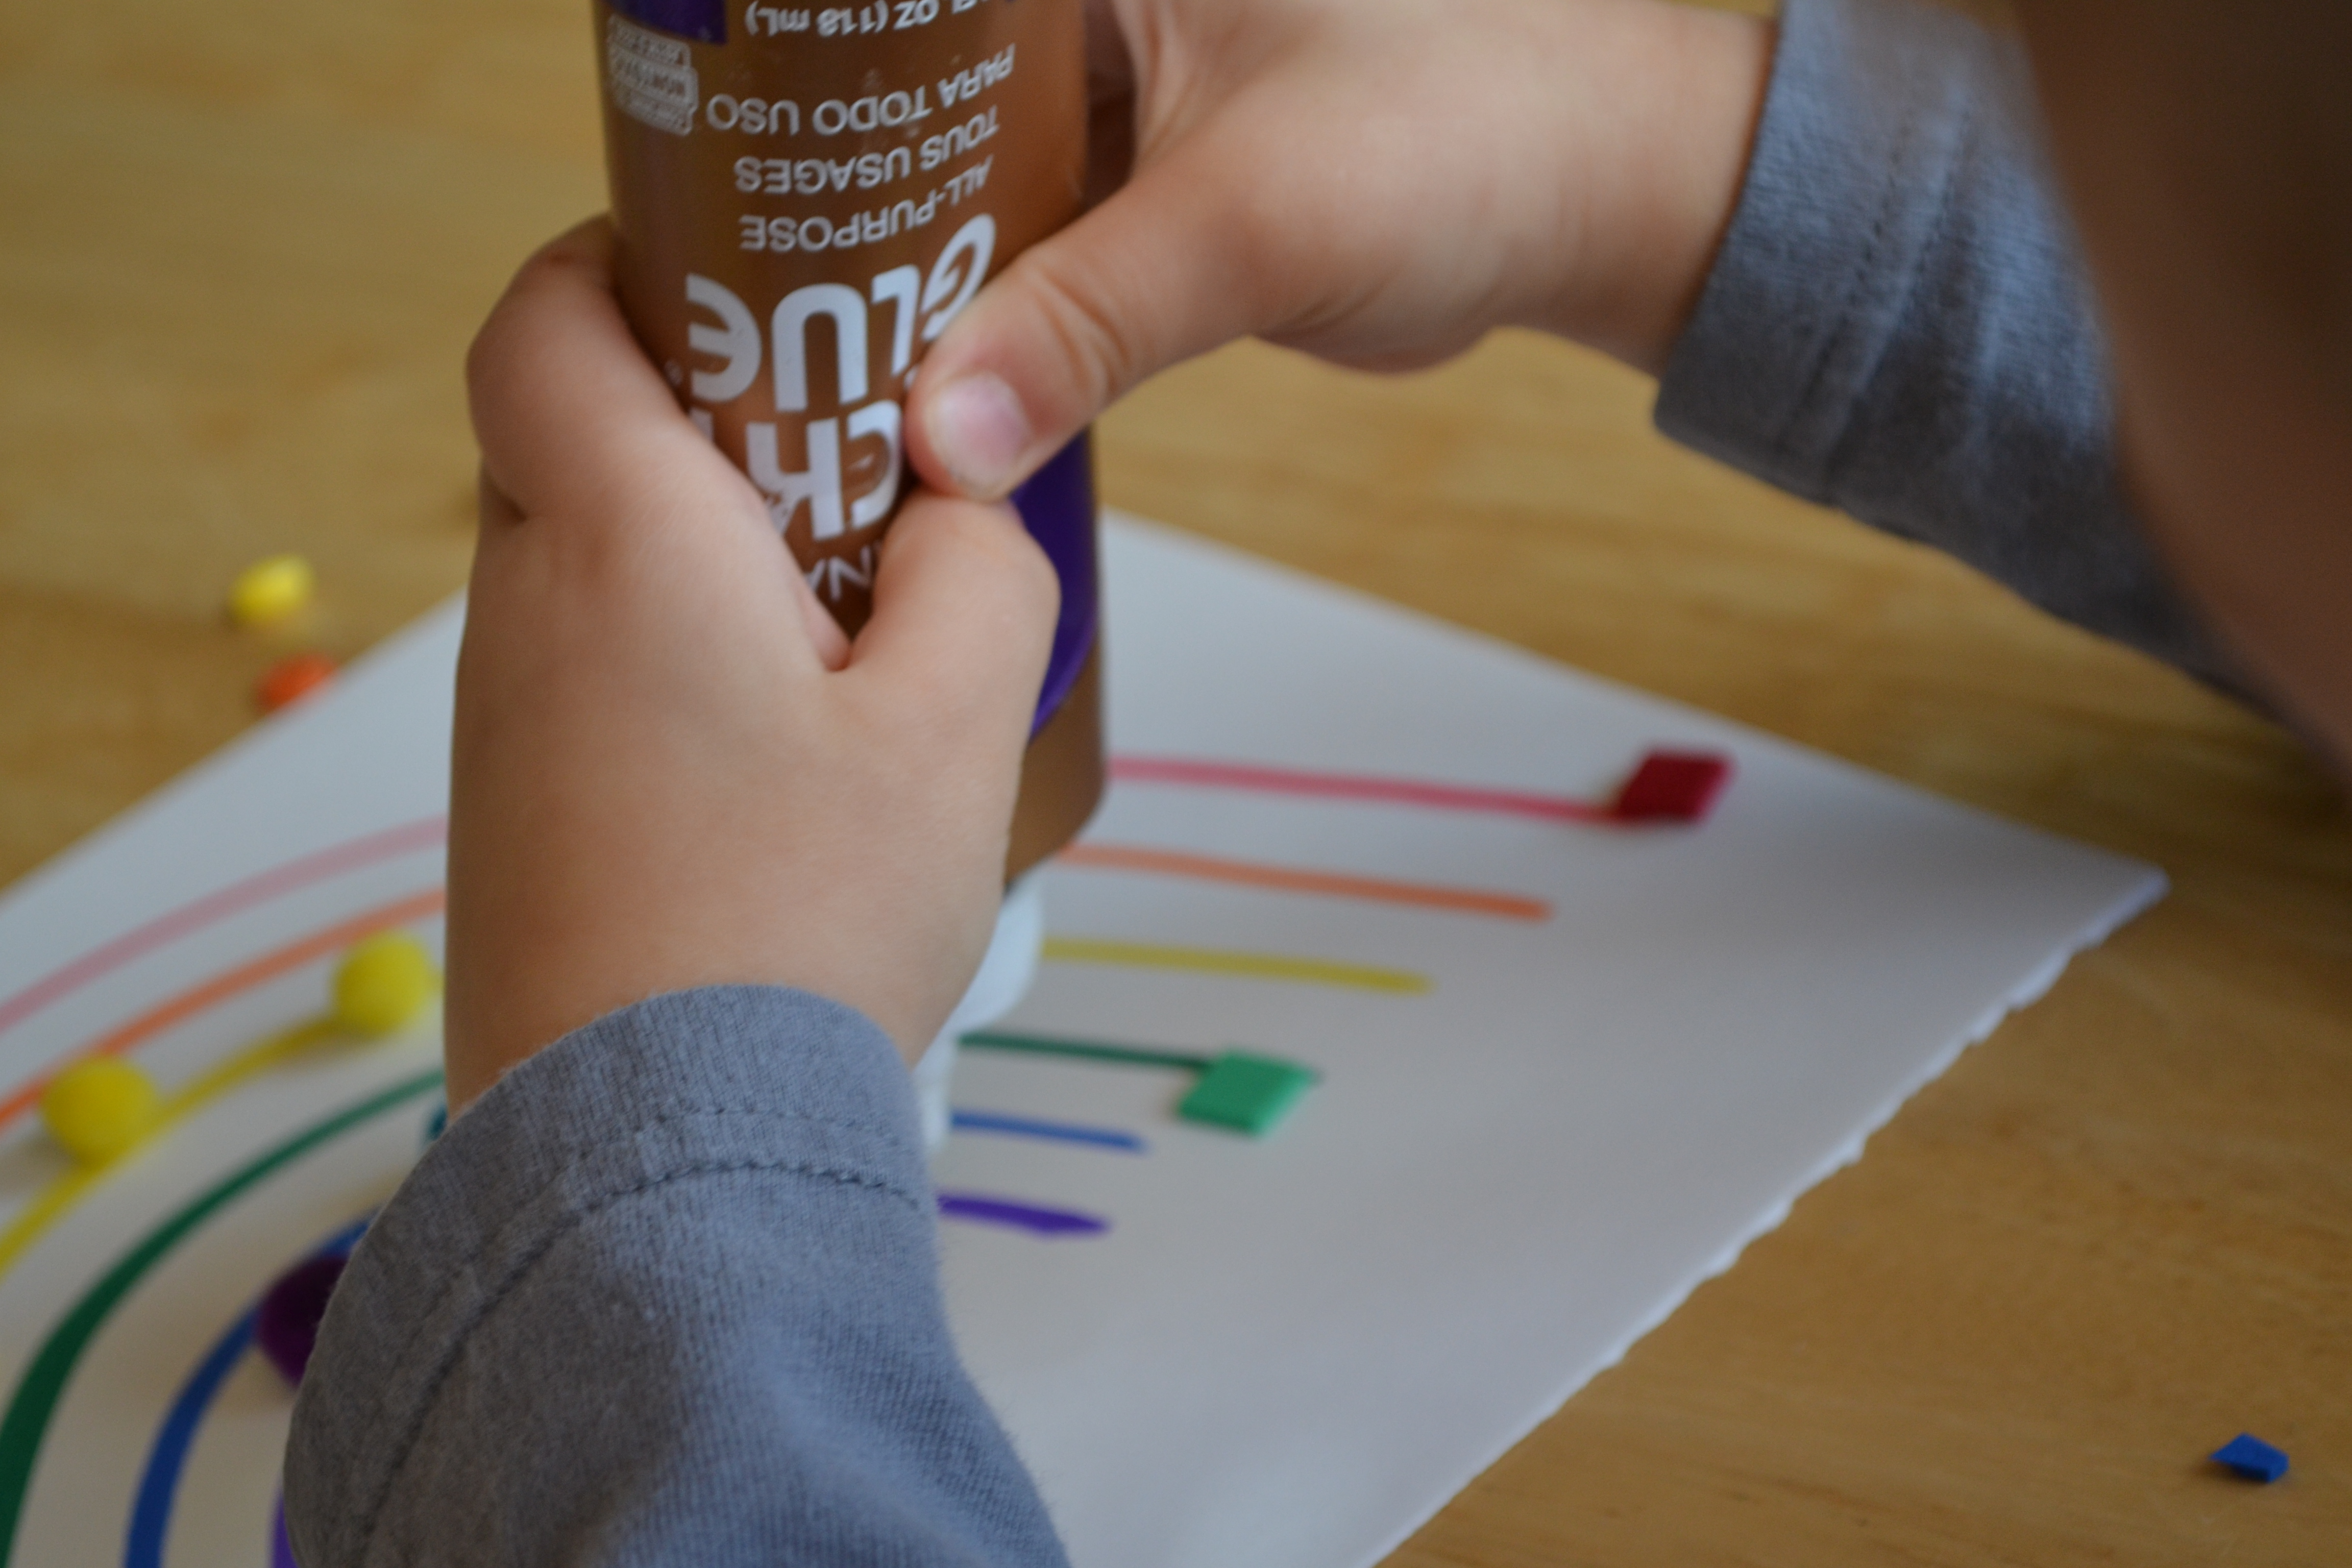
Once the colors were sorted, we used tacky glue to add the different materials to our rainbows. This was a great way to work on those fine motor skills with my two- and three-year-olds. They worked really hard placing those tiny beads and felt pieces on their rainbows.
Done!
After the rainbows dried, the kids glued cotton ball clouds to their rainbows. This was a great way to add another texture to our rainbows.